Lyonsden Blog

Tag - Commodore

VIC20 Penultimate+ Cartridge

Penultimate+ Cartridge

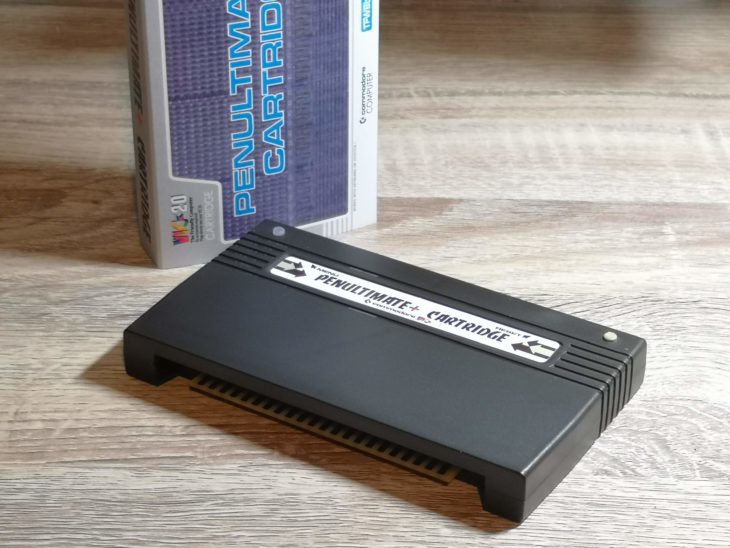
Thought I’d share a little review of a new gizmo I picked up for my VIC20 recently. It’s called the ‘Penultimate+’ cartridge and it’s sold by The Future Was 8-bit.

It aims to be the only cartridge you will ever need to put in your VIC20’s expansion slot. It combines a RAM pack, various expansion carts, reset button, system diagnostics and over 70 game ROM’s into a single cartridge and all accessible through a simple and intuitive menu system.


What you get

The artwork on the packaging is fantastic, riffing off the original cartridge boxes to produce a product dripping with nostalgia. It’s a slip-case rather than a box though which disappointed me a little bit. Although I realise my cartridge is likely going to stay plugged in most of its life, it would have been great to have a proper box to store it in for those times when it’s not. Even if I never unplug the cartridge again, as a collector I would have appreciated a proper box to display on my shelf. With no cartridge inside the slip-case is very flimsy and could be easily squashed flat.


This slideshow requires JavaScript.


The cartridge itself is sturdily built from brown plastic to a very high standard. It fits snugly into the VIC20’s expansion port without any issues at all. Most of Commodore’s original expansion carts were produced in a similar colour so again this is a nice nostalgic nod to the past.

On the top are two buttons. The first button on the left is an illuminated ‘menu’ button that launches the Penultimate+ Cartridge’s menu screen. The second ‘reset’ button on the right resets your VIC20 vastly reducing the need to power cycle your machine.

Given that much of the time this cart is going to be used for playing games, having joystick navigation through menus is a godsend. Simply move up and down with the stick and press fire to select a menu item or launch a game. Some frequently used options also have handy keyboard shortcuts too.


This slideshow requires JavaScript.

The RAM Pack Function

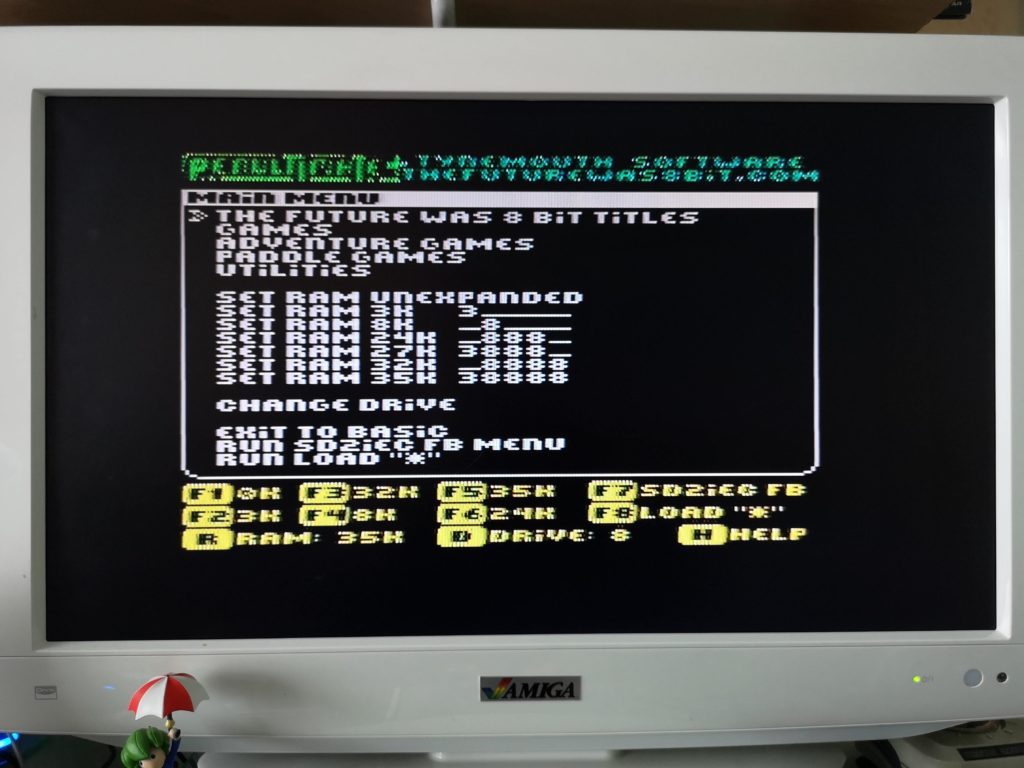
The RAM pack behaves in much the same way as other switchable RAM packs like the Vixen one I already have. The one big difference with this one is that you can change the amount of RAM available using the on-screen menu instead of messing with DIP switches. You are able to chose from Unexpanded (no extra RAM), 3K, 8K, 24K, 32K and 35K. Strangely there’s no option to select 16K but playing 16K games with the 24K option seems to work just fine.

There’s a couple of ways to access the extra RAM depending on what you need it for:

  1. Select one of the ‘Set RAM…’ options from the menu to have that amount of RAM allocated whilst remaining in the menu system so you can load a game ROM.
  2. Press one of the function key shortcuts at the bottom of the screen to reset your VIC20 and drop you at the BASIC screen with the extra memory allocated. This is the option you would choose if you wanted to write a program or load one off a cassette tape and needed the extra RAM to do so.
 

Penultimate+ Cartridge

Main menu with RAM options.


The Games

The games are neatly arranged into 4 categories:

  • The Future Was 8-Bit Titles (exclusive new games released by TFW8b)
  • Games (this is where the vast majority of the game ROMs can be found)
  • Adventure Games (all the Scott Adams cartridge adventure games)
  • Paddle Games (all the paddle compatible games)


This slideshow requires JavaScript.


Penultimate+ Included Games List

Adventureland AdventureMission Impossible Adventure
AEMosquito Infestation
AggressorMotocross Racer
Alien BlitzMs. Pac-Man
Alien SidestepOmega Race
AmokPac-Man
Attack of the Mutant CamelsPentagorat
AvengerPharaoh's Curse
Basic-v4Pirate's Cove Adventure
BattlezonePole Position
Bertie the BallPrincess and Frog
Black HoleQ-Bert
BolderDanRadar Rat Race
Buck RogersRaid on Fort Knox
CentipedeRiver Rescue
Cheese and OnionRoad Race
ChoplifterRobotron
CloudburstRodMan
ClownsSatellite Patrol
Cosmic JailbreakSerpentine
Crater RaiderShamus
Creepy CorridorsSkibbereen
CyclonSpaceship-1
Deadly SkiesSquishem
DefenderStar Battle
Demon AttackSub Chase
Dig DugSuper Expander
Donkey KongSuper Slot
DragonfireSuper Starship Space Attack
Fast BoyTerraguard
FroggerTetris
Future FighterThe Count Adventure
GalaxianThe Sky is Falling
Gold FeverThreshold
GorfTopper
GridrunnerTornado
Jelly MonstersTutankham
Jungle HuntTypo
KeyQuestViccyBird
K-Razy AntiksVICKIT4&5
LazerzoneVicterm 40
Lode RunnerVoodoo Castle Adventure
Mine Madness

SD2IEC Functionality

Unlike, for example, the 1541 Ultimate cartridge that you can get for the Commodore 64, the Penultimate+ Cartridge does not allow you to add any content of your own. You are stuck with the cartridges and game ROM’s that it ships with.
 

Penultimate+ Cartridge

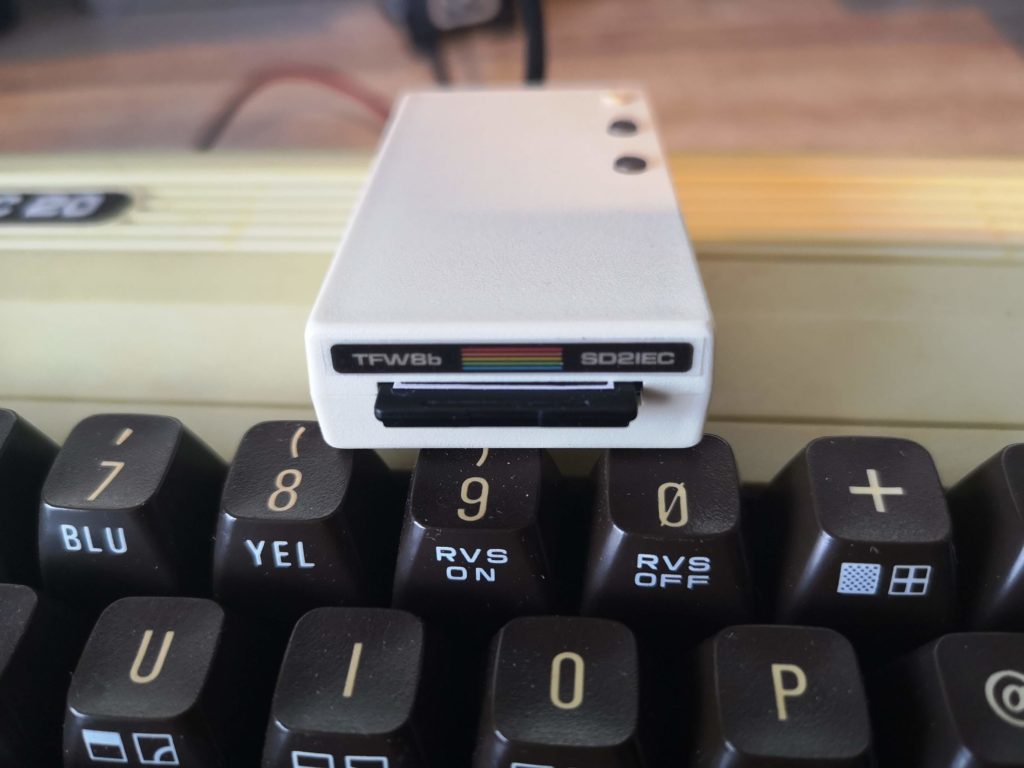
SD2IEC Device


Thankfully however, it does provide a quick way to access any content you may have via an SD2IEC device. Selecting this option from the menu will allow you to easily browse through the content of an SD card using a joystick. For games that won’t run on an unexpanded VIC20 you can allocate the correct amount of additional RAM needed before launching a game. I found this to work really well but I do need to spend a little time organising my game collection by how much RAM each needs.
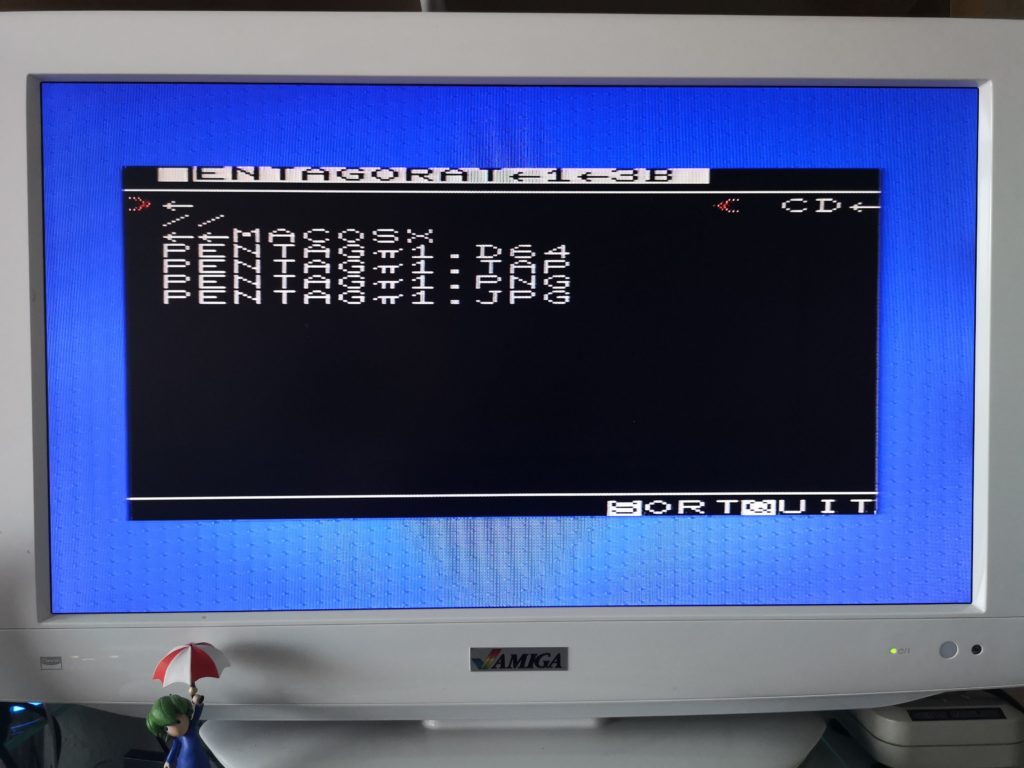
 

Penultimate+ Cartridge

Navigating the SD2IEC menus


Utilities

Under this section you will find a bunch of utilities that may be of interest to the more dedicated user.
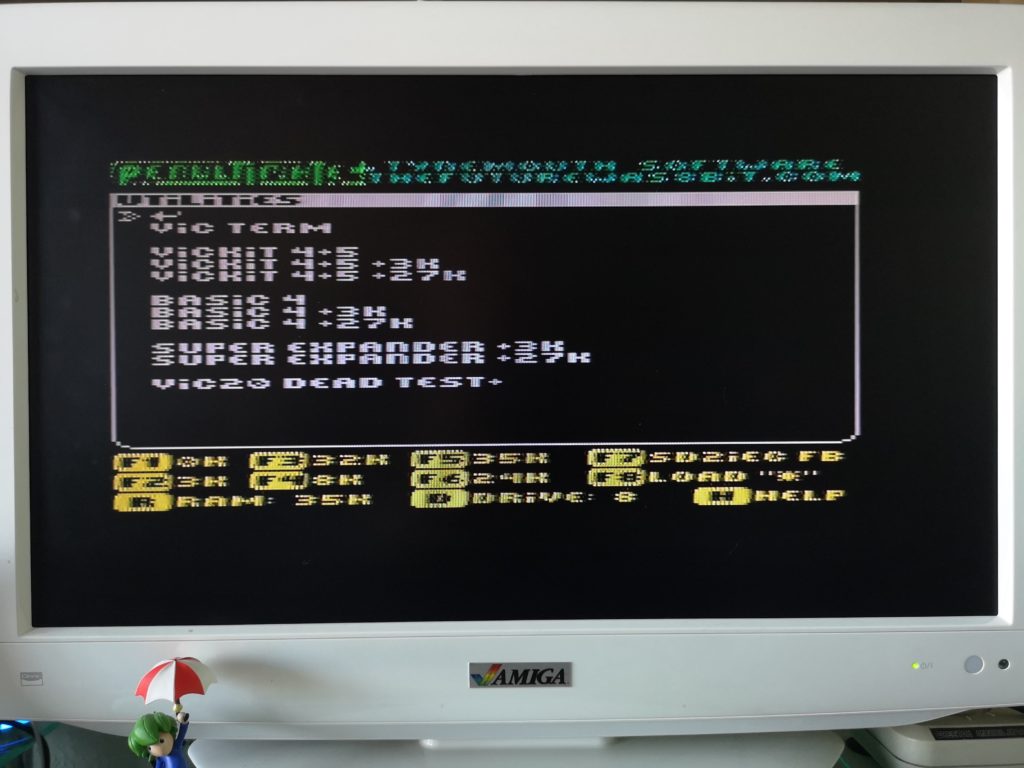


Penultimate+ Cartridge

Utilities


Vic Term

This is a terminal program but as I don’t have a suitable modem for my VIC20 I’ve been unable to try this.

Vickit

This is a high speed cassette loading system. If you load this up and re-save a program to cassette it will load back in a fraction of the time.

BASIC4

This adds a number of sorely lacking disk handling commands to the VIC20’s BASIC arsenal such as ‘DIRECTORY’ and ‘DLOAD’.

Super Expander

This is probably the most useful of the bunch and greatly increases the BASIC commands available for writing programs. It provides dedicated graphics and sound commands along with some extra RAM to create them. It also provides commands that enable you to easily read paddle and joystick inputs. If you were thinking of writing a VIC20 game then this would be a great cart to load up. The only downside to this is however is that anyone else that wanted to run your program would also need the Super Expander for it to work!

VIC20 Dead Test+

This could prove to be another really useful feature to have on board. When you load this up it will test various aspects of your VIC20’s RAM and ROM in an endless cycle. If your VIC20 ever starts behaving strangely then this would be a great tool to load up to get an idea what’s going wrong.

If your VIC20 won’t even boot up then you can hold down the reset button for 10 seconds after switching it on to go straight to the dead test function. This is where ‘Dead Test’ cart actually earns its name.

I would have liked an option to buy dongles to plug into the various ports enabling a more comprehensive test but it’s still a great tool to have at your disposal. Maybe a future version will offer this feature.
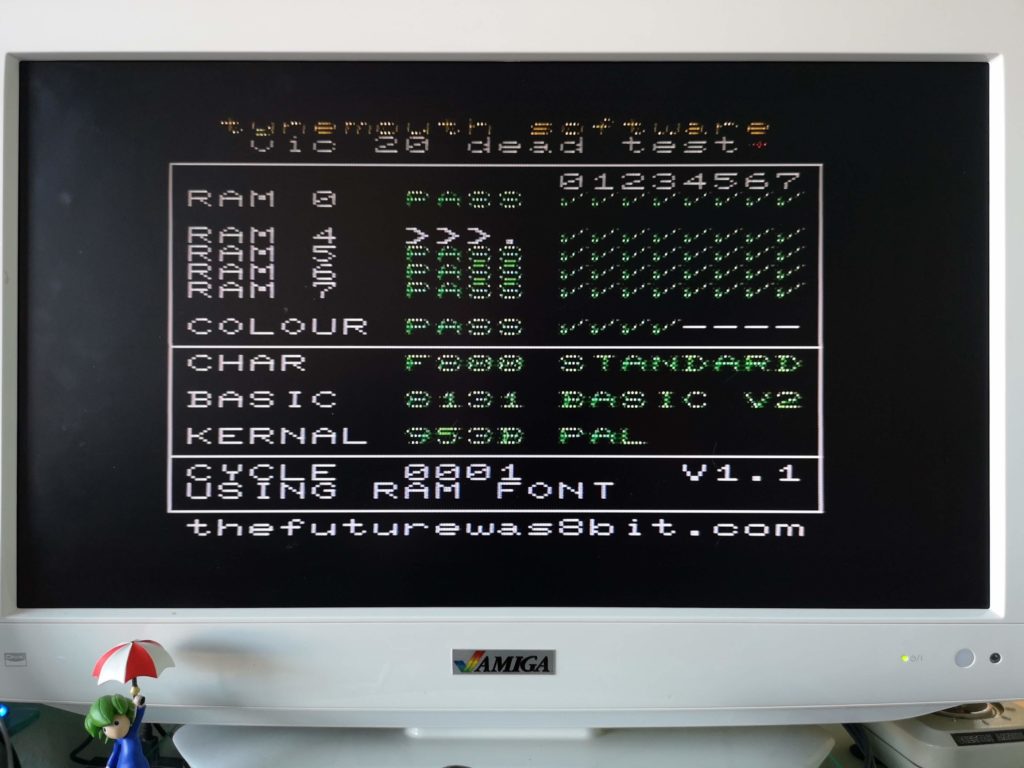
 

Penultimate+ Cartridge

‘Dead Test’

Verdict

If you have a VIC20 then you should seriously consider getting one of these cartridges. It successfully combines a huge number of cartridges, games and functions into a single plug and play cartridge driven by a simple and intuitive menu system.

Even if you’re like me and have an extensive collection of cartridges already I would still recommend getting this. Not only is it hugely convenient to have an entire library of titles and functions always at the ready but it saves the wear and tear of both your VIC20’s cartridge port and the individual edge connectors of your cartridges. If you add an SD2IEC reader then you can literally have everything a few stick waggles and a button press away.

Does it fulfil it’s mission to be the one and only cartridge you need? Almost, but I still have an Adman speech synthesiser cartridge that I enjoy messing about with from time to time. Maybe a future ‘Ultimate’ version will incorporate this too and then it really can remain plugged in forever!

Retrokomp – A brand new Retro Computer Magazine

Retrokomp Magazine

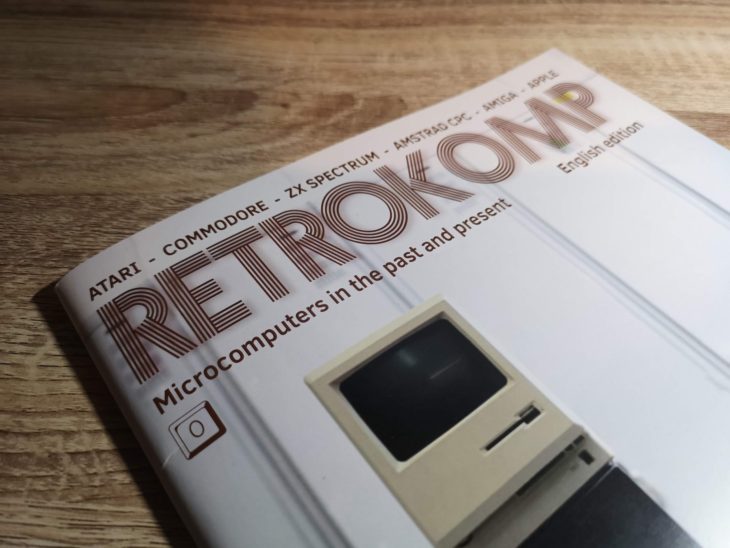
I originally spotted Retrokomp Magazine a few months ago. I thought it looked interesting but sadly it was only available in Polish at the time. That’s changed now though so I ordered myself a copy for €10 plus postage last week and it arrived today.


Retrokomp Magazine

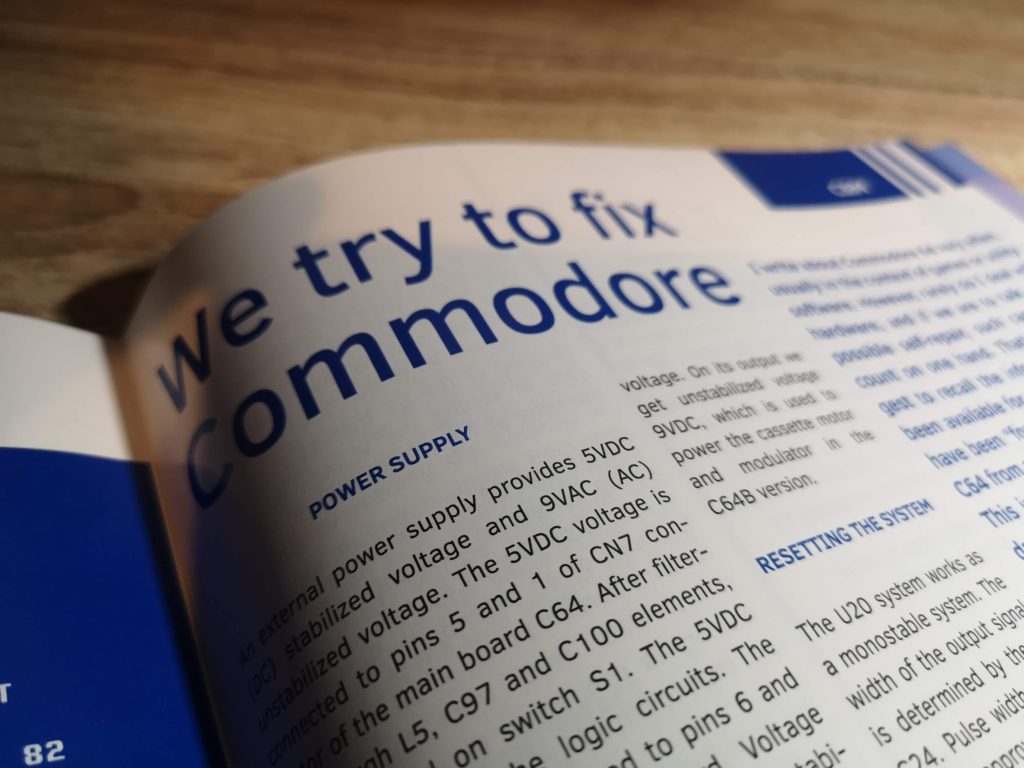
A technical article looking at diagnosing issues with the Commodore 64


So what exactly is it?

Retrokomp Magazine is a brand new retro computer magazine that focuses on 8-Bit and 16-Bit machines and is published by Bitronic.pl in Poland. Although it covers other makes and models of machine there is a lot of Commodore content covering everything from the VIC20 though to the Amiga. The other machines covered include Atari, ZX Spectrum, Amstrad CPC and the old Apple computers. It’s produced in full colour to a high standard on A4 glossy paper and there are 74 pages in total.


Retrokomp Magazine

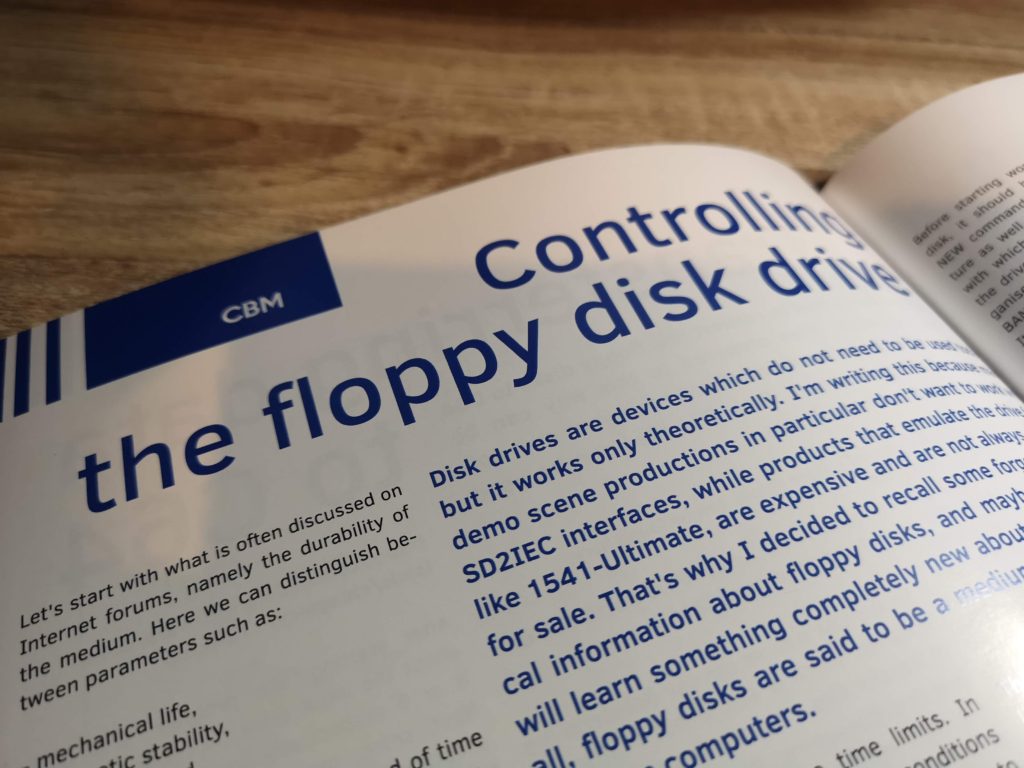
Detailed look at the long lost methods of interacting with 5.25″ floppies and how you can convert them to .D64’s


The first thing that struck me as I flicked through it is that it’s not like most of the other magazines in circulation right now. This is not a game-centric magazine, it’s very text heavy and it contains a lot of articles and information. This is a good thing in my opinion as there are plenty of other magazines that cover games already.

I’ve read a few of the articles in full and they’re well written, interesting and informative. They’re the sort of articles that I will either refer back to in the future or prompt me to start experimenting with a particular piece of kit or write a program. They remind me a little bit of the sort of articles you used to get in Amiga Shopper magazine (RIP).


Retrokomp Magazine

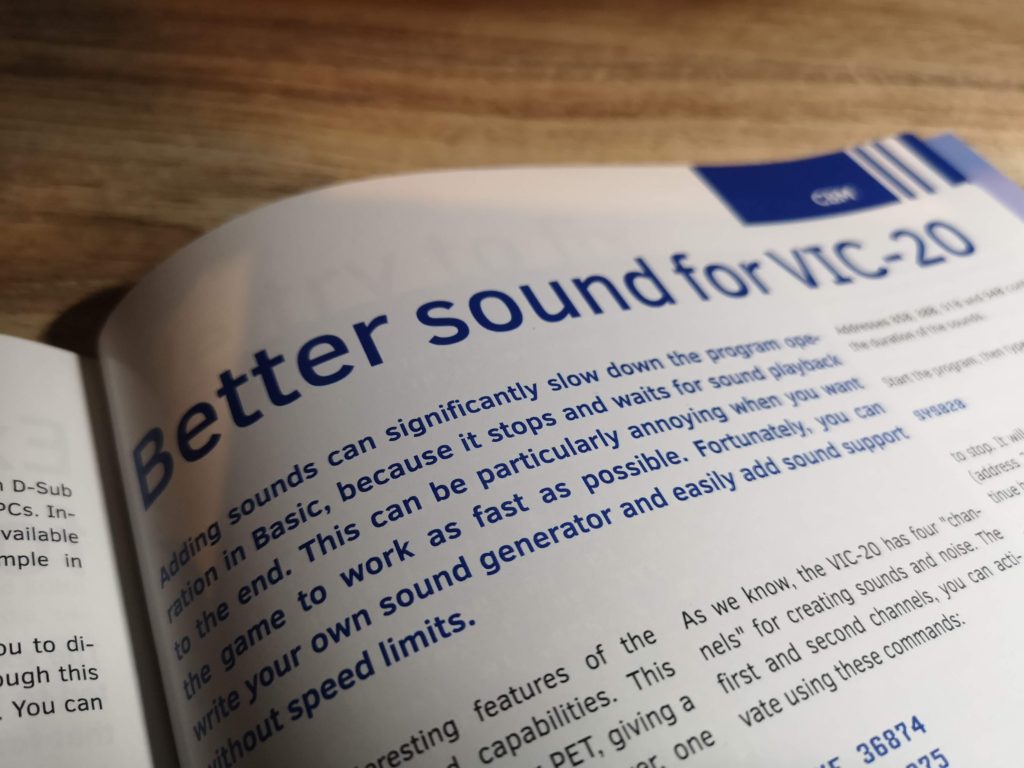
Making a VIC20 sound generator, complete with type-in listing


A quick run-down of the Commodore-centric articles in this issue:

  • Transferring data to the C64 (looks at converting real floppies into .D64 files)
  • Controlling the floppy disk drive (in depth look at floppy disks usage on the 64)
  • Expansion cards for the C16 – Plus/4 family (everything from adding more RAM to sound cards)
  • Diagnostic info for repairing Commodore 64’s
  • Better sound for the VIC20 (how to write your own sound generator – complete with listing to type in!!!)
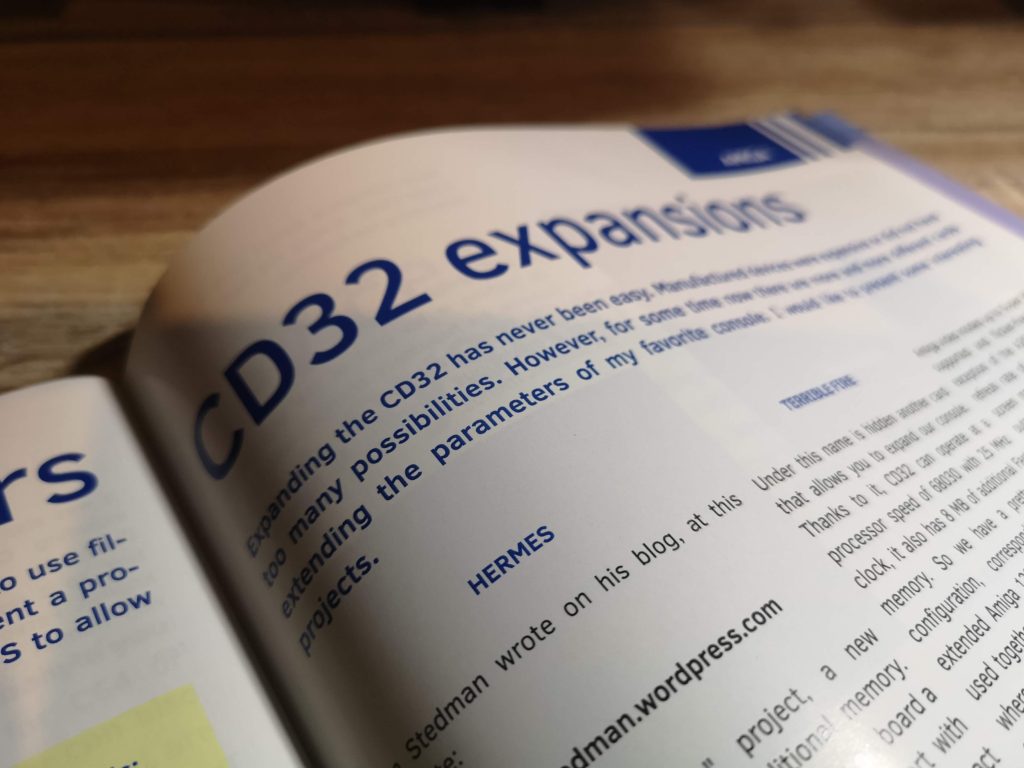
  • Hardware expansions for the CD32 (looks at several devices you can get to expand the capabilities of the machine)
  • Devices supported by handlers (a look at Amiga DOS handlers and what you can do with them)
  • Tandem IDE controller (a look at the Tandem IDE CD-ROM drive controller for the Amiga)


Retrokomp Magazine

CD32 Expansions


Verdict

Although I’ve not read all of the magazine yet, what I have read so far impressed me. Even the non Commodore articles look interesting, so if I ever pick up one of those other machines there’s plenty to come back for.

Basically if you are interested in using your old computers for anything other than simply playing games on then I’d definitely recommend giving this magazine a try. It’s clearly targeted at hobbyists and tinkerers like myself and has plenty to offer.  If, however, you are only interested in games then this probably isn’t the magazine for you.


Retrokomp Magazine

Happy days – a program listing to type in! This alone made the purchase worthwhile. (yes it’s deliberately blurred)


VIC20 Keyboard Repair

VIC-20

This is just a quick post about how I was able to repair the damaged keyboard on my recently unearthed Commodore VIC20.

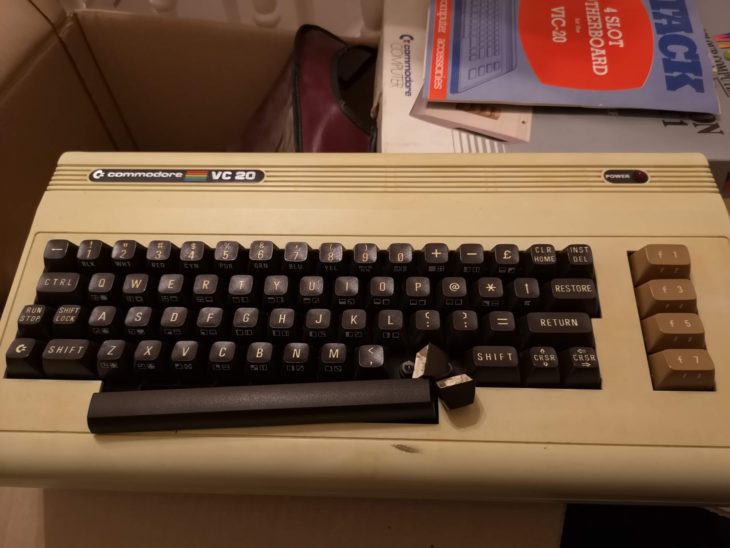
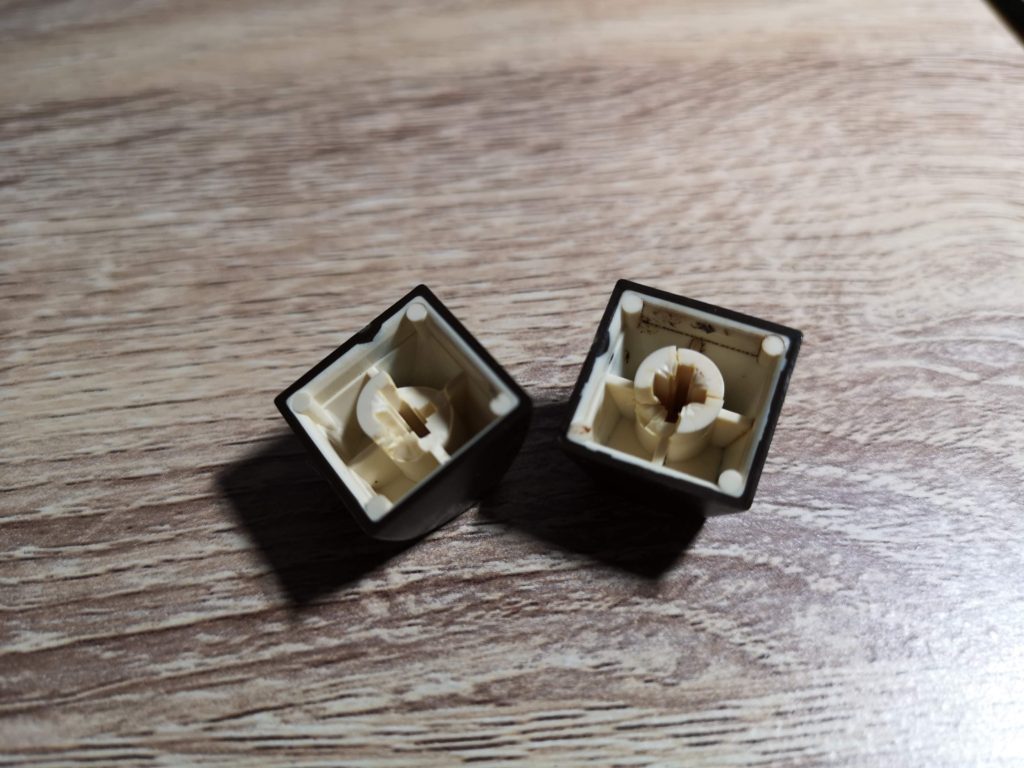
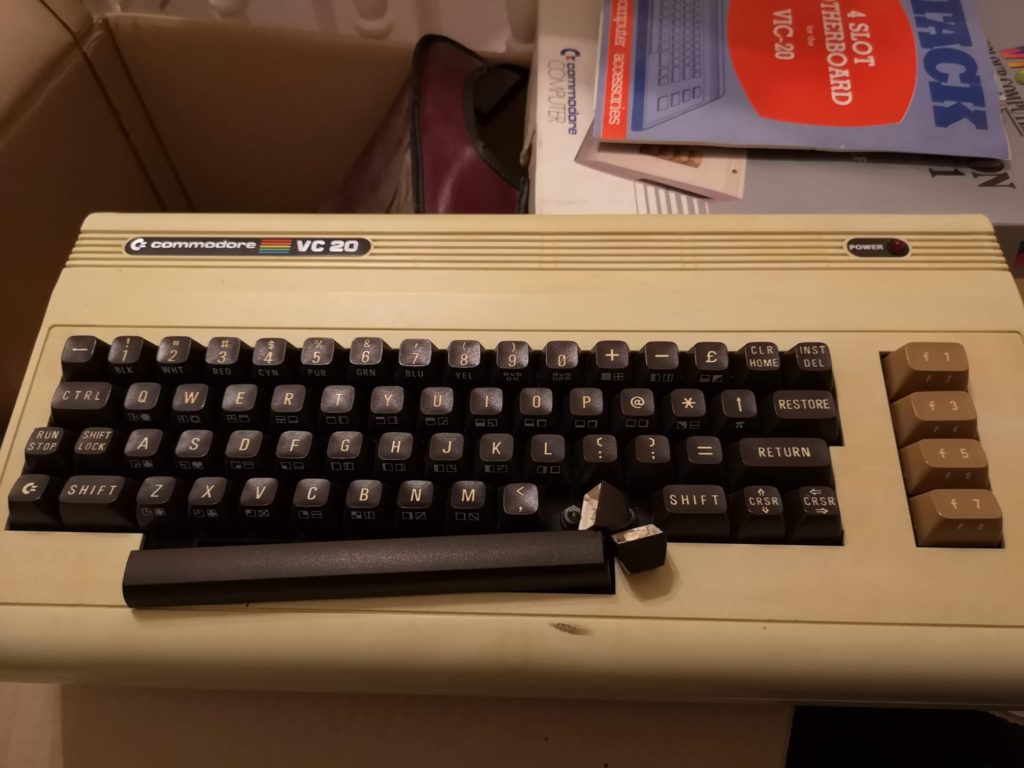
As I mentioned previously in my VIC20 Attic Find post, the decades of storage in my attic had taken its toll on the keyboard. The insides of the keys had become brittle and four of them had broken apart. As you can see from the following photo they were in a pretty bad shape. In this condition they just wobbled around on top of the plungers and fell straight off if the keyboard was turned upside down.


VIC20 Keyboard Repair

Broken and crumbling keys


The quick and easy solution would have been to stick some blue-tack in there but I doubt that would have been an effective bodge for long. Alternatively I could have glued them in place but then they would be permanently attached to the keyboard with no way of removing them for future cleaning or repairs. As my dad always used to say, if a job’s worth doing then it’s worth doing properly!

I did toy with the idea of replacing the whole keyboard with one from a donor machine off eBay. However that wasn’t cost effective and I really wanted to keep my VIC as original as possible.

I asked and searched around and eventually stumbled across retroleum.co.uk. They sell (amongst other spares) individual replacement Commodore 64 keys for £1 each. Luckily for me, the keyboard on my VIC20 is identical to the ones found on the original breadbin style C64’s. Not all revisions are so do check carefully before buying C64 keys if you want to fit them on a VIC20.


VIC20 Keyboard Repair

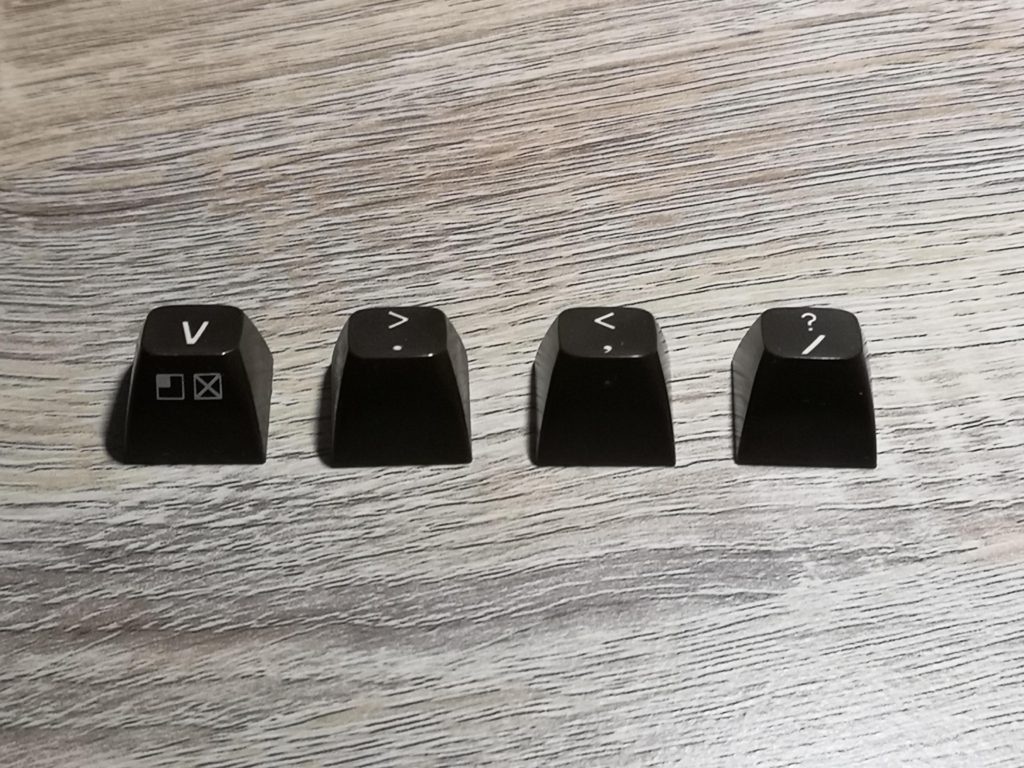
My new VIC20 keys!


Particularly useful was the fact that they sell a wide variety of keys, not just from different models of C64’s, but with different levels of yellowing too! This meant I was able to choose some that would blend in perfectly with the rest of my keyboard. In the end the keys I ordered were described as ‘Breadbin C64 – Keyboard Type 2, Grade 1.5’. A couple of days after ordering them they arrived in a neat little cardboard box.


VIC20 Keyboard Repair

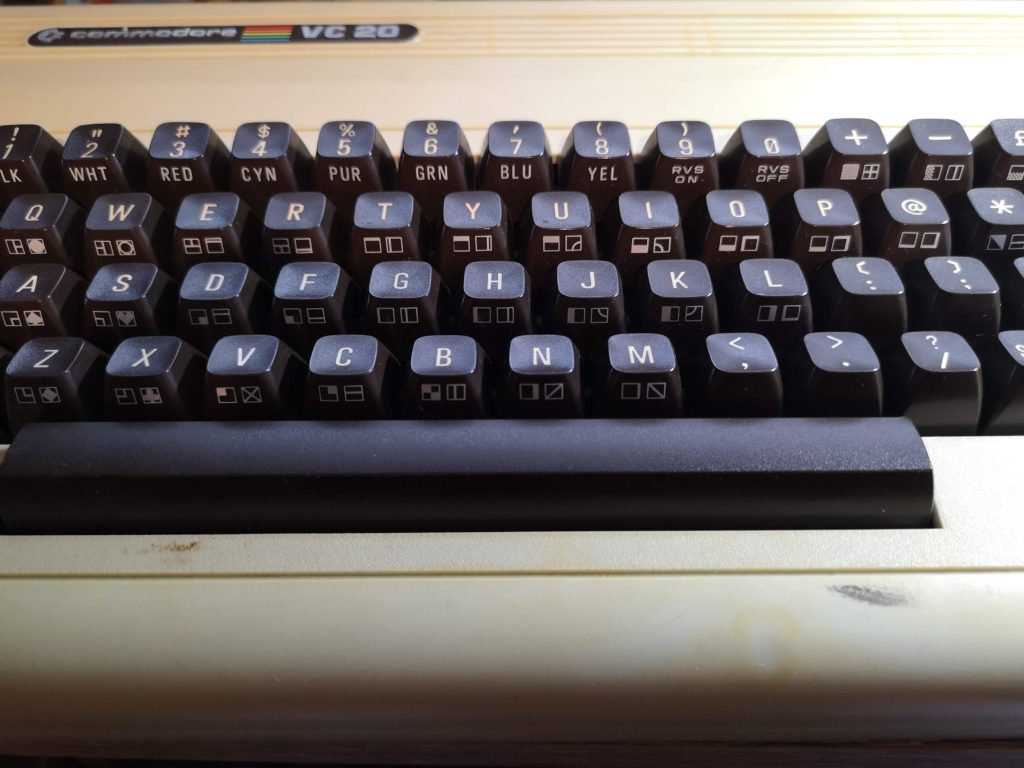
New keys fitted – perfect match!


Fitting the new keys only took a few seconds and I was really pleased to see that they turned out to be a perfect match for my keyboard. My VIC20 is certainly looking a lot happier and I can actually use the keyboard now too.

Now that the keyboard is sorted I still need to look into sorting a few other things out. Next job will be to pop a few heat-sinks onto some of the more critical chips and maybe retrobrite it, if I’m feeling brave that is, (my last attempt was a disaster).

Hibernated 1 – A New Text Adventure

Hibernated 1

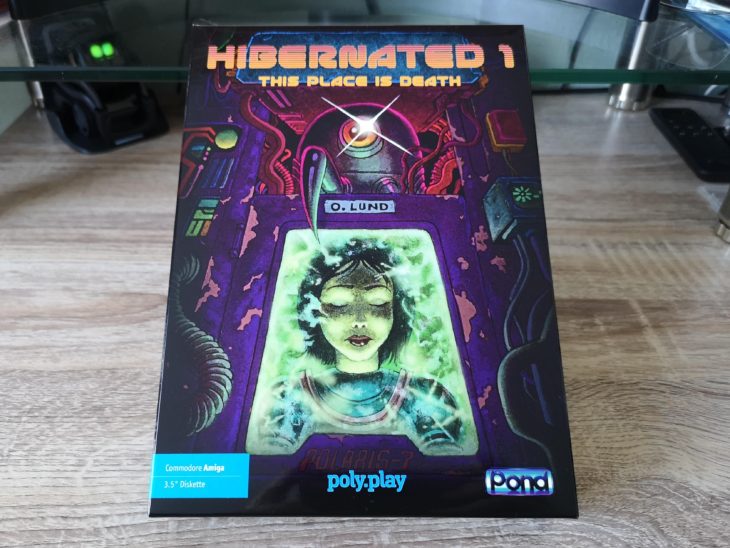
Been waiting for this particular game to arrive for what feels like an eternity after having pre-ordered it last year. As of today that wait is finally over! Hibernated 1 – This Place is Death is now on my desk waiting to be played! 🙂
This isn’t a review as I’ve not had time to play the game yet, just a look at the physical edition and what’s inside it. Hopefully once I’ve completed it (always the optimist) I’ll write one.!


Hibernated 1

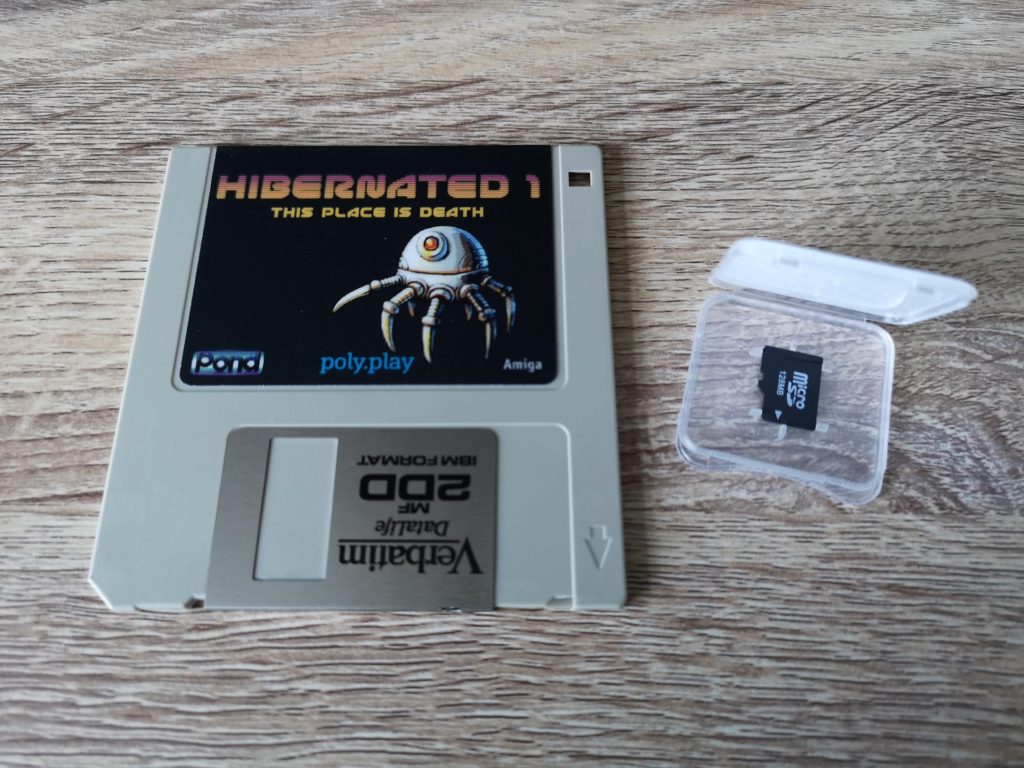
Amiga 3.5″ Disk & MicroSD Card


Which format?

I deliberated over whether to get the game on the Commodore 64 or Amiga for a while before ordering. In the end the Amiga won out due to it being able to display a greater number of characters per screen row. Given this is a text adventure I thought that was the most important consideration. However the beauty of this release is that although I chose the Amiga, this only affects the physical media the game ships with. On the MicroSD card are digital versions of ALL of the supported formats, including the Commodore 64. The other formats on the card are; Atari ST, Amstrad CPC, Spectrum and IBM PC along with some bonus stuff like concept art.

Eight Feet Under

An extra bonus is that a digital copy of the spin-off game, ‘Eight Feet Under’ is included – you can download it from itch.io and again you have the same choice of formats as above. You can also choose to get Hibernated 1 digitally if you like, it’s available here and you can name your own price.


Hibernated 1

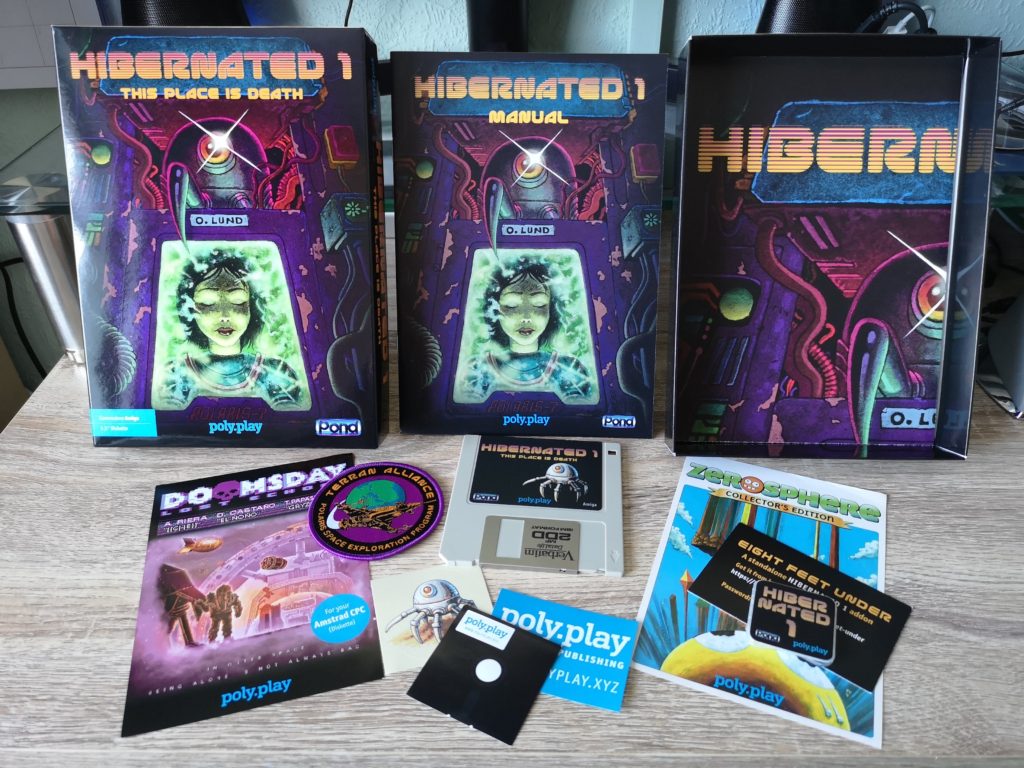
A look at what’s inside the box


Box Contents

Inside the box there are plenty of goodies to enjoy, here’s a quick rundown:


  • A5 full colour game manual
  • A3 full colour poster
  • Game on physical disk
  • Digital version of the game on MicroSD card (in a snazzy Hibernated case)
  • Password to download ‘Eight Feet Under’ from itch.io
  • Terran Alliance round cloth patch
  • Stickers
  • Adverts for some other poly.play games


Couple of screenshots

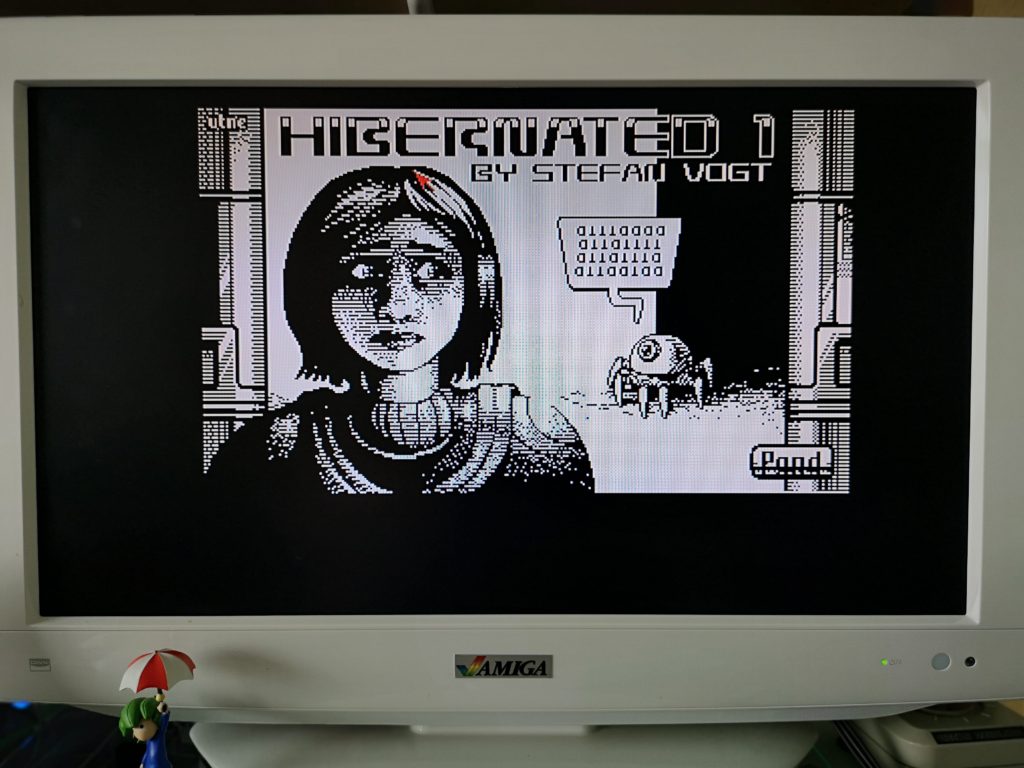
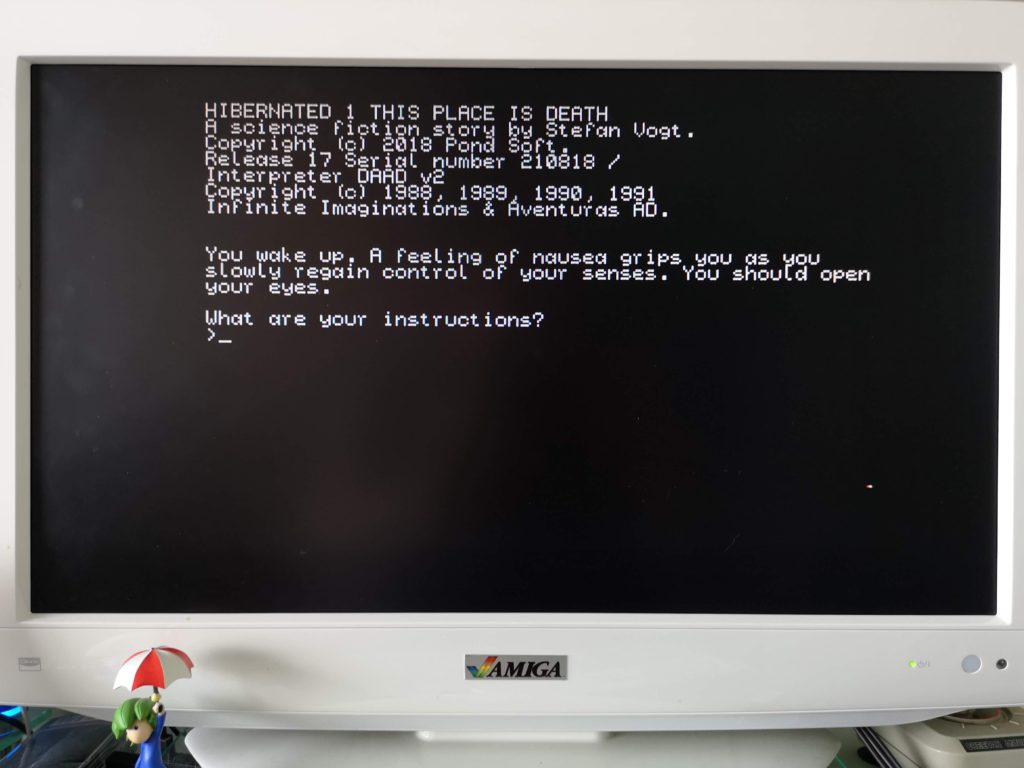
Here’a quick look at the loading screen and the opening screen to the game.

Open eyes… 😉


Hibernated 1

Loading Screen


Hibernated 1

Open eyes…….


Replacing Grotty Game Library Cases

Replacing Game Library Cases

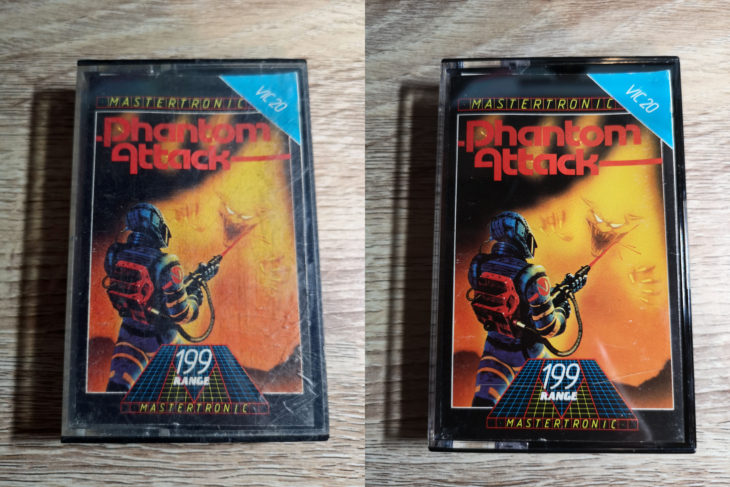
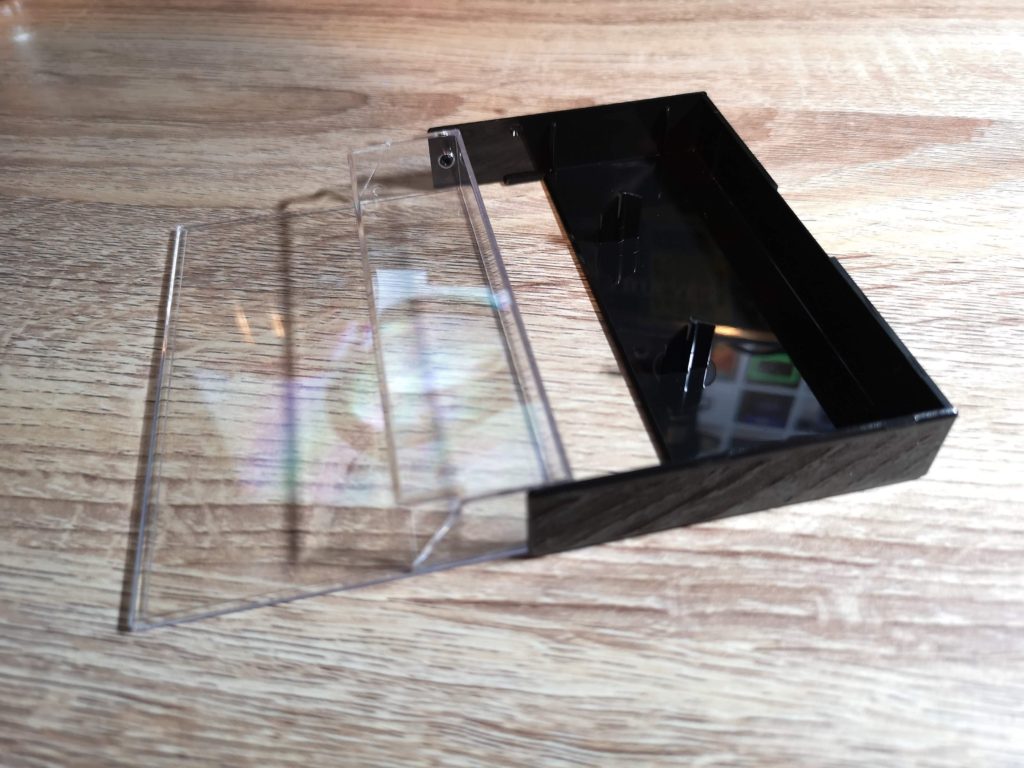
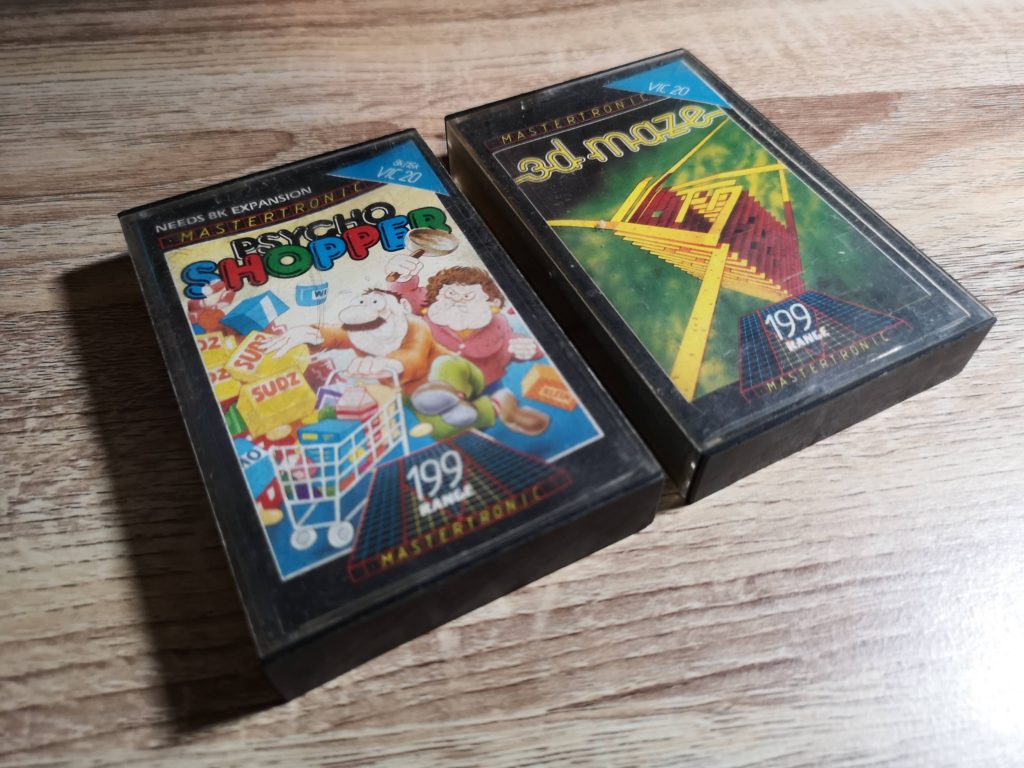
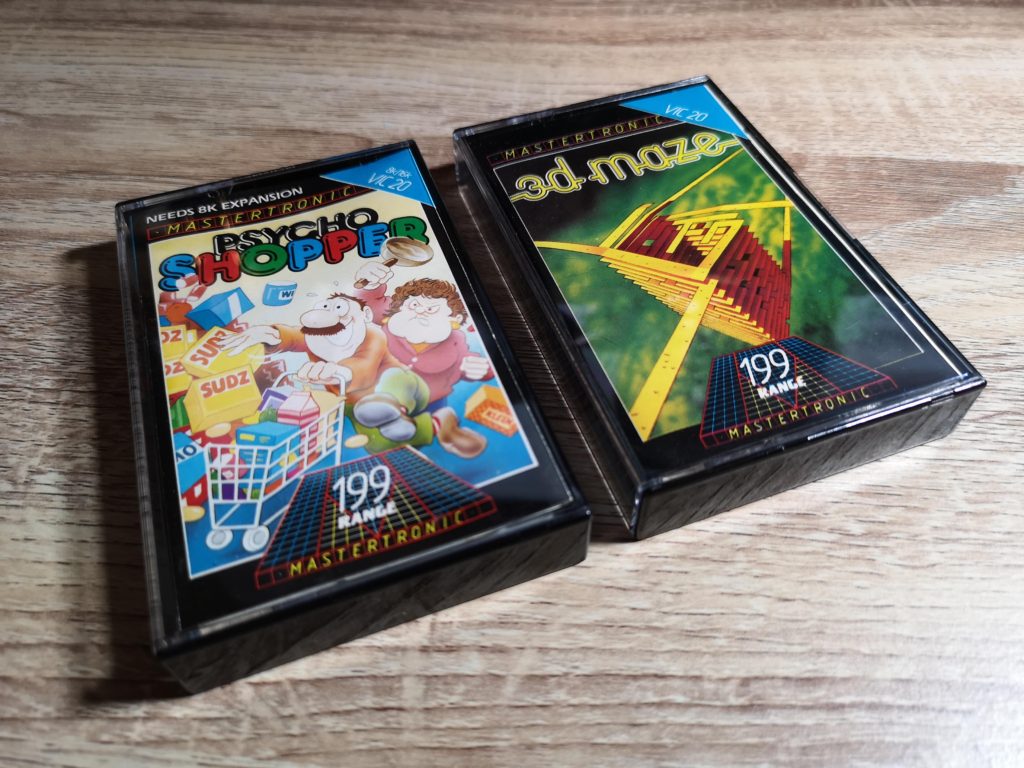
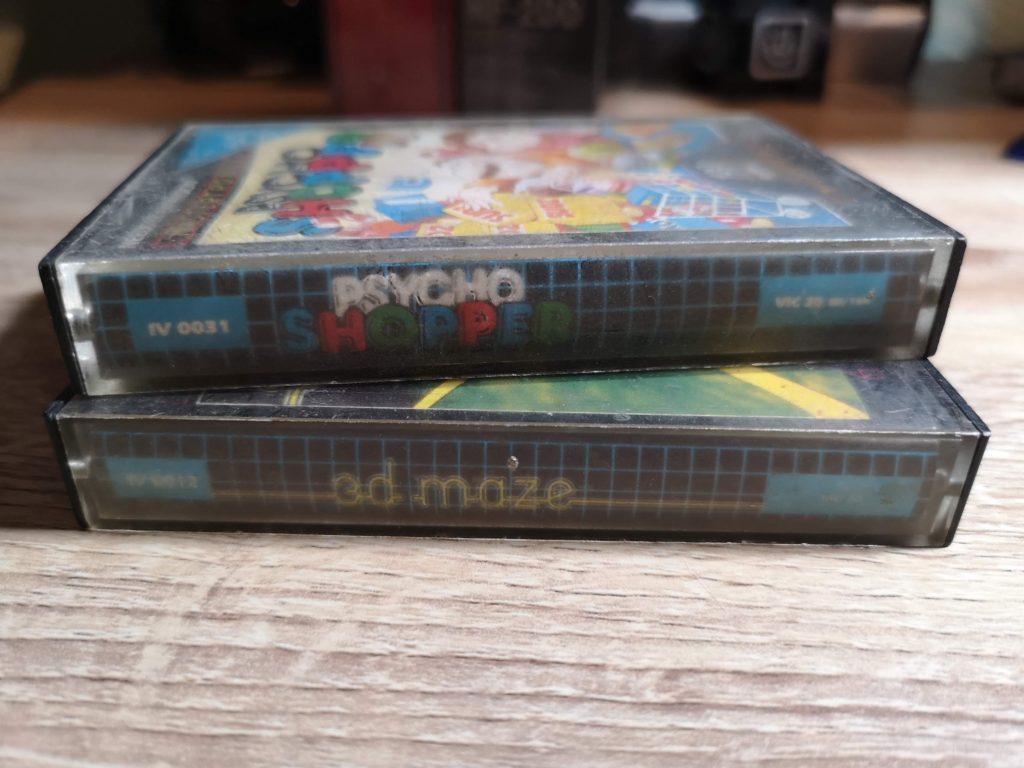
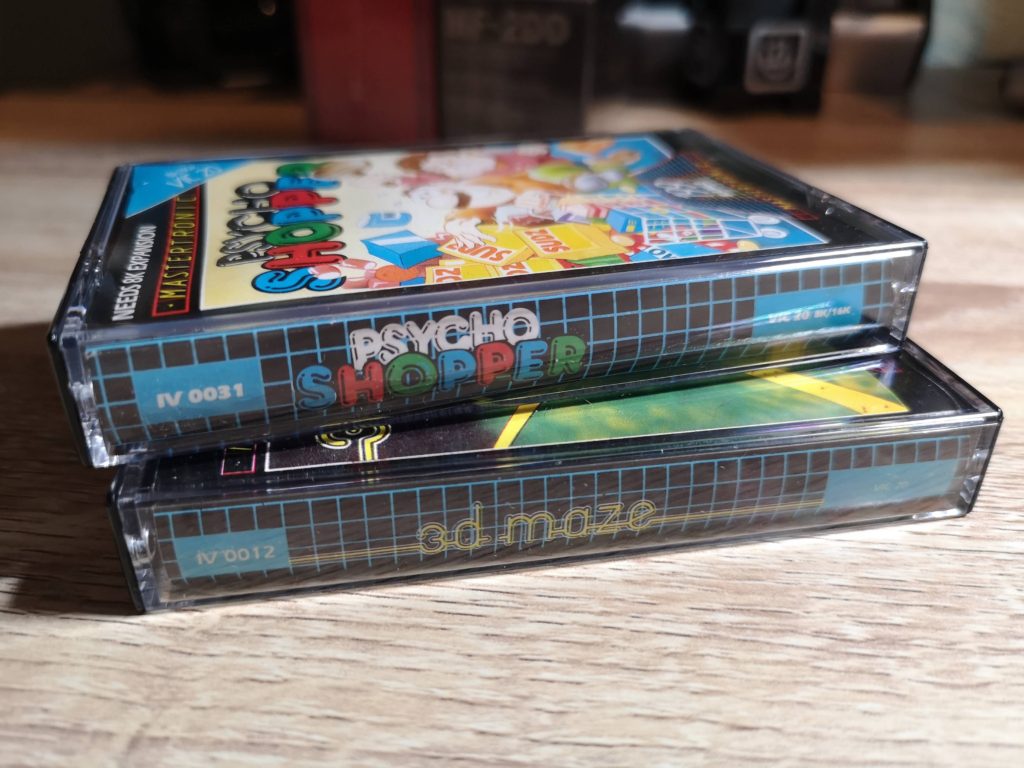
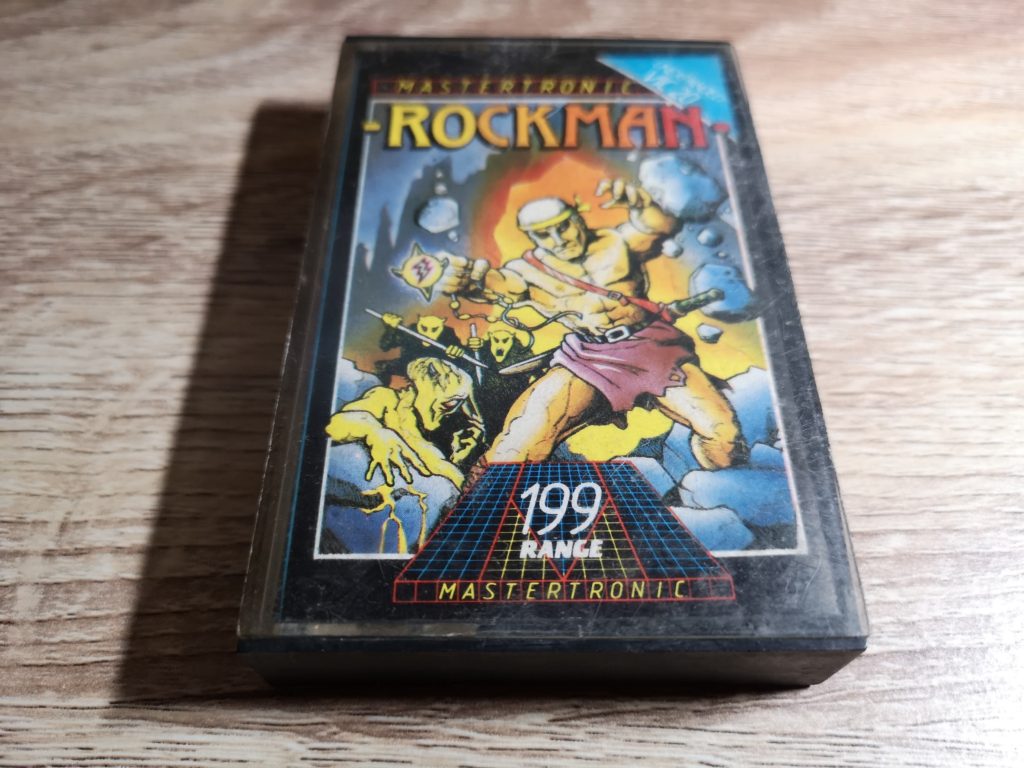
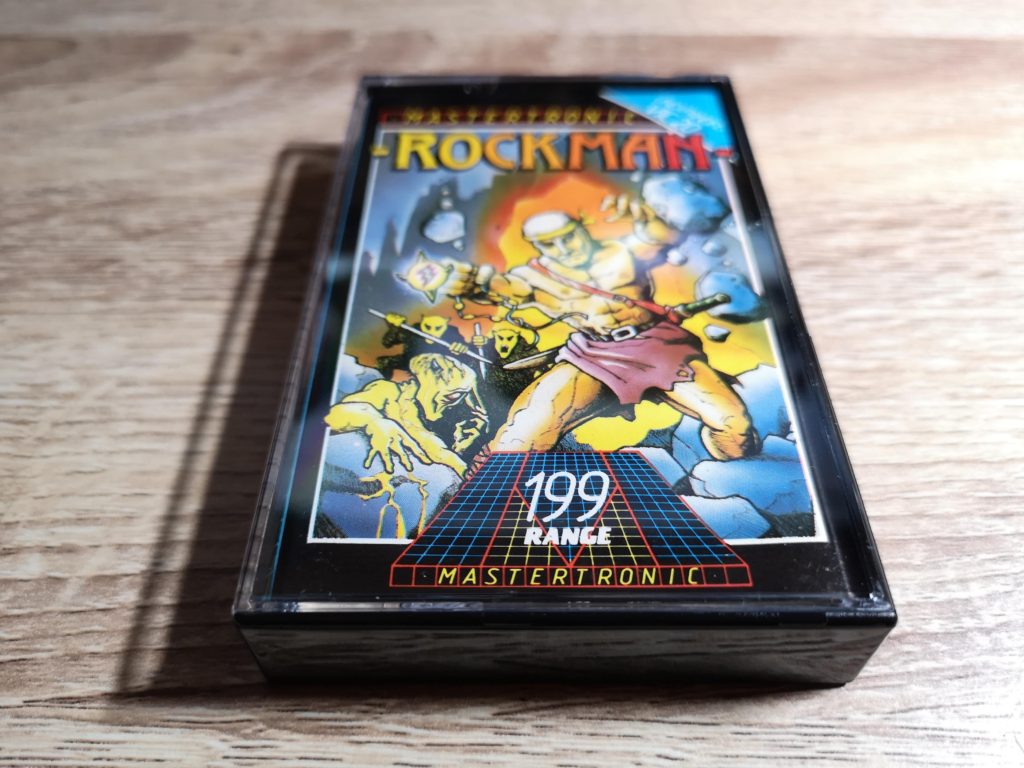
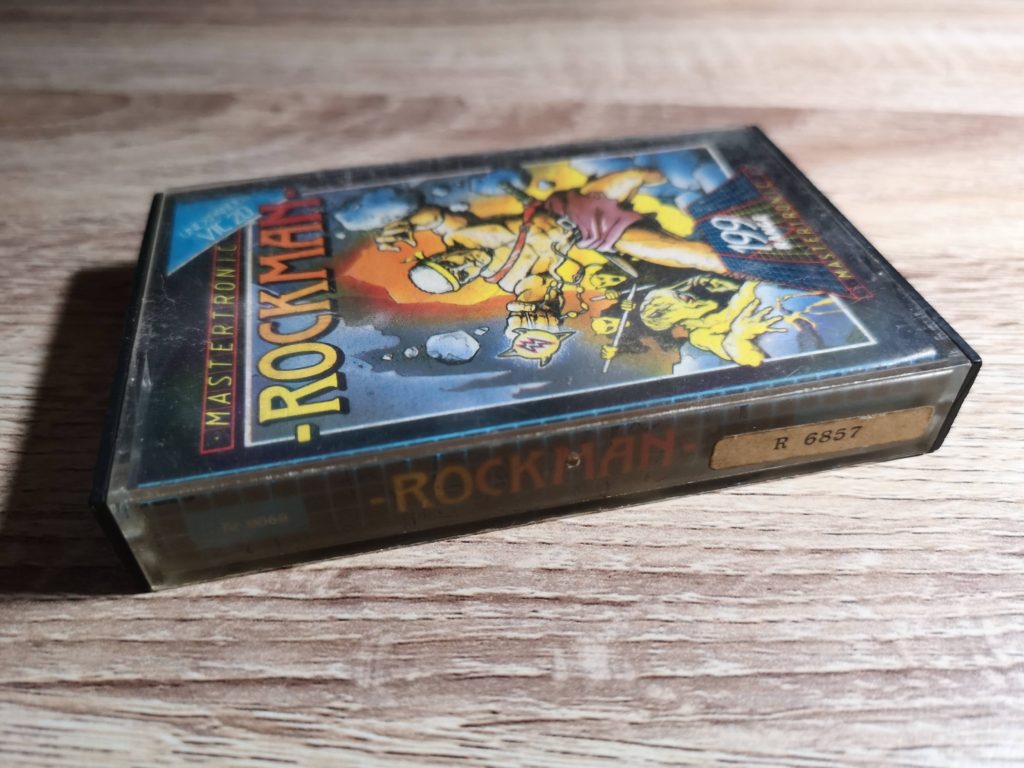
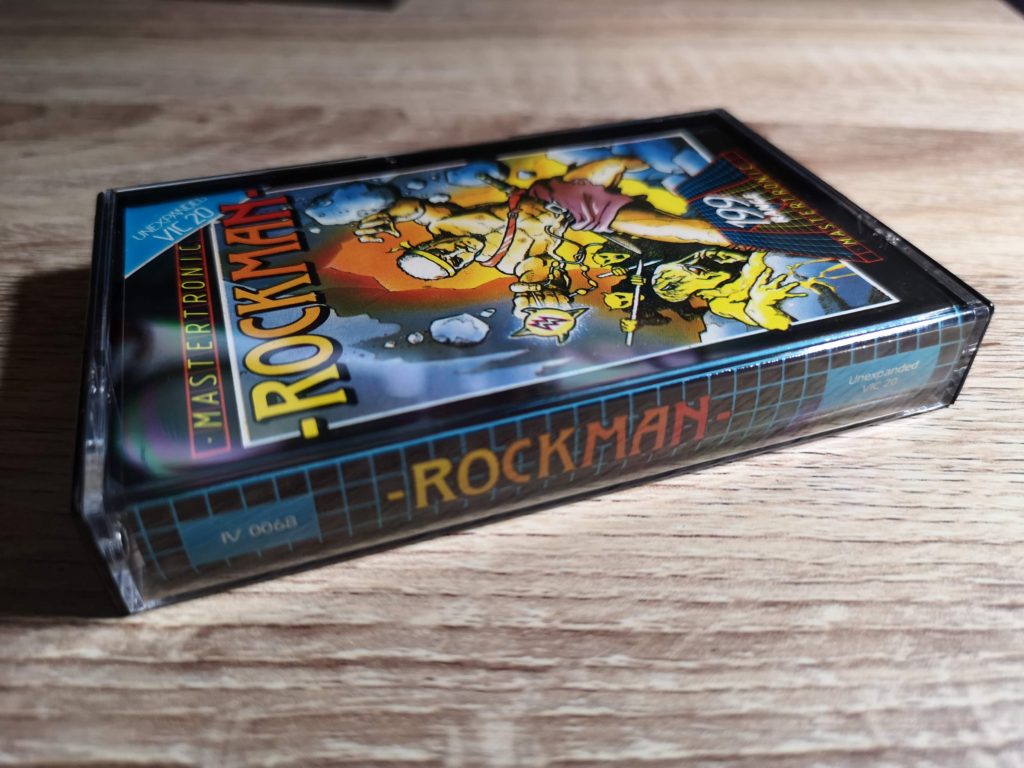
Replacing your game library cases is a very quick and easy method of rejuvenating some of your old cassette games. If yours are anything like some of mine then you may have several scratched up, chipped, broken or yellowed cases skulking around in your collection. The good news is that there are still companies out there supplying replacement cassette library cases. The company I use, based in the UK, is called Tapeline but there are probably others too.

The ones I’m using here are just standard black library cases costing around 26p each at the time of writing. You can get a variety of different types and colours too, even double and triple cases should you need them.


Replacing Game Library Cases

Standard Black Library Case


Once the cases arrive it’s simply a matter of removing the cassette tape and paper ‘J’ card inlay from the old case and popping it inside a nice shiny new one. Here’s a few before and after photos to show the difference they can make. I’m sure you’ll agree that after replacing the game library cases the games look infinitely better, almost like new!


Replacing Game Library Cases

Before


Replacing Game Library Cases

After


Replacing Game Library Cases

Before


Replacing Game Library Cases

After


Replacing Game Library Cases

Before


Replacing Game Library Cases

After


Replacing Game Library Cases

Before


Replacing Game Library Cases

After

Mono Review

Mono

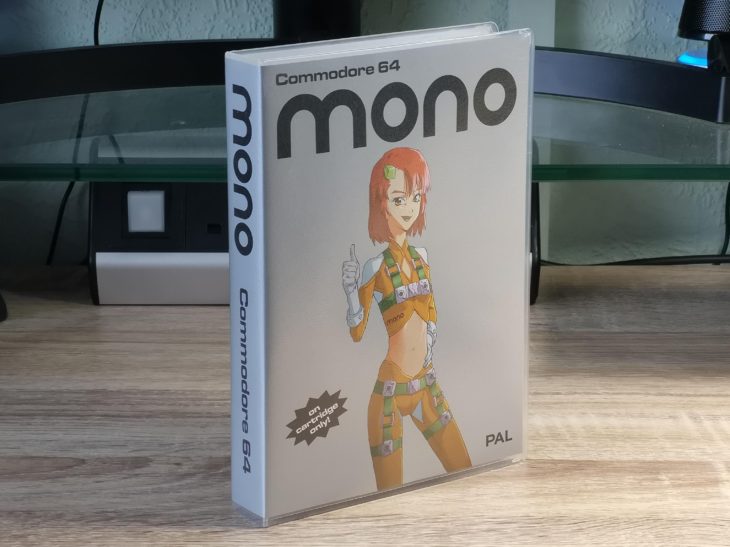
Mono is a brand new PAL game for the Commodore 64 created by a couple of guys in Switzerland, Clay Spoerri and Raphael Graf. It’s only available in cartridge format and costs €35 plus postage from their website. I bought this pretty much blind a few months ago as there was little information about it online. Sadly my first copy was faulty so had to be replaced (thanks Raphael) but the new one works perfectly so I thought I’d write a little review in case anyone else is interested in the game.


Contents


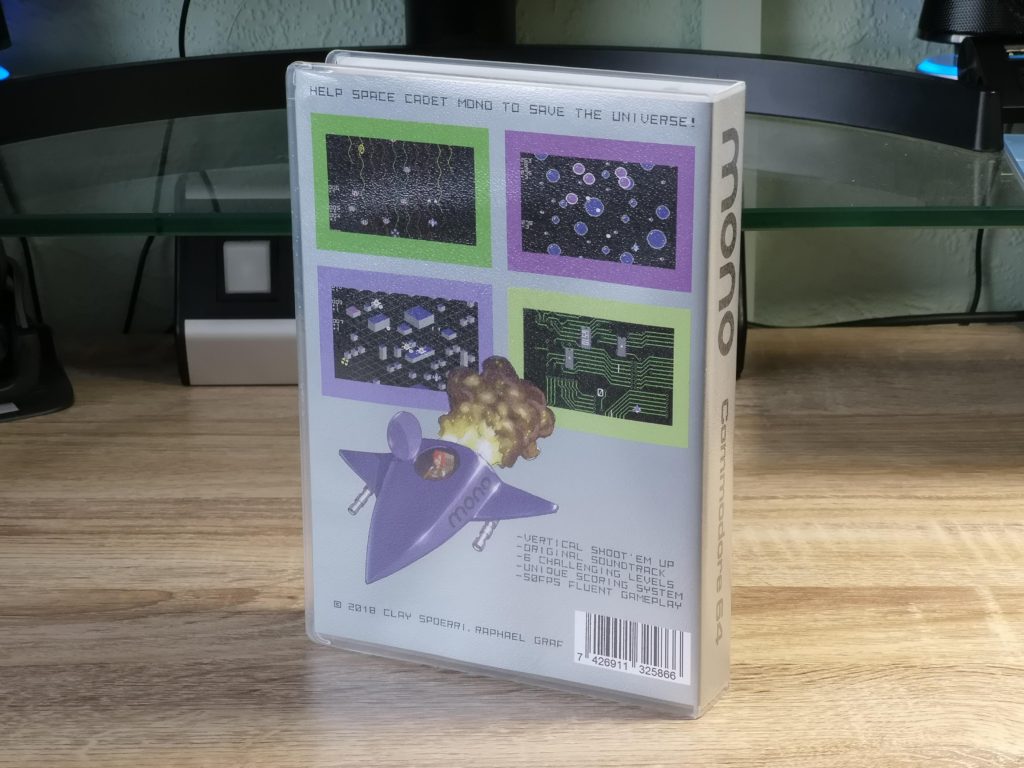
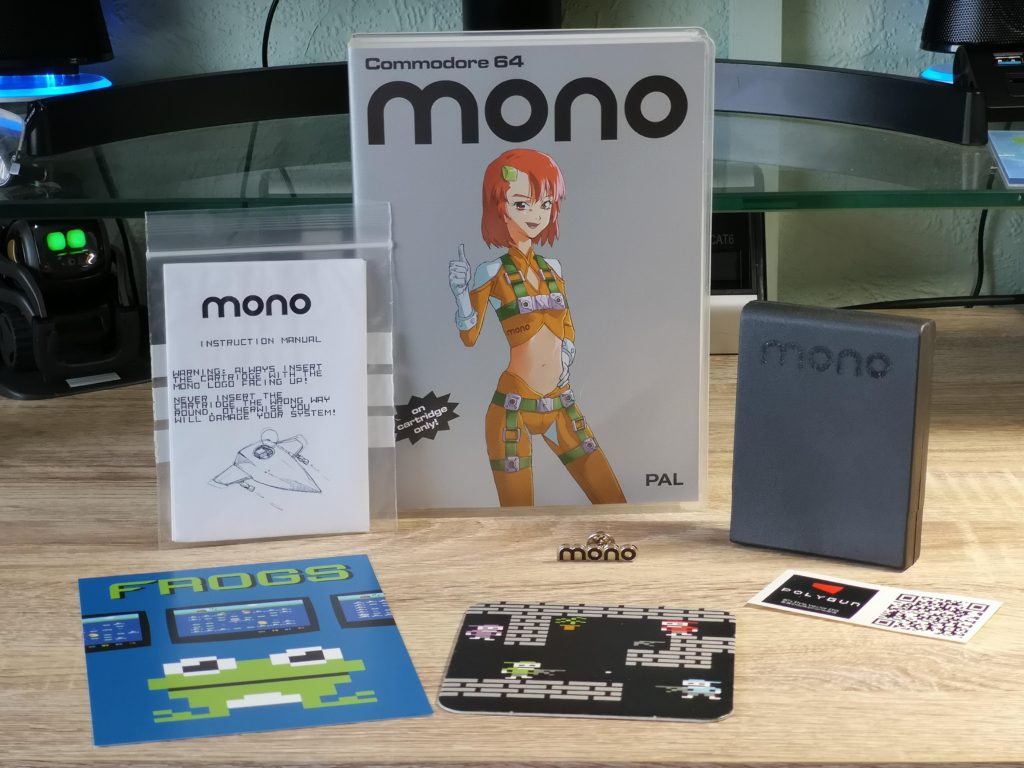
For your money you get a nicely designed plastic case with a cool manga inspired front cover featuring the pilot of your ship with some game screenshots and ship artwork on the back.


Mono

Mono Back Cover


Inside the case you will find a sleek black cartridge with the title of the game etched onto it. The cartridge fits into the C64’s expansion port easily, unlike some other recent cartridges that required shoehorning in! You also get an instruction sheet, mono pin badge, a sticker, postcard and a beer mat/coaster. It should be noted that the latter three items all relate to other games, only the pin badge relates to mono. It’s only a minor complaint but I would have loved to see a sticker in the box of the girl or your ship instead. Also the cartridge is loose inside the case – a foam insert would have stopped it sliding around inside.


Mono

Mono Game Contents


Gameplay


Mono is a vertically scrolling shoot ’em up that features a couple of fairly unique and pretty important gameplay elements that set it apart from similar games. Firstly your ship wraps around the edges of the screen. Move off the left side of the screen and you’ll reappear over on the right. Move off the top or bottom of the screen and you’ll reappear at the opposite end. Once you get used to this it’s actually a great gameplay enhancement and one that becomes essential with some of the bosses you’ll encounter later in the game. However it does take a few minutes to get used to and led to me dying on my first play-though. I kept accidentally moving off the bottom of the screen straight into the aliens spawning at the top!

The second unique feature is that your score and your ships life are one and the same. As you play you’ll notice a series of positive and negative numbers scrolling down the side of the screen. Kill an alien and a positive number will appear. Take a hit and a negative will appear instead. So long as you do more killing than getting hit you’ll be fine. However take too many hits and your score dwindles to zero leading to a ‘game over’.

Like many shoot ’em ups there are weapon power-ups to be had, but again these are linked to your score. Score well and power-ups will appear on screen for you to collect. However take some hits and you will lose your last power-up until you are back down to your standard issue guns. As soon as you start building that score back up the power-ups will start flowing again.


Mono

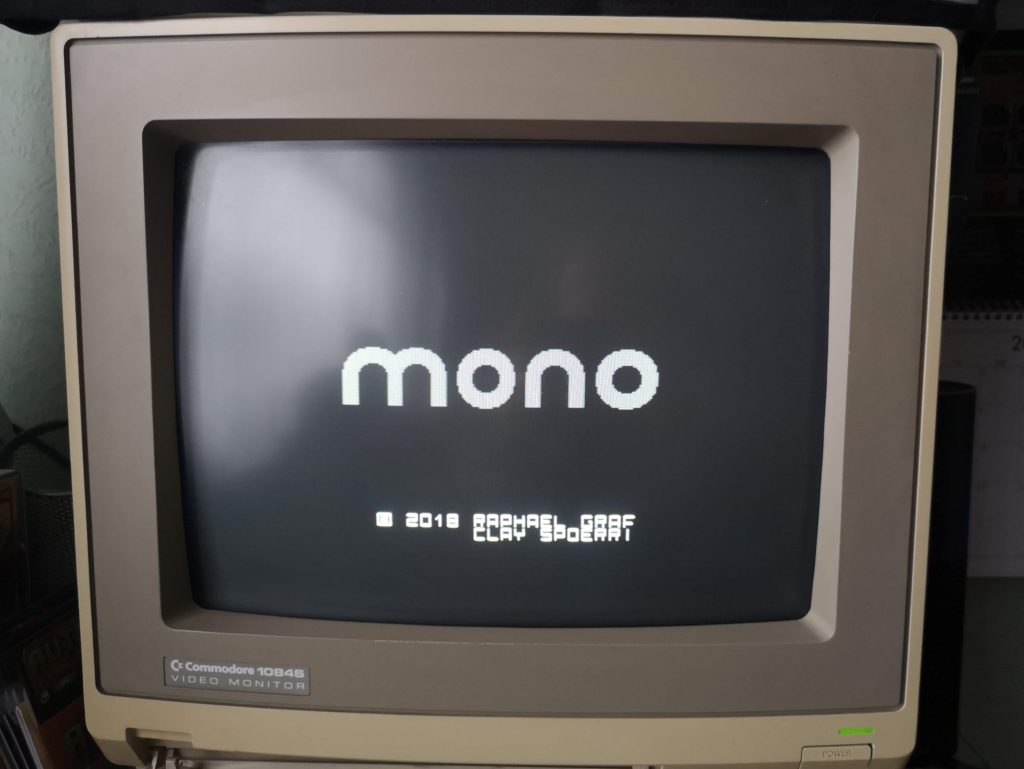
Title Screen


Level Design


There are six levels in the game, each one themed differently with it’s own colour scheme, music, background, enemies and boss. The backdrops scroll down the screen smoothly but are pretty simply affairs, based around various shapes or patterns – bubbles, lines, pyramids, blocks and even a circuit board (populated by 6510 chips!).

The alien designs are also pretty simple but they’re nice and clear and each feature unique move and firing patterns. Some of the bullets fired home in on your position too which makes for some tricky situations if you don’t take the enemies out quickly enough. There is some overlap of enemy use from one level to the next but the game adds new enemies to each new level to mix things up.

Every level culminates in a boss fight where a group of bullet sponge enemies appear for you to take down before you can progress onto the next level. I found it was during these segments of the game that the screen wrapping feature came into its own, allowing you to stay literally one step ahead of the enemy, out of their line of fire, whilst chipping away at their health.

This slideshow requires JavaScript.


Game Length and Difficulty


You can play Mono using either the keyboard or a standard joystick which is the option I chose to go with. My thumb also appreciated the fact that your ship auto-fires. No need get cramp stabbing away at that fire button like a madman!

One thing that I have to mention here relates to the game difficulty and length. Those 6 levels are quite short, taking maybe 2-3 minutes to complete each. They’re also pretty easy to get through too as the score-life mechanic is very forgiving. To put this into perspective I was able to beat the game on my second play-though in around 15 minutes and that includes brief interludes where I was taking photos for this review!

I’m guessing that is a feature rather than an issue though. For me it seems the game is built around replaying it and trying to improve on that high score as you learn the move sets of the enemies and best ways to take them out without getting hit.

Sound


Mono has some great music playing throughout the game and it changes slightly for each new level. There are no sound effects at all in the game because all the SID’s voices are being utilised to produce the soundtrack. However this is no bad thing, at least to my ears as I really enjoyed the music.


Mono

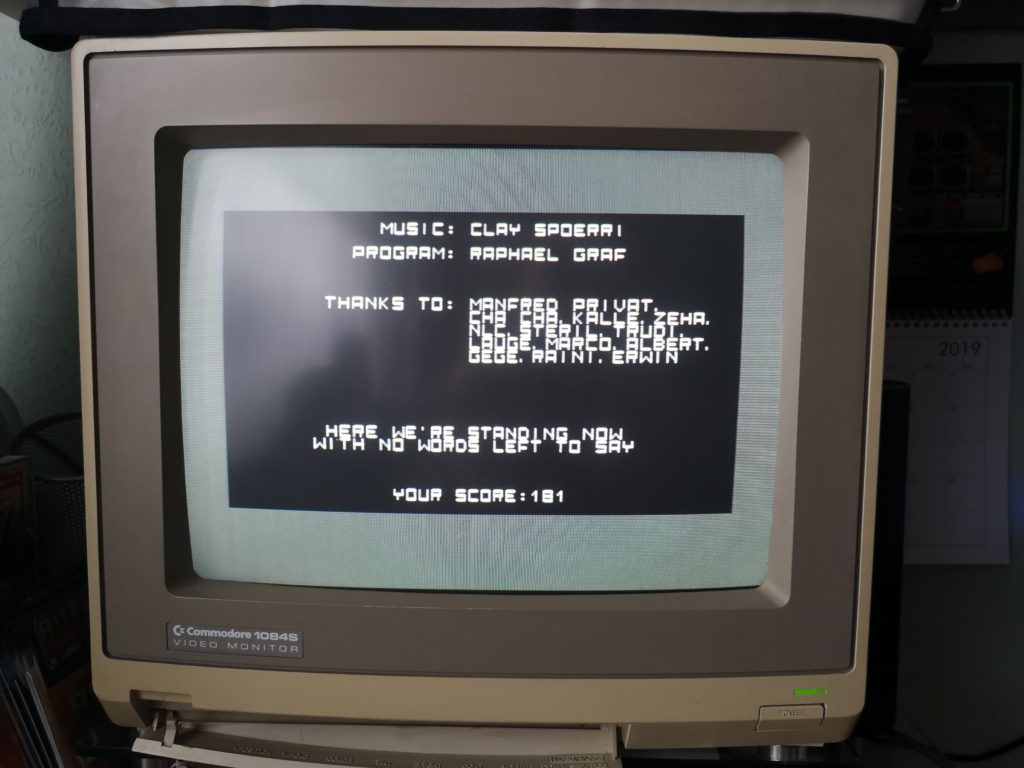
My High Score: 181


Verdict


I realise that for some, €35 for a game that can be bested in 15 minutes may not be perceived as value for money. If so you’ll need to way up the pros and cons I’ve mentioned already in order to decide if this game is for you. Sadly there is no digital purchase available so it’s the Cartridge version or nothing I’m afraid.

Speaking for myself I’ve really enjoyed my time playing Mono, although the graphics are a little simplistic the gameplay is tight and rewarding and the music is terrific. The physical packaging is fantastic and looks great on my shelf. I’ll definitely be replaying it often to improve my score and it’s the perfect game to play if you’re limited on time… you know from the outset that a game will never last more than 15 minutes!

I think the price is quite fair too and on a par with the majority of other cartridge releases so all things considered it gets a recommended from me. 🙂

Six Classic VIC20 Games Added & Remembered

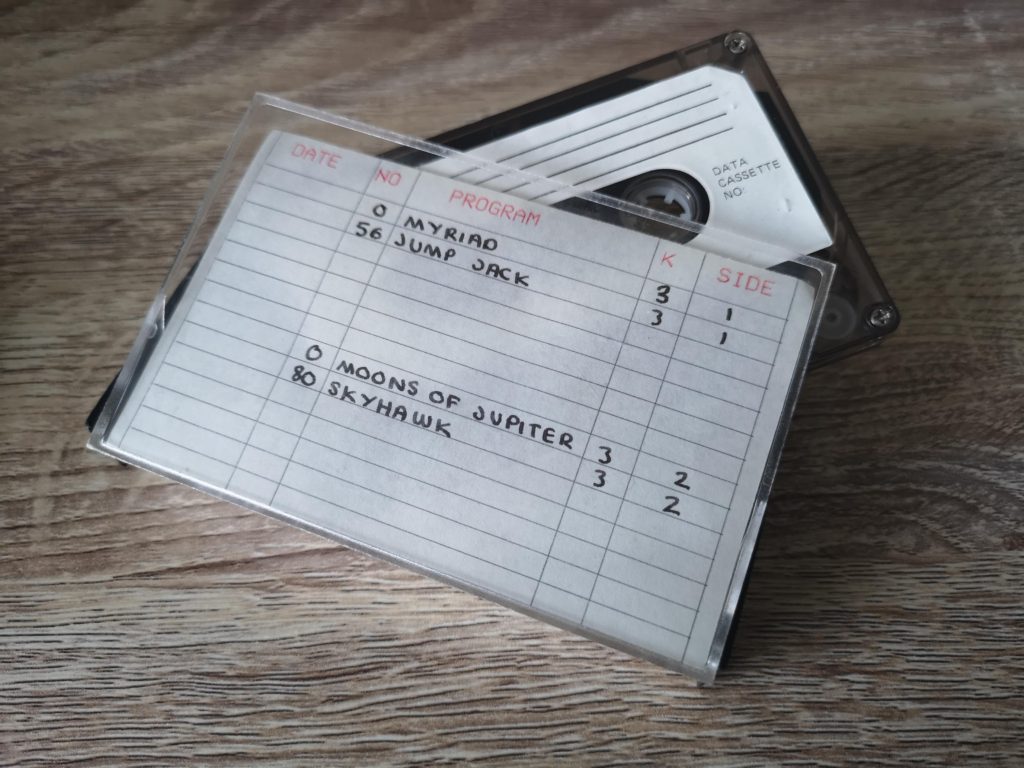
I received a nice package in the post this week containing half a dozen classic games for the VIC20. Four of these are actually re-acquisitions after I foolishly sold them. In my defence, at the time I believed I no longer still had my VIC20 so had little use for them. The other two (Skyhawk & Myriad) I only ever had copies copies of. I wanted to have the original games in my collection.

The Six Game Packages


All but one of the games loaded fine, though a couple needed a second try, either from the flip side of the tape or in the case of Skyhawk, the correct side of the tape! Sadly Tank Commander just didn’t load at all, it never even registered a ‘found’ on either side of the cassette so that one goes back on my shopping list…


They’re all in great condition and complete with their little instruction booklets. I have to admit I’ve never really been a big fan of these early plastic clam-shell cases. They often tended to have ill fitting inlays that stuck out of the top or bottom of the case leading to them becoming dog-eared or worse. Thankfully these cases have fared pretty well considering their age and still look really smart.


A brief look at each game together with a screenshot


I thought I’d honour the occasion with a screenshot of each game taken after I got them to load (or not). Maybe it will jog a few happy memories for you too. I know I had completely forgotten what a few of these looked like until loading them up. Crucially I’d forgotten what they sounded like! The woosh and thrum of my harrier jump jet loading fuel and getting ready to fly in Skyhawk instantly whisked me back to my childhood for example.


Classic VIC20 Games

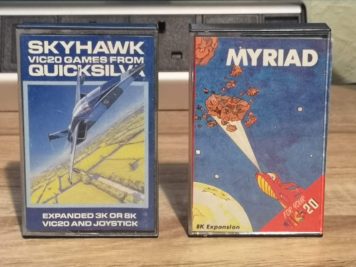
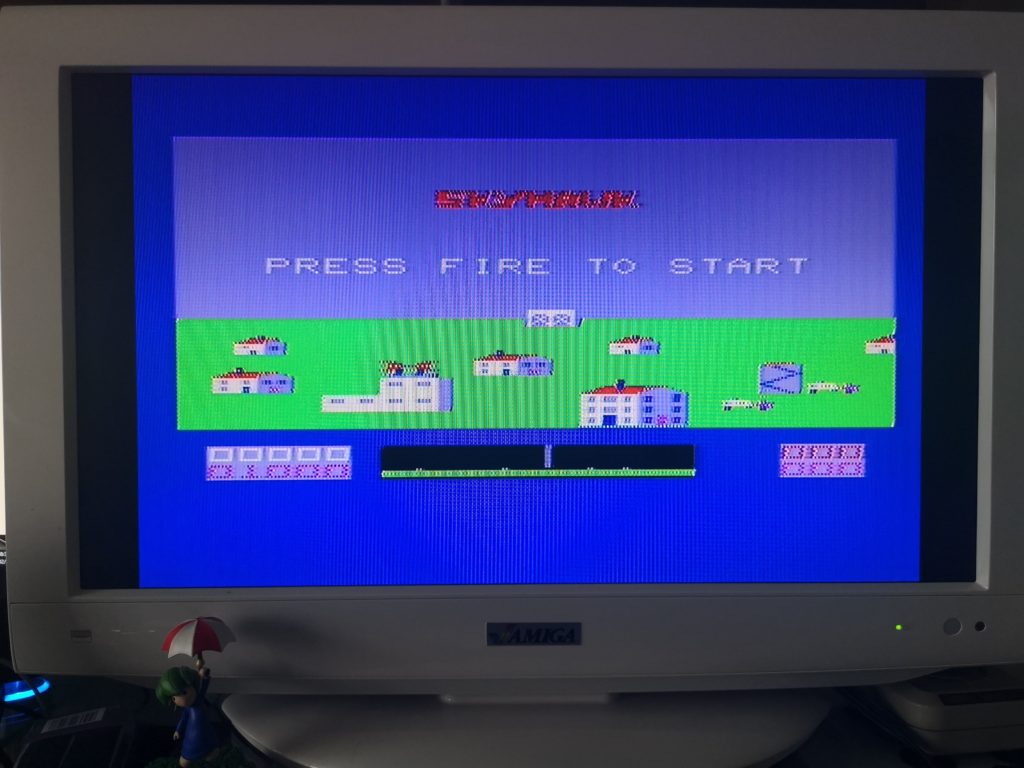
Skyhawk by Quicksilva – needs either a 3K or 8K RAM expansion. Make sure to load the correct side or you’ll get an ‘out of memory’ error! I used to love this game, even preferring it to Falcon Patrol on the C64. It just just seemed to play and sound better to me, offering a faster paced game that was just more fun to play. Even the bright chunky graphics had a charm of their own that FP couldn’t match.
 

Classic VIC20 Games

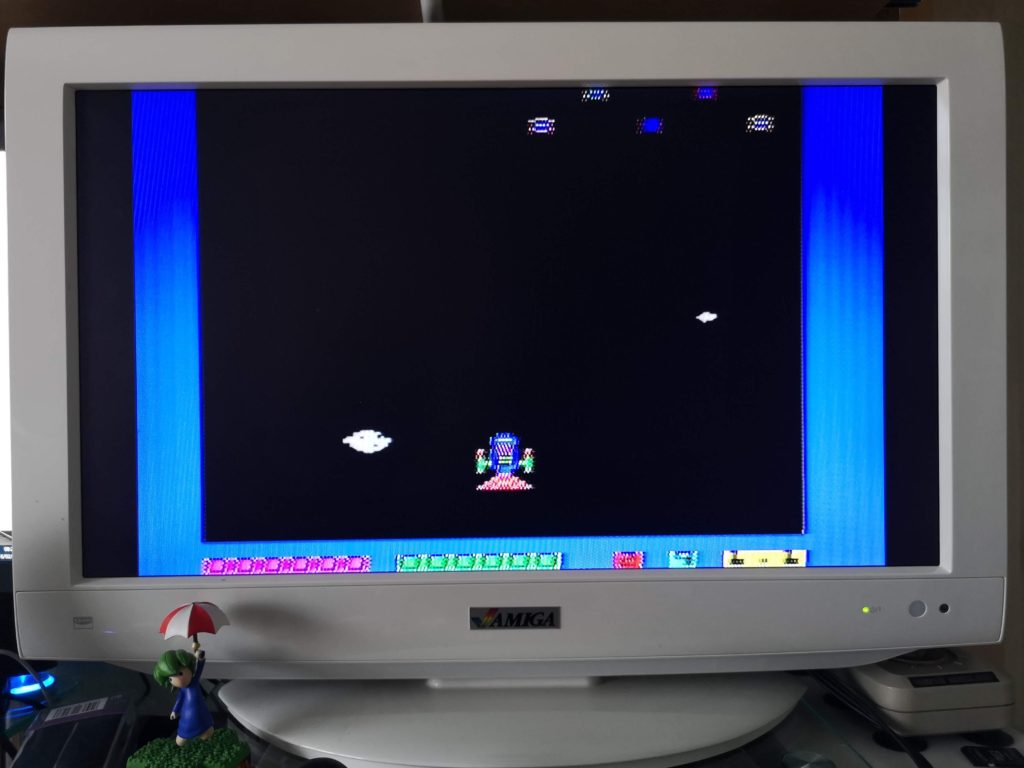
Myriad by Rabbit Software – needs 8K RAM expansion. A brilliant little vertical shoot ’em up with colourful graphics and great sound effects. I found this pretty addictive as a child taking turns playing against my school friend to try and get the highest score. This was one of the games I copied, probably off that same friend I was playing against. I’m glad I finally own the game now.


Classic VIC20 Games

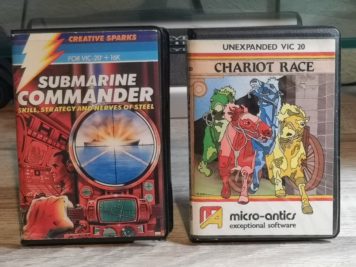
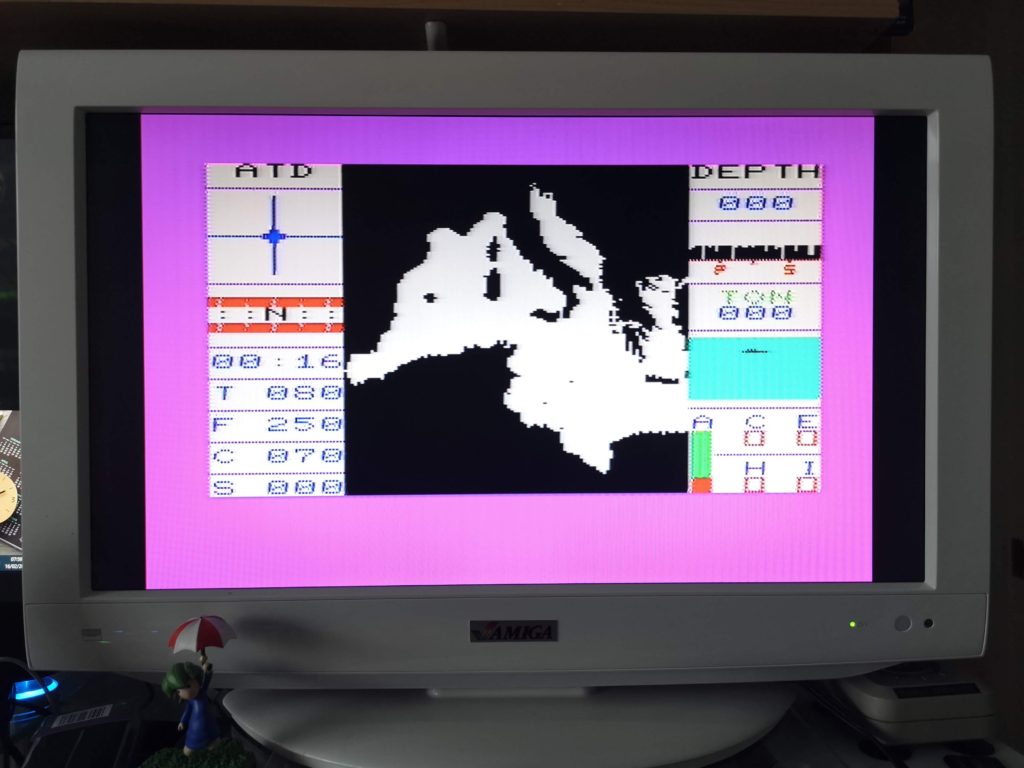
Submarine Commander by Creative Sparks – needs 16K RAM expansion. Not quite on a par with Silent Service on the C64 but still an engrossing sub sim on the VIC that convinced childhood me that I was the Captain of a submarine!
 

Classic VIC20 Games

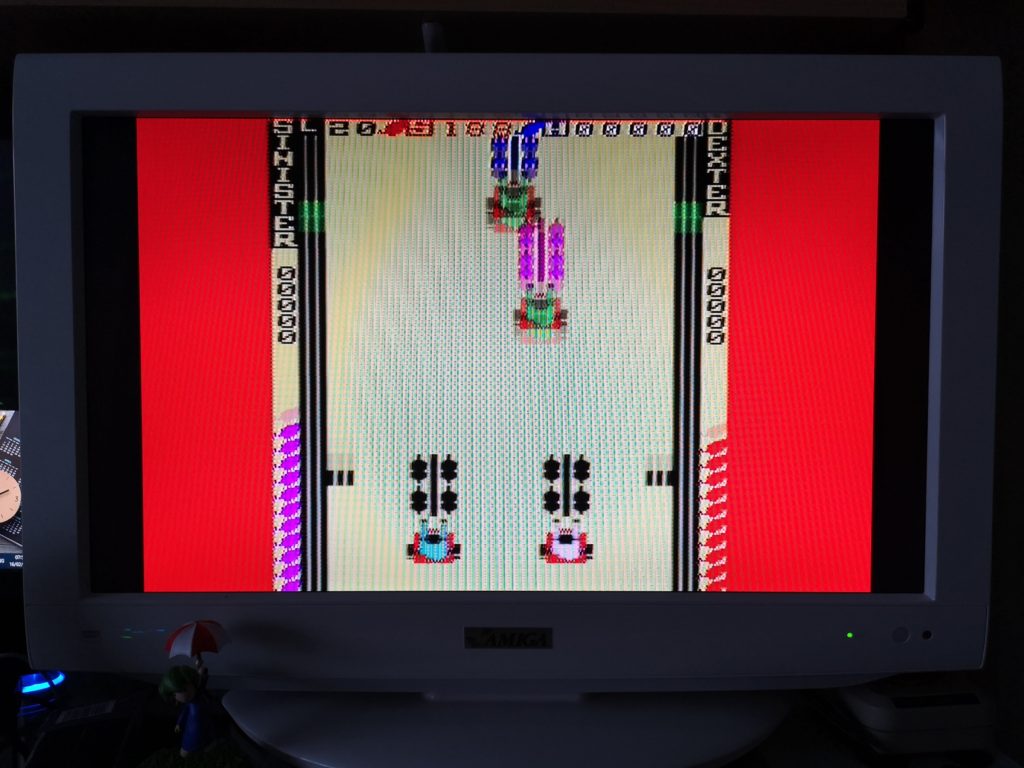
Chariot Race by Micro Antics – the only game here that runs on an unexpanded machine. Amazingly this was one of the few VIC games that had a 2 player option. There was no joystick option though, you both had to use the keyboard to control your chariot. With my much larger adult hands this is probably a bit restrictive now but as a child playing against my sister (and beating her all the time) it was never a problem!


Classic VIC20 Games

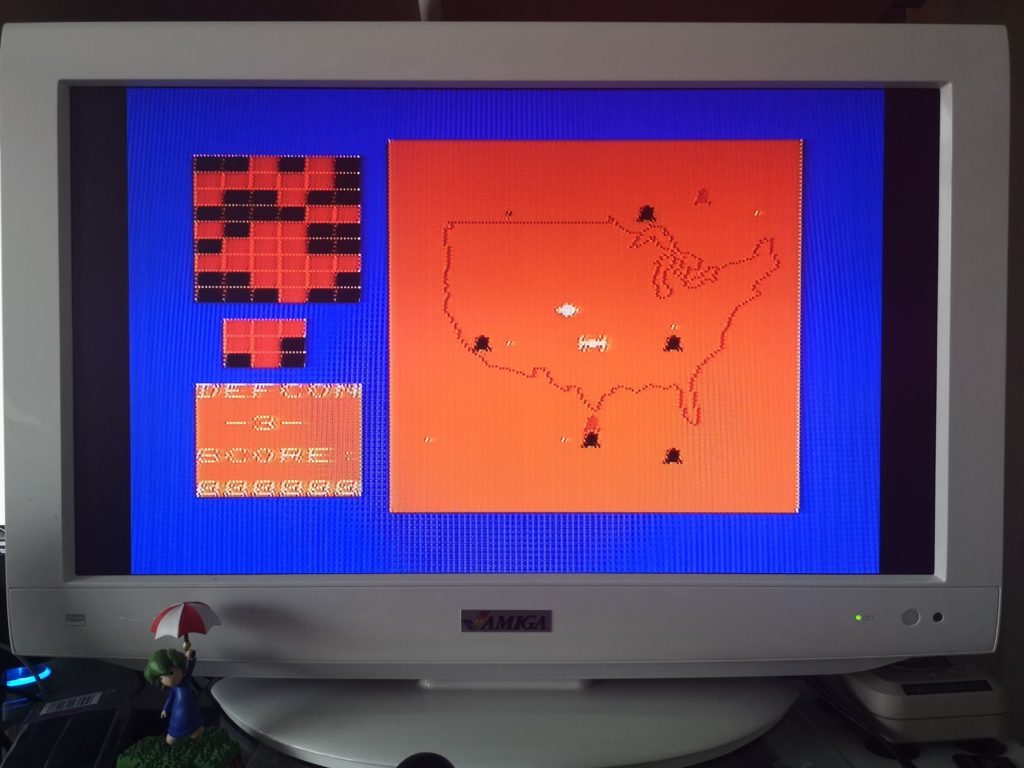
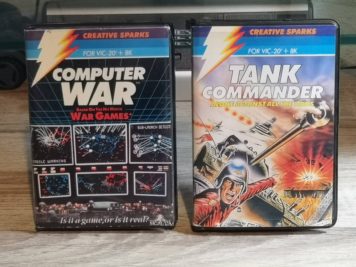
Computer War by Creative Sparks – needs 8K RAM expansion. This was basically a game based on the movie War Games. I suppose you could describe it as a variety of mini games where you had to crack codes and shoot down missiles in order to avoid WW3! This was another game that used to keep me entertained for long periods of time!


Classic VIC20 Games

Tank Commander by Creative Sparks – needs 8K RAM expansion. Sadly this is as far as it got when attempting to load it 🙁 It was a great game though, you had to control your little tank within a large scrolling map, taking out enemy tanks and destroying their bases whilst hiding behind cover avoiding their attacks. Think top-down World of Tanks using just 14 kilobytes of memory! 🙂


All of these games were played heavily as a child, particularly those that required more RAM. The extra memory afforded improved effects and more interesting, in-depth games.  I remember being especially fond of Skyhawk, Myriad and Tank commander back in the day. This makes the fact that Tank Commander wouldn’t load all the more disappointing. However I can’t help but be amazed that the other five games still loaded perfectly, nearly 40 years after they were made on a format that was never expected to last this long.


Classic VIC20 Games

Looks like there’s still a couple of original games I still need to track down before I can retire this tape! Incidentally the cassette inlay was designed and printed on the VIC20 by me using the Commodore 1520 Printer Plotter and BASIC.

Vic-20 Attic Find – Reacquainting myself with an old friend

VIC-20

Whilst rummaging around in the attic looking for a box of lights during the Christmas 2018 period I stumbled upon something amazing. It looked innocuous enough, a really dusty brown box tucked away under the eaves.  A box that I’d completely forgotten about. A box that hadn’t seen the light of day since I moved into our house 24 years ago. The contents had probably in that box for years before that too. What am I rambling on about? Only my Commodore VIC-20 that’s what. The very first computer I ever owned or indeed used! Not an eBay re-acquisition but the actual machine that my parents bought me for Christmas when I was 12 years old!


VIC-20

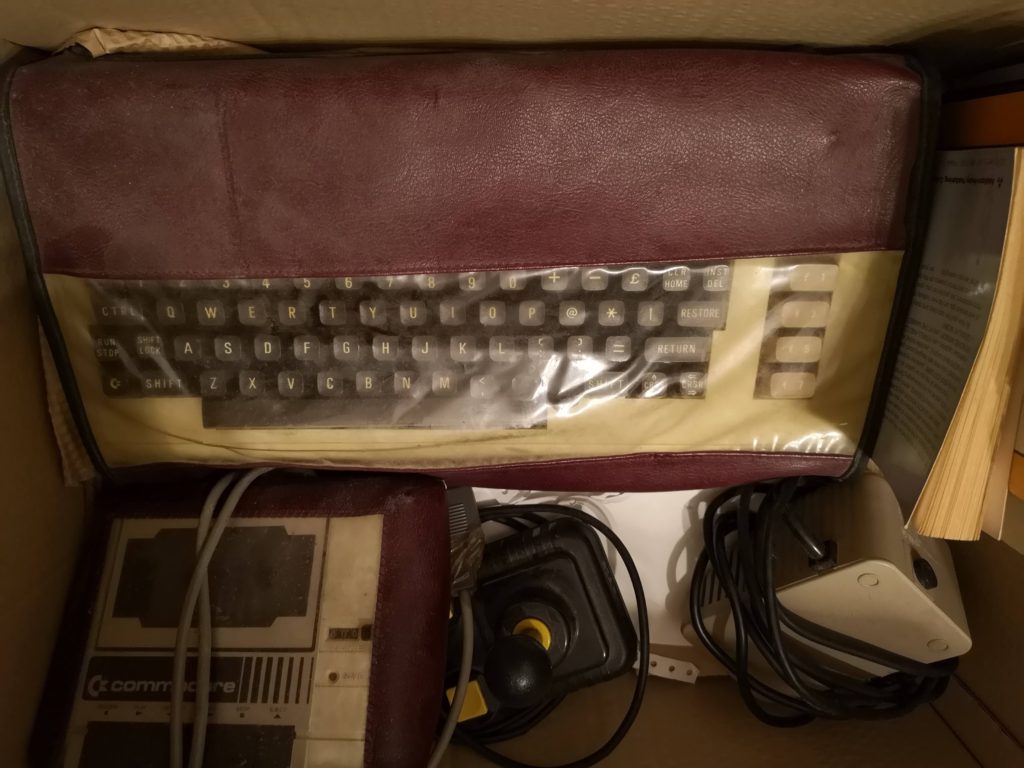
Peering inside the box my VIC-20, C2N, Zipstick and PSU were all visible


The box was chock full of goodies, some in better condition than others. My VIC-20 had held up quite well albeit slightly yellowed. Unfortunately the sockets on the underside of some of the keys had become brittle and broken apart. When I removed the faux leather cover several simply fell away. The space bar had come off too but fortunately that just clipped straight back on.


VIC-20

VIC-20 Keyboard looking a little worse for wear.


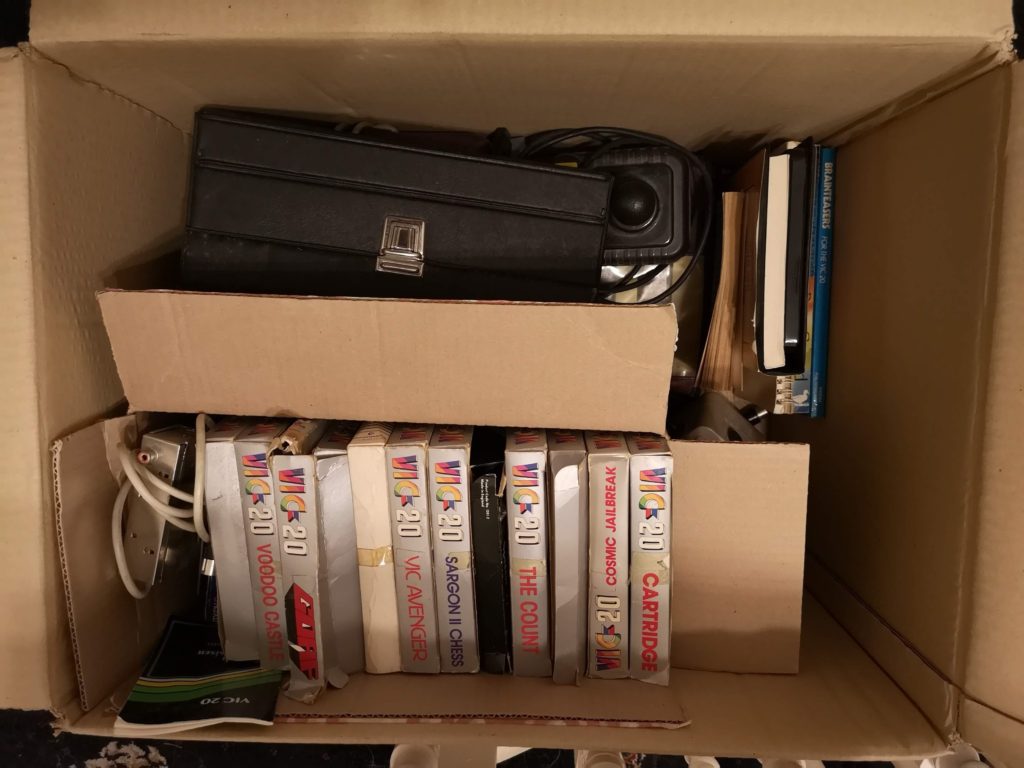
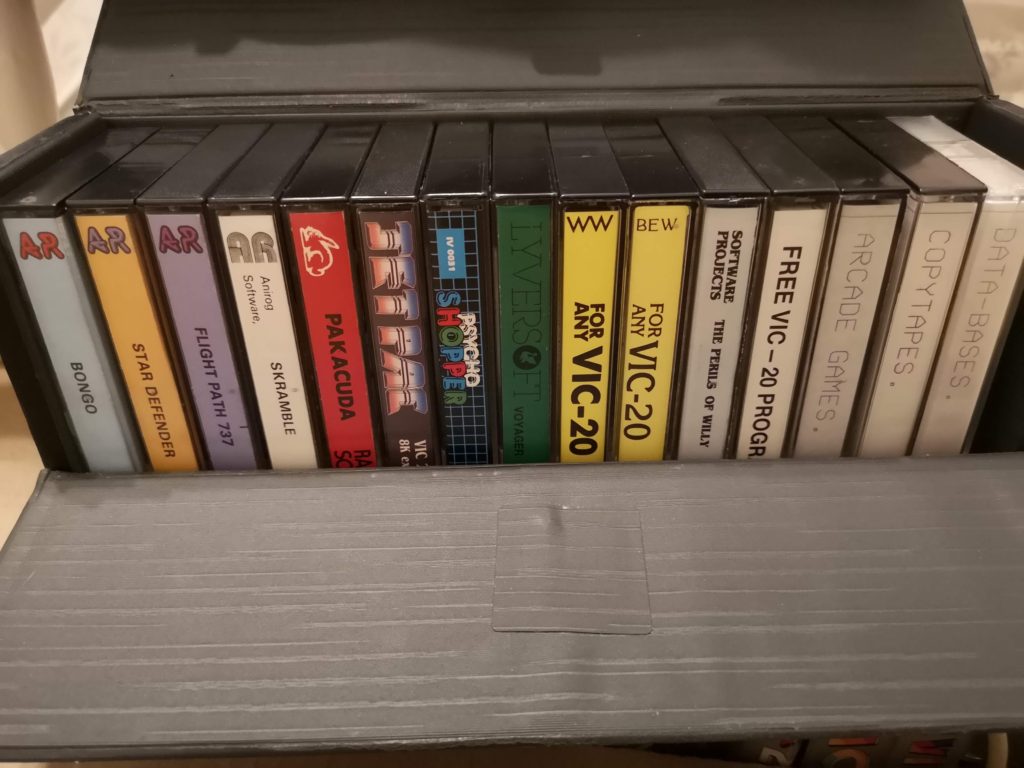
Besides the VIC, a lot of my old software was in the box too including all my old cartridge games. There was also a vintage cassette case containing most of my old tape games too. I used to have a load ‘school playground’ acquisitions as well but they where nowhere to be found sadly.


VIC-20

A whole bunch of cartridge games…


VIC-20

My VIC-20 cassette games


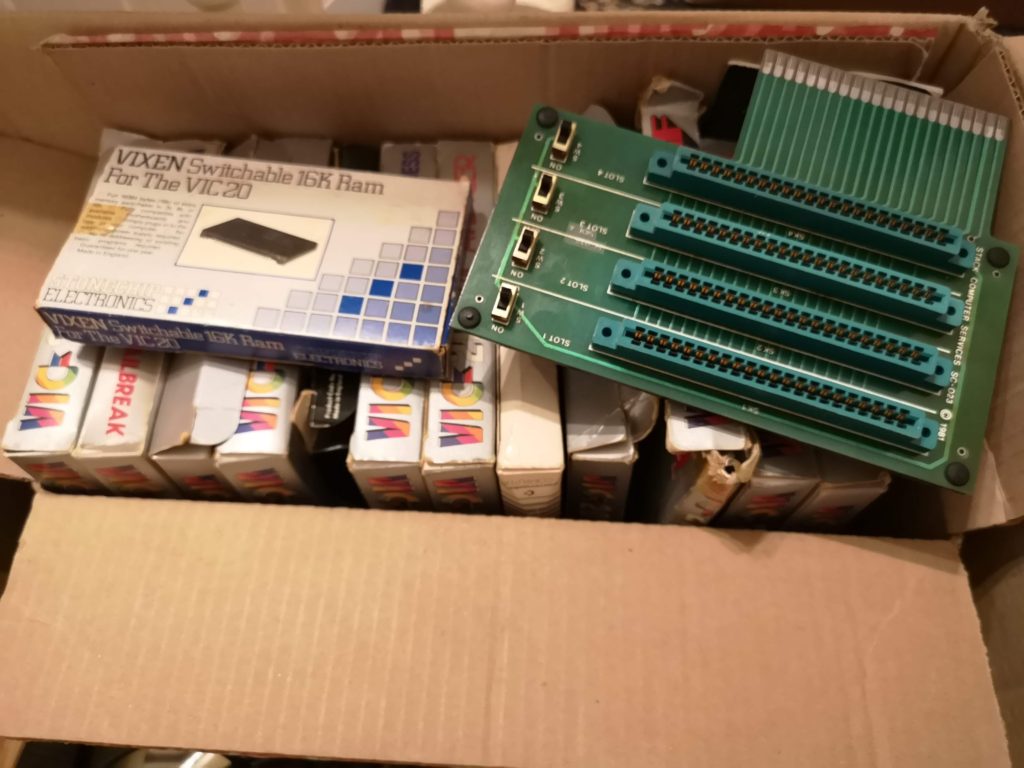
Thankfully all of my more esoteric accessories were present and correct. My Adman Speech synthesizer, Vixen switchable 16K RAM pack and my Stack 4 slot cartridge expander


VIC-20

RAM pack, cartridge port expander on top of a stack of cartridge games 🙂


VIC-20

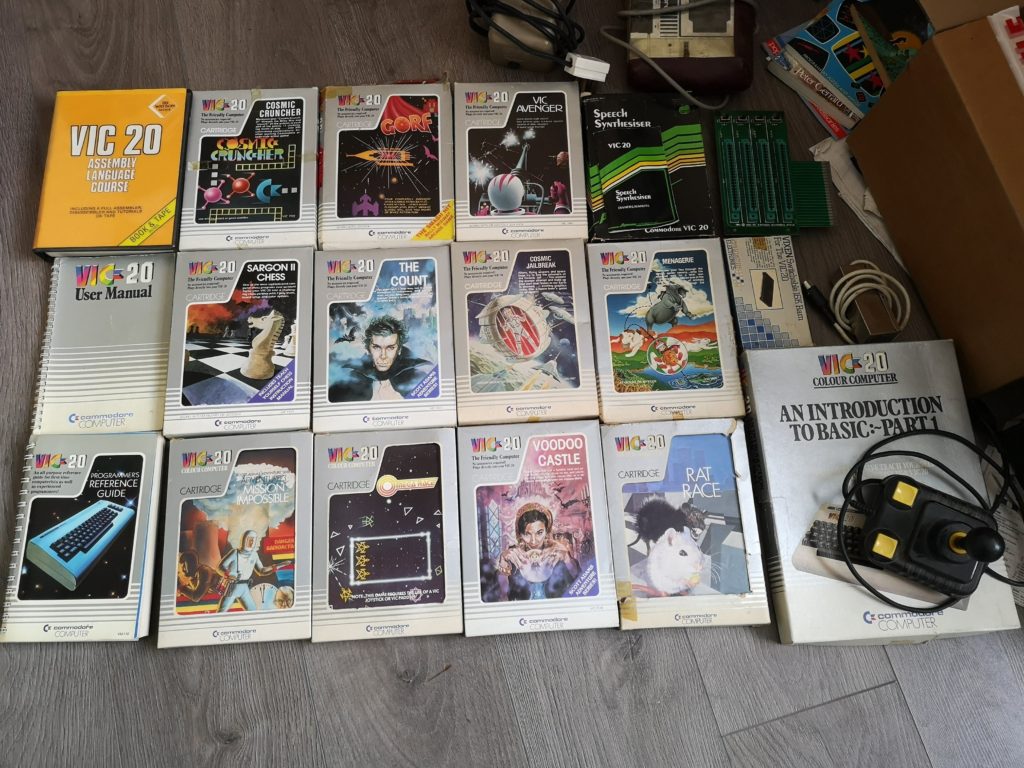
A better look at all the cartridges and accessories


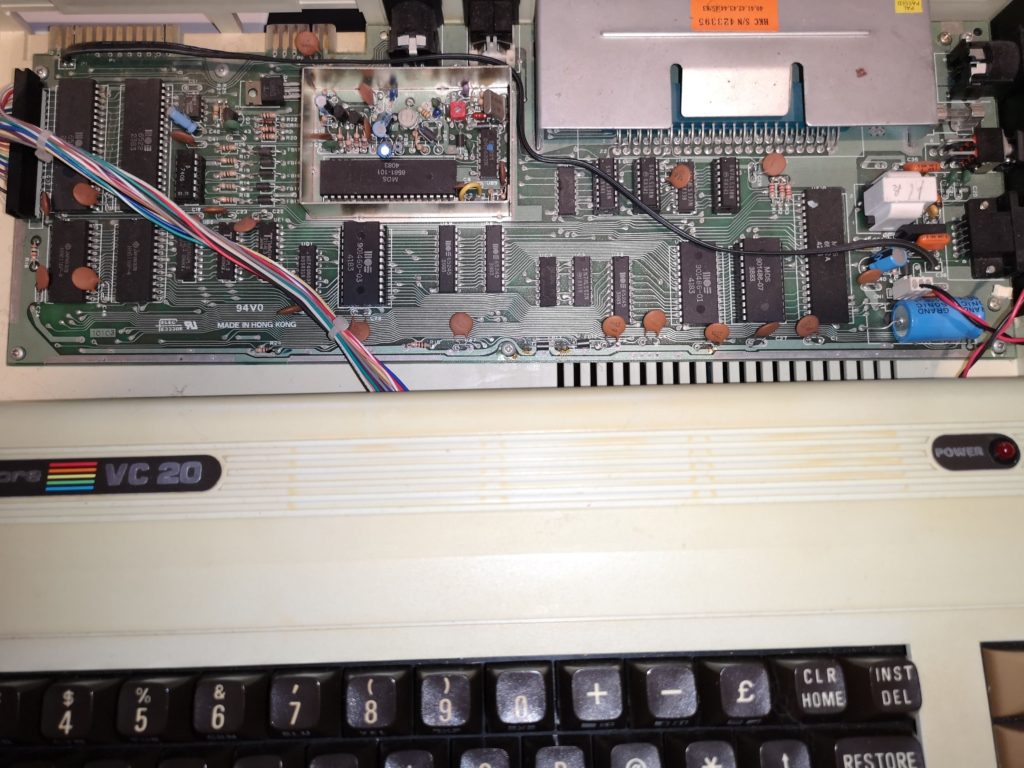
Once I’d made sure that pretty much everything I remembered from my childhood was present and correct I naturally wanted to see if it still worked! To be safe I decided to open up the case and check that nothing had fell inside that might cause a short circuit. I also checked that none of the capacitors had degraded or leaked onto the motherboard. Happily, besides looking a little dusty the old girl looked to be in good condition!


VIC-20

A look at the VIC-20’s motherboard.


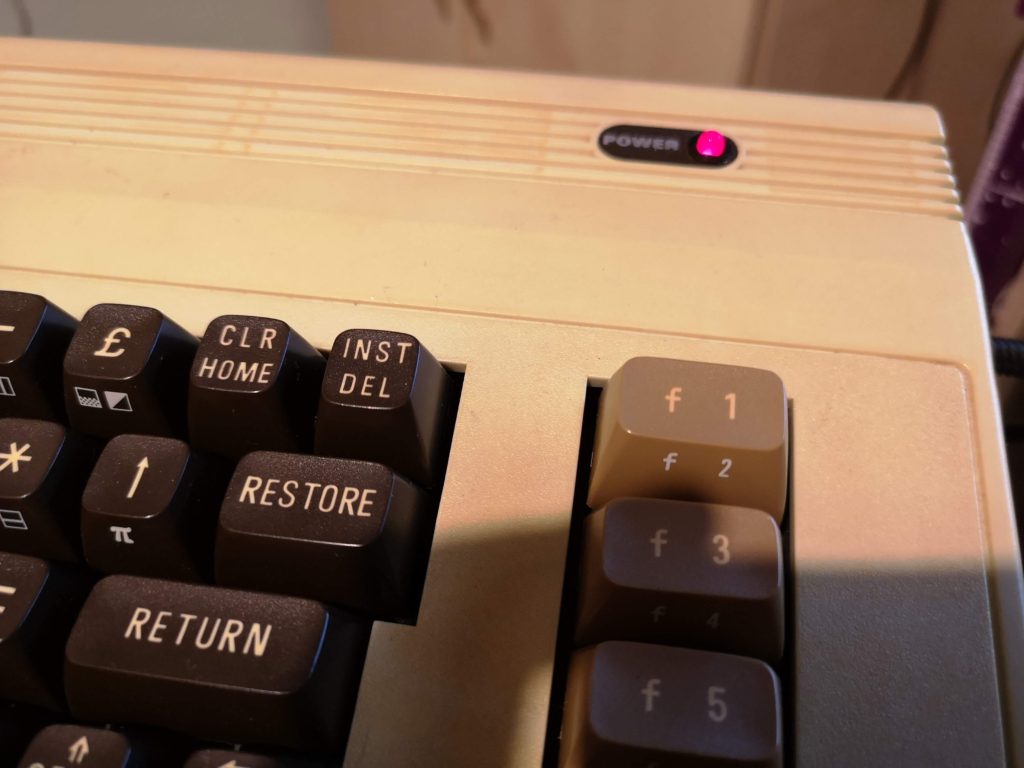
The original PSU still worked but as they can be notoriously bad for your Commodore’s health if they fail I didn’t want to take any chances. To protect my VIC-20 I used my SAV64 between the VIC-20 and PSU which would prevent any errant voltages reaching the motherboard.  Suitably protected I plugged everything in and turned on the power. I have to admit I was fearing the worst so I was relieved when I was greeted by a lovely glowing red LED! A very good start.


VIC-20

She’s alive!


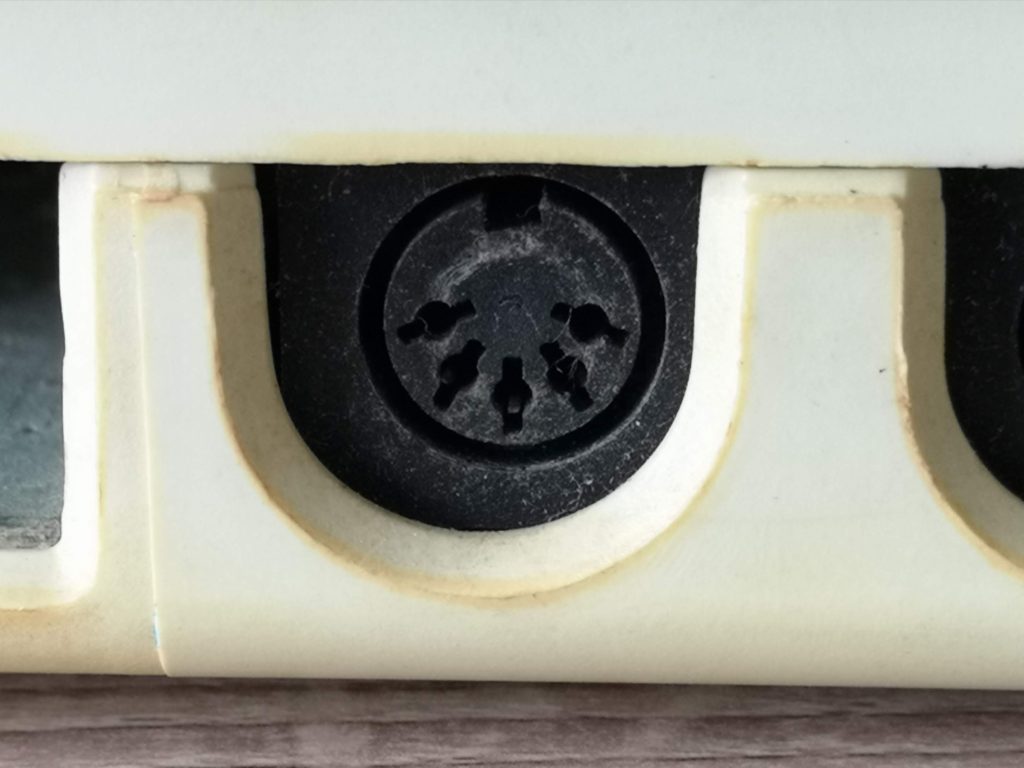
Next I needed to hook it up to my TV. Although the modulator was in the box there was no way I was going to try and use that, the picture quality would have been appalling. I grabbed my C64 video cable to see if it would fit but unfortunately it didn’t. The VIC-20 uses a 5 pin DIN socket whereas my C64 uses an 8 pin one (for the extra chroma & luma info presumably).


VIC-20

The 5 pin video DIN port


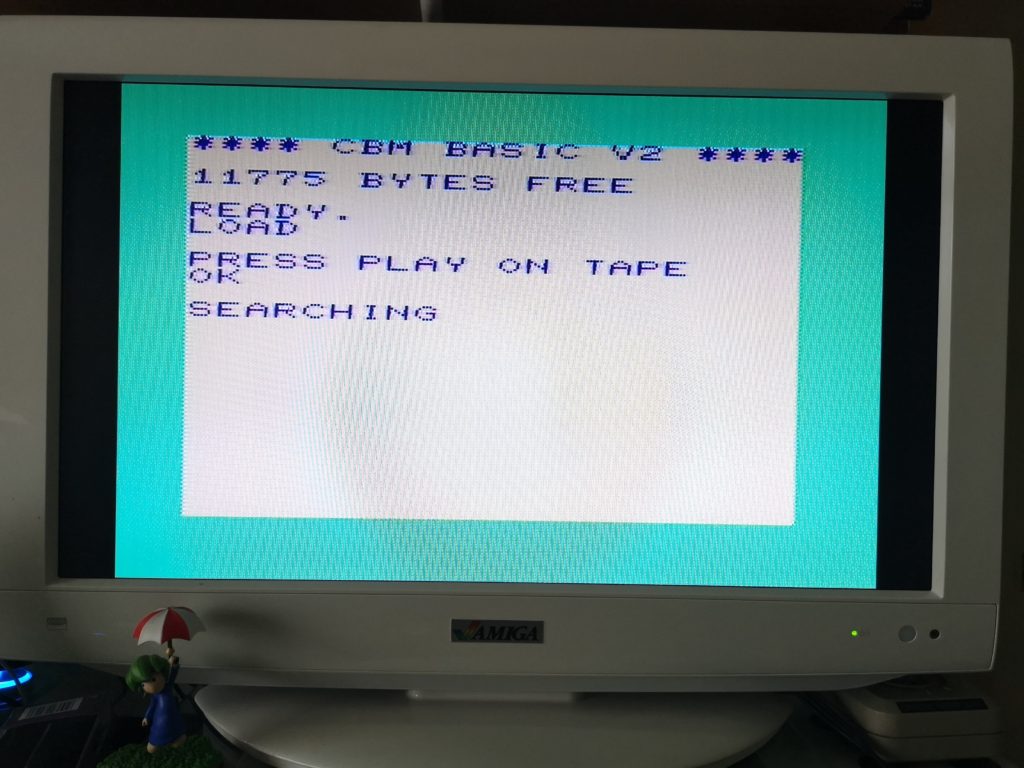
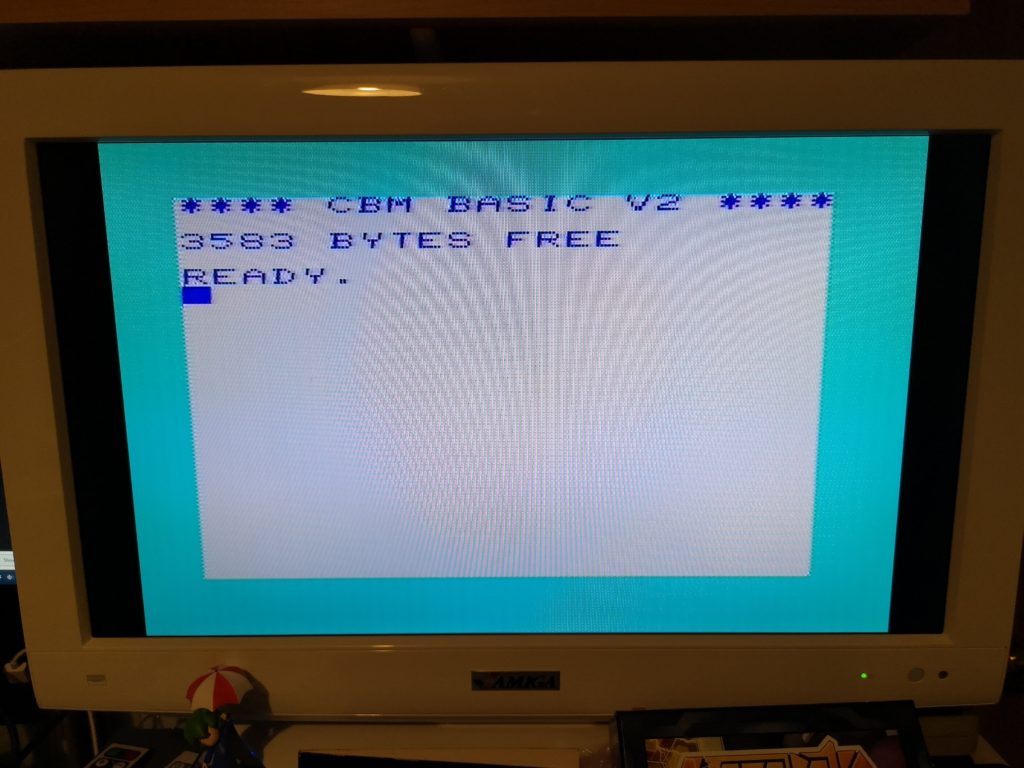
Not to be deterred I rummaged through my boxes of old cables. Eventually I found a suitable composite cable that I used to use for my C64 before upgrading. I plugged it in, switched everything on and with some trepidation, switched the TV over to its’ AV input channel. I couldn’t have been happier when I was greeted with that familiar white and cyan screen. That message saying ‘**** CBM BASIC V2 **** 3583 BYTES FREE almost brought a tear to my eye.


VIC-20

A dear old friend says ‘hello’


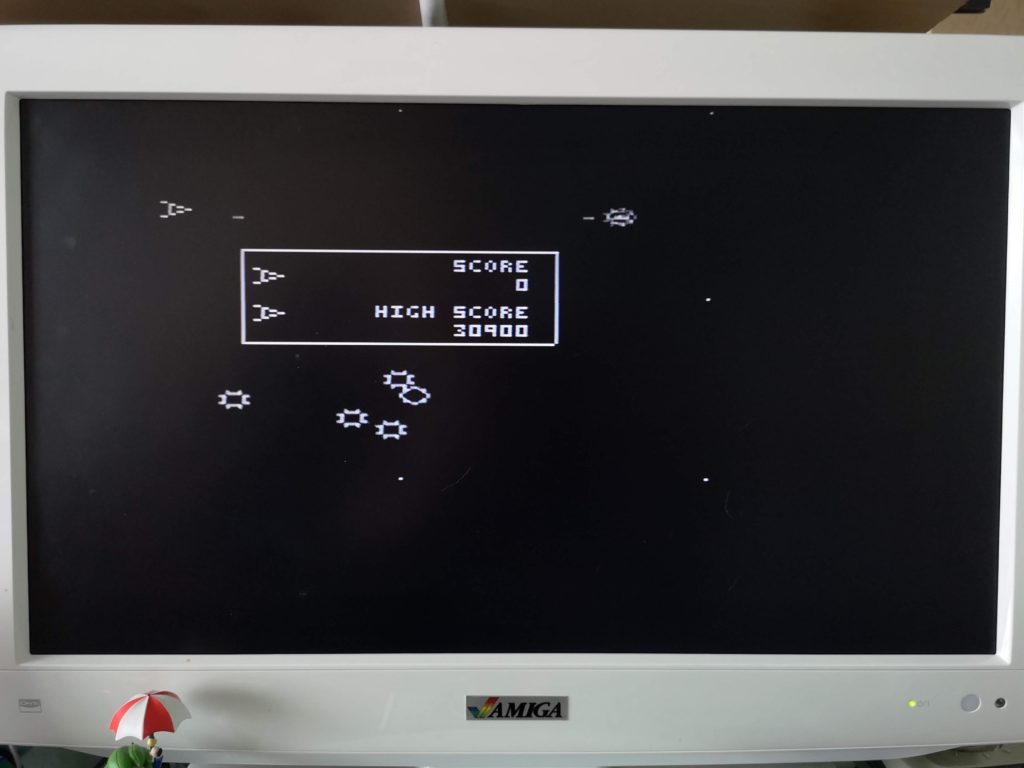
Buoyed by this success I quickly dug out one of my favourite old game cartridges, Omega Race. Everything worked perfectly, the joystick, the sound, just as it had done the last time I played it about 30 years ago. Incredible!


VIC-20

Omega Race


In the coming months I will be trying to restore it to it’s former glory, cleaning up the insides, adding heat sinks to some of the chips to prolong their life and possibly retrobriting the case. I will also be looking into the current VIC-20 scene and expanding my game collection, trying to get hold of games that I previously only owned copies of. Not only that but I will be scanning my whole VIC-20 game collection and putting them on this site as 3D models for everyone to enjoy.

Powerglove Reloaded and Tiger Claw

Powerglove Reloaded and Tiger Claw

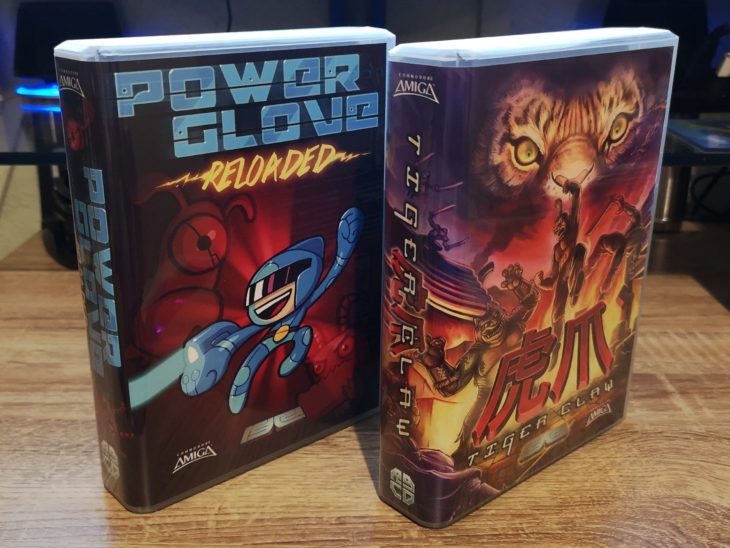
Just received Powerglove Reloaded and Tiger Claw in the post from RGCD and they both look absolutely awesome. The new style of packaging makes them look really premium and they’re going to look amazing displayed on my shelves.


Powerglove Reloaded and Tiger Claw

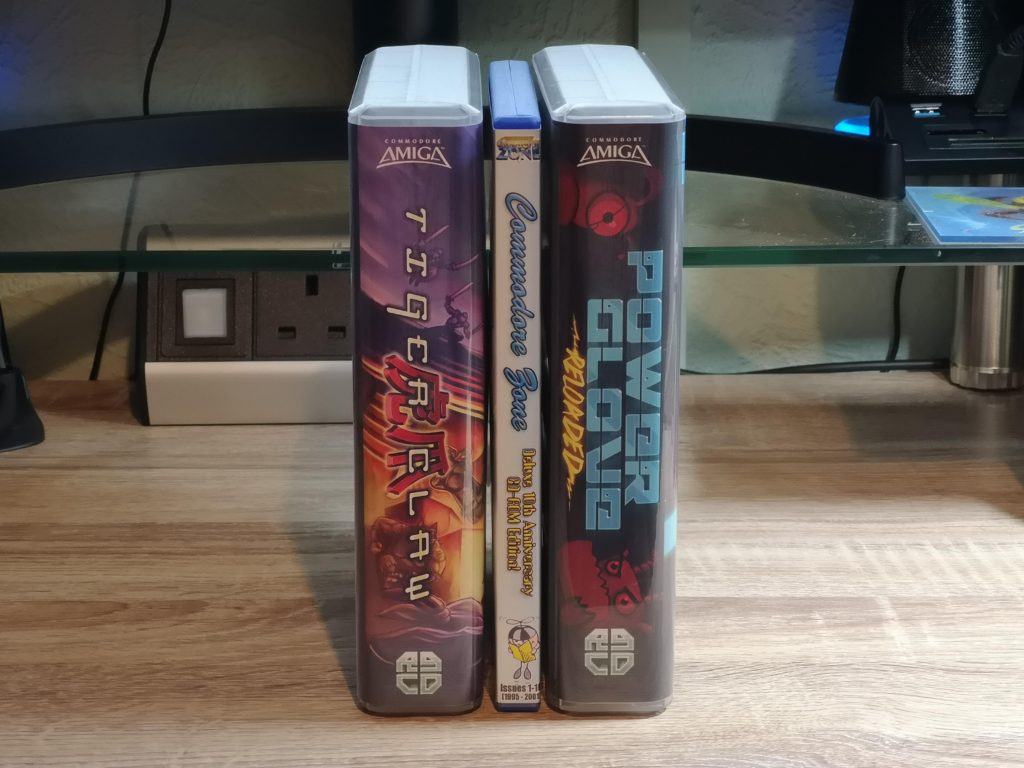
Comparison with standard DVD case


As you can see from the photo above, the boxes are much wider and ever-so-slightly taller than a standard DVD case. This allows more space for cool artwork on the spine and of course extra room for goodies inside!


This slideshow requires JavaScript.


Both boxes were crammed with extras including: the game on 3.5″ floppy disk, the game on CD (with jewel case and inserts), instruction manual, postcards, stickers, pin badges and a very useful spare 3.5″ disk label to put on your own backup copy of the game! Both games also came with glorious A3 colour posters featuring the game artwork on one side and maps of the games on the other. Tiger Claw also came with a really cool rubber shuriken. Even though it’s made of rubber it’s still pretty pointy though!


This slideshow requires JavaScript.


I already own Powerglove Reloaded and Tiger Claw on the Commodore 64 (digitally) but these Amiga releases just looked too good for me to pass up.  At £16 (or just £15 without the floppy disk) I think they’re an absolute bargain too and I could not be happier with my purchase.


This slideshow requires JavaScript.


I was also relieved to find that both games loaded and played flawlessly off their respective floppy disks on my heavily modified Amiga 500 computer. Happy days!

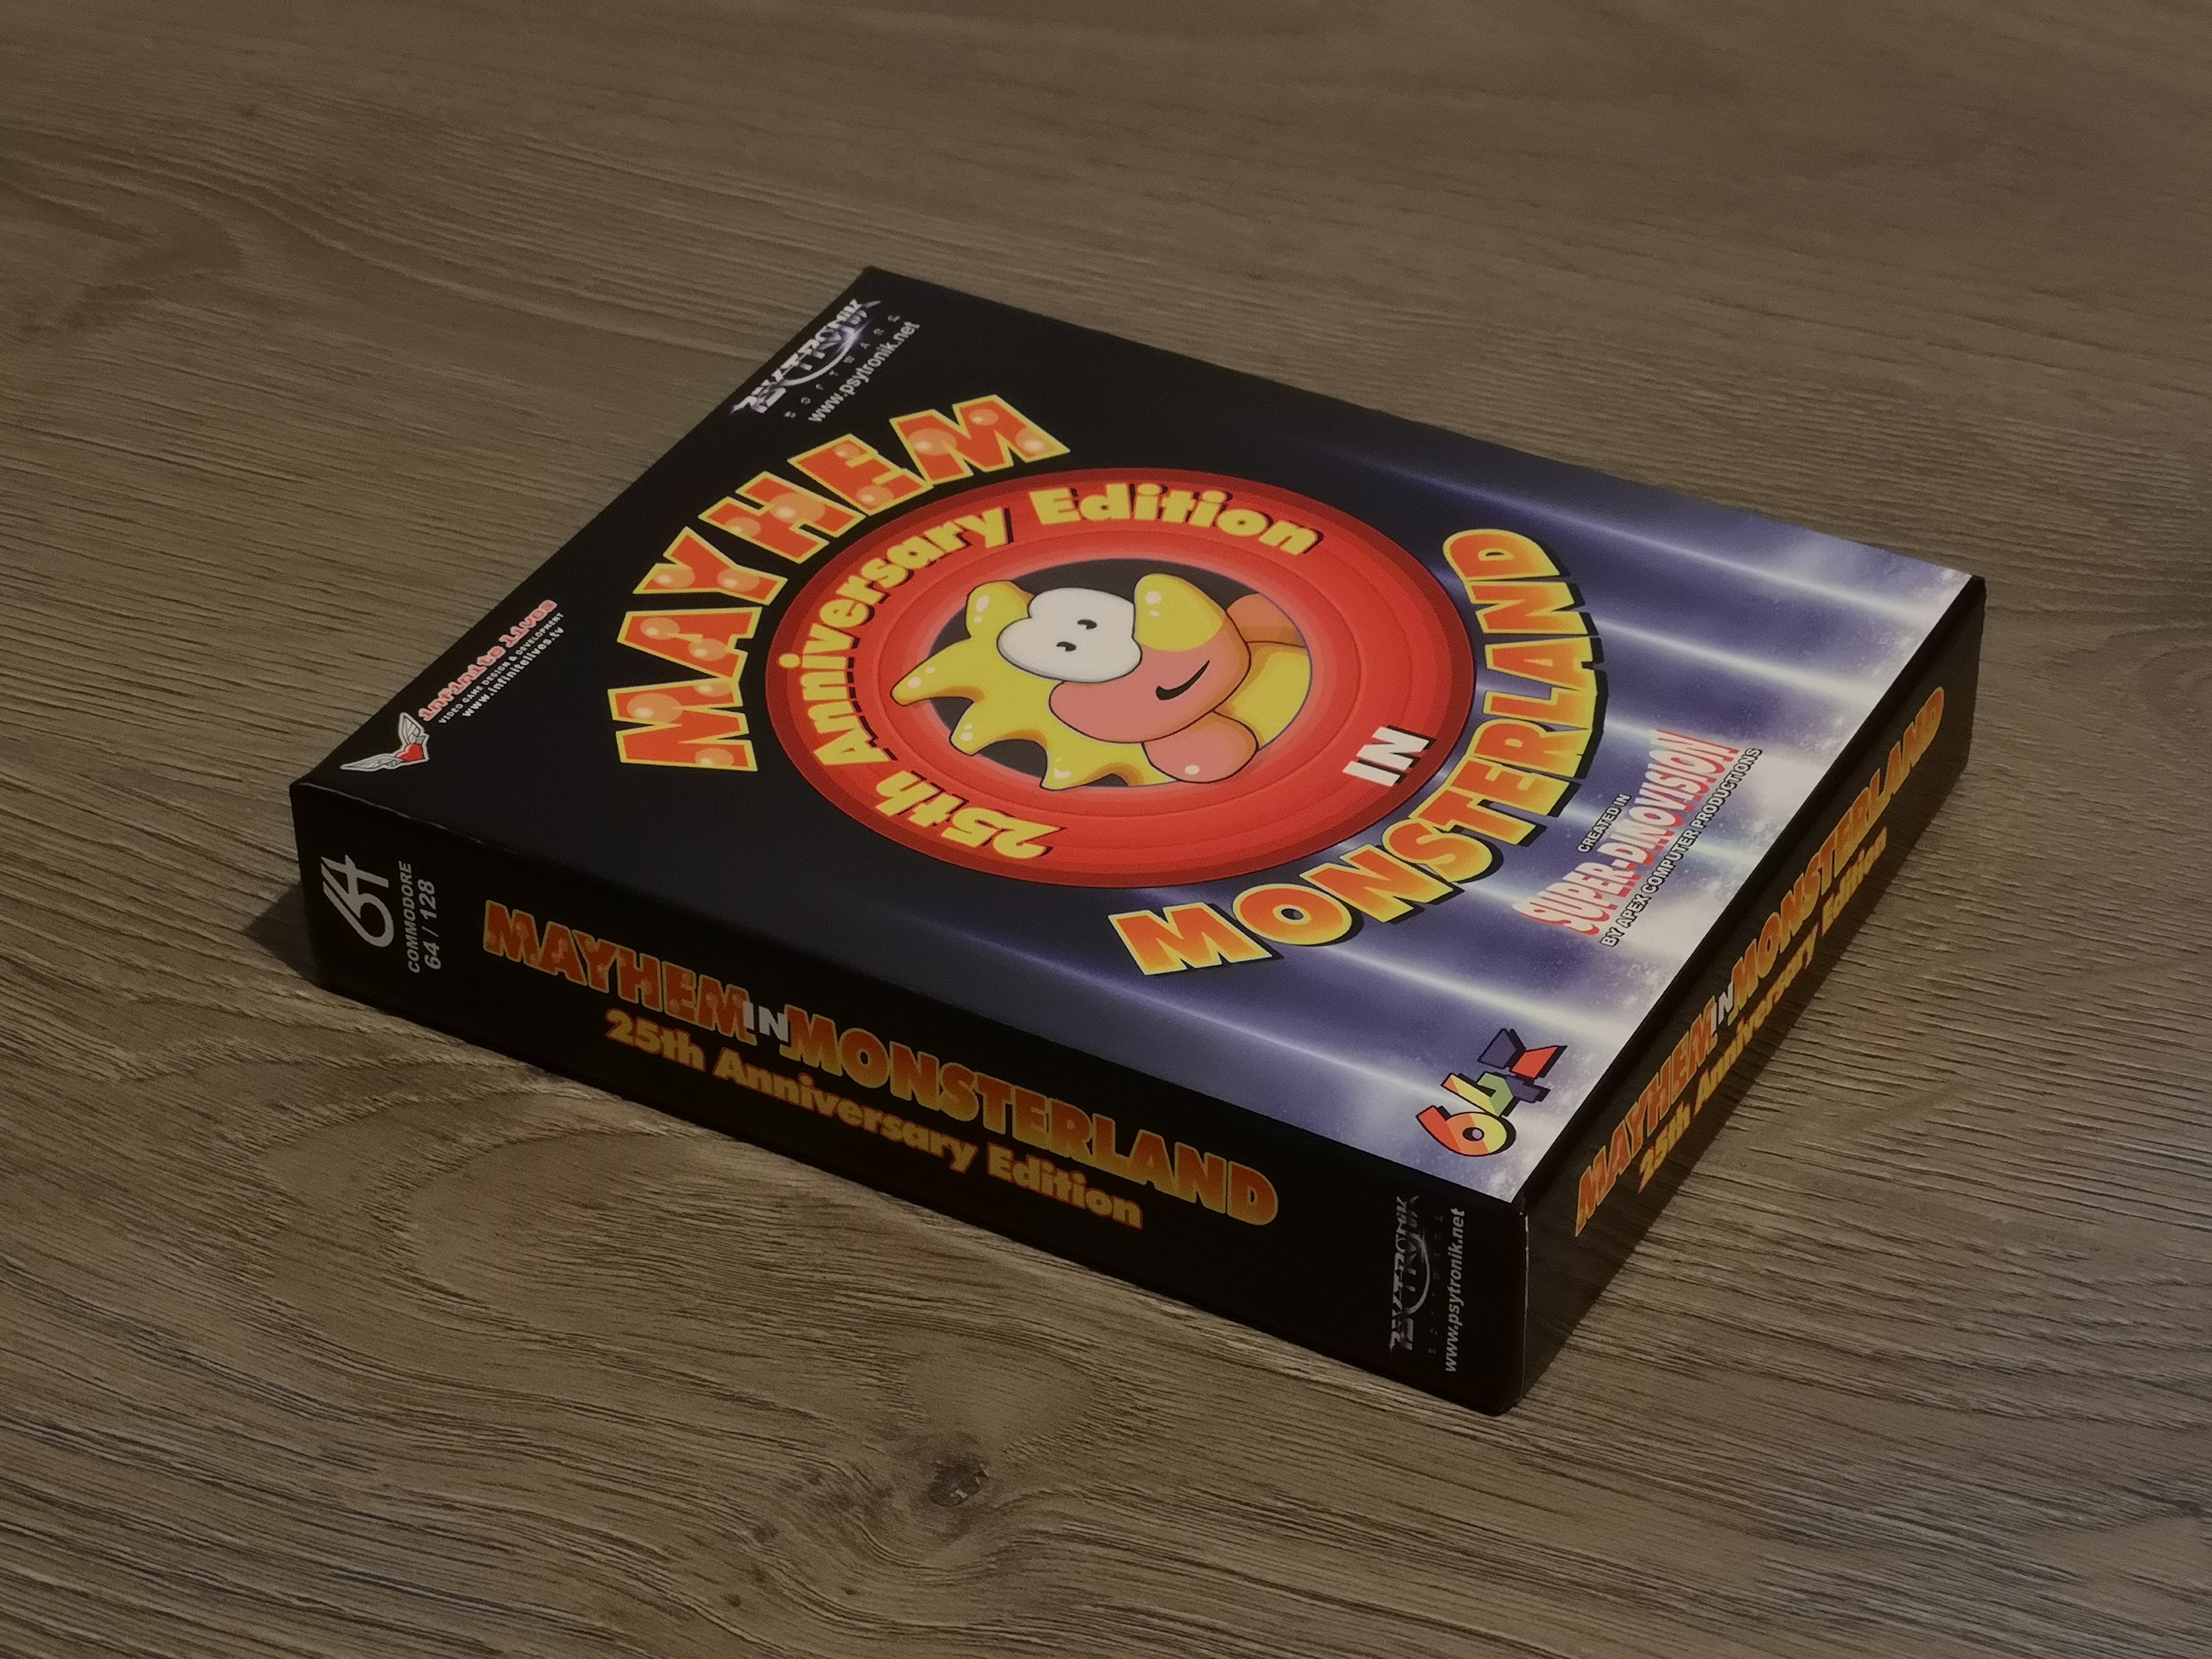
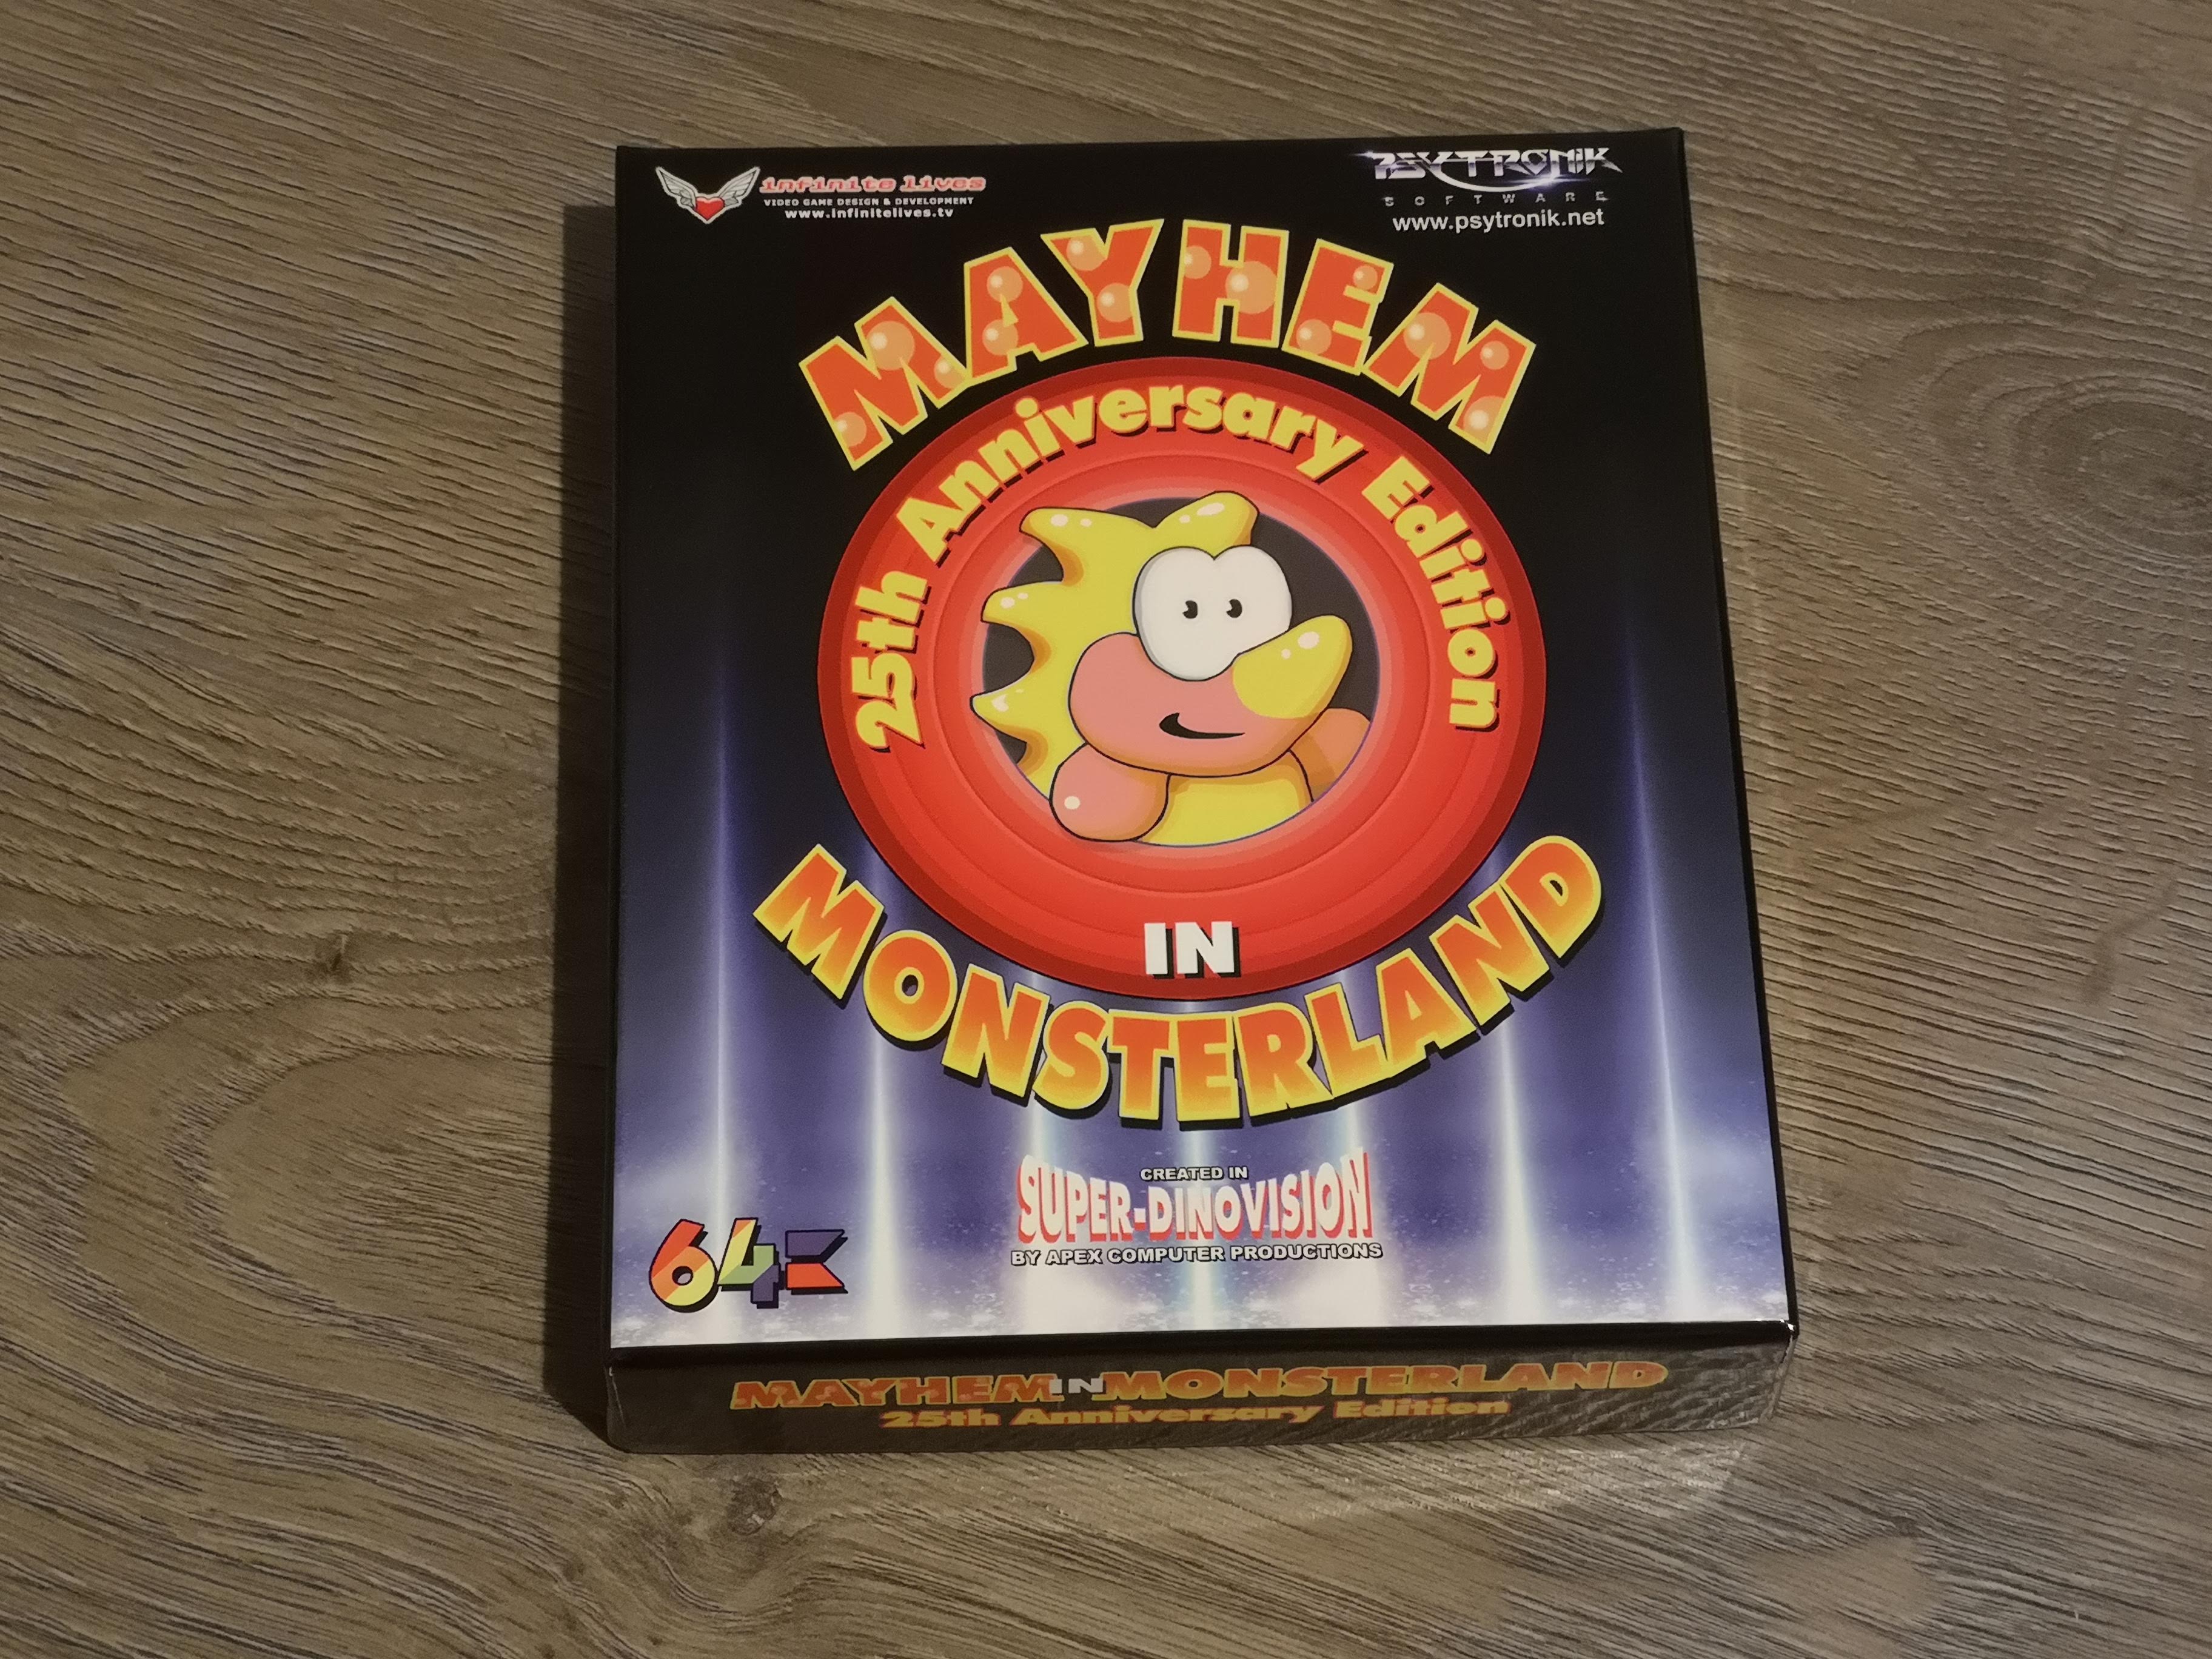
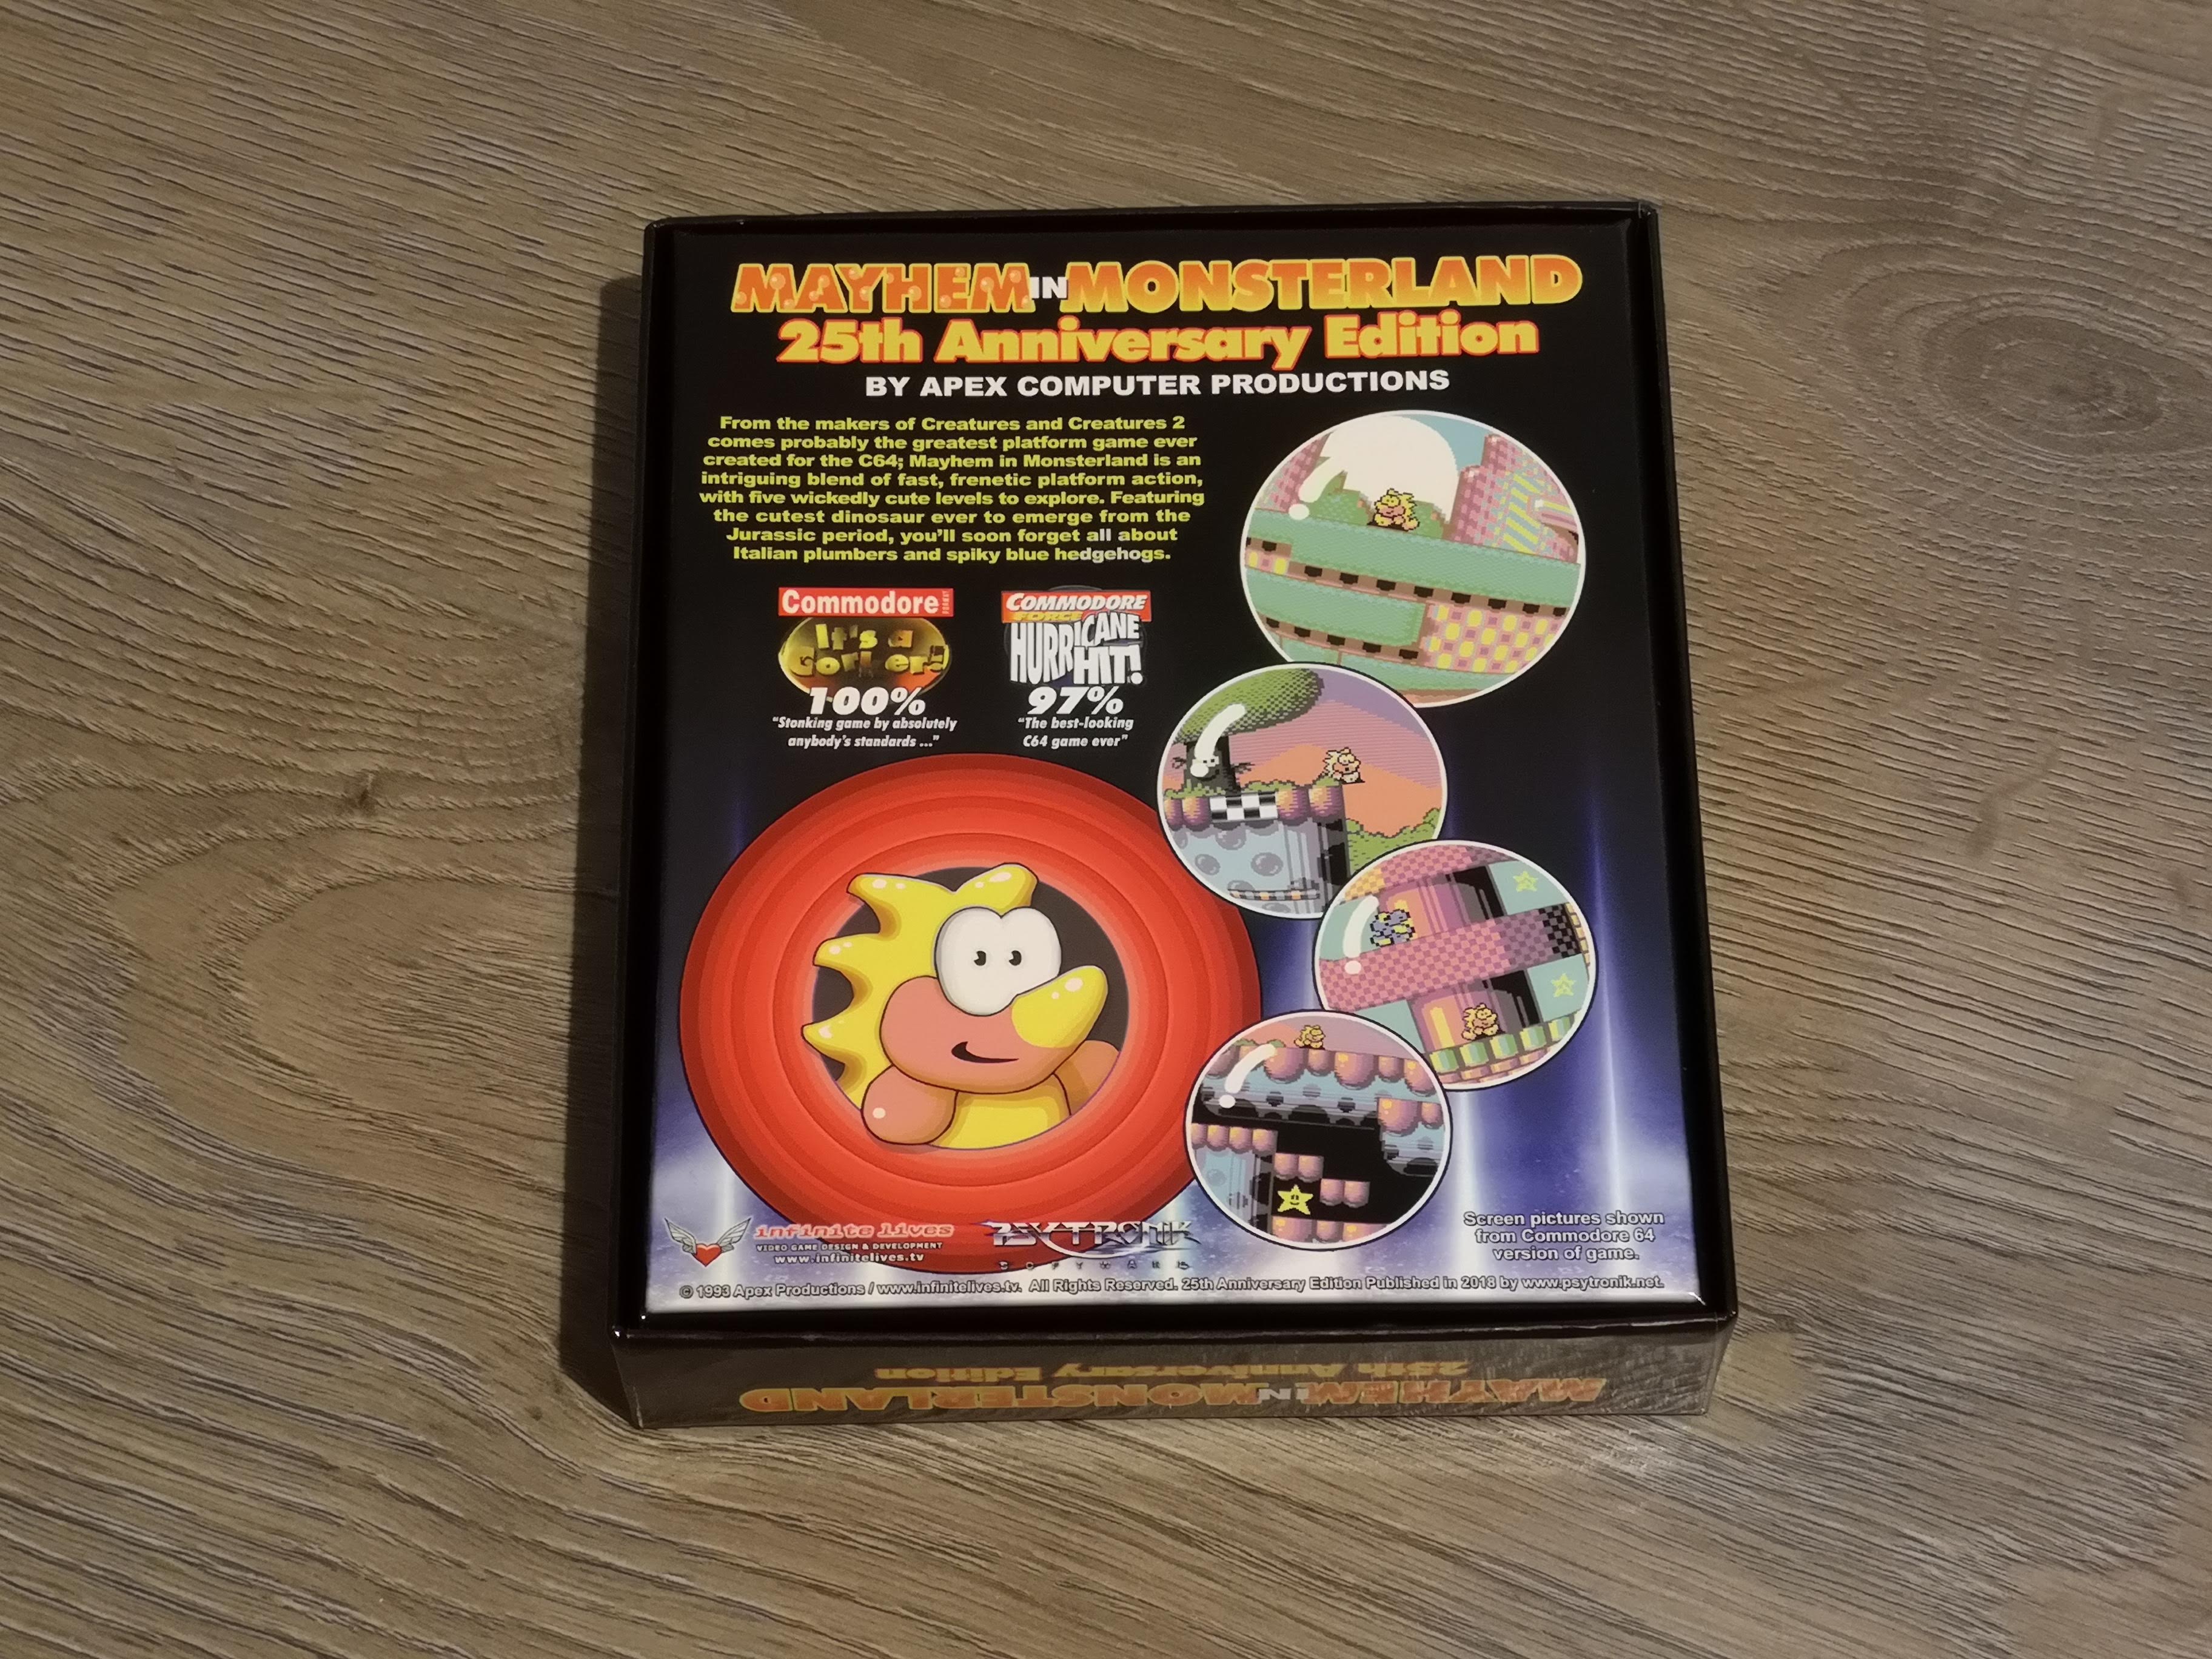
Mayhem in Monsterland 25th Anniversary Collector’s Edition

Mayhem in Monsterland 25th Anniversary Collector's Edition

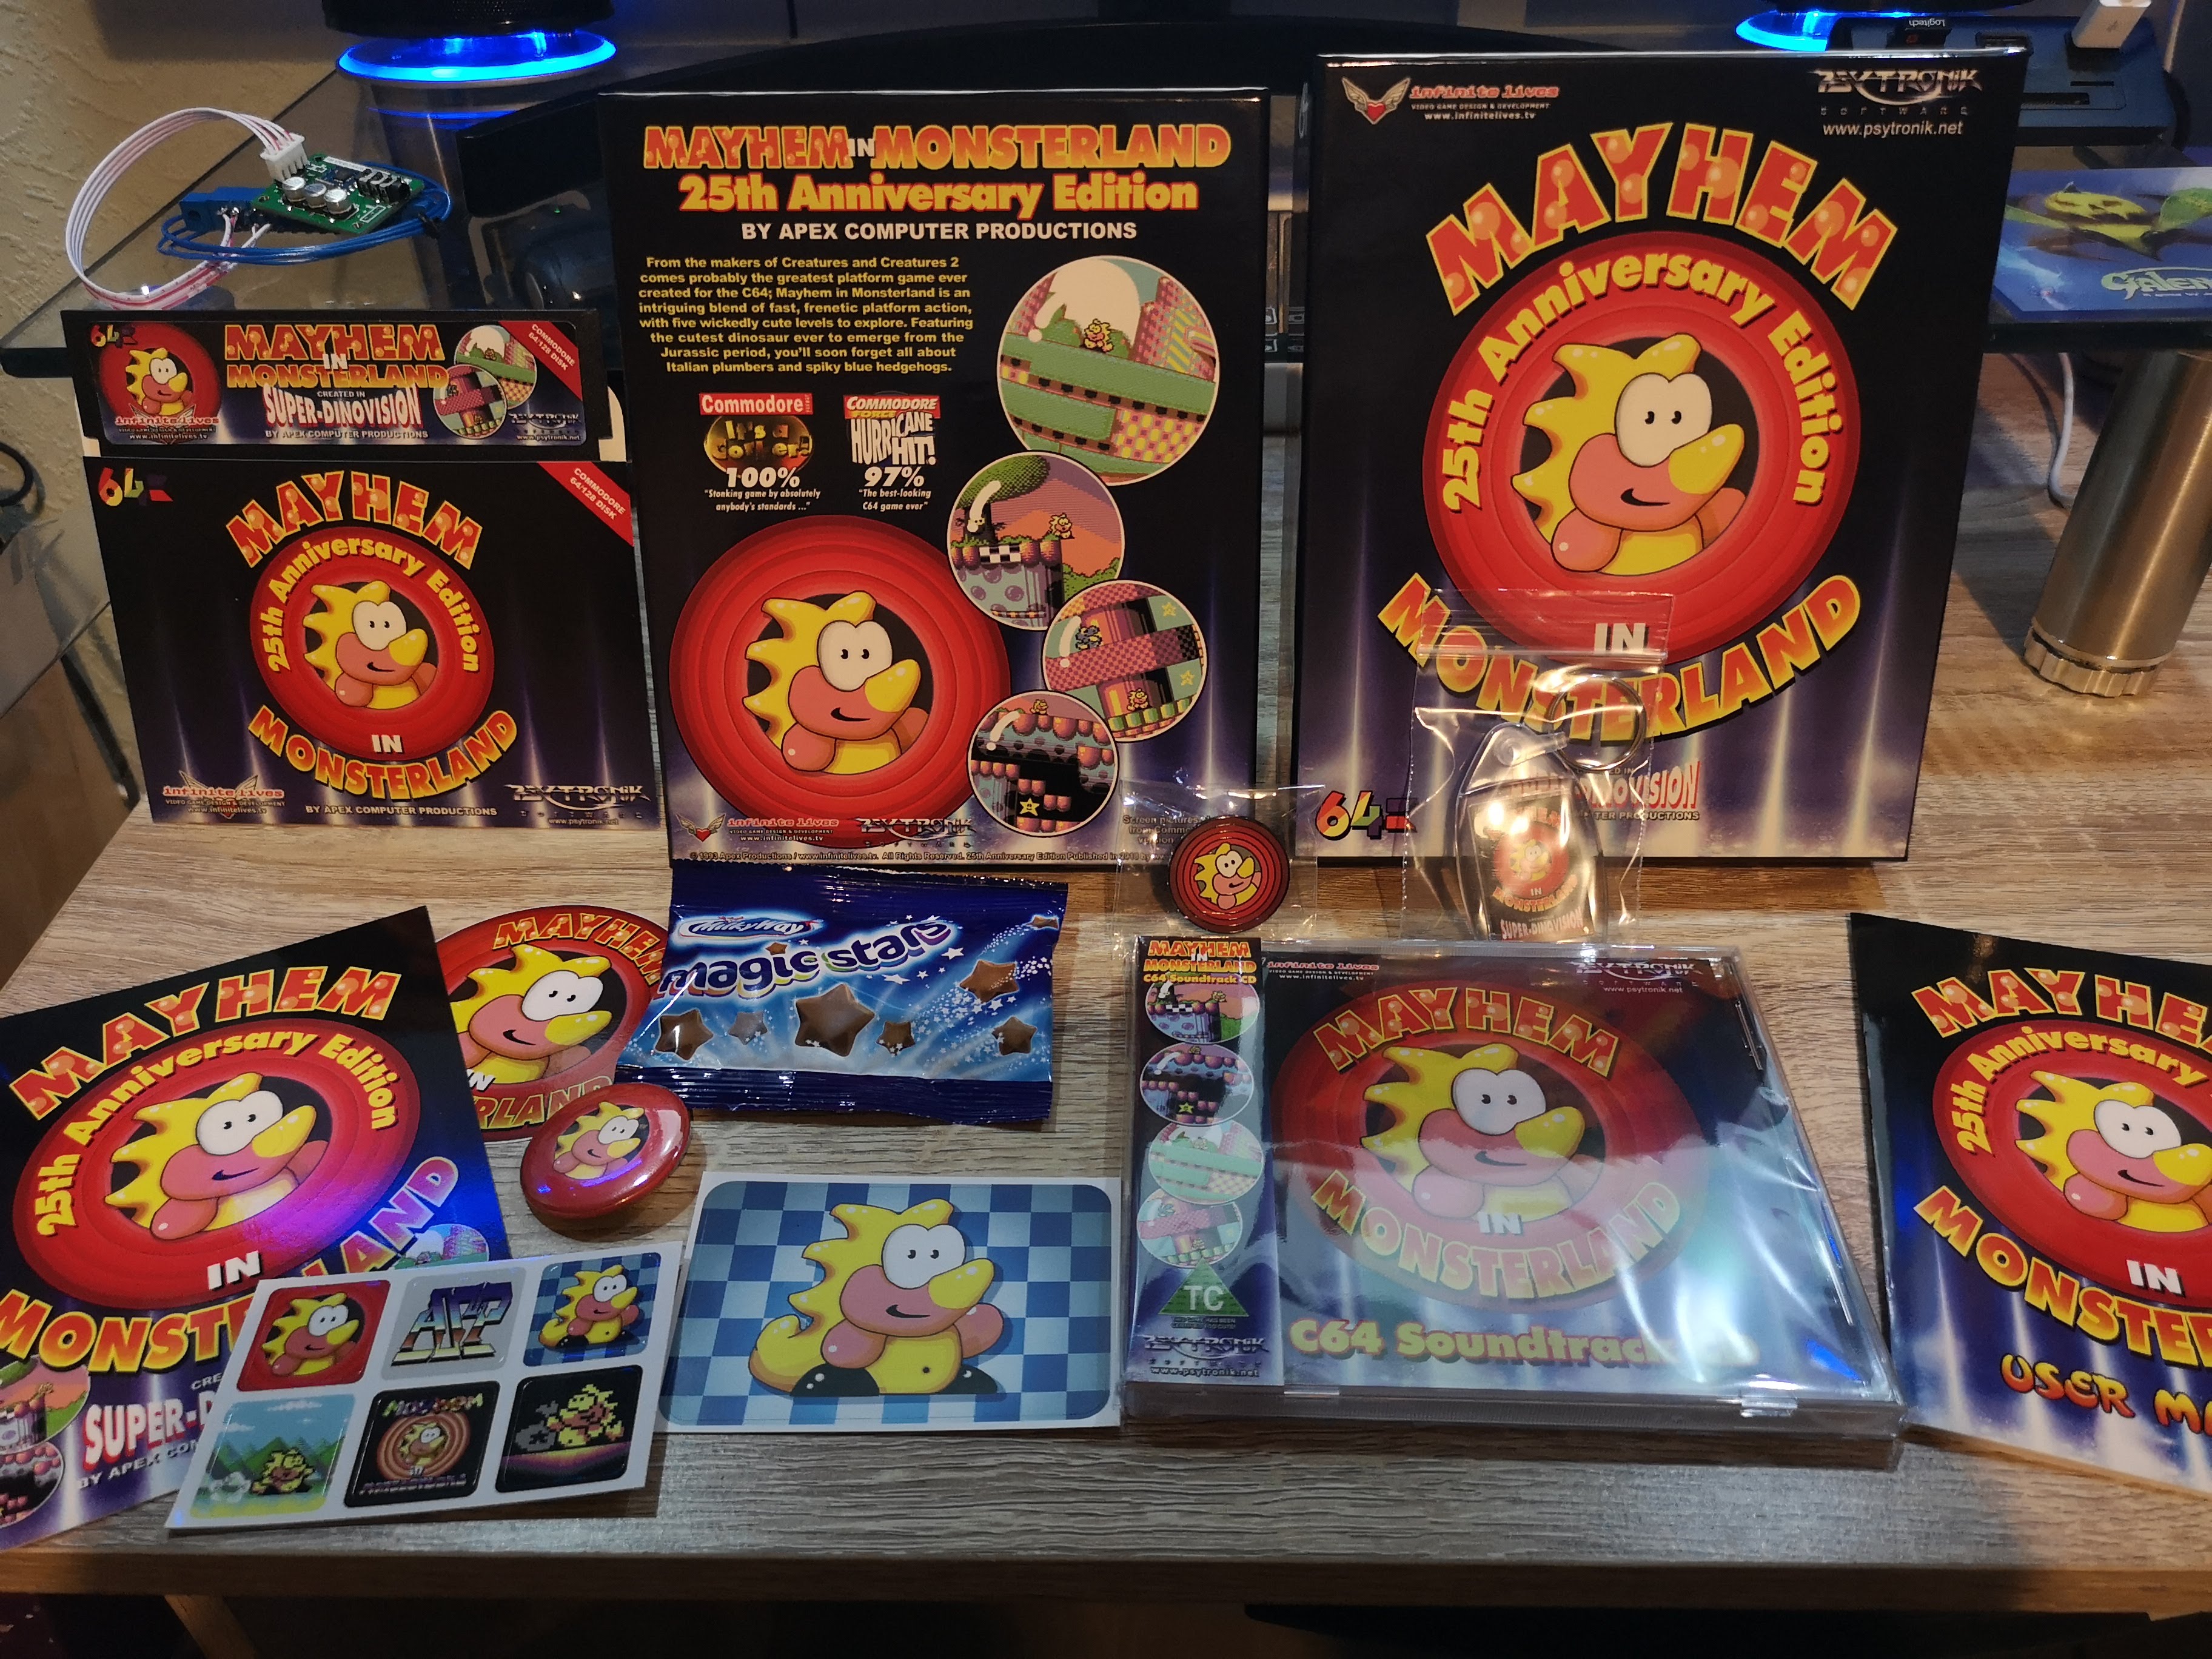
Here’s a quick look at what came in my Mayhem in Monsterland 25th Anniversary Collector’s Edition game I received yesterday. I have to say I was super impressed with the design and finish of the box, it looks and feels amazing. It’s clear that an awful lot of love and attention has been lavished on this release…


The Generation Game…

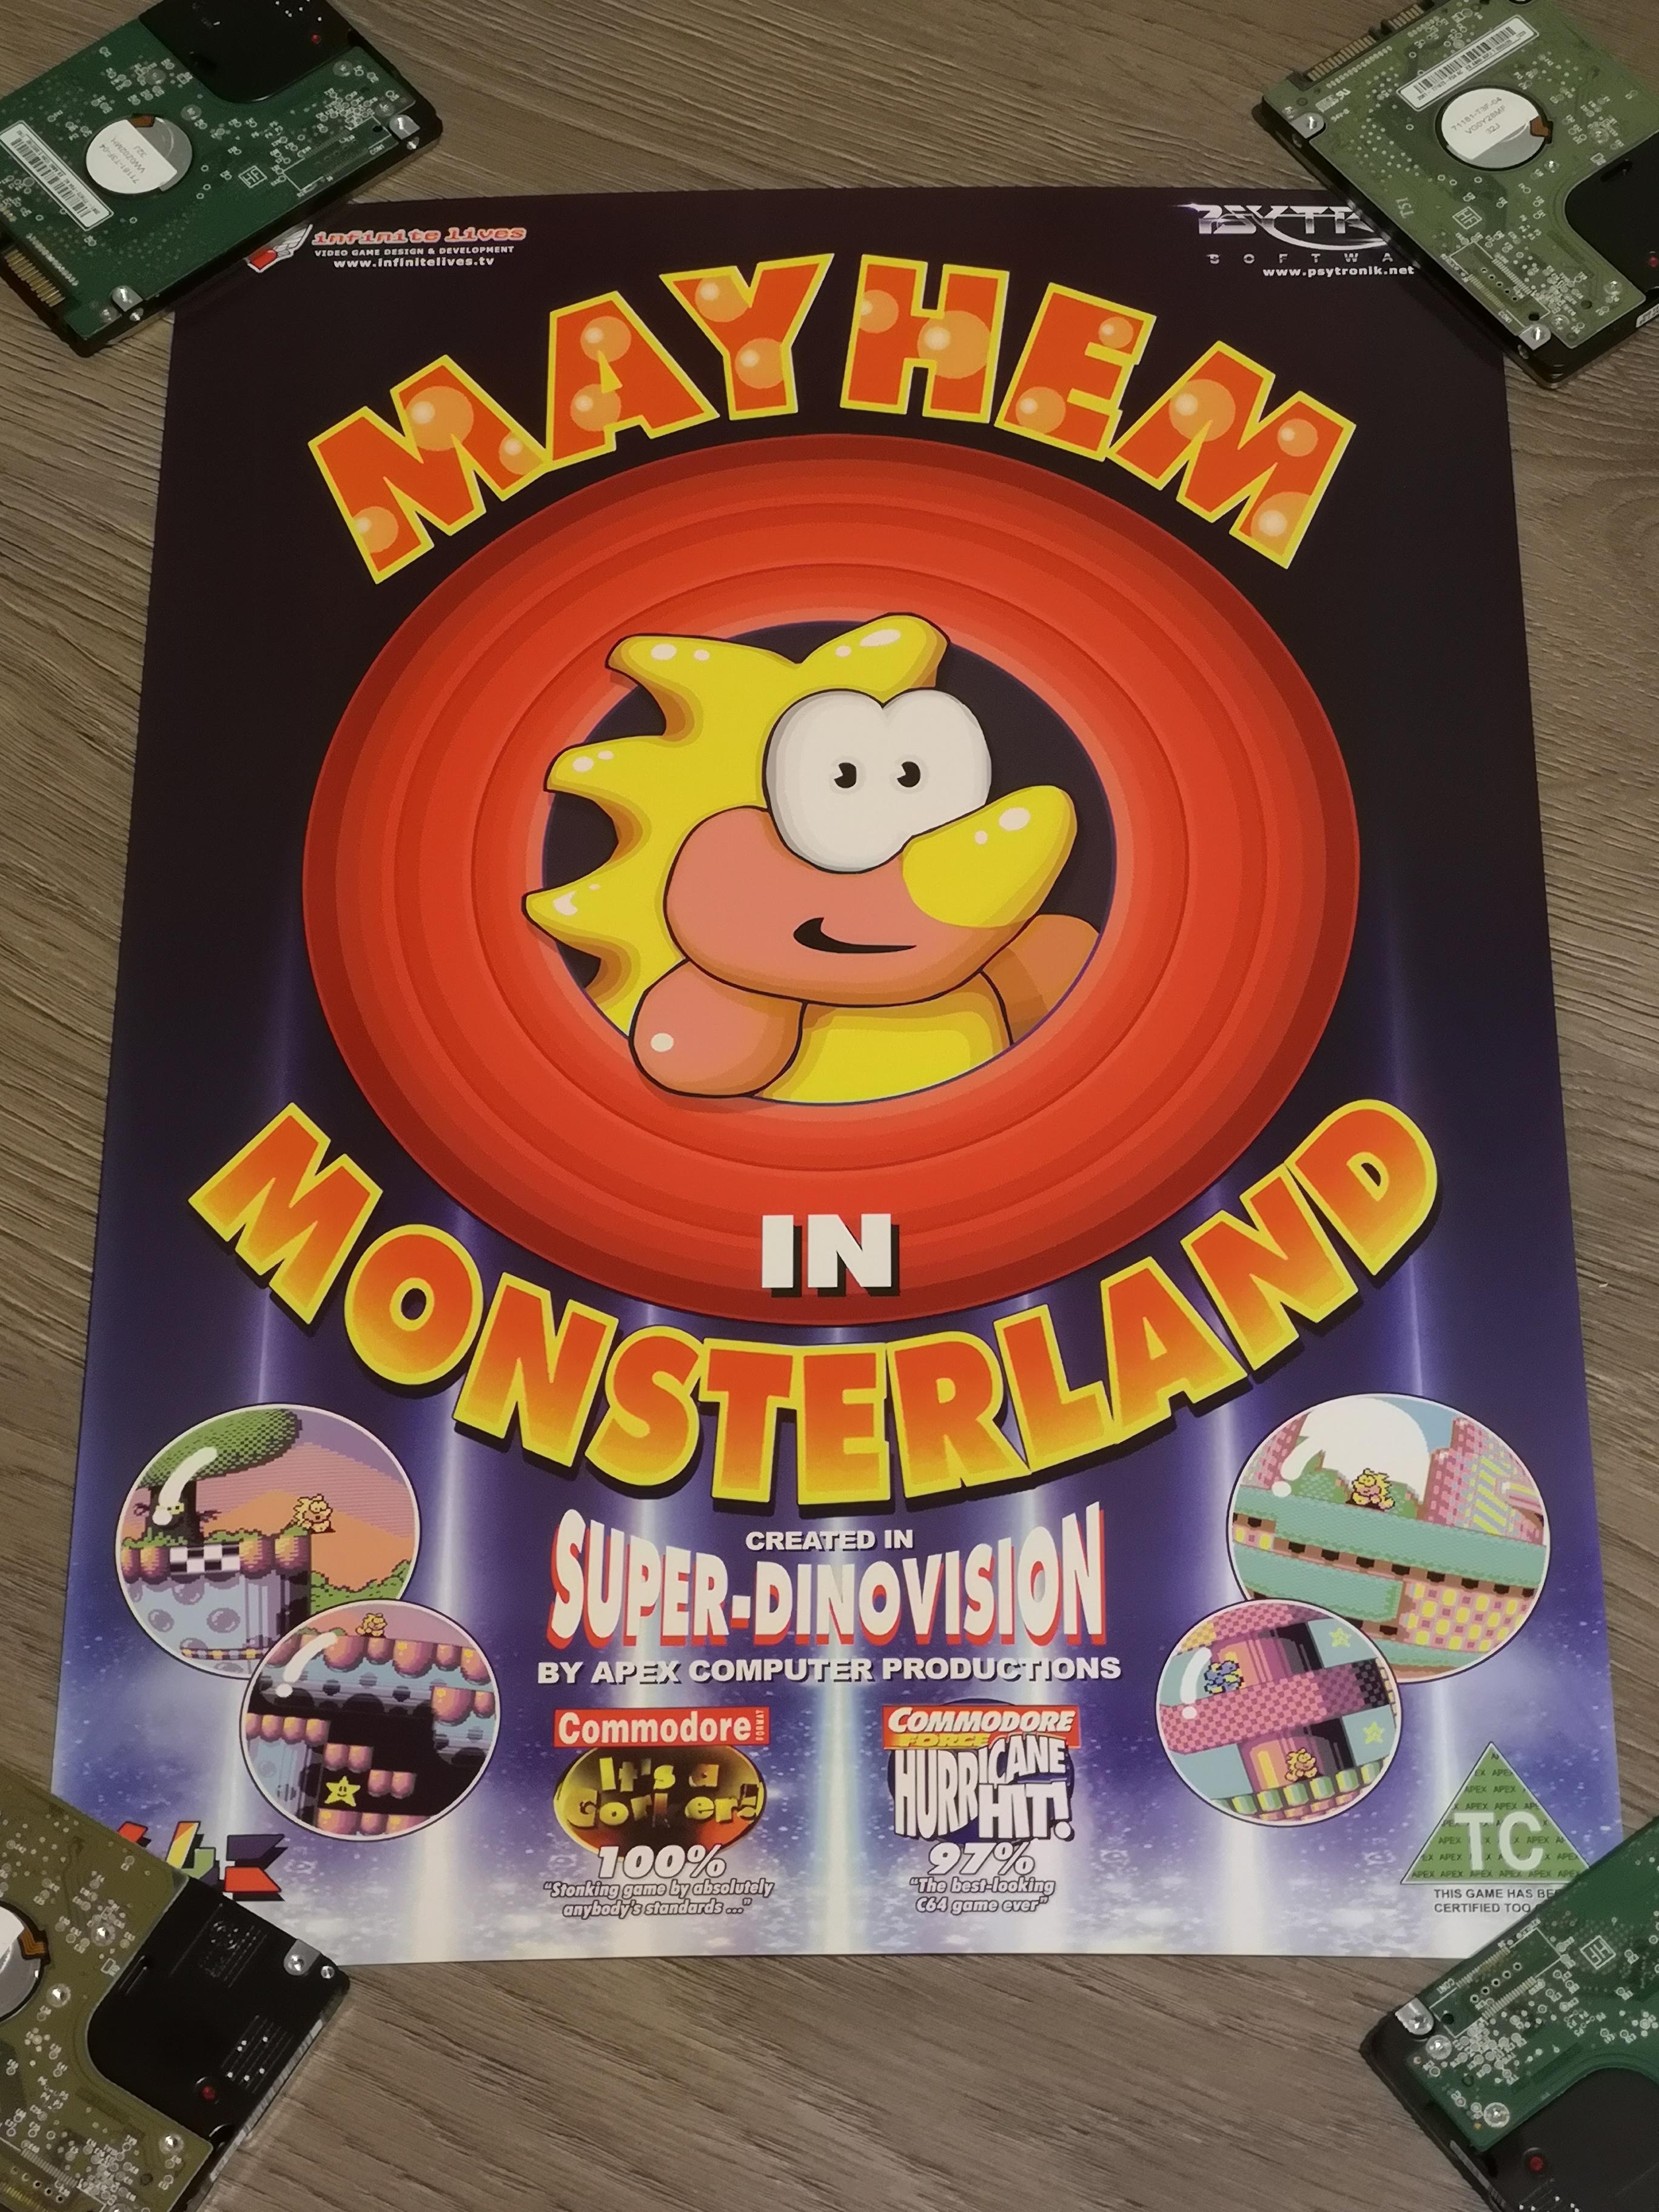
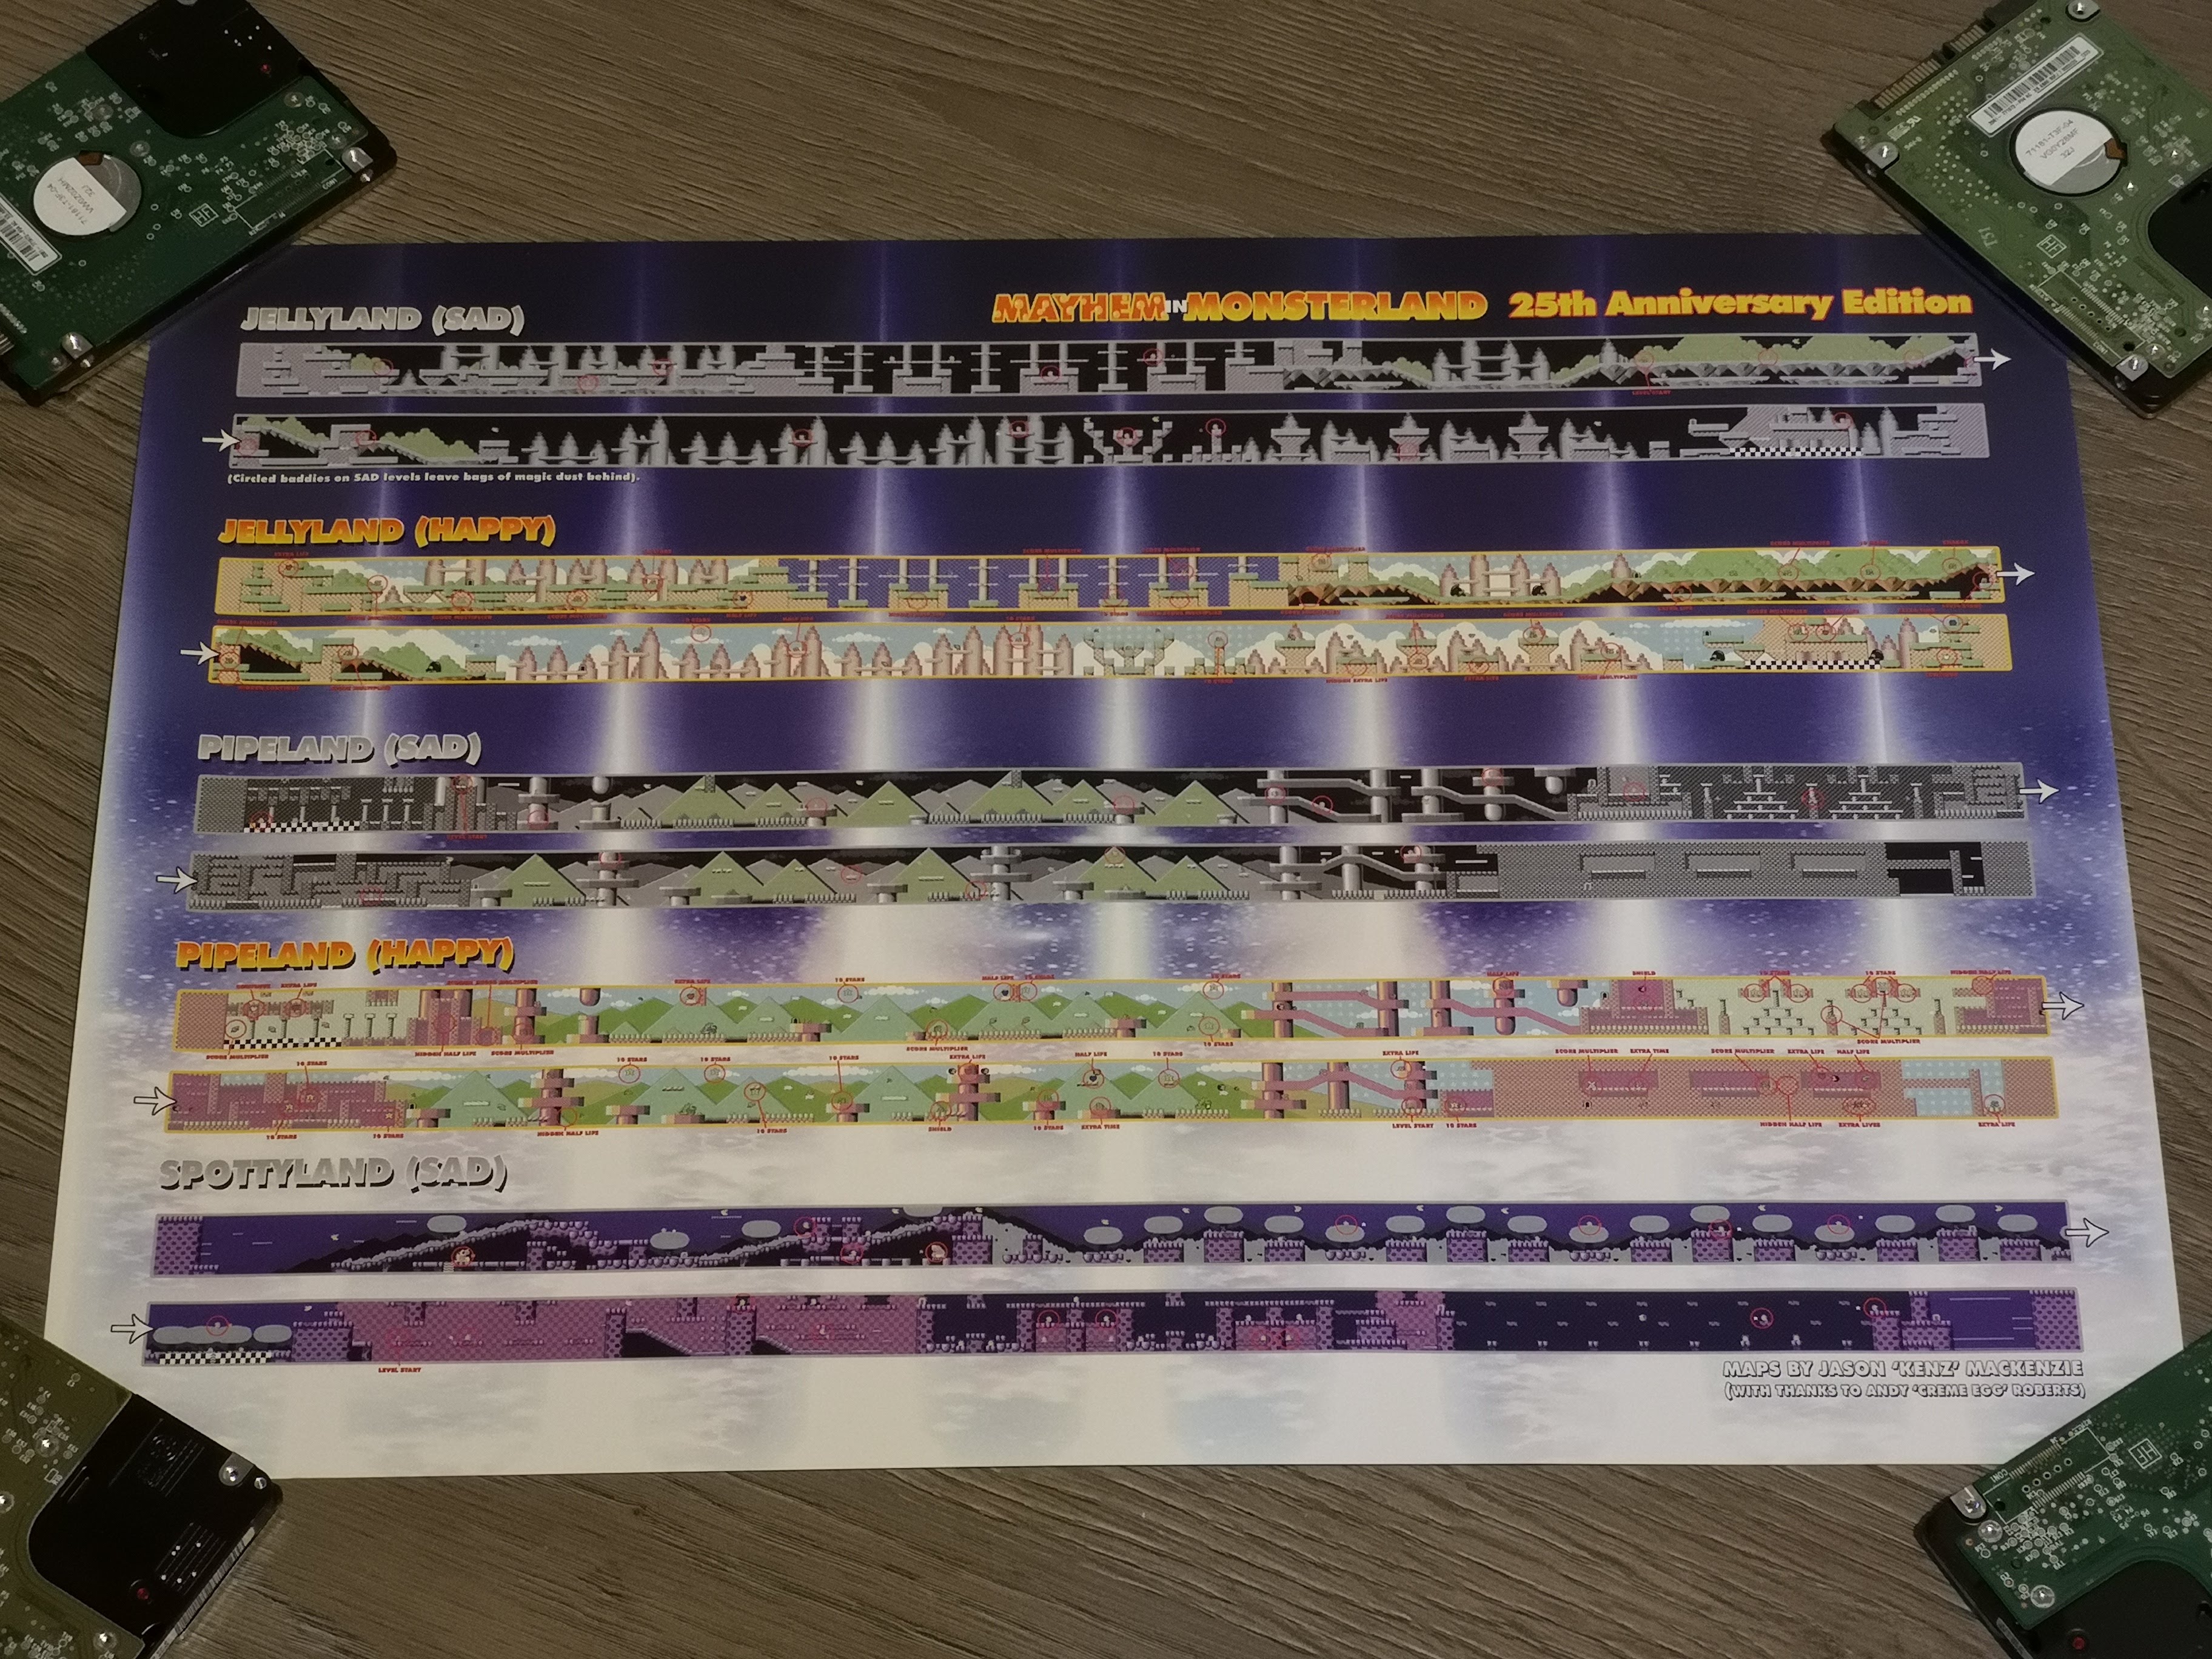
Inside the box things got even better, it was literally crammed full of goodies. Box contents included the game on a 5.25″ floppy disk, a soundtrack CD, glossy full colour user manual, art postcard, key ring, loads of stickers, 2 pin badges, an A3 glossy art poster and a double sided A3 map of all the levels! There was also an unexpected, but much appreciated packet of Milky Way Magic Stars in there too. Needless to say it didn’t last long!


I’ve bought my fair share of special edition games over the years but for the money, Mayhem in Monsterland 25th Anniversary Collector’s Edition is definitely one of the finest in my collection. You can find out more about this release over at the Binary Zone Interactive Store.


C64 LCD Cassette Slideshow

C64 LCD Cassette Slideshow

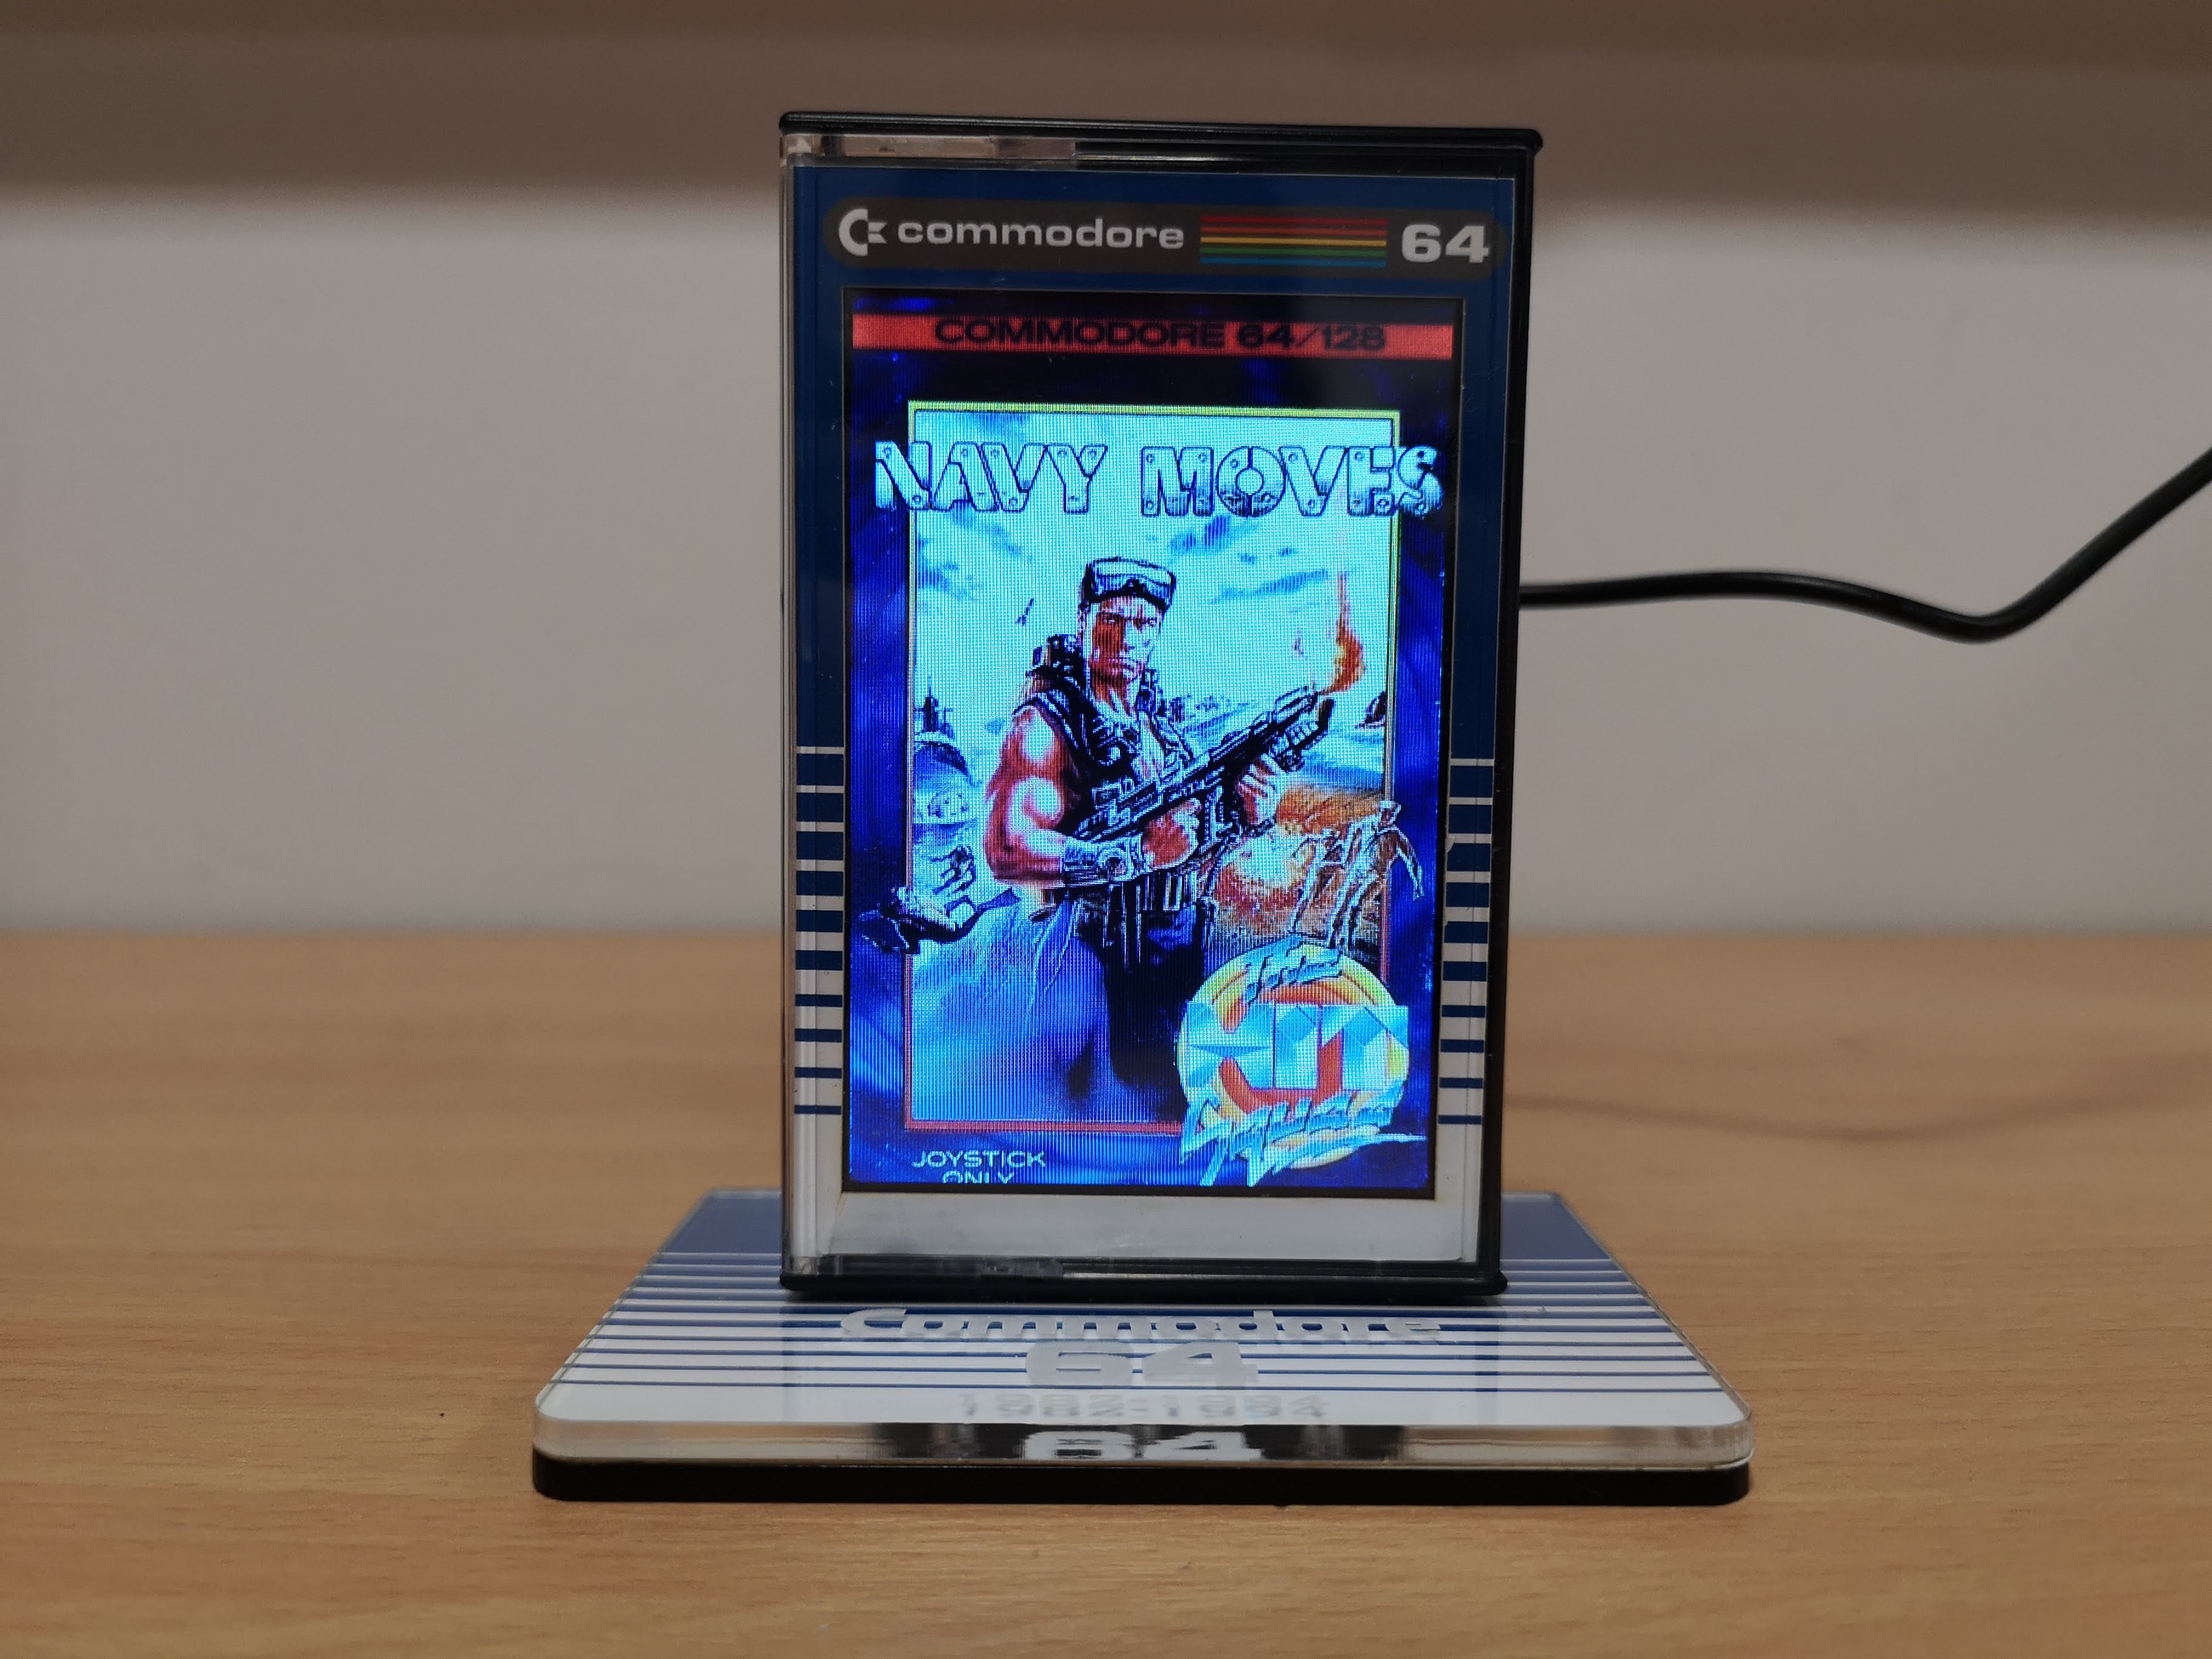
I saw this “C64 LCD Cassette Slideshow” whilst browsing through my twitter feed one night a few weeks ago. The moment it caught my eye I knew I had to have one for my man cave. Today it finally arrived and I’m over the moon with it so thought I’d share some photos and info about it.


C64 LCD Cassette Slideshow

Slideshow in action – note the timings are greatly sped up in this GIF.


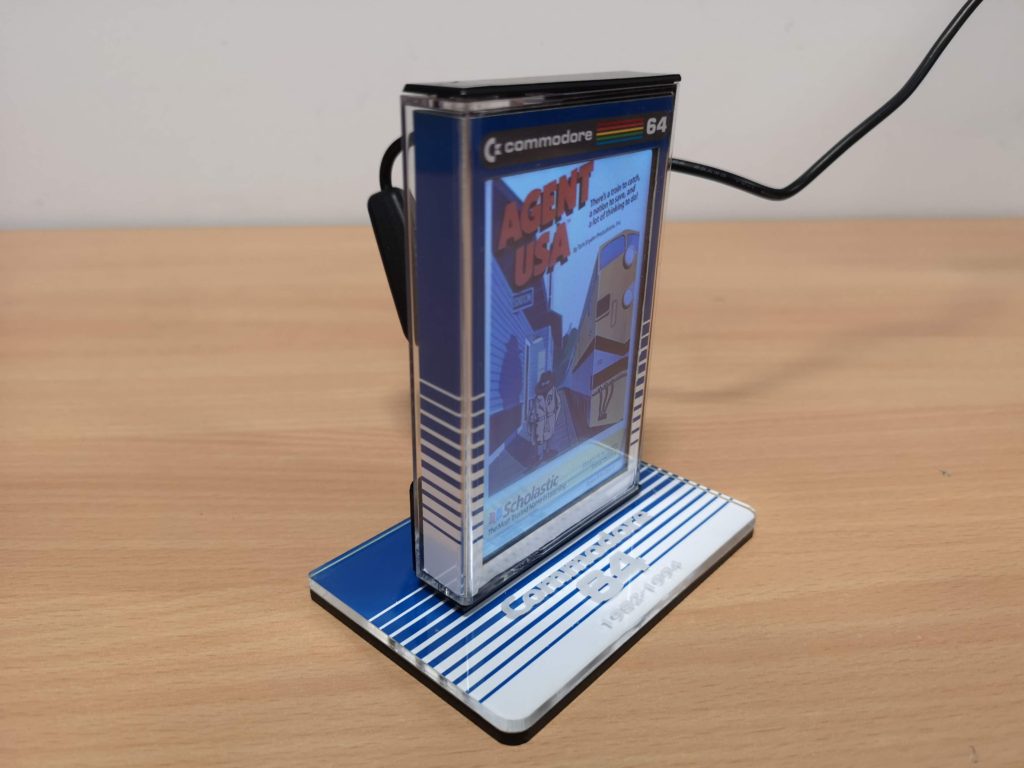
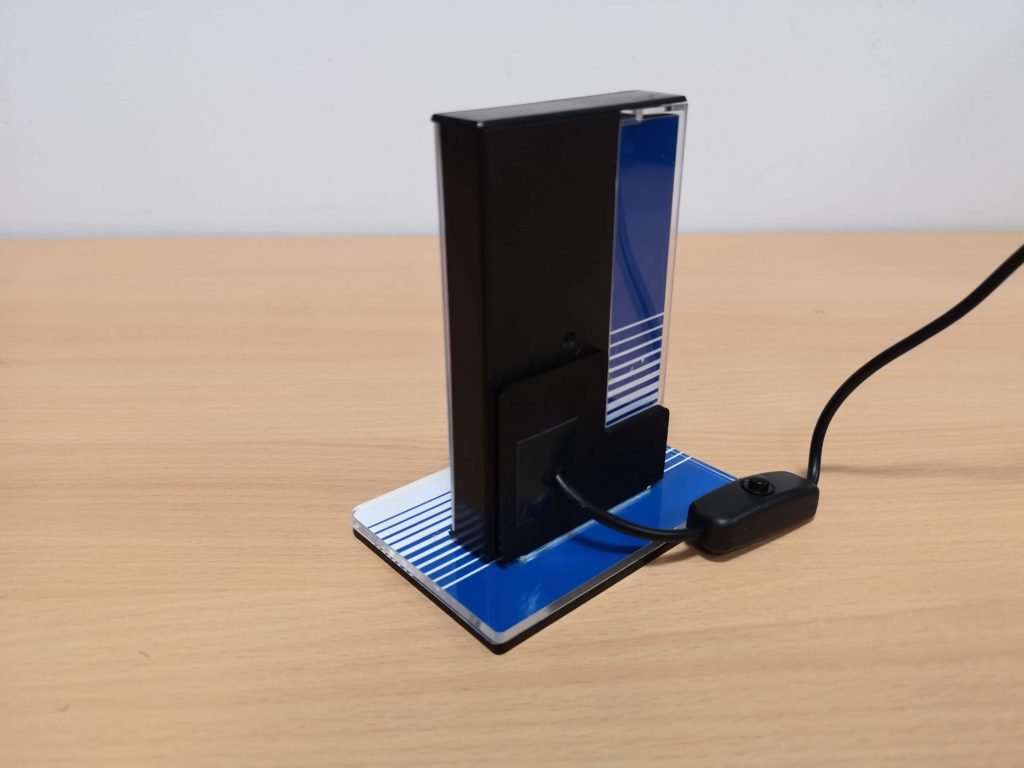
It’s made from a real cassette tape box and has a 4″ LCD panel mounted inside, framed by a Commodore styled inlay. I’m not entirely sure what is driving the screen (and I’m not going to risk breaking it by opening it up) but I suspect it’s probably a Raspberry Pi. The slideshow comes ready to go with ‘over 2500 images of nostalgic games’ according to its’ creator. Each image is on display for around 5 seconds before moving onto the next automatically (my animated GIF has sped up the timings greatly).


C64 LCD Cassette Slideshow

Side view


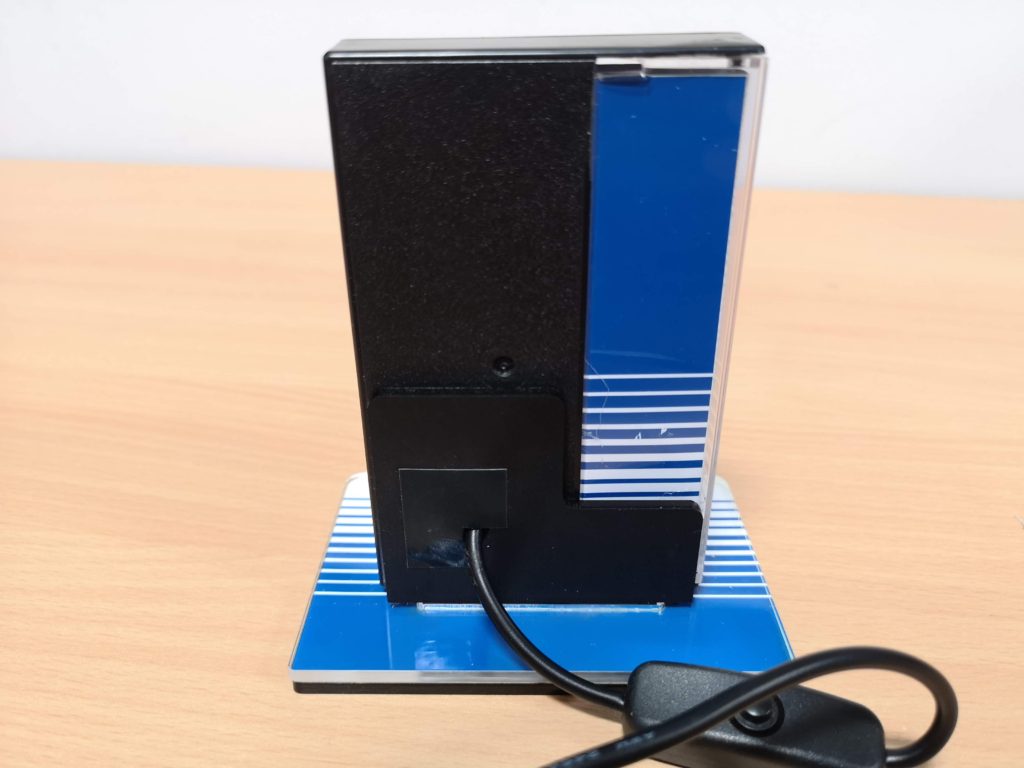
It’s mounted on a stylish Commodore themed perspex base that features the iconic Commodore blue and white stripes and the words ‘Commodore 64 1982-1994’. Around the back there is a decent length USB cable which provides power for the device. The cable is permanently attached and incorporates an inline power switch so it can be turned on and off without unplugging the cable which is a useful feature.


C64 LCD Cassette Slideshow

Rear view – note the inline power switch on the USB cable


The C64 LCD Cassette Slideshow is completely hand crafted to order but has been completed to a high standard. It would have been nice to have access to some sort of timer facility to have it automatically turn on and off at preset times but that probably would have added to the complexity and cost. At £80 for the 4″ version including postage it’s not a cheap item but I think it’s a very fair price for what I received. There is a 3.5″ version that is £5 cheaper but don’t know why anyone would choose that over the larger screen for the sake of saving a measly £5.


C64 LCD Cassette Slideshow

A closer look at the back of the device


EDIT (June 2021) – The sellers Etsy shop has now closed so it’s no longer possible to buy these.


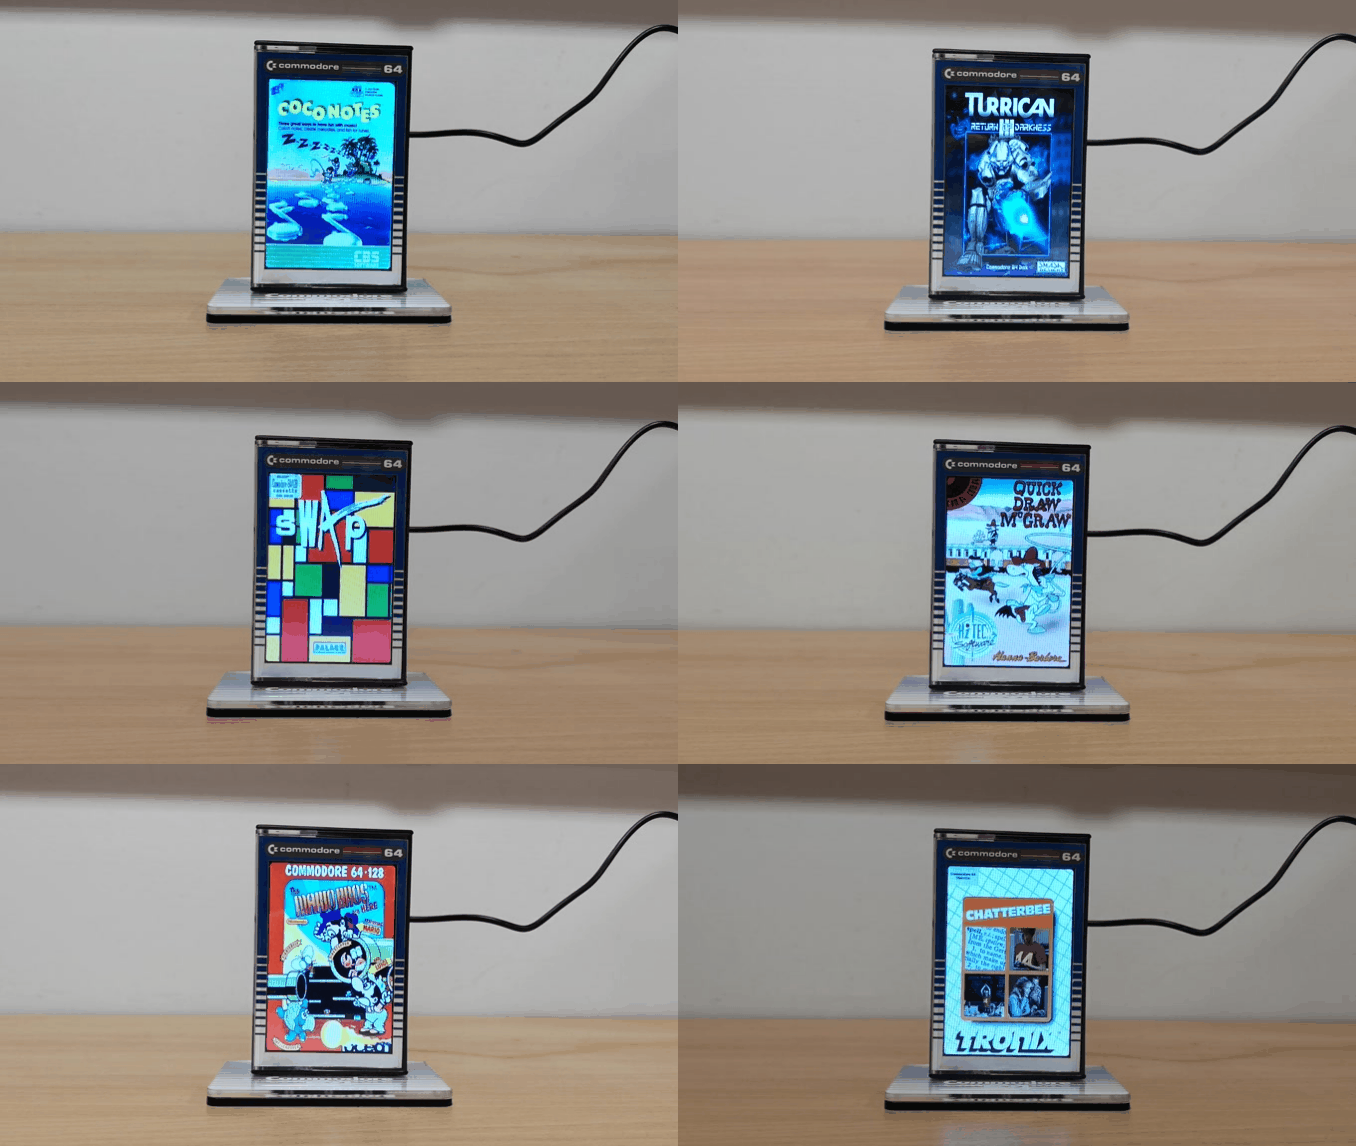
Finally here’s a few more photos of some cassette covers…


This slideshow requires JavaScript.

Network your Commodore 64

I’ve had my 1541 Ultimate II+ cart for around a year now. It’s a fantastic modern addition to my Commodore 64 and one that I certainly wouldn’t ever want to be without. However in all that time I’ve never bothered to explore using its built-in Ethernet port. Well the other day I finally got around to setting it up and am really glad I did too. I thought I’d share my experience in case it can help someone else get more out of their device. Basically this post will explain how to network your Commodore 64   (with a 1541 Ultimate II) to copy your games, music, demos, documents or anything else straight to your 1541 Ultimate II without ever needing to swap USB drives around.


Connecting to your network

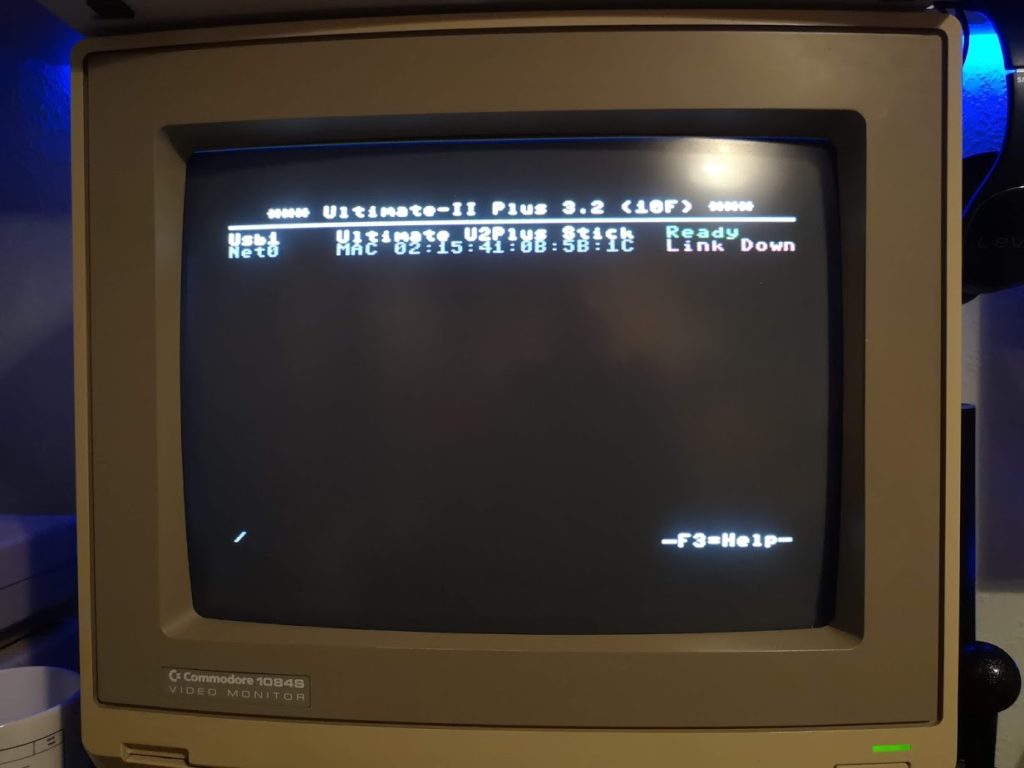
You may have noticed the red ‘Link Down’ status that appears on screen when you press the menu button on your Ultimate cart. The is basically the built-in network card of the device telling you that it’s not connected to anything. The ‘MAC’ with the 12 Hexadecimal codes along side is the ‘MAC Address’ of your cart in case you need to find it on your network router.


Network your Commodore 64

‘Link Down’ Status shown in red


All you need to do to network your Commodore 64 is connect it to your router with an [amazon_textlink asin=’B00J3UYNII’ text=’Ethernet cable’ template=’ProductLink’ store=’lyonsden-21′ marketplace=’UK’ link_id=’885964d9-fae3-11e8-9619-05a5a6b29c97′]. Providing your router is configured to use DHCP (and by default, pretty much all of them are) your cart should pick up an IP address on your network straight away.


Network your Commodore 64

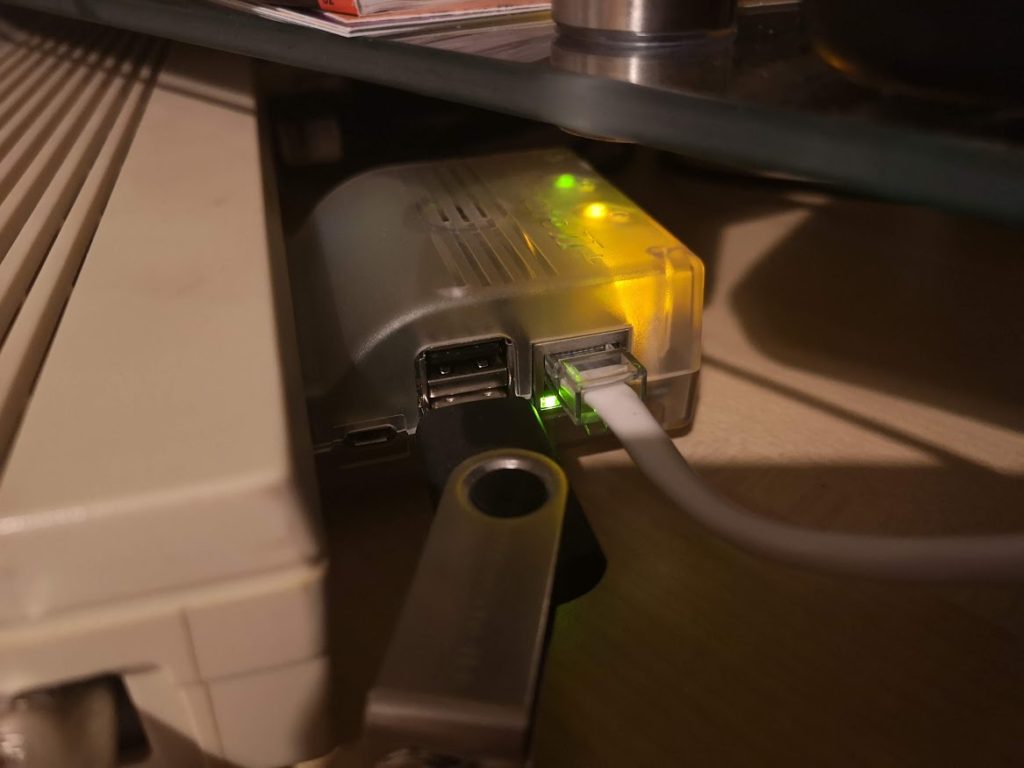
Ethernet cable plugged in. Note the Green link/activity light. This should blink on and off.


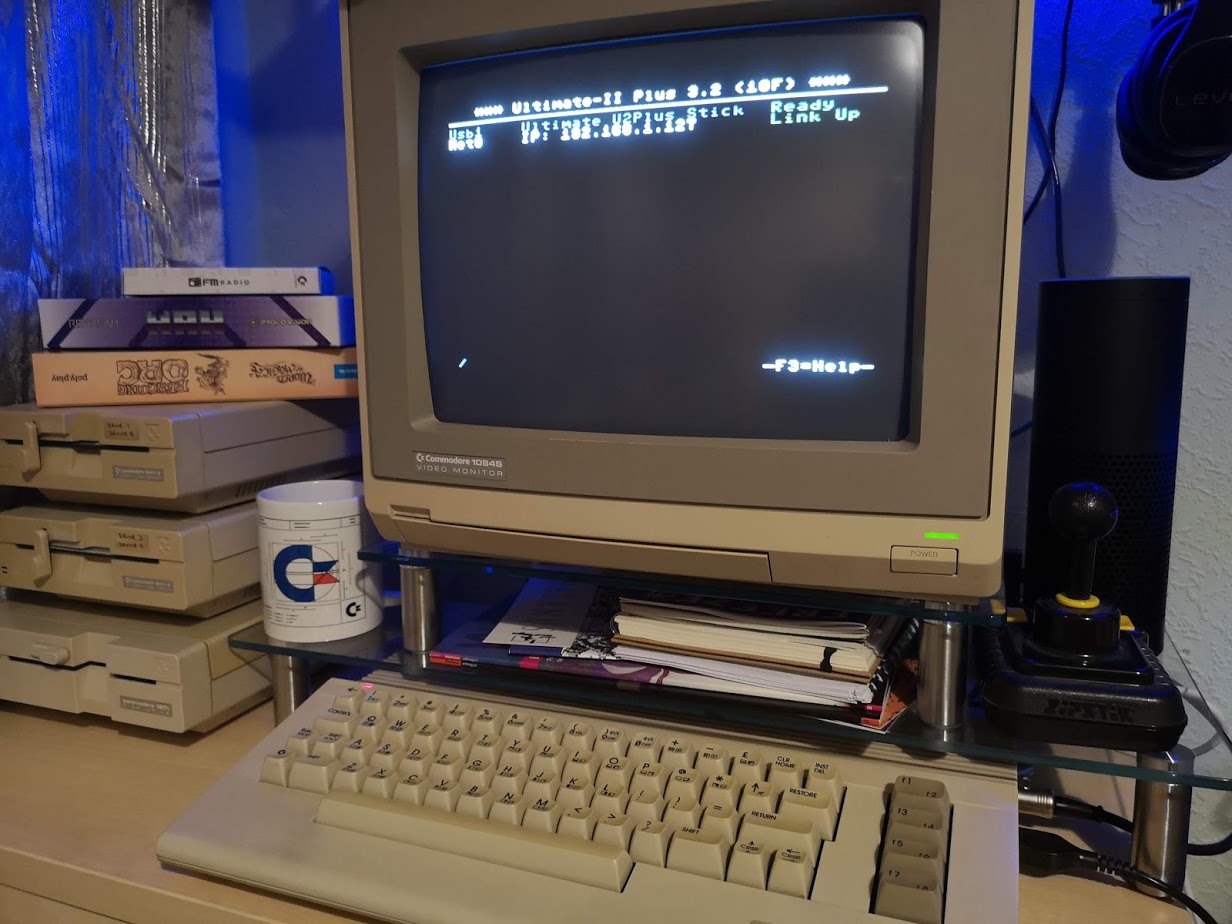
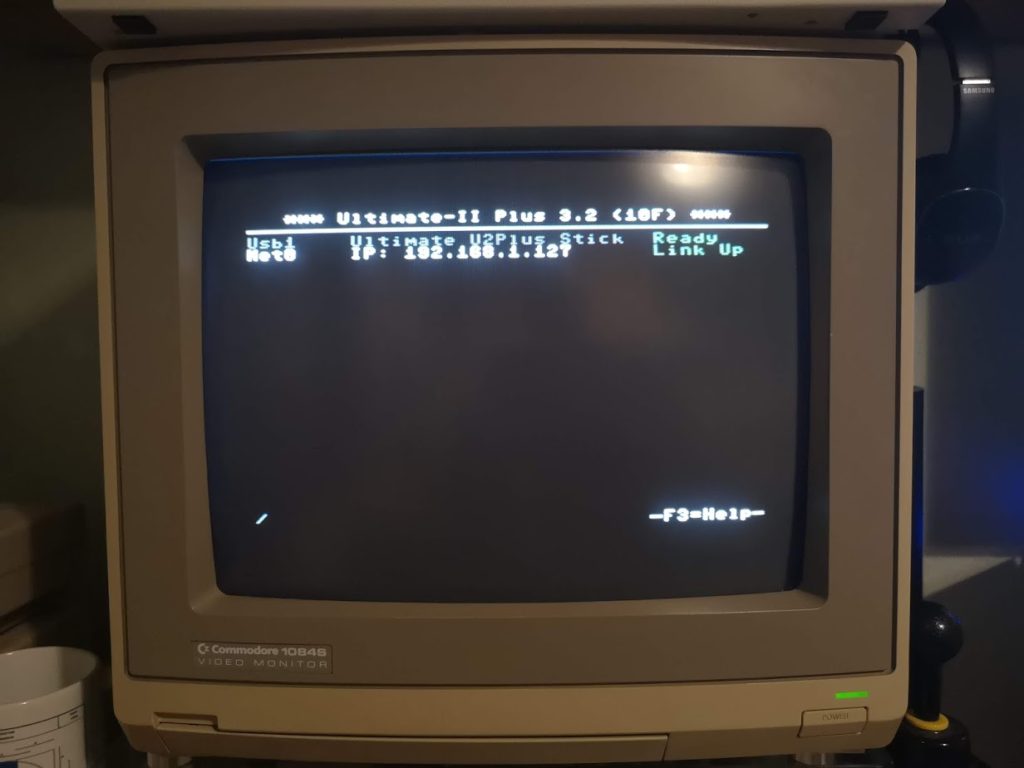
After you have plugged the cable in you should see a green activity light appear on the device itself. You should also see an IP address appear on the menu screen and the red ‘Link Down’ status should change to a green ‘Link Up’.


Network your Commodore 64

‘Link Up’ Confirmation Status and IP address shown


FTP Software

So far so good, but it’s still not much use at the moment. To be useful you’re going to need some FTP software on your PC. I’ll use Filezilla as an example as it’s free and easy to use. The principal will be the same regardless of what software you choose to use. (As a side note I normally use Directory Opus which is still going strong – only just for PC’s these days rather than the Amiga). Note, if you are going to download and install Filezilla it’s just the client you want, not the server version. Also make sure you un-tick any boxes during the install to avoid any unwanted ‘bundled extras’ being installed (one of my pet peeves these days). The FTP software is going to allow you to connect to the USB storage device that is plugged in to the 1541 Ultimate II and transfer files across.


Network your Commodore 64

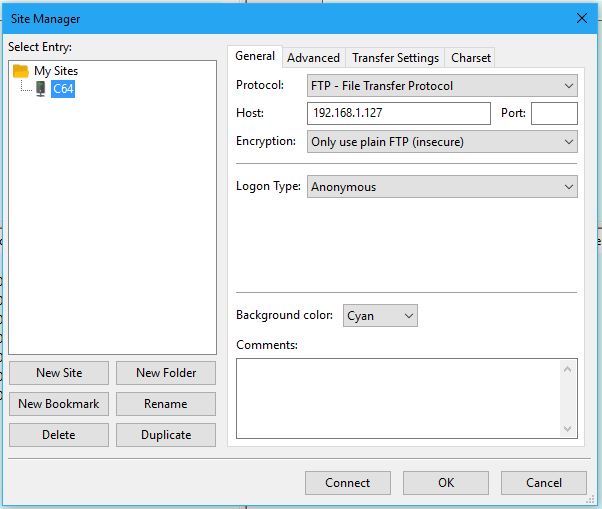
Configuring the FTP software to connect to your C64


Adding your C64 as a ‘site’

Once you’ve got your FTP software up and running you need to add a new ‘site’ to it (basically your 1541 Ultimate II). Simply got to the ‘File’ menu and select ‘Site Manager’ and then click on ‘New Site’. Give the site a suitable name so you’ll be able to recognise it easily in future. I simply called mine ‘C64’. Now make sure all the various settings below are entered. These have already been entered in the screenshot above.


  • Protocol: FTP
  • Host: (this will be the IP address displayed on YOUR C64 screen)
  • Port: (you can leave this blank)
  • Encryption: Only use plain FTP (insecure). (You are only transferring stuff within your own home network so this is not an issue)
  • Logon Type: Anonymous


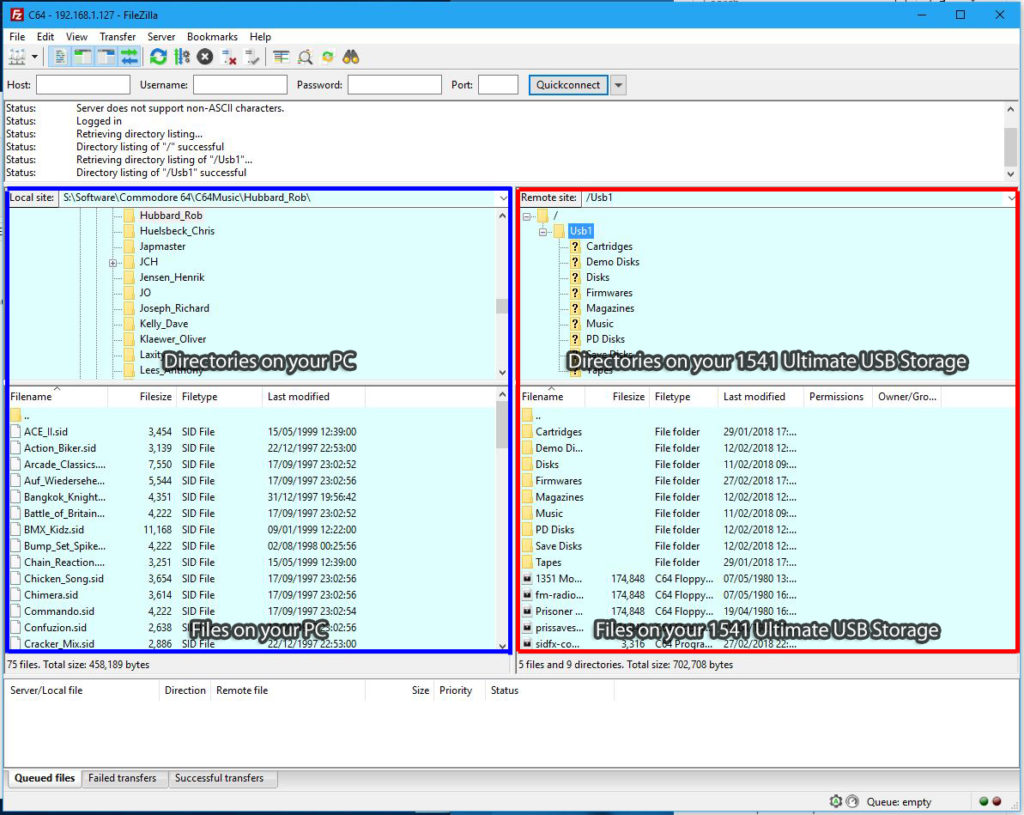
Once you’ve checked that all the above settings are correct, click on ‘connect’. The new site you’ve just created will be saved and it should connect to your Ultimate cart and display something similar to the screenshot below.


Network your Commodore 64

FTP software – PC on the left, C64 on the right


The top window is basically a scrolling log of the actions performed by the FTP software and is just for info purposes. The two areas highlighted in blue and red above are where you can get stuff done. The left hand side is your PC and the right hand side your C64, or rather the USB drive plugged into your 1541 Ultimate II. The upper window on each side is where you can browse through the directories / folders whilst the lower section shows you the contents of them.


How to actually transfer games onto your C64!

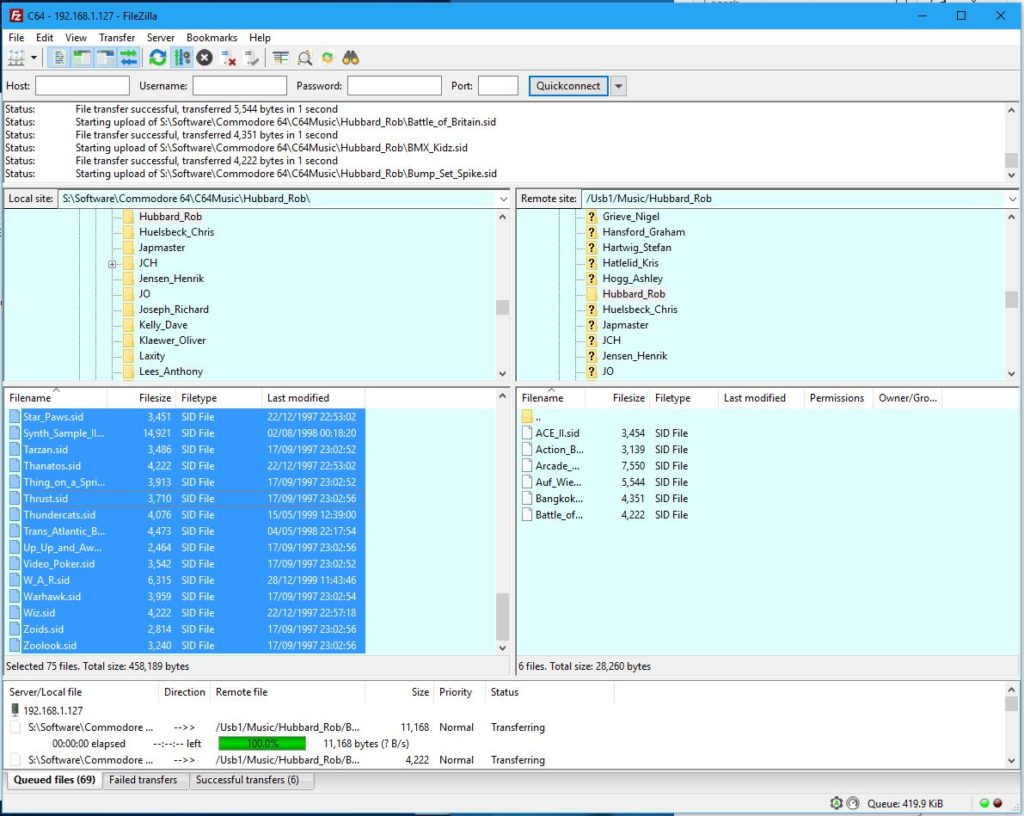
To transfer games across to your C64 all you need to do is click through to where they are stored on your PC in the left window, where you want them to go in the right window, and then simply drag and drop them over, it’s that simple.


Network your Commodore 64

Files being transfer over FTP


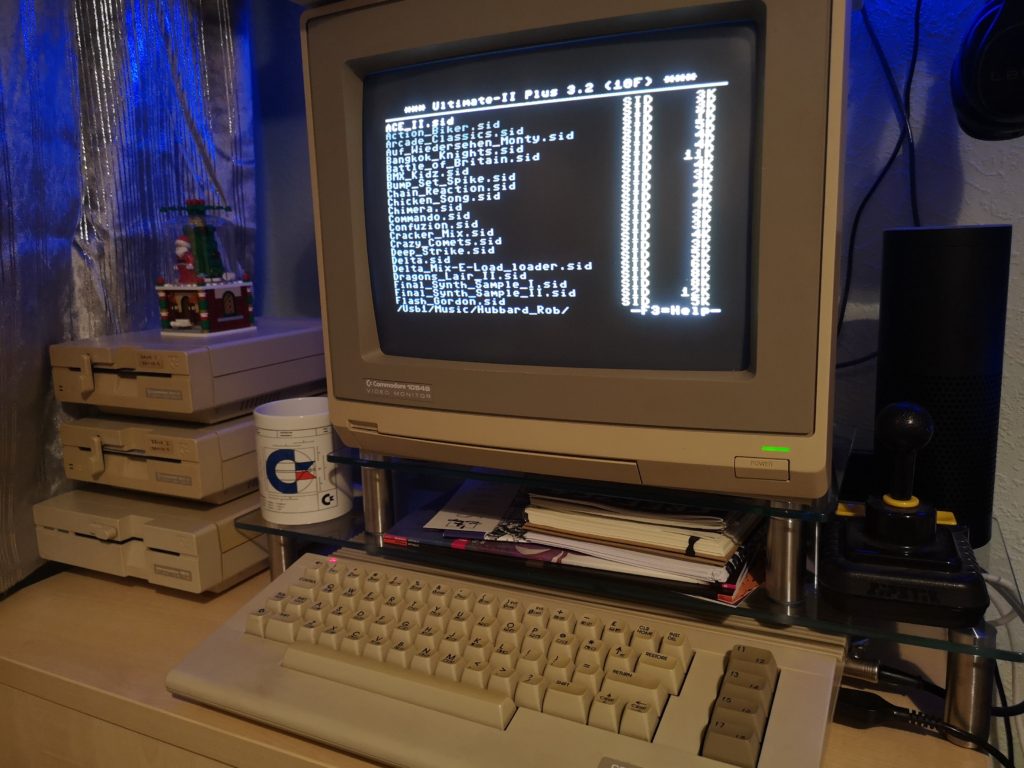
In the above screenshot I’ve dragged a bunch of Rob Hubbard SID tunes across from my PC to my 1541 Ultimate II’s USB drive. You can see a log of what is happening in the top window and view the individual files’ transfer progress in the bottom window.


Network your Commodore 64

The files on my C64 after being transferred across


The file transfers are really fast, taking just a few seconds so I find this a really quick and convenient way of getting new software onto my C64 without constantly faffing about with a flash drive. I definitely won’t be unplugging that USB drive from my 1541 Ultimate anytime soon now!


Reservations

One other thing you should probably do is to ‘reserve’ your C64’s IP address on your router. Most routers offer the facility to do this. This will ensure that every time you turn your C64 on it will pick up the same IP. If you don’t, it will likely get a different one each time and you will need to change the connection info in the FTP software.


Apparently you can also connect to the 1541 Ultimate using Telnet and use it for stuff life swapping disk images on the fly for multi-disk games. I might explore this in the future but I doubt it would be something I’d use much, unlike transferring files across which I do on a regular basis. Anyway I hope this has helped you to network your Commodore 64. If you have any questions or comments please do get in touch.