Lyonsden Blog

Tag - USB

Amiga “Classic” USB mechanical keyboard

Amiga USB Keyboard

Back in 2020 I backed a Kickstarter campaign run by Simulant Systems Ltd. to create a range of new retro USB keyboards for the Amiga (and other systems). Sadly it never reached its funding goal but they didn’t give up on the idea and continued to find a way to make it work. Well nearly two years later they finally achieved their goal and have produced a batch of what they are calling  Amiga ‘Classic’ USB mechanical PC keyboards.  They’ve been furiously packing and dispatching them since early December and mine arrived last week!
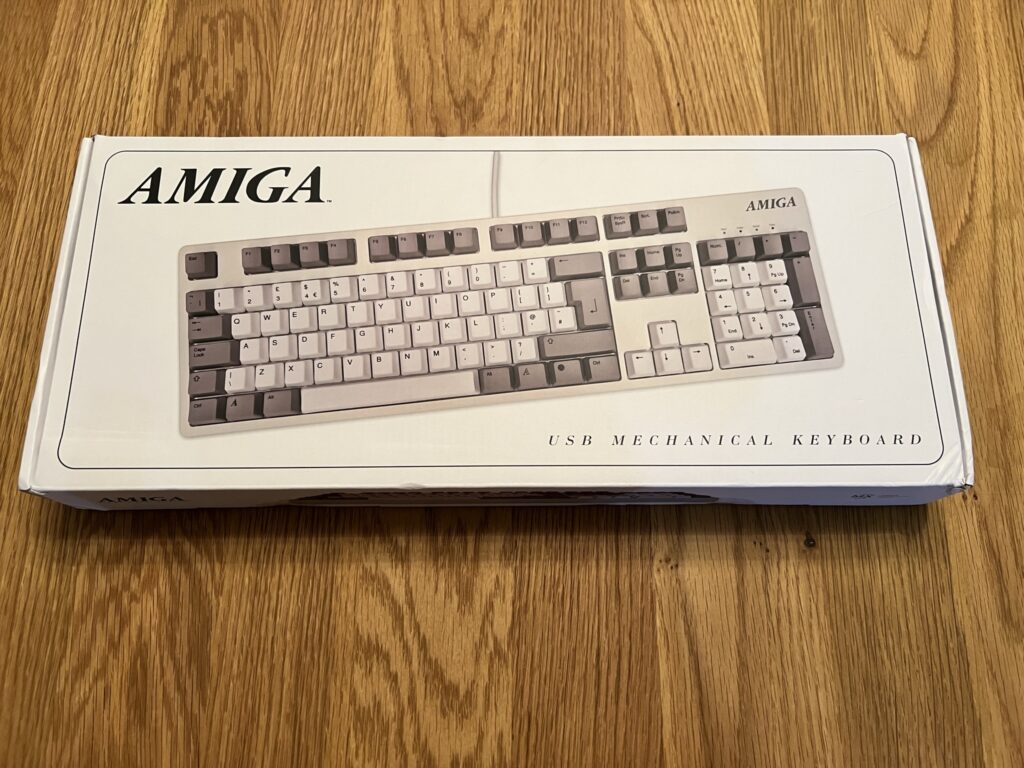
 

Amiga USB Keyboard

Front of the box.


What makes this extra special is that it has the official registered Amiga logo both on the box and the keyboard itself thus making it an official piece of new Amiga hardware being sold in 2023! Sadly it is actually a USB PC keyboard which is why there are Windows, Linux and Mac logos on the box but no Amiga Tick or boing ball! However they are working on an adapter that will allow it to connect to real Amiga. This gizmo will actually fit inside the keyboard case which is very intriguing. Definitely looking forward to finding out more about that when it’s released!
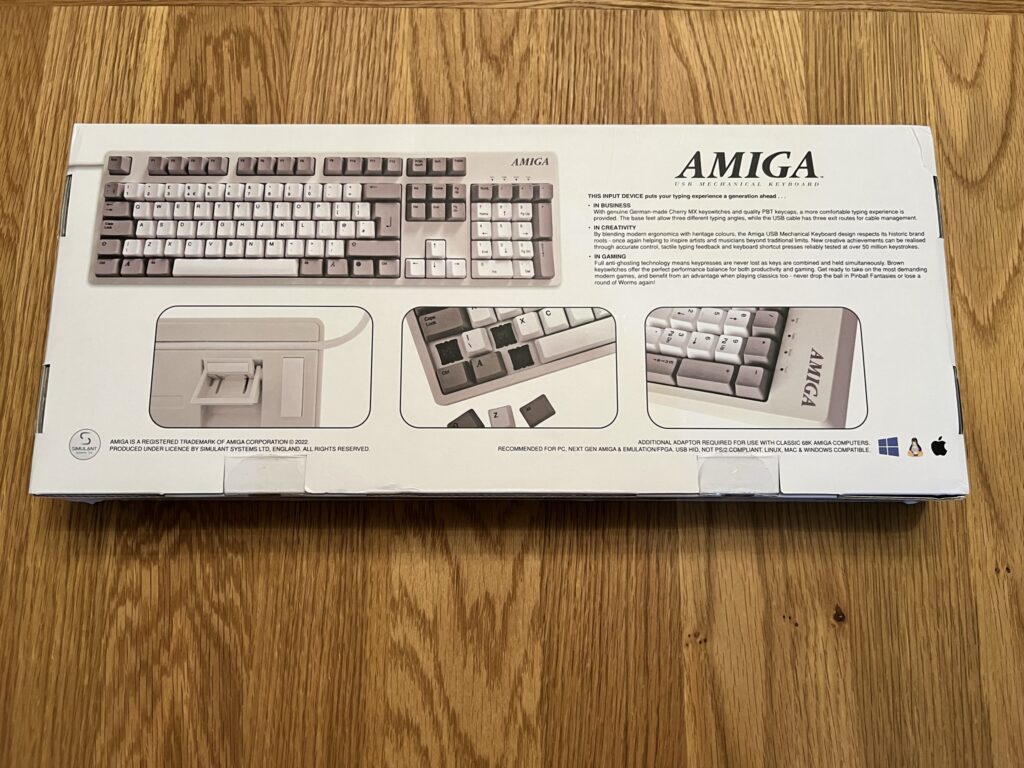
 

Amiga USB Keyboard

Back of the box.


The keyboard packaging is really attractive and worth keeping hold of. It would certainly not look out of place on a shelf in you local Currys (PC World). Opening it up reveals the keyboard safely cocooned inside a foam bag along with a guide sheet and some promo flyers.
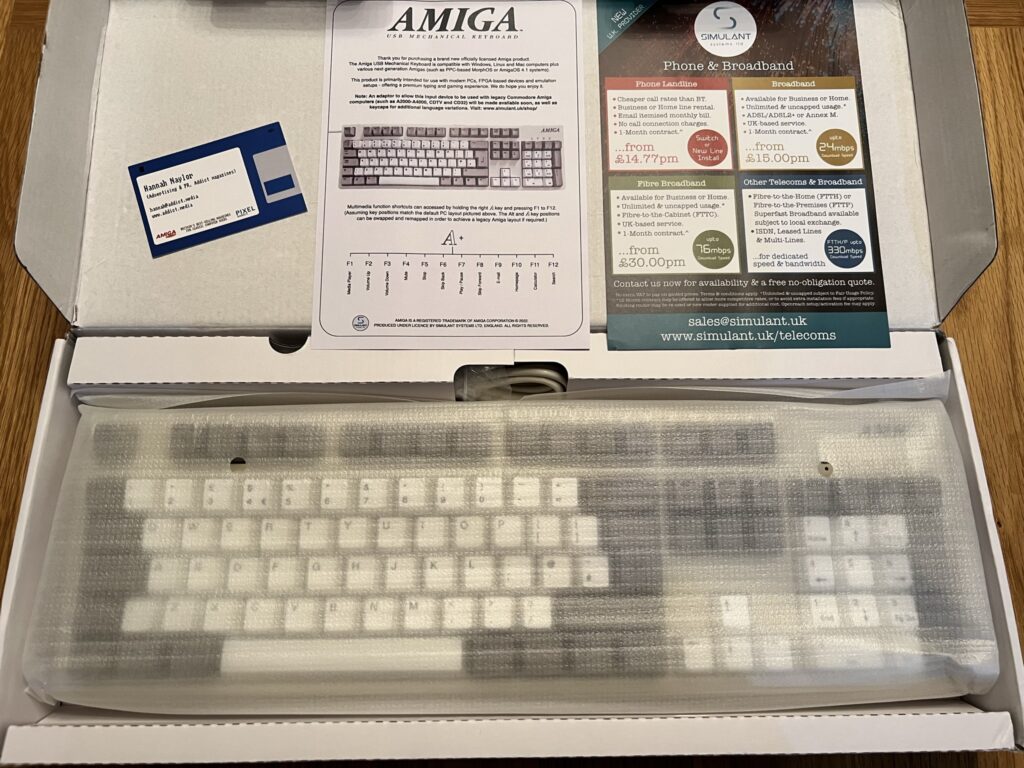
 

Amiga USB Keyboard

Who doesn’t love the smell of freshly opened tech?


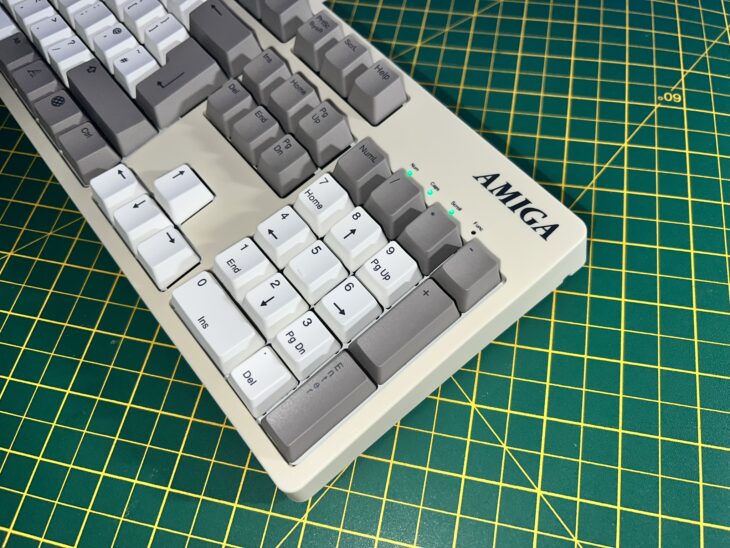
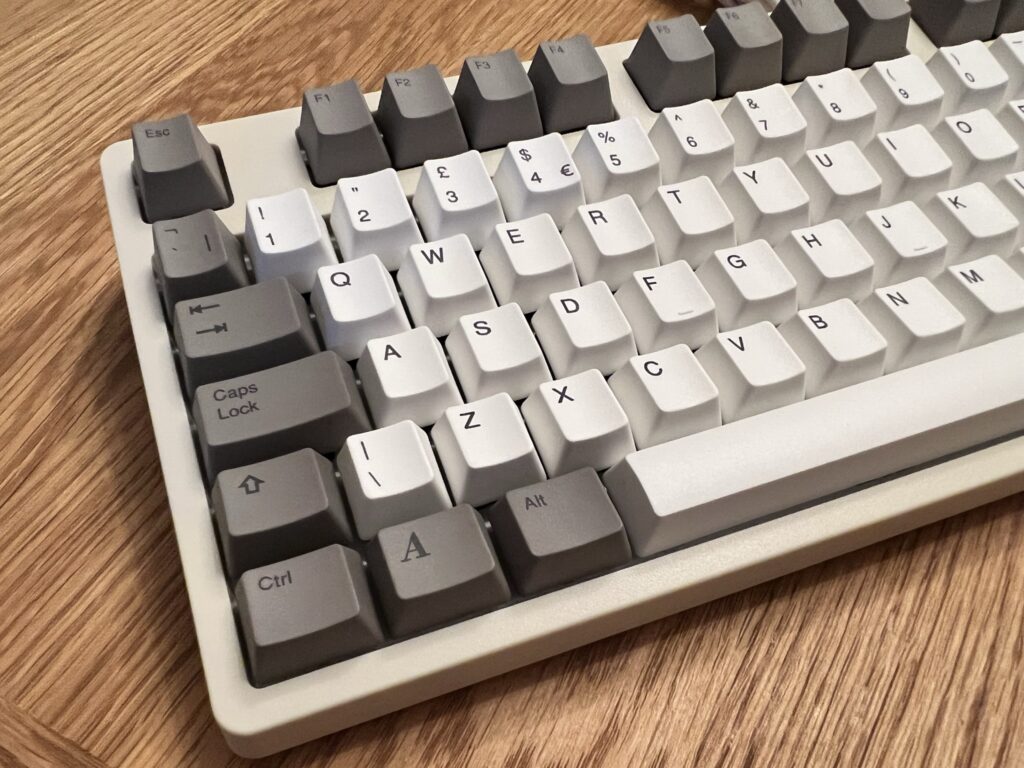
The keyboard itself is beige with a mixture of white and grey keycaps that follow the Amiga aesthetic well.
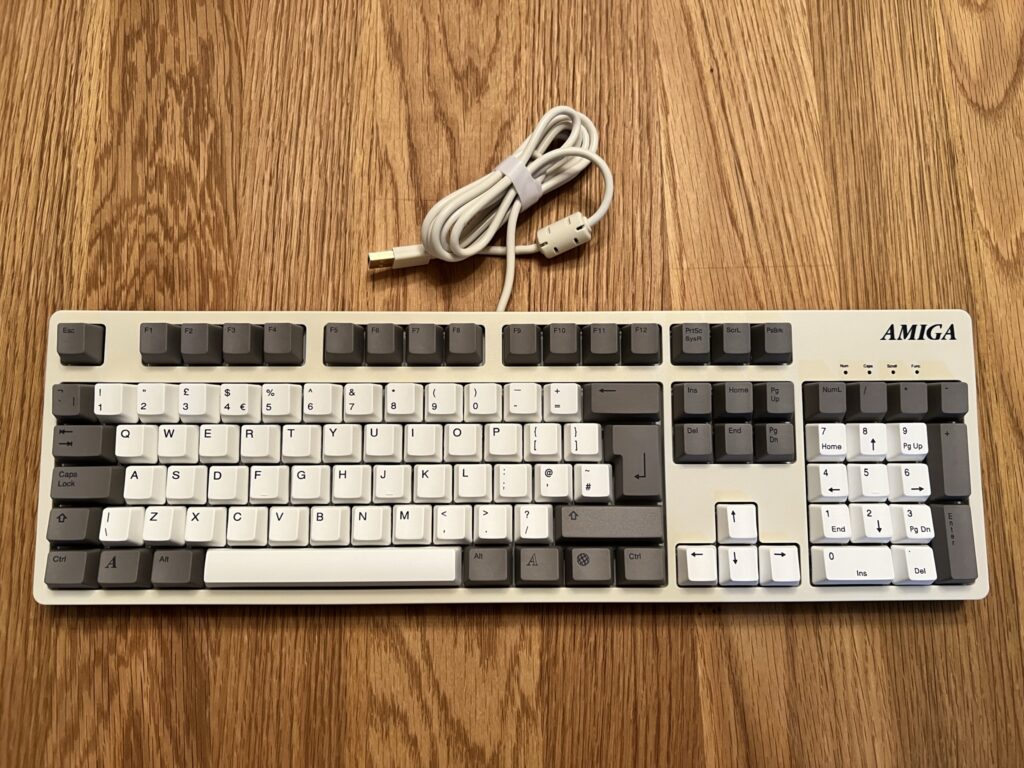
 

Amiga USB Keyboard

Noice!


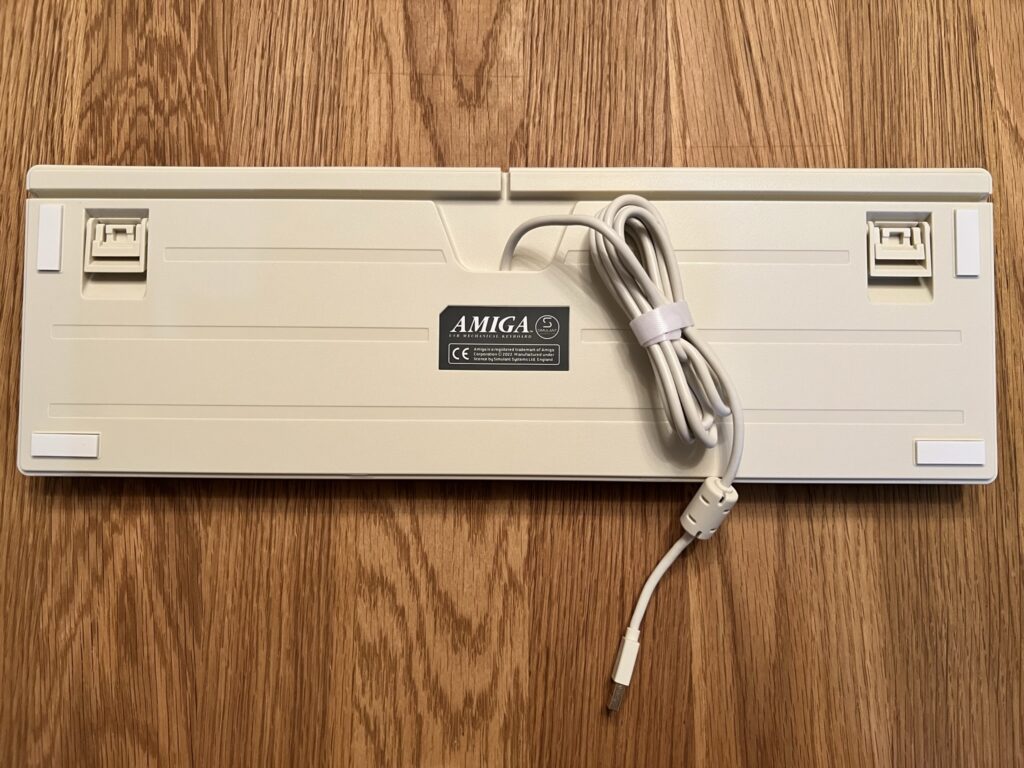
It has a decently long 2m USB cable and there’s little channels in the base that allow you to have it exiting out of the left, right or rear side of the keyboard which is a really thoughtful addition. I appreciated the provision of a detachable Velcro cable tie to keep things neat and tidy too.
 

Amiga USB Keyboard

Note the non-slip pads, pop out feet and cable management channels.


It’s also quite heavy, coming in at just under 1.4Kg when I popped it on the kitchen scales. A fair bit more than most keyboards these days, unless you count the RGB gaming ones with aluminium bases.
 

Amiga USB Keyboard

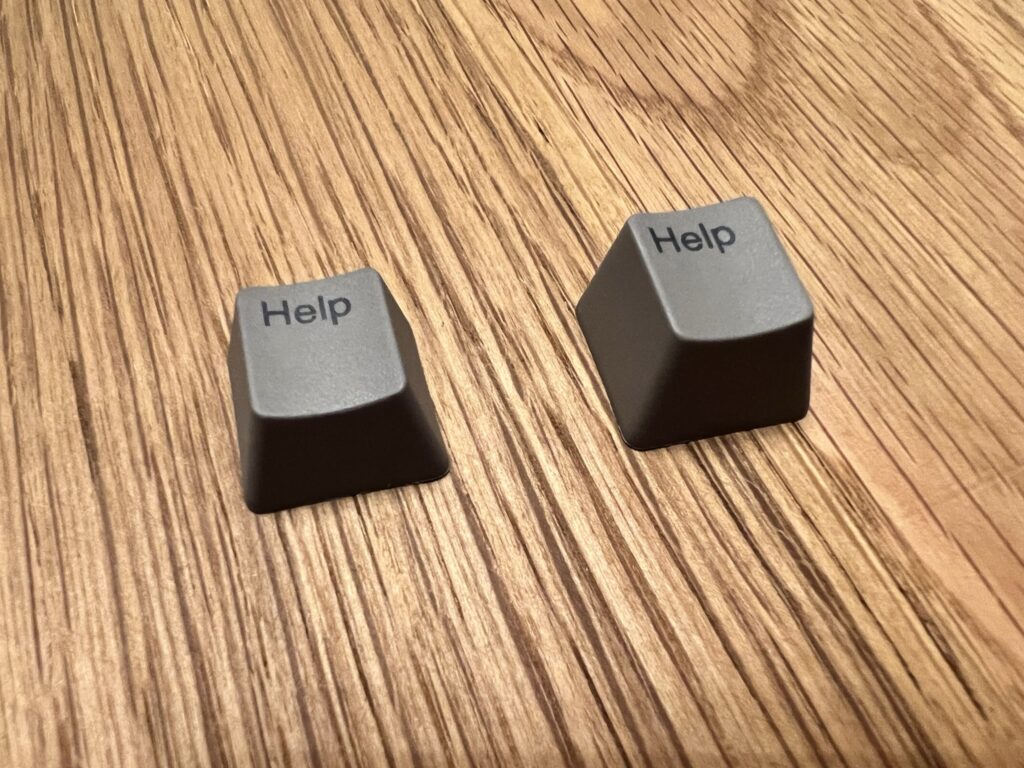
Help!


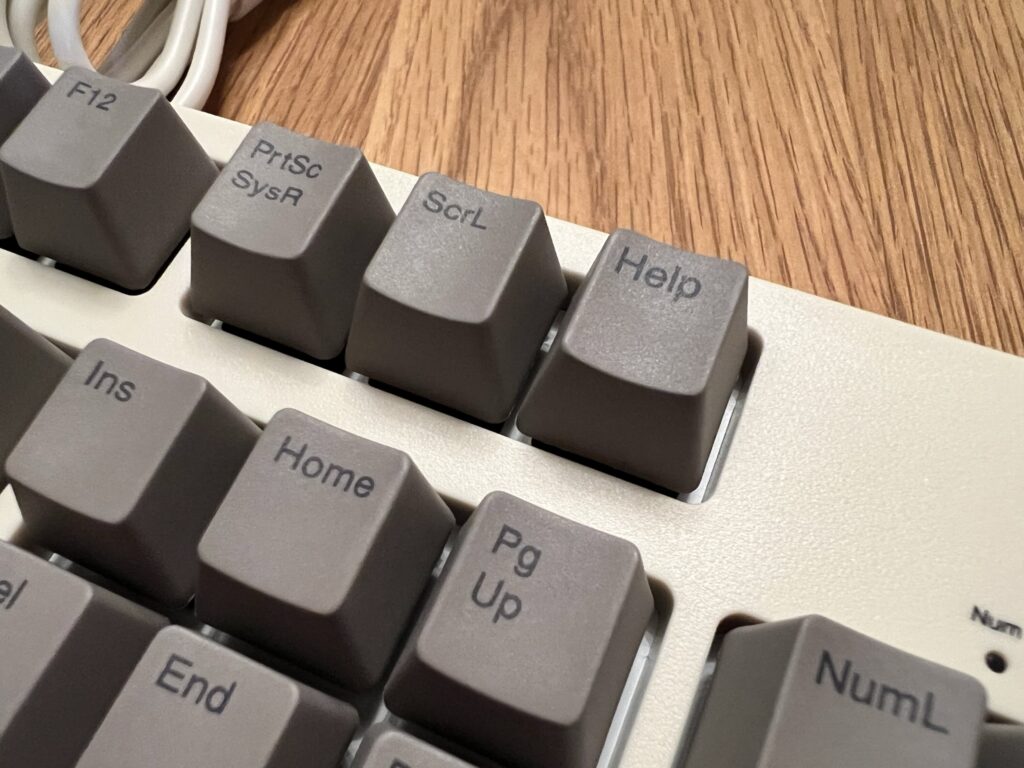
The keyboard doesn’t actually come with a ‘Help’ key fitted as standard which is a bit of a strange oversight. However they have made limited quantities of Help keycaps and were good enough to include a couple of different sized ones for me when I requested them.
 

Amiga USB Keyboard

Help keycap installed.


The ‘Amiga’ keys on both sides of the keyboard are present and correct (replacing the Windows and Menu keys).
 

Amiga USB Keyboard

Left Amiga key.


There’s even an Amiga ‘Boing Ball’ key – because, well why not!
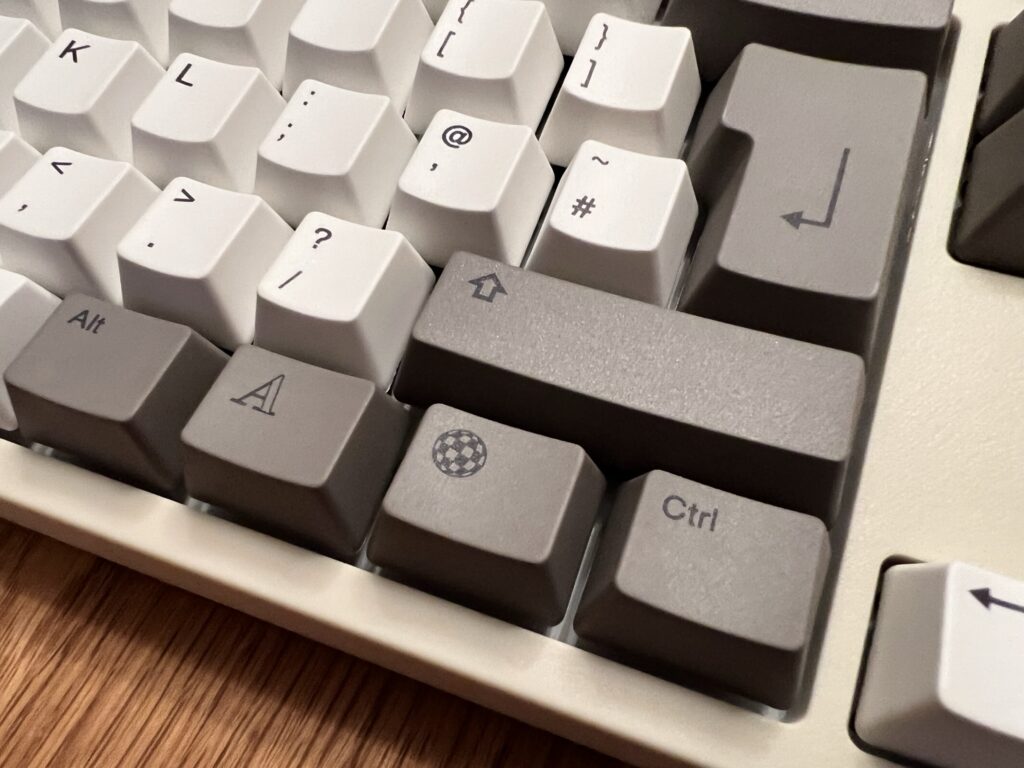
 

Amiga USB Keyboard

Right Amiga Key & Boing Ball!


The keyboard has little pop-out feet underneath that can be located at two different heights giving a grand total of 3 possible angles it can be positioned at.
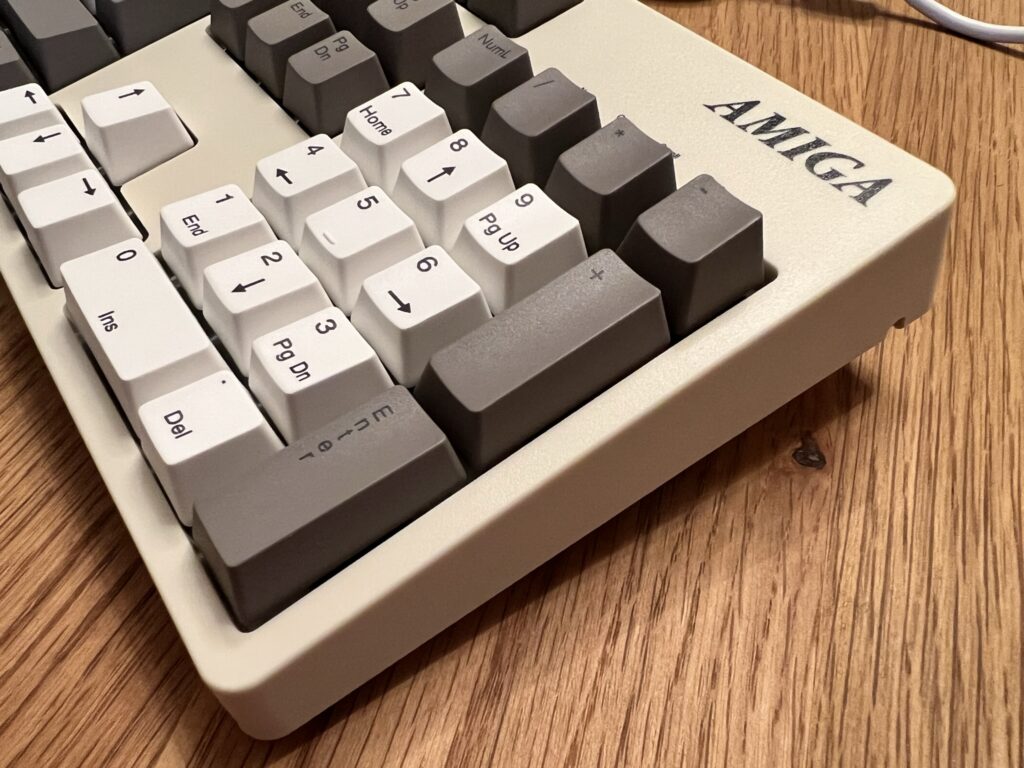
 

Amiga USB Keyboard

Feet position 1.


Obviously as this is a PC USB keyboard it is currently only suitable for use with the various Amiga emulators, FPGA machines and the A500 Mini.
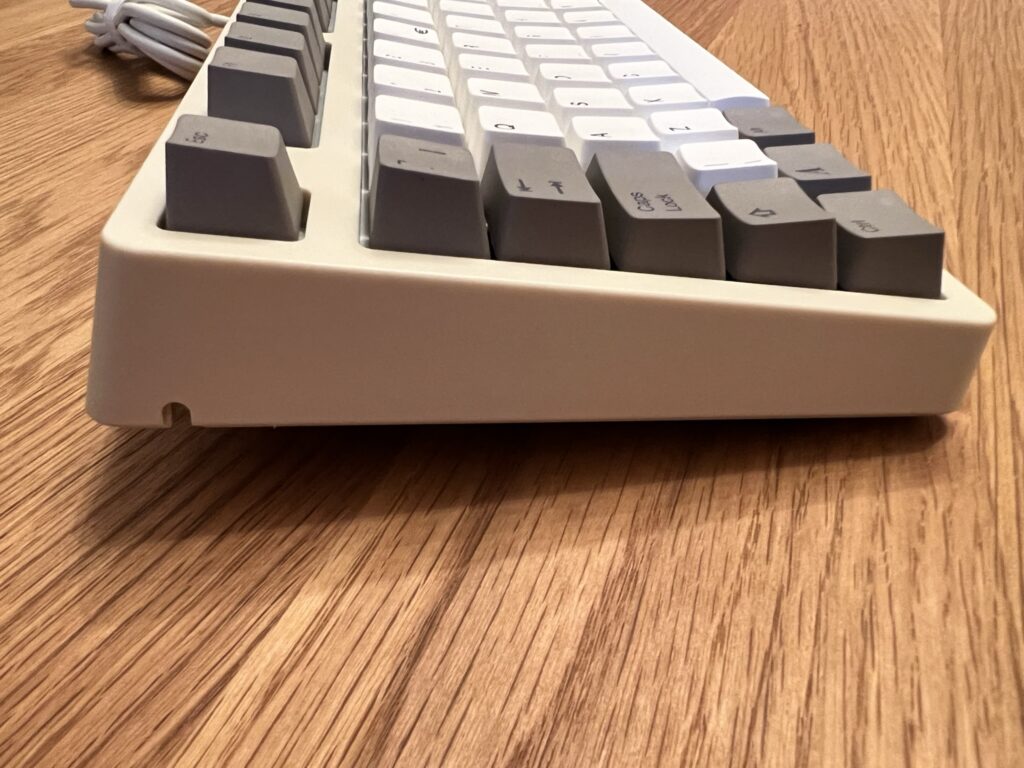
 

Amiga USB Keyboard

Feet position 2


I tried the keyboard out with AmiKit and Amiga Forever on my PC and it was a pleasure to use. The keys have that pleasing mechanical click that provides much needed feedback – but not so loud as to annoy like many gaming keyboards can. Interestingly the keyboard was actually recognised as a ‘Gaming Keyboard’ when plugged into my Windows 11 PC.
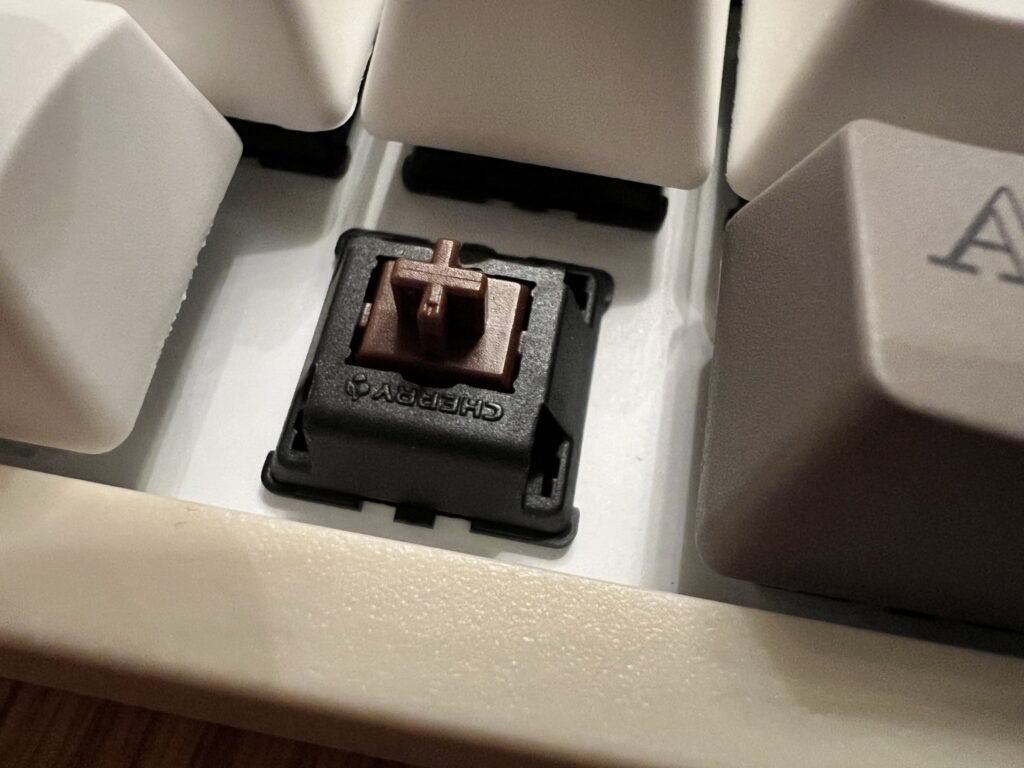
 

Amiga USB Keyboard

Cherry MX Brown switches throughout.


It’s nice to see that the keyboard is using genuine (as far as I can tell anyway) Cherry MX Brown switches which probably goes a long way toward explaining the high price too.

It’s far from an essential purchase, especially when it costs over £140 but given it was being made in limited quantities I felt compelled to grab one while I could. FOMO is a real thing! The plan is, one day, to pair it up with a MiSTer or possibly a Raspberry Pi in the upcoming Checkmate monitor that I’ve backed on Kickstarter.

If you are in the market for an Amiga themed USB keyboard and have £140 burning a hole in your pocket then (at the time of writing) they still have some left here

Retro Cassette HDD Enclosure

Retro Cassette HDD Enclosure

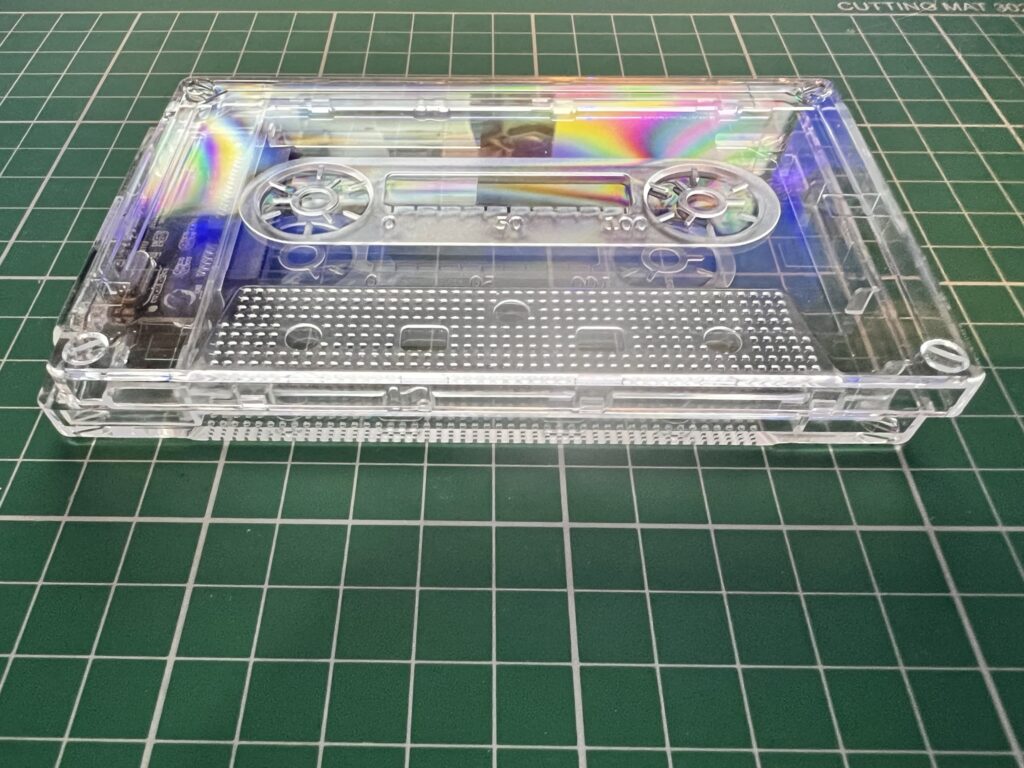
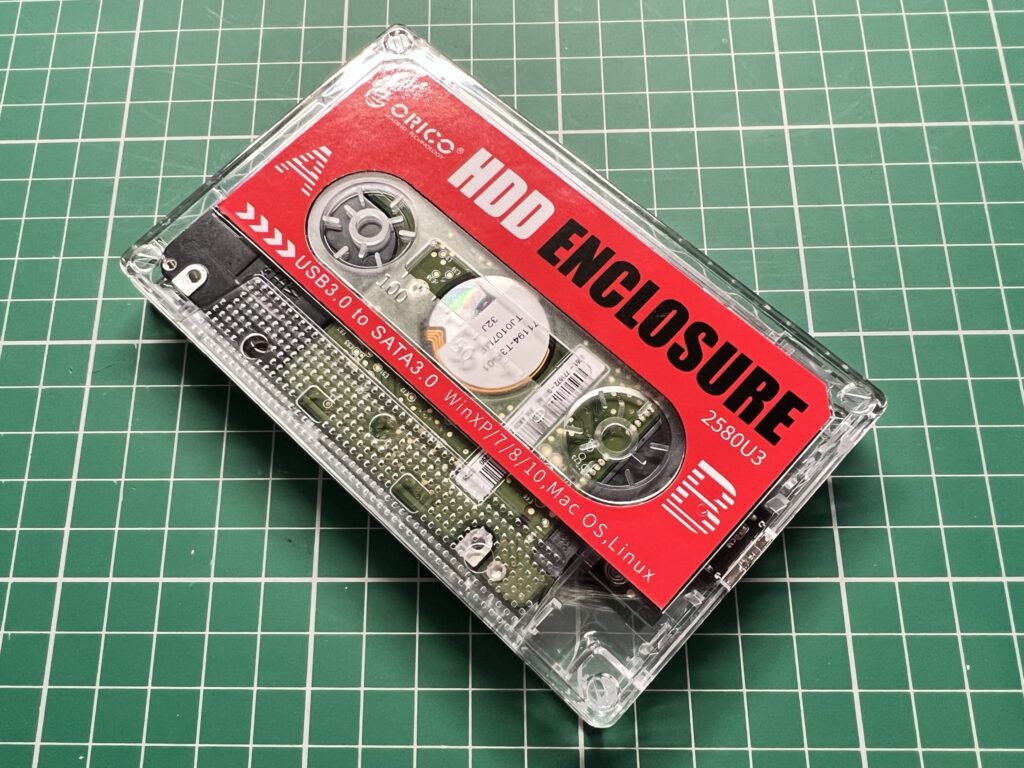
Picked this funky little retro cassette HDD enclosure up off Amazon a few days ago as I just couldn’t resist the look of it. It’s nothing special, just a cheap enclosure that you can pop a 2.5″ HDD/SSD in for some portable storage. However it’s been designed to look like a cassette tape which is what attracted me to it.


Retro Cassette HDD Enclosure

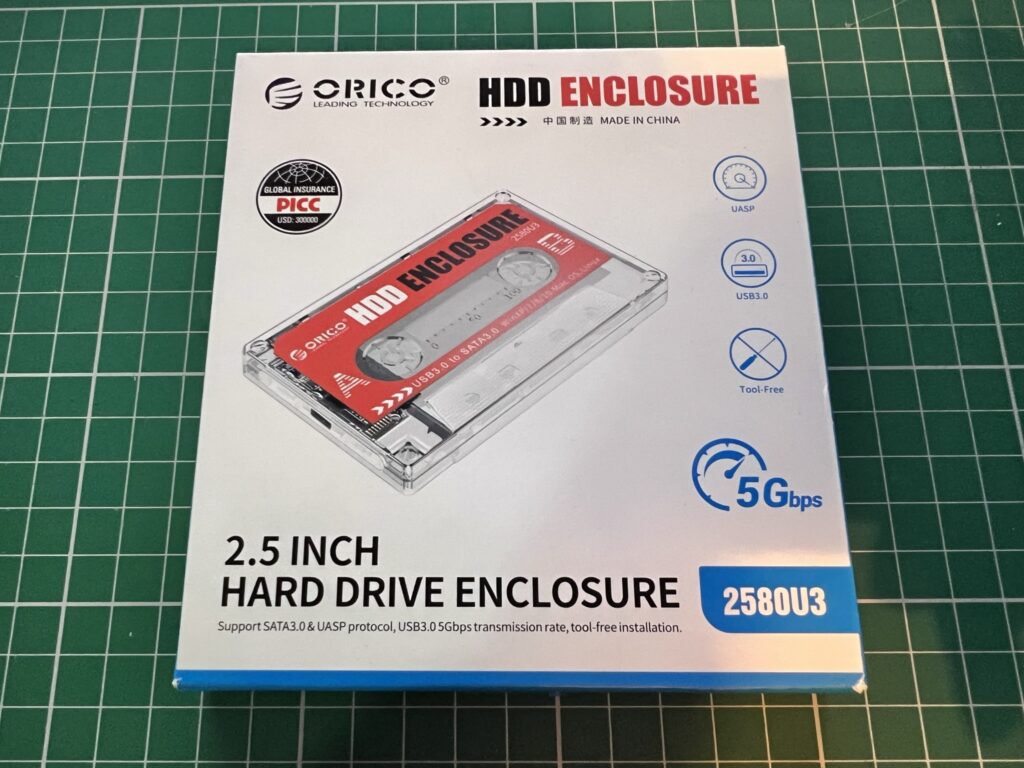
Front of the box.


It supports USB 3.0 as you would expect and claims a 5Gbps transfer speed which I’m not going to bother testing. I’m here for the looks!


Retro Cassette HDD Enclosure

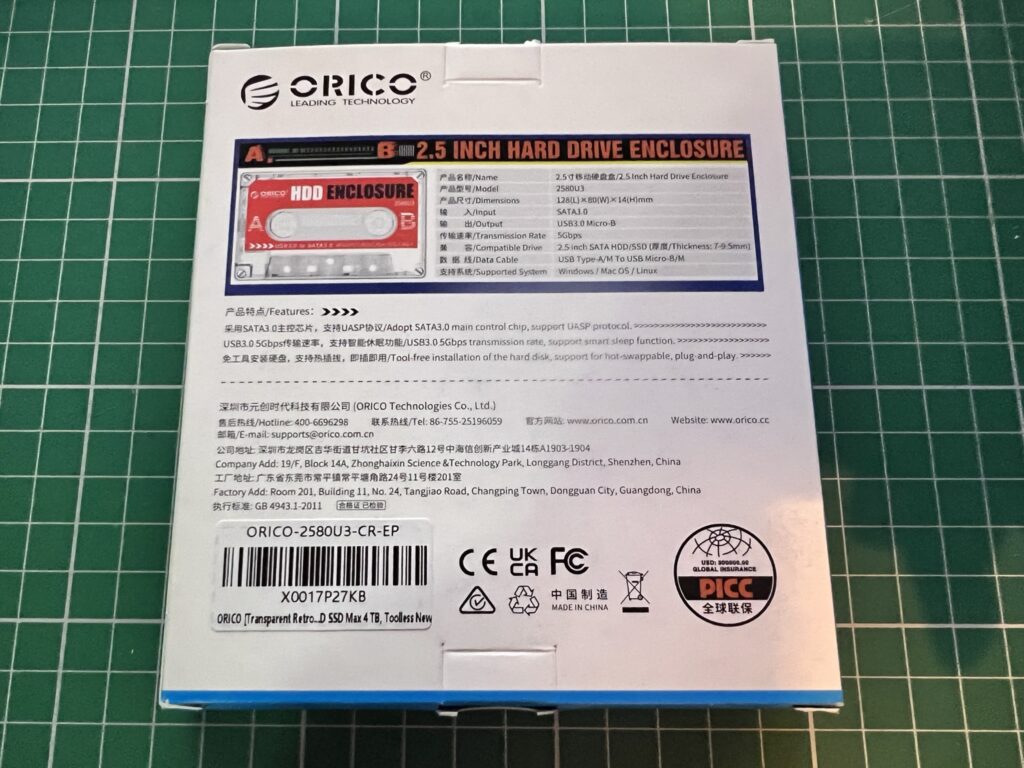
Back of the box.


What’s in the box?

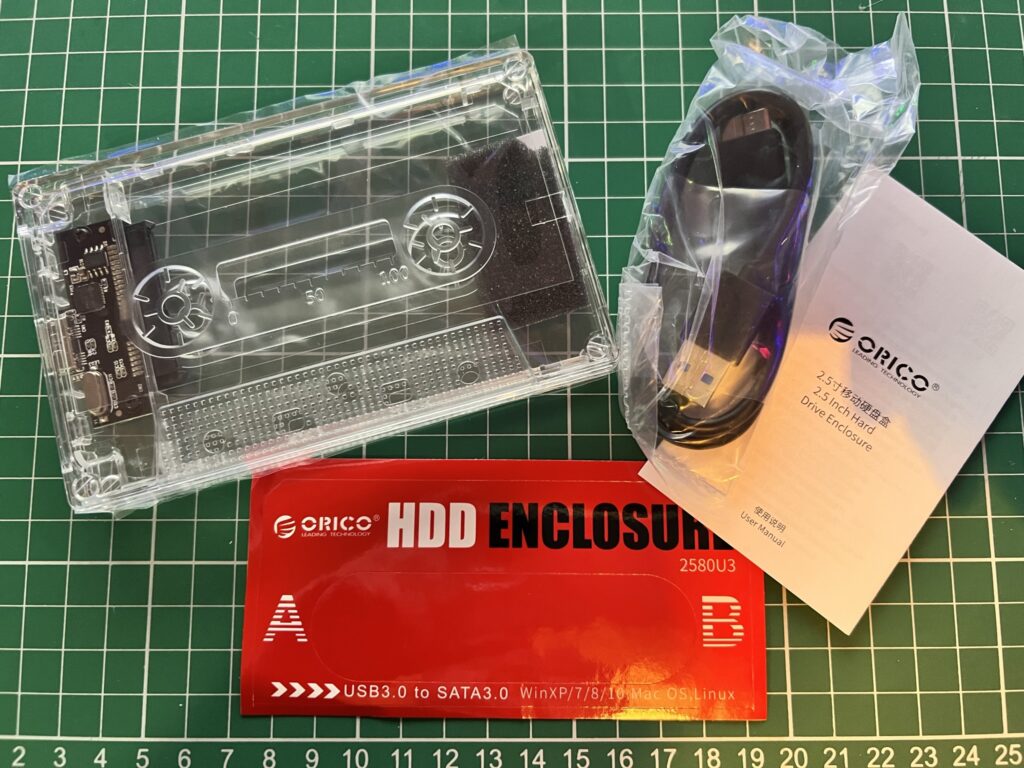
Inside the box you get the ‘cassette’ enclosure, a short USB 3.0 cable, some stickers and some rudimentary instructions in Chinese and ‘Chinglish’ as is expected with cheap electronics these days.


Retro Cassette HDD Enclosure

A look at what came inside the box.


The enclosure is made from transparent plastic and it came with a protective wrap to prevent scratches which peeled off easily.


Retro Cassette HDD Enclosure

Sliding the enclosure open.


Opening the case seemed like some sort of fiendish Rubik’s puzzle at first… until it finally dawned on me that the two halves slid apart instead of unclipping! To be fair the instructions did mention the word ‘slide’ but it was by no means obvious!


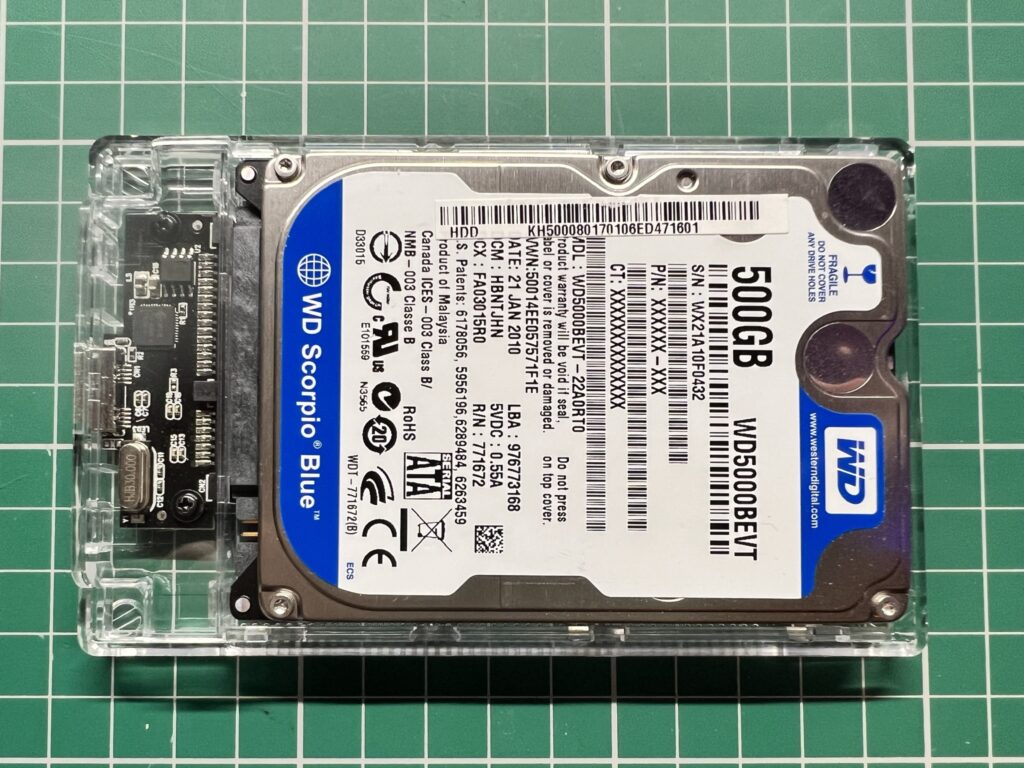
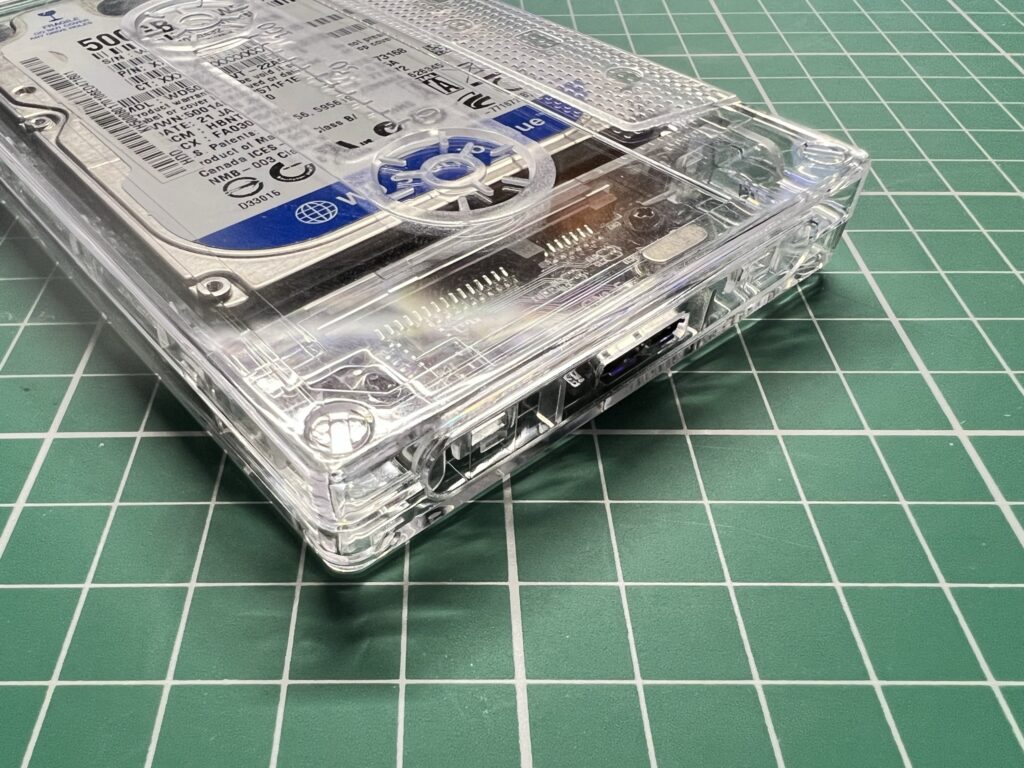
500GB Drive fitted snugly inside.


I had a bunch of old 2.5″ laptop drives rattling around in the bottom of my desk drawer so installed one of those inside the enclosure, a process which took all of about five seconds.


Retro Cassette HDD Enclosure

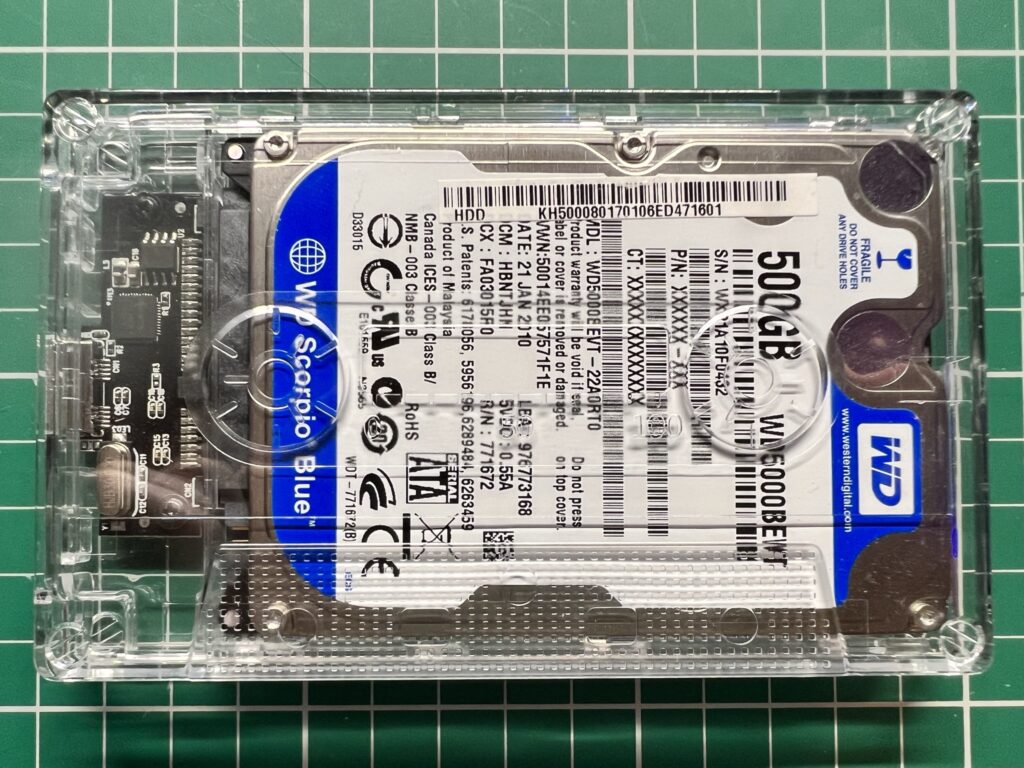
Lid back on the enclosure.


Putting the lid back on proved to be far easier than taking it off!


Retro Cassette HDD Enclosure

Close-up of the business end of the enclosure.


My HDD was pretty chunky so it fit snugly with no room to spare which means it didn’t rattle around. A piece of self-adhesive foam was supplied in the enclosure which could be used as padding for thinner drives such as SSD’s to prevent them from moving around inside the enclosure.


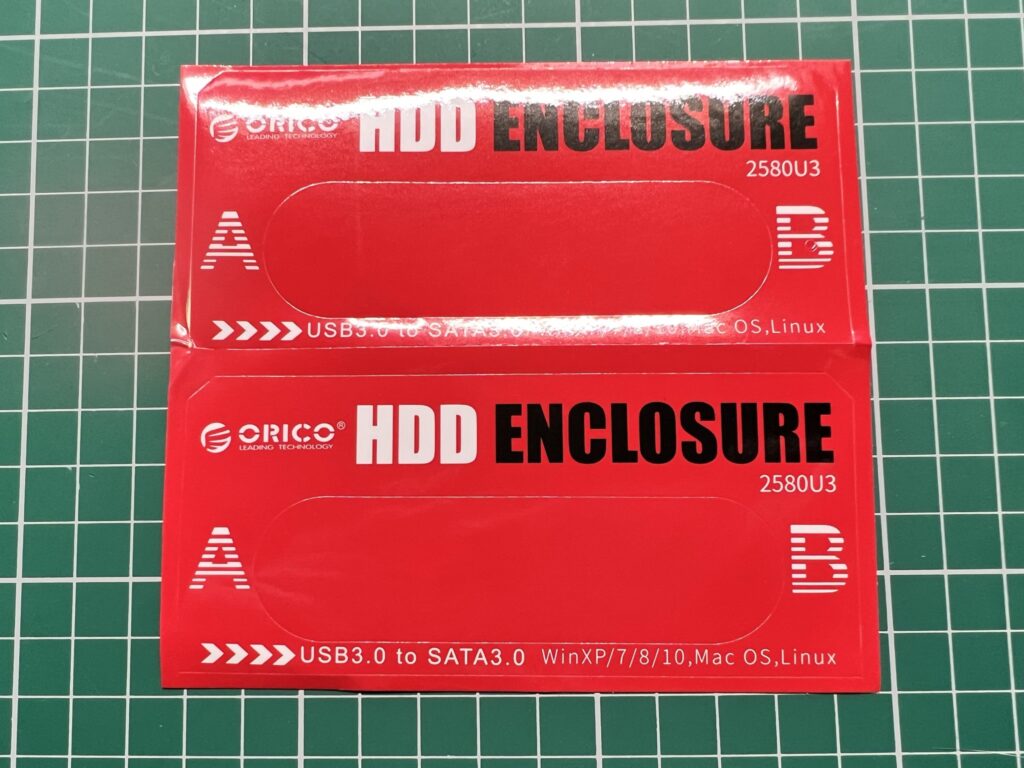
‘Cassette’ stickers.


Of course at this point it still looked like a transparent case with a hard drive inside it. Time to affix the stickers!


Retro Cassette HDD Enclosure

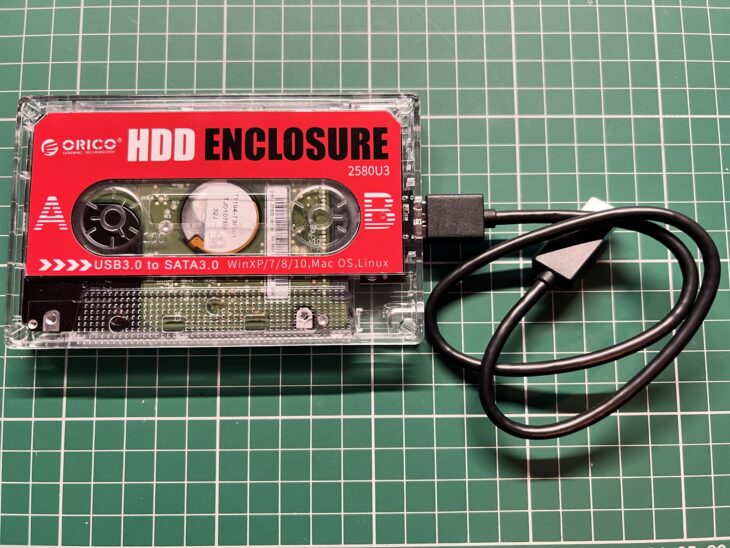
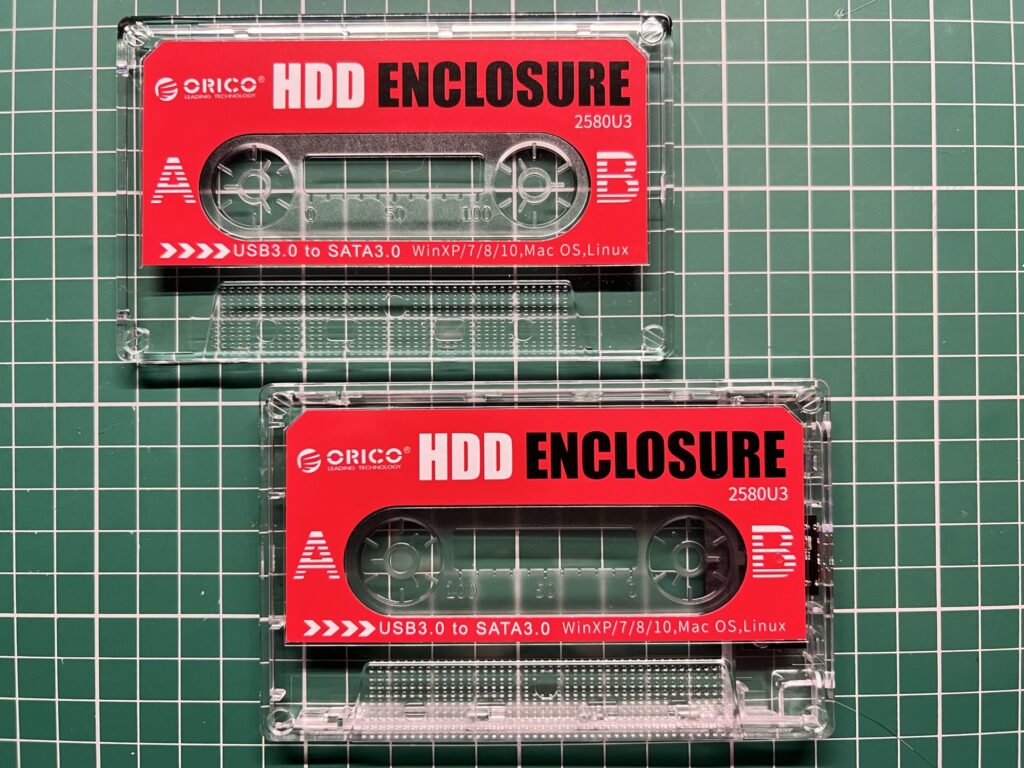
Looking a lot more like a cassette now!


Two stickers are supplied in the box, one for each side. I found it much easier to see what I was doing without the drive installed so I took the enclosure apart and removed the drive. Once I’d done that I found them very easy to align and stick on.


Retro Cassette HDD Enclosure

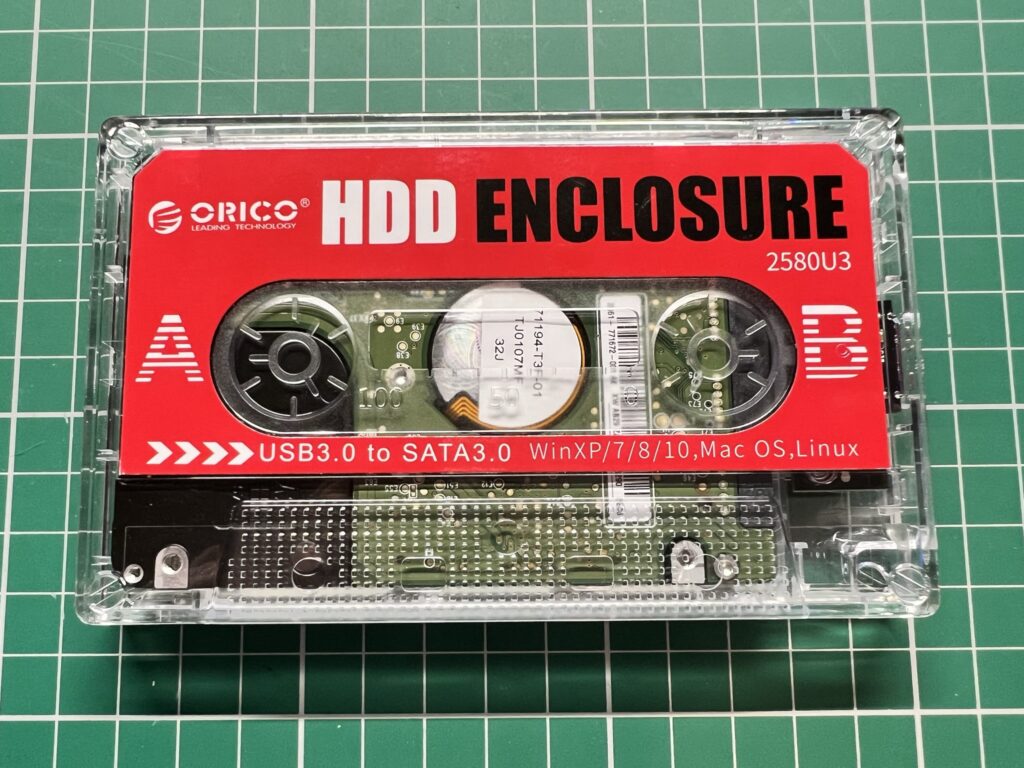
Transformation complete.


With the the stickers applied the transformation was complete and I had a cassette tape with a 500GB storage capacity! It definitely looks the part and is a lot more interesting to have than a plain old boring black plastic case.


Retro Cassette HDD Enclosure

If you don’t look too closely it certainly looks like a tape…


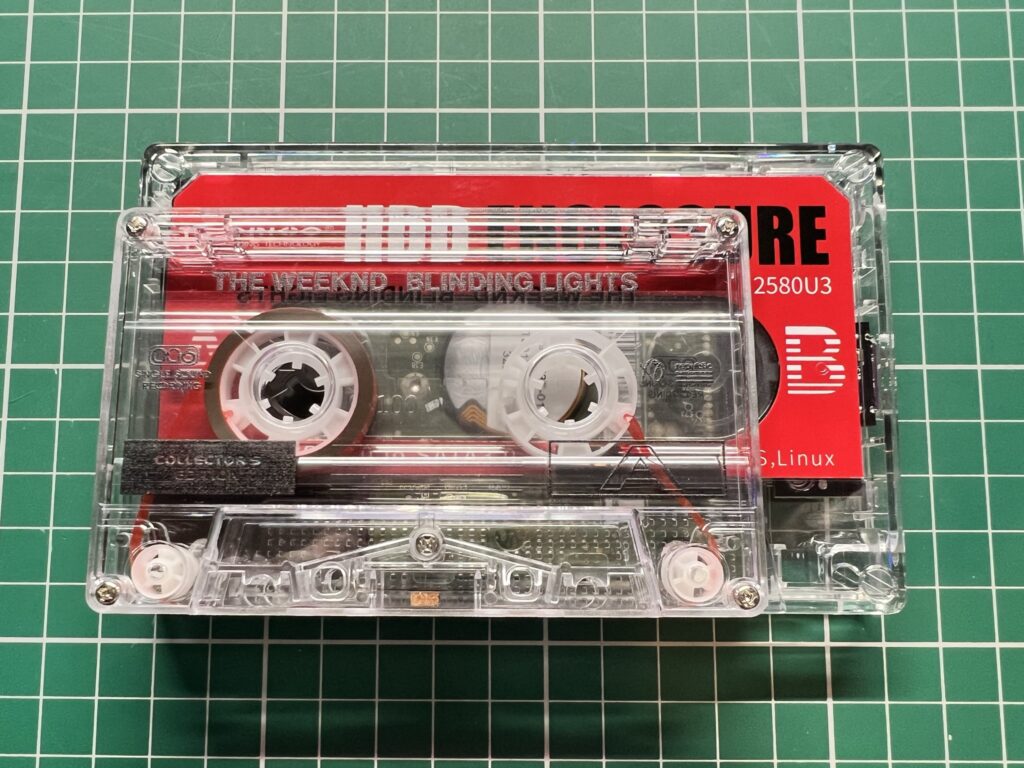
Below is a photo alongside a regular cassette tape for comparison. Clearly it’s quite a bit bigger but it needs to be so that a regular 2.5″ drive can fit inside.


Retro Cassette HDD Enclosure

Comparison with an actual audio cassette tape. Absolutely awesome song too!


Final Thoughts

It worked without any fuss when I plugged it into my PC, just as you would expect really. However it did so whilst looking cool, which is something you can’t say about the majority of storage solutions available these days! It brings a smile to my face every time I get it out of the drawer and everyone who sees it on my desk comments on it which makes it totally worth the few quid it cost in my book.

If I wanted to be really flash I’d probably install an SSD, however I bought it as a fun (and cheap!) way to make use of an old drive so I’m quite happy with it the way it is.

On the off chance anyone wants to pick one up I’ve included an affiliate link below 🙂

Retro 3 Port USB Cassette Hub Review

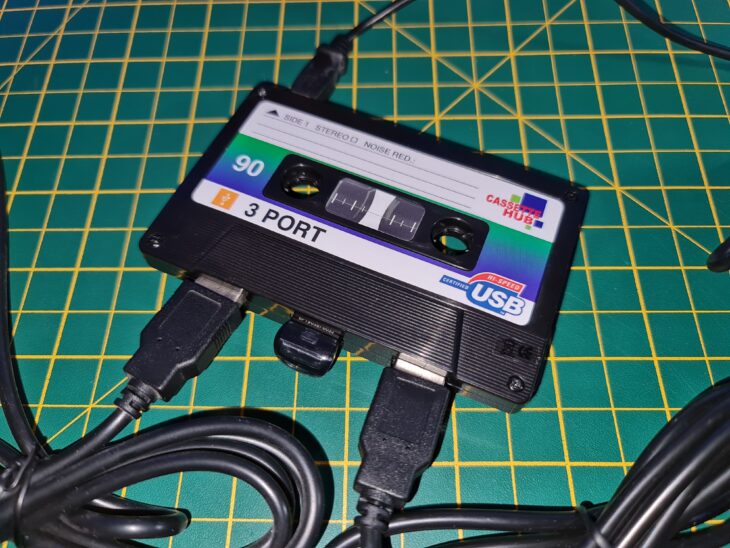
I spotted this little USB Cassette hub on social media over Christmas and thought it looked cool so had a look around to pick one up for myself. After some searching I found one on Amazon and for the price I couldn’t resist taking a punt.


Packaging

The Packaging


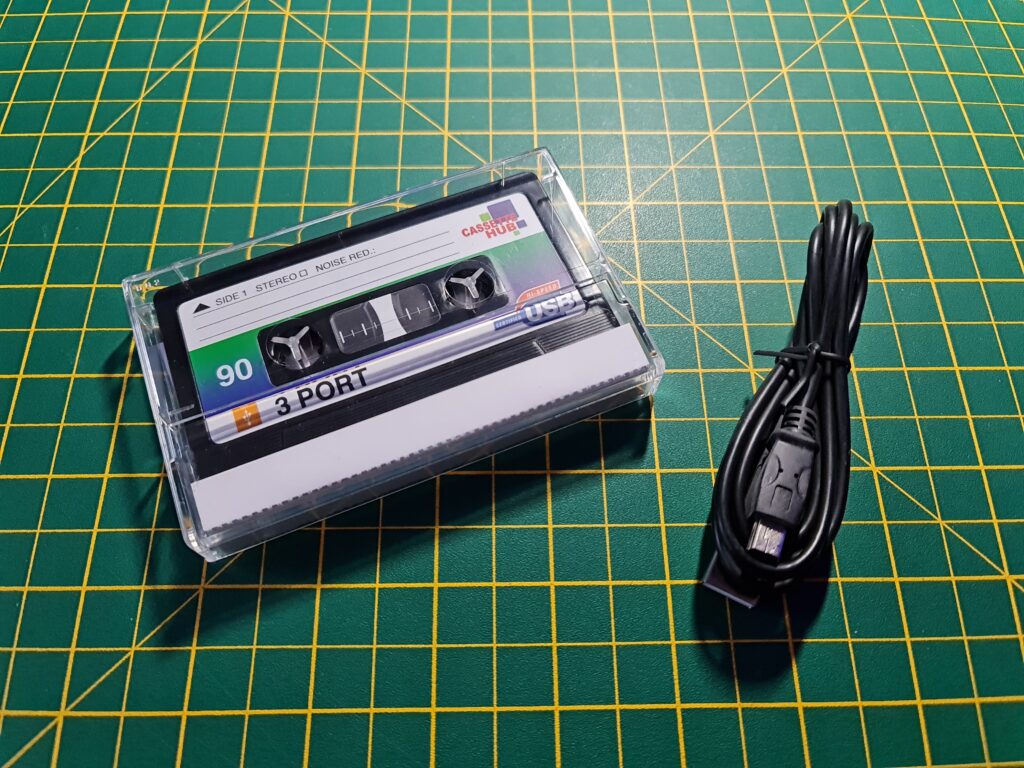
It arrived in a plain black box with no indication of what was inside at all. Inside the box there’s what at first glance appears to be a standard looking cassette in a transparent library case along with a micro-USB cable.


USB Cassette Package Contents

Package Contents


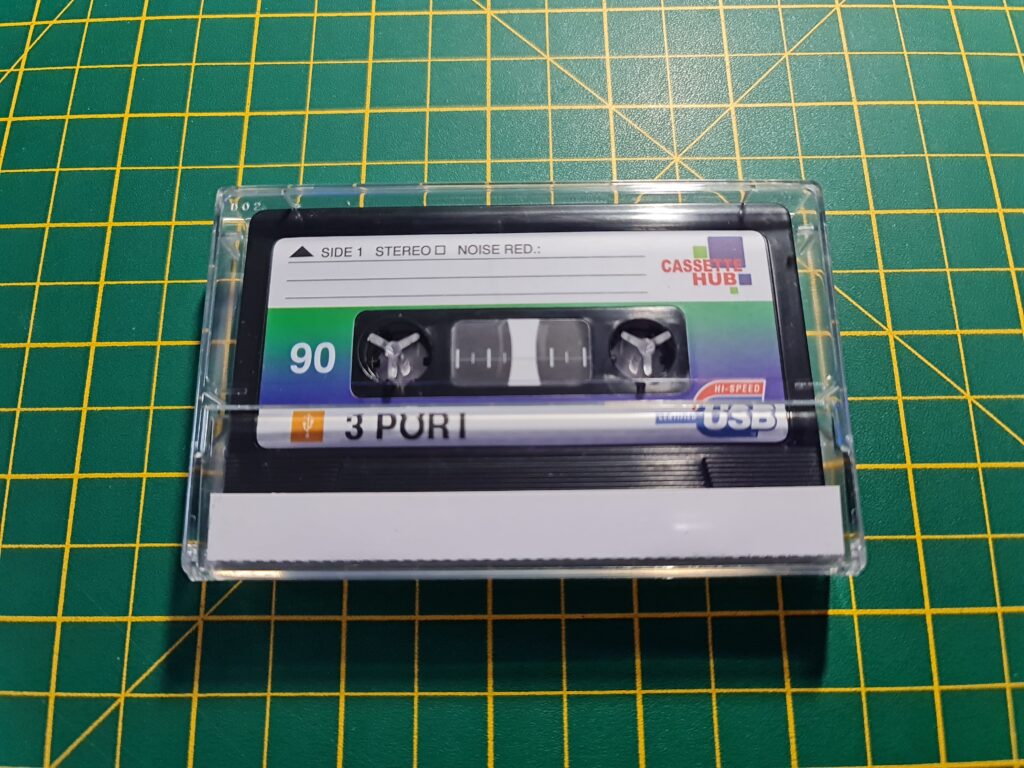
Opening up the case reveals a ‘C90 Cassette’ styled very much like a tape from the 1970’s or 80’s.


USB Cassette Hub

USB Cassette Hub in library case


Look a little closer though and you start to see that things are not as they first seem. For example, the centre view window where you would normally see the tape spools is merely a sticker. However the two spools are real and can actually be freely rotated. Perfect for reliving your youth by inserting a Bic pen and twirling it around like madman!


USB Cassette Hub

Looks can be deceiving!


If you flip the cassette over you also notice that both sides are labelled as ‘Side 1’. Perhaps with a little more effort that could have been remedied but that’s a minor niggle.


USB Cassette Hub

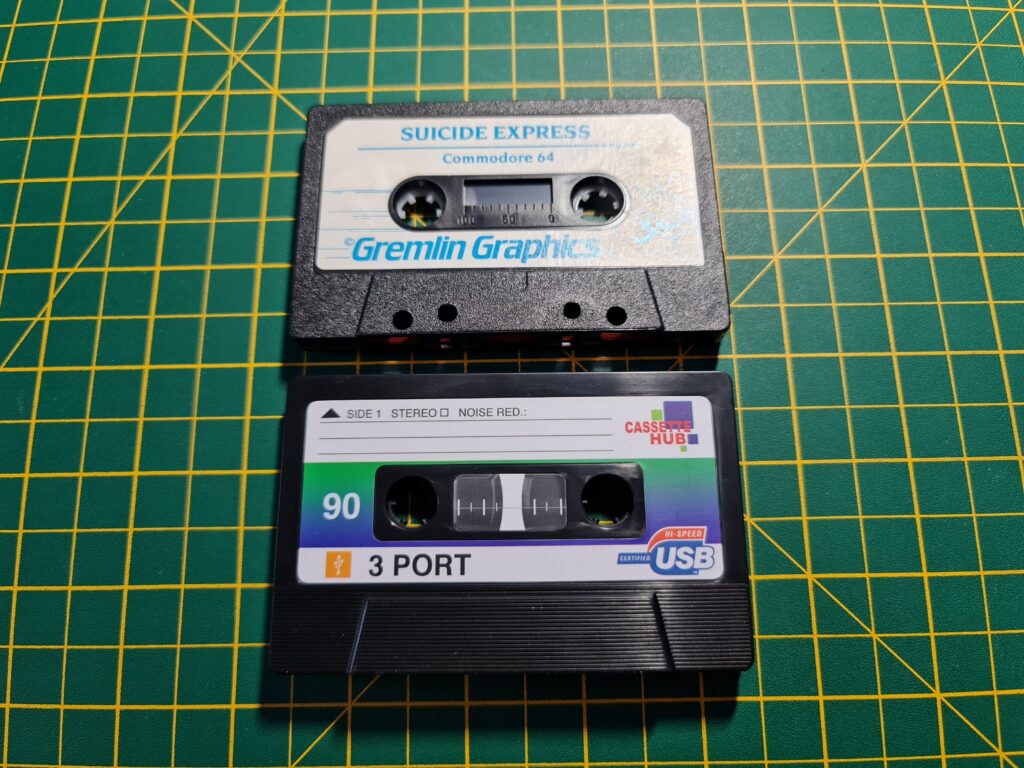
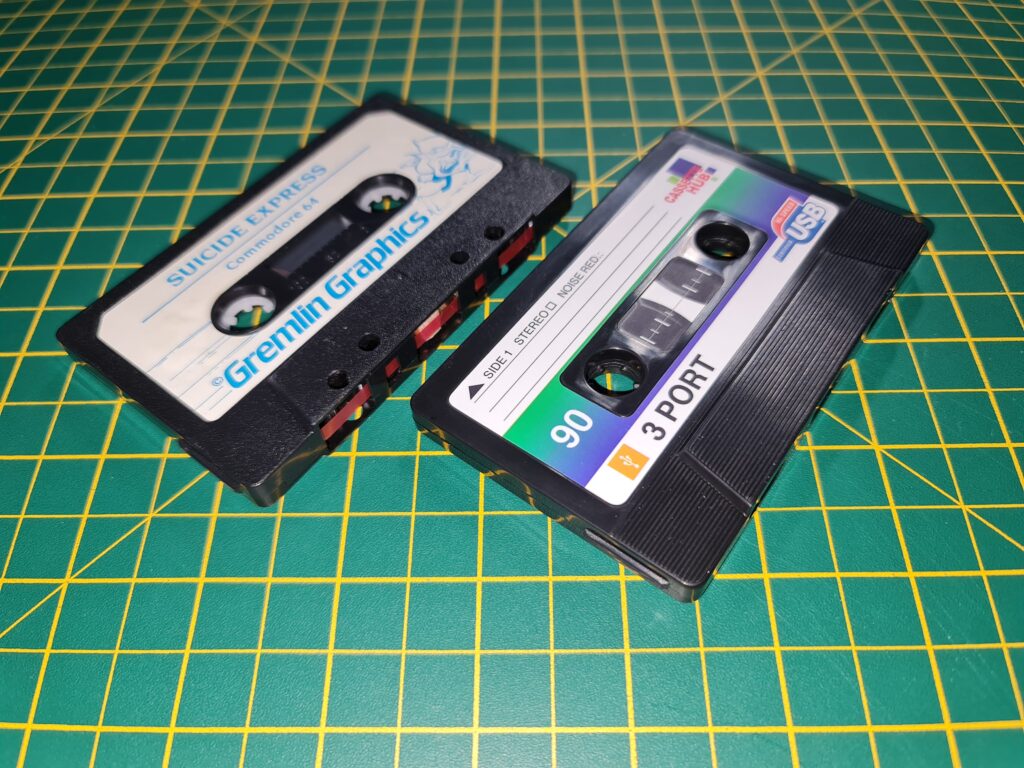
Side by side comparison with a regular cassette tape.


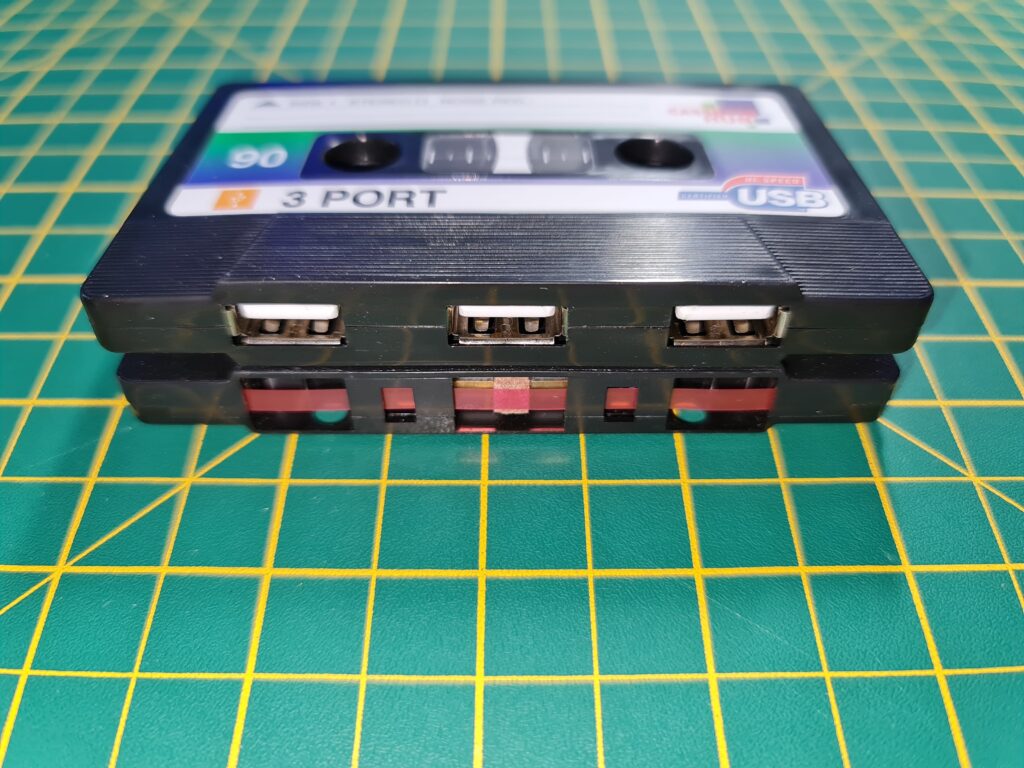
The shell itself is the exact same shape and size as a regular cassette with the main difference being that where the tape transport holes usually lives there are now three USB sockets. There are also no holes for the capstan spindles.


USB Cassette Hub

USB Cassette Hub placed on top of a real cassette tape. I thought the way the 3 ports are perfectly aligned with the tape transport holes of the original was a nice touch.


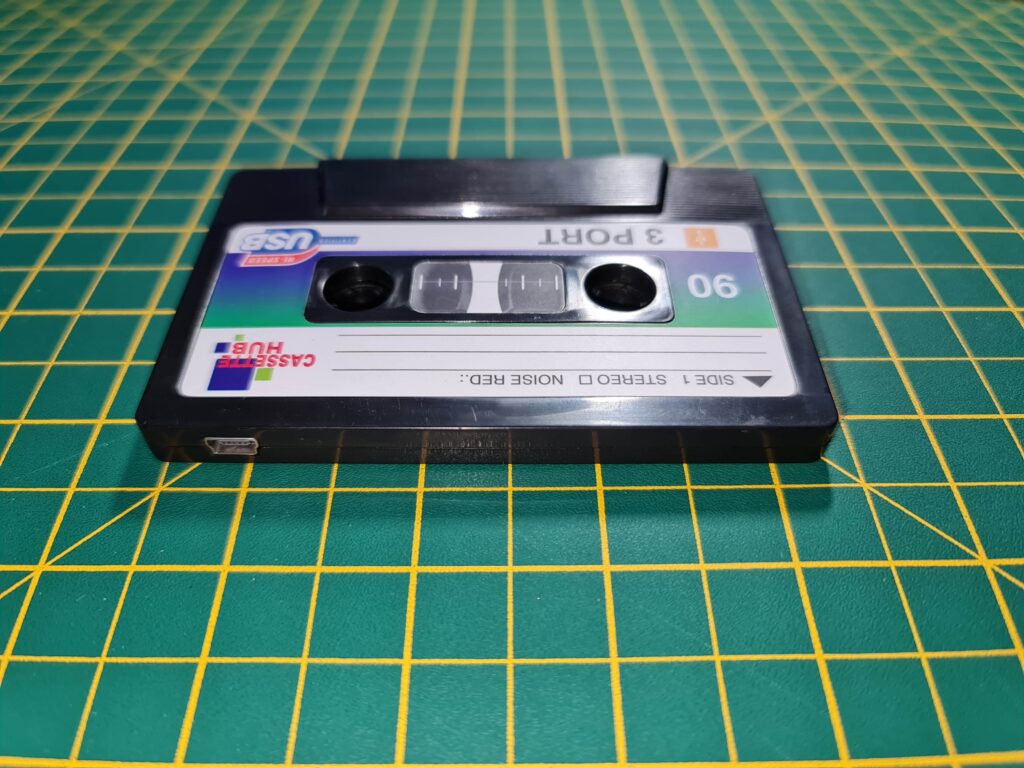
Along the top where you might expect to find a write-protect tab there is a micro-USB socket for connecting the hub to your computer using the supplied cable.


USB Cassette Hub

No plastic tabs to snap off (or tape over) here. Just a micro USB port.


The J card is completely blank – I think they missed a trick here and could have had a nice cover image for the hub and printed the instructions inside in the form of an album listing. That’s a little project I will probably do myself on a rainy Sunday afternoon…


Case

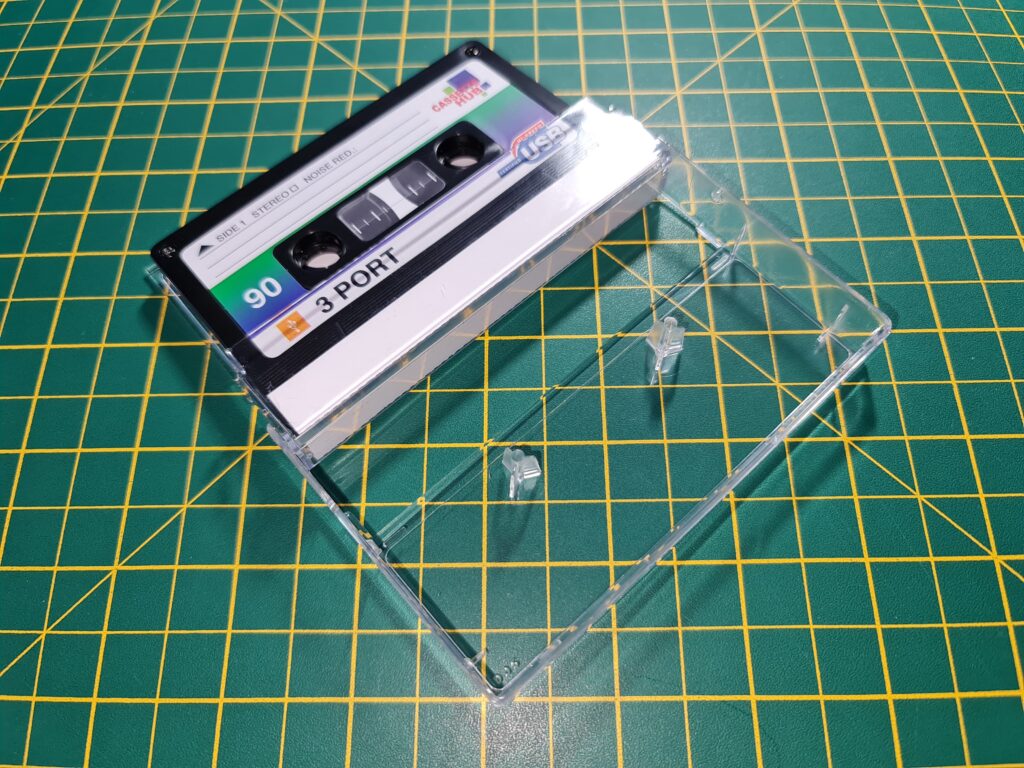
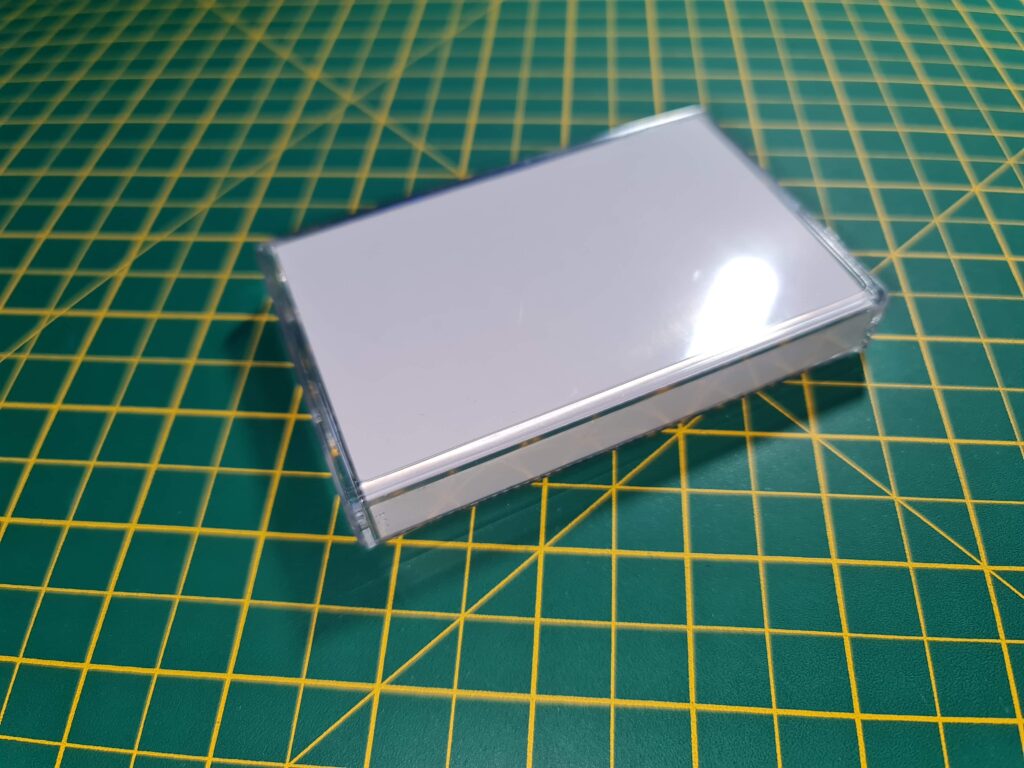
The case is just a regular old transparent library case with a blank J card.


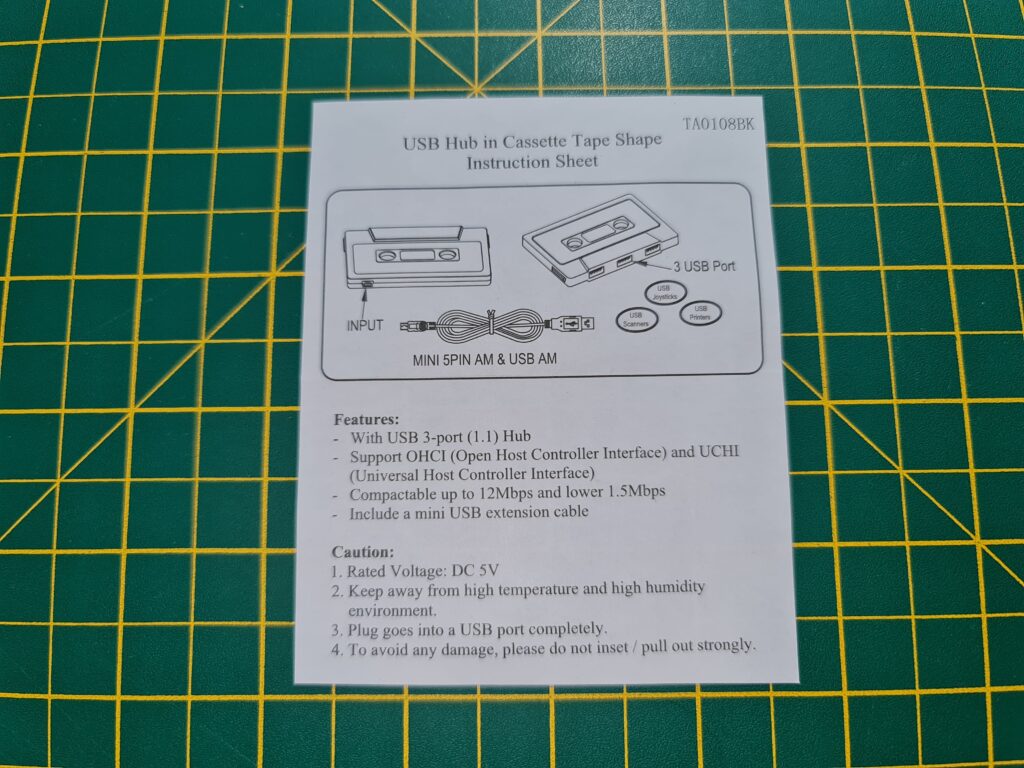
Instead of a printed J-card there is a small fold-out guide that gives brief specs and some warnings.


USB Cassette Hub Instructions

Minimalist instructions.


Specifications

In terms of specs it’s positively ancient, supporting only USB 1.1. However, given it’s a retro styled hub it kind of makes sense that the hardware it houses also dates back to the late 1990’s!


USB Cassette Hub

Another comparison with an old tape.


Manufacturer specs:

  • 3 Port USB 1.1 Hub
  • Supports OHCI and UCHI
  • 1.5Mbps – 12Mbps
  • Includes mini USB cable
  • Rated 5V DC

Thankfully USB 1.1 is perfectly fine for the likes of keyboards and mice which makes it a terrific accessory to use with TheC64 Mini and Maxi machines when you need a few extra USB ports.


Putting it to good use


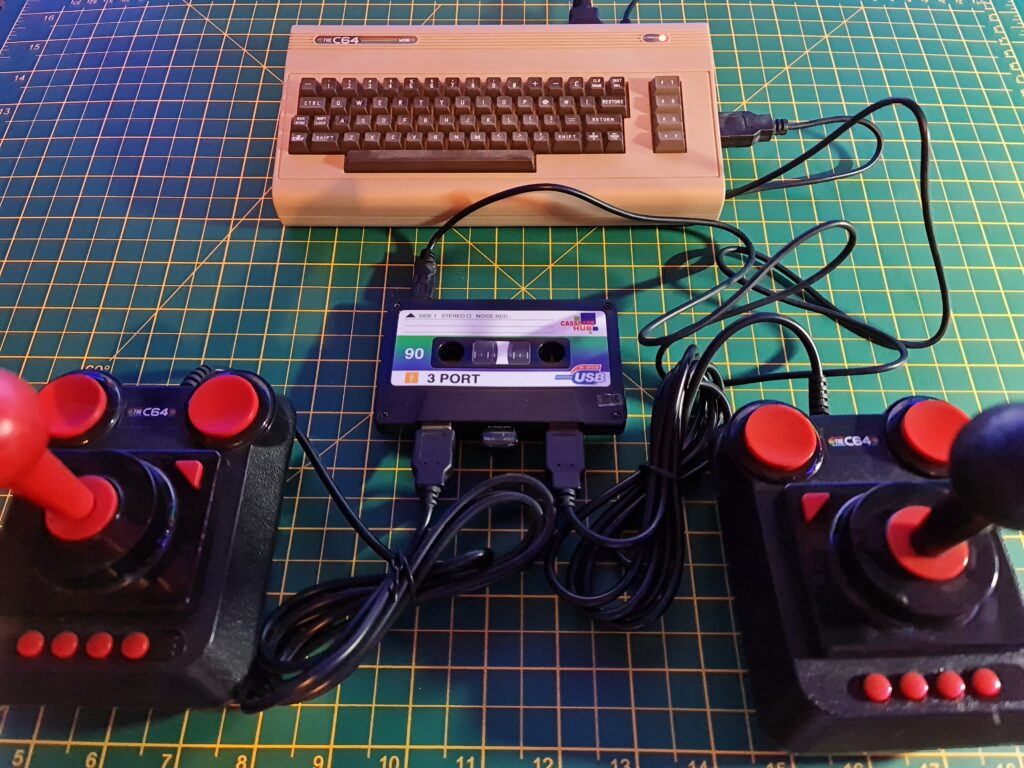
Cassette Hub working with TheC64 Mini, 2 joysticks and a USB drive.


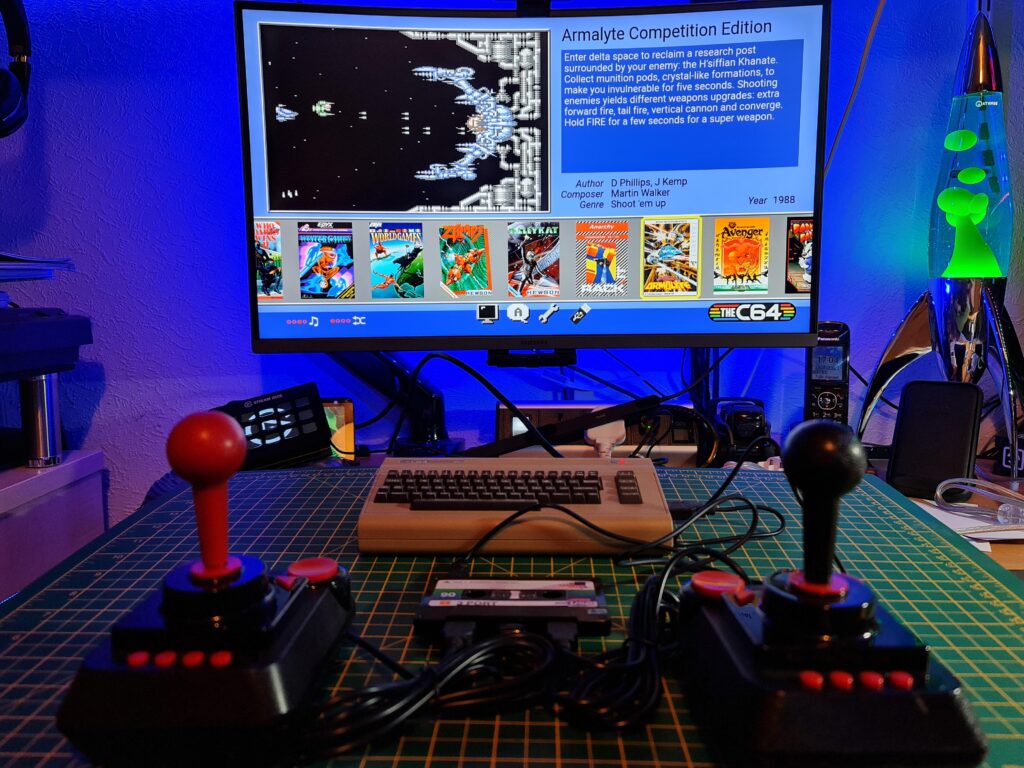
In addition to USB keyboards and mice I found it also worked perfectly with both my TheC64 Mini and Maxi joysticks and my mini USB drive. Great news if I want to play any 2 player games that aren’t on the built in carousel.


Cassette Hub working with TheC64 Mini


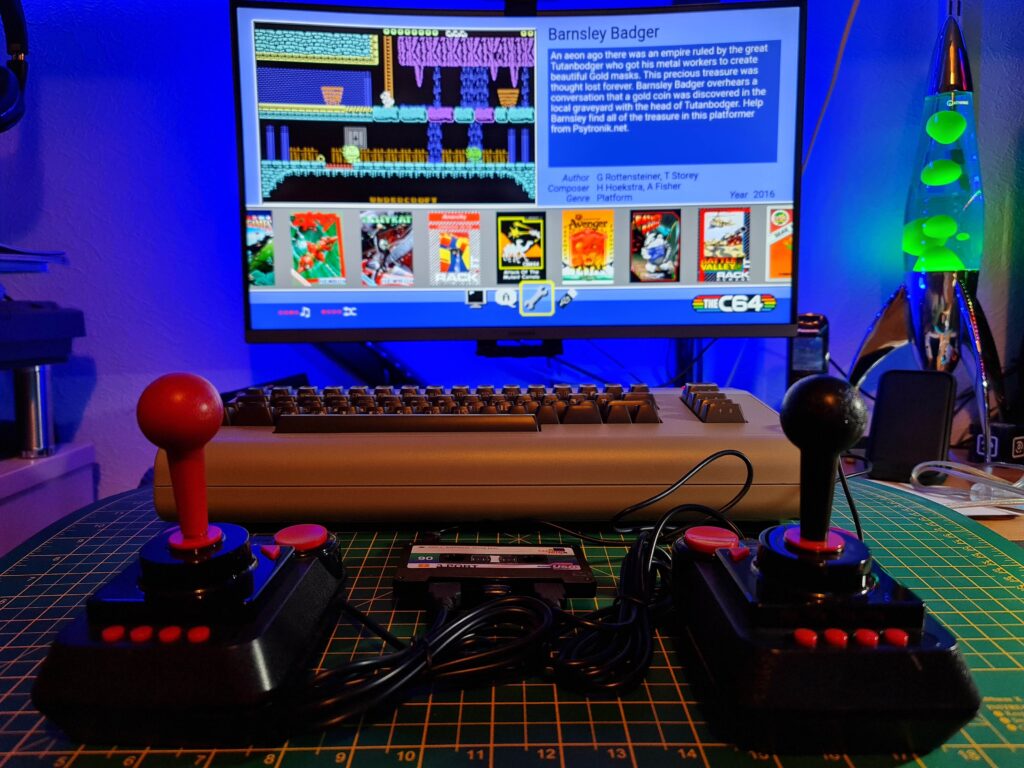
I also tested it with my TheC64 Maxi and it worked just as well. However with 4 built-in USB ports on the Maxi it’s not really necessary. Still, it’s nice to know it’s an option in the future.


Cassette Hub working with TheC64 Maxi


Just for kicks I tested the hub out on my PC by transferring a few files across to a USB flash drive. It worked but was very slow – maxing out at a pretty measly 2.77MB/s. Of course this wouldn’t be much of an issue if I was just transferring a few games across to play on TheC64 Mini.


PC file transfer speed graph

Testing out the transfer speed on my PC.


Verdict

This is a super little device to use with a TheC64 Mini and gives you an extra 2 ports overall. (One of the built-in ports is taken up by the hub). It looks really cool and very nostalgic and compliments TheC64 mini perfectly. The extra ports allow you to hook up a USB keyboard and use a flash drive for extra games along with a joystick or two. This simply isn’t possible without the use of a hub. Sure you could get a modern USB 3 hub but where’s the fun in that!

I can’t recommend it for everyday PC use… it’s just far too slow as you’d expect from a USB1.1 device. But for less than a fiver I think it’s a great little device for retro gaming and sure to put a smile on your face when you use it. An added bonus is that it stores neatly away in a cassette rack when not in use!