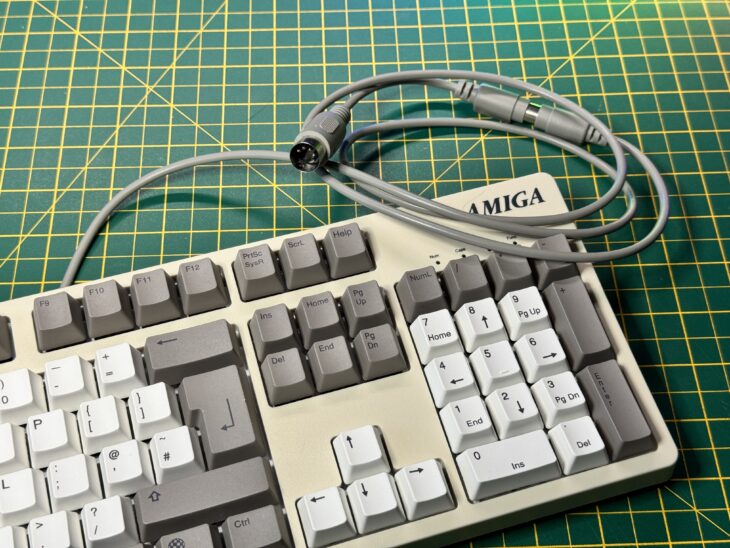
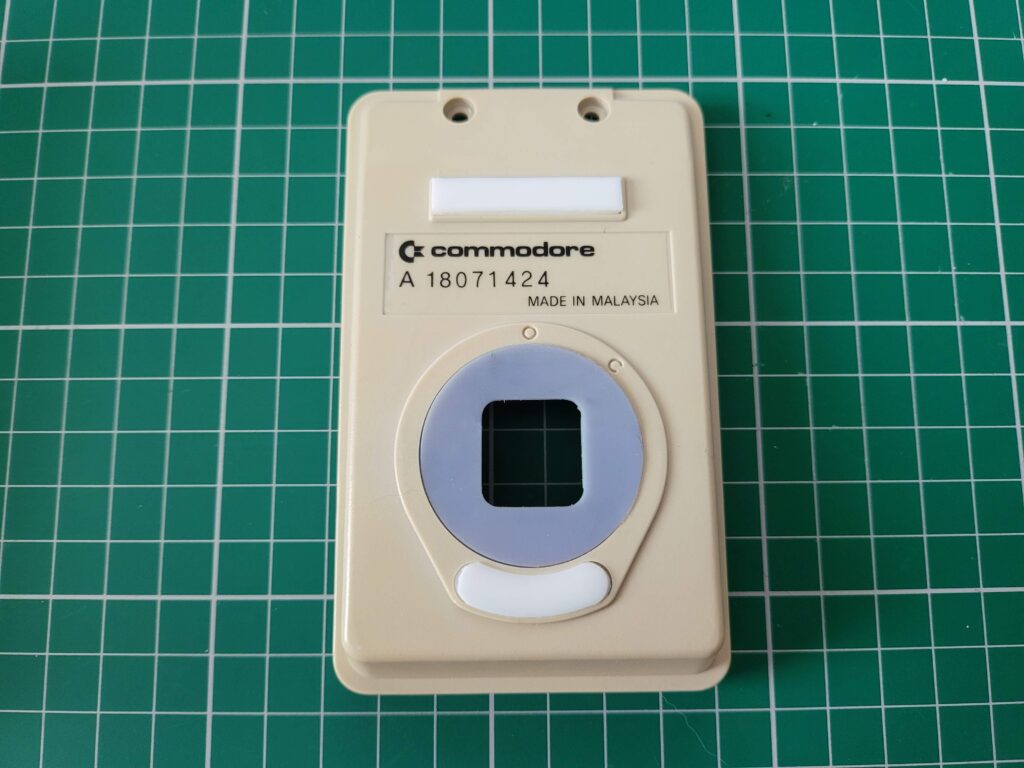
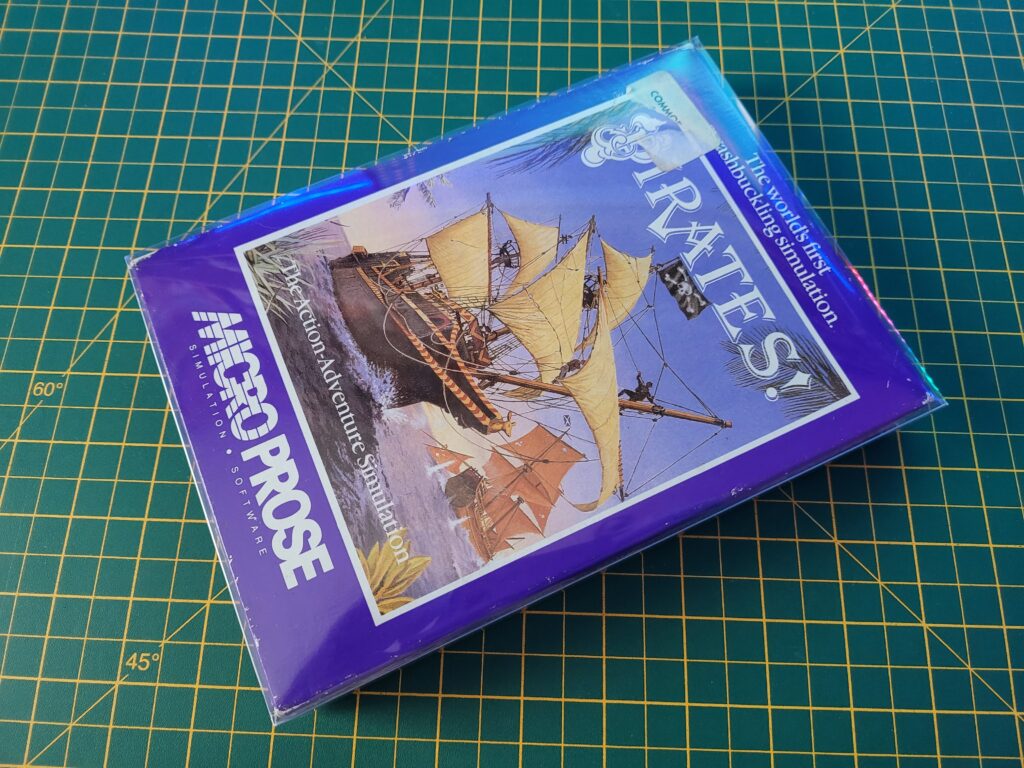
Back when I purchased my Amiga USB keyboard in 2022 from Simulant it carried a disclaimer that it wouldn’t work with ‘real’ Amigas but that they were working on an adapter. That was about 18 months ago now and I had almost forgotten about it. However a few weeks ago I received an email saying they were taking pre-orders for the adapter so I jumped on board. It arrived a few days ago so I’ll go through the installation and how well it works in this post.
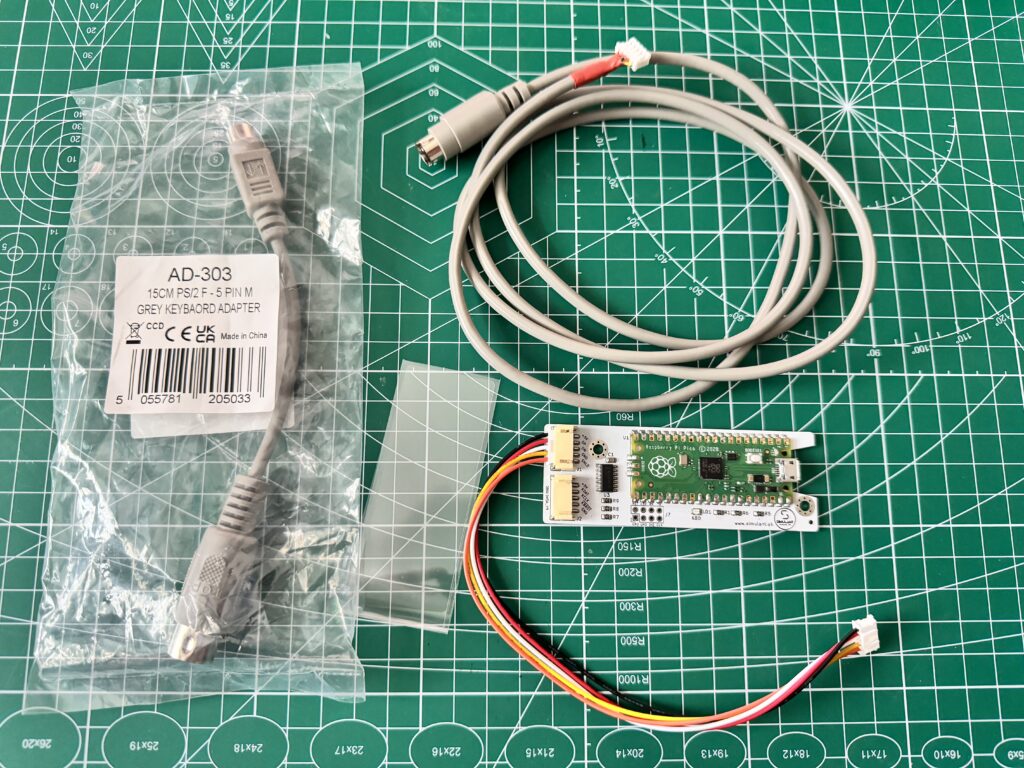
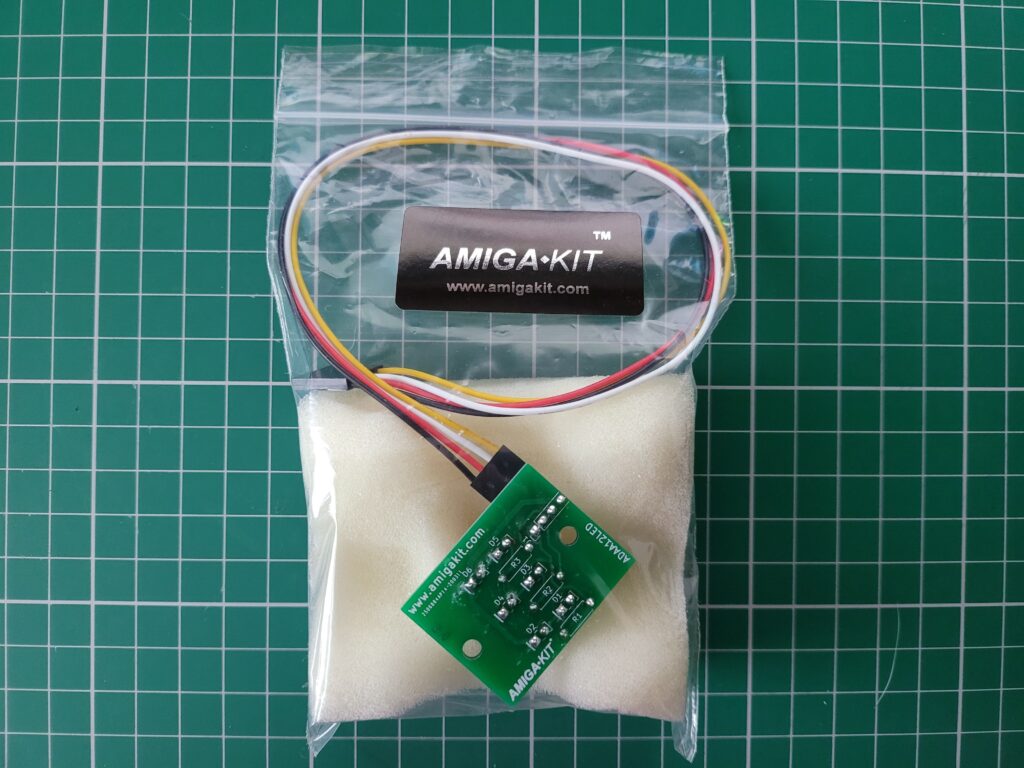
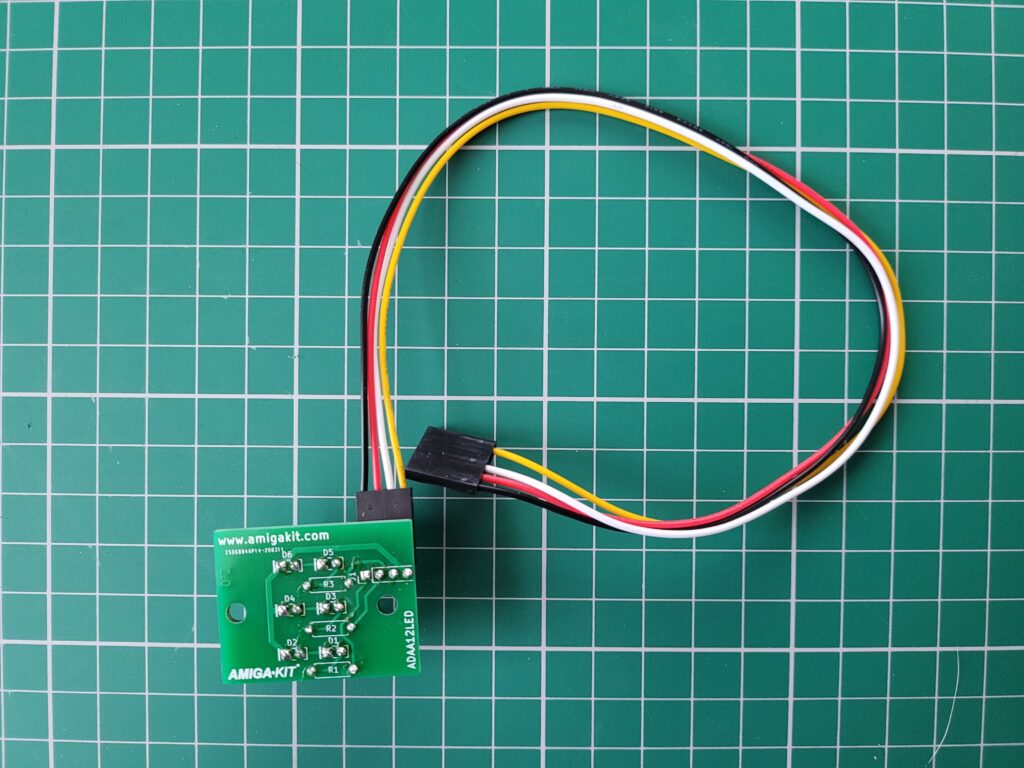
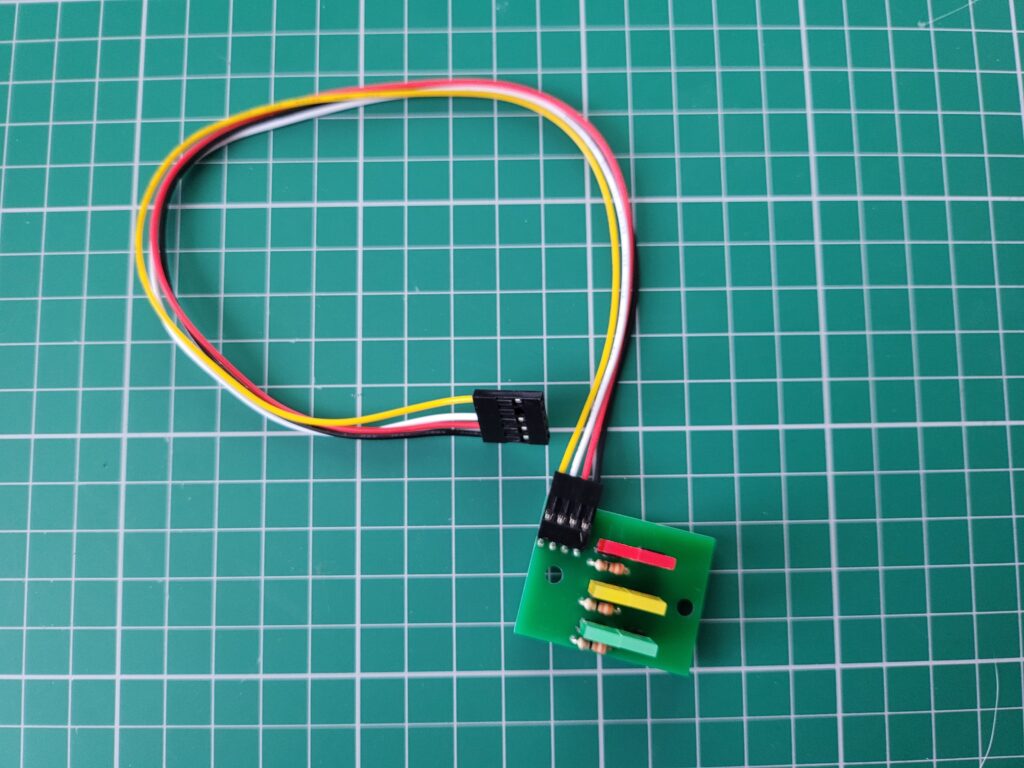
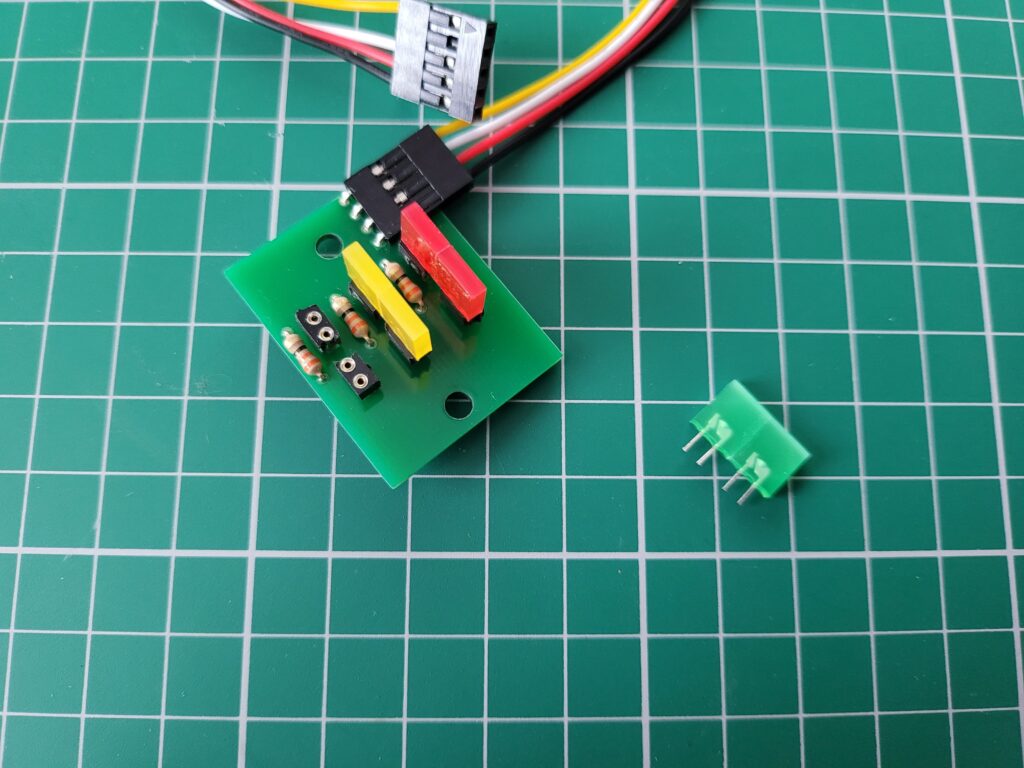
Amiga Conversion Kit Contents
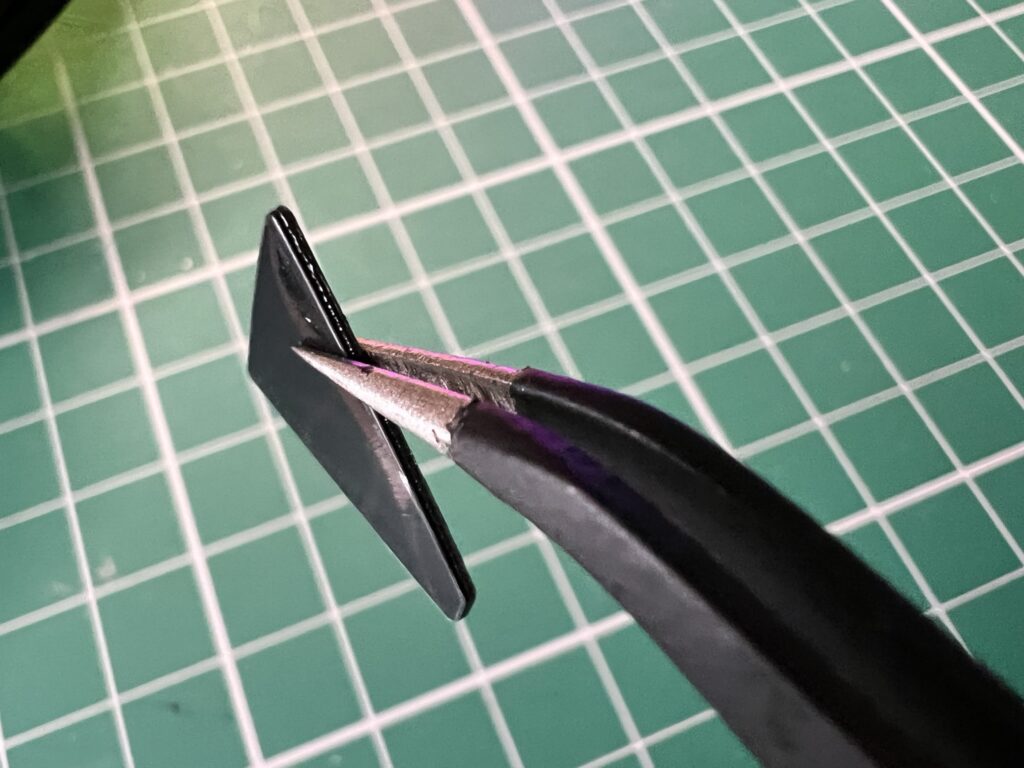
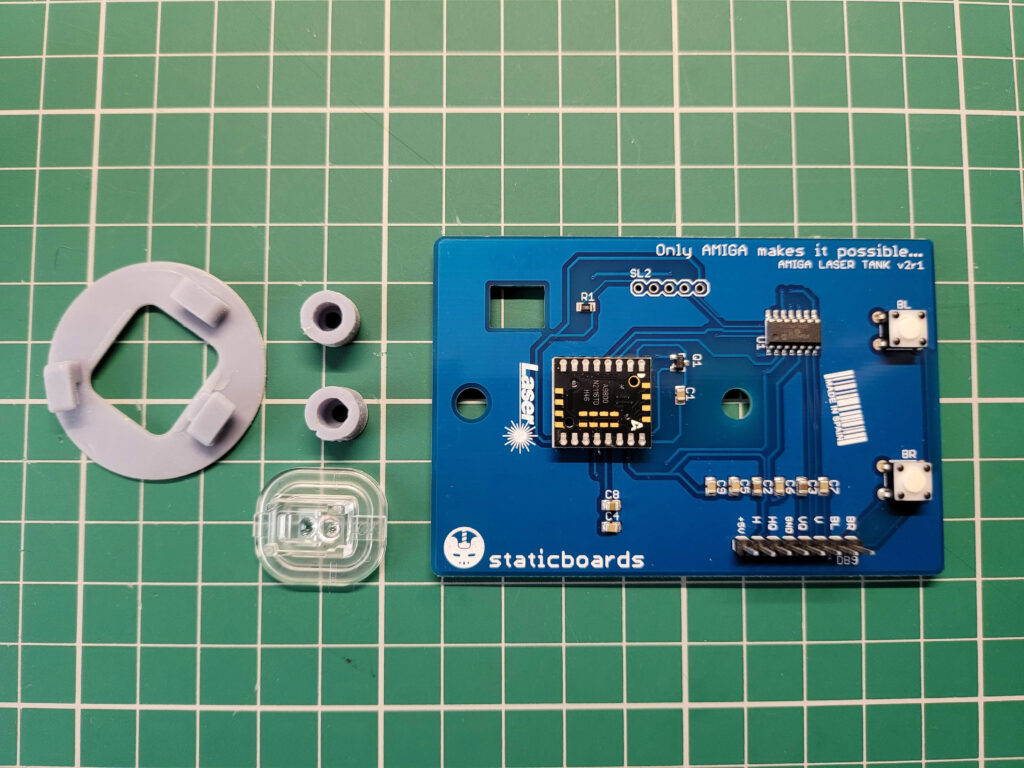
The kit included the adapter, an A4000/CD32 keyboard cable, an A2000/A3000 adapter and a small strip of doubled-over plastic.
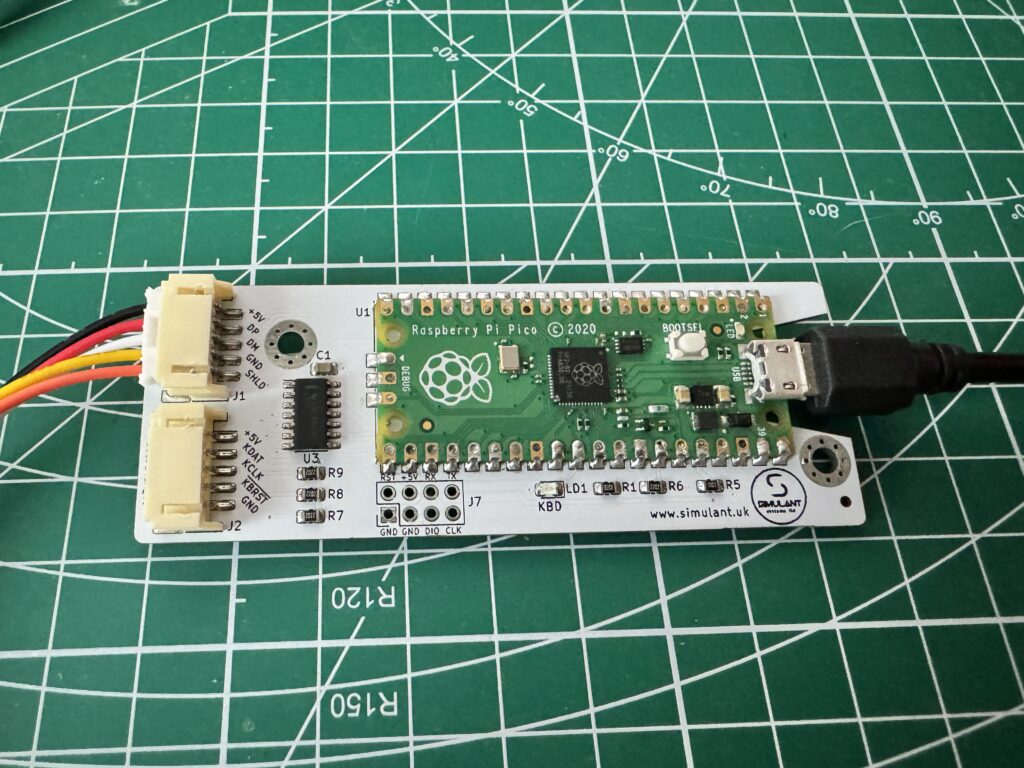
Raspberry Pi Pico
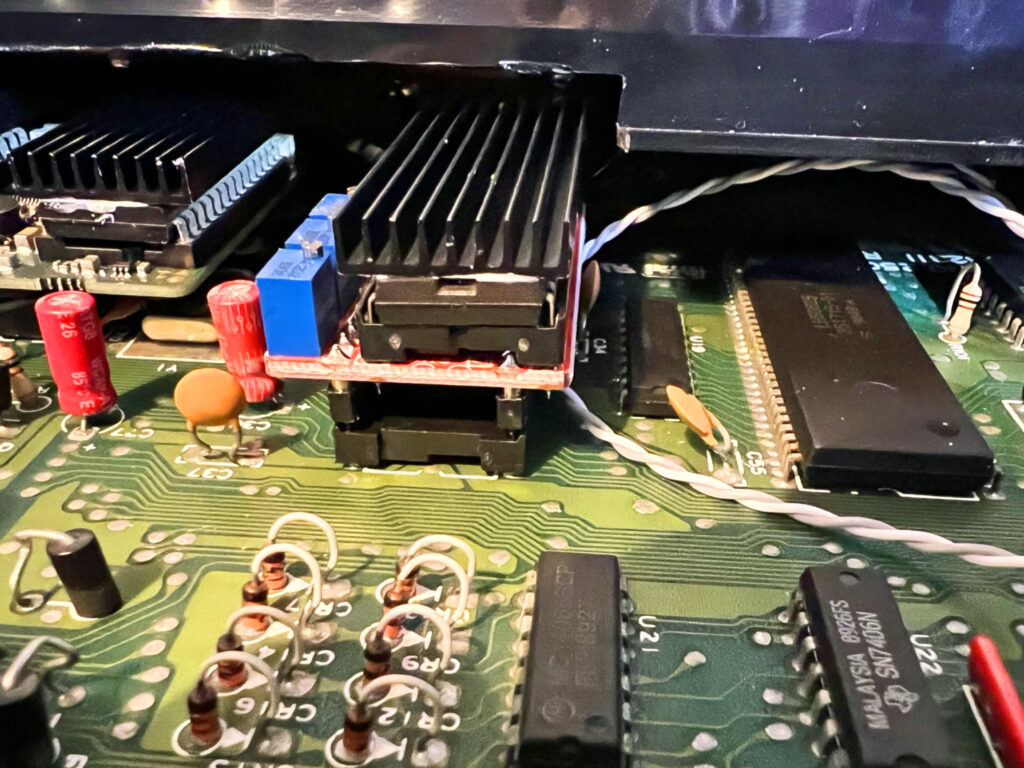
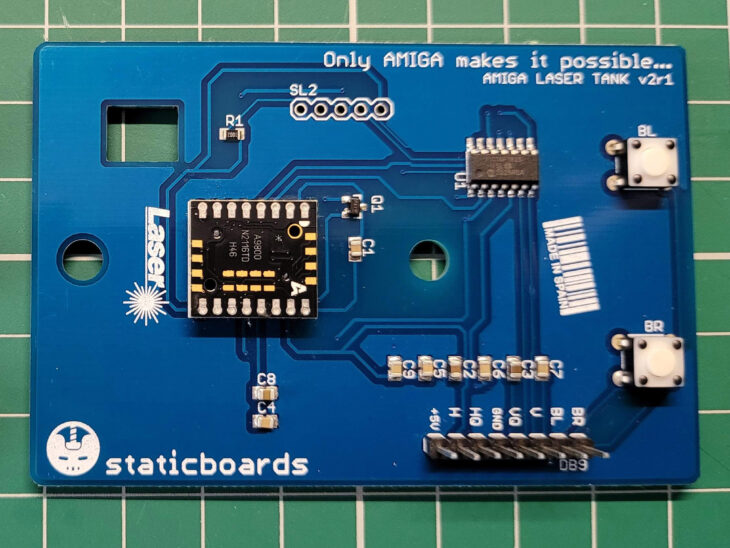
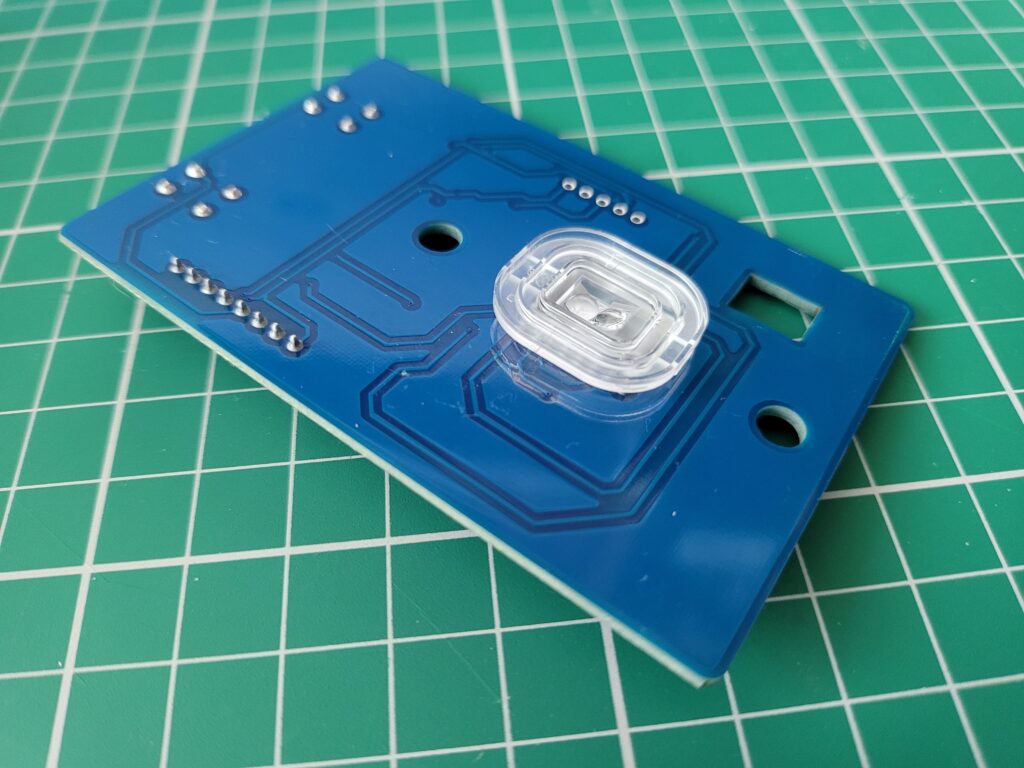
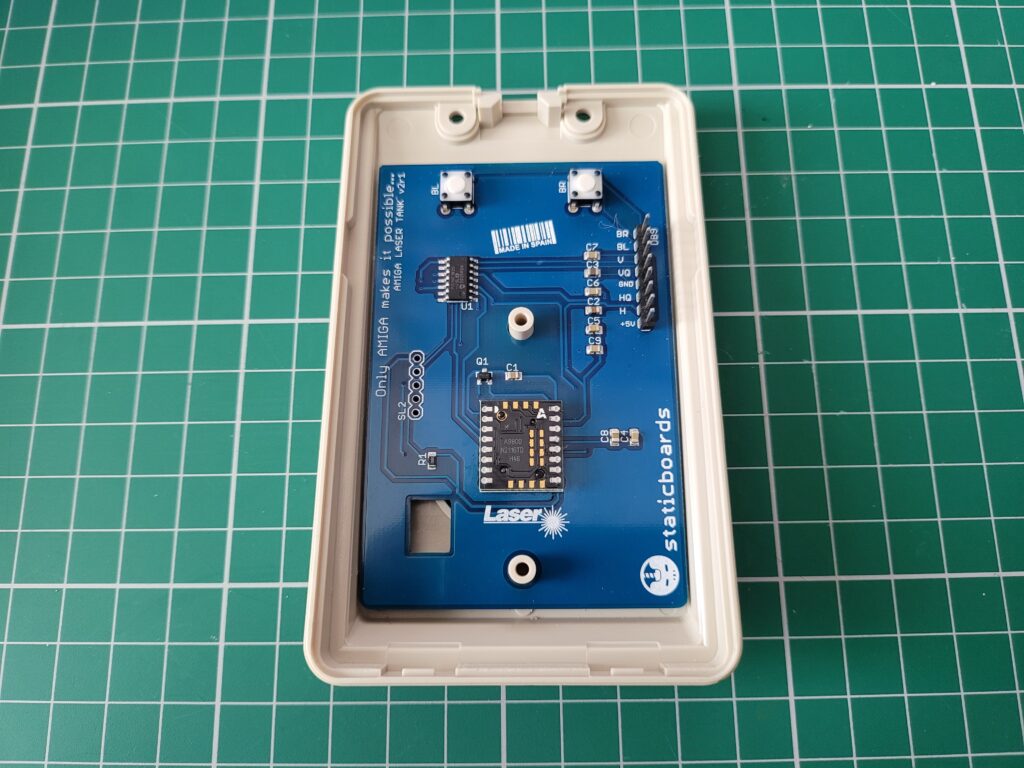
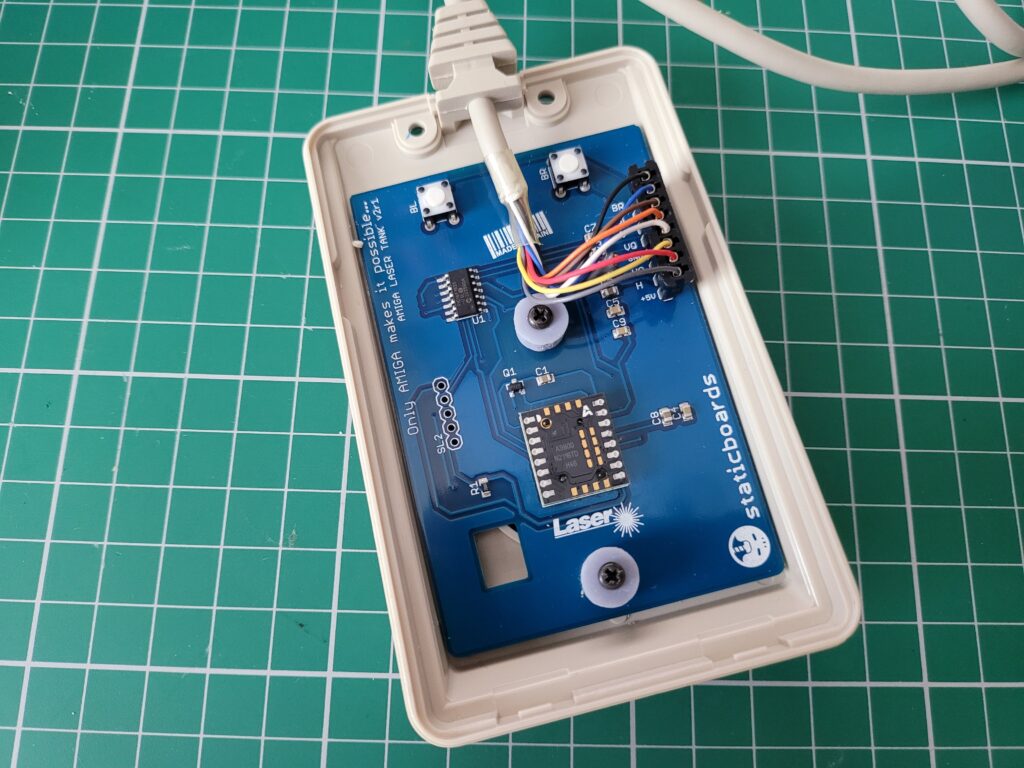
The adapter itself consists of a small Raspberry Pi Pico board affixed to a custom PCB that has some extra chips, sockets and circuitry to interface with the keyboard itself.
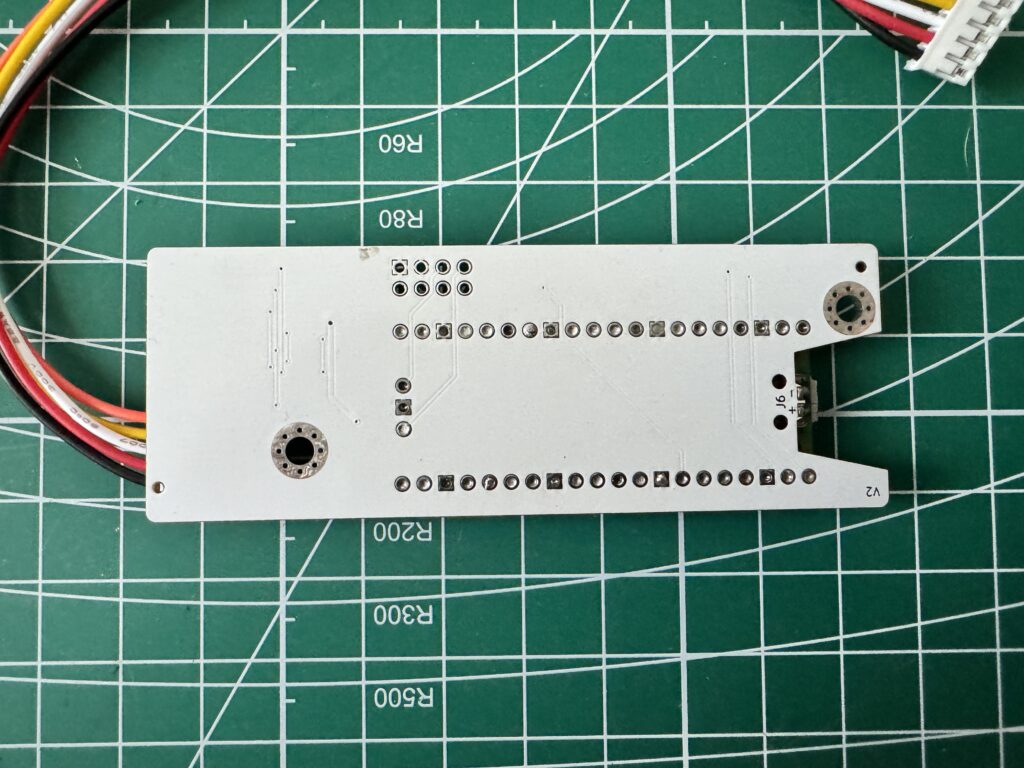
Back of the custom PCB
There were no instructions supplied with the kit at all, not even a bit of paper with a URL to visit for more info. Unsure if that was an oversight or not. Thankfully I received an email from them shortly before the delivery was due and it contained a link to download some new firmware for it. Within the zip file there was a small text file with basic instructions and a few photos. It was enough to set me on the path anyway.
Updating the Firmware
The very first task was to install the latest firmware on the Pico board. This was really straightforward and just required me to hook it up to my PC with a Micro USB cable whilst holding down the ‘BOOTSEL’ button on the Pico board. After a few moments it then appeared on my PC as a regular storage device; ‘RPI-RP2’ and I was able to copy the firmware across.
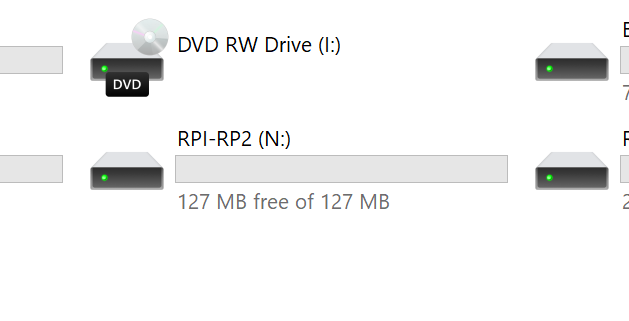
The RPI-RP2 mass storage device
The drive disappeared automatically once the firmware had successfully installed which was my cue to unplug it and move on to the next stage.
Dismantling the keyboard
The next job was to get the keyboard opened up. The top half of the keyboard overlaps the bottom half and is held in place by a series of plastic clips. There are four along the front edge and another four along the back – there are none on the sides.
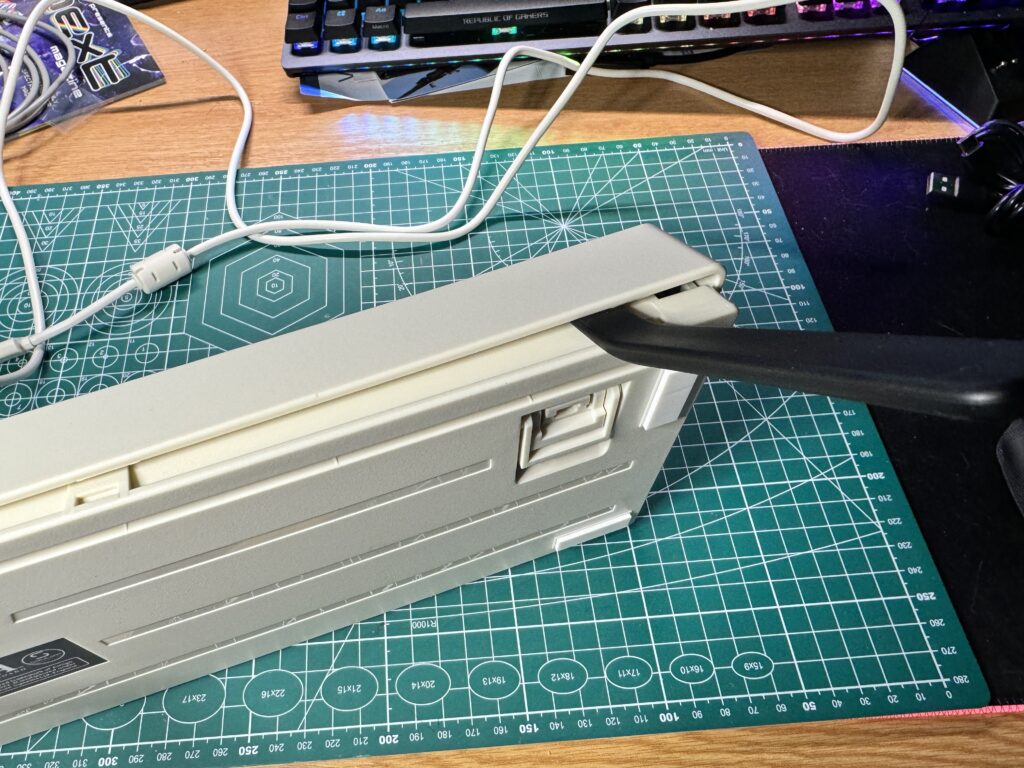
Spudger time!
The two halves fit together extremely snugly so to avoid any cosmetic damage I used a plastic spudger tool to gently prise the them apart and then slid it along, disengaging the clips as I progressed.
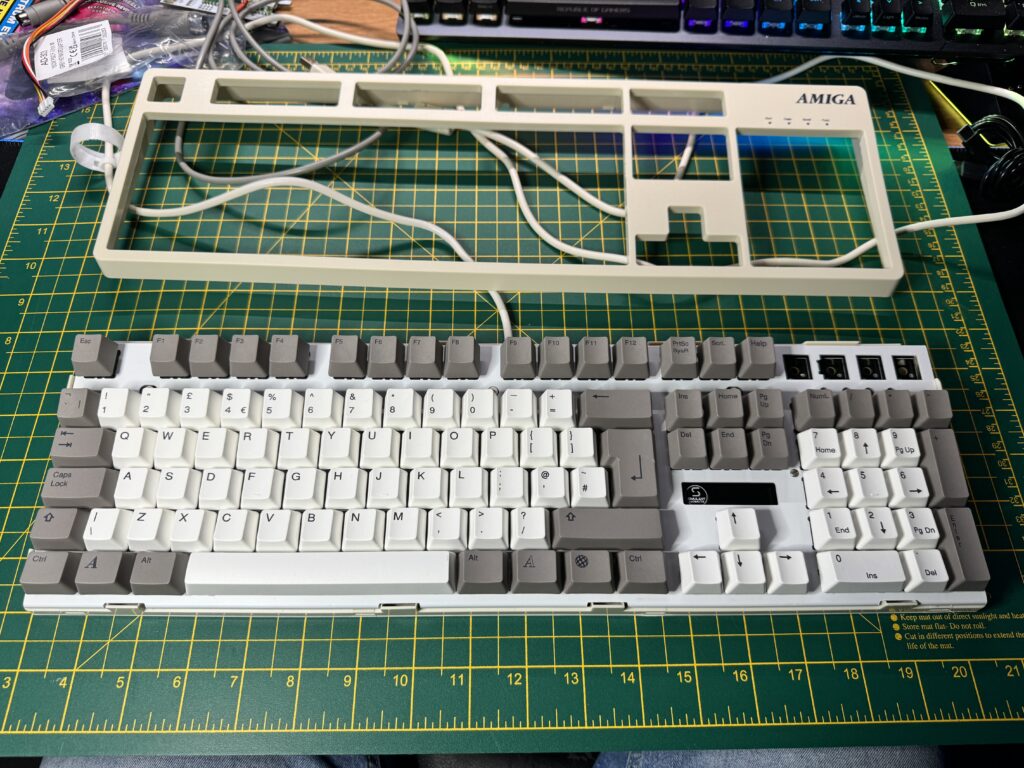
Top half of case removed.
With all the clips dealt with the two halves separated easily and I was able to lift the top off and place it to one side.
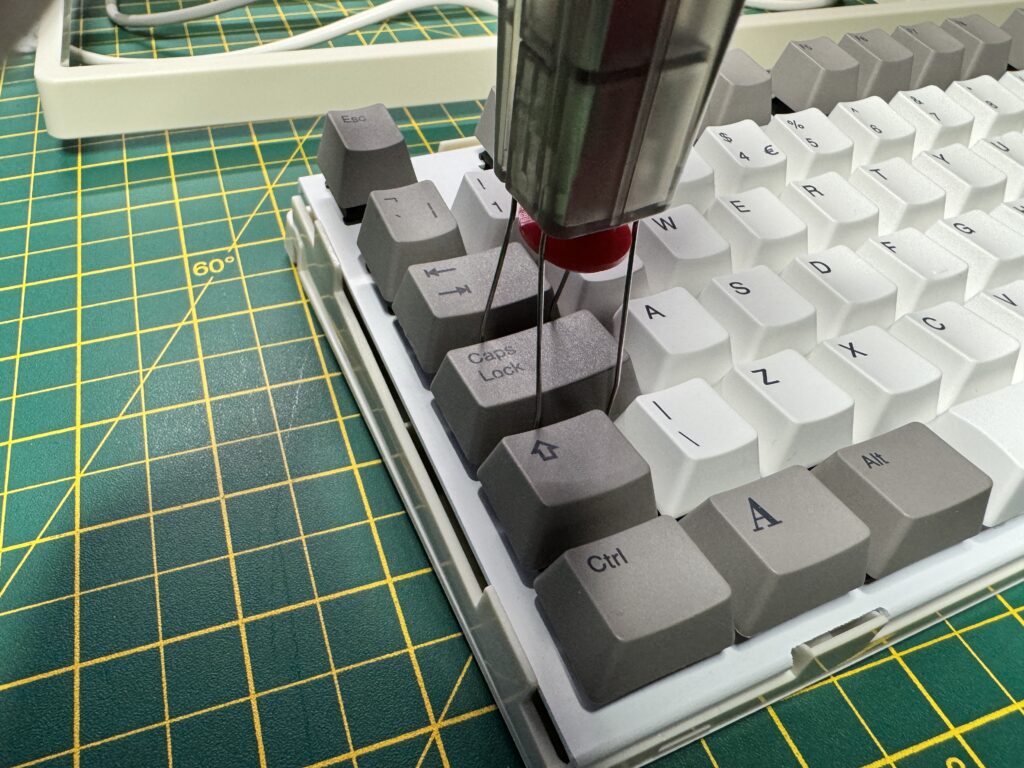
Keycap puller
The next job was to remove some of the keycaps to gain access to the screws holding the keyboard and bottom of the case together.
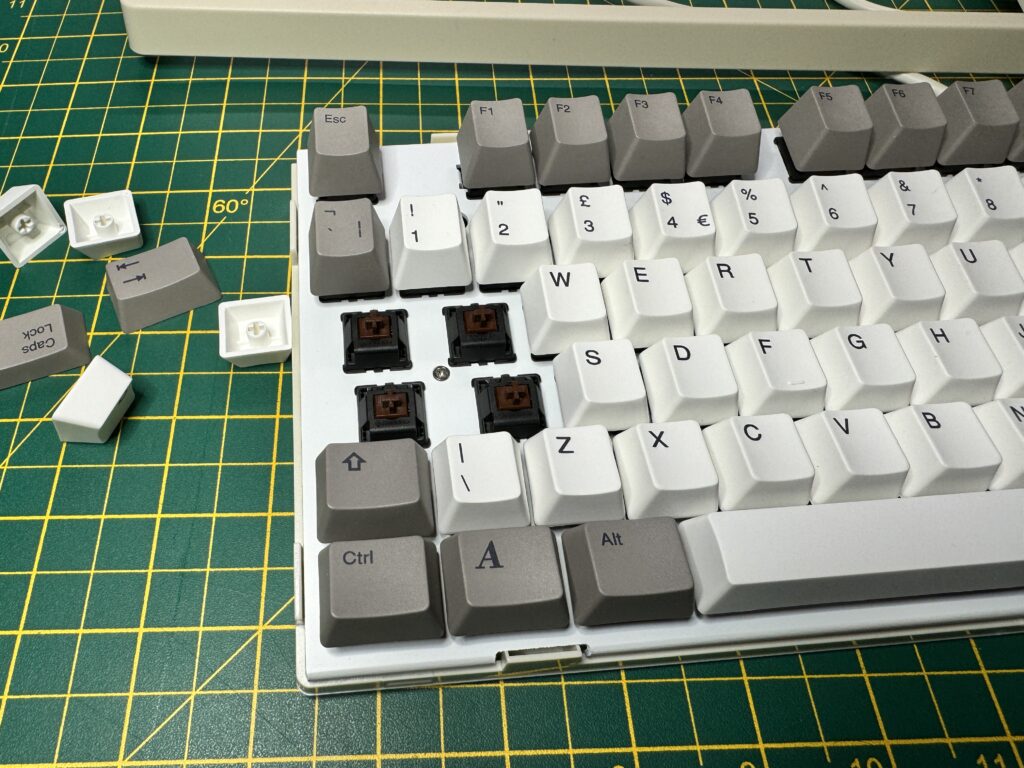
Keys removed revealing screw beneath.
First I removed the Caps Lock, Tab, Q and A keys on the left…
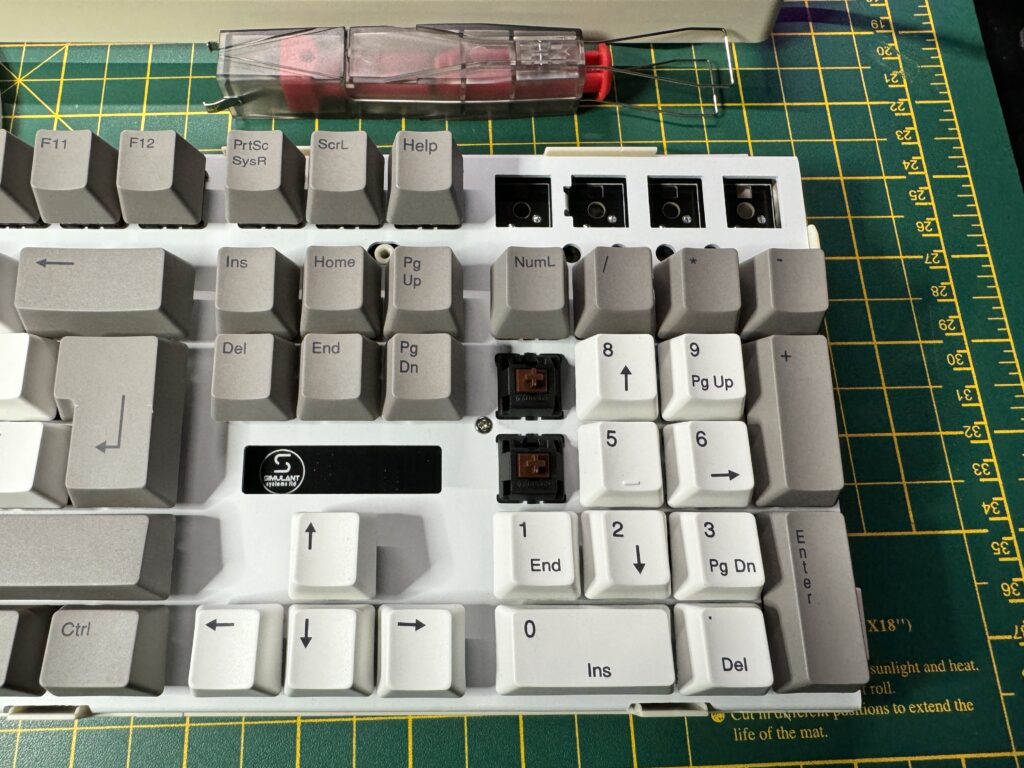
Keys removed revealing screw beneath.
Then the 7 and 4 keys from the numeric keypad on the right.
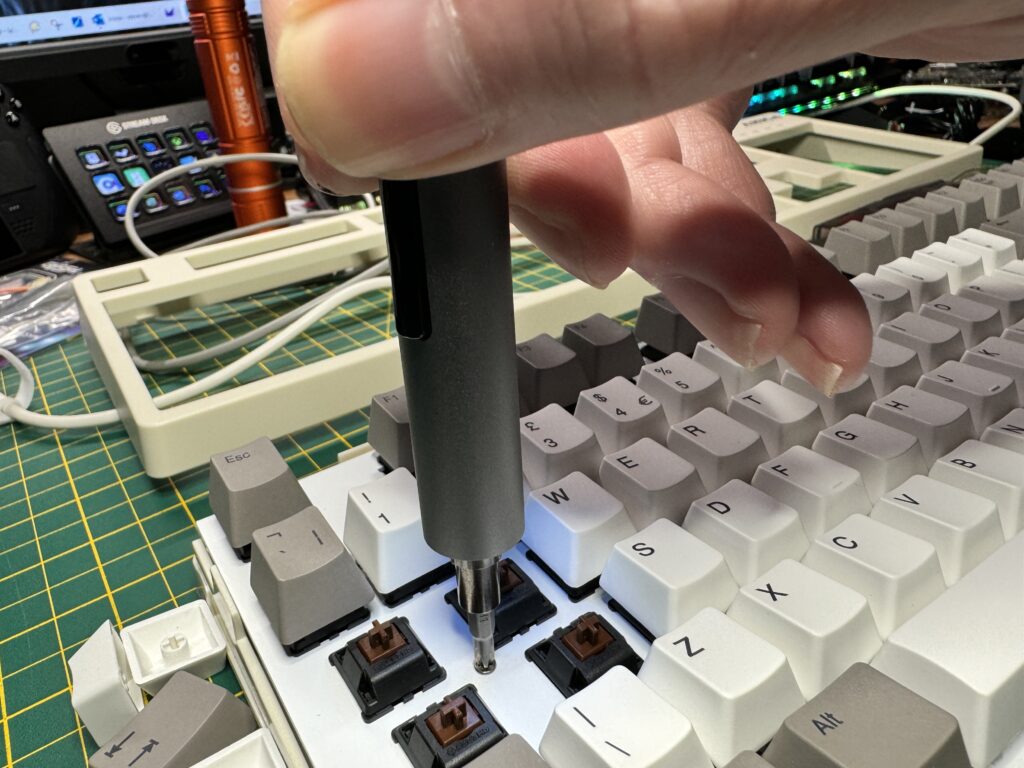
Removing the left-hand side screw.
Then I removed the small phillips screw from each side of the keyboard…
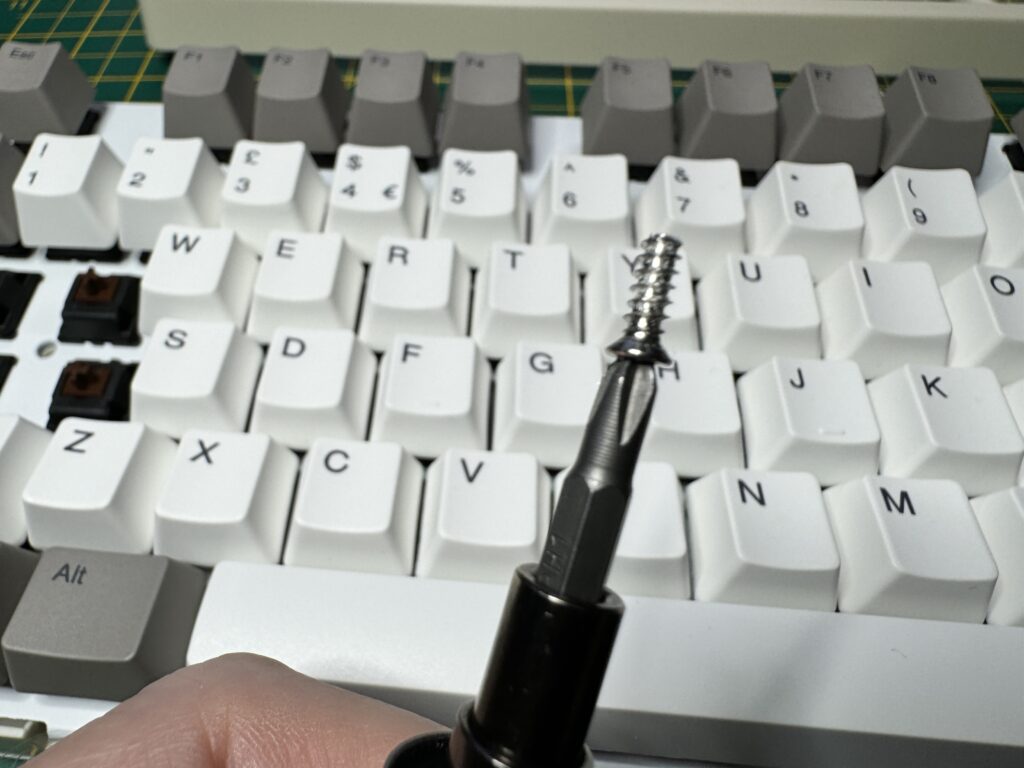
It’s a screw!
and placed them, along with the keycaps, somewhere safe so I wouldn’t lose them in the black-hole that is my desk!
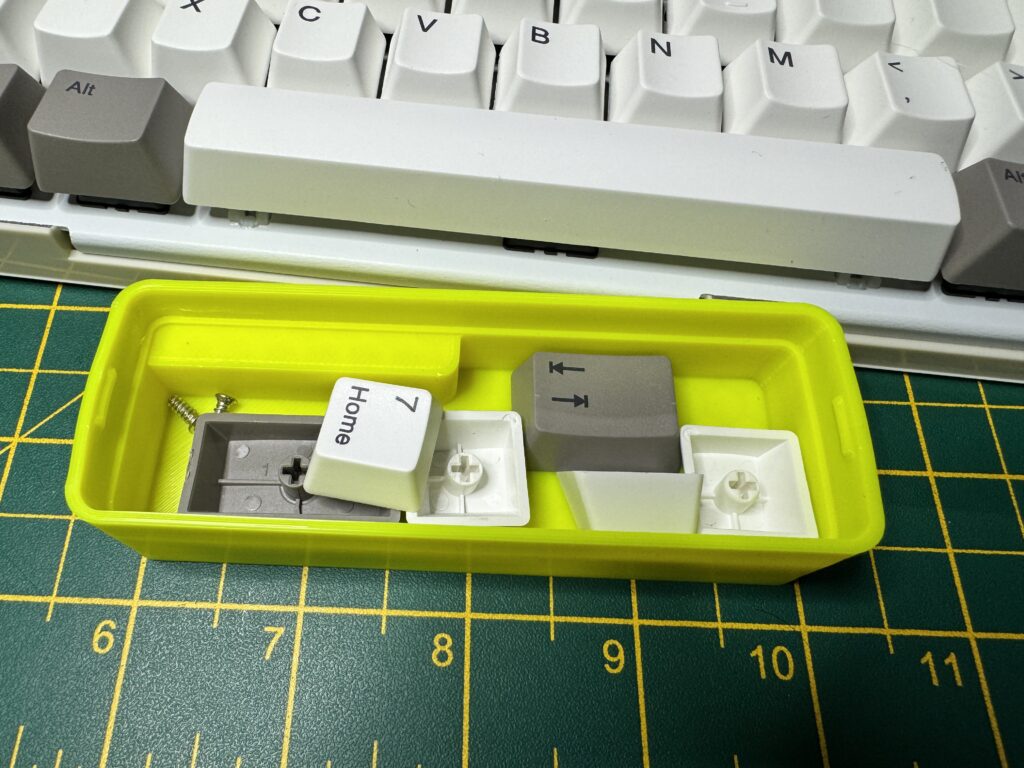
Don’t want to lose these!
With the screws removed I was then able to separate the keyboard from the bottom of the case.
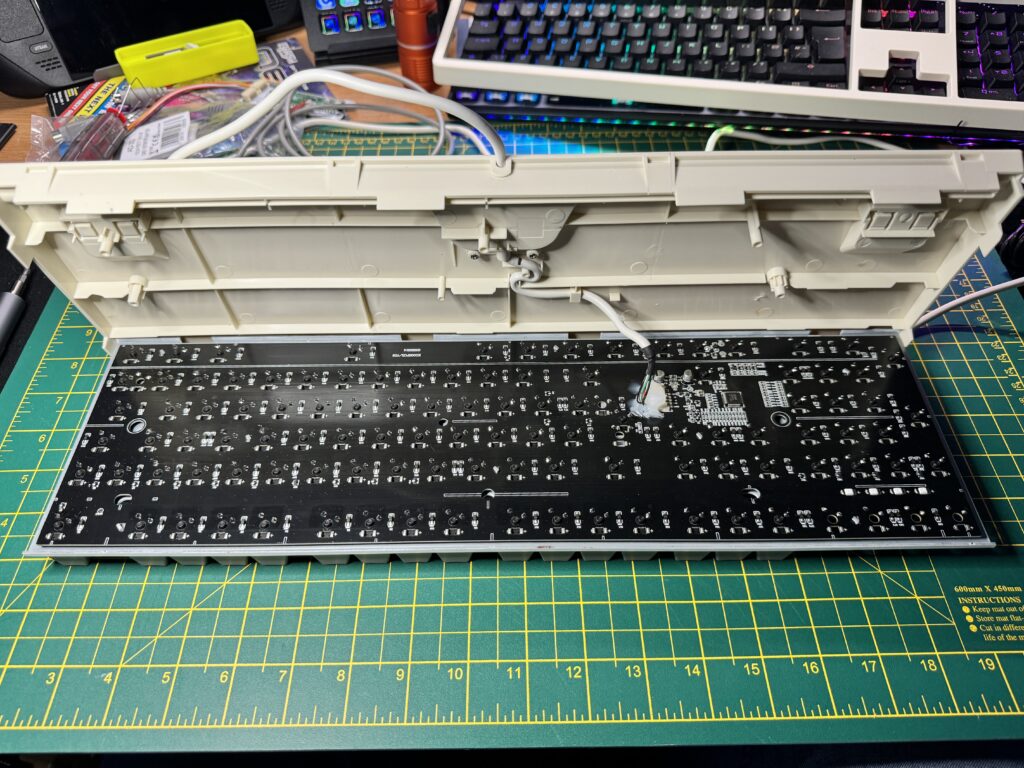
Bottom of the keyboard released
I then set about removing the cable clamp from the bottom of the case.
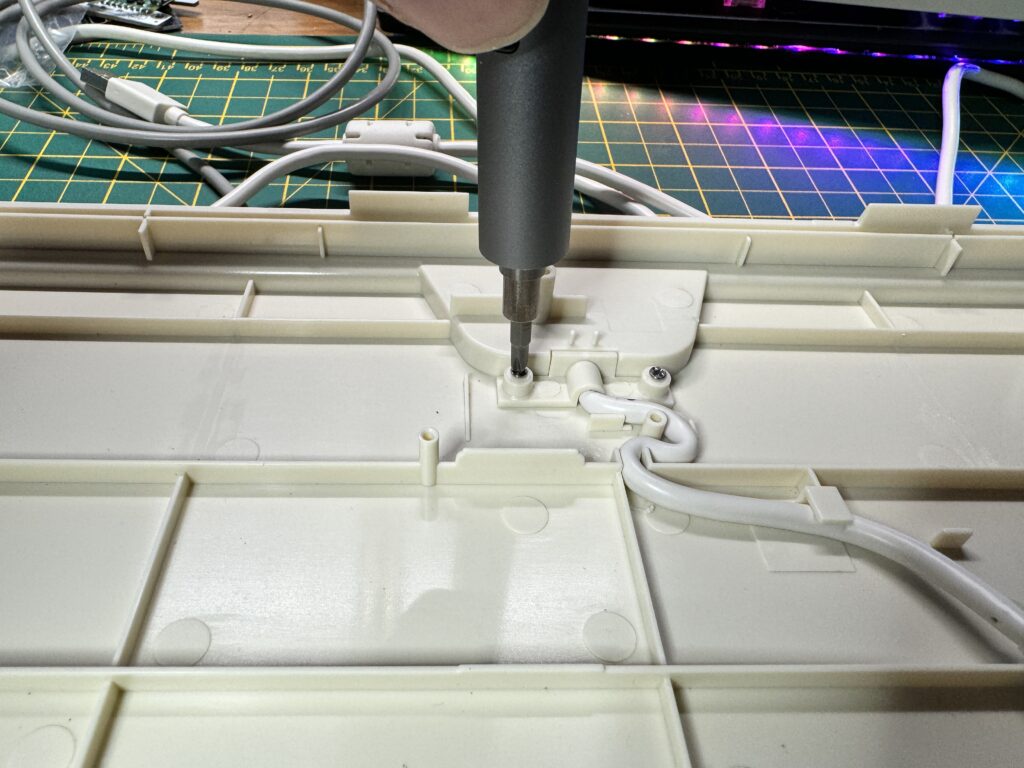
Removing the cable clamp screws.
The clamp was held in place by two phillips screws, smaller than the ones I had encountered earlier.
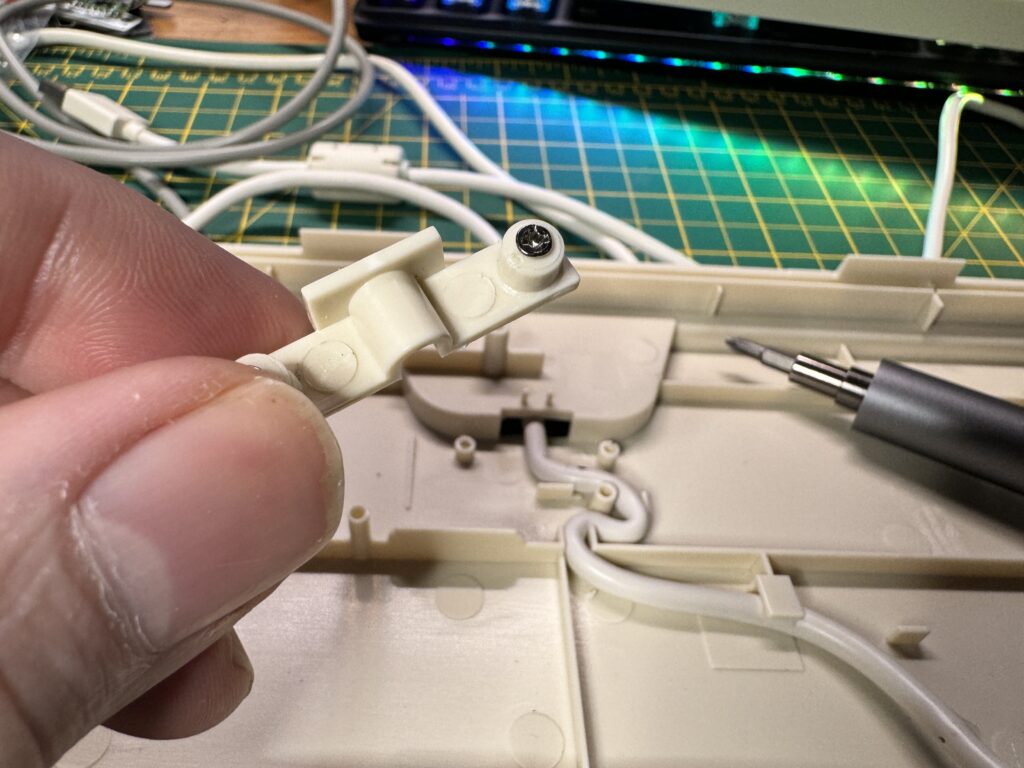
The cable clamp.
The cable was then free to be moved around to give me more slack to work with for the next stage.
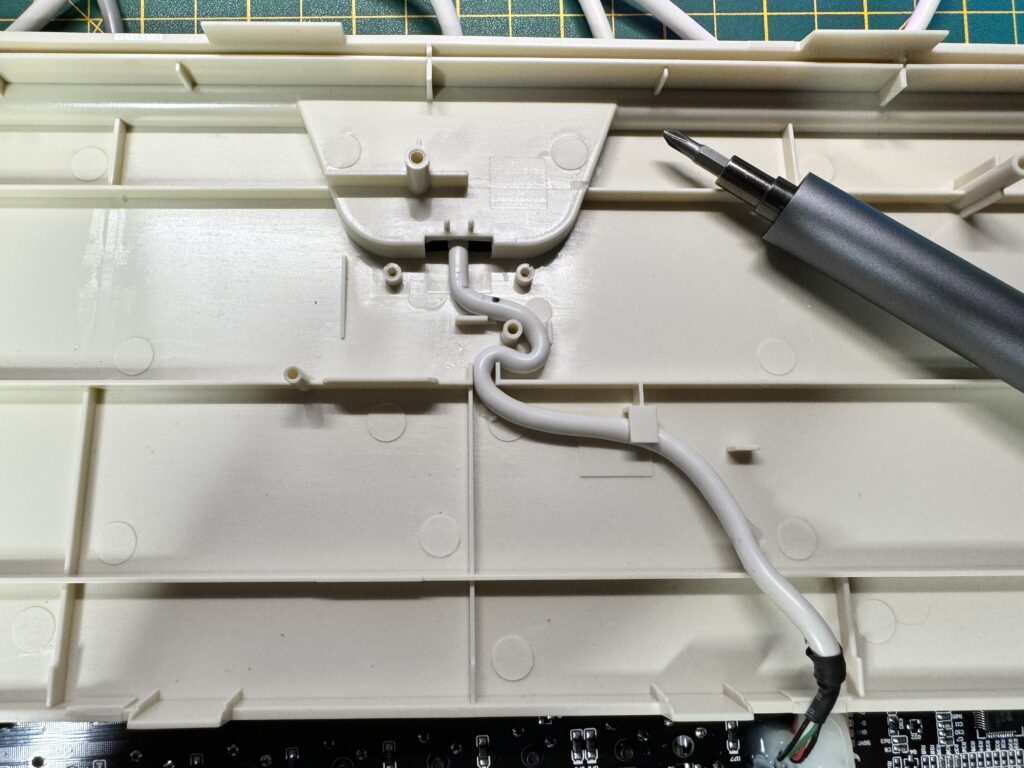
The path of the cable is a curvy one…
In order to fit the adapter I needed to remove the old cable from the keyboard circuit board.
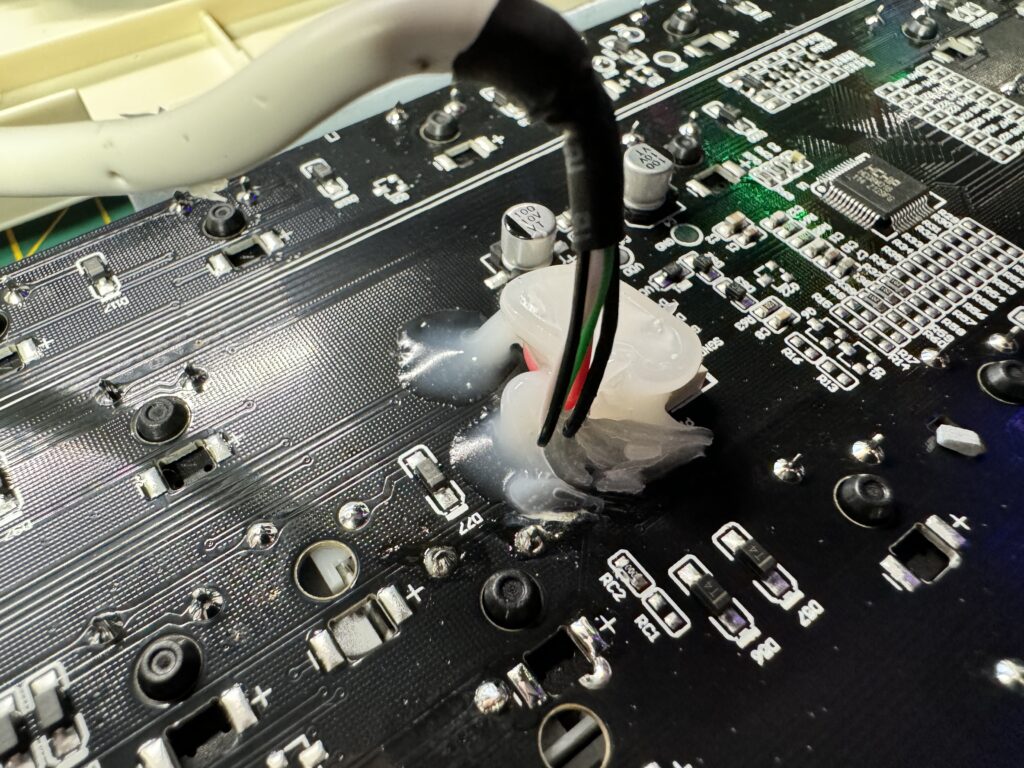
Silcone…
Unfortunately for me, whomever made it decided it would be a good idea to squirt lashings of silicone all over it.
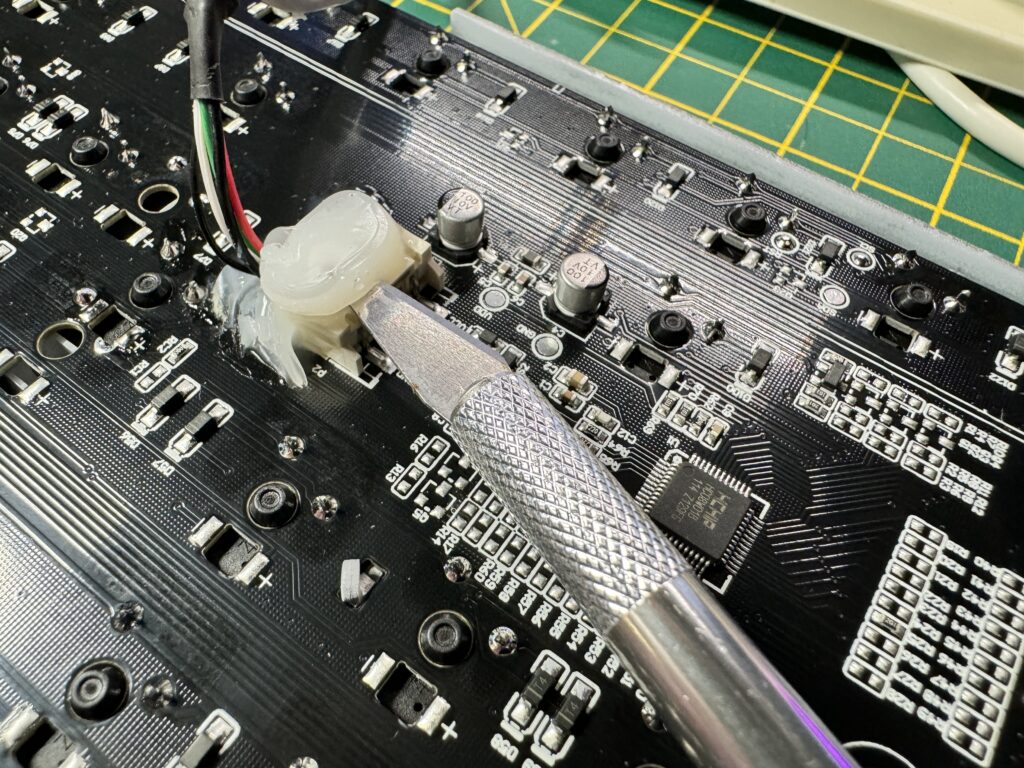
Slcing the silicone off
I spent the next 20 minutes very carefully removing chunks of silicone…
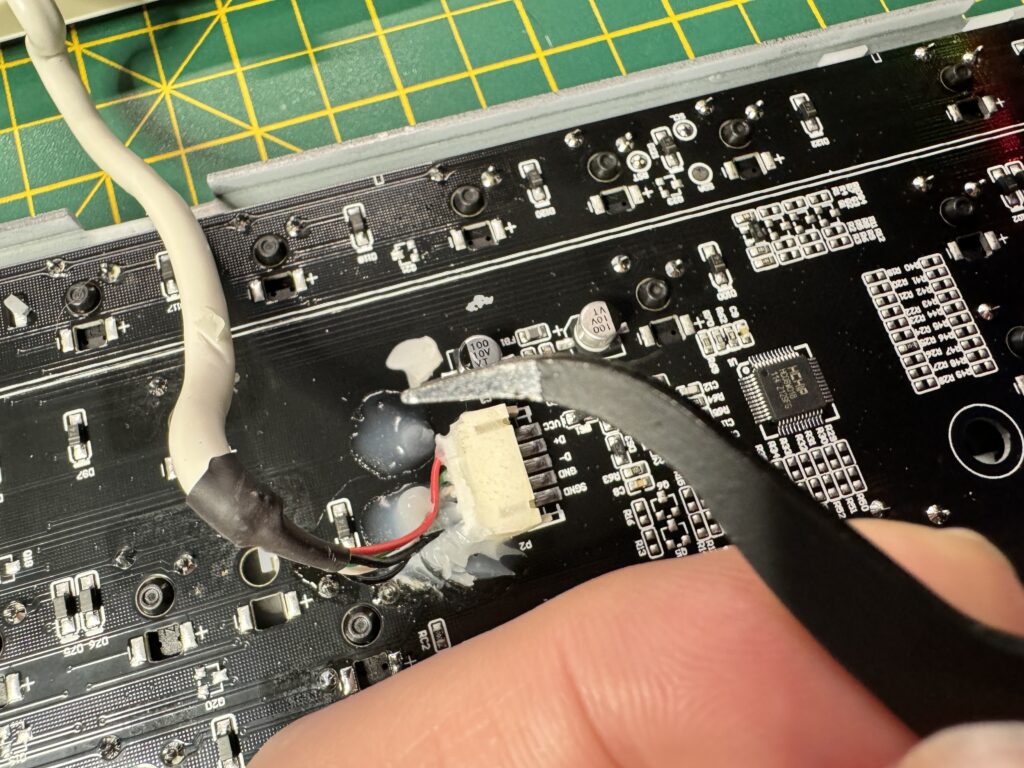
Another chunk of silicone removed…
using a combination of craft knife and tweezers, doing my best not to slice through anything I shouldn’t!
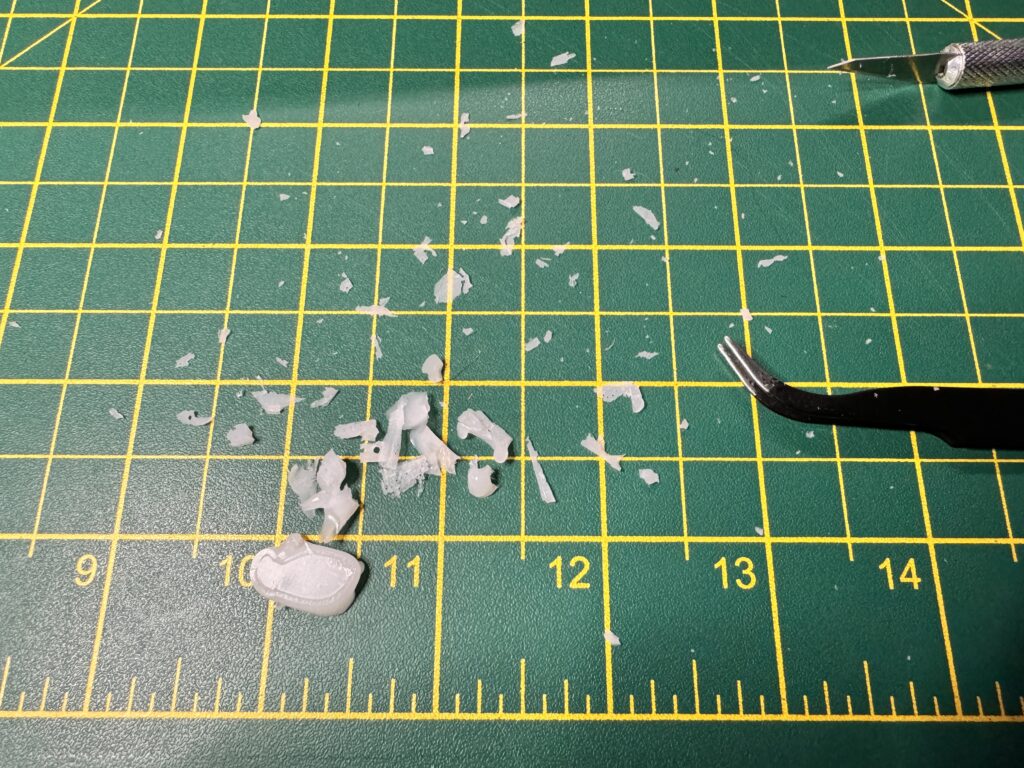
A lovely mess.
It was a pretty tedious task but eventually I had a small pile of silicone bits and I was able to remove the old plug from the socket and feed it back out through the small slot in the case.
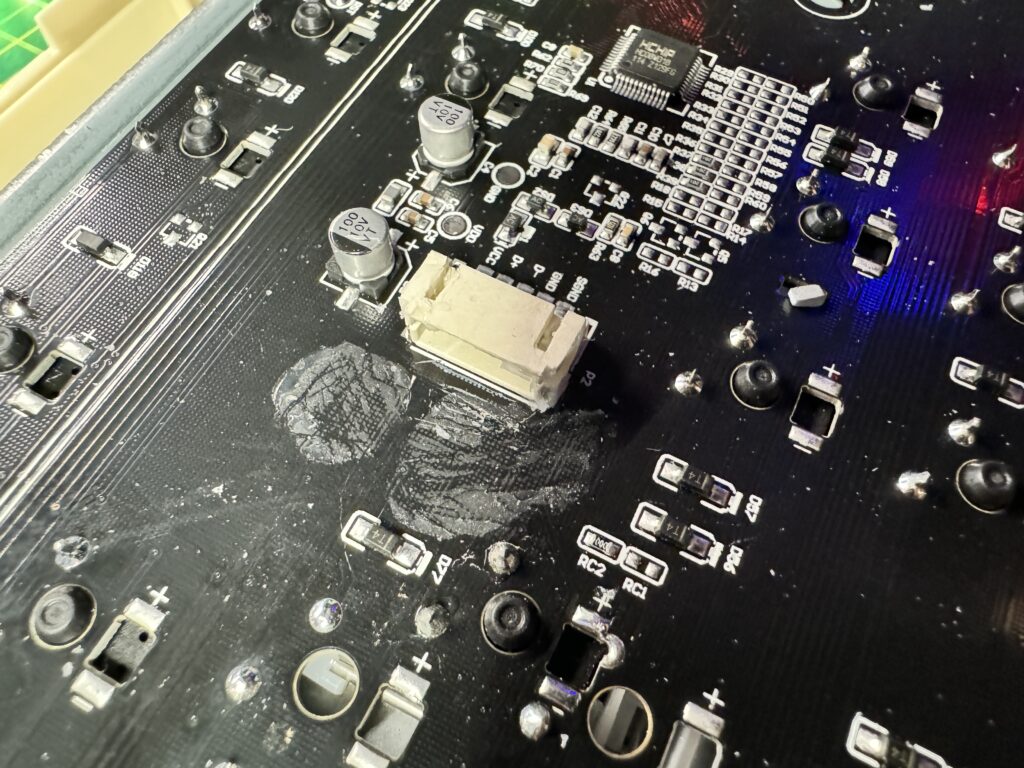
Finally – all gone.
This eventually left me with a nice, silicone-free, keyboard cable socket!
Installing the adapter
Now it was finally time to install the adapter. I began by gently feeding it through the small slot in the base of the keyboard case until I had enough cable to work with,
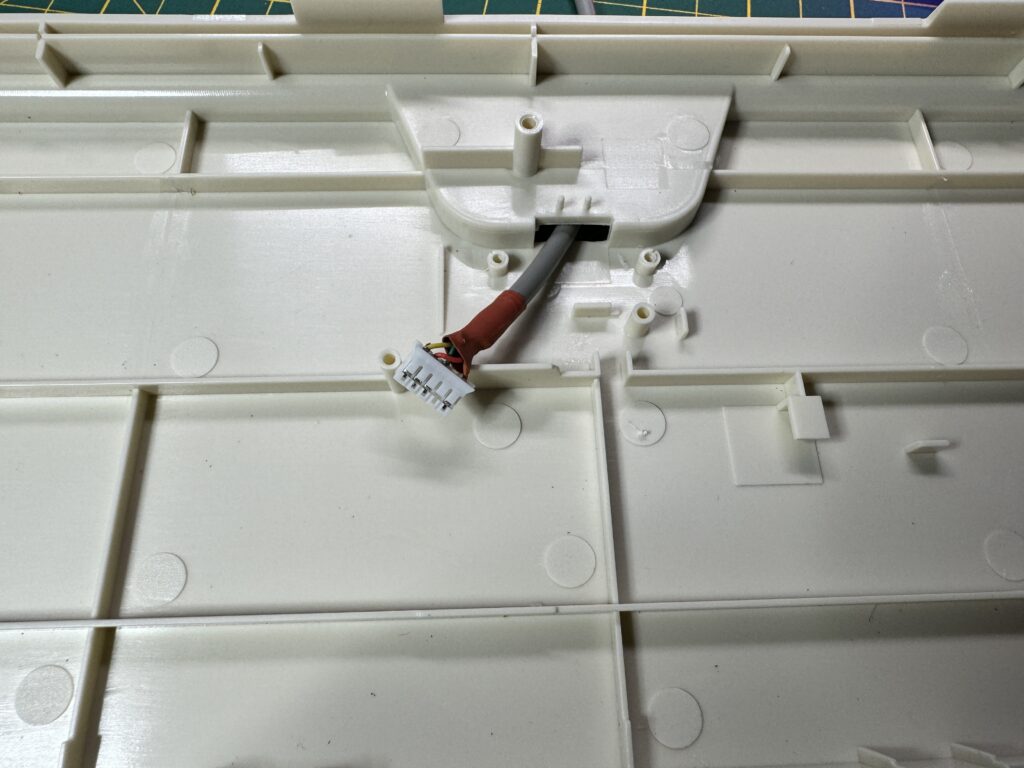
Pushing the new cable through the slot.
Next I connected the plug into the empty socket on the adapter board.
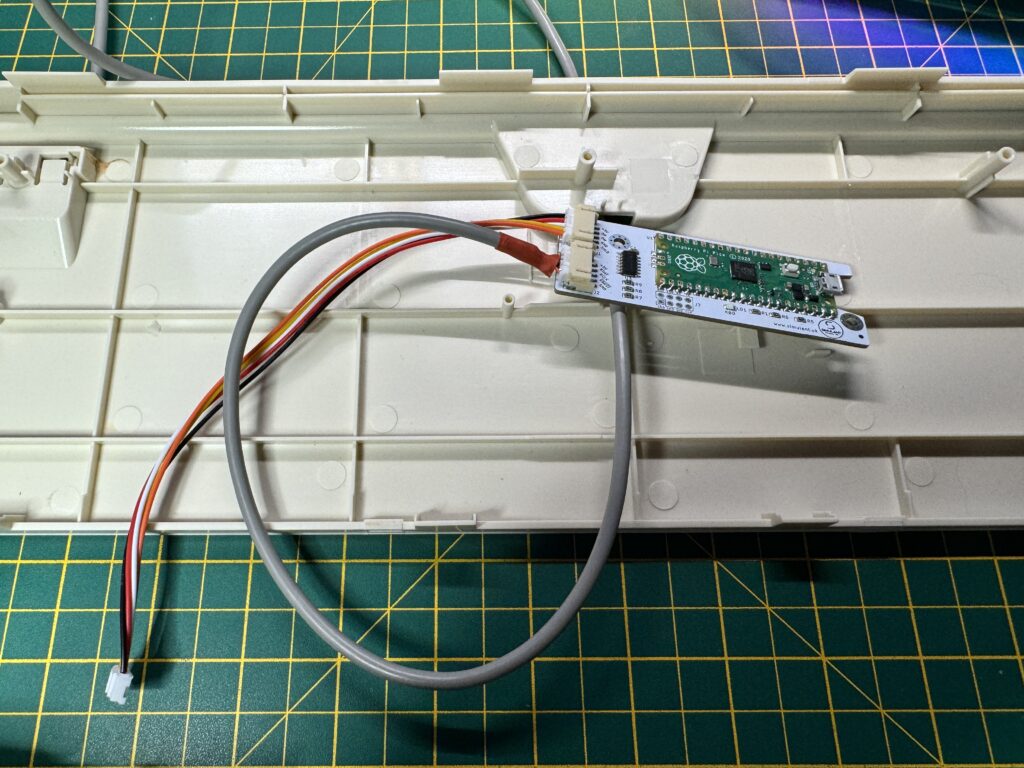
Cable now hooked up to the Pico board.
Simulant recommend the adapter be placed out of the way with the two sockets straddling the plastic ridge in the case so I placed it between the left foot and the cable entry point as shown below.
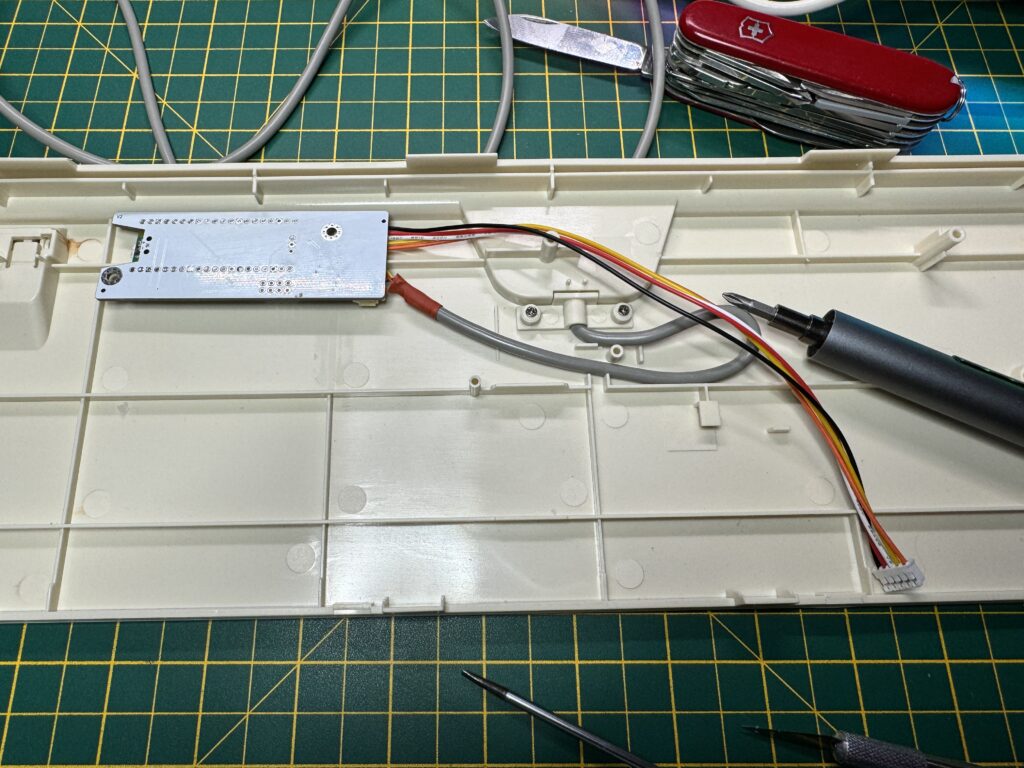
Placing the adapter board out of the way.
Once I’d placed the cables where I wanted them to go I re-attached the cable clamp to hold it in place.
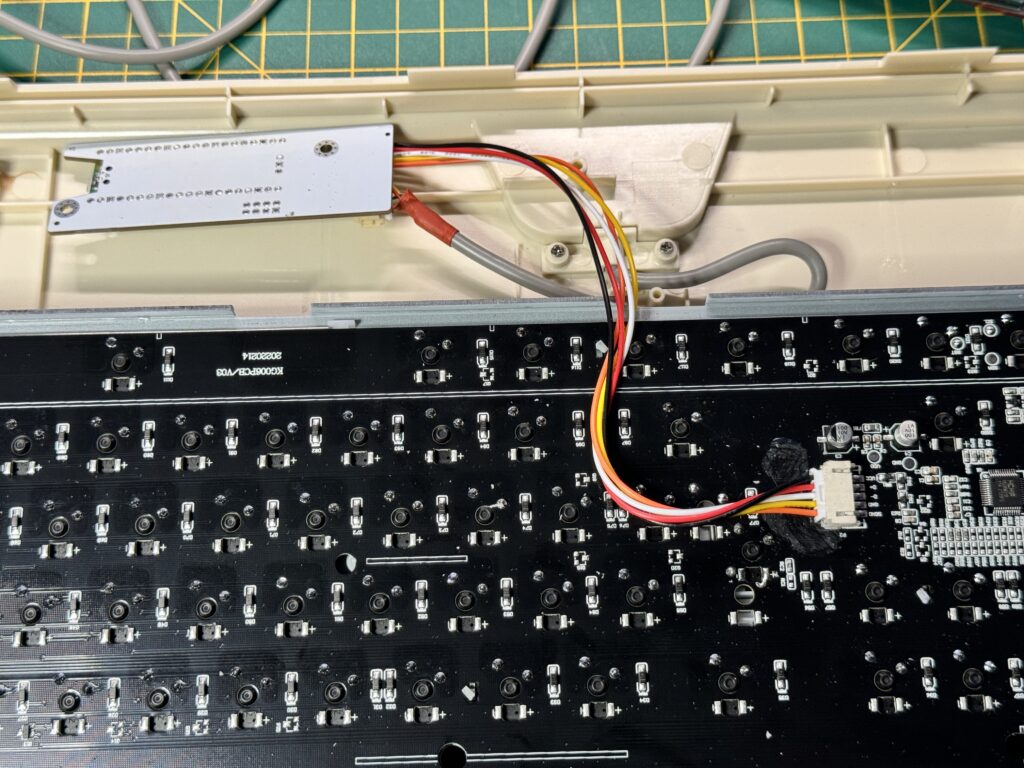
Attaching to the keyboard.
The final connection task was to plug in the short fly-lead running from the adapter into the socket on the keyboard (the one that was previously covered in silicone).
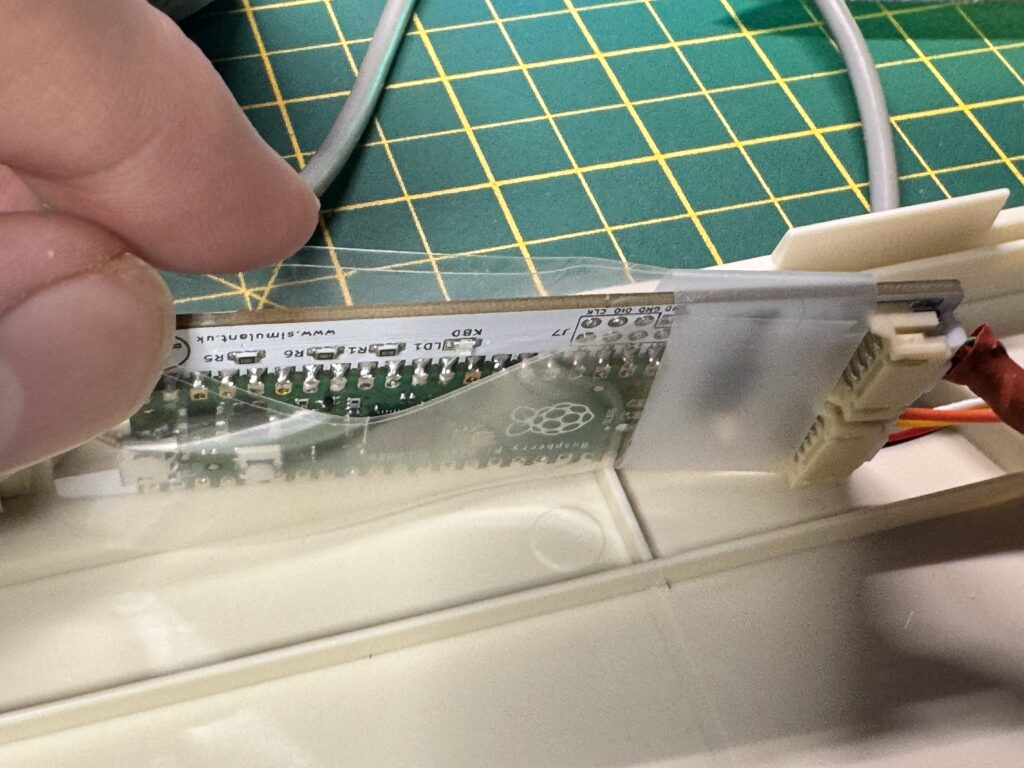
Plastic shielding.
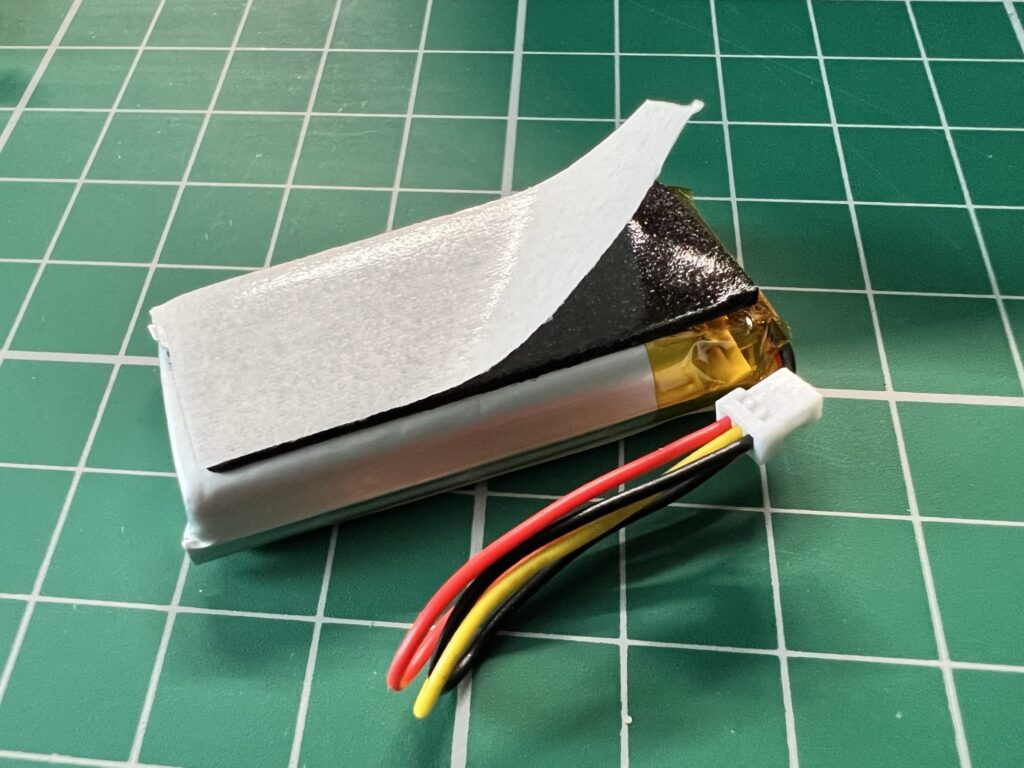
Before closing everything up I wrapped the adapter in the plastic sheathing provided and secured it with a little sticky tape. This was there just to prevent any kind of electrical short occurring between the adapter and the bottom of the keyboard circuit board.
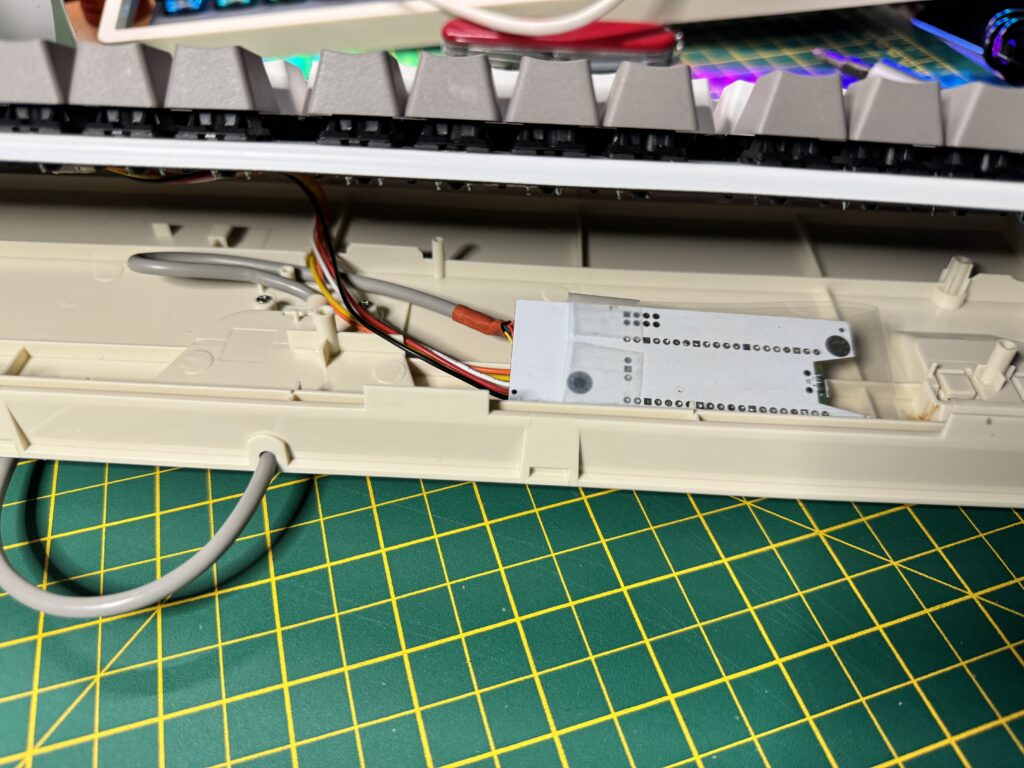
Making sure nothing gets trapped as the case is reassembled.
I then carefully mounted the keyboard back into the bottom of the case making sure that nothing got trapped in the process and then re-seated the top of the case over everything to hold it all together once more.
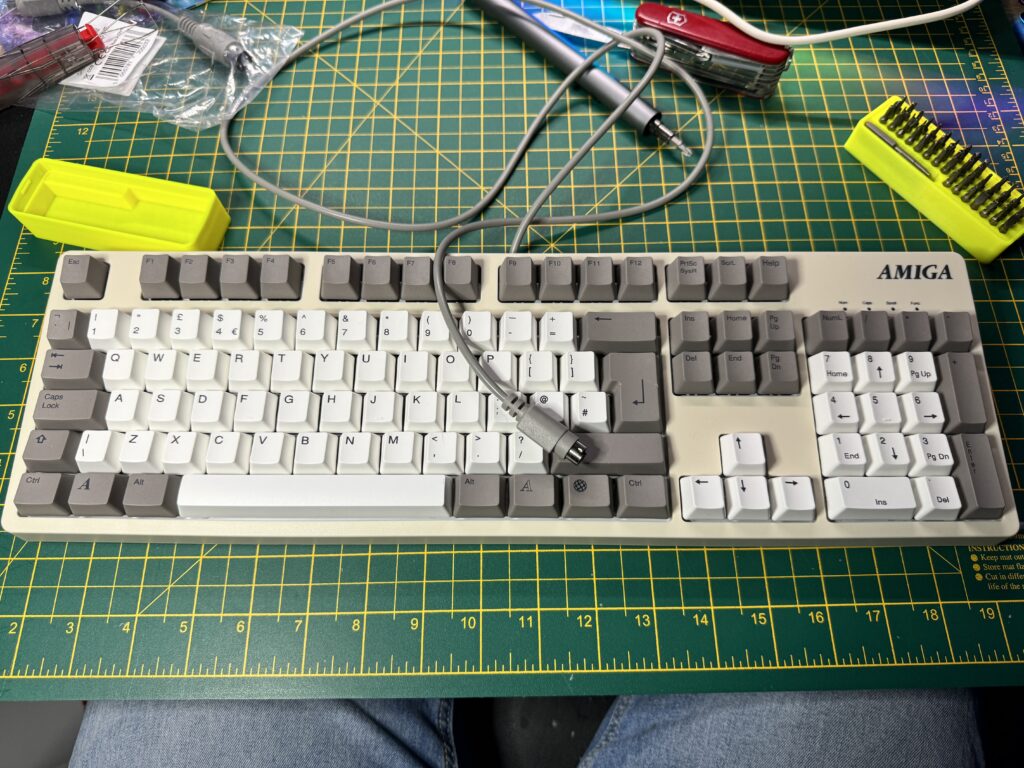
Ta-da!
Testing
The conversion was now complete so it was time to hook it up to my Amiga and put it through its paces!
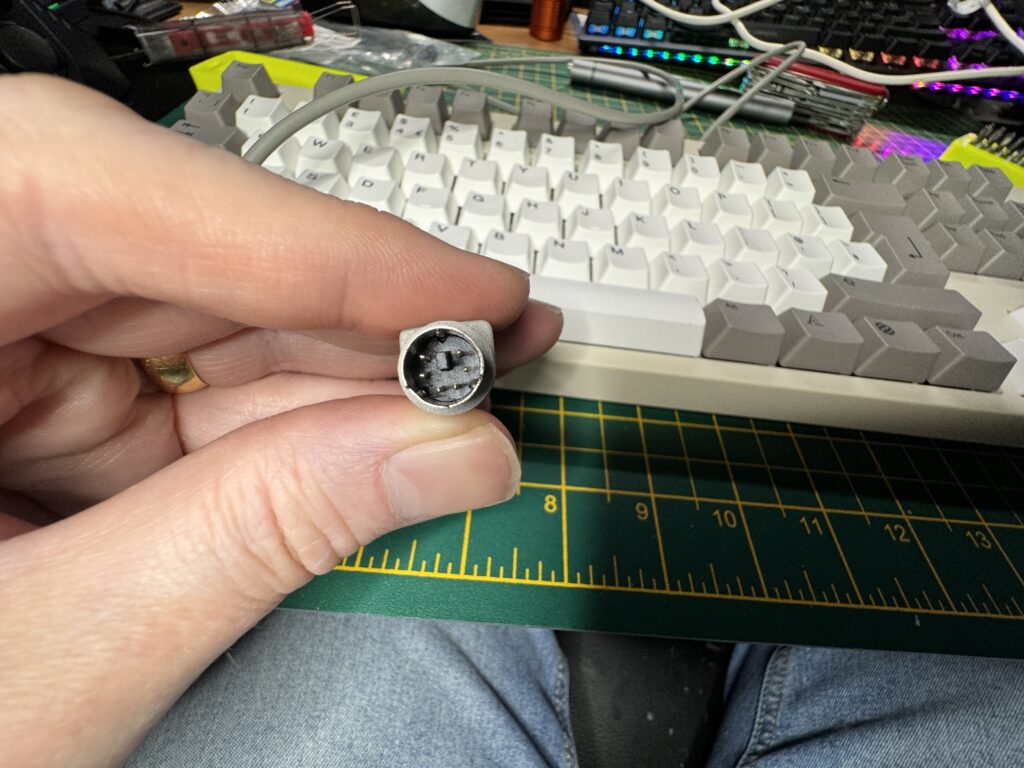
A4000 PS/2 connector.
The standard cable it comes with ends in a PS/2 connector, like the one you would find on an A4000.
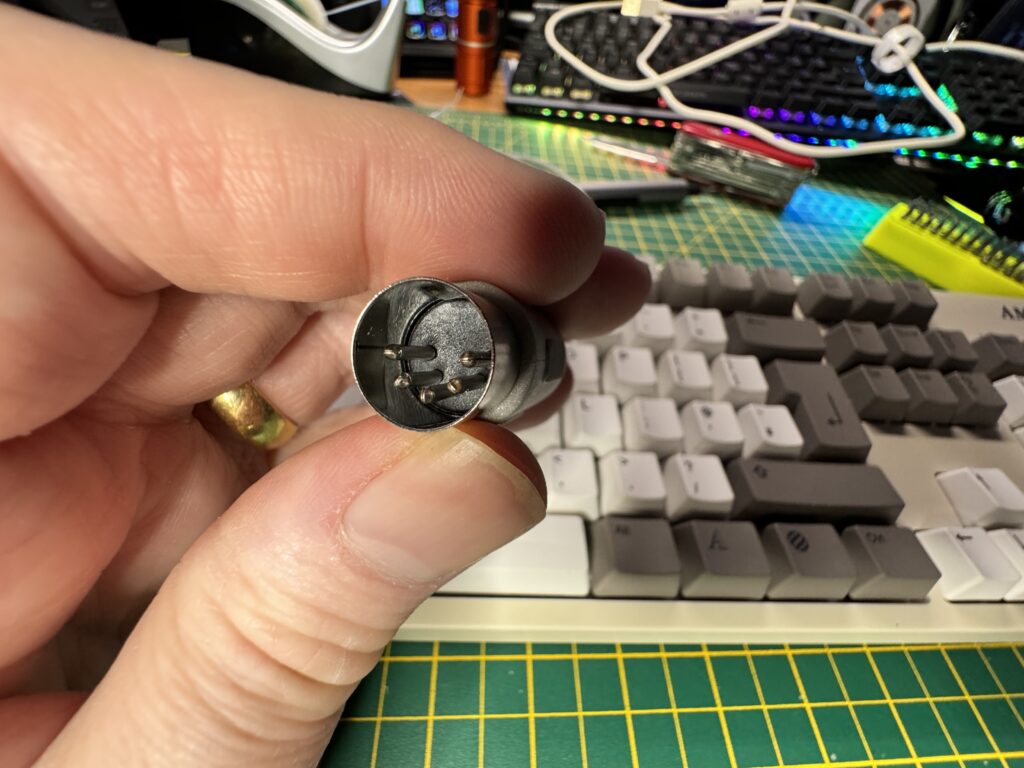
The 5-pin DIN adapter.
It also comes with an adaptor to convert it into a 5-pin DIN style connector more commonly found on A1500/2000/3000 machines.
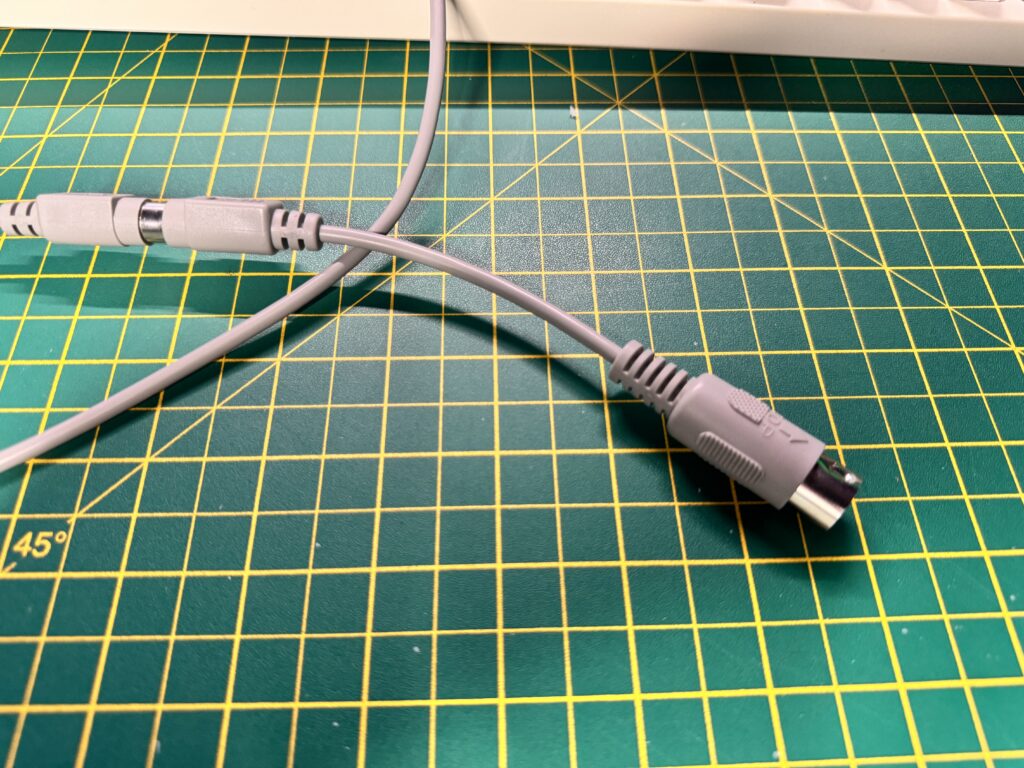
The adapter cable.
Sadly I do not own any kind of big box Amiga to test it out with… the price of these machines has skyrocketed in recent years and it’s difficult to justify the expense when they appear on eBay, However I do have a CD32 console and this is blessed with an A4000 style PS/2 socket so I used that for my testing.
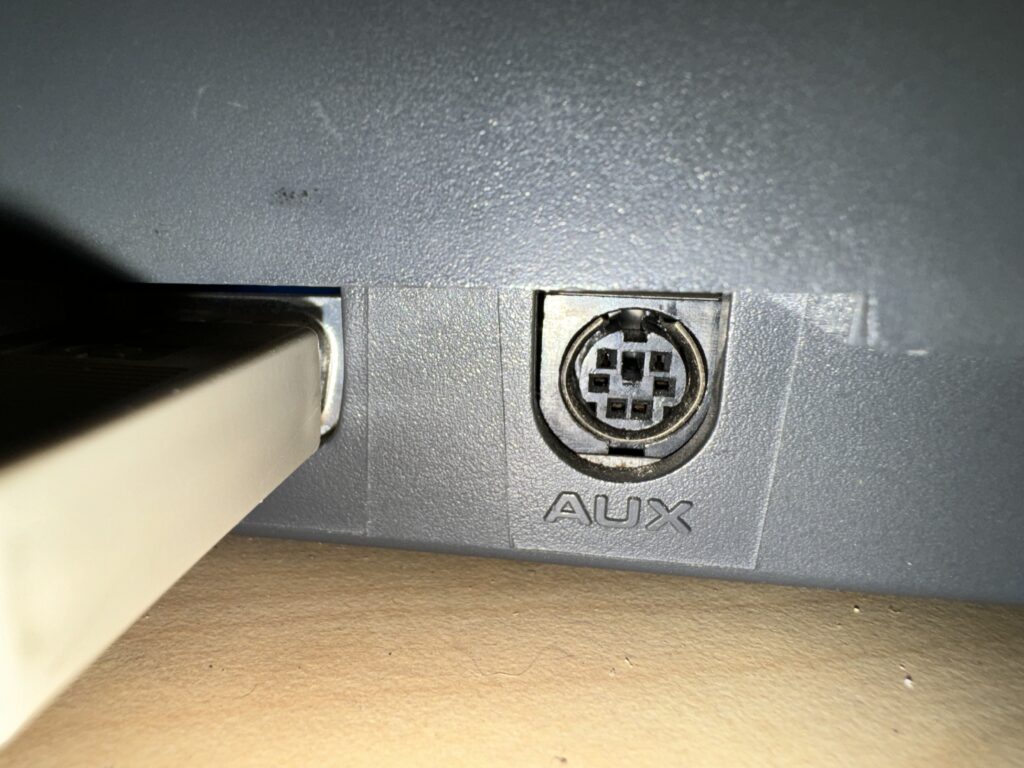
CD32 PS/2 ‘AUX’ socket.
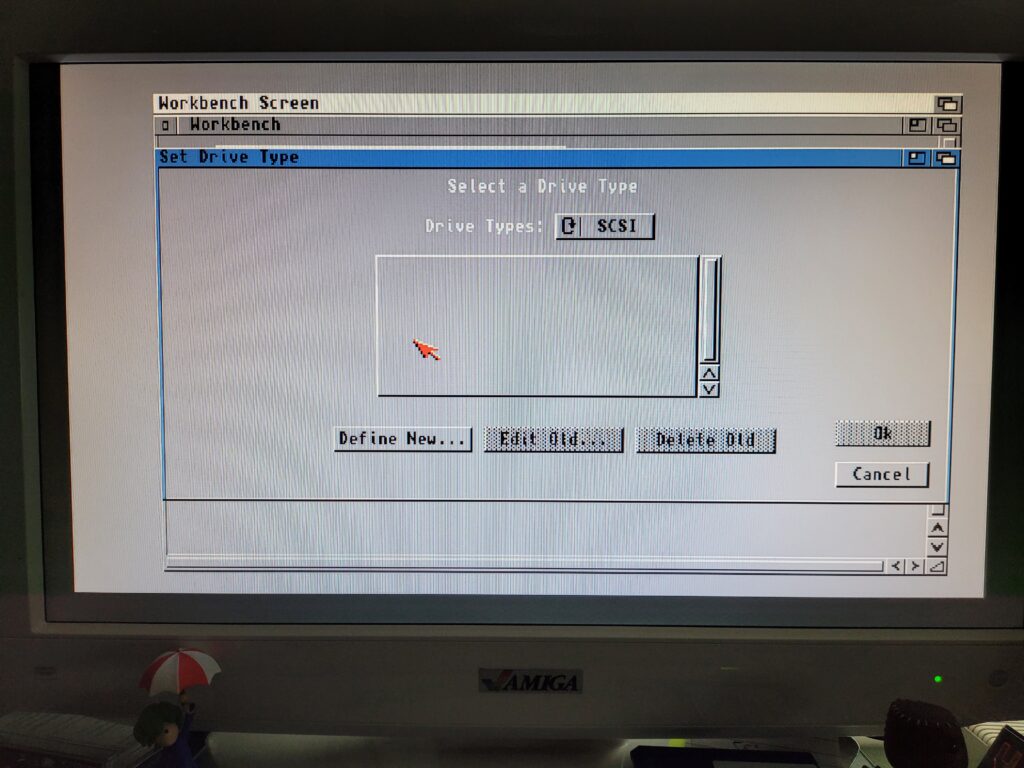
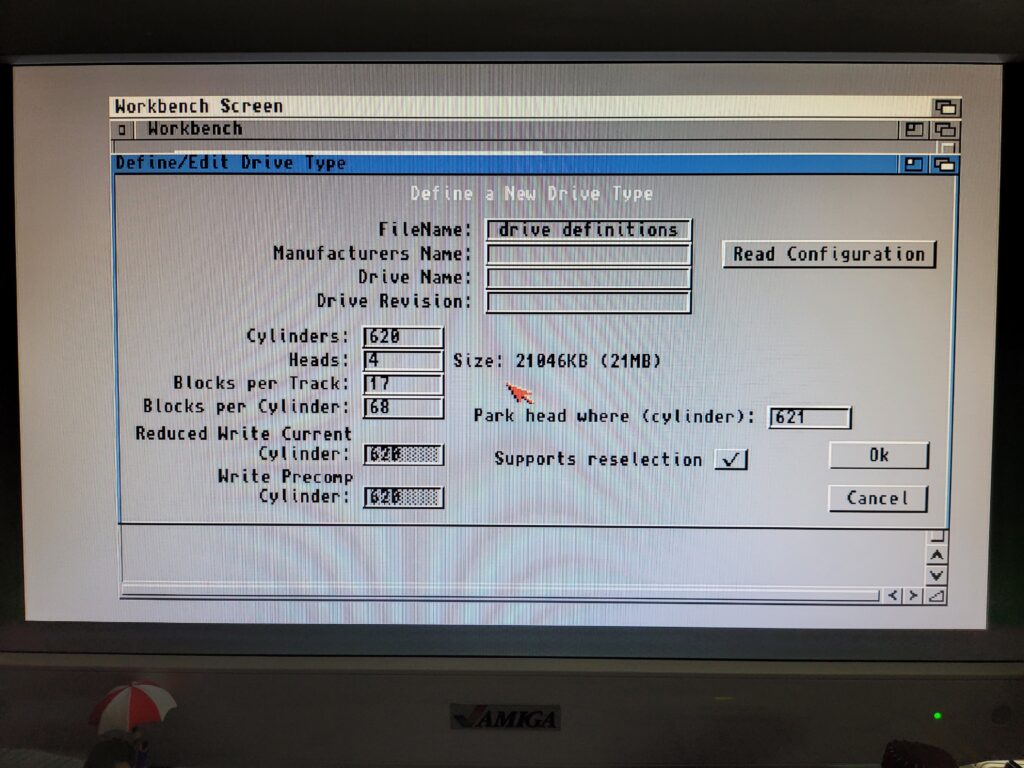
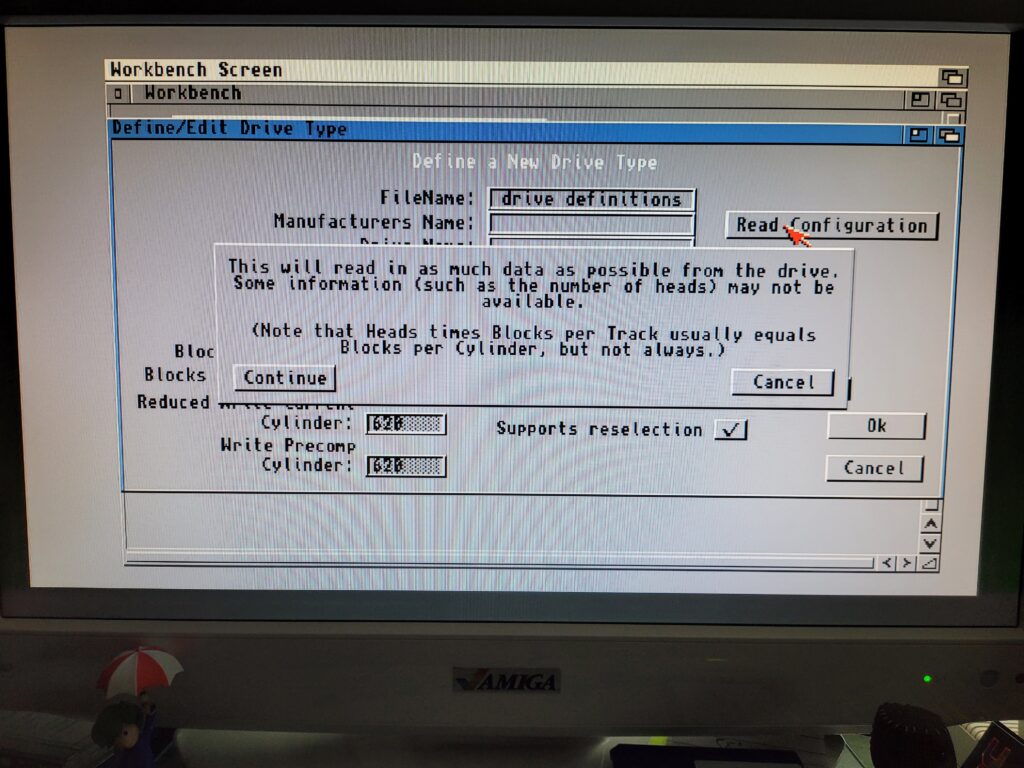
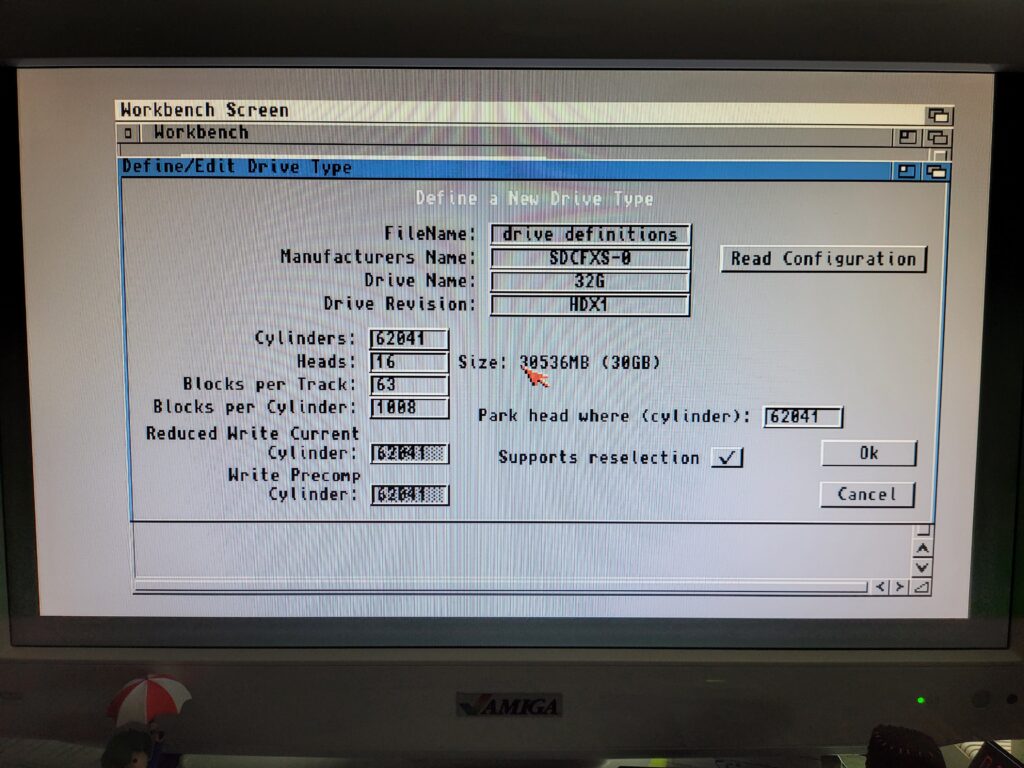
My CD32 is equipped with a ‘TerribleFire 330‘ which means I am able to run a fully loaded Workbench environment off a compact flash ‘hard drive’. I have it hooked up to my Philips CM8833-Mk2 monitor via RGB. Not as good as an A3000 with RTG but it’s still a nice setup.
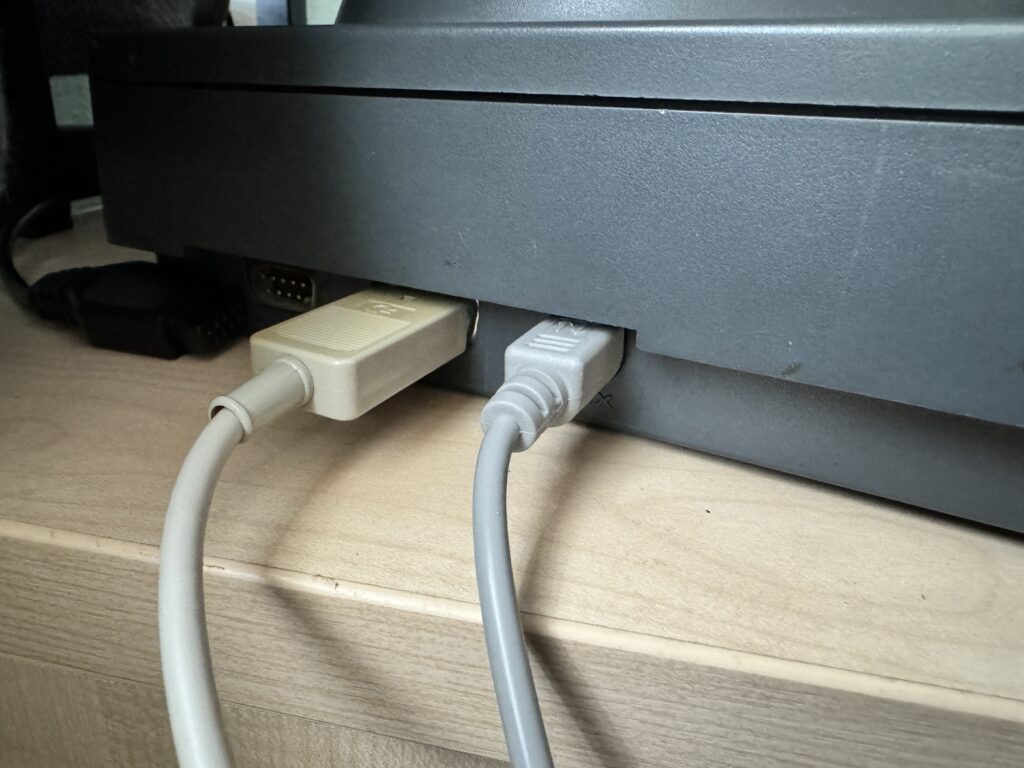
New keyboard connected.
I loaded up a copy of Final Writer and began bashing away on the keyboard. It’s a lovely typing experience with plenty of tactile feedback without being too clicky and annoying. All the characters and punctuation marks appeared correctly including the likes of £, @ and $ (I’m in England so use a British keyboard layout). The caps lock key also functioned correctly as did the number lock key.
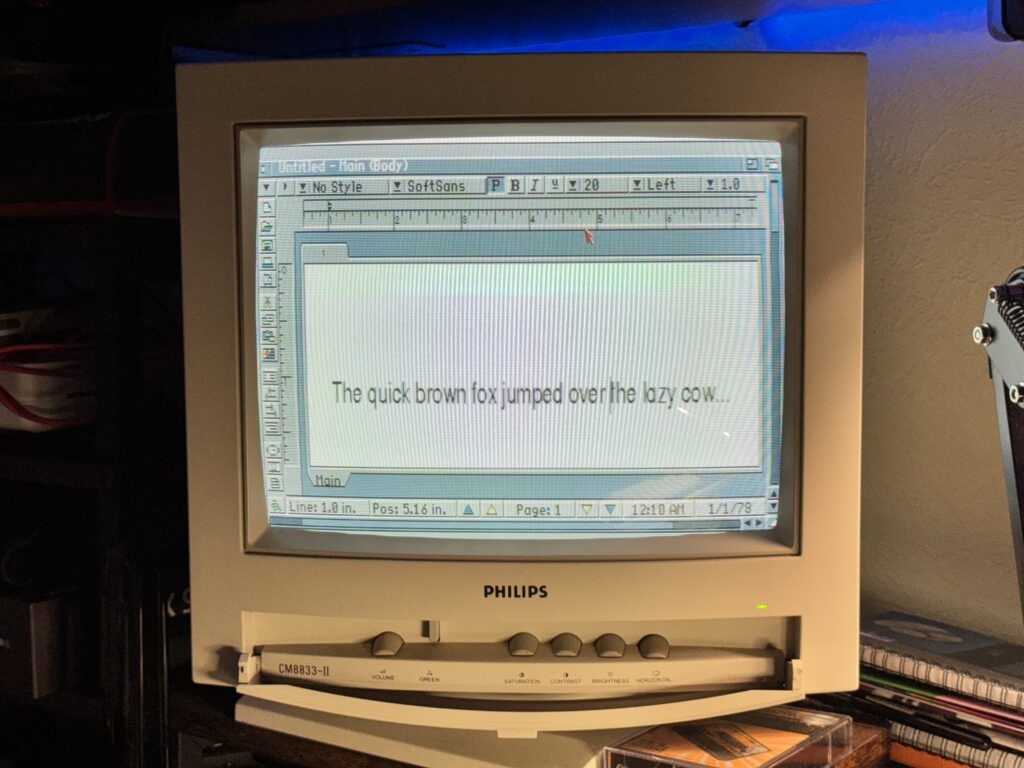
Final Writer.
One little quirk I did notice was that the hash key next to the Return key was basically redundant and had no function at all. Interestingly this is a blank key on my A1200 and doesn’t exist at all on my A500 so it makes more sense in light of this. It was not an issue anyway as the hash character was accessed using the key to its immediate left whilst the tilde character was accessible from the key to the left of the numeric 1 key (which is where it is located on a real Amiga keyboard).
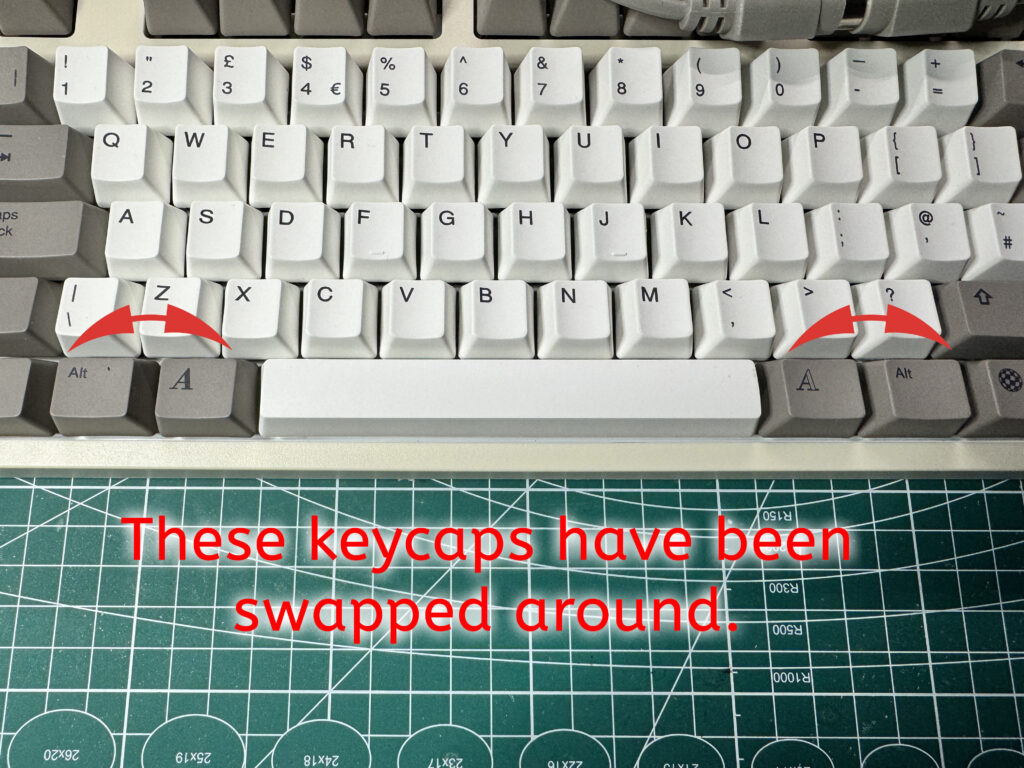
Proper Amiga keycap layout.
The other important thing I realised was that the Amiga keys didn’t work when trying to access Amiga shortcuts, however I found that the two ‘Alt’ keys did. I solved this by simply swapping the keycaps over so that the Amiga keys were placed directly either side of the space bar and the Alt keys adjacent to those. After that everything behaved correctly with shortcuts like ‘Amiga+ S’ to save and of course the ‘three finger salute’, CTRL, A + A to reset it proving to be no problem at all.
Rounding Off
At a shade over £50 this is not a cheap kit, especially when you’ve already shelled out over £100 for the Amiga USB keyboard. However it’s been well designed and does exactly what they said it would. Considering the price that original A4000 keyboards can go for on eBay it begins to look a lot more economical! It’s also been made in very small numbers so there’s no economies of scale at play either.
My only criticism would be levelled at the lack of any instructions included with the kit but maybe someone just forgot to throw them in the jiffy bag when they were packing mine? Additionally, and this is not a criticism – more of a request really, it would be great if they could give us the option to quickly switch from the original USB configuration to the Amiga one without having to take it all apart again. I’d like to continue using it with my MorphOS machine as well as with my emulated Amigas and not be forced into choosing one or the other. A first world problem for sure!
Anyway if you already have one of these Amiga USB keyboards and want to use it with a big box Amiga then I can heartily recommend this as it does exactly what it says on the tin!


