Introduction
I never owned an Amiga CD32 Console back when they launched in 1993. I remember reading about them in Amiga Format and wanting one desperately but could never justify or afford one at the time. Not long after they launched Commodore went out of business and so the CD32 quickly disappeared from the shelves and from my mind.
Fast-forward some 25 years and I recently found myself pining after one of these mythical beasts again. Reading numerous articles about them in magazines and on the ‘net added further fuel to the fire. So I did the only sensible thing a middle-aged bloke could do and bought my very own Amiga CD32! Here she is in all her 32-bit glory!
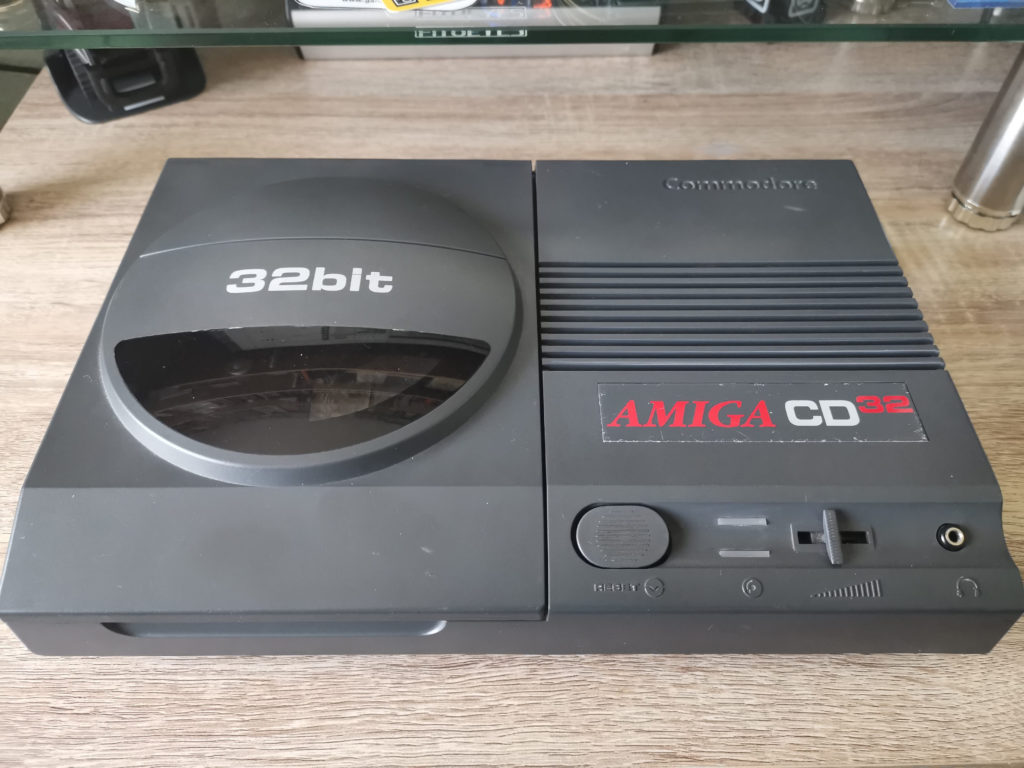
My new Amiga CD32 console
For it’s age and what I paid for it I think it’s in great condition. Sure there’s a couple of blemishes and the badge is scratched but for a 26 year old machine I’m more than happy with it. It’s already been fully re-capped so I don’t have to worry about that side of things either.
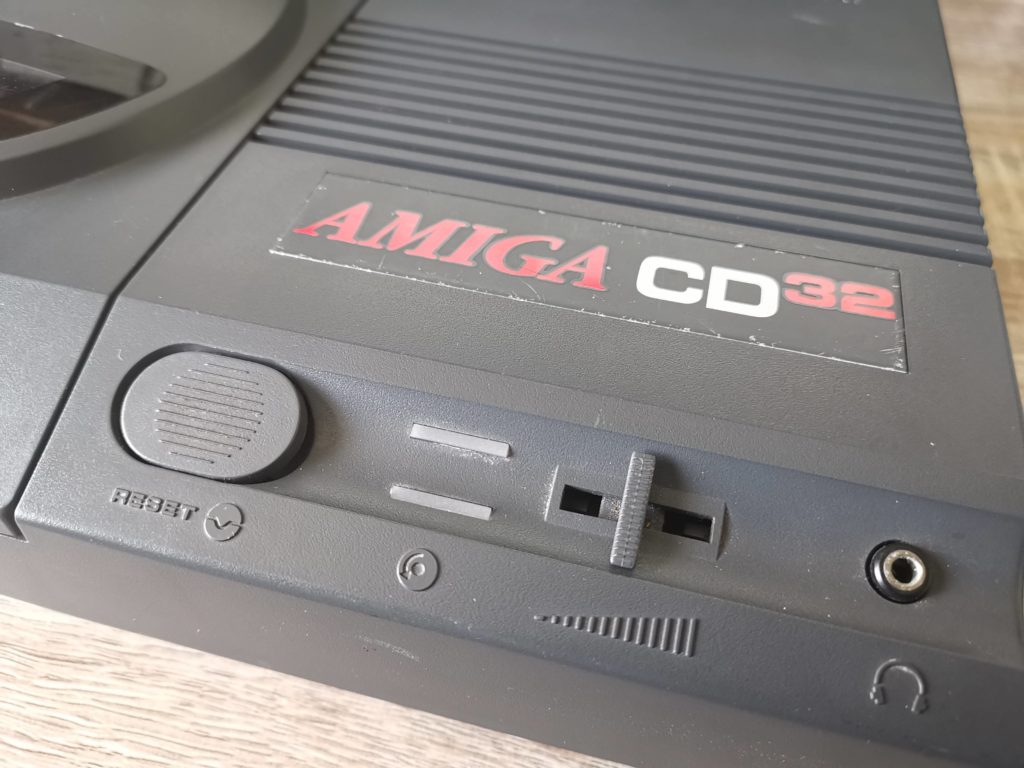
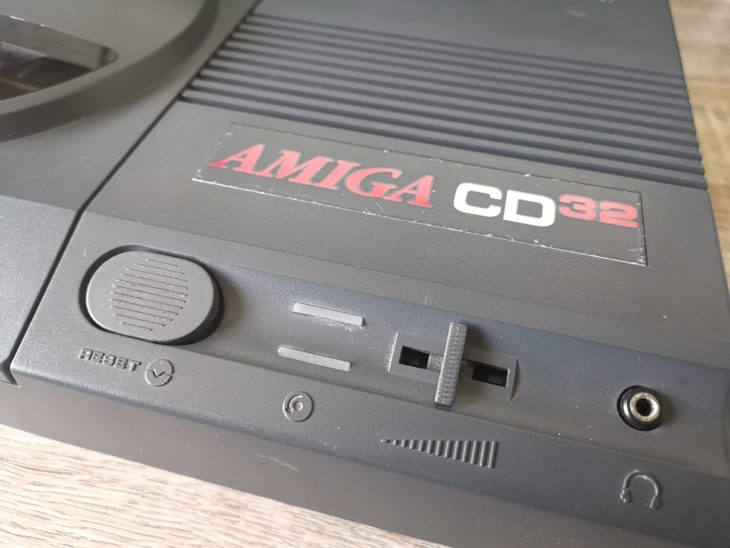
Close-up of the Amiga CD32 control panel. From left to right: reset button, power and drive activity LED’s, volume slider and headphone socket.
All the ports, buttons and outputs work as they should. However I can’t really see myself using it as a CD player much but at least the option is there should I want to!
Connectivity
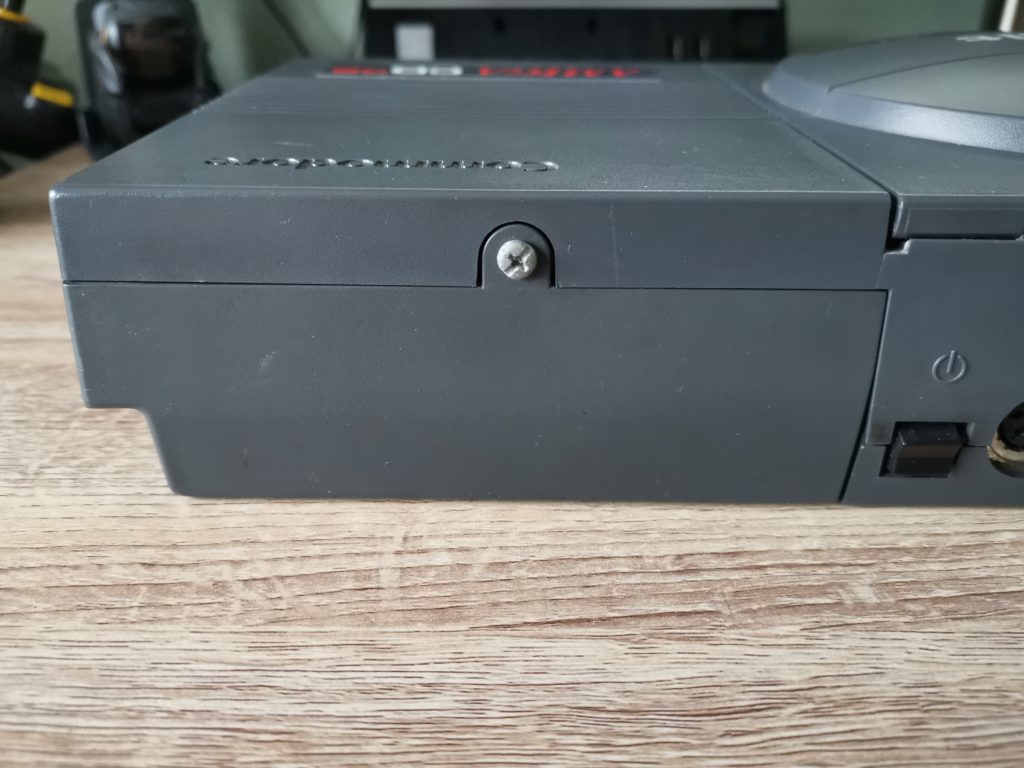
Amiga CD32 expansion port
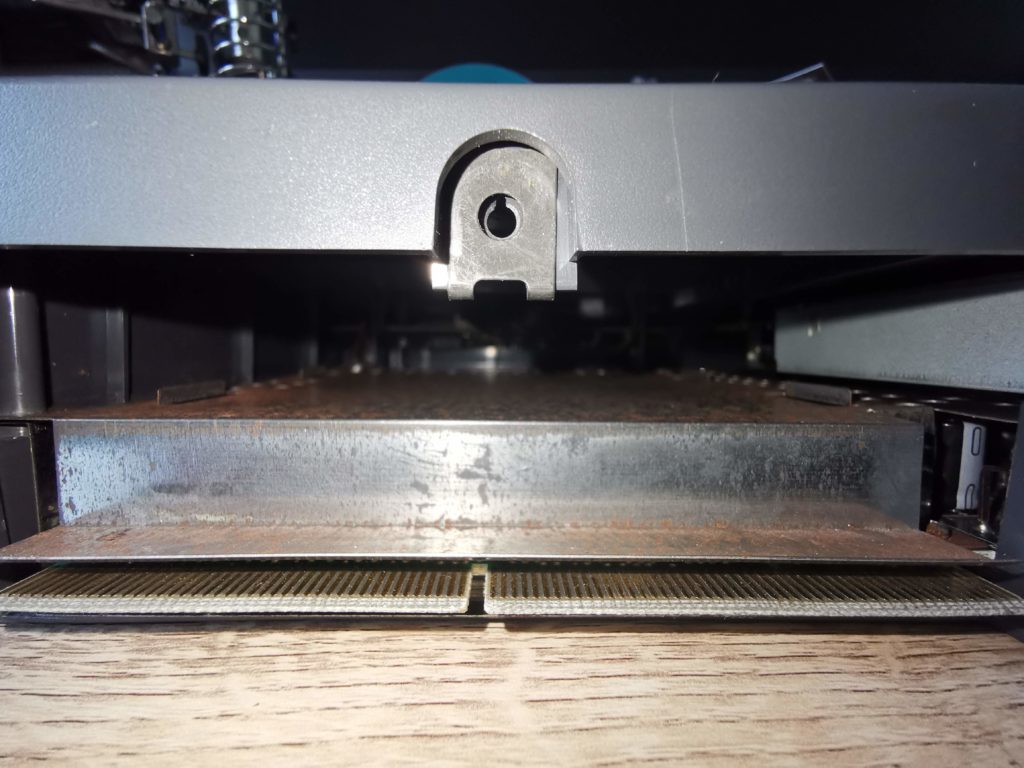
A look inside the CD32 expansion port
There’s an expansion port on the back which can be used to install all manner of wonderful contraptions. In the past there were FMV cartridges, floppy drives and the SX-1 which could convert the CD32 into a full blown computer. Nowadays you can hook up a TerribleFire expansion which offers extra RAM, faster CPU’s, IDE interface and more. I’ll definitely be looking to utilise this port soon!
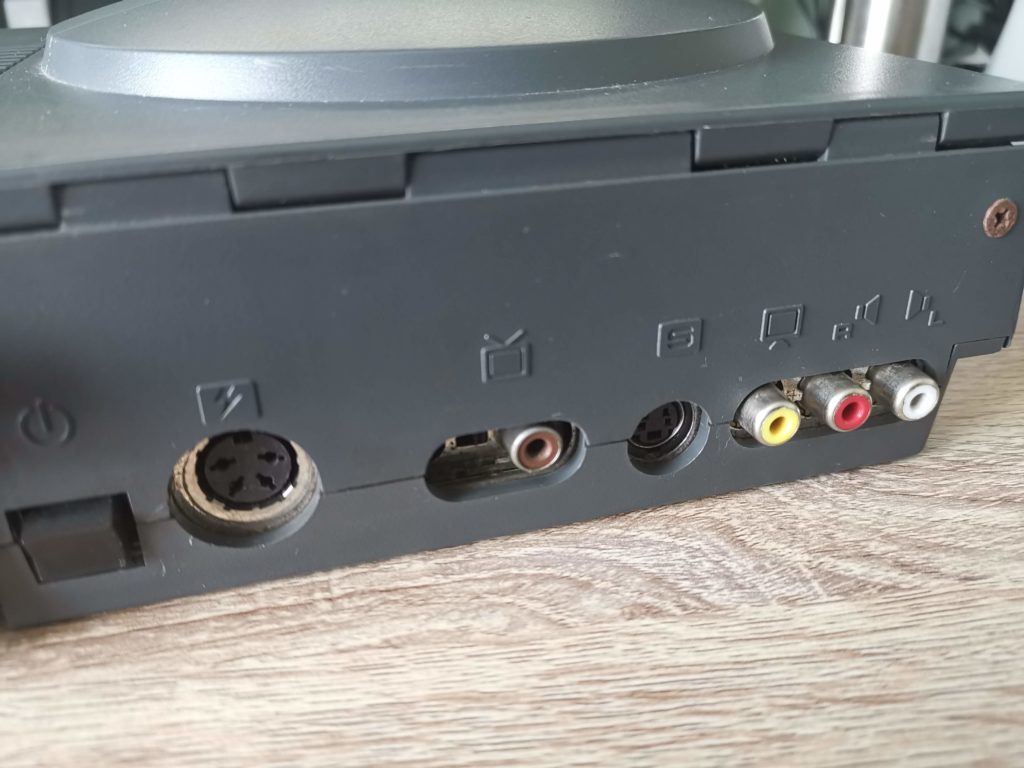
Amiga CD32 rear connectivity. From left to right: power rocker switch, power socket, RF aerial output, s-video, composite video and right/left audio RCA sockets.
There’s plenty of connectivity round the back as standard. No less than 3 video output options, RF, composite and S-video. The latter provides by far the best picture if you have a TV capable of utilising it.
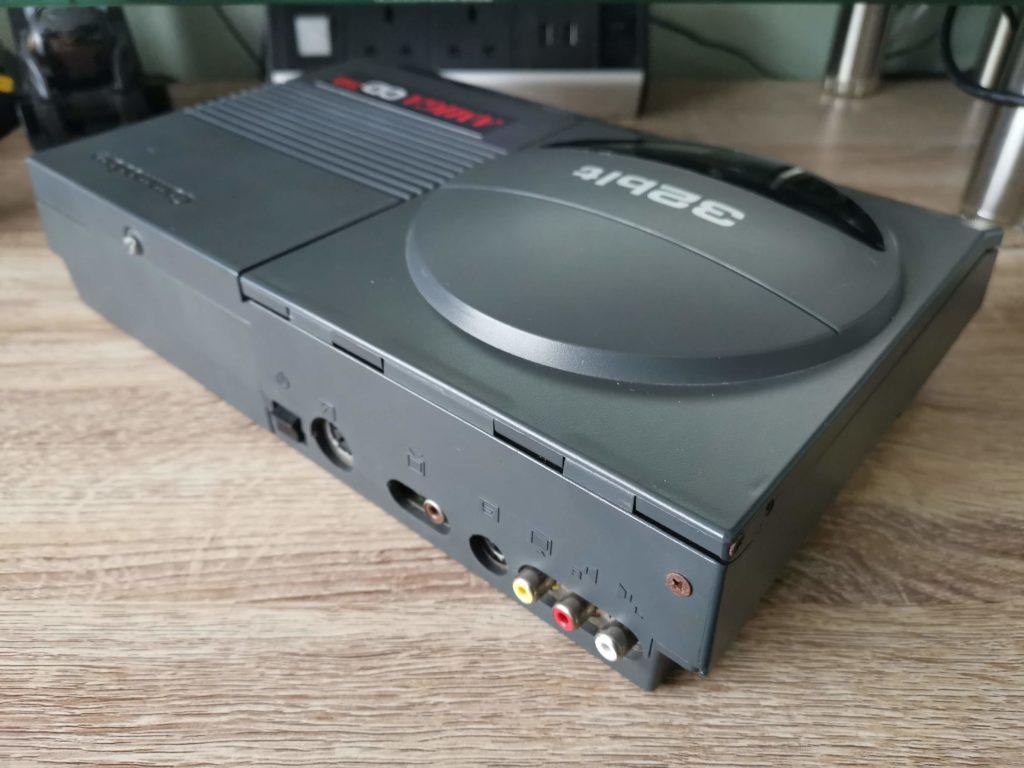
View of the Amiga CD32 rear – that rusty screw definitely needs sorting…
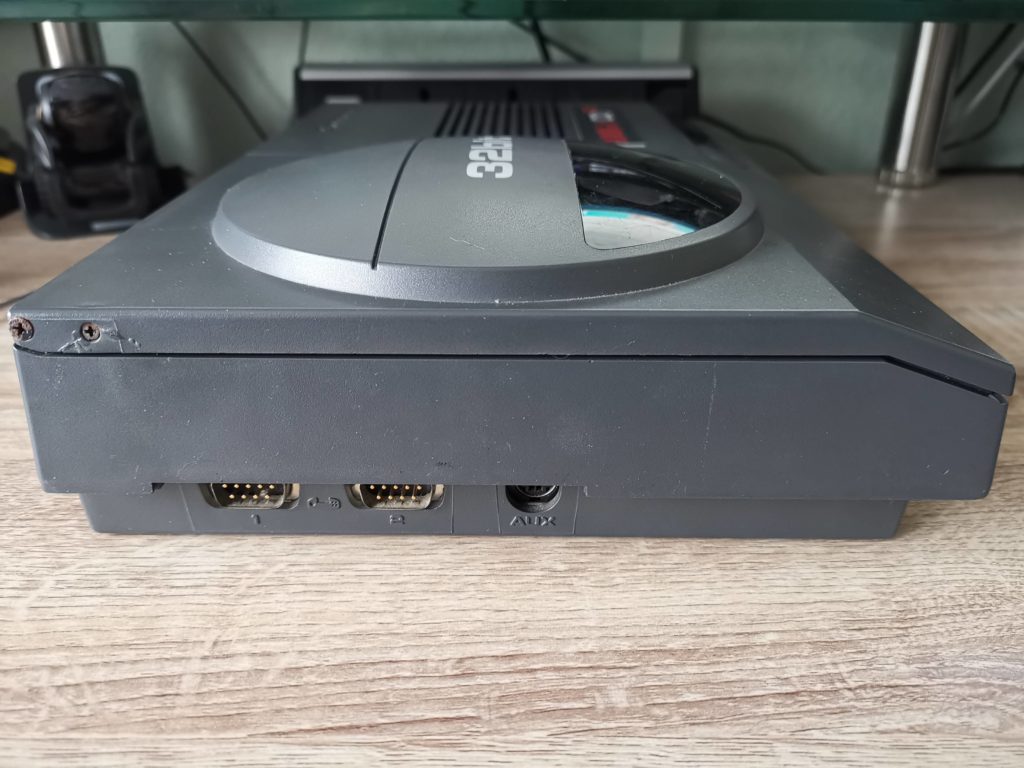
Amiga CD32 left side. From left to right: controller port 1 (for gamepads), controller port 2 (for gamepads or a mouse), aux port (for an Amiga keyboard).
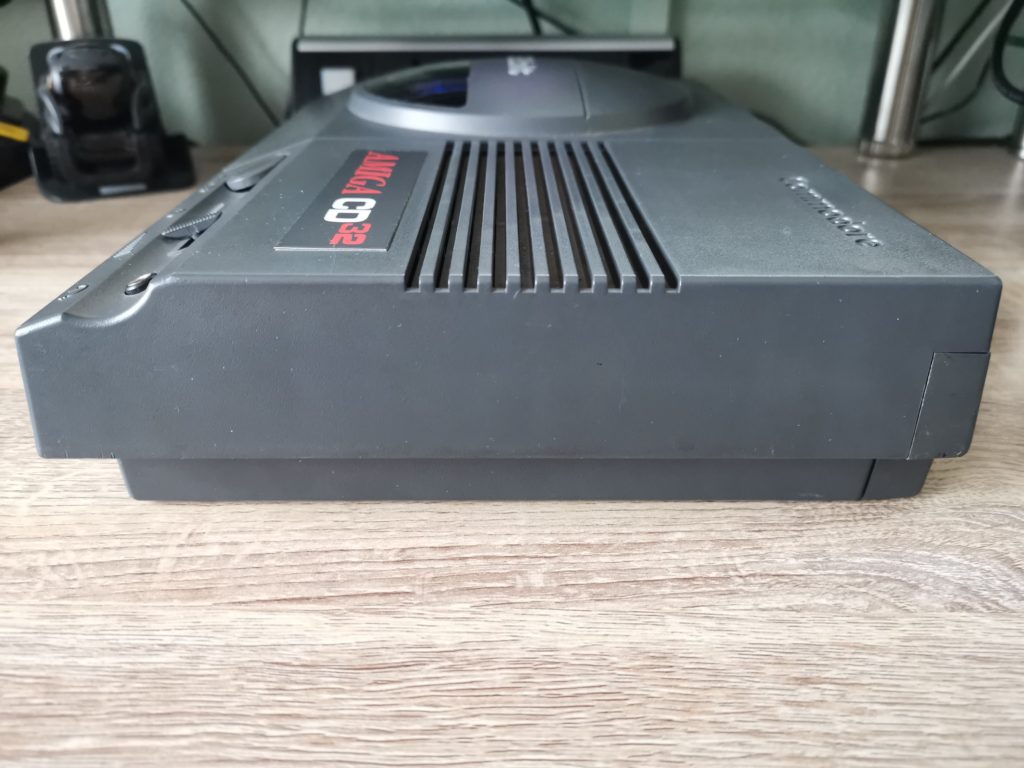
Amiga CD32 right side. Not much to see here really.
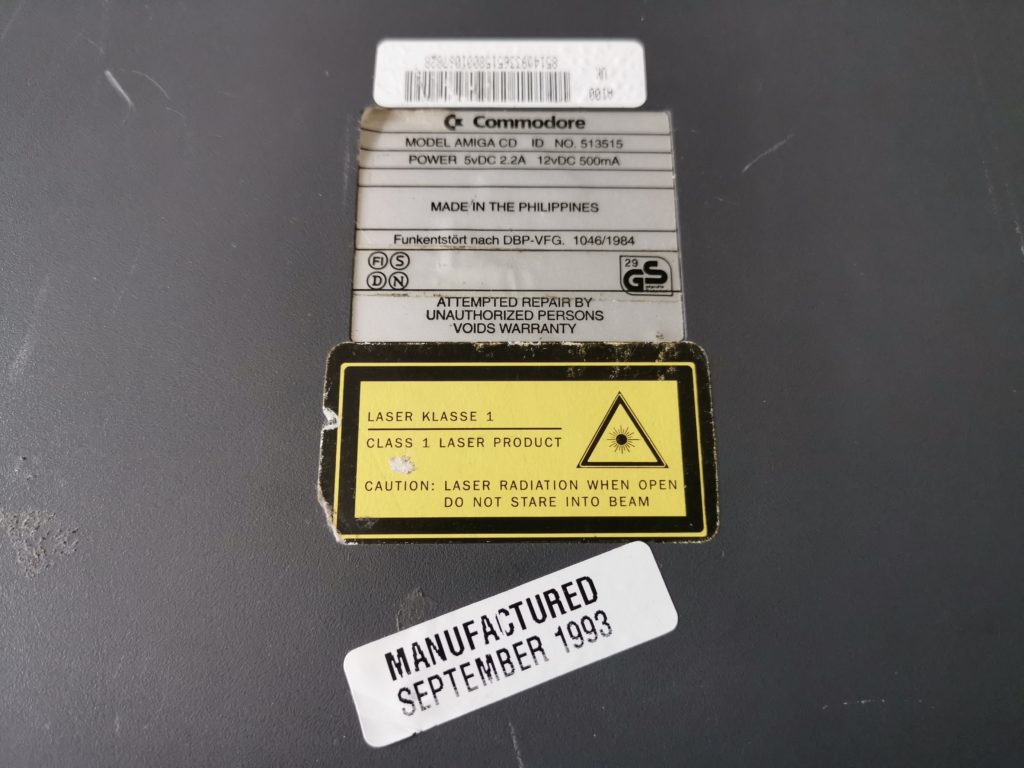
Made in 1993 in the Philippines.
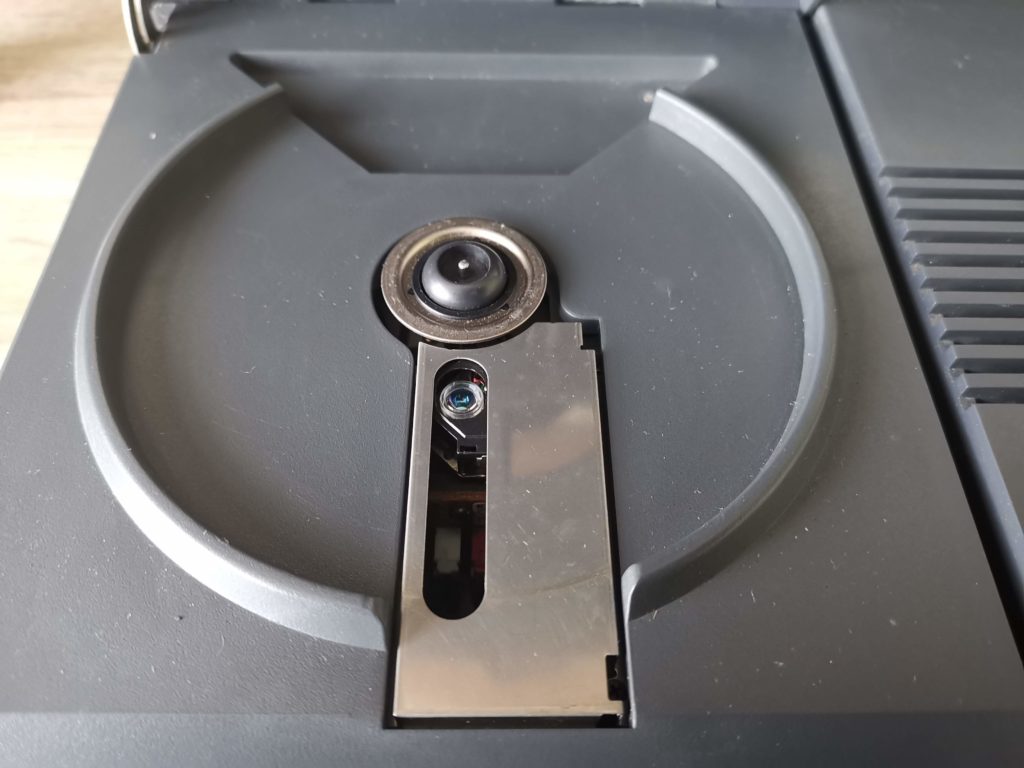
View of the CD tray and laser pickup.
The CD mechanism is pretty basic but it gets the job done. My CD32 came with a spare laser pickup assembly but hopefully I won’t need to use it for a long time! Discs don’t click into place like on a lot of modern CD players. Instead they’re held in place by the friction of the lid pressing down on the CD when it closes.
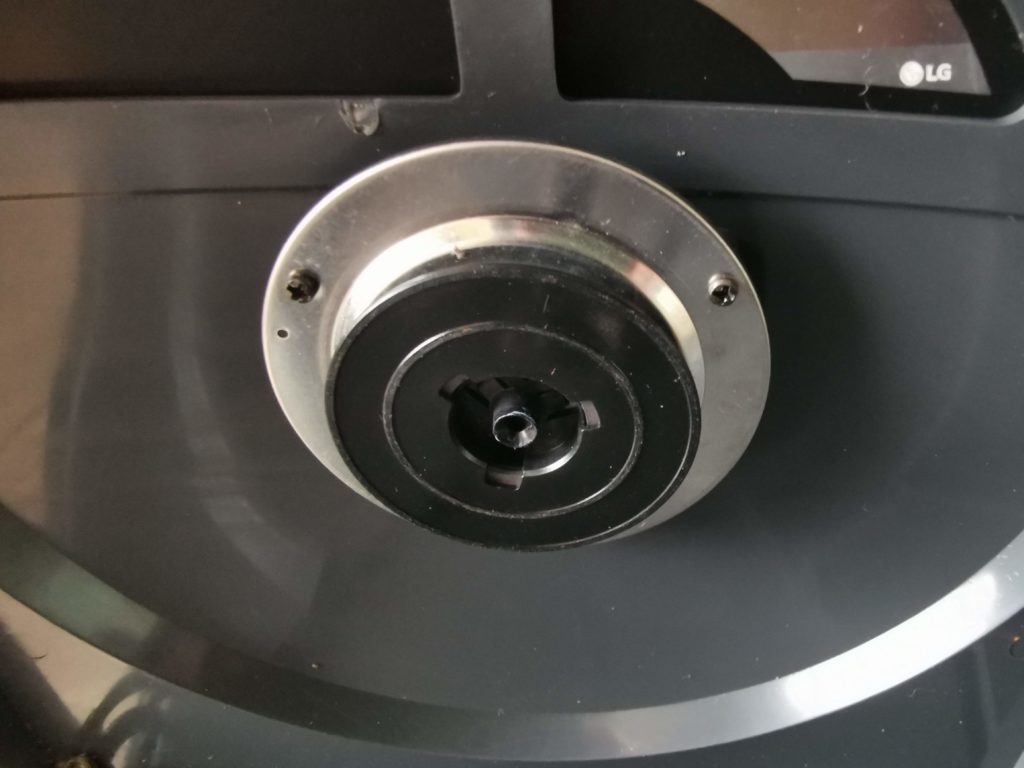
Inside of the lid. This is what presses down on a CD to grip it.
A Few Issues
If there’s one facet of this CD32 console that concerns me, it’s this rear left corner. The rusty screws are an eyesore but also easily rectified. No, the thing that worries me is that it looks like the lid has cracked at some point and been glued back together. The repair actually looks quite effective and from a normal viewing distance isn’t that noticeable (I’ve zoomed in close in the above photo). However there is a spring loaded lever underneath this corner which ‘lifts’ the lid up automatically once you start to raise it and so this area is presumably under a lot of strain. I’m not going to do anything with it for the time being other than keep on eye on it. I will however be keeping my eyes peeled for a replacement lid just in case!
A Quick Peek Inside
Because, why not? Had to make sure that it had actually been re-capped as advertised (it had) at the very least! Also wanted to take a look at the Akiko chip which is only found in the CD32. This is the chip that allows it to convert planar to chunky graphics in hardware for 3D games.
CD32 Controller
The controller that came with my Amiga CD32 console is in superb condition. In fact I’d go as far as to say it’s in mint condition. It doesn’t look like it has ever been used. Sadly though it actually proved to be faulty – the D-pad ‘up’ just doesn’t work at all. Very disappointing – no idea what is wrong with it so will have to open it up and take a look soon.
Amiga CD32 Competition Pro Controller
Luckily I was able to pick up this Amiga CD32 compatible ‘Competition Pro’ gamepad off eBay pretty cheaply. Although it doesn’t look as cool as the official controller it works perfectly. At the end of the day that’s all that matters so I can still play with my new toy until I get around to sorting the original controller!
At the request of a reader here are some photos of the inside of the controller. The photos show that is is actually a ‘Honey Bee SF-3’ which is both on the back of the pad and printed onto the circuit board itself. Upon opening it up I also discovered that the insides were absolutely filthy! The board and contacts received a good cleaning with Isopropyl Alcohol before being reassembled. I hope the images prove useful and if anyone has any further interesting info about the controller please let me know I will be sure to update this page.
PSU
Sadly my CD32 console didn’t come with an original Commodore PSU but rather this modern one made by LaCie. Although given the ropy nature of some of the official C= PSU’s maybe that’s a good thing?
That Badge – Revisited & Fixed!
OK, I’ll confess that the scratched Amiga CD32 metal badge annoyed me more than I thought it would. I started hunting around for a possible replacement. Replacement badges are quite commonplace for the Commodore 64 and Amiga computers so I had planned to replace my scratched up old one with a brand new one. Turns out CD32 badges are quite hard to come by. However I did come across a guy in Switzerland selling vinyl CD32 stickers on eBay that he claimed fitted exactly so I ordered one.
True to his word, the vinyl sticker was indeed a perfect fit in terms of size. It’s also a very close match in colour and tone to the original, certainly close enough for me anyway. It was a little tricky to get it lined up perfectly, but now it’s in place I think it looks fantastic. Sure it’s not quite as glossy as the original, it’s got more of a silk finish, but I’m very happy with the end result.
FYI, I didn’t remove the original badge – I simply stuck the new one on top of the old metal one. The reason I did this was so that if I ever wanted to go back to a 100% original finish I could simply peel the new one off.
We have ignition!
Here’s a quick video I did of the awesome CD32 boot-up sequence. This must have been amazing back when it launched, two years before Sony’s original PlayStation in the UK! The quality is a little bit ropy as it’s only connected up to my TV using composite video at the moment.
Definitely time to dig out my CD32 Scene magazines and see what games I need to buy to start my collection!


Hi.
This is a gamepad from SNES converted to Amiga CD32. Or just the case from the SNES controller and the Hony Bee filling board.
I would be grateful if you disassemble the controller and take a photo of the board from two sides.
Plz.
Sure, I can do that, no problem. Check back in a couple of days – I’ll add some photos to this page.
Thanks
Just got around to taking the controller apart. Looks like it’s definitely a Honey Bee, even says so on the back which I hadn’t spotted originally! Anyway enjoy the pics.
Tanks.
This my snes gamepad.
Your gamepad is a hybrid. Someone put snes, amiga stuffing in the case. This is visible on the buttons. On Honey Bee Amiga other buttons.
https://images.gameru.net/image/direct/e84d8b75613c9a6.jpeg https://images.gameru.net/image/direct/9b8fa9f8646eb13.jpeg https://images.gameru.net/image/direct/c1db4889e687c0a.jpg
Yes I also have one of these honey bees that have been converted from a SNES controller.
Comparing mine to yours there appears to be an auxiliary circuit board placed between the 9 nine plug and the controller board. I guess this converts the input from SNES to Amiga .
Mine sadly doesn’t appear to work
You’re not right. I carefully studied the layout of this gamepad on Amiga. It is built according to the classic gamepad cd32 scheme. Additionally, there is logic for turbo modes.
Hi, sorry about digging into the old content, I wonder what’s under the black electrical tape there, as I’m trying to convert a SNES controller to work on my Amigas. Thanks
To do this, you will have to completely repeat the cd32 gamepad scheme. Or use a converter board.
And the turbo modes will not work. To implement them, you will have to implement the Pro scheme of the cd32 gamepad.
I didn’t find a converter snes to Amiga (or Amiga cd32).
I am use psx to Amiga converter.
Thanks for a quick response. I found a “SFC/SNES joypad controller to Amiga Cd32 controller chip” at tototek.com for now. It came out to about $30 shipped for two, so not a biggie. I guess, at some point, I may try other ways.
As I see from the diagram, this chip can be used with any gamepad. I don’t see where he uses the snes chip. In fact, this is a microcircuit analogue of the two used microcircuits in cd32. It’s good. But turbo modes on the pro controller will not work. Here you need a converter chip. As in psx to Amiga.
I have Sega competition Pro game pad. And snes pro gamepad.
Sorry to revive the old thread but given there is an abundance of the SNES variants of this controller which has a better layout match than the equivalent Megadrive/Genesis controller, can someone help with how to proceed with such a SNES to Amiga conversion.
Steven appears to have an SF-3 which appears to be the SNES controller. Evidently the buttons are also SNES and not CD32 buttons.
There must be some intermediate circuit or logic board that is allowing the Amiga to communicate with this controller and vice versa. Is this making use of an Arduino – there is a project using this for such a purpose or is this a new process entirely?