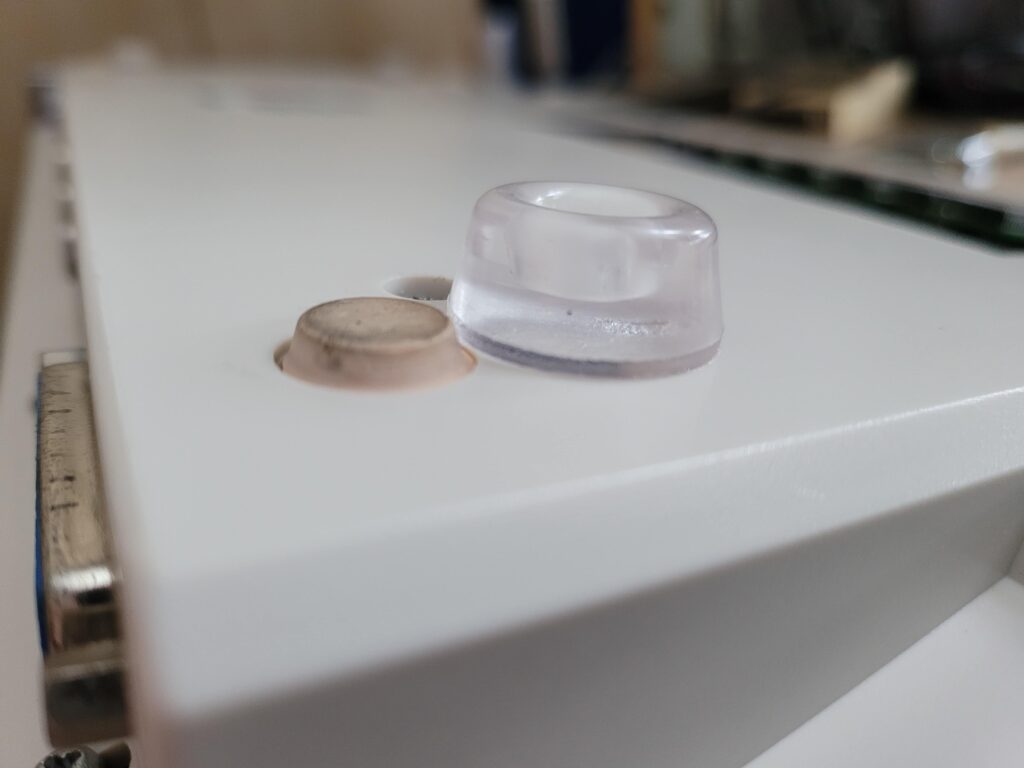
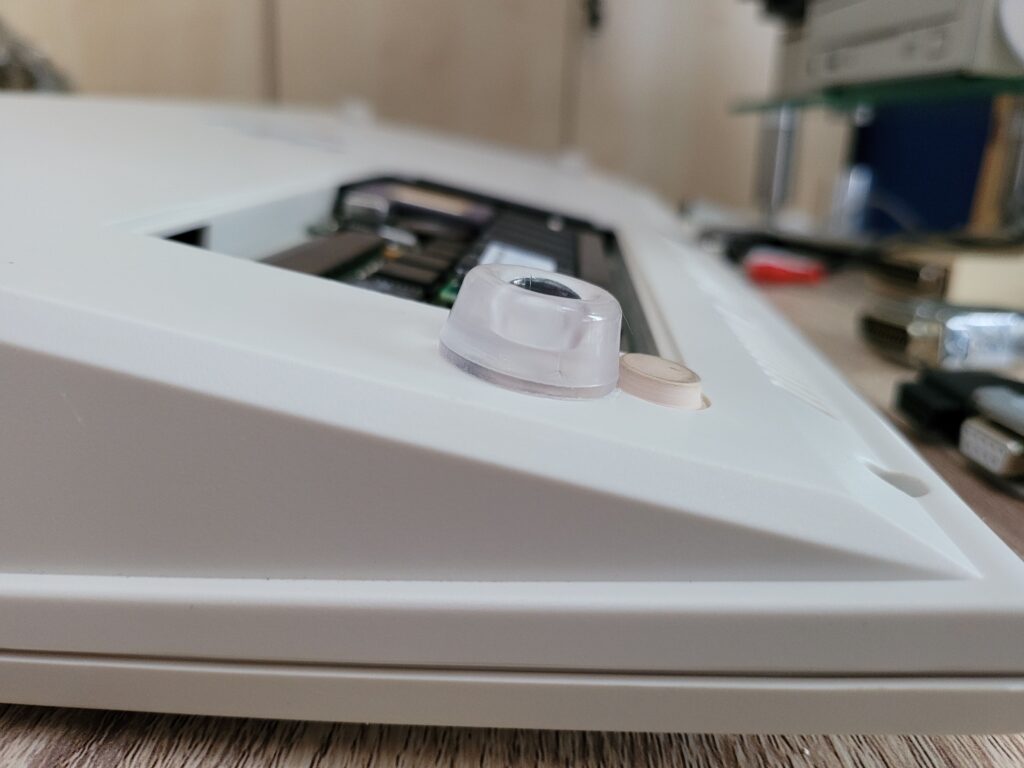
I’ve been using my A1200 a lot recently and noticed that it was getting pretty warm after a few hours of use. This was especially noticeable at weekends when I’ve had it running for 12-16 hours straight. The area above the trapdoor (around the cursor keys) was getting vary warm indeed and I could actually feel the heat through the underside of the desk too. I’ve been running it with the trapdoor removed to help keep the Blizzard cool but this has had a limited effect due to the small gap under the A1200.
Putting my best foot forward
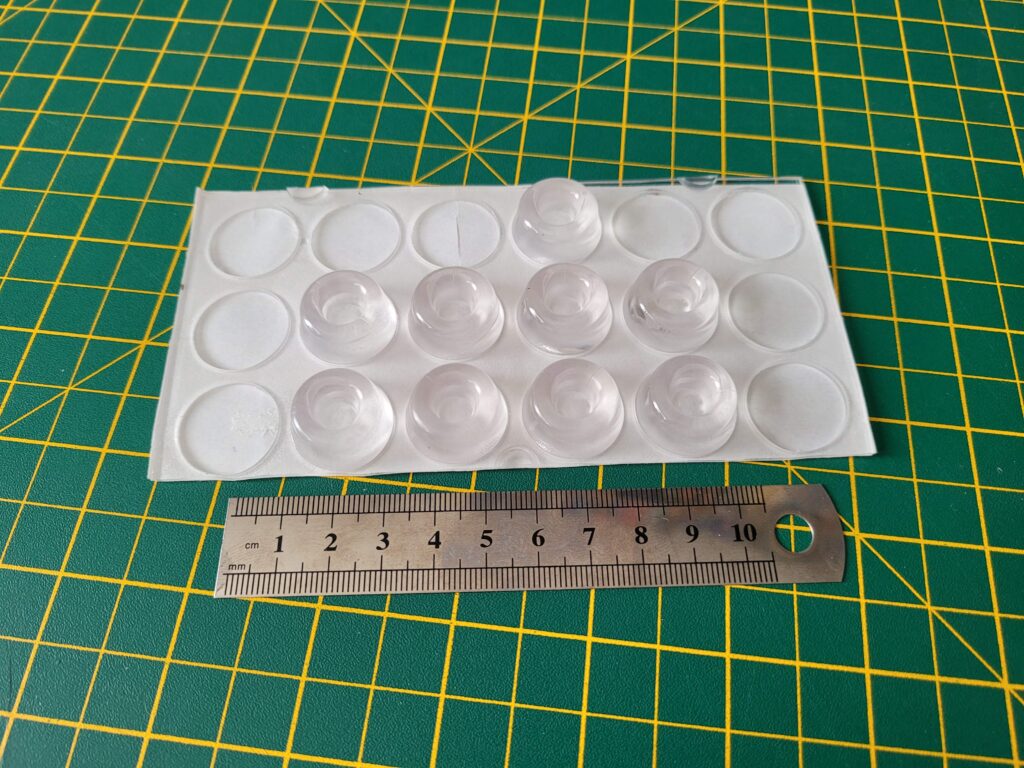
To try and improve the situation I tracked down some new silicone rubber feet that would raise my A1200 up and improve the air circulation under it. I found these on Amazon which looked ideal and I liked the fact that they were transparent so would blend in well.
The pack came with 18 feet so there were plenty of spares. I’ve already used another 4 on my printer to help stop it sliding around. They’d probably also be great for a 3D printer to dampen any vibrations as they are quite pliable.
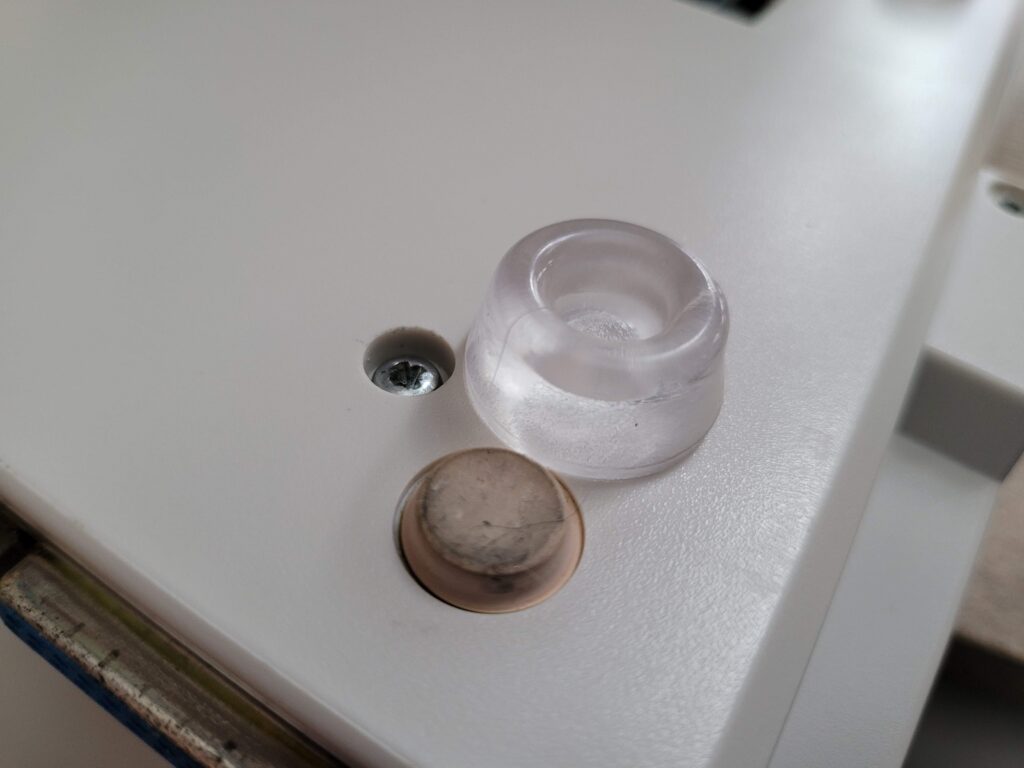
Anyway I stuck one foot in each corner next to the originals which I left in situ in case I ever want to go back to a stock machine.
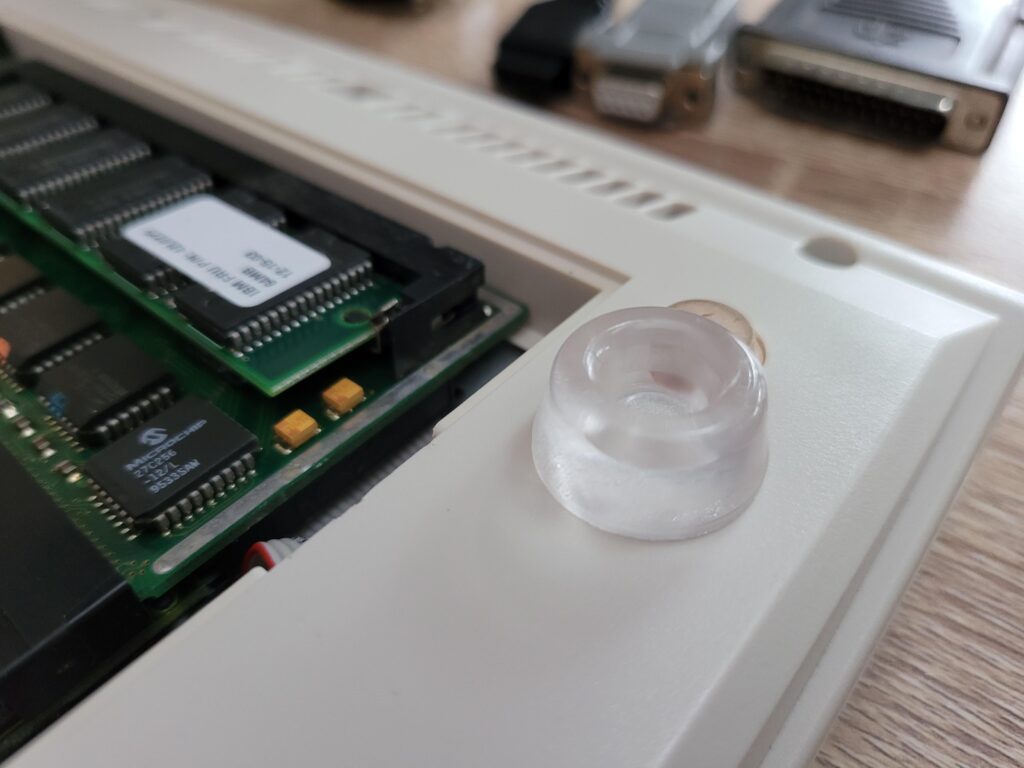
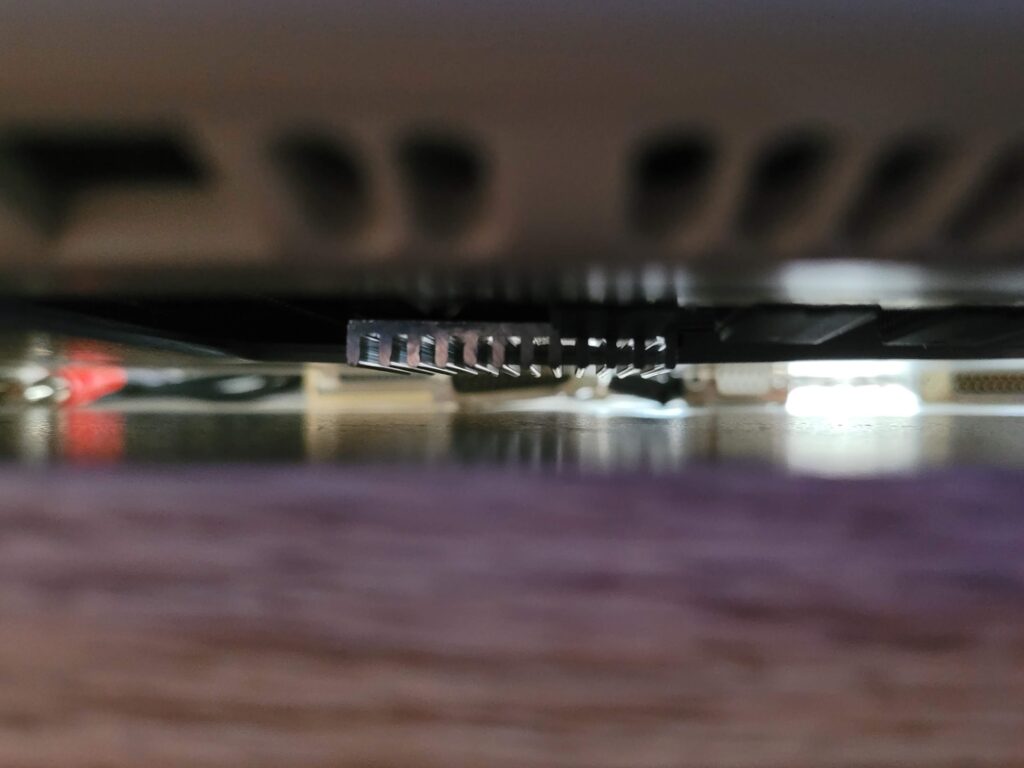
The existing feet are actually recessed so the new ones are significantly taller . This can be clearly seen in the photographs above and below.
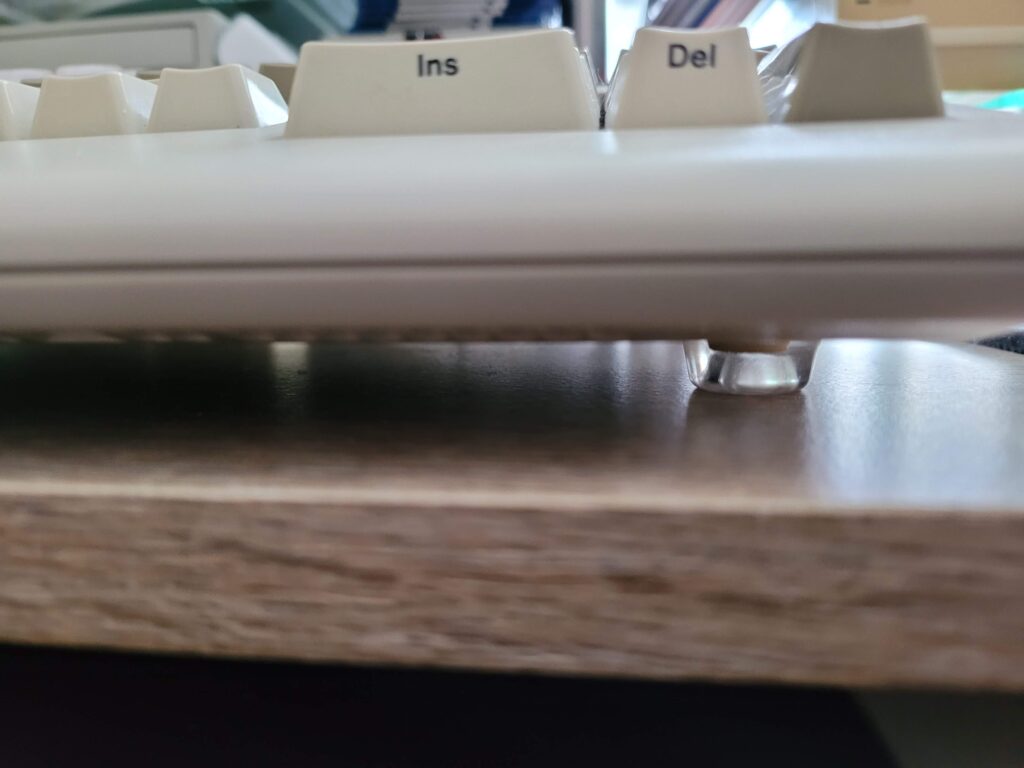
In the following photo you can see there’s now a significant amount of space under the case. Probably 4 times as much as before looking at the height differential of the old and new feet. Combined with running without a trapdoor fitted hoped there would be more opportunity for air to flow under the machine to help carry the heat away.
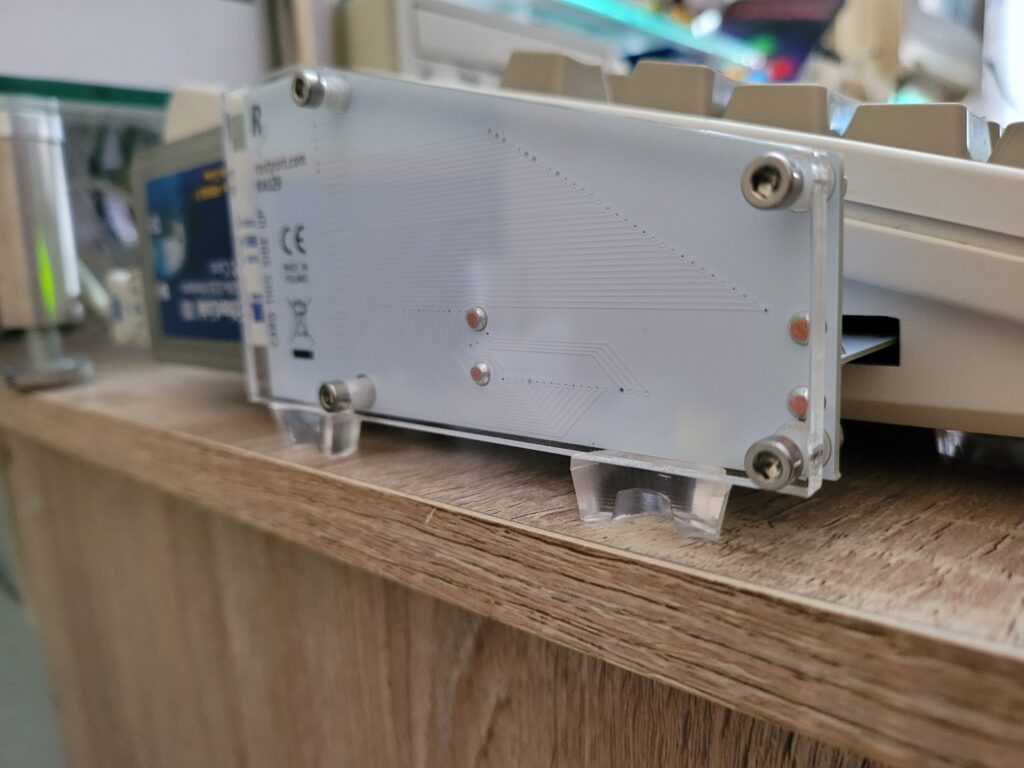
I made sure not to forget the PCMCIA adapter I have on the side of the A1200. For this I took one of the feet and sliced it in half vertically as the adapter is quite narrow. Additionally I also lopped a few millimetres off the bottom of each to ensure it sat at the correct height.
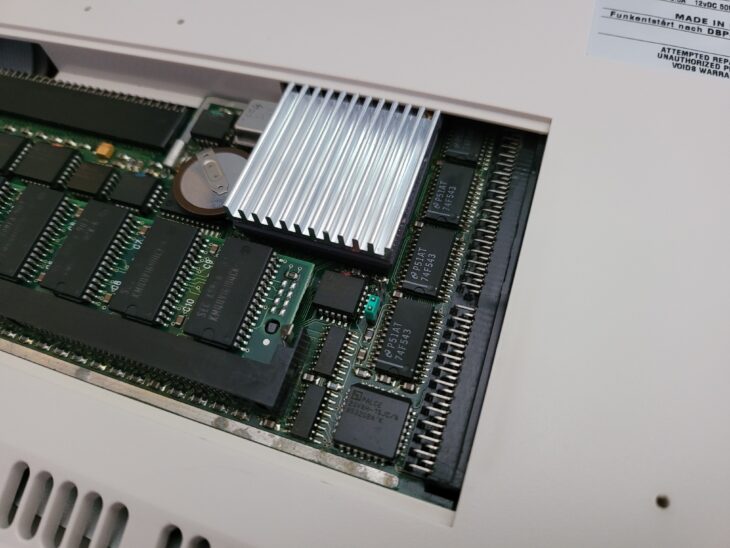
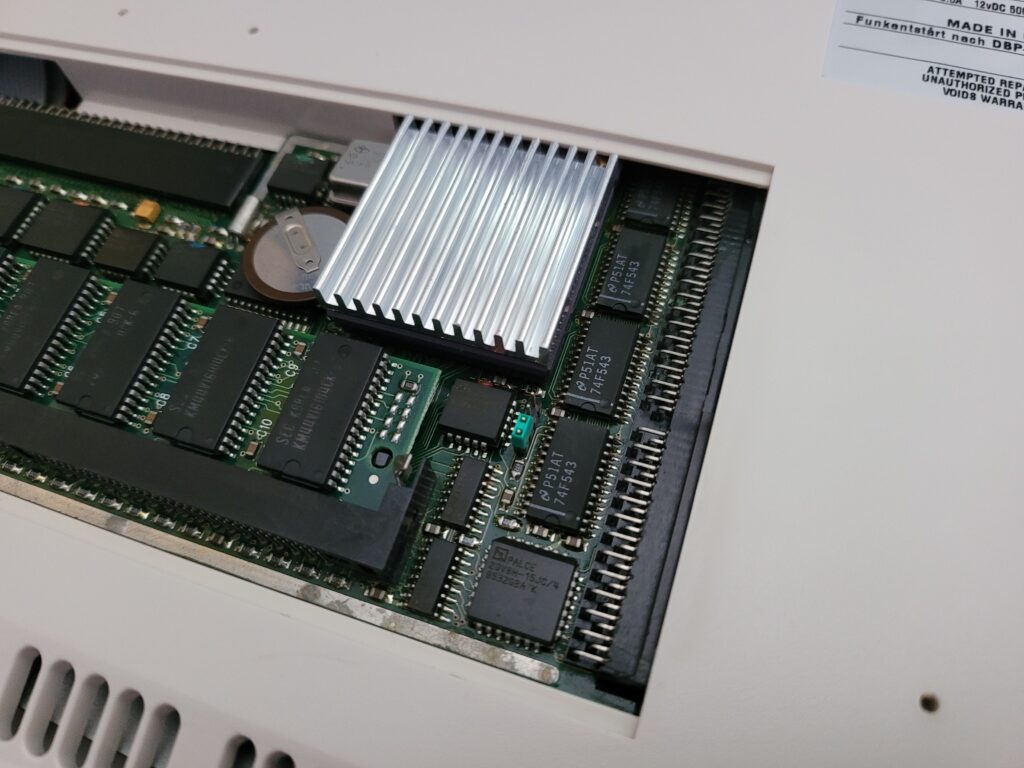
The increased clearance also allowed me to fit a heatsink to the CPU. There still wasn’t a massive amount of clearance so I couldn’t go mad here but I found a nice 35mm x 35mm x 5mm anodised aluminium heatsink on Amazon that looked like it would do nicely. It was a perfect match for the dimensions of the ‘030 chip and came with a strong self-adhesive thermal pad which would be essential given it would be fitted upside down.
Now I’m fully aware that heat rises and given this was to be fitted upside down there wouldn’t be much scope for heat to convect away from the CPU. However heat also travels by conduction and radiation and I hoped that combined with the increased surface area of the heatsink and the potential increased airflow under the Amiga that it would help cool the processor down.
Once finished I could barely tell the difference visually. My A1200 certainly doesn’t look like it’s on stilts or anything like that. In fact unless I get get my eyes level with the desk surface I can’t even tell it’s raised up.
Did it actually help to cool my A1200?
Before making any changes at all and with the trapdoor fitted I left the computer on for an hour and then recorded the CPU temperature. The highest temp I recorded off the surface of the CPU was 59 degrees Celsius. I believe the maximum operating temperature of the ‘030 is 70C so this is well within acceptable levels.
After raising the case and fitting the heatsink I did the same test again and recorded a maximum of temperature reading of… 57C. So not the massive drop I was hoping for. I shouldn’t really have expected much given that it’s quite a small heatsink fitted upside down with no active airflow…
There was one positive outcome though… the top of the case directly above the CPU was noticeably cooler now. So although the changes weren’t sufficient to cool the CPU by a significant amount it did seem to be helping reduce the build-up of heat inside the case. Unfortunately I never thought to measure the surface temperature before I made the changes so I have no readings to back this up other than my own senses.
The Takeaway
So not the resounding success I’d hoped for, but not a complete waste of time either. The parts cost less than £15 all-in and I have a bunch of spare feet and heatsinks left over for several other projects now too.
It’s pretty clear that the only way to significantly cool the processor down is to add a fan. The heatsink needs a decent flow of air over it to permit it to do its job. Whether it would need to be directly attached to the heatsink or just blowing air under the case across the heatsink I’m not sure.
Maybe one day I might do this but I’d want one that’s practically silent. One of the joys of using the Amiga is just how quiet it is so the last thing I’d want to do is ruin that by having a noisy fan inside whirring away!
To be continued…
[Update] There is now a Part 2!


