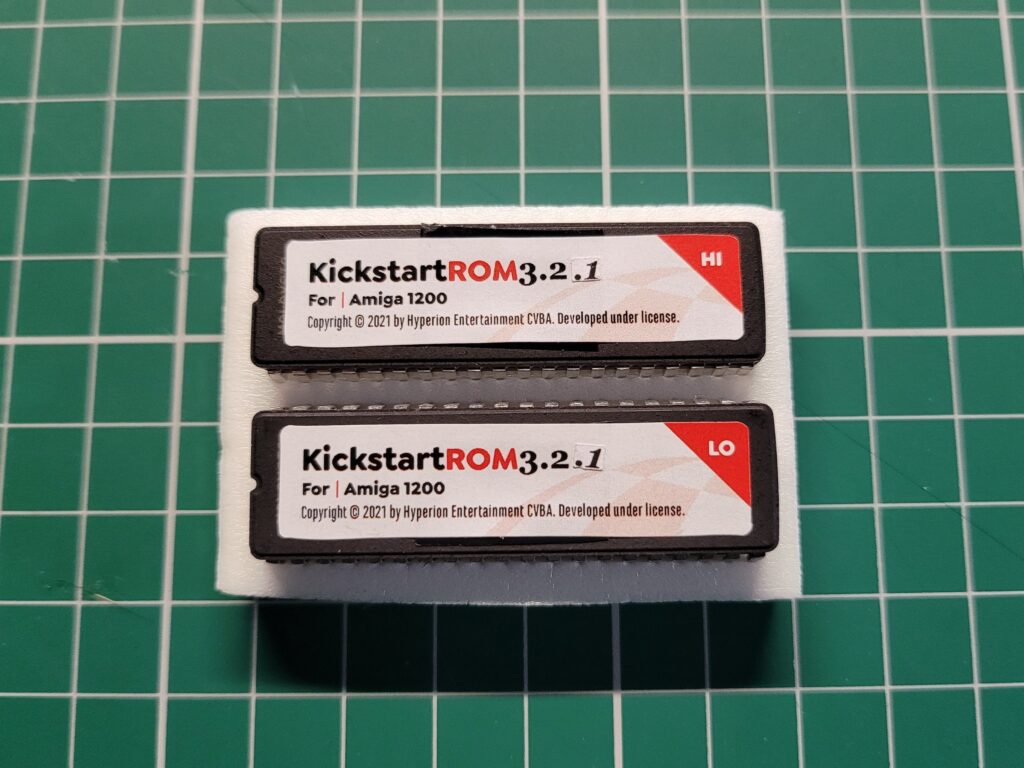
I’ve not even had my Kickstart 3.2 ROMS installed in my Amiga 1200 for a month and I’m already replacing them! Why? Because AmigaOS 3.2.1 was released by Hyperion in December 2021. This incremental update fixes a number of issues and also adds a few new features so naturally I wanted to get my hands on it. Strictly speaking the physical ROMS are not required as you can map copies of them into RAM. However I wanted the real deal so ordered a set from AmigaStore.eu as this was were I bought AmigaOS 3.2 from. They arrived quickly and well packaged (along with an SDBox I ordered at the same time).
Installing the ROMS
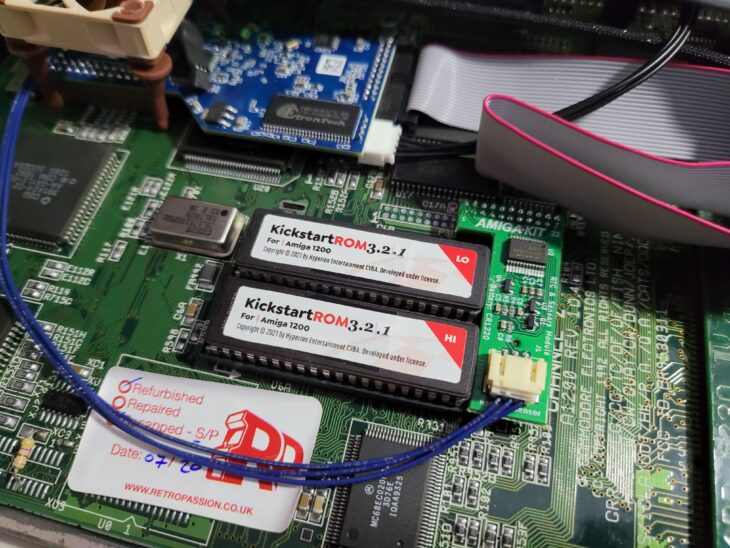
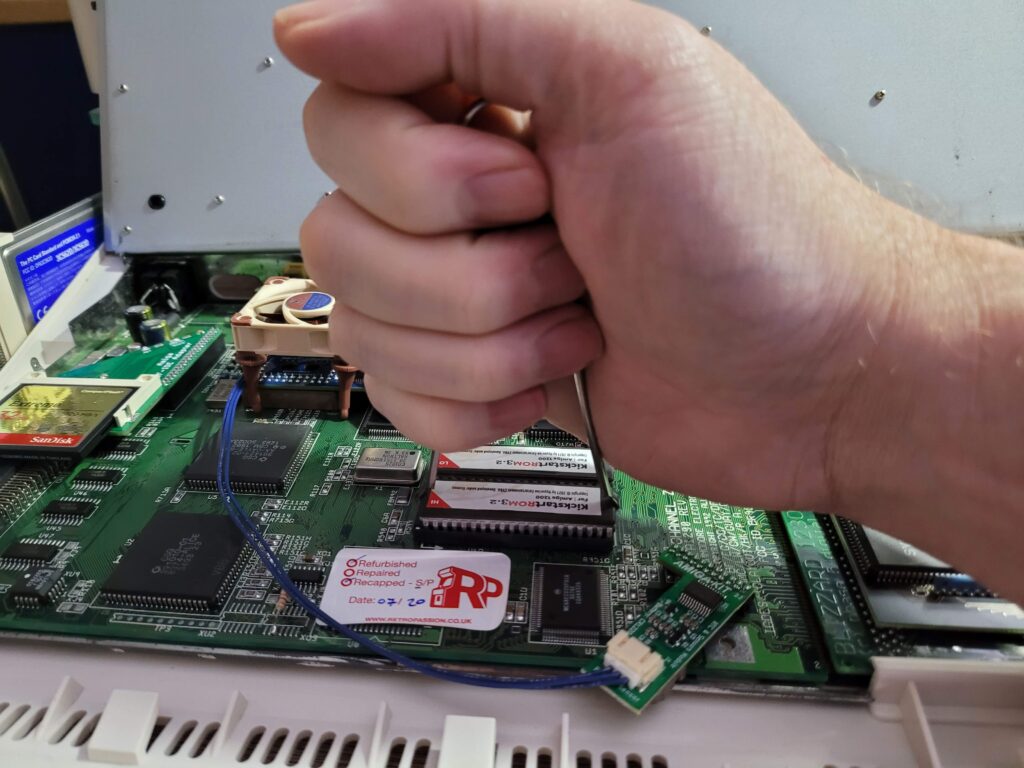
Naturally the first thing I did was to open up my A1200 and fit the two new ROM chips. If you are looking for more comprehensive instructions on how to do this you can follow my guide here. The important things are to get the ‘HI’ and ‘LO’ chips in the correct sockets, that you orient them correctly (notched end of chip goes next to notched socket) and finally that you leave the last pair of pins in each socket empty as the sockets have 42 pins whereas the ROMS only have 40.
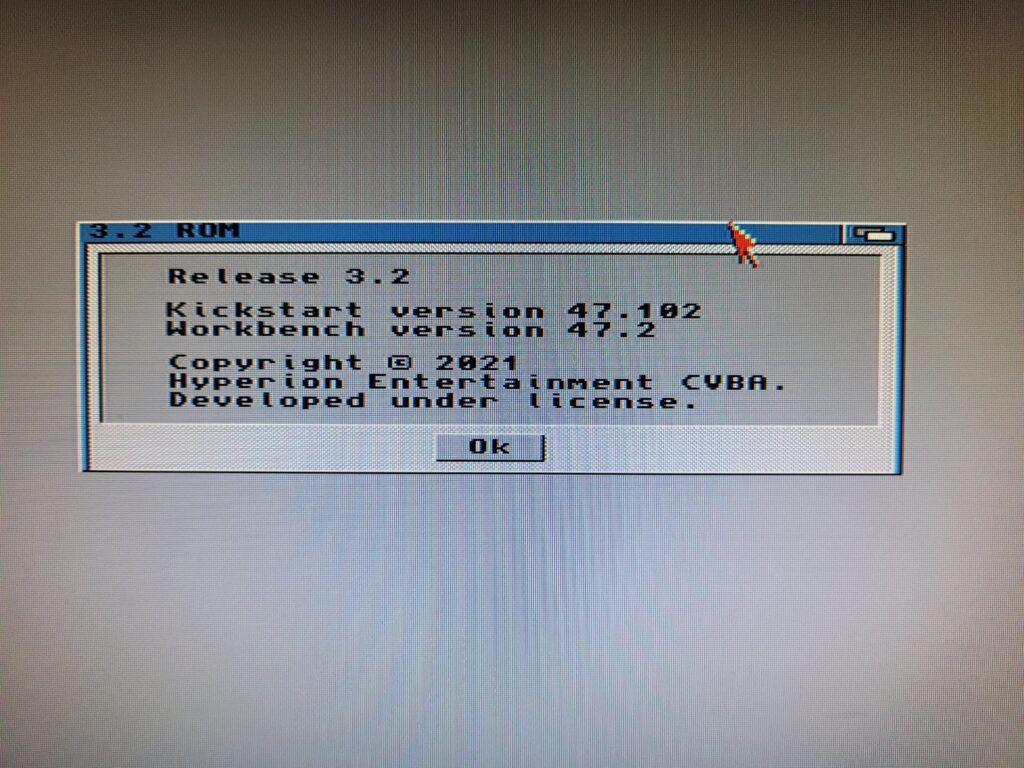
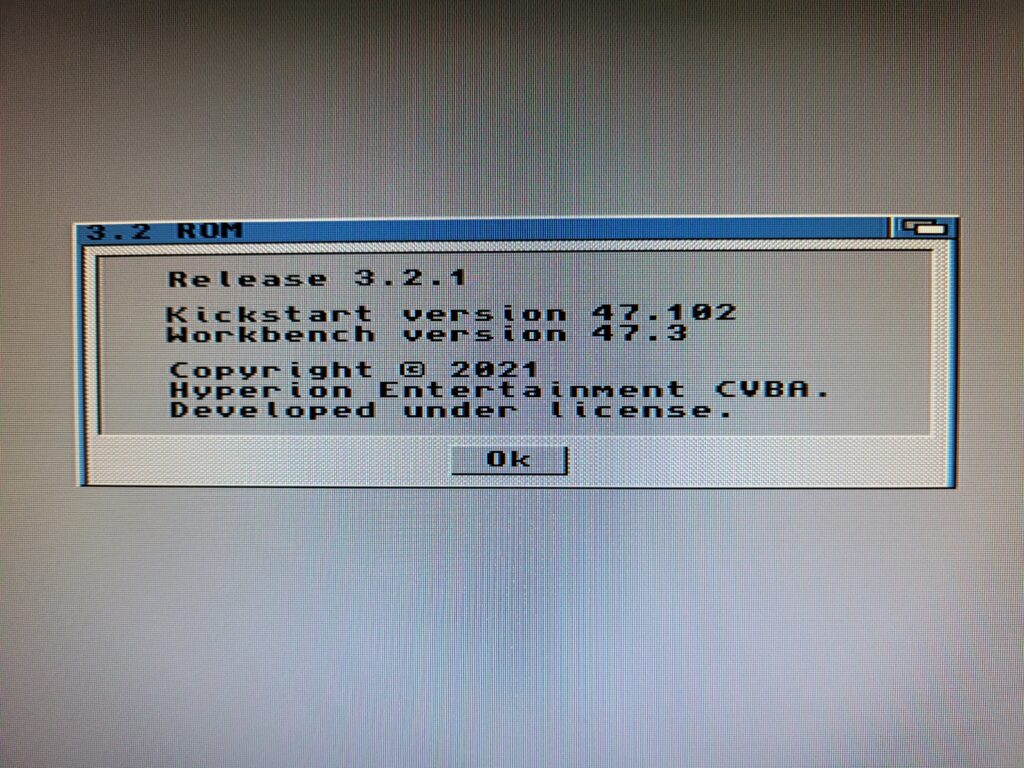
Before going any further I booted up my Amiga to make sure everything was working and that the new Kickstart ROMS were the correct version. Sure enough Workbench reported a Kickstart Version of 47.102 which is the 3.2.1 edition. Happy days.
Next I needed to obtain the 3.2.1 Workbench update. This is a free download from Hyperion but does require you to register your copy of AmigaOS 3.2 before it will allow you access. This requires the little code that was stuck onto the cellophane wrapper of the AmigaOS 3.2 box. The update comes in the form of a 15MB LHA archive that includes Kickstart ROMS should you need them.
Installing AmigaOS 3.2.1
AmigaOS 3.2 introduced native support for ADF image files so I thought I’d make use of this feature to update Workbench.
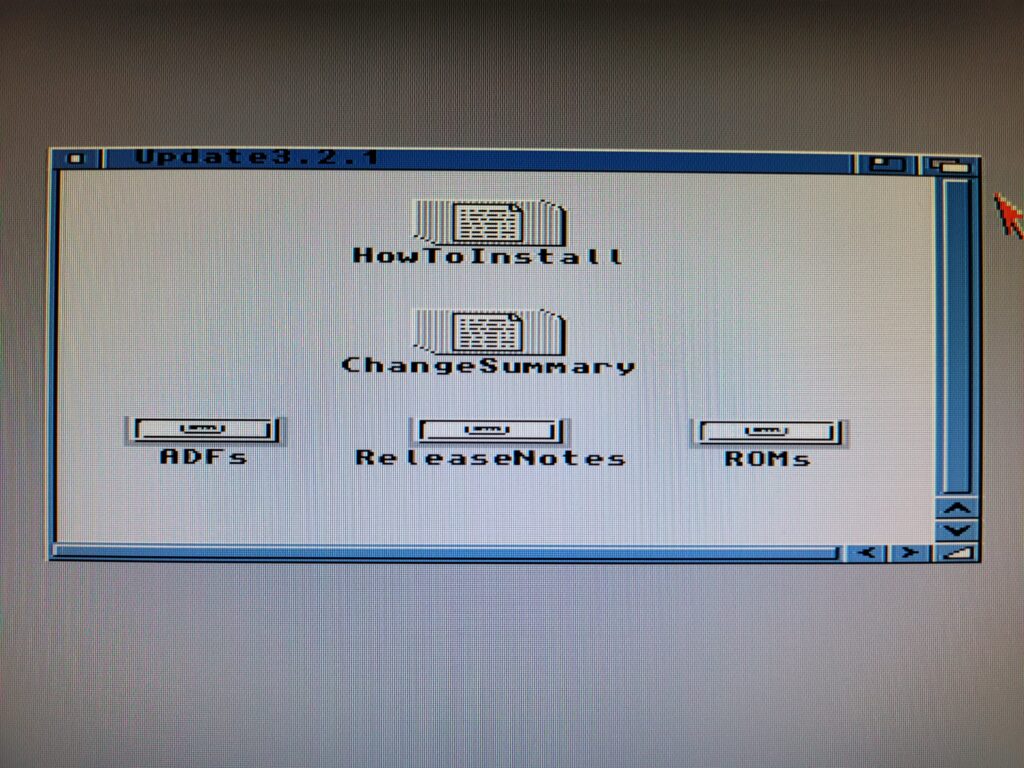
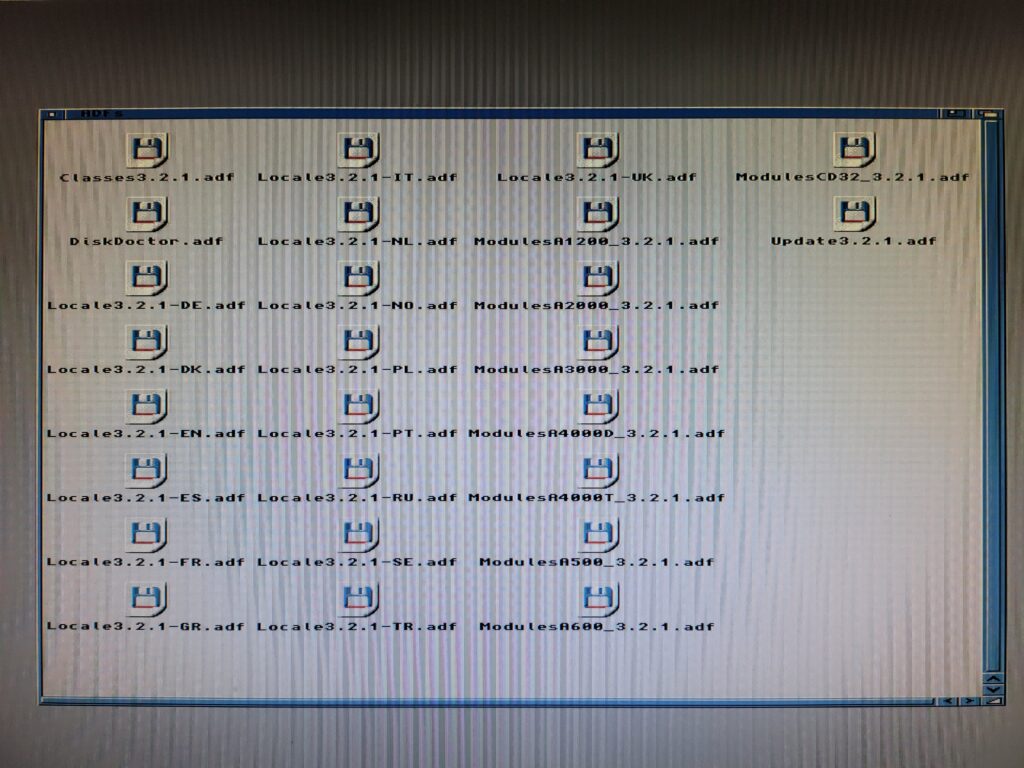
The LHA archive unpacks into a single Update3.2.1 folder that includes everything necessary to get things up and running. Opening up the ADF folder reveals 26 ADF’s and it’s these we need to do the upgrade.
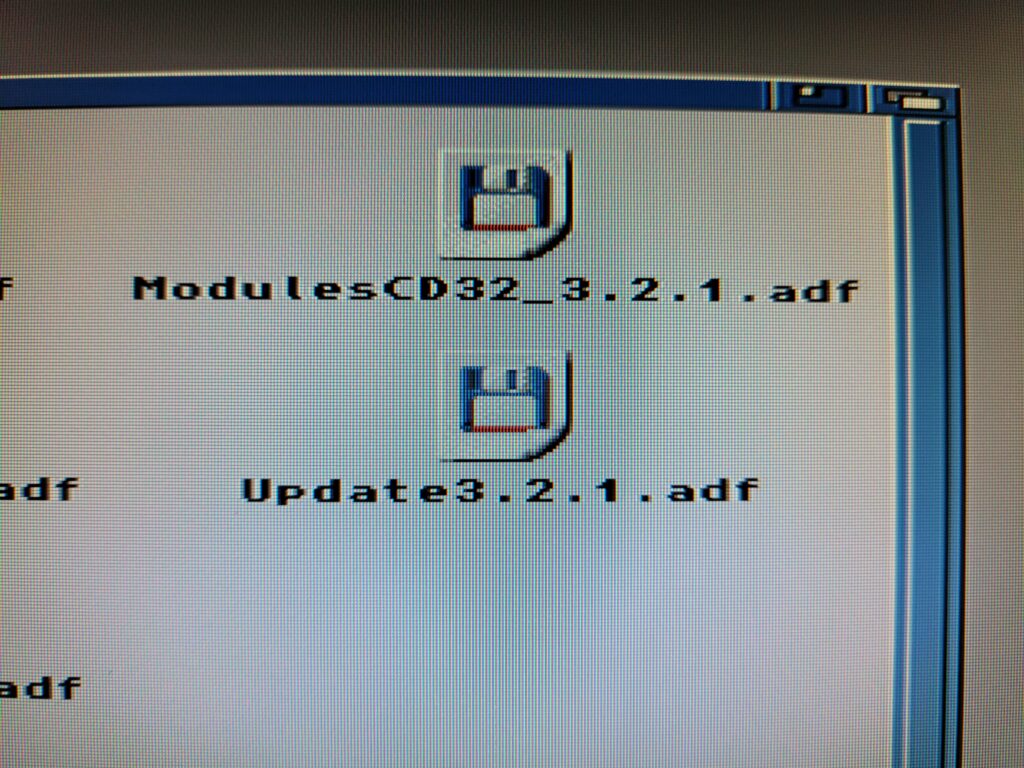
The ADF we need to get the ball rolling is called ‘Update3.2.1’. Simply double-clicking it opend that ‘disk’.
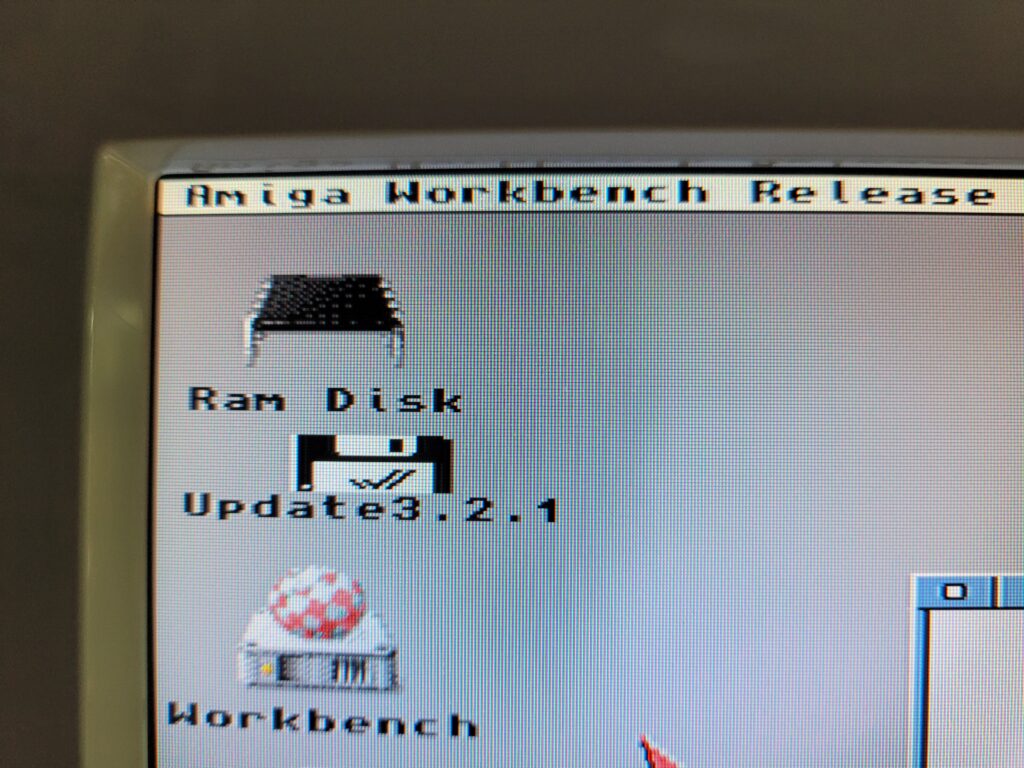
It will then appear on the desktop just as if you’d inserted it into a physical drive yourself.
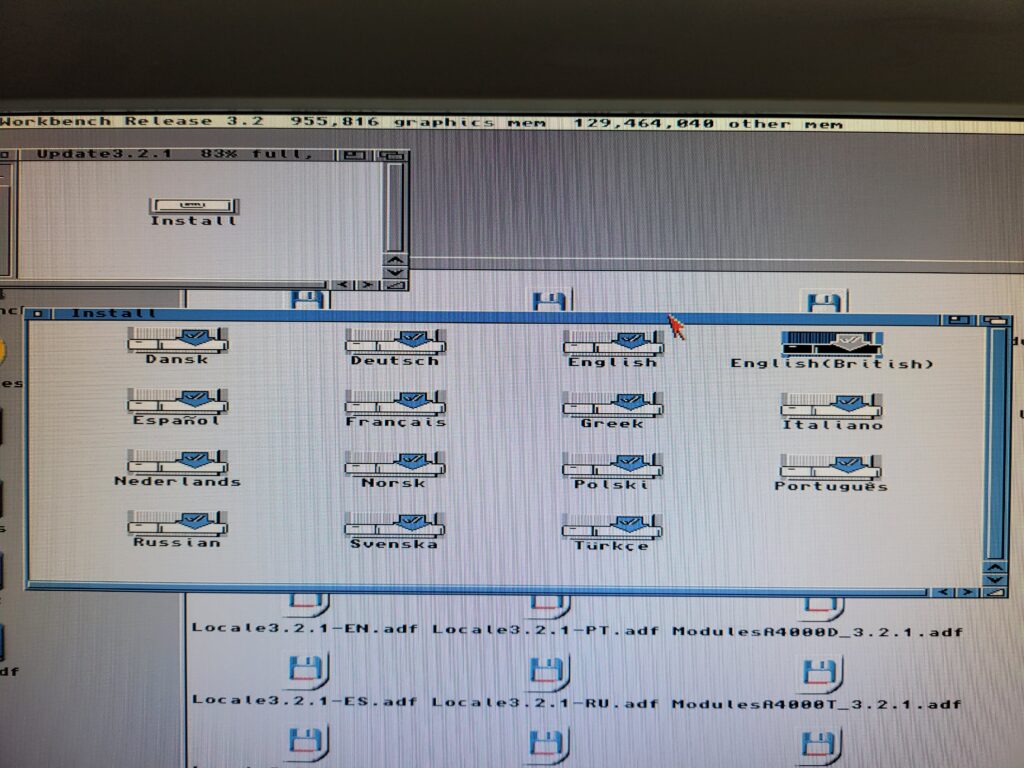
Opening that disk, and then the Install folder within it, reveals a bunch of different country-specific installers. I went for the English(British) option as I’m in the UK.
Go!
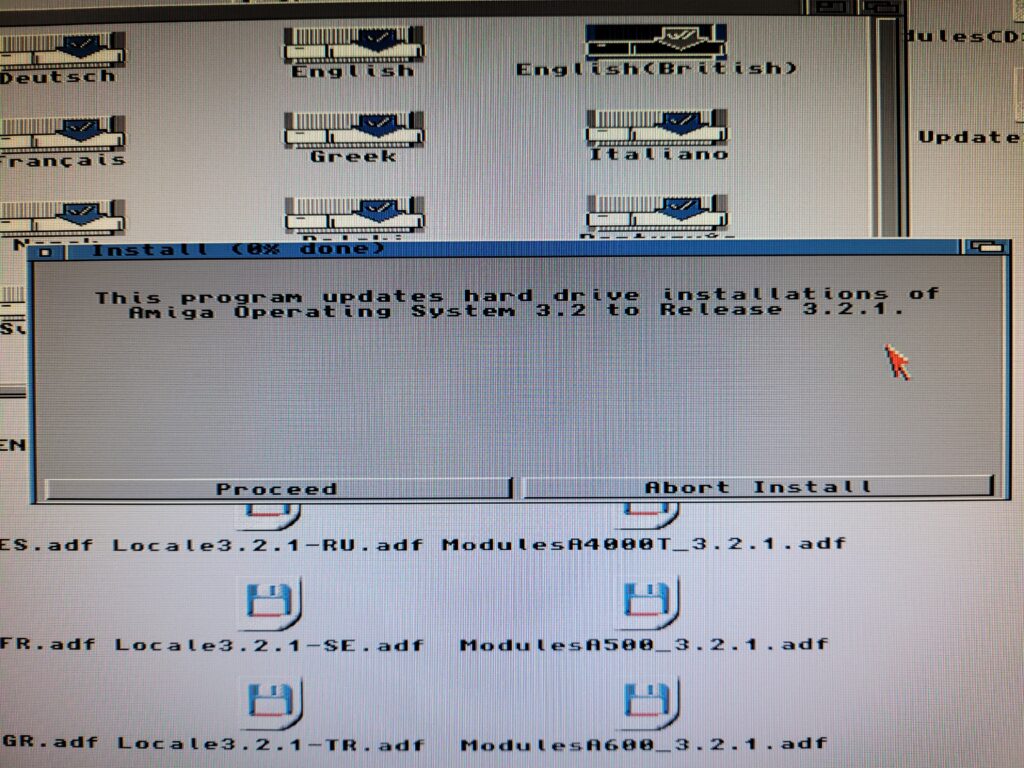
The install process is now underway and we just need to click ‘Proceed’ to begin.
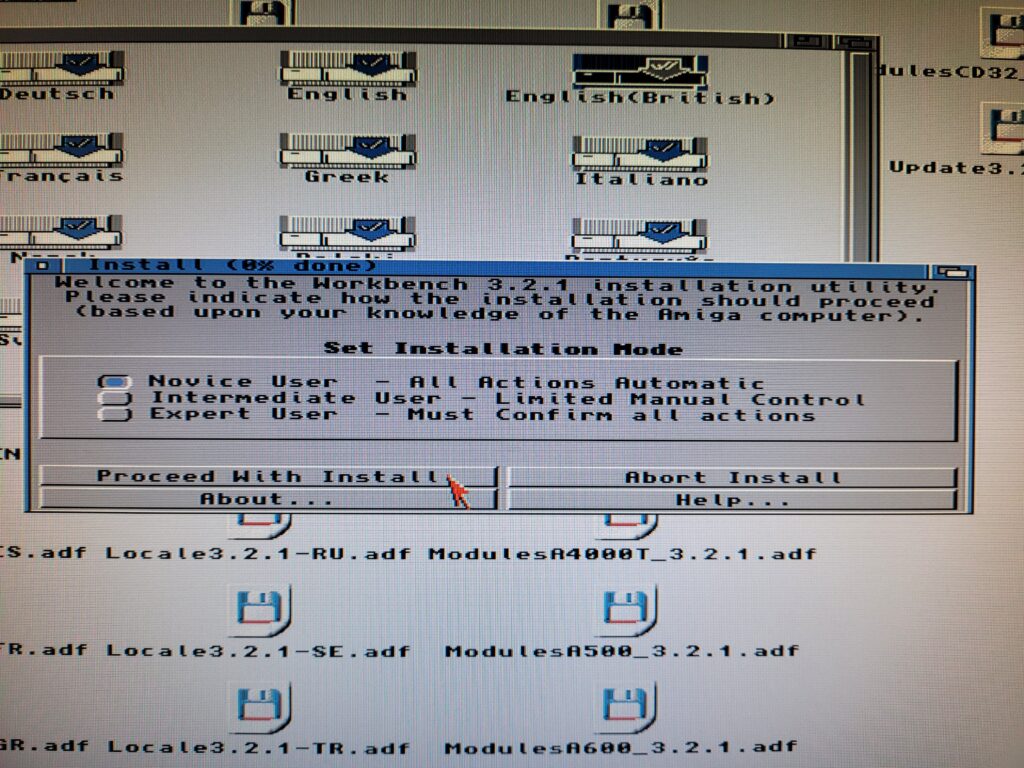
The first choice to make was picking an installation mode. I left it on the default ‘Novice User’ option as I’ve not done much customisation to my A1200 since doing a clean install of 3.2 a few weeks ago.
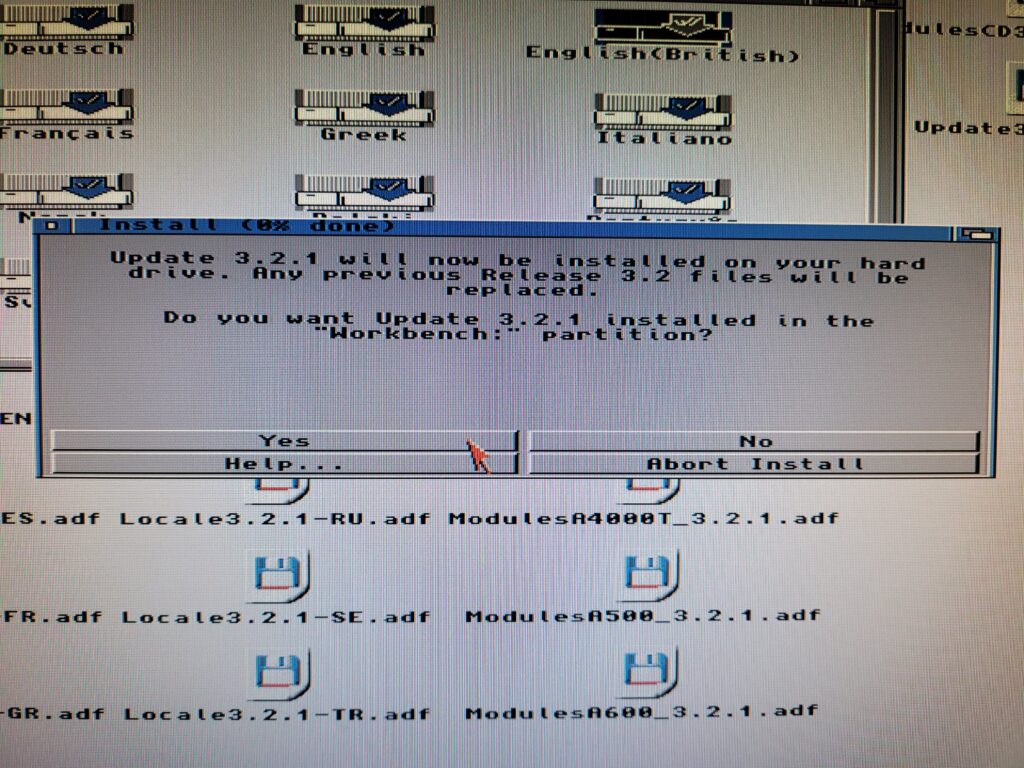
A warning pops just to confirm you are happy to proceed with the update which will obviously replace a bunch of your 3.2 files in the process. I clicked ‘Yes’ to proceed.
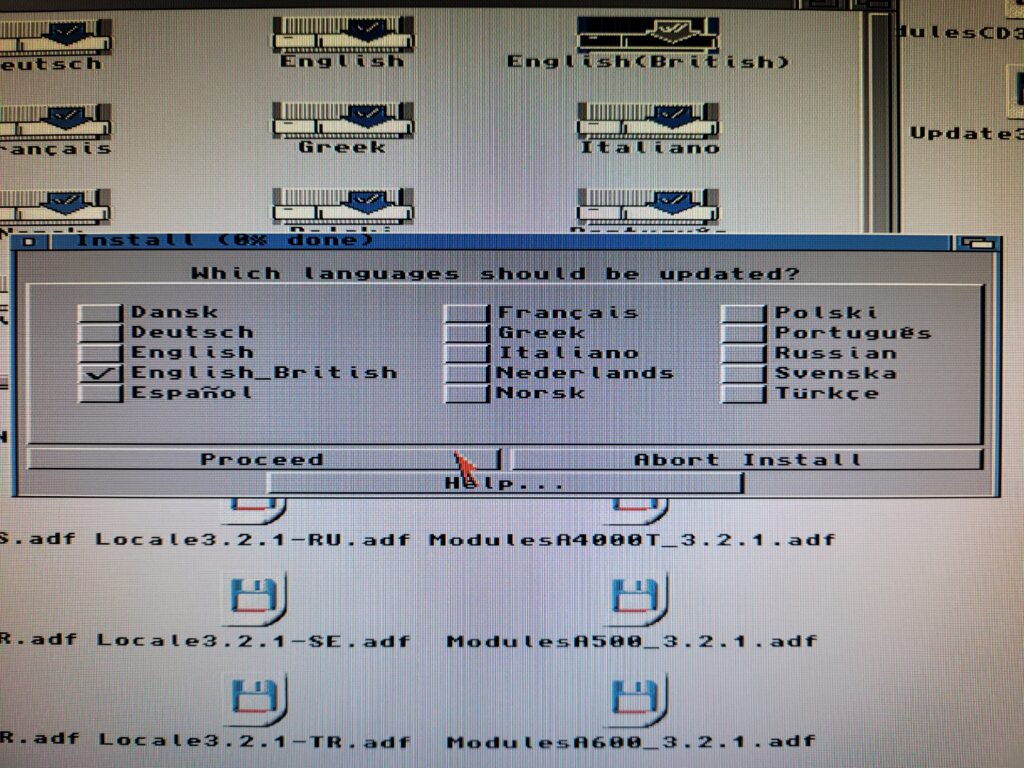
Next up you get to choose which language(s) you want. Check the boxes next to the one(s) you would like and then click ‘Proceed’.
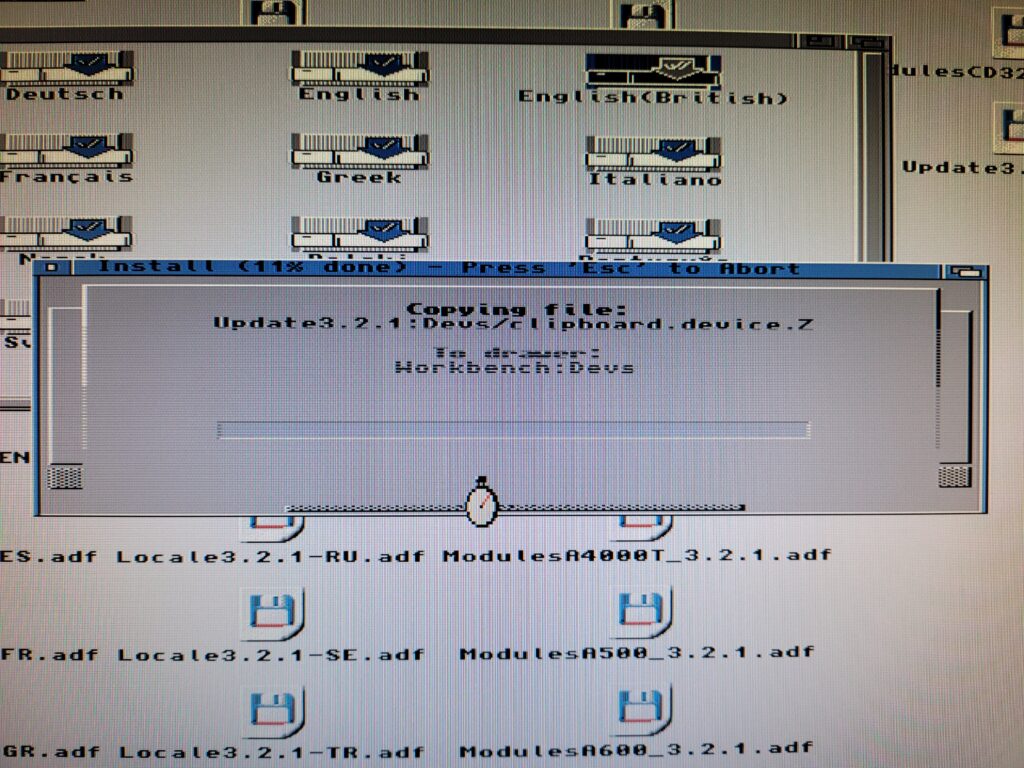
It’s at this point that the installation really starts and files get copied across.
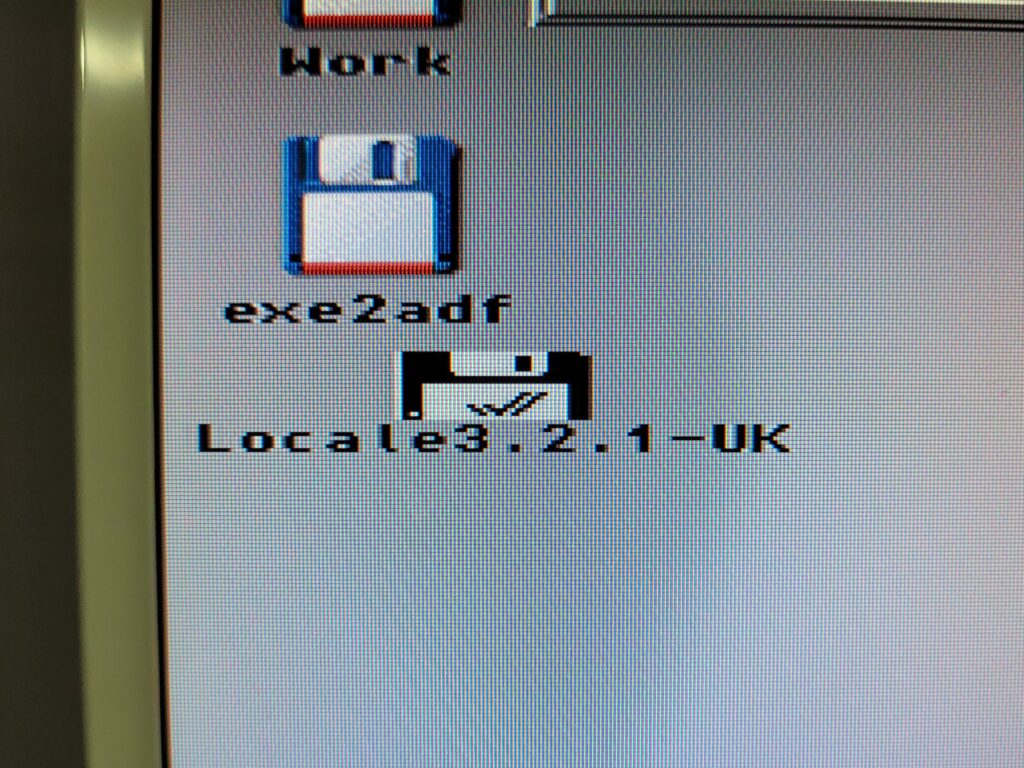
Now I thought I was going to need to select each ADF as and when the installer requested a new disk. However that wasn’t the case at all. Something pretty cool happens during the install – it mounts and unmounts each ADF image as it needs them – automatically. During the install you see a bunch of disks appear and then disappear on the Workbench like magic. Impressive stuff indeed.
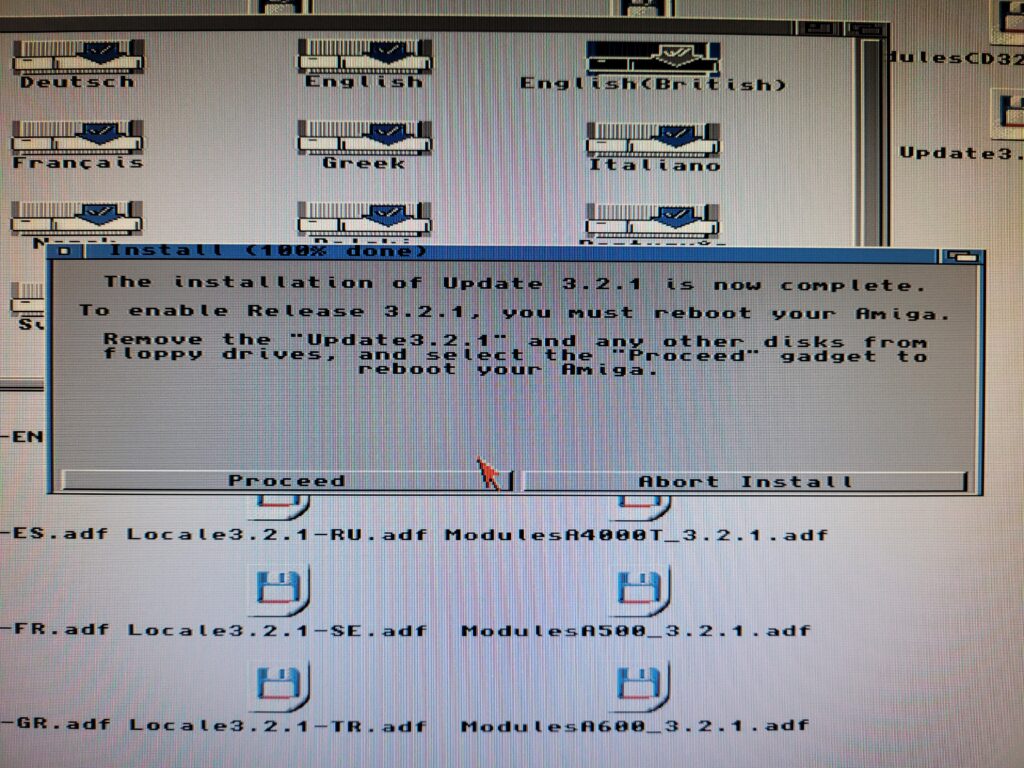
Thanks to the auto-switching virtual disks the update only takes about a minute to complete. Once finished it asks you to click ‘Proceed’ to reboot your Amiga. It was at this point that I got my second pleasant surprise – my Amiga automatically rebooted itself! Many installers have the same message at the end but I don’t recall any that actually rebooted the machine before.
Once Workbench had loaded back up I did another quick check of the version numbers. Reassuringly Workbench was reporting being 47.3. Combined with Kickstart being 47.102 this confirmed that my upgrade to AmigaOS 3.2.1 was complete.
New Feature – Eject
This release includes a lot of bug fixes and a number of new features too. Out of all of them though, the one I was most excited to see was also probably the most trivial. The Amiga now has an ‘Eject disk’ option under the Icon menu! Not unsurprisingly this lets you eject any disks that supports this feature. It was probably mainly intended for un-mounting ADF images but it also works with physical drives. I tried it out on my SCSI CD drive and it worked like a charm it also worked well with my Iomega Zip drive. Sure this was possible before via 3rd party programs but to have this feature natively available in Workbench is a first and worth upgrading for alone in my book.


Hi Steven,
Can a stock Amiga 1200 with no acceleration run is 3.2
Thanks
Saveen
Yes it can. 🙂
Hello I have 3.2 pre installed on to a cf card if I want to use the pcmcia slot did I need to install drivers or will they be already installed in the 3.2 os
You’ll need to download the drivers off Aminet as support for CF PCMCIA card adapters is not included unfortunately.
Is drivers included in os 3.2 to use ide controllers like powerflyer gold fastata or will I still need to install elbox drivers
I’m sorry but I don’t own any of those devices myself to test for you.
Thanks Steve for your reply, I ve purchased OS 3.2.1+Roms 🙂 Can’t wait to start playing
I’ve got an Amiga 500 Rev 6a. If I put a 3.2.1 ROM in there, will my AmigaOS 3.1 ZuluSCSI SD card still boot? Would I need to upgrade it or could I juts keep on running AmigaOS 3.1?
Sorry I’ve no experience with that particular card. I’d hazard a guess that it would still work as they tried really hard to make 3.2 as compatible as possible but I can’t say for sure I’m afraid. Maybe someone else who has one can chime in?