

In Part 1 I tried some simple passive cooling techniques to increase airflow with the aim of cooling my A1200. This time around I’m going to add a hardware device to my A1200 that will monitor the internal temperatures and also add a cooling fan. Spoiler alert – this time there will be some decent results!
To be honest I probably would have stuck with the modest improvements made from the passive cooling mods had it not been for the extra heat generated by fitting my Indivision AGA Mk3 Flicker-Fixer. When I began to see artefacts on the screen caused by the Lisa chip working overtime and heating up I knew it was time to step up my game.
AmigaKit Real Time Clock and Sensors Module
I discovered this Sensors Module quite by accident whilst browsing the AmigaKit website. It’s a little battery-backed clock module that incorporates an ambient temp sensor on the board and can be expanded to include a second temperature sensor probe by means of a small 3-pin connector.

AmigaKit Real Time Clock and Sensors Module with £1 coin for scale.
In addition to monitoring temperatures and providing a clock function this module also incorporates a 5V sensor that can monitor the stability of the A1200’s 5v power rail.

Top of AmigaKit Real Time Clock and Sensors Module showing the remote sensor connector.
Handily it is also able to monitor the power level of its own battery for the clock module.

Remote sensor probe.
The temperature probe is sold separately and is available here. It simply attaches to the 3-pin socket on the sensor module and allows for monitoring a second location within the Amiga or specific chip depending on where you place the end of the probe.

AmigaKit Real Time Clock and Sensors Module with the optional probe fitted to clock port and probe placed over the Lisa chip/Indivision.
The sensor module attaches to the clock port next to the Kickstart ROMs’ and the probe can be placed anywhere inside the case. As I was interested in the temperature of the Lisa chip and the Indivision I placed the end of the probe there.
Software
Now having the hardware is all well and good, but how do you actually get the readings from it? Well AmigaKit supply a custom program for the Amiga that you install to take care of this. It actually comes as two separate programs, the first of which is called ‘AK_Sensors and is installed into the WBStartup folder. This program runs as a commodity and polls the sensors every 30 seconds and stores the values as environment variables in ENV. The polling interval is infinitely adjustable from between 1 second and 24 hours by means of a tooltype setting.
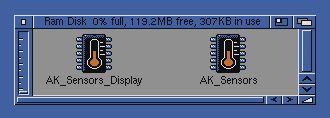
AmigaKit Real Time Clock and Sensors Module Software.
The second program, AK_Sensors_Display is what actually displays the readings on the Amiga’s workbench. This can be installed anywhere you like but if you want it to be displayed all the time then place it in WBStartup.
With the hardware and software installed it was time to get some readings. To do this I left my A1200 running for a couple of hours and then checked the readings.

Sensor readings after 2 hours.
After 2 hours the internal temperature of my A1200’s case measured 50.9C whilst the probe placed on the Indivision/Lisa chip was reading 54.2C.
Now I had accurate and easily accessible readings it was time to do something to improve them!
Active Cooling Time
After doing some research into quiet fans I settled on this one: a ‘Noctua NF-A4x10 FLX, Premium Quiet Fan, 3-Pin (40x10mm).

Just a fan, ma’am.
It got many glowing reviews online and I was especially encouraged by seeing comments like ‘whisper quiet’ and ‘near silent’.

I’ve never seen such elaborate packaging for a simple fan before!
As small cooling fans go this was probably quite expensive but my Amiga is definitely worth it so I ordered one from Amazon. I was very impressed when I received it as it’s in a really cool presentation box complete with a plethora of cables and accessory doodads.

Plenty of extras come supplied in the box.
As the fan is 12V I intended to power it from the Amiga’s 12V floppy drive supply so I also ordered a floppy drive Y-splitter power cable from AmigaKit to take care of this.

AmigaKit floppy power splitter Y cable.
This will allow me to tap into the 12V supply neatly and safely and as it replaces the original floppy cable rather than modifying it, is completely reversible too.

AmigaKit floppy power splitter closer look.
Fitting the Fan
The fan came with a whole host of different mounting options but I chose to use the silicone anti-vibration mounts. I fitted them through the 4 mounting holes in the fan and then cut the excess lengths off flush with the fan.

Silicone anti-vibration mounts fitted and trimmed to size.
These mounts appeared to be sized perfectly to mount the fan above the Indivision board and by positioning them around it would also keep the fan anchored in place.

Fan fitted neatly over the Indivision. The back 2 legs are splayed slightly which actually helps to keep it held in place.
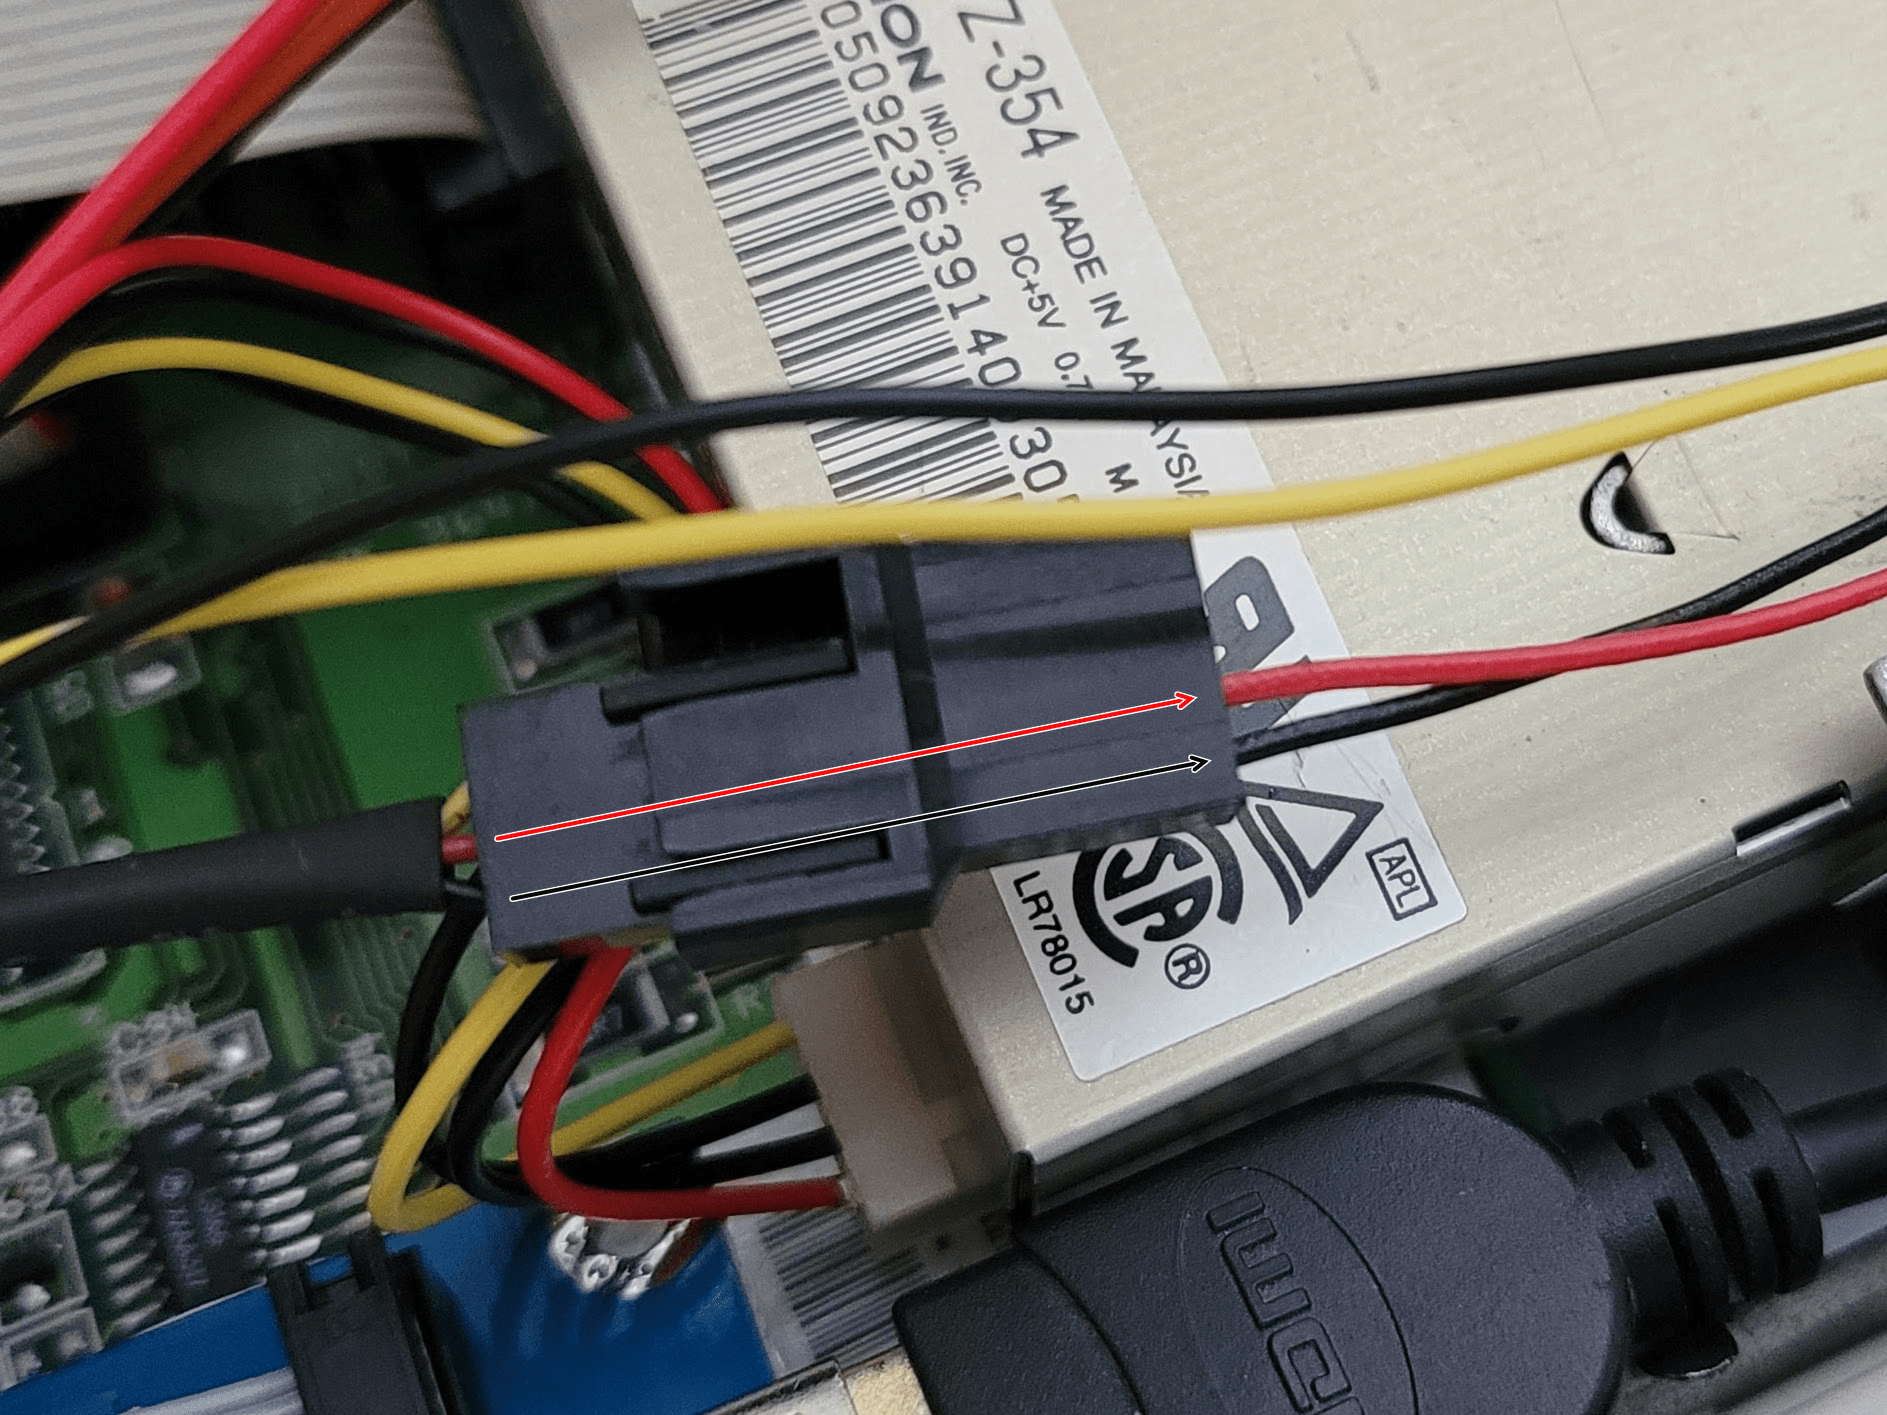
With the method of fitting the fan sorted I then turned my attention to wiring it up. I snipped off the power connector on one side of the Y splitter cable so I was left with 4 wire strands. Then I snipped off one of the black (ground) wires and the red (5V) wire from the same side. This left me with the Yellow (12V) and remaining black (ground) to power the fan. I then replaced the floppy power cable with the modified Y splitter version.

Tapped into the 12V and Ground wires using skotchlock connectors.
Next I used the ‘OmniJoin’ cable (supplied) together with a couple of Skotchlock connectors (also supplied) to attach the fan to the two wires from the floppy drive Y connector.

Wiring tucked away neatly.
The black wire of the floppy cable connected to the corresponding black wire of the OmniJoin cable. However the yellow wire from the floppy cable needed connecting to the red wire of the OmniJoin cable. The fan does actually have a yellow cable of its own but this for sensing the fan speed and not required for our Amiga project.

Everything fitted ready to put it all back together.
I also made sure that the red/black wires of the OmniJoin cable correctly lined up with that of the fan when it was plugged in. You can just make out the colours of the fan wires going into the fan plug in the image below.
Making sure that the red and black wires match up on the two connectors.
With everything in place I gave it a quick power-on to ensure the fan was working. It whirred into life immediately so I re-fitted the keyboard to check the clearance and was happy to find there was just enough to not cause any issues. If there had been I could have just trimmed a little off the mounts to shorten them.

Just enough clearance between the keyboard and the top of the fan.
Finally I replaced the lid and carefully inserted the screws from underneath. If I flipped it over like I normally would then the fan would become dislodged as it’s not actually fastened down.
Will you Start the Fans Please
With everything back together and the cooling fan installed in my Amiga I powered it back on to assess the fan noise. I was pleasantly surprised to discover that it was very quiet indeed, just as advertised. It’s not silent and I can hear it but it’s just a soft whirring sound and not at all distracting even in a quiet room.
Of course being quiet is one thing but was it actually going to cool my Amiga down? I left my A1200 powered on for a few hours just like I’d done previously without a fan installed to find out. Two hours later I checked the readings and you can see them in the image below.

Sensor readings after 2 hours with fan installed.
As a reminder, without the fan, after two hours the internal Case temperature was reading 50.9C and the Indivision was at 54.2C.
With the fan installed and after running for the same length of time the internal case temperature was now 6C cooler at 44.9C whilst the Indivision had dropped an impressive 11.3C to 42.9C. The case also felt noticeably cooler with no prominent ‘hotspots’ like before.
Needless to say I am delighted with this modification. The whole thing was non-destructive and completely reversible and it only cost around £20 all-in. As the 12V floppy power feed is for the drive motor it’s an ideal power source as most of the time it’s idle anyway. Even so I’ve used floppies pretty extensively since fitting the fan and have had no issues at all even then. Of course your mileage may vary and if you have a borderline PSU then this might just tip the balance.
Just one more thing…
Throughout this whole project one thing had been bugging me – the Compact Flash IDE adaptor and its ‘flappy’ ribbon cable. When it wasn’t getting in the way of the fan it was stopping the top of the case from fitting back on properly. It had to go!

90 Degree CF-IDE Adapter.
I had a look around and discovered a nifty looking right-angled 90 degree CF-IDE adapter on eBay so I bought one immediately.

90 Degree CF-IDE Adapter.
Fitting it was a breeze and the card now sits neatly just above the PCMCIA socket and everything looks neat and tidy once more, just how I like it.

Neat and tidy again.
Discover more from Lyonsden Blog
Subscribe to get the latest posts sent to your email.
Hi Steven
I’ve recently treated myself and bought an A1200 to get back into the Amiga (having previously owned a 1200, 3000 and 4000 back in the early 90s). I’ve just ordered an Indivision AGA Mk3 and only after buying it did the voice in the back of my head remind me that there’s next to no airflow in the 1200 case and putting upturned PLCC sockets on top of busy chips doesn’t help that situation. Love your solution with the Noctua fan and I’ve ordered the same one in order to recreate your setup. Is it still working and have you had any other issues with the AGA Mk3 after a few months of use?
Thanks
Chris
Happy to report the fan and Mk3 are still working like a charm and other than it playing dead that one time I’ve had no further issues with it at all. 🙂
Also, do you get any conflict issues from having two real-time clock modules connected to the machine at once (one on the clock port, and the other on your Blizzard 1230?).
Thanks
Chris
Yeah I wondered about that myself before installing it but no, not noticed any problems whatsoever.
Thanks for the replies – really helpful stuff.
Hi – just about to embark on the MK3 journey myself. Just wondering if you could maybe provide a but more detail on how you got that fan into a secure position around the Indivision?
Basically the Noctua fan came with some silicone rubber mounts that you can trim to the size you need. I lopped off a section on each to leave them looking like they do in the photos. They are just long enough so that when placed in the 4 holes in the fan they rest on the A1200’s motherboard and leave a small gap above the Indivision card. The height is also just low enough for the fan not to get in the way of the keyboard.
The four silicone feet are splayed out slightly such that they wrap around the indivision and keep the fan pretty secure. As it’s relying mostly on gravity and a bit of friction it would come off if you turned the A1200 on its side but as mine is permanently sat on a desk it works for me.
If you need any more info or photos let me know.
Curious you have the fan sucking air away from the Lisa – have you seen what the temps are by flipping the fan to blow onto it instead?
Honestly never thought of trying that – my thought process was basically that as heat rises naturally and there’s vents above the keyboard I’d just give it a helping hand!
Does anyone have a download link for the Amiga kit temperature sensor?
You can find it here: Clock/Sensor module. The sensor cable is selectable from a drop down menu.