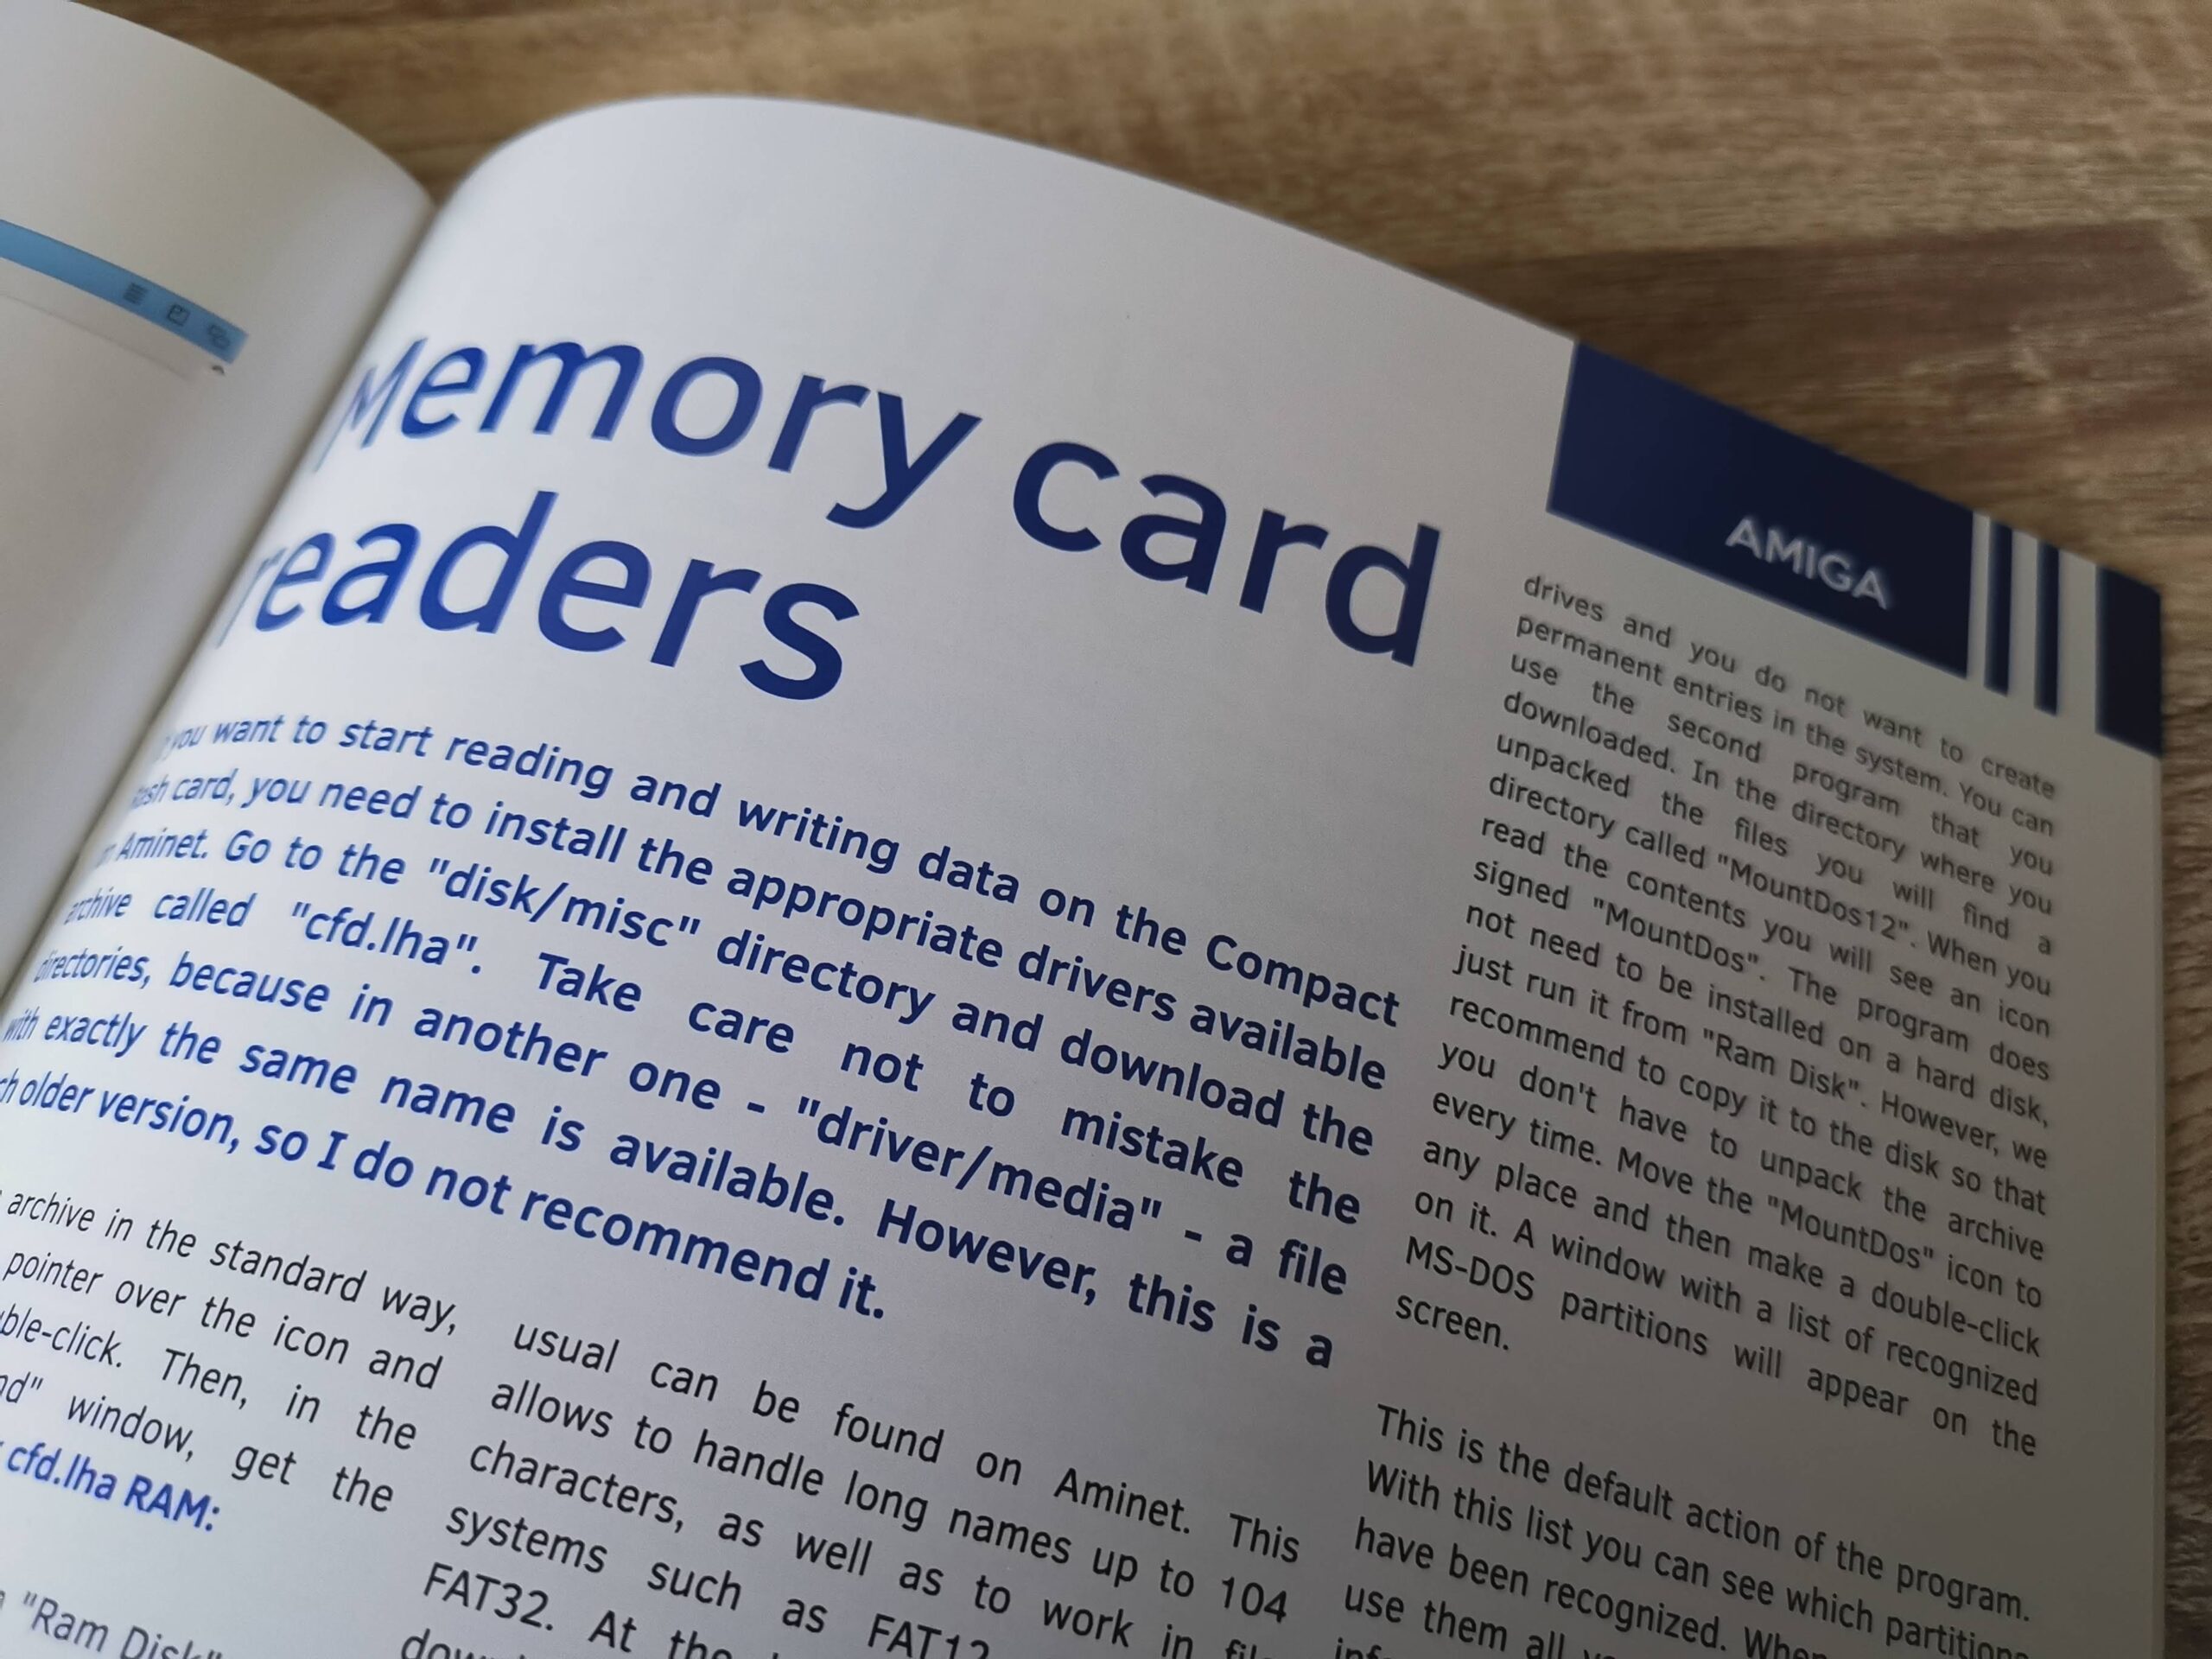
This was a game I backed on Kickstarter back in March 2019 and a couple of weeks ago it finally arrived through my letterbox.
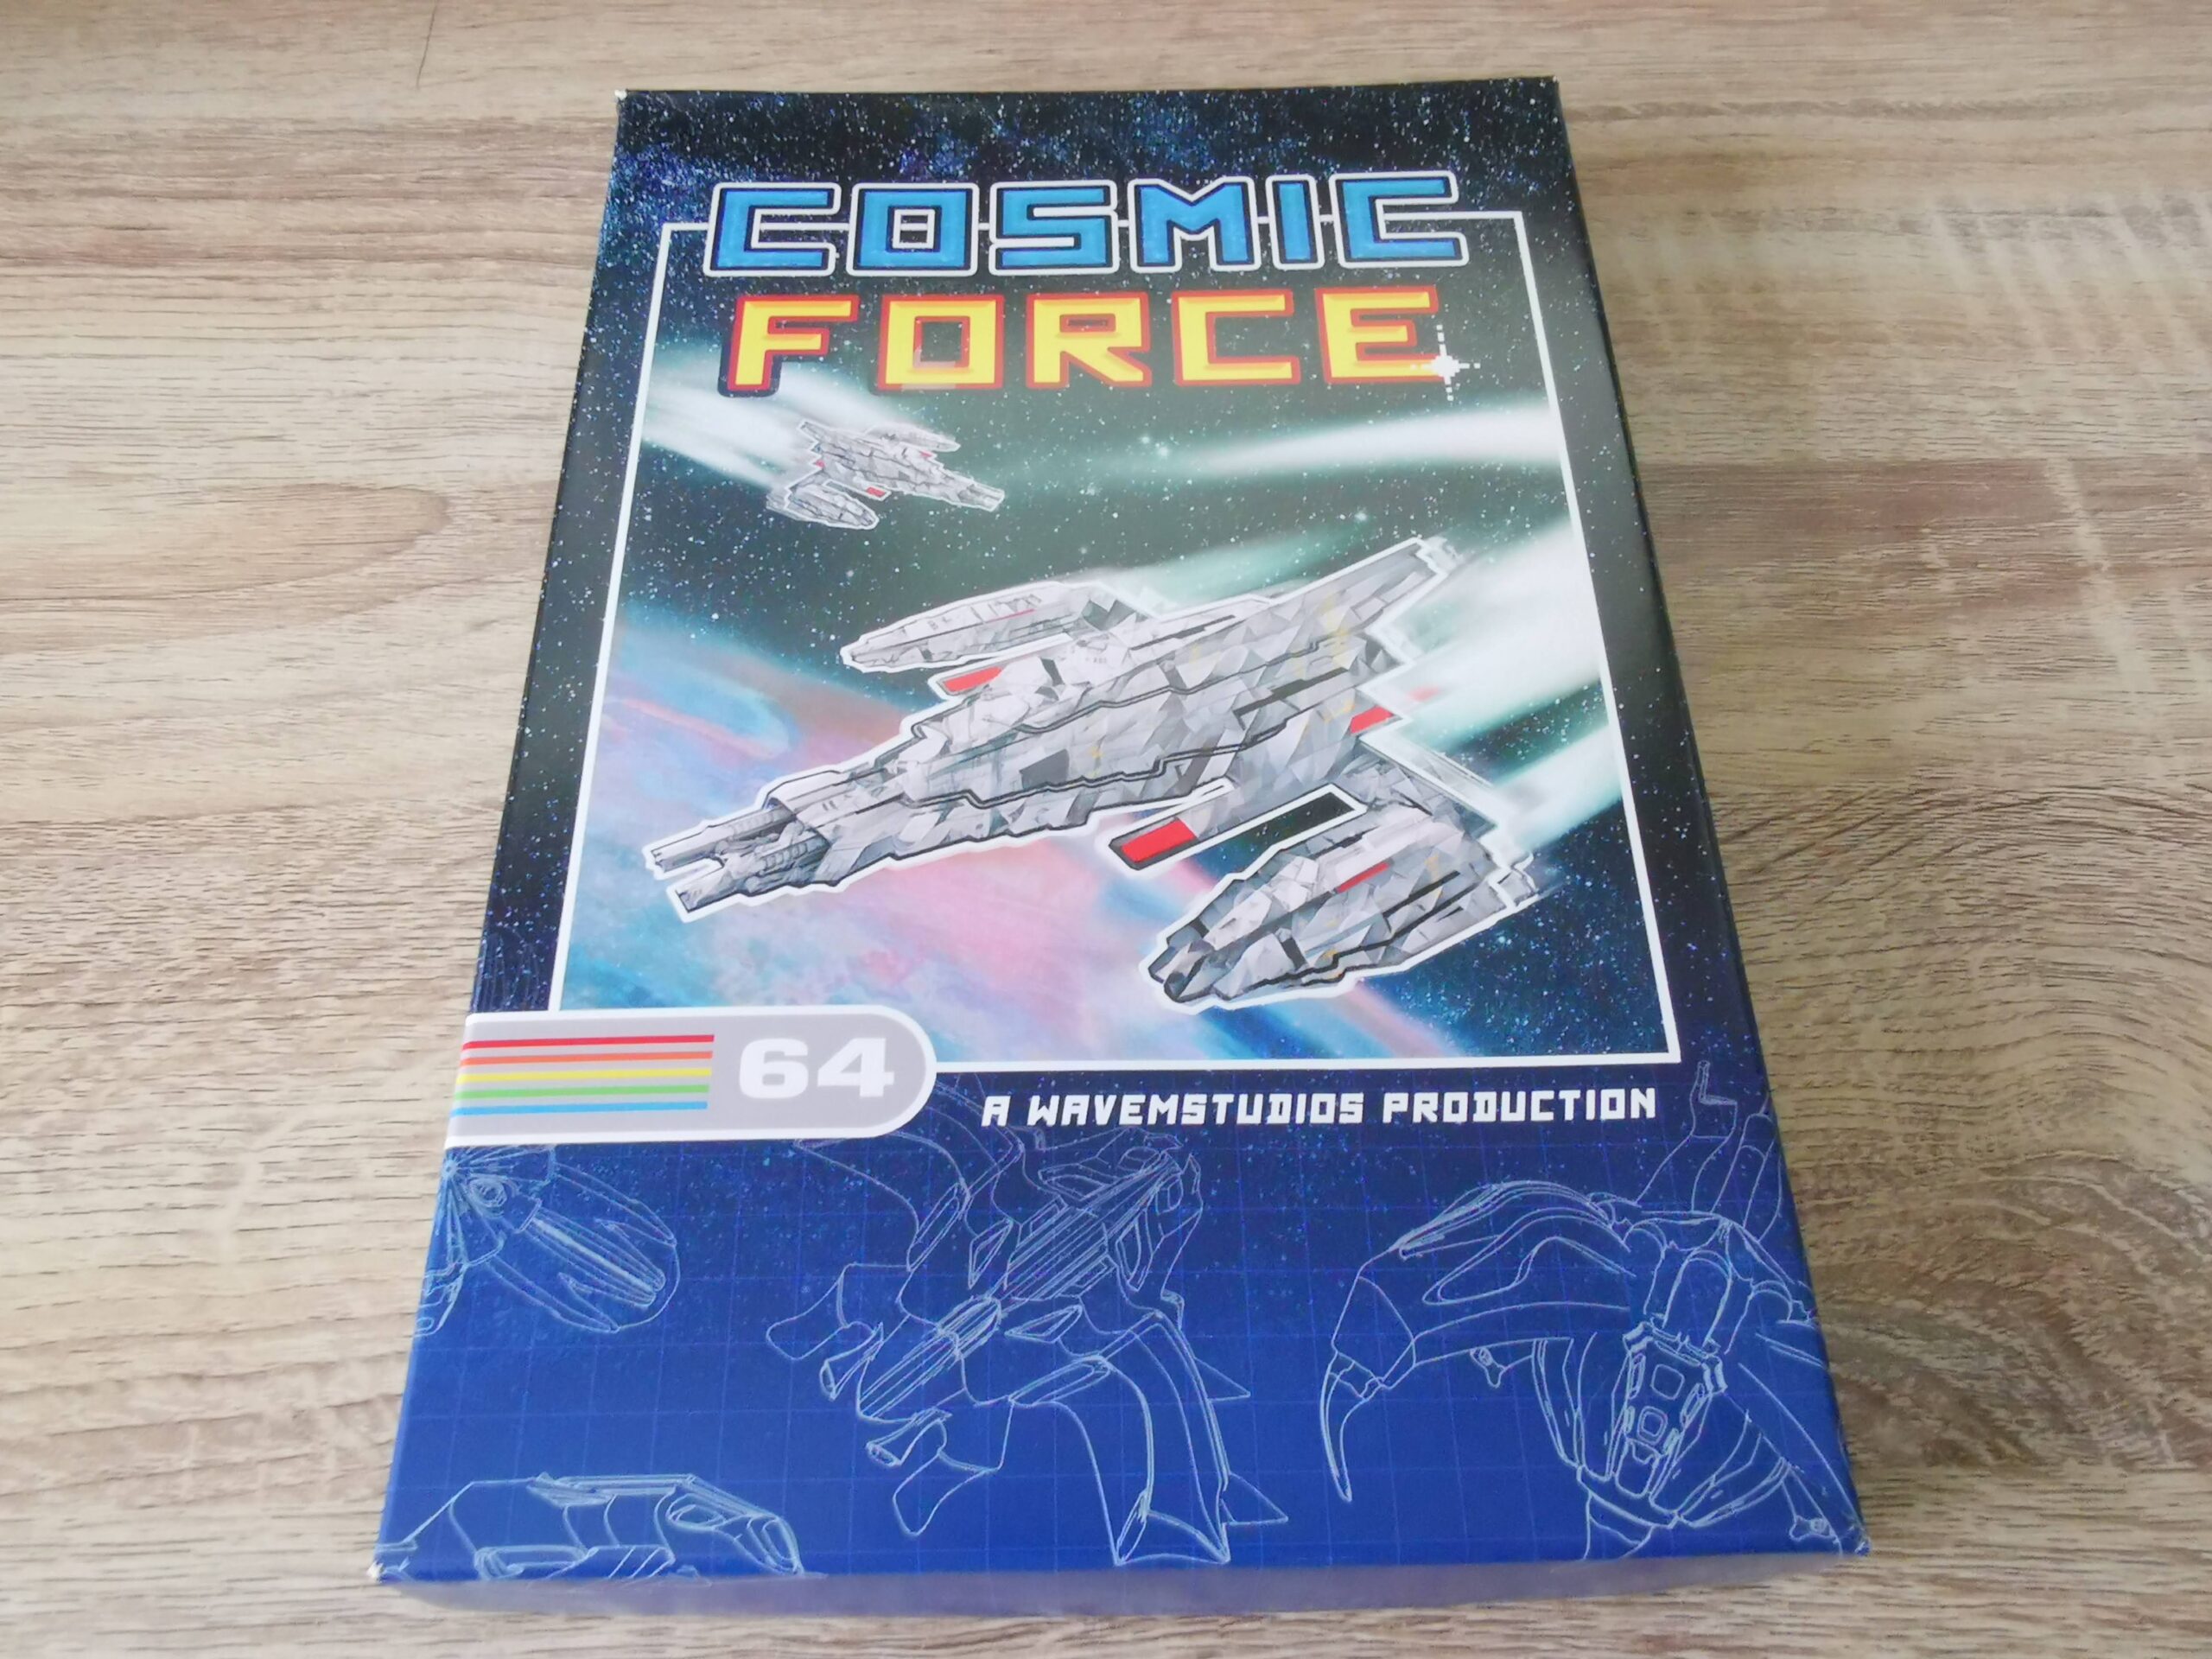
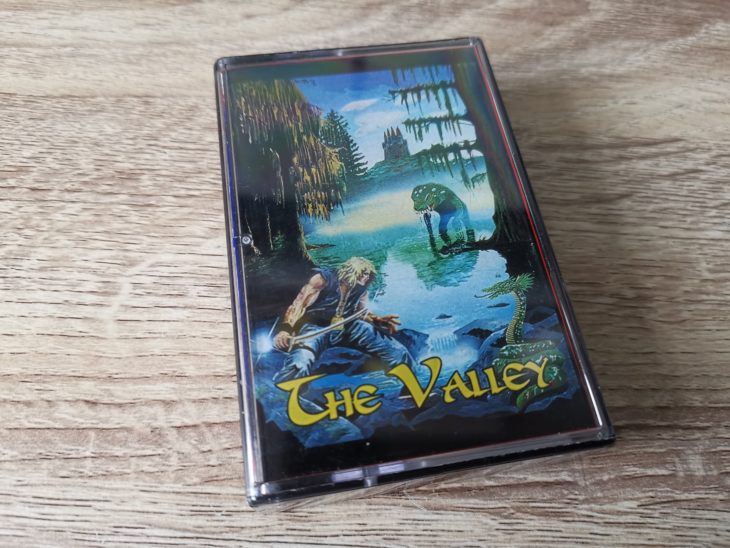
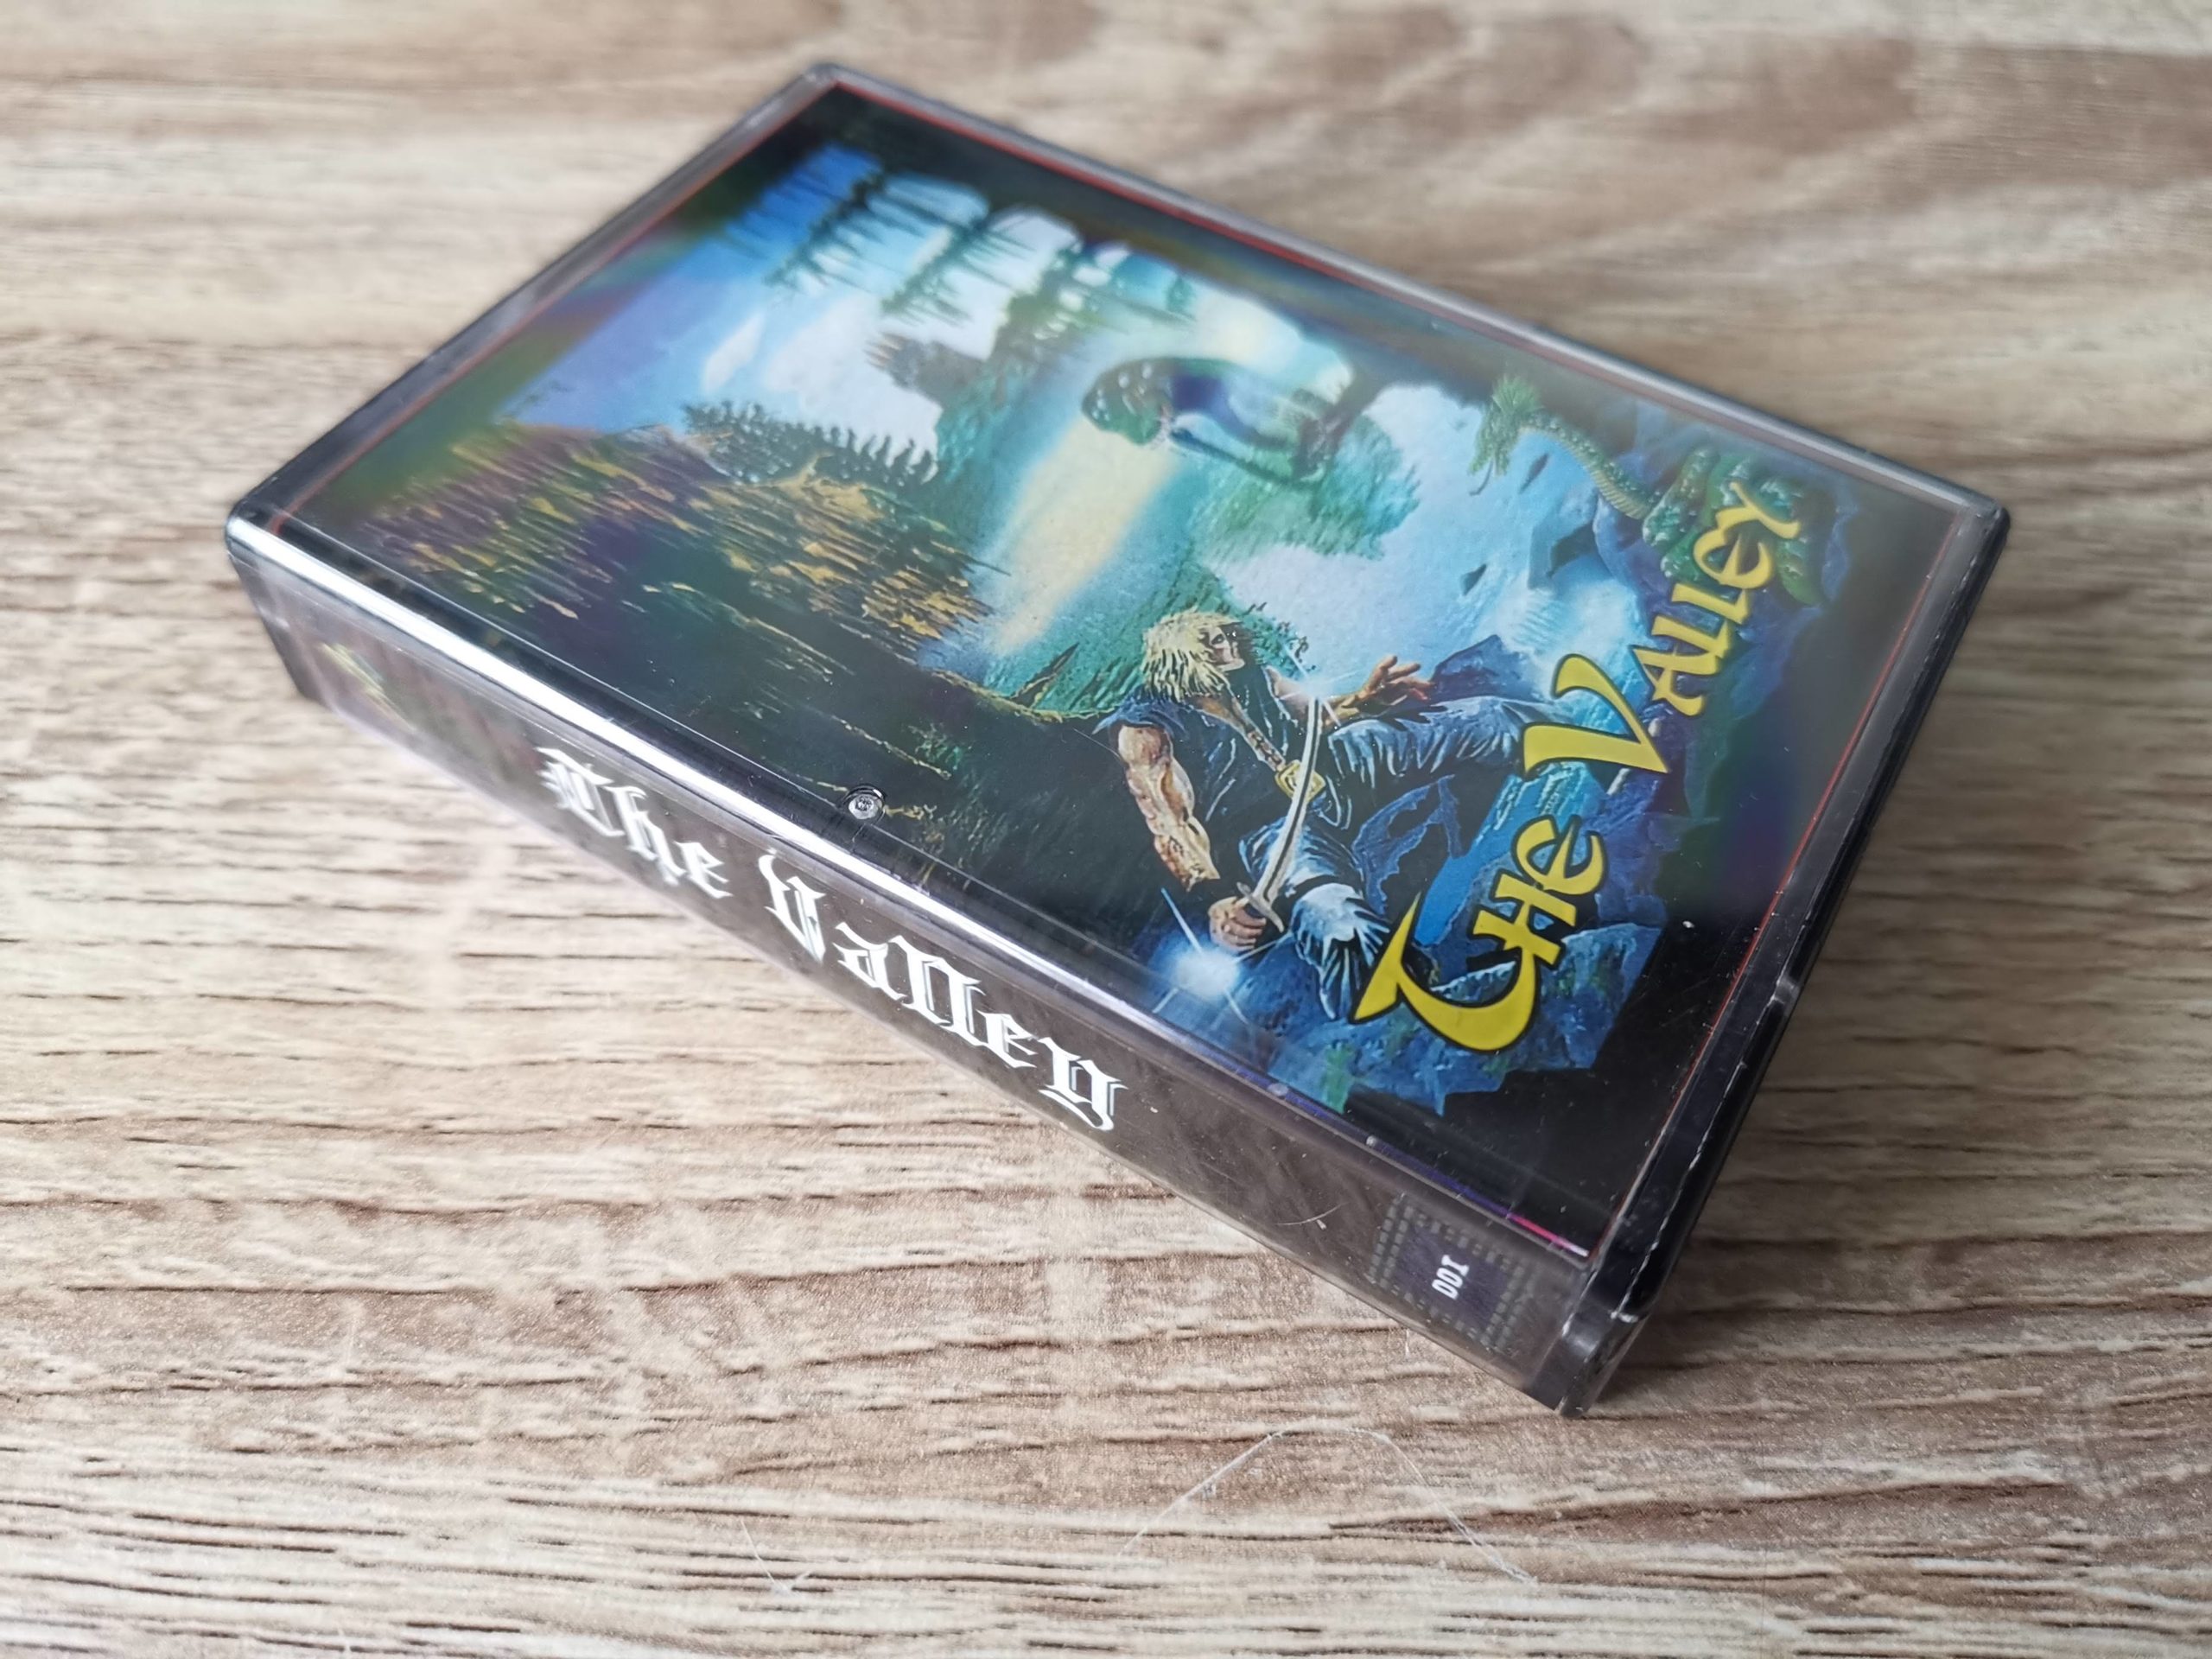
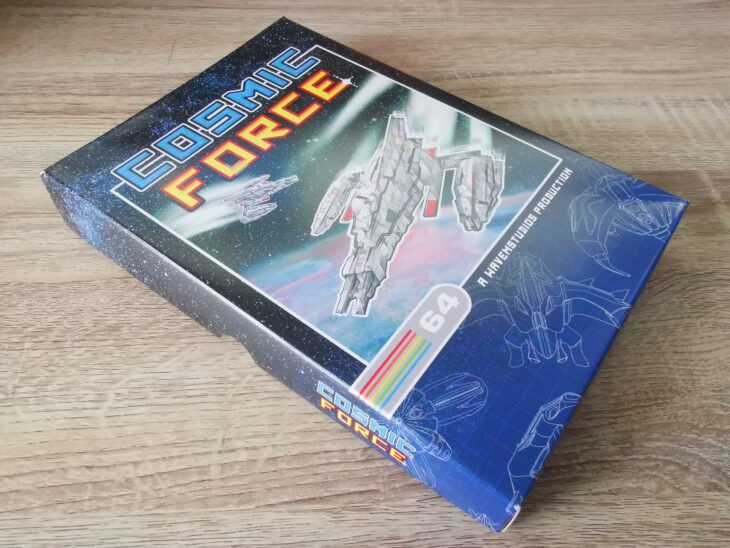
Cosmic Force Box Cover.
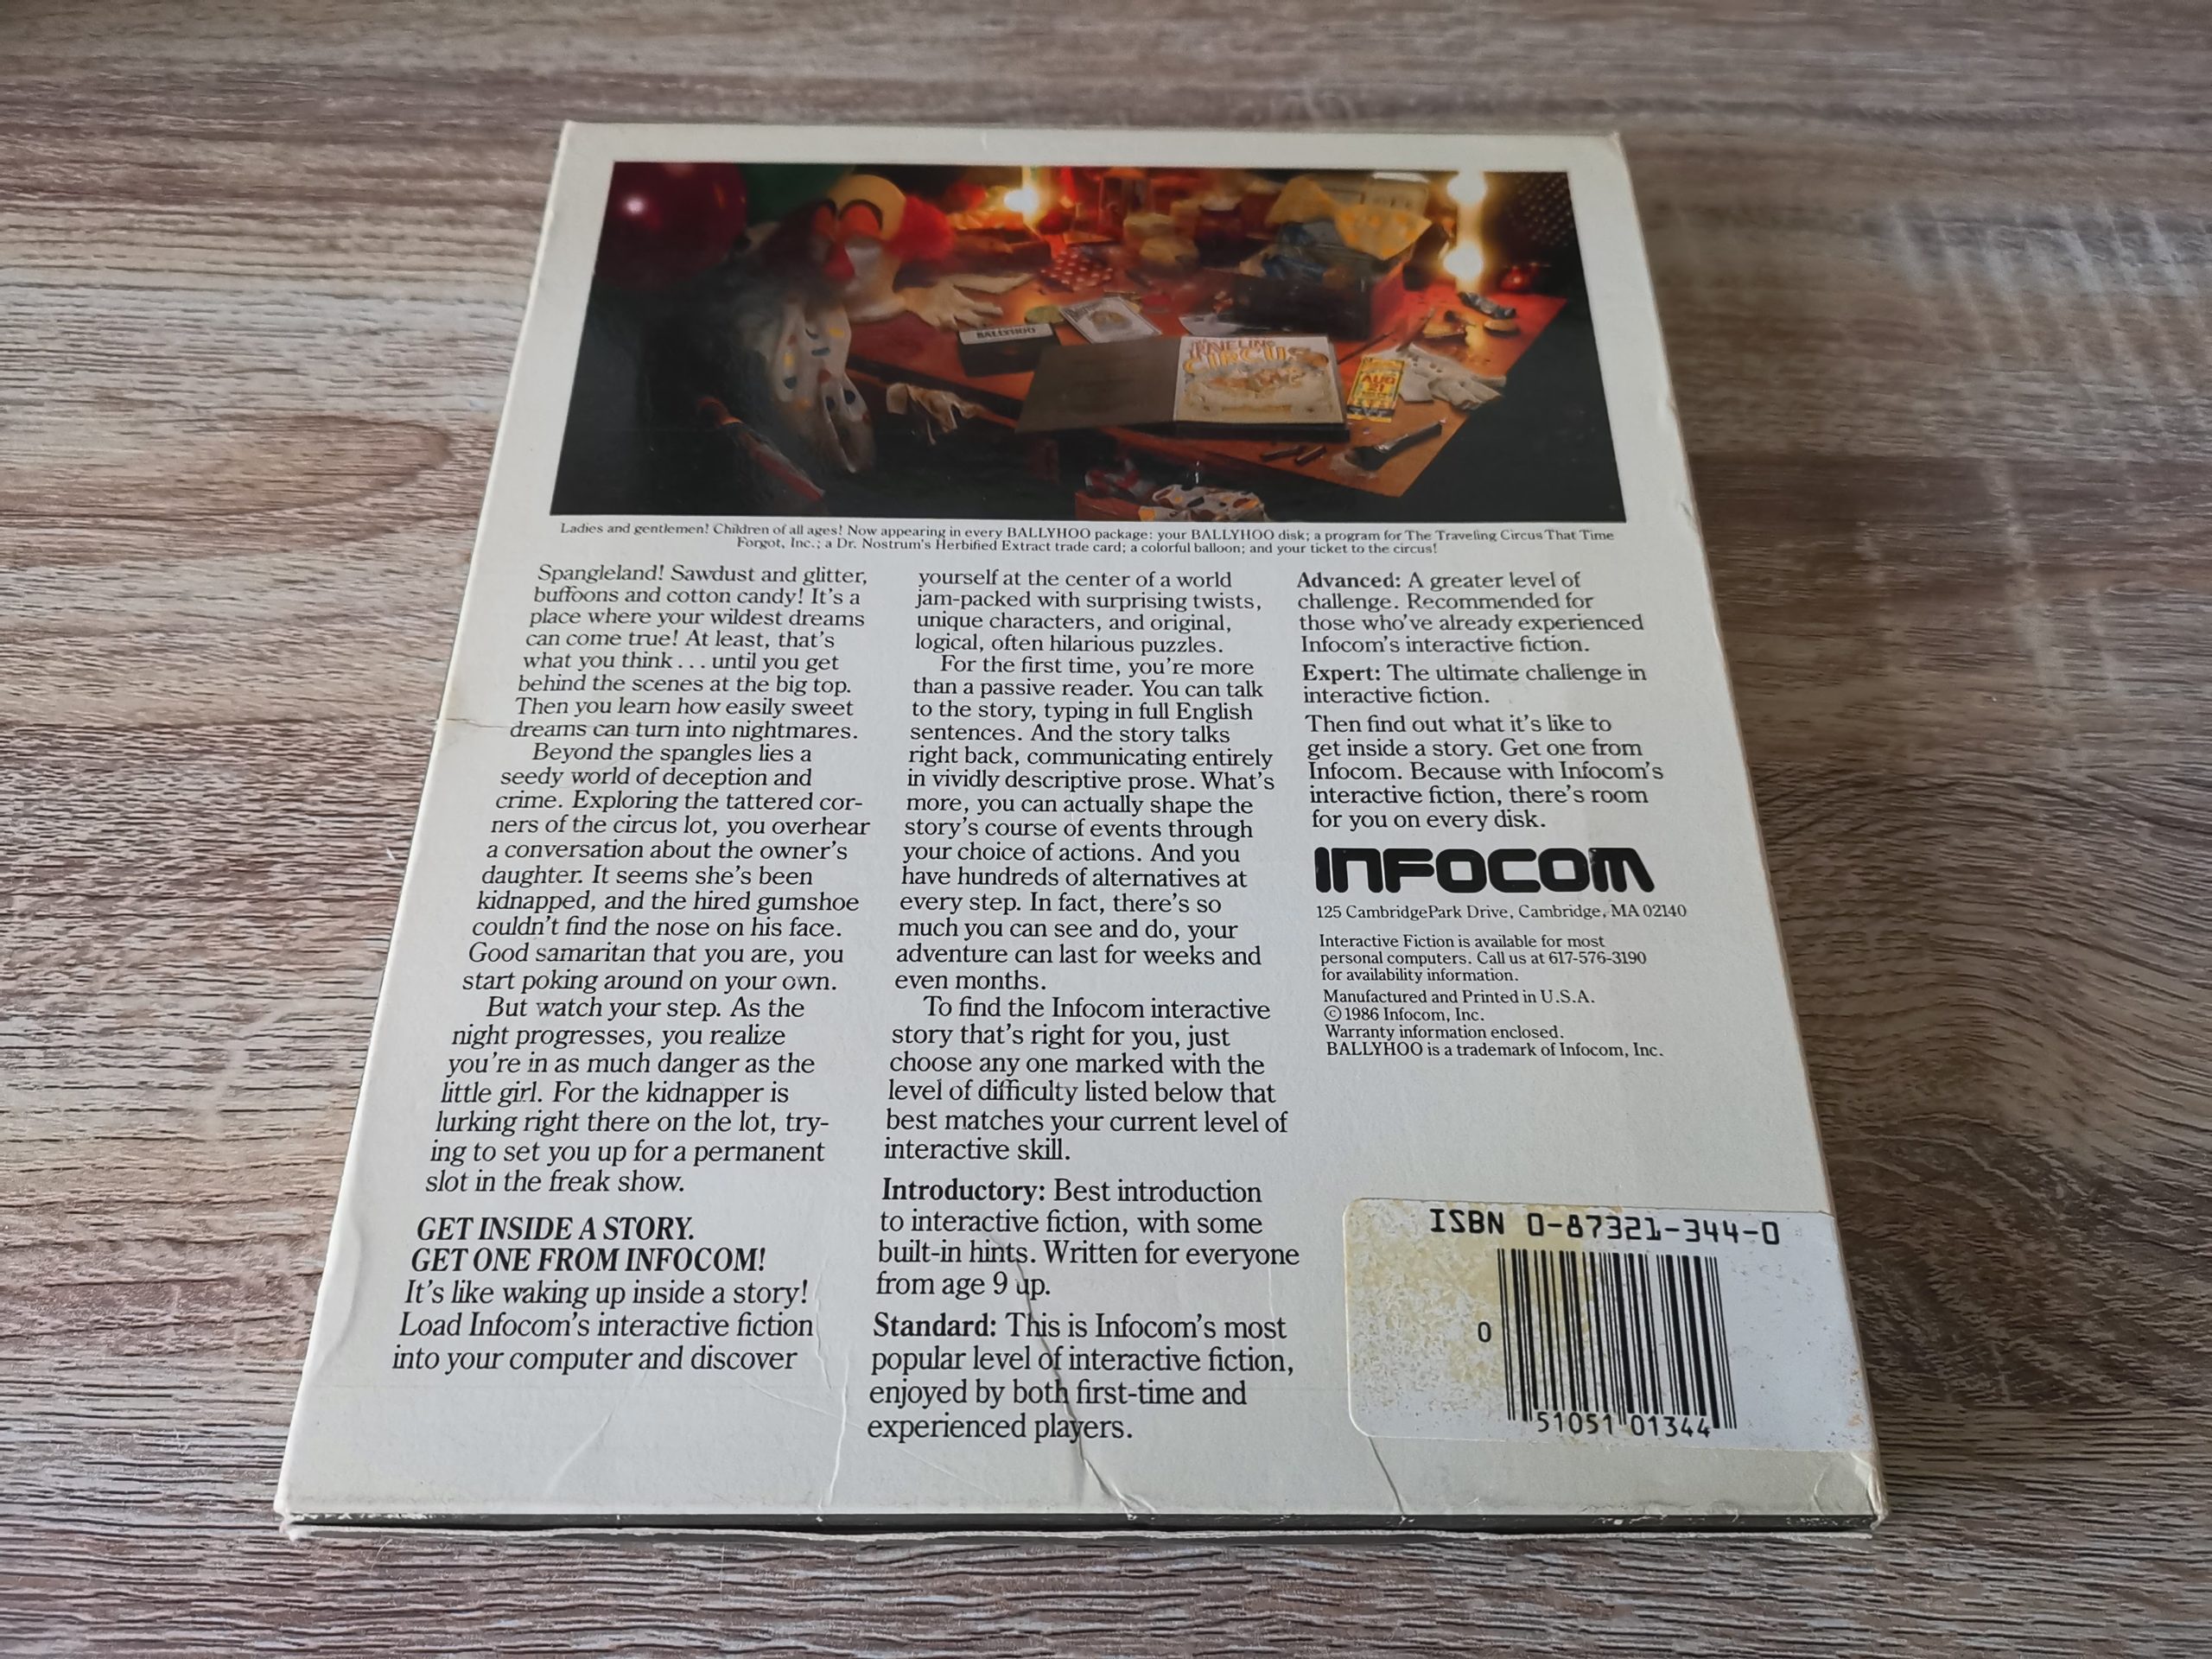
The front box artwork is nicely done featuring your spaceship surrounded by blueprints of what are presumably enemy spacecraft. The back of the box shows a few screenshots of the game along with a description of the gameplay elements you will encounter.

Back of the Cosmic Force box.
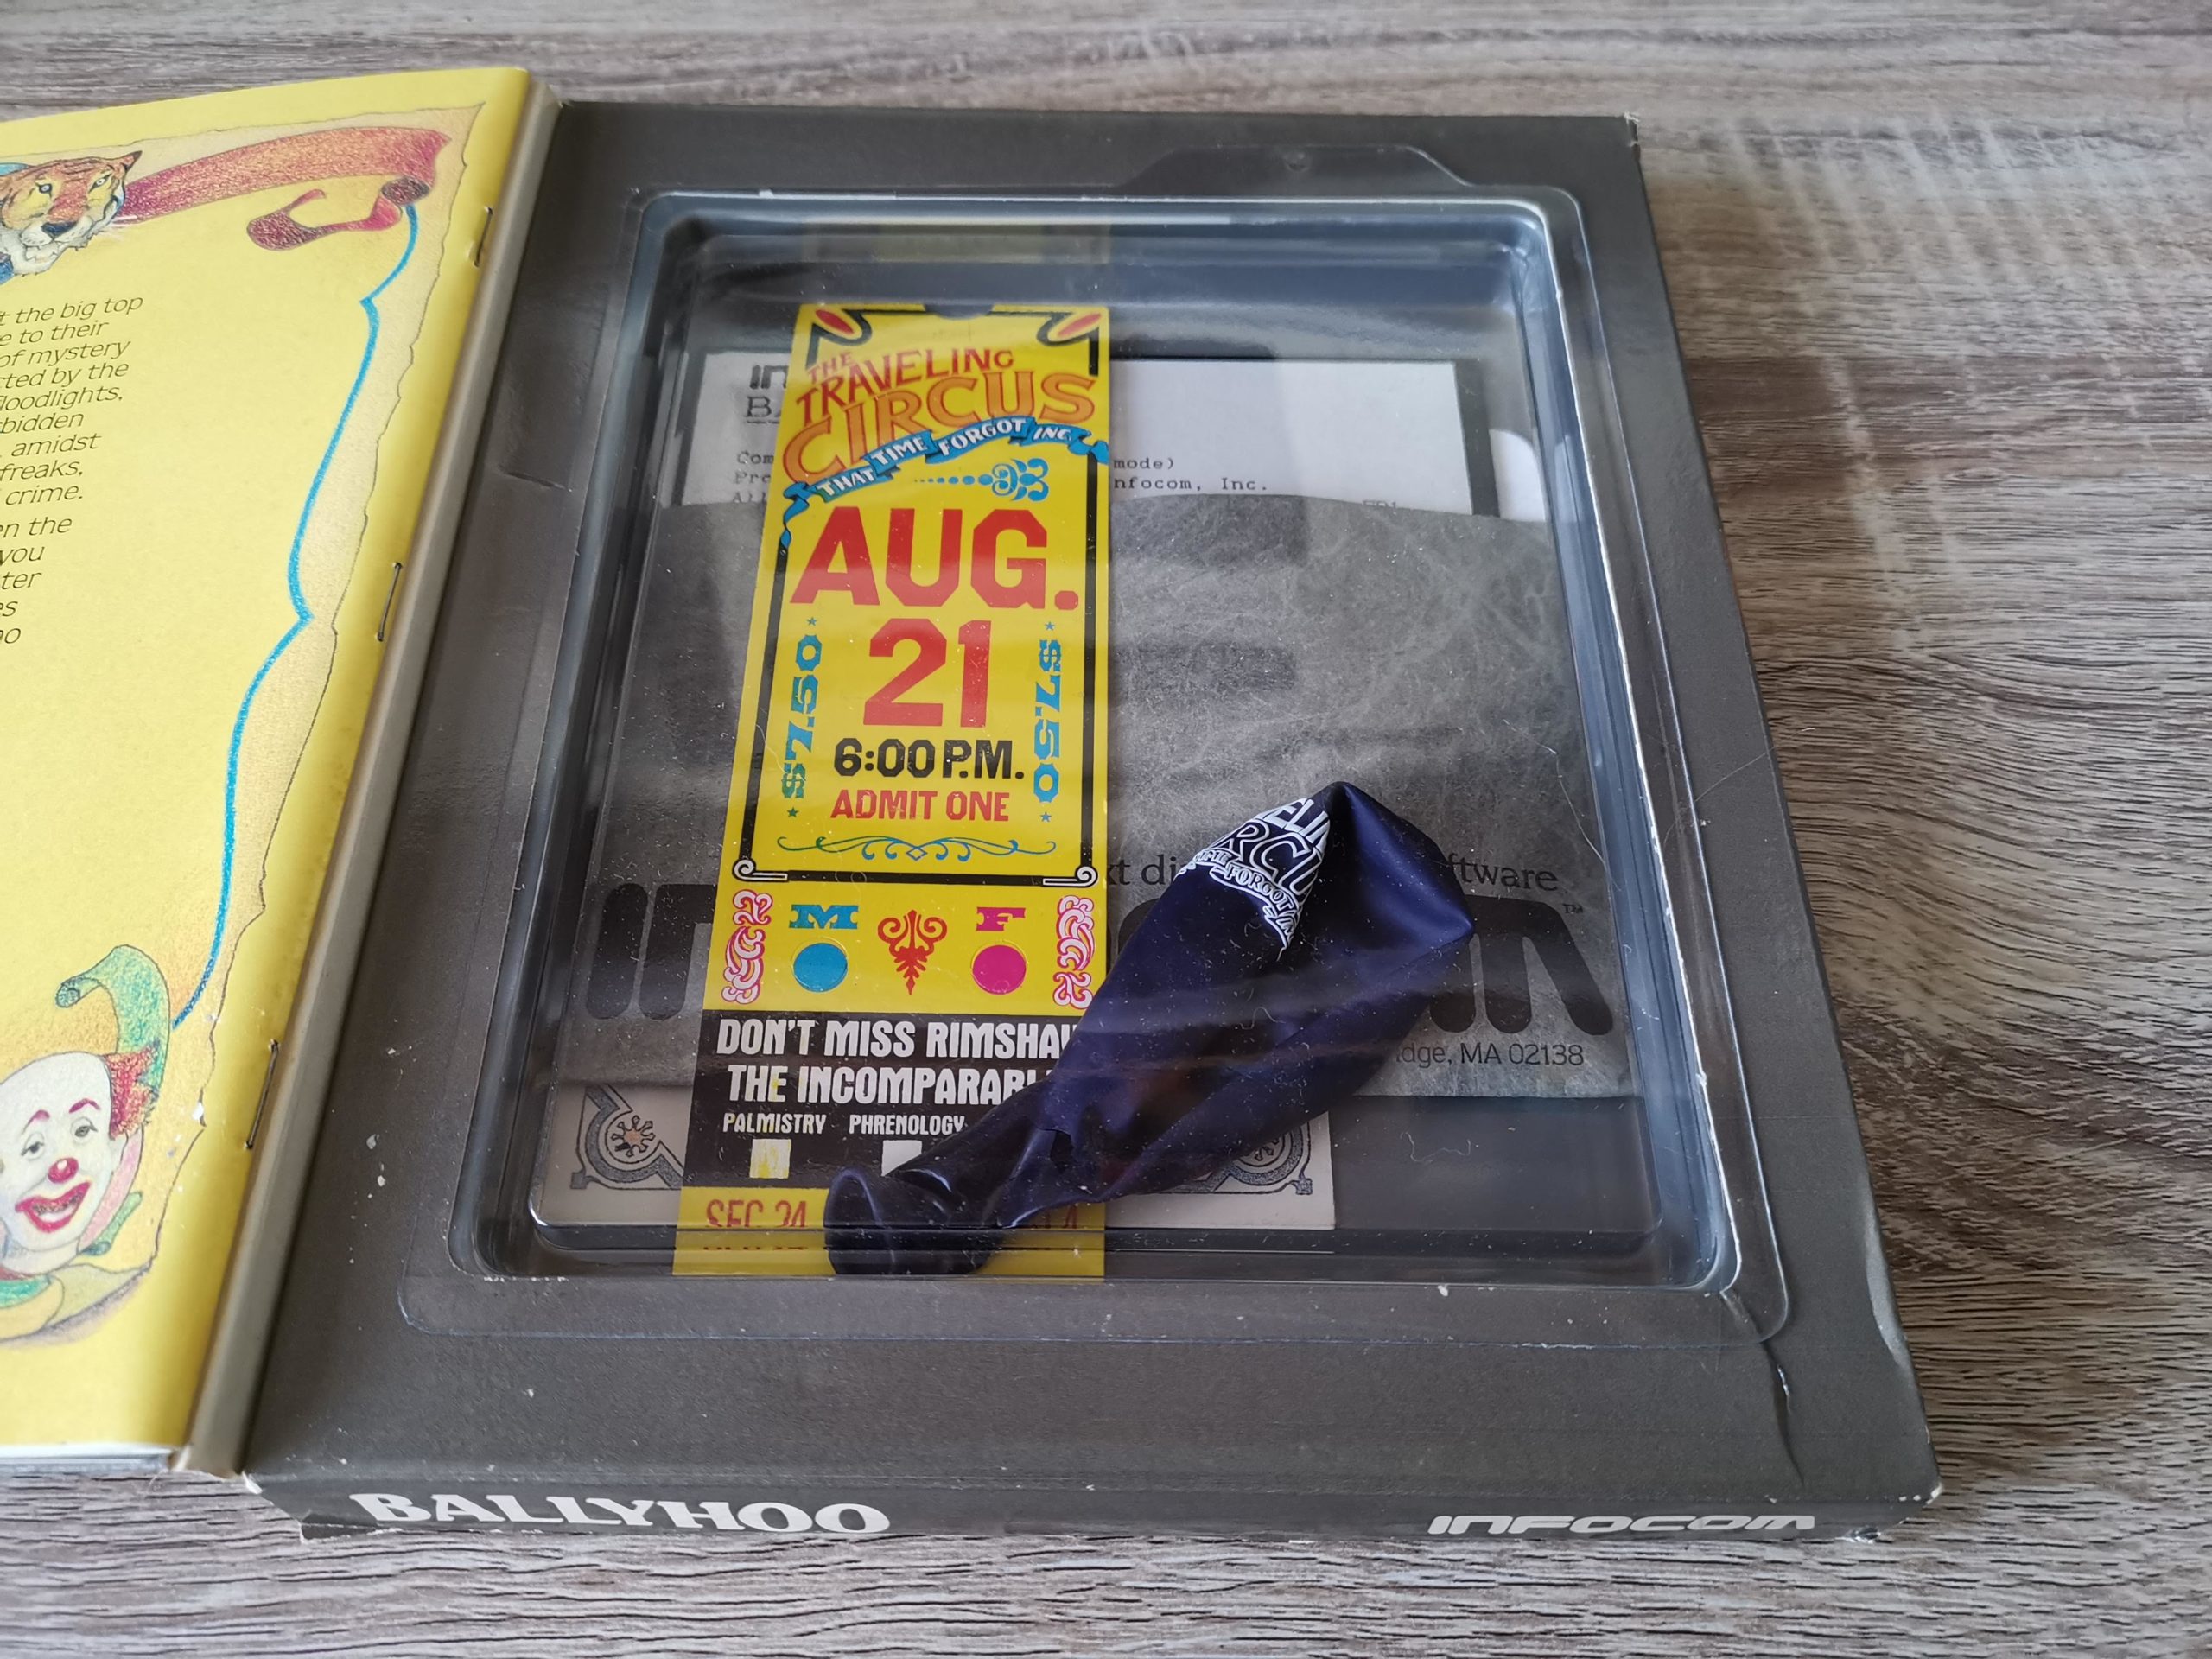
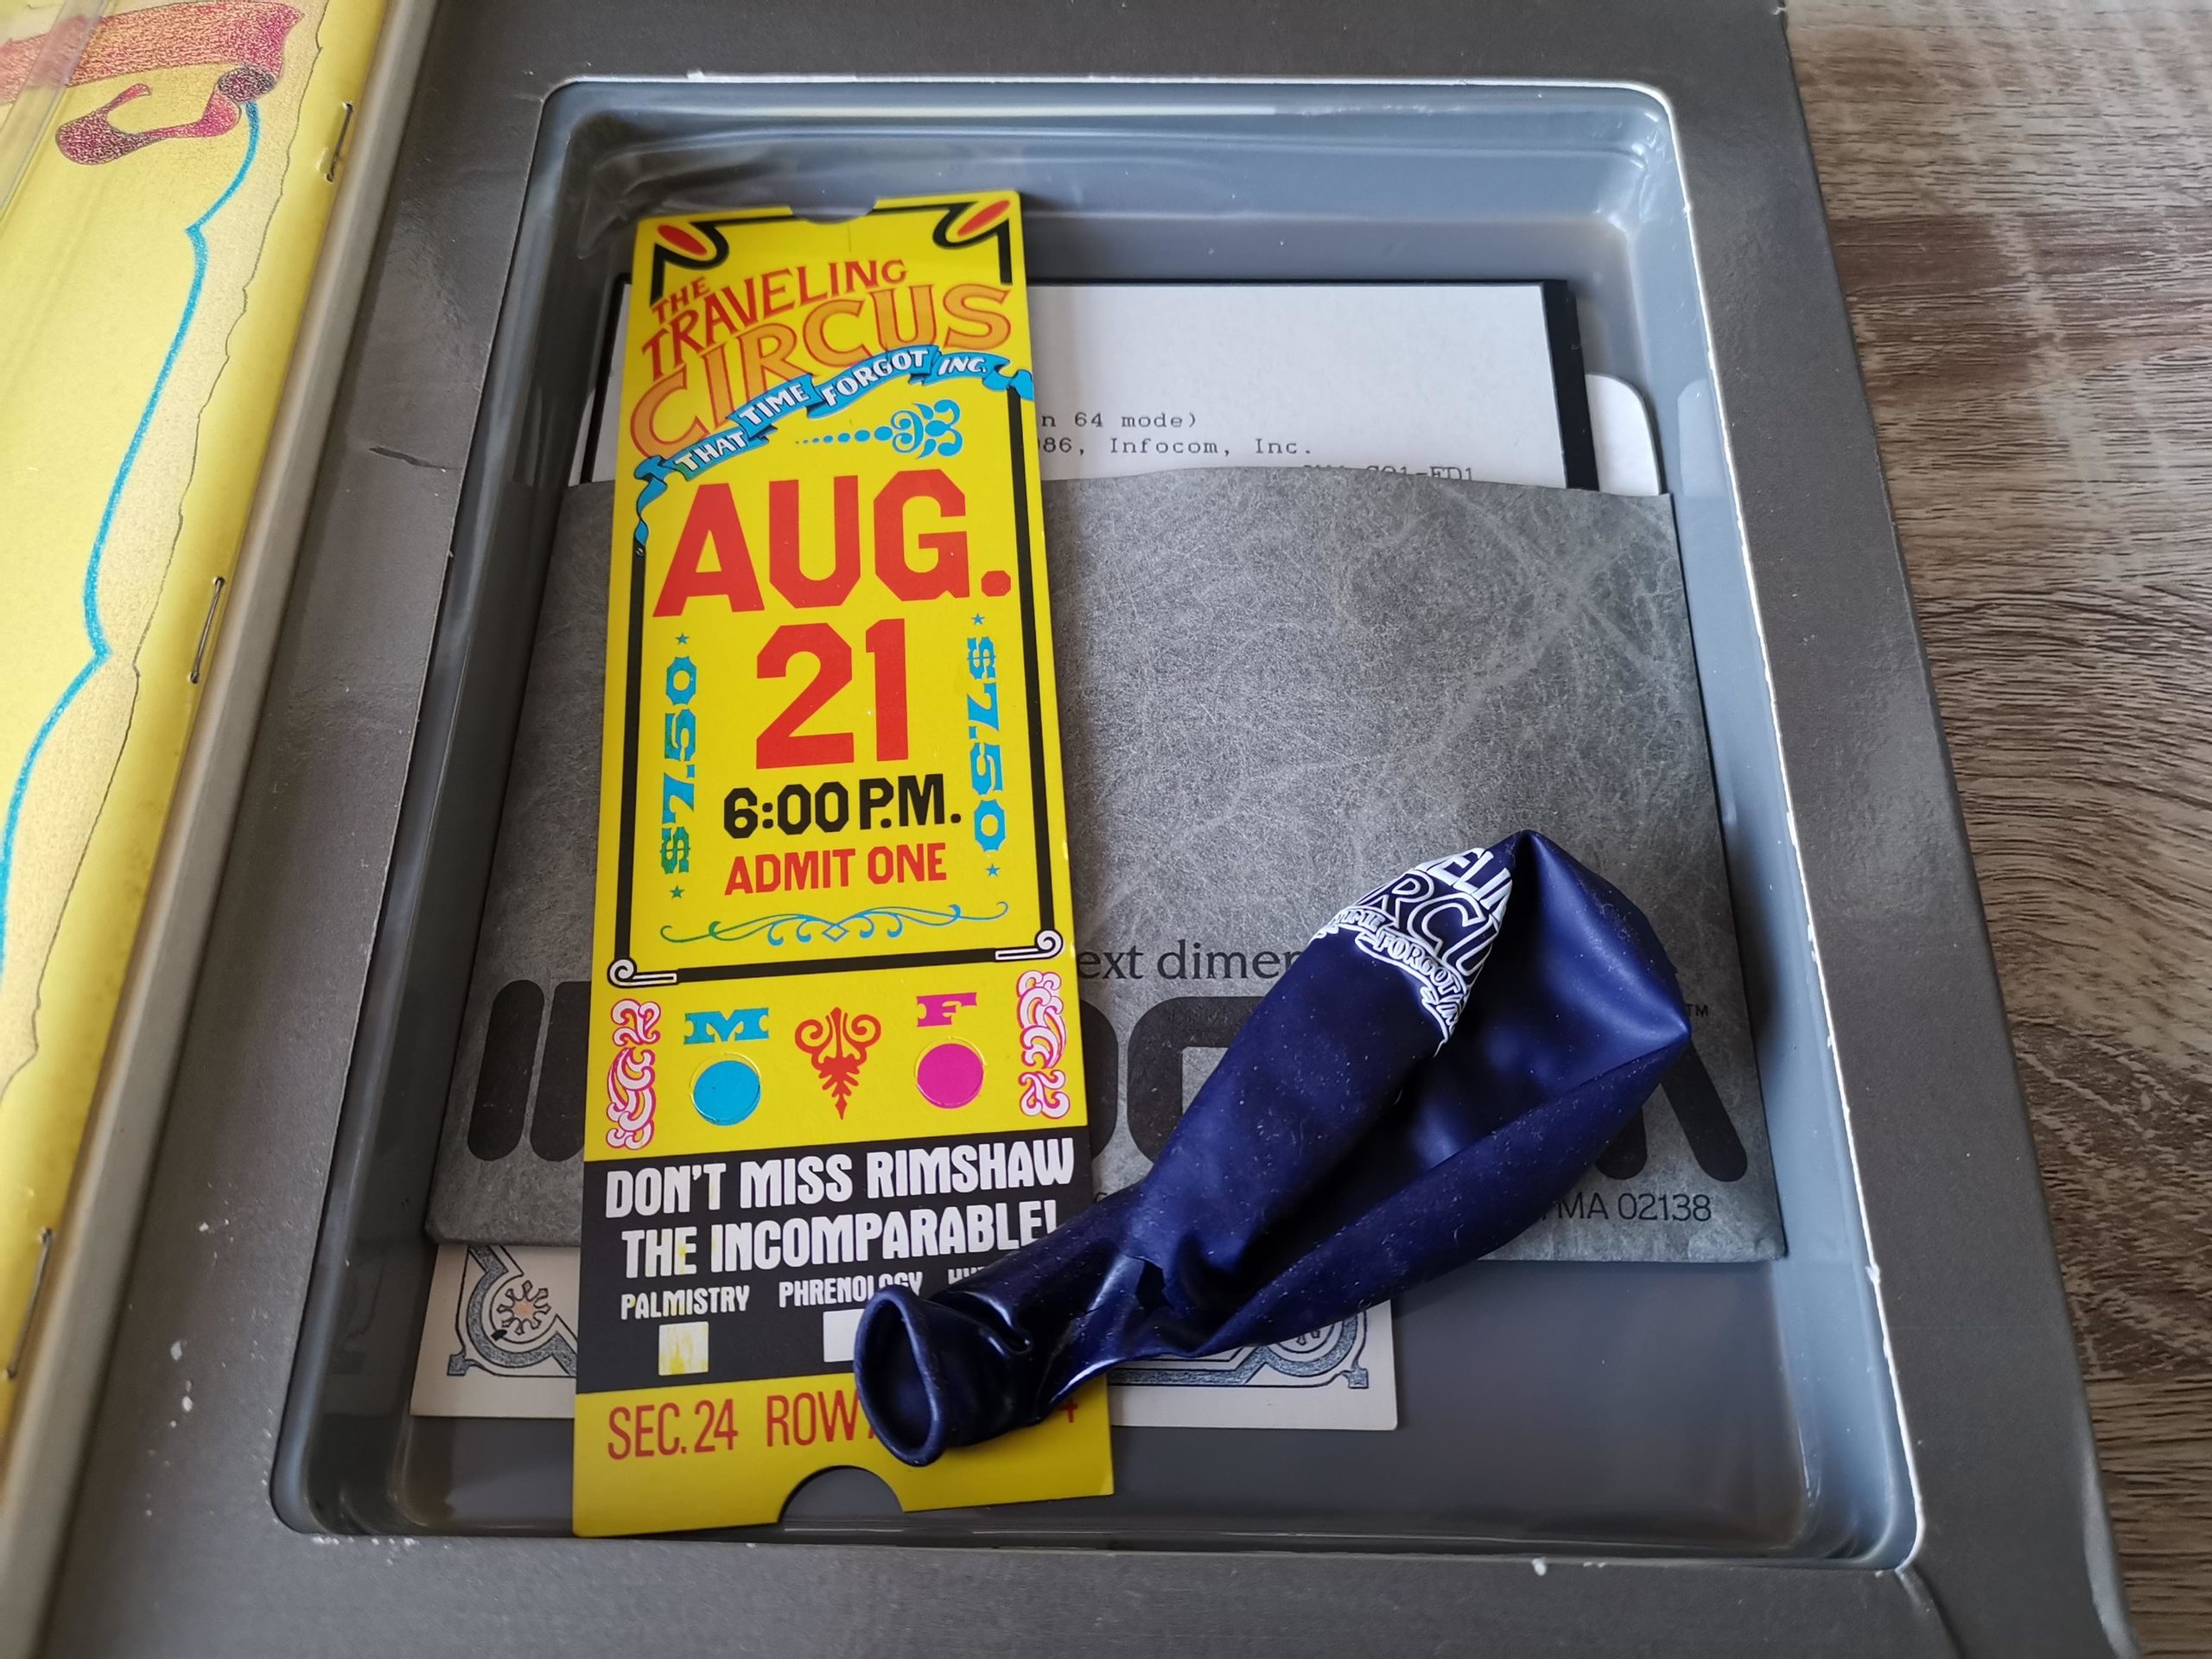
Opening up the box reveals a number of physical goodies that enhance ownership of the game, harking back to a time when this sort of thing was commonplace.
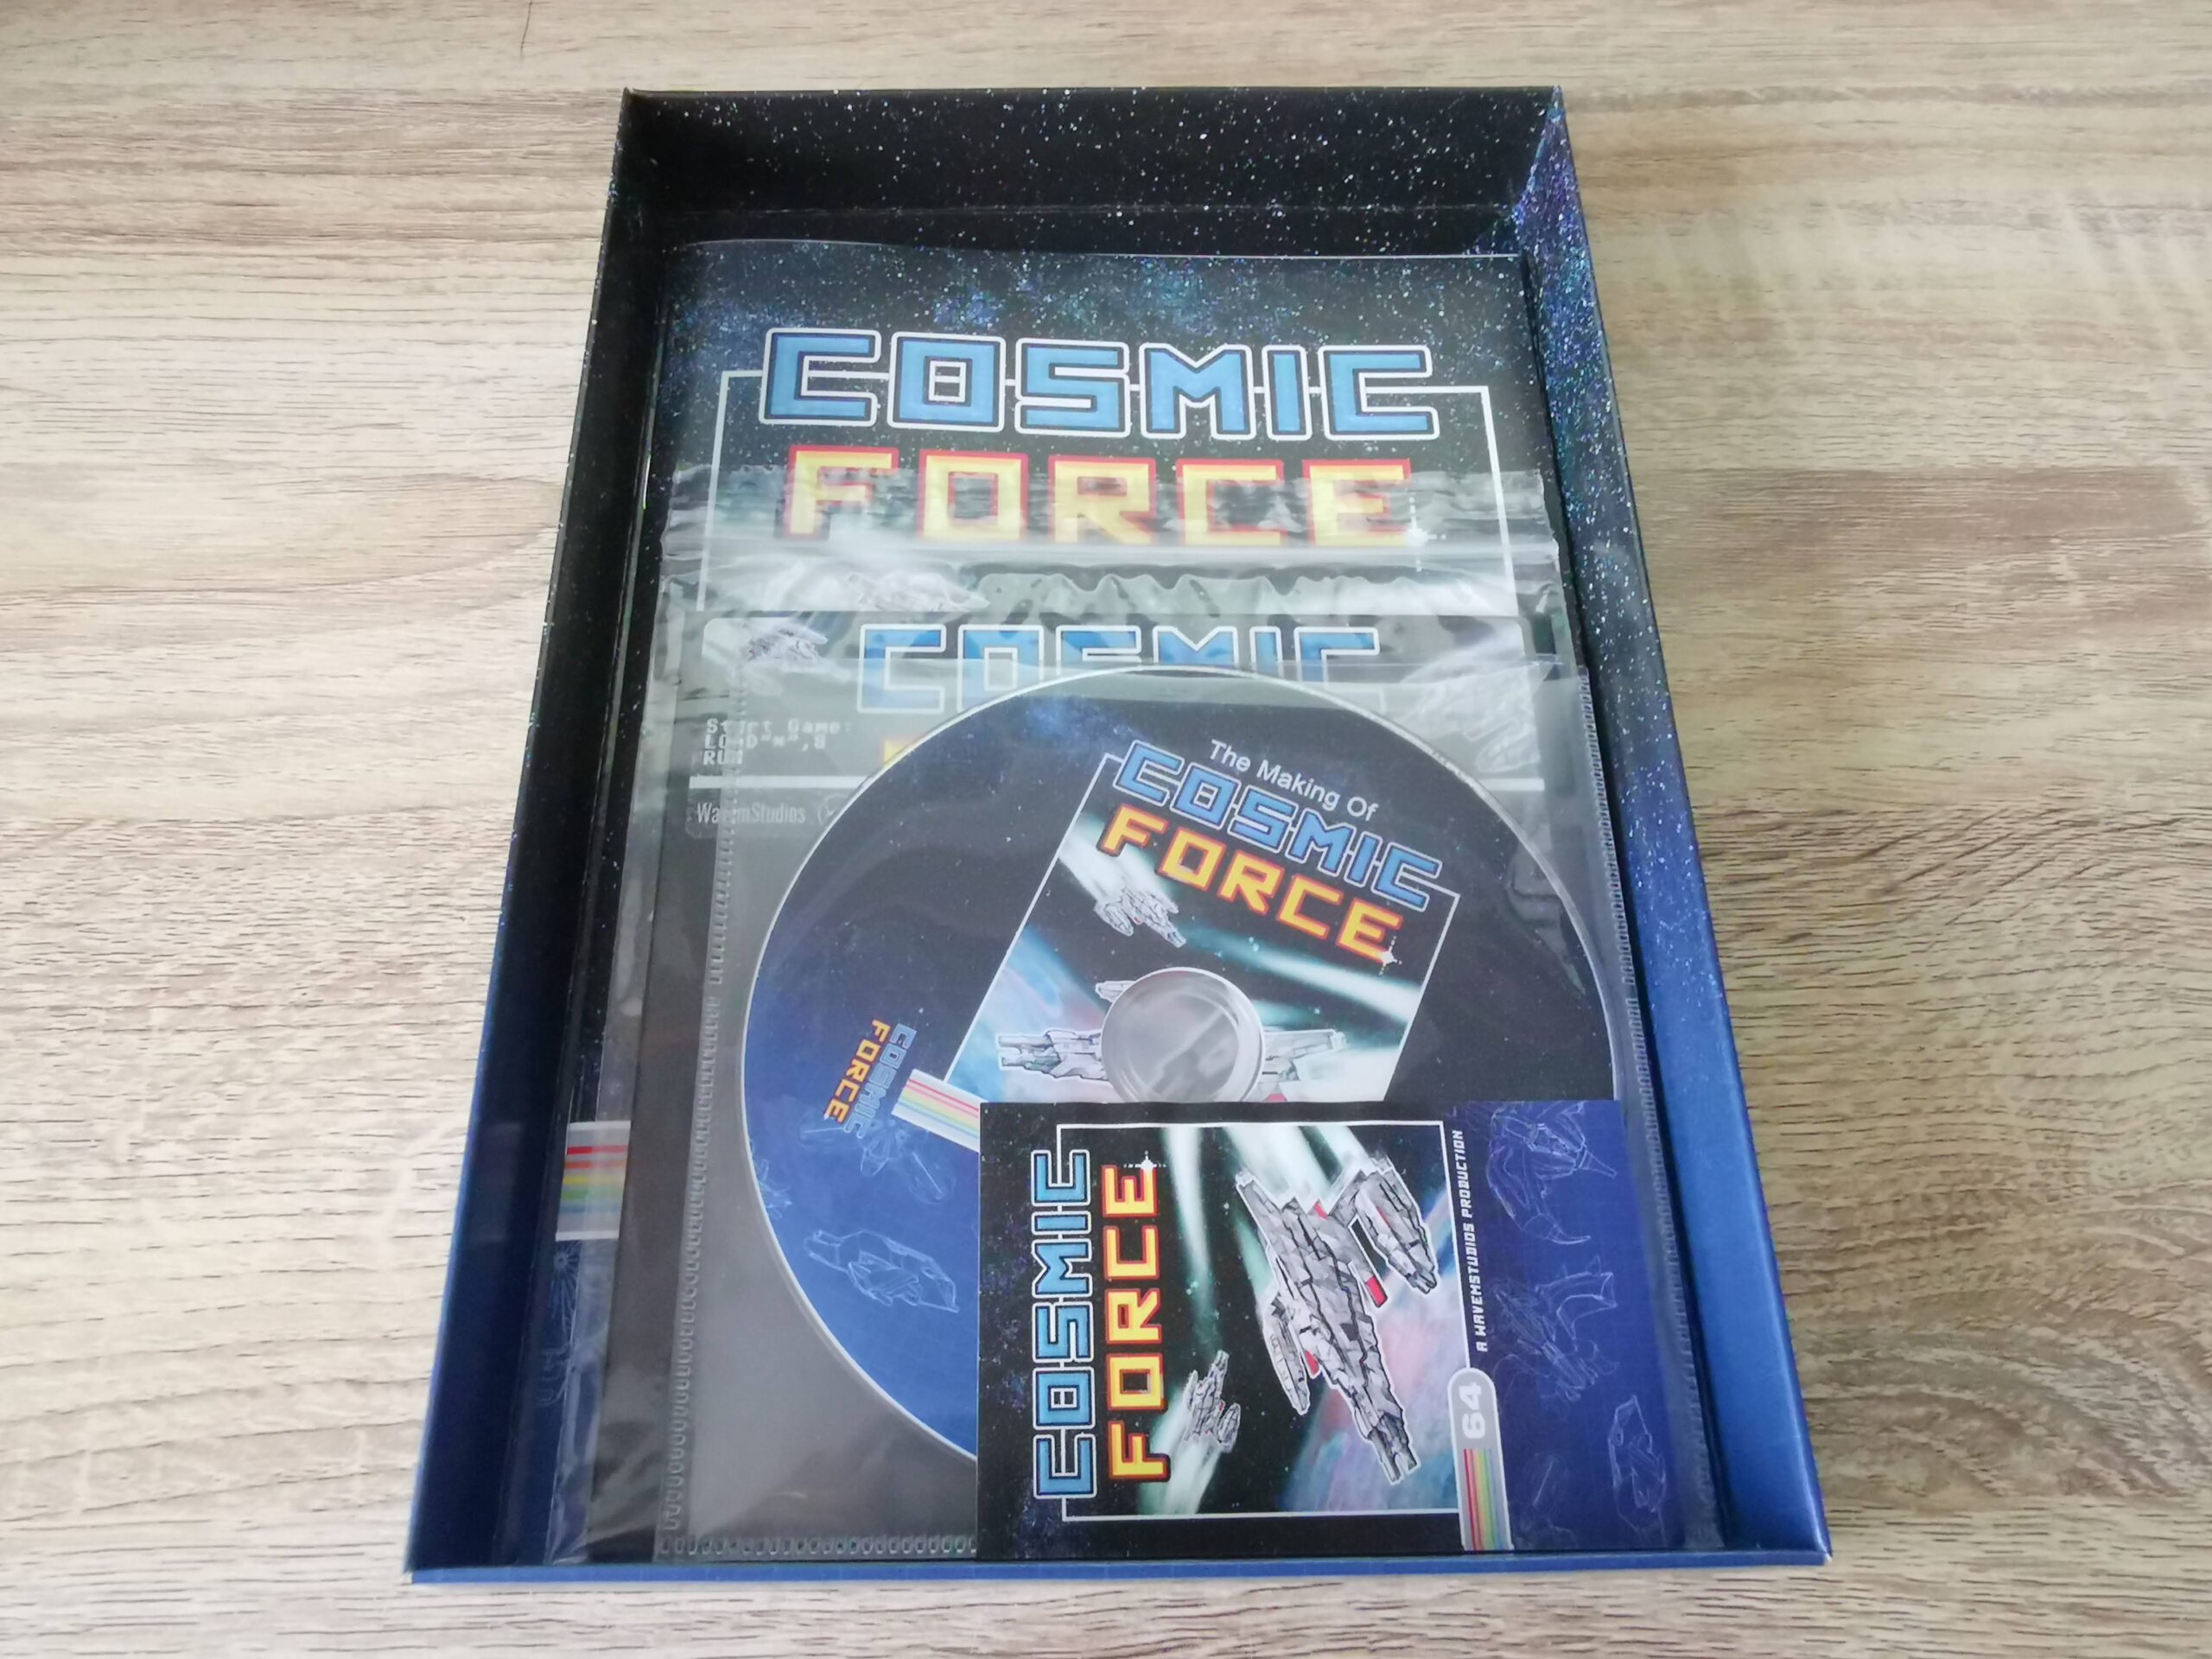
Cosmic Force Box Contents
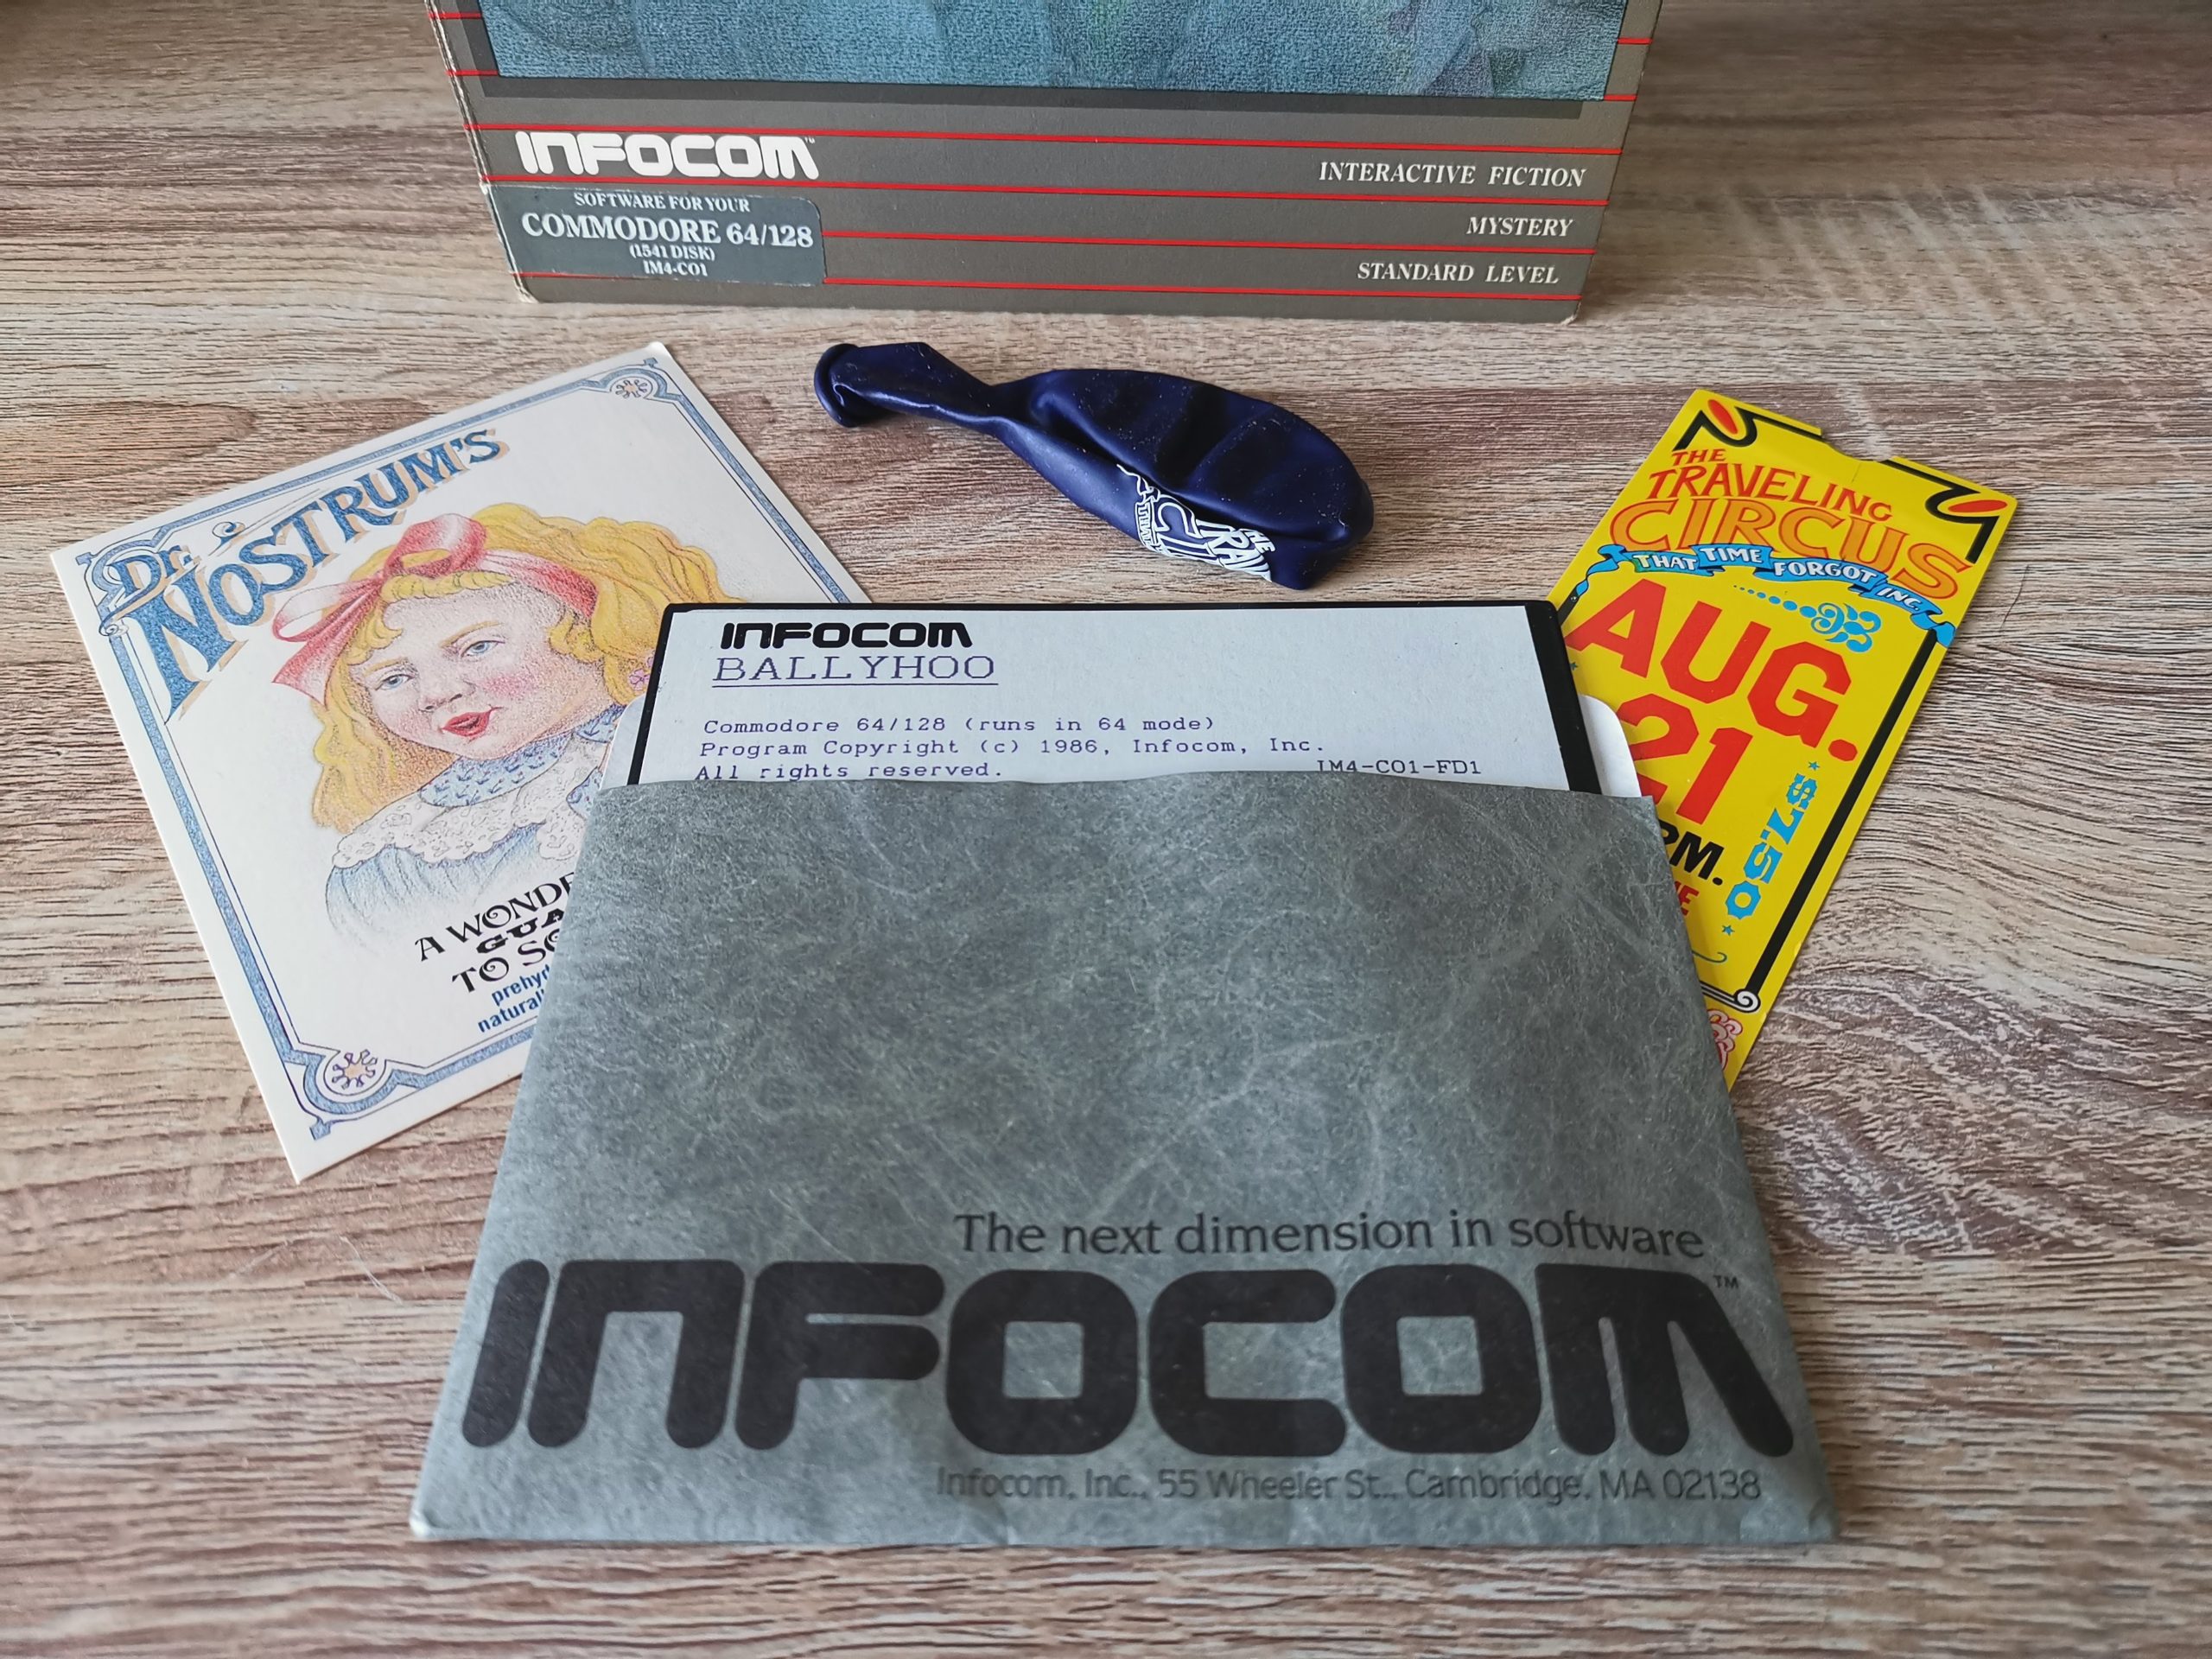
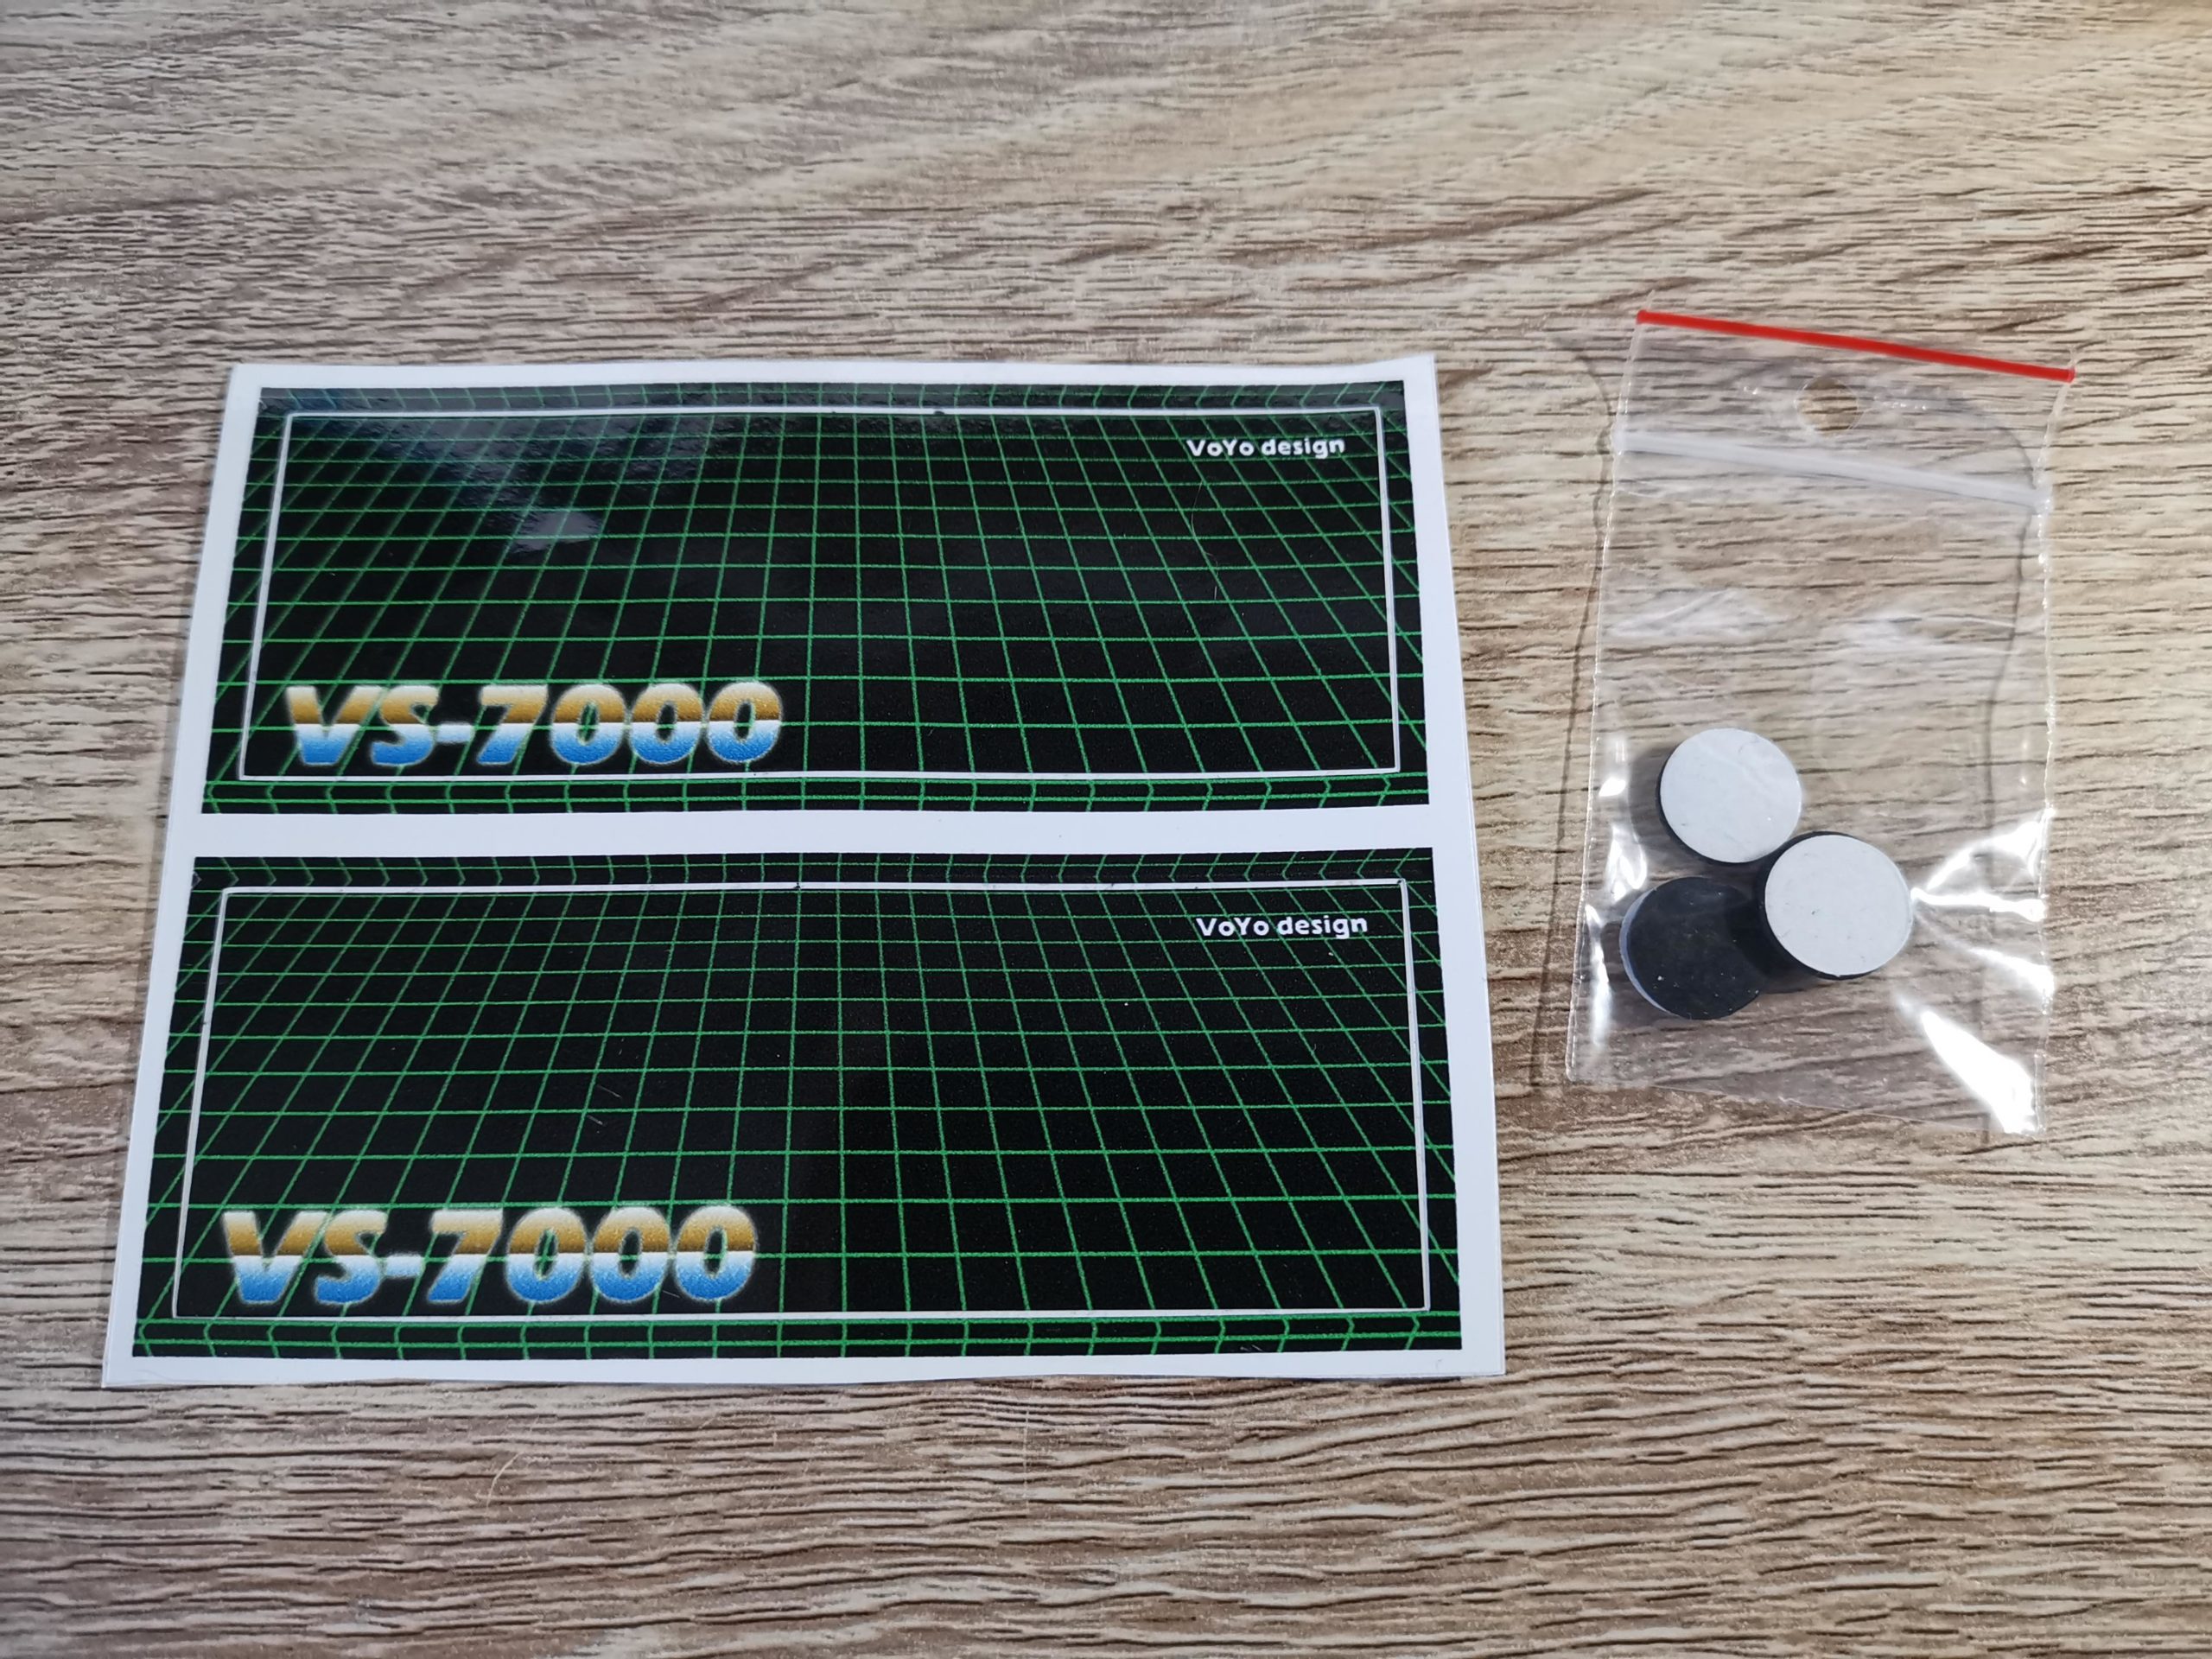
Included inside is a Blu-ray ‘making of’ documentary, a Cosmic Force sticker plus the game on a 5.25″ floppy disk along with a paper jacket to store the disc in.
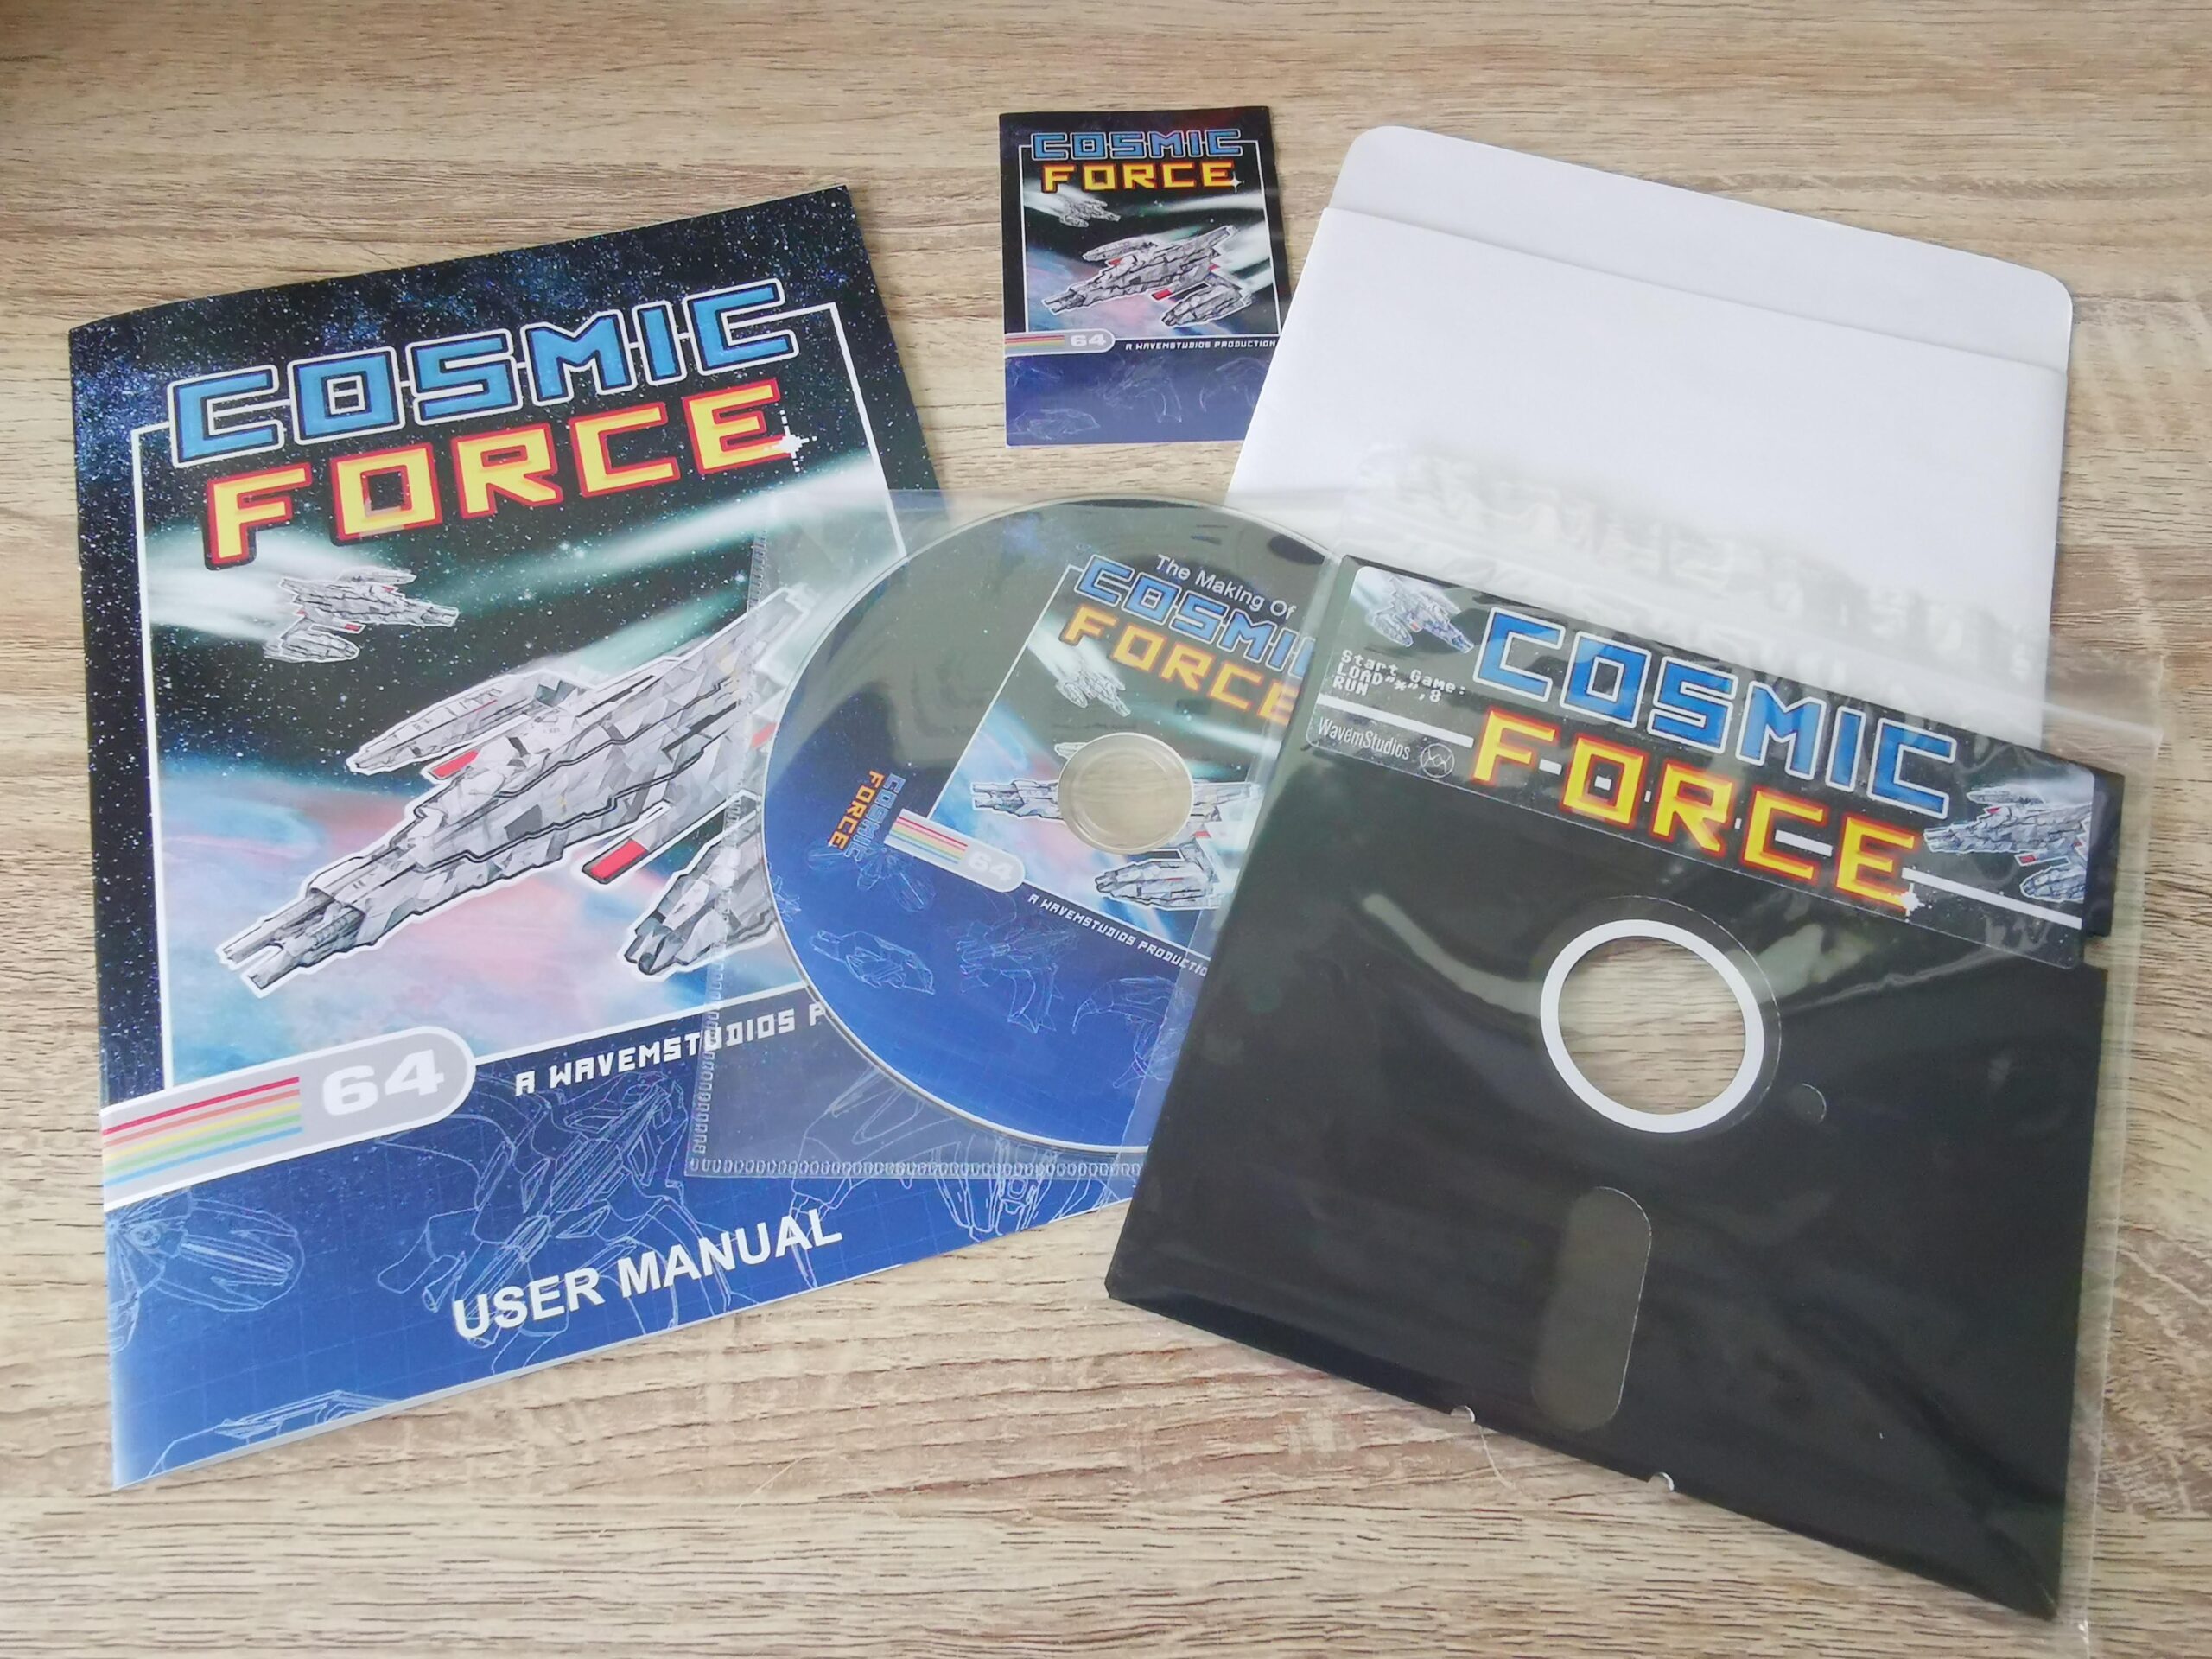
Goodies laid out.
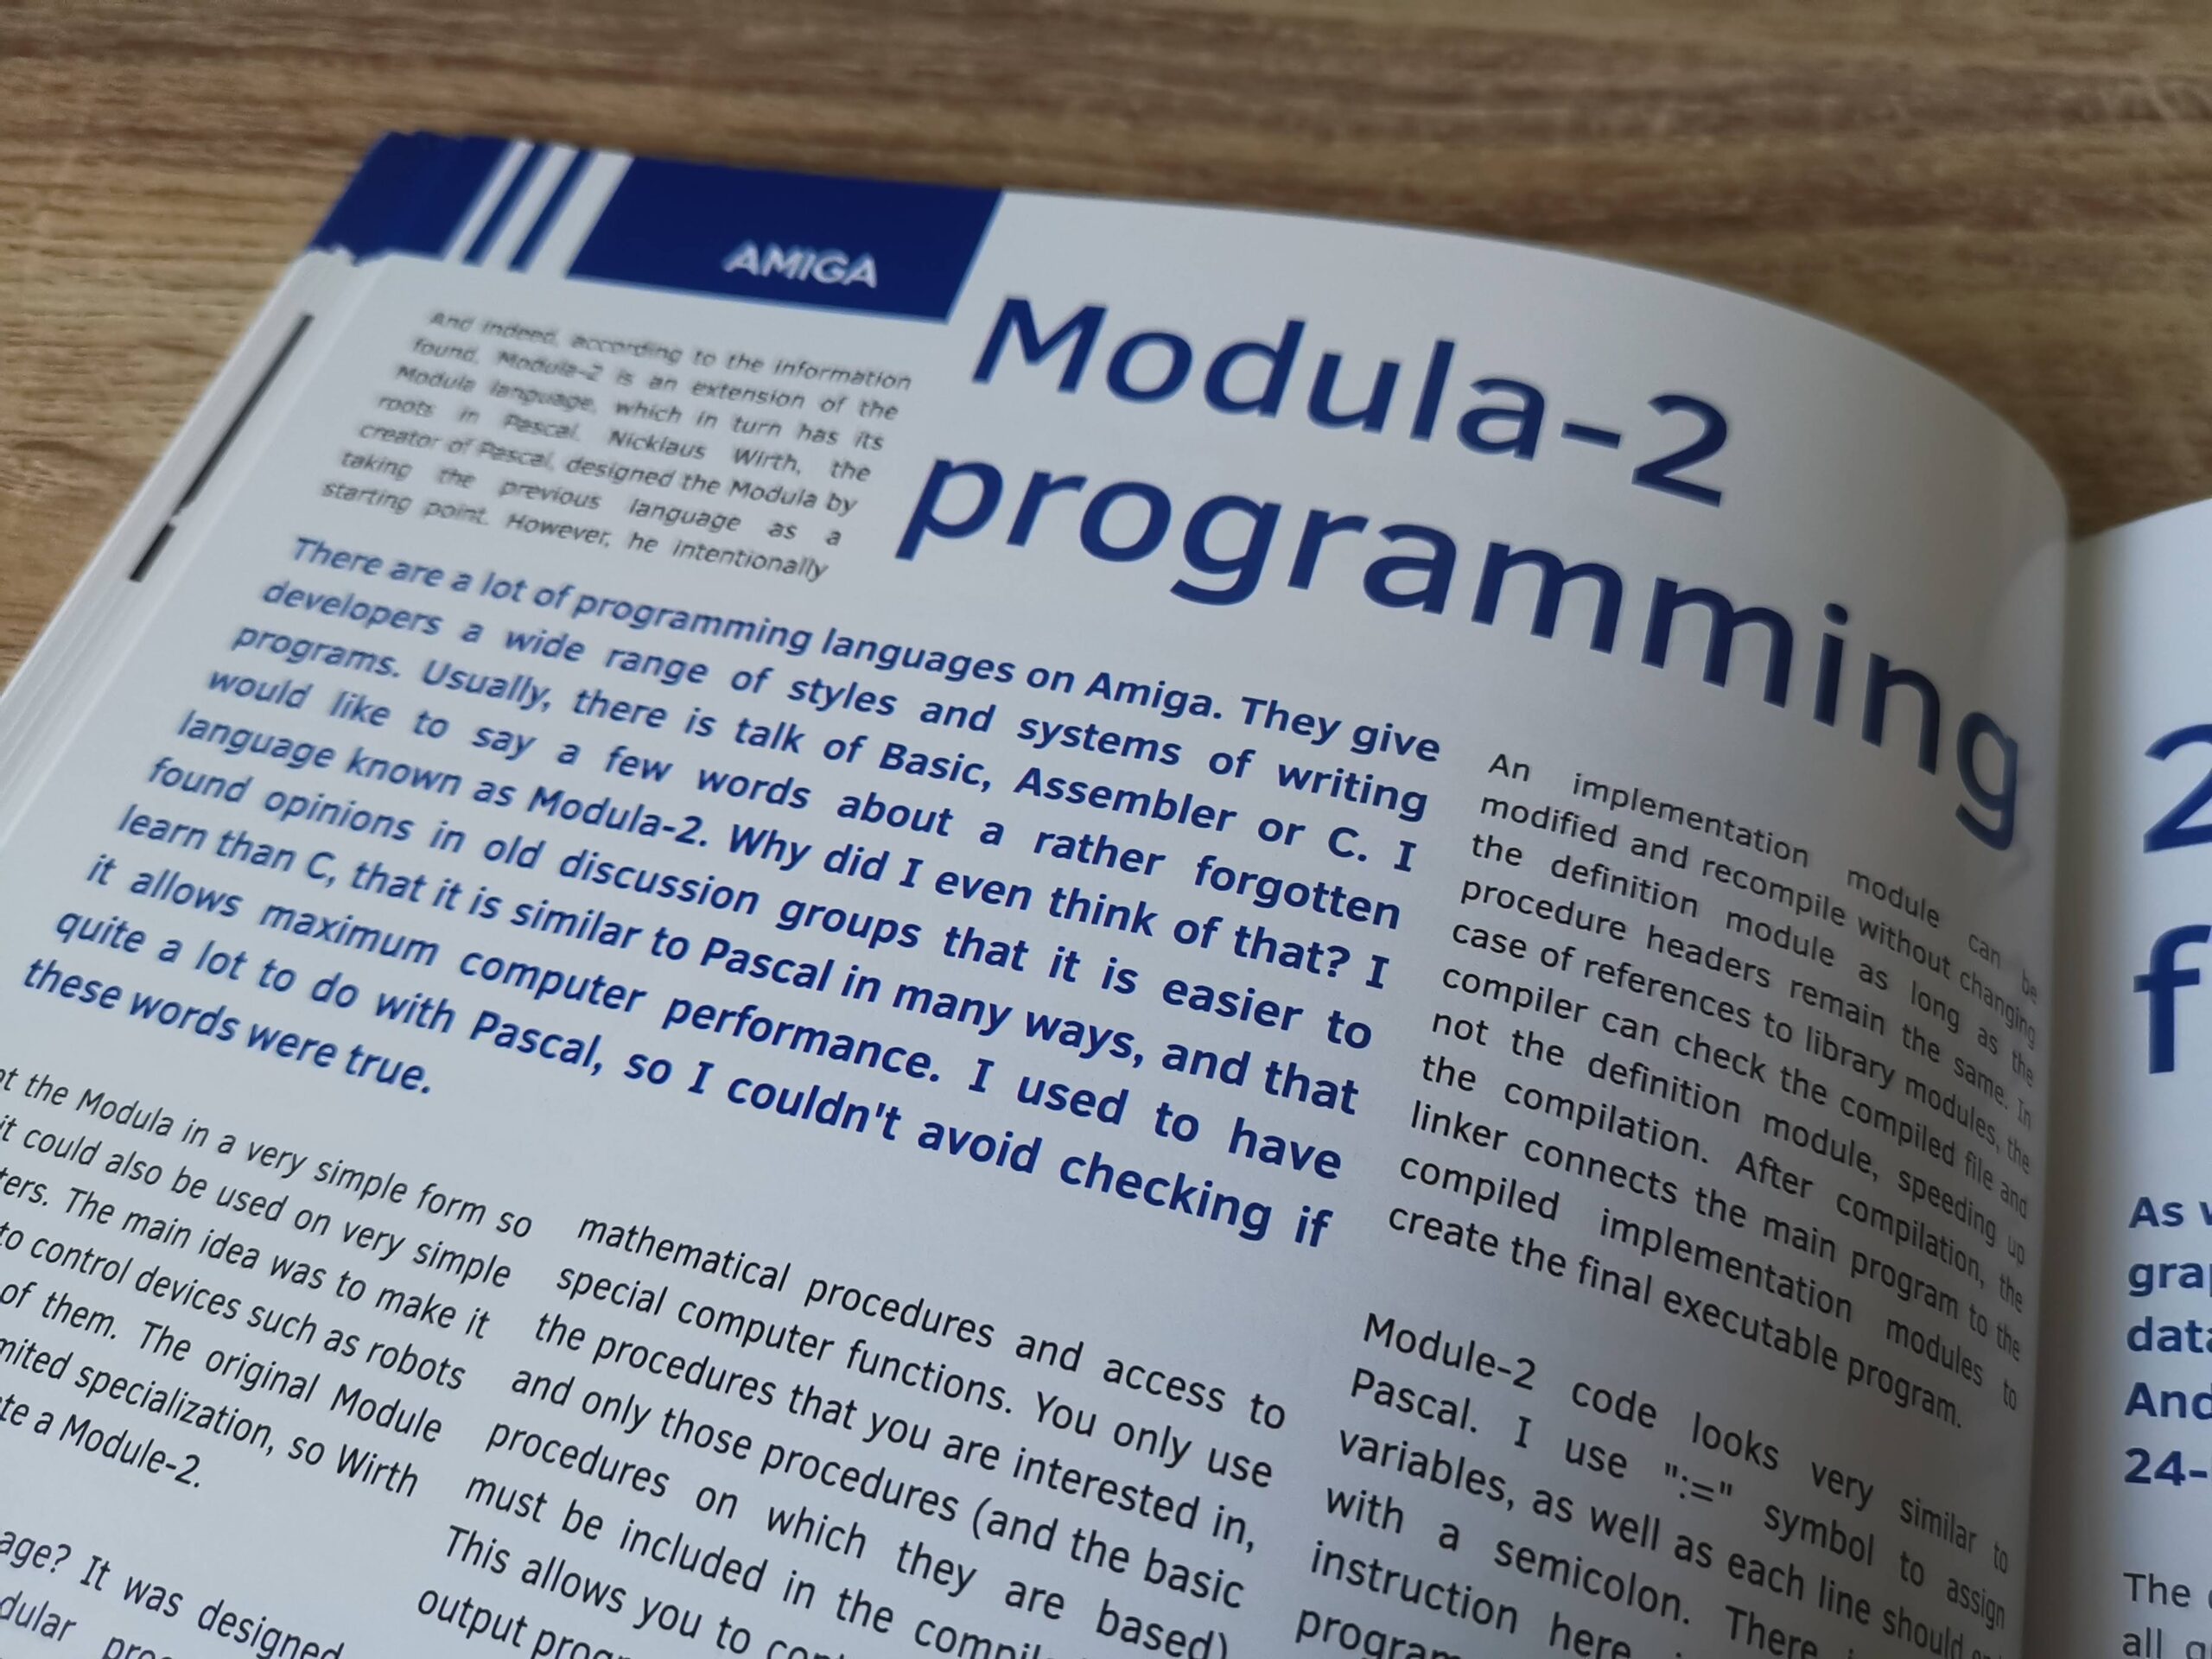
Completing the physical box contents is a full colour instruction manual with a cover that duplicates the artwork found on the box.

Cosmic Force Instruction Manual.
The instruction manual is terrific and includes a little bit of history behind the games creation along with some technical insights into how it was programmed. Littered throughout are many colour screenshots of the game to accompany the instructions and gameplay hints provided.

A look inside the instruction manual.
Rounding off the manual is a list of all the Kickstarter backers who enabled the game to be created. I really liked this feature and it gave me a warm fuzzy feeling inside seeing my name listed amongst them.
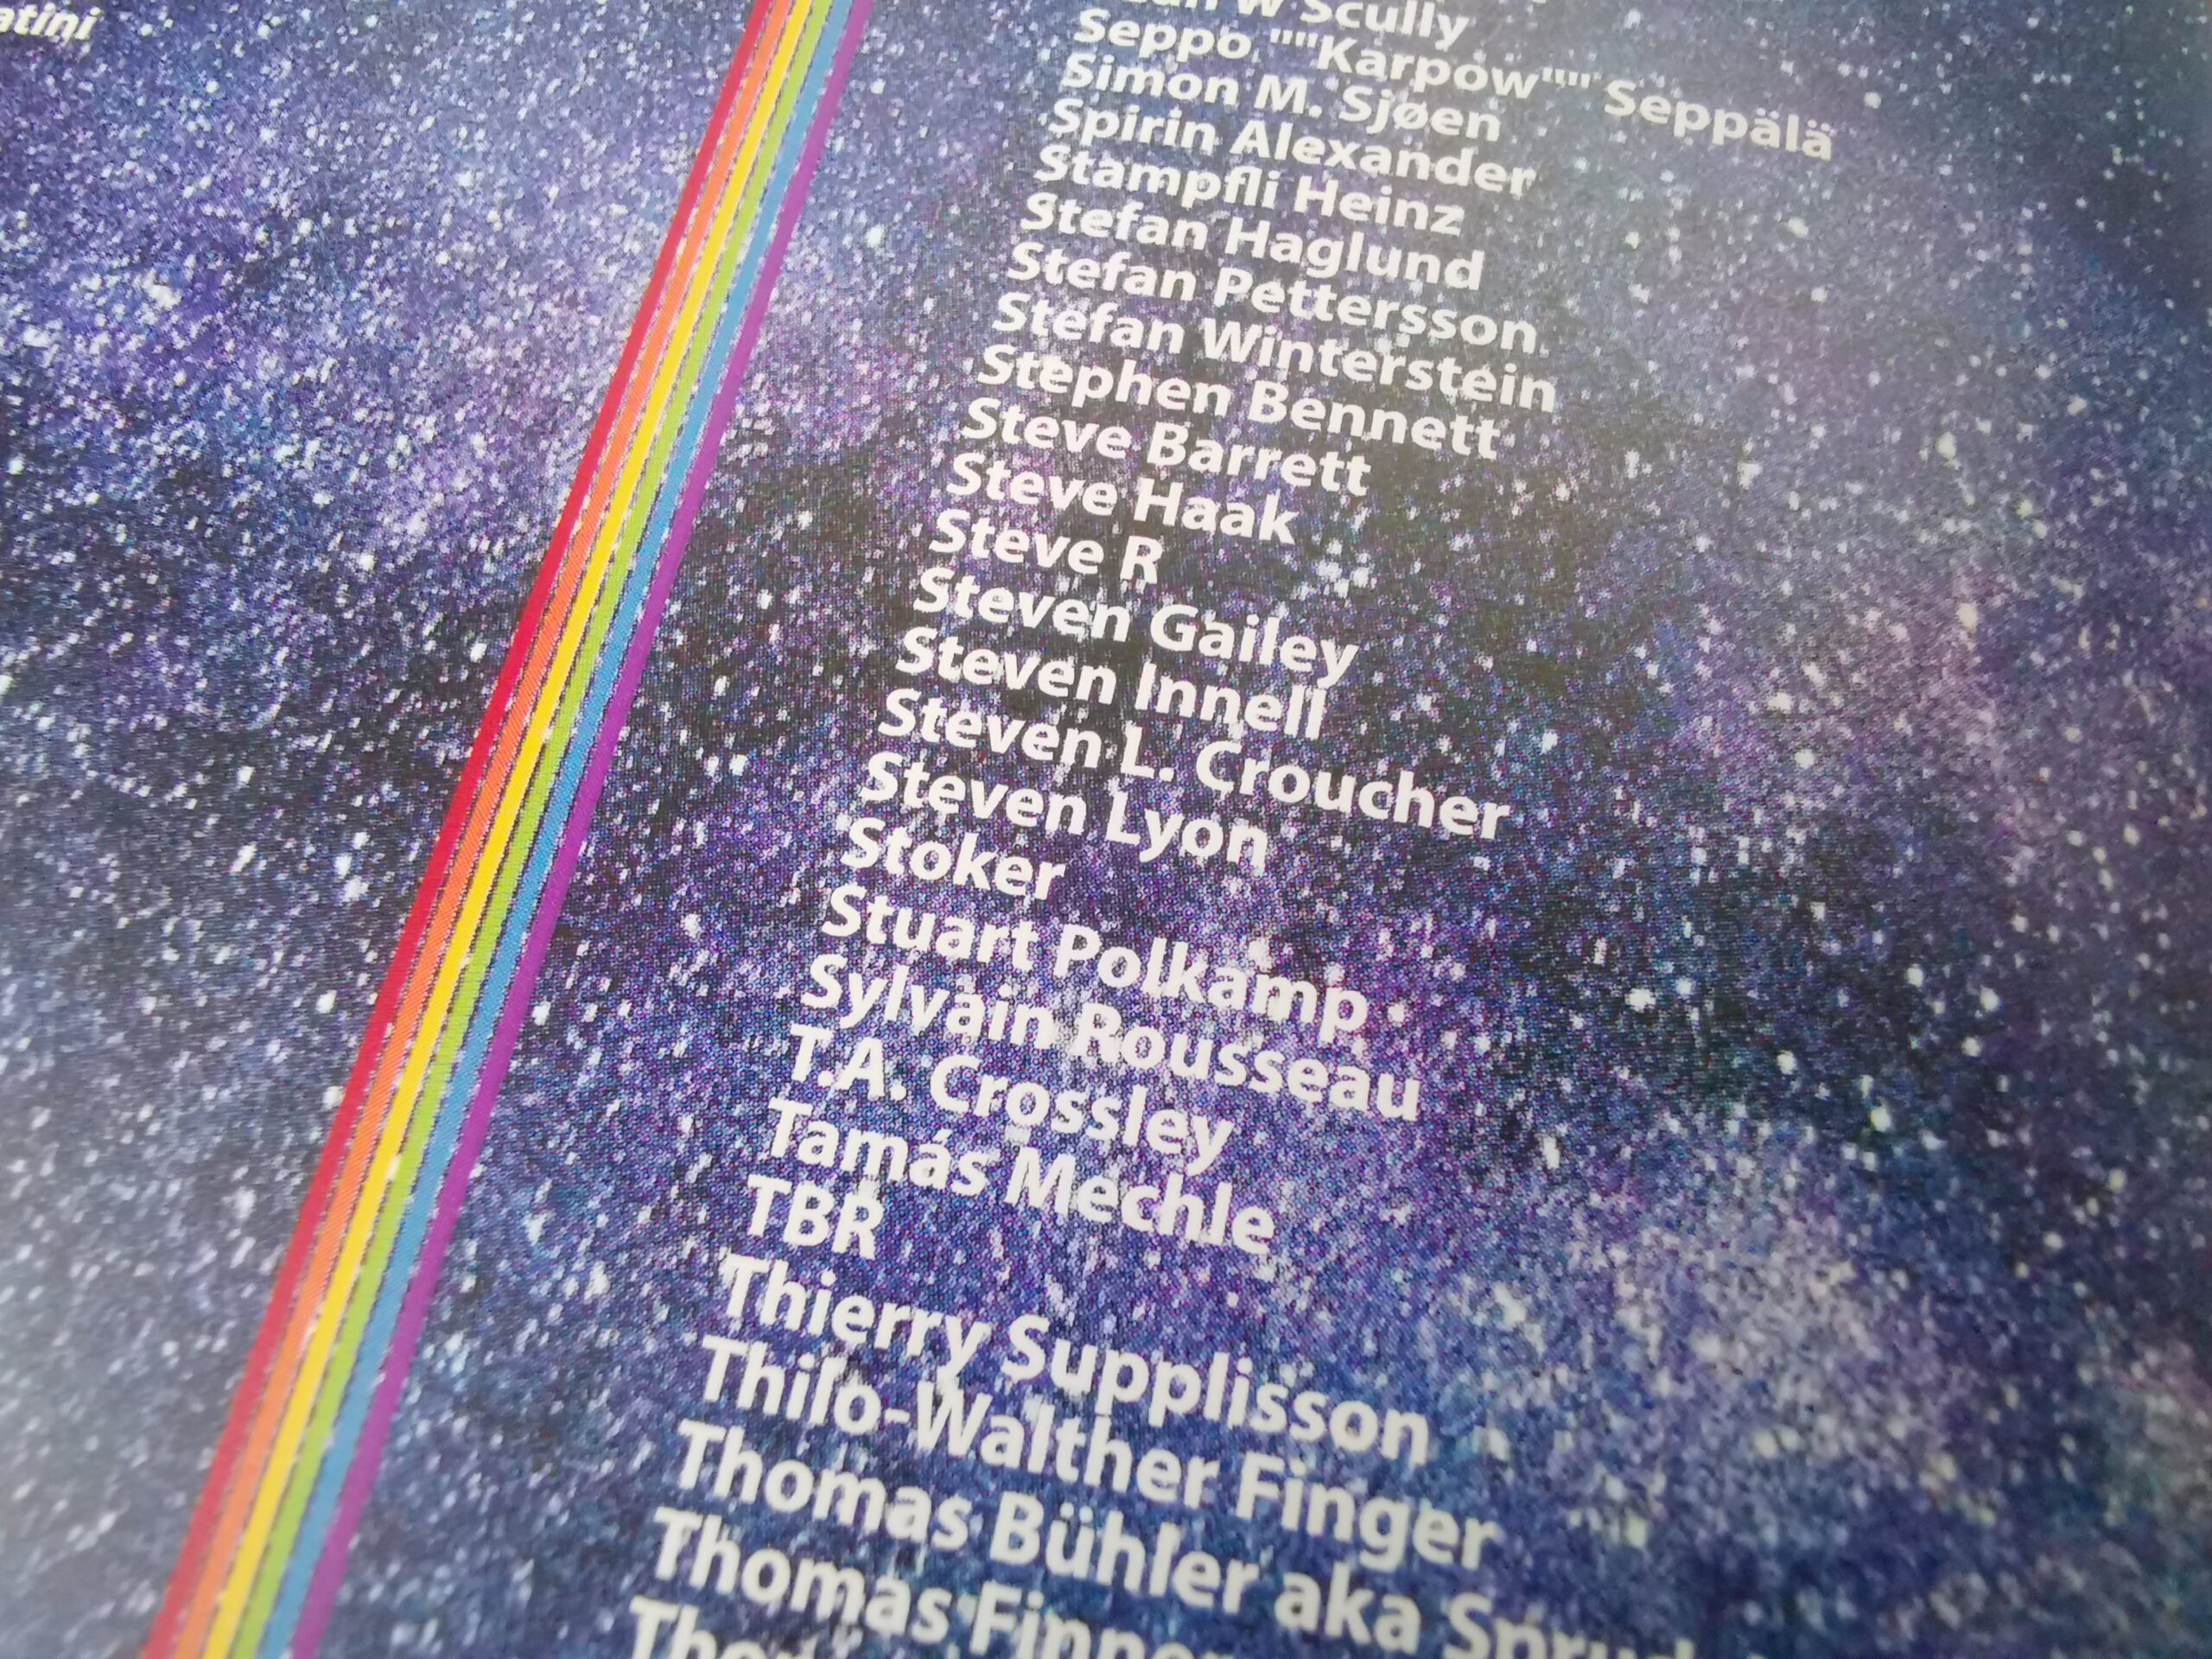
My name in the Kickstarter backer list.
The Game
Upon first loading the game you are presented with a menu screen of sorts allowing you choose between starting the game, loading the pixel art title screen and resetting the high score. This game stores your high score on the disk which is a terrific feature that I wish a lot more games offered.

This is the first screen you are presented with after loading the game.
The vibrant pixel art title screen is well worth a load at least once. The fact that it is accompanied by a funky piece of Rob Hubbard/Jason Page music certainly doesn’t hurt it either!
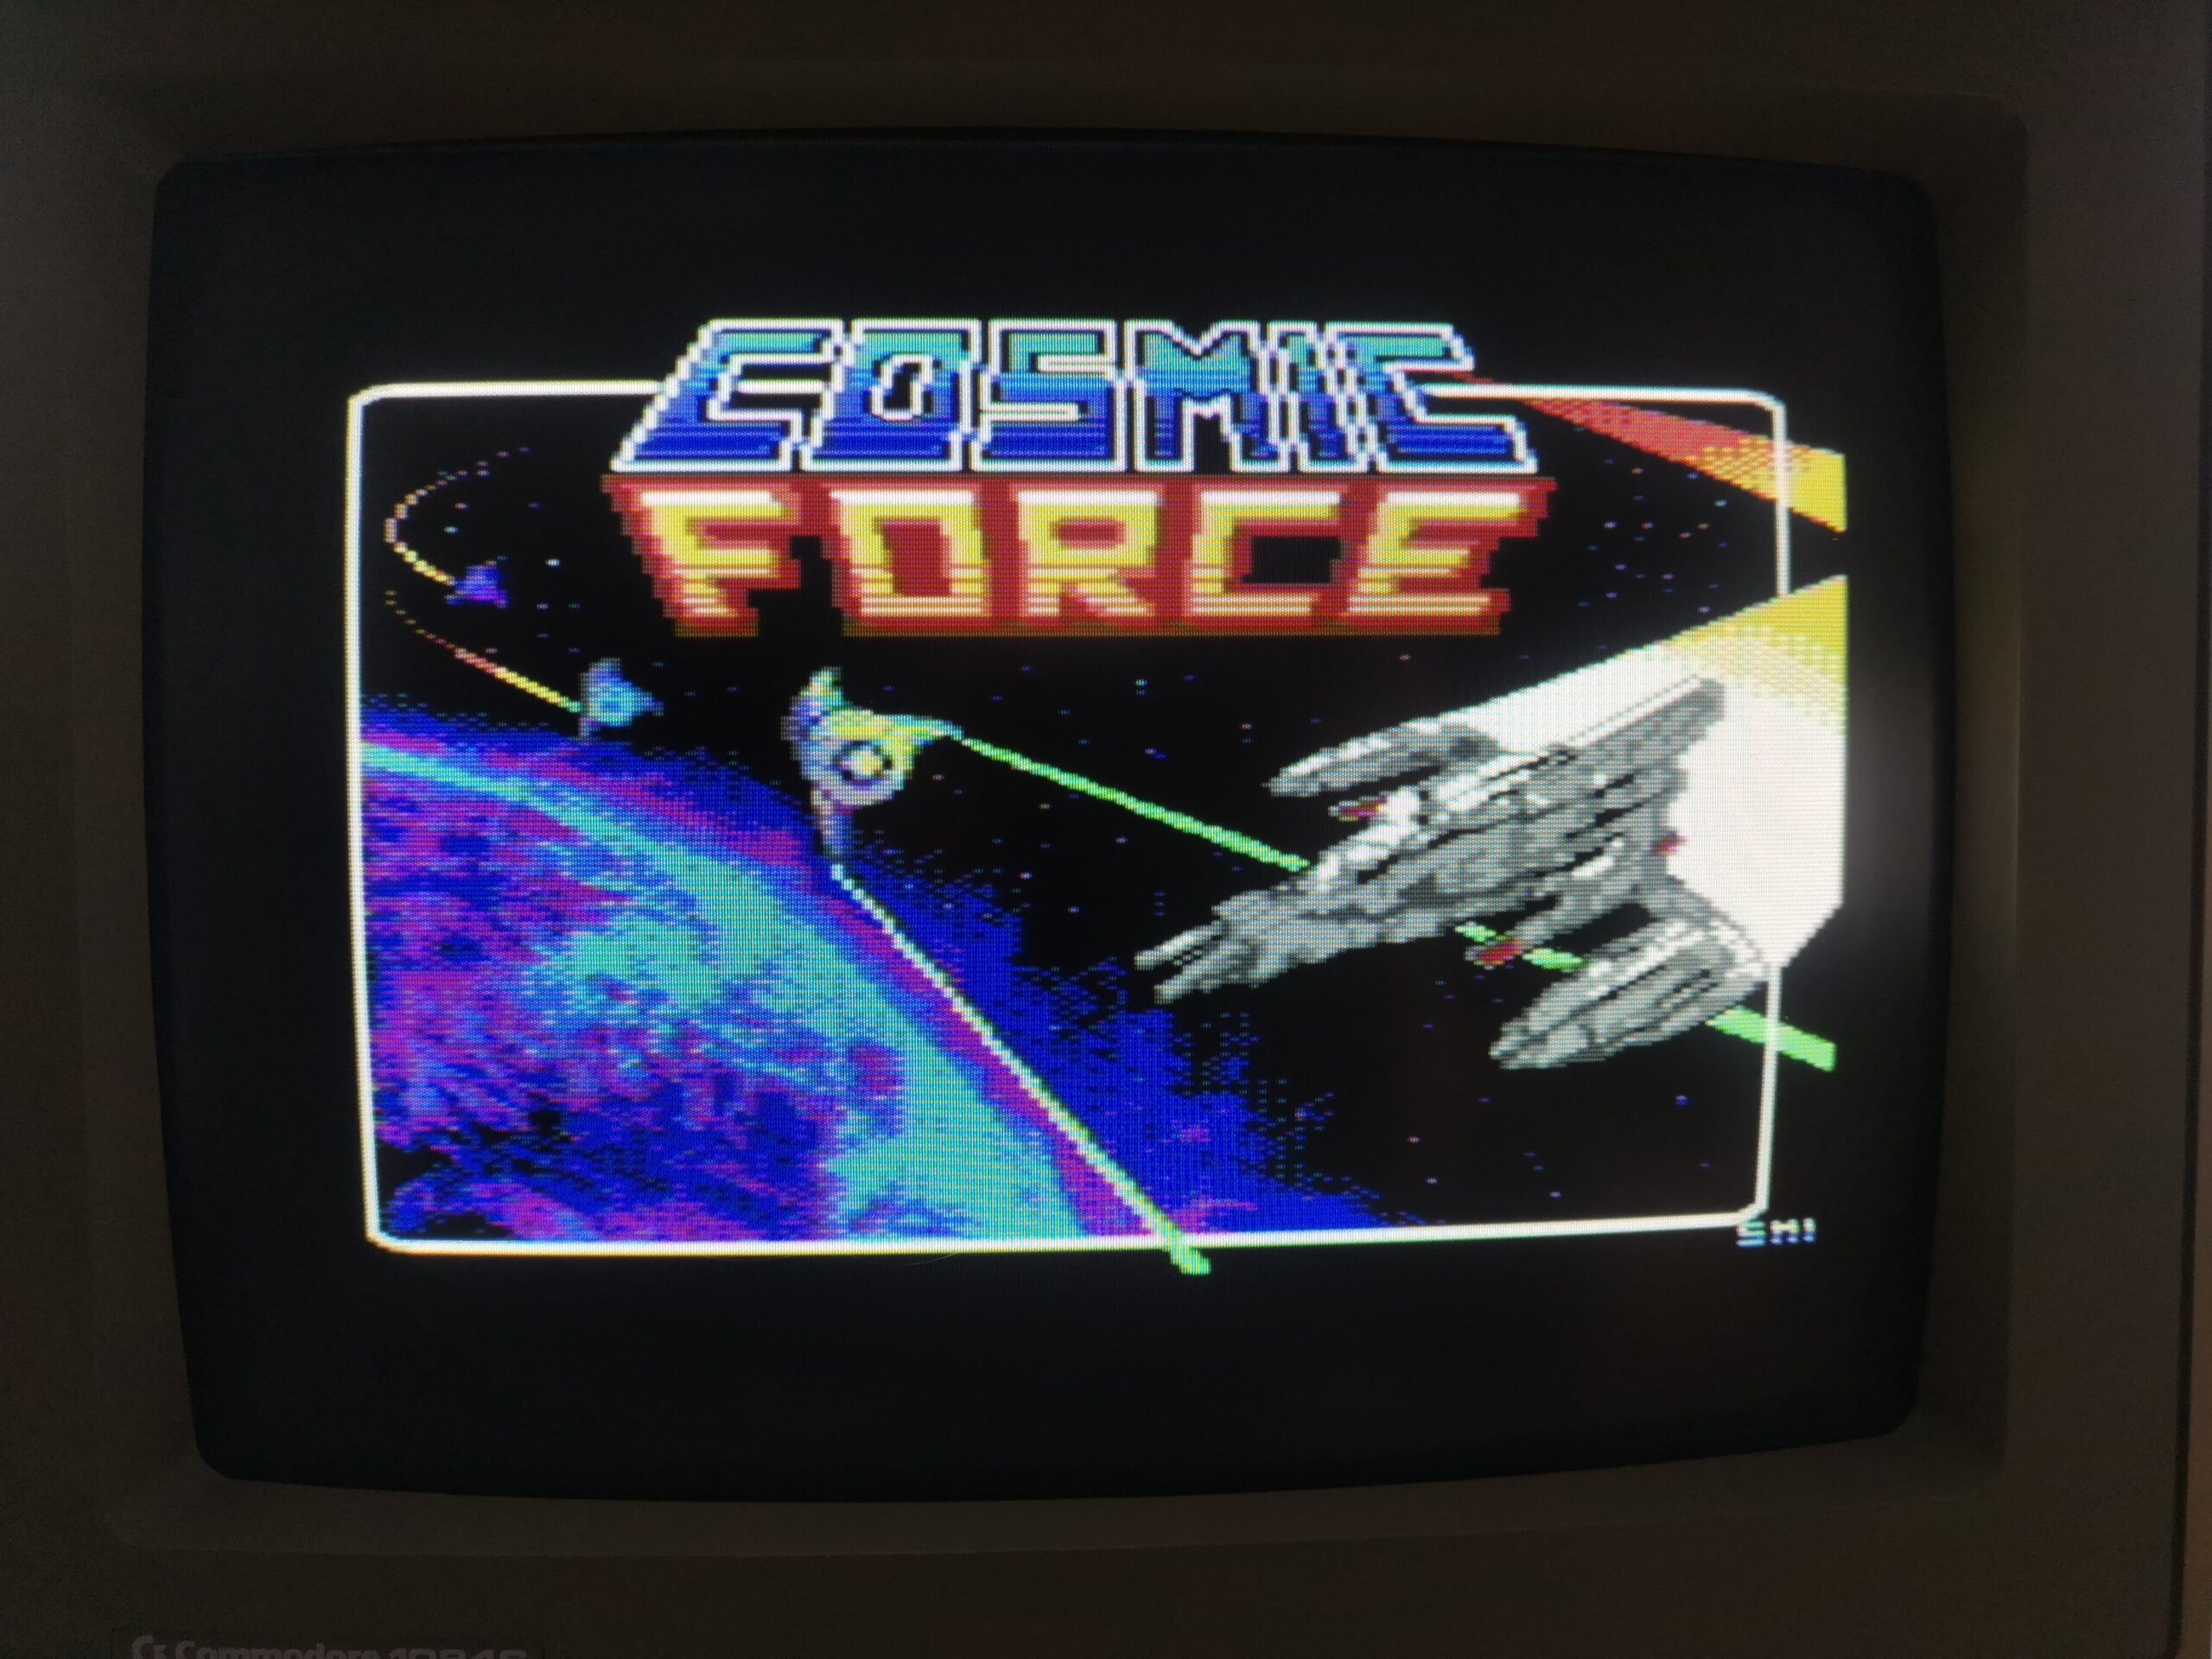
The ‘Pixel Art’ title screen.
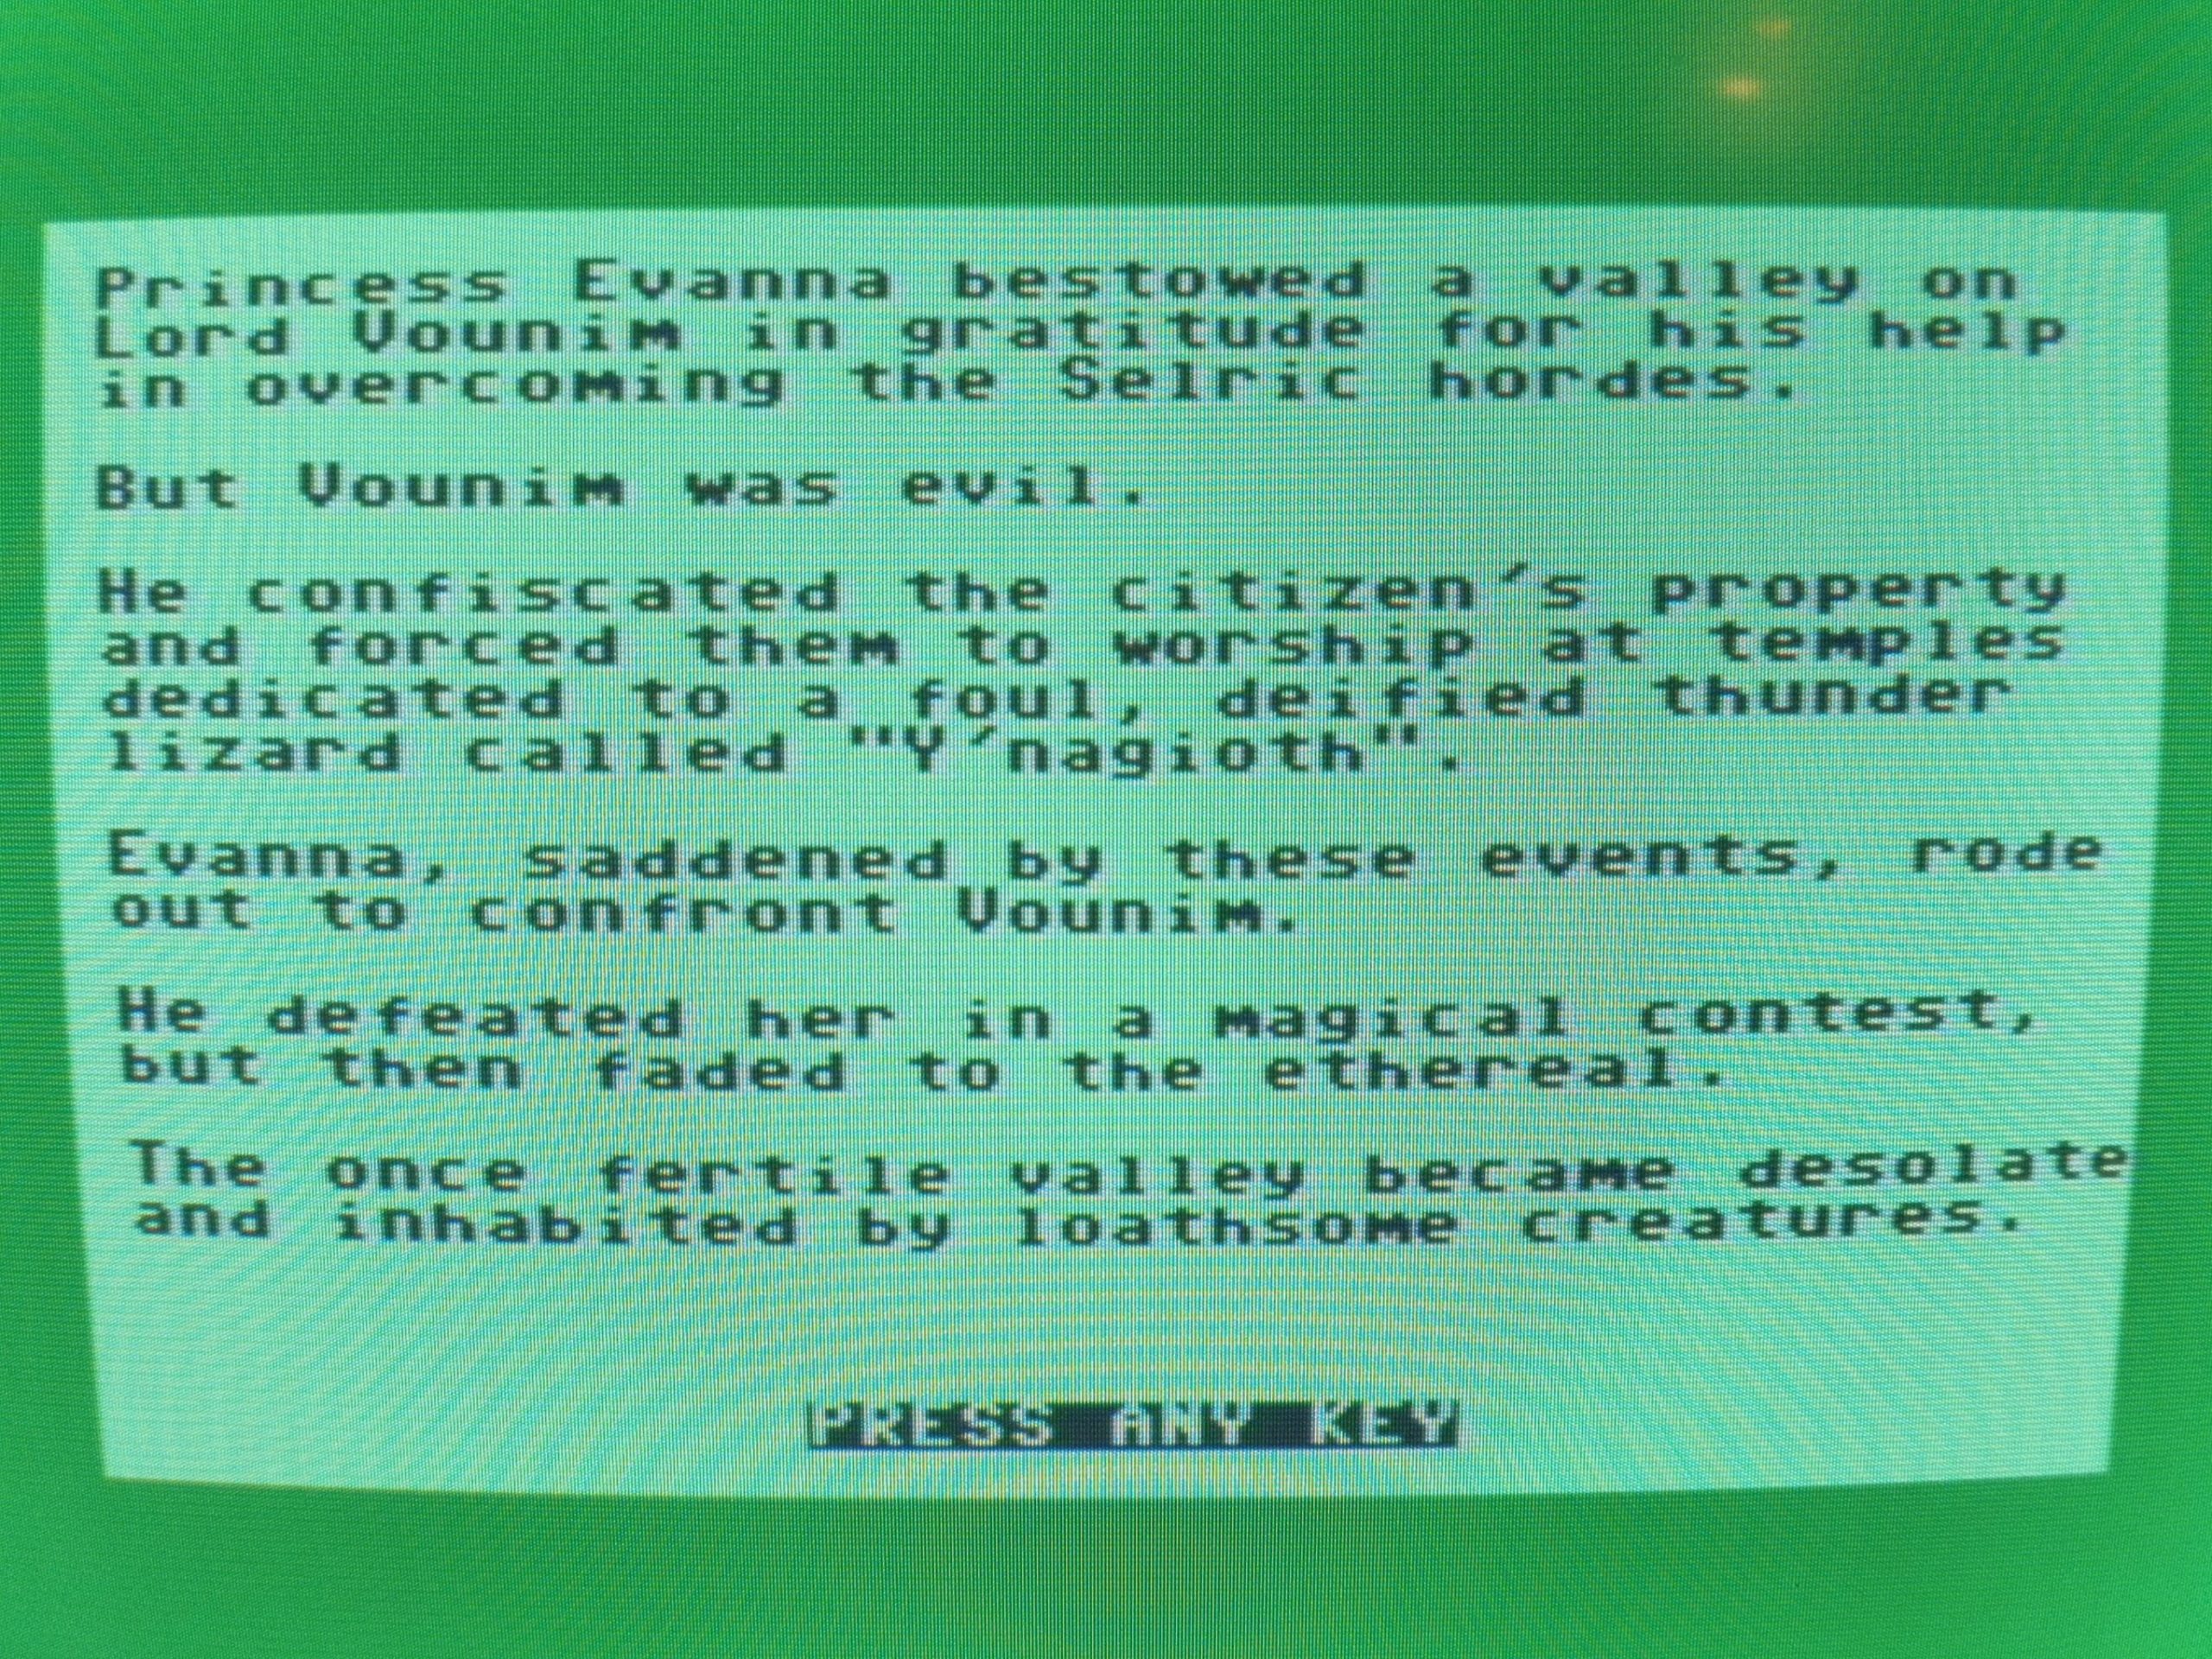
Once you’ve had enough of the title screen and music you can press fire and the game will load. You get a brief overview of the games plot and also a view of the current high score. This is a pretty spartan screen compared to the title screen which is a bit of a shame. The use of a custom font here at the very least would have elevated its appearance greatly.
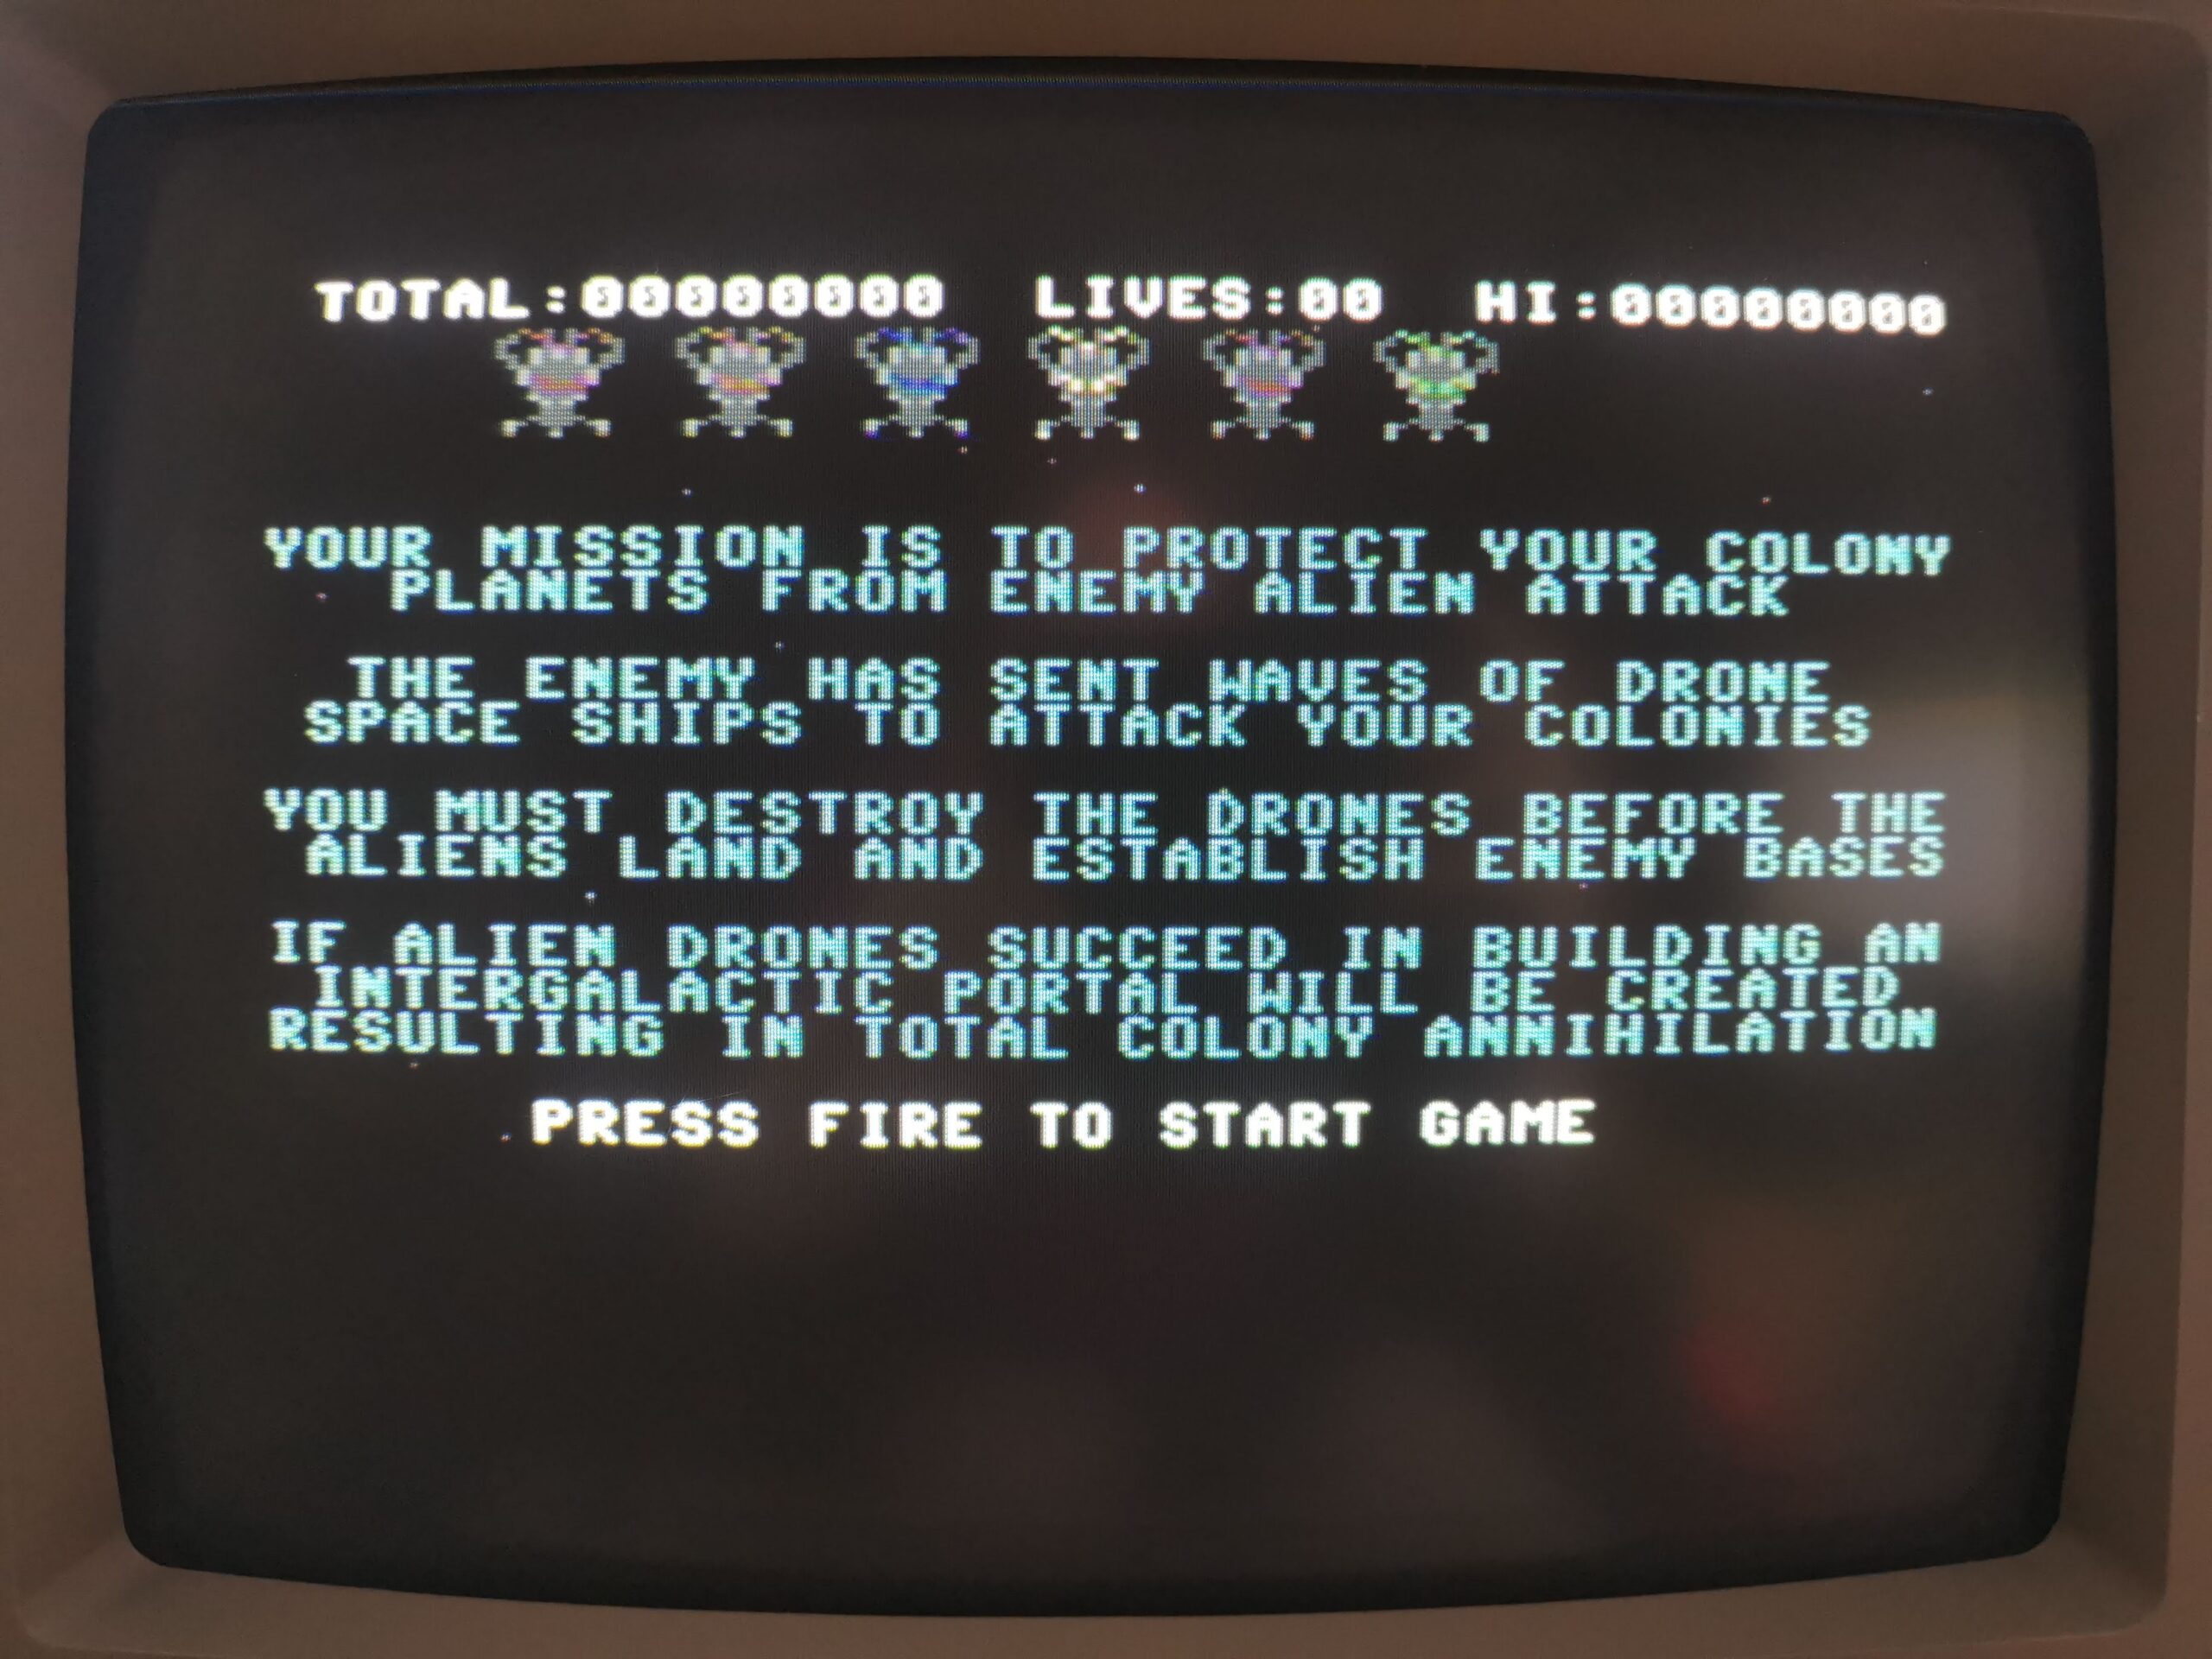
This is the main title screen of the game proper.
Phase 1
Pressing fire starts the game proper. The first section is, as the game event admits in the manual, just like Galaxians. Waves of enemies will make their way down the screen in various formations whilst shooting at you. When destroyed some of the enemies will drop a range of power ups for you to pick up. These include a twin shot, a protective force field, a bomb which will destroy everything on screen, extra lives and an EMP that that freezes enemies in place allowing you to pick them off with ease.
If you die you will lose your current power-up. In fact even if you don’t you will lose it as soon as you enter the next level. Fortunately they are not in short supply. Extra lives in particular are thrown at you regularly and you will need them all if you are to stand a chance of reaching level 108.
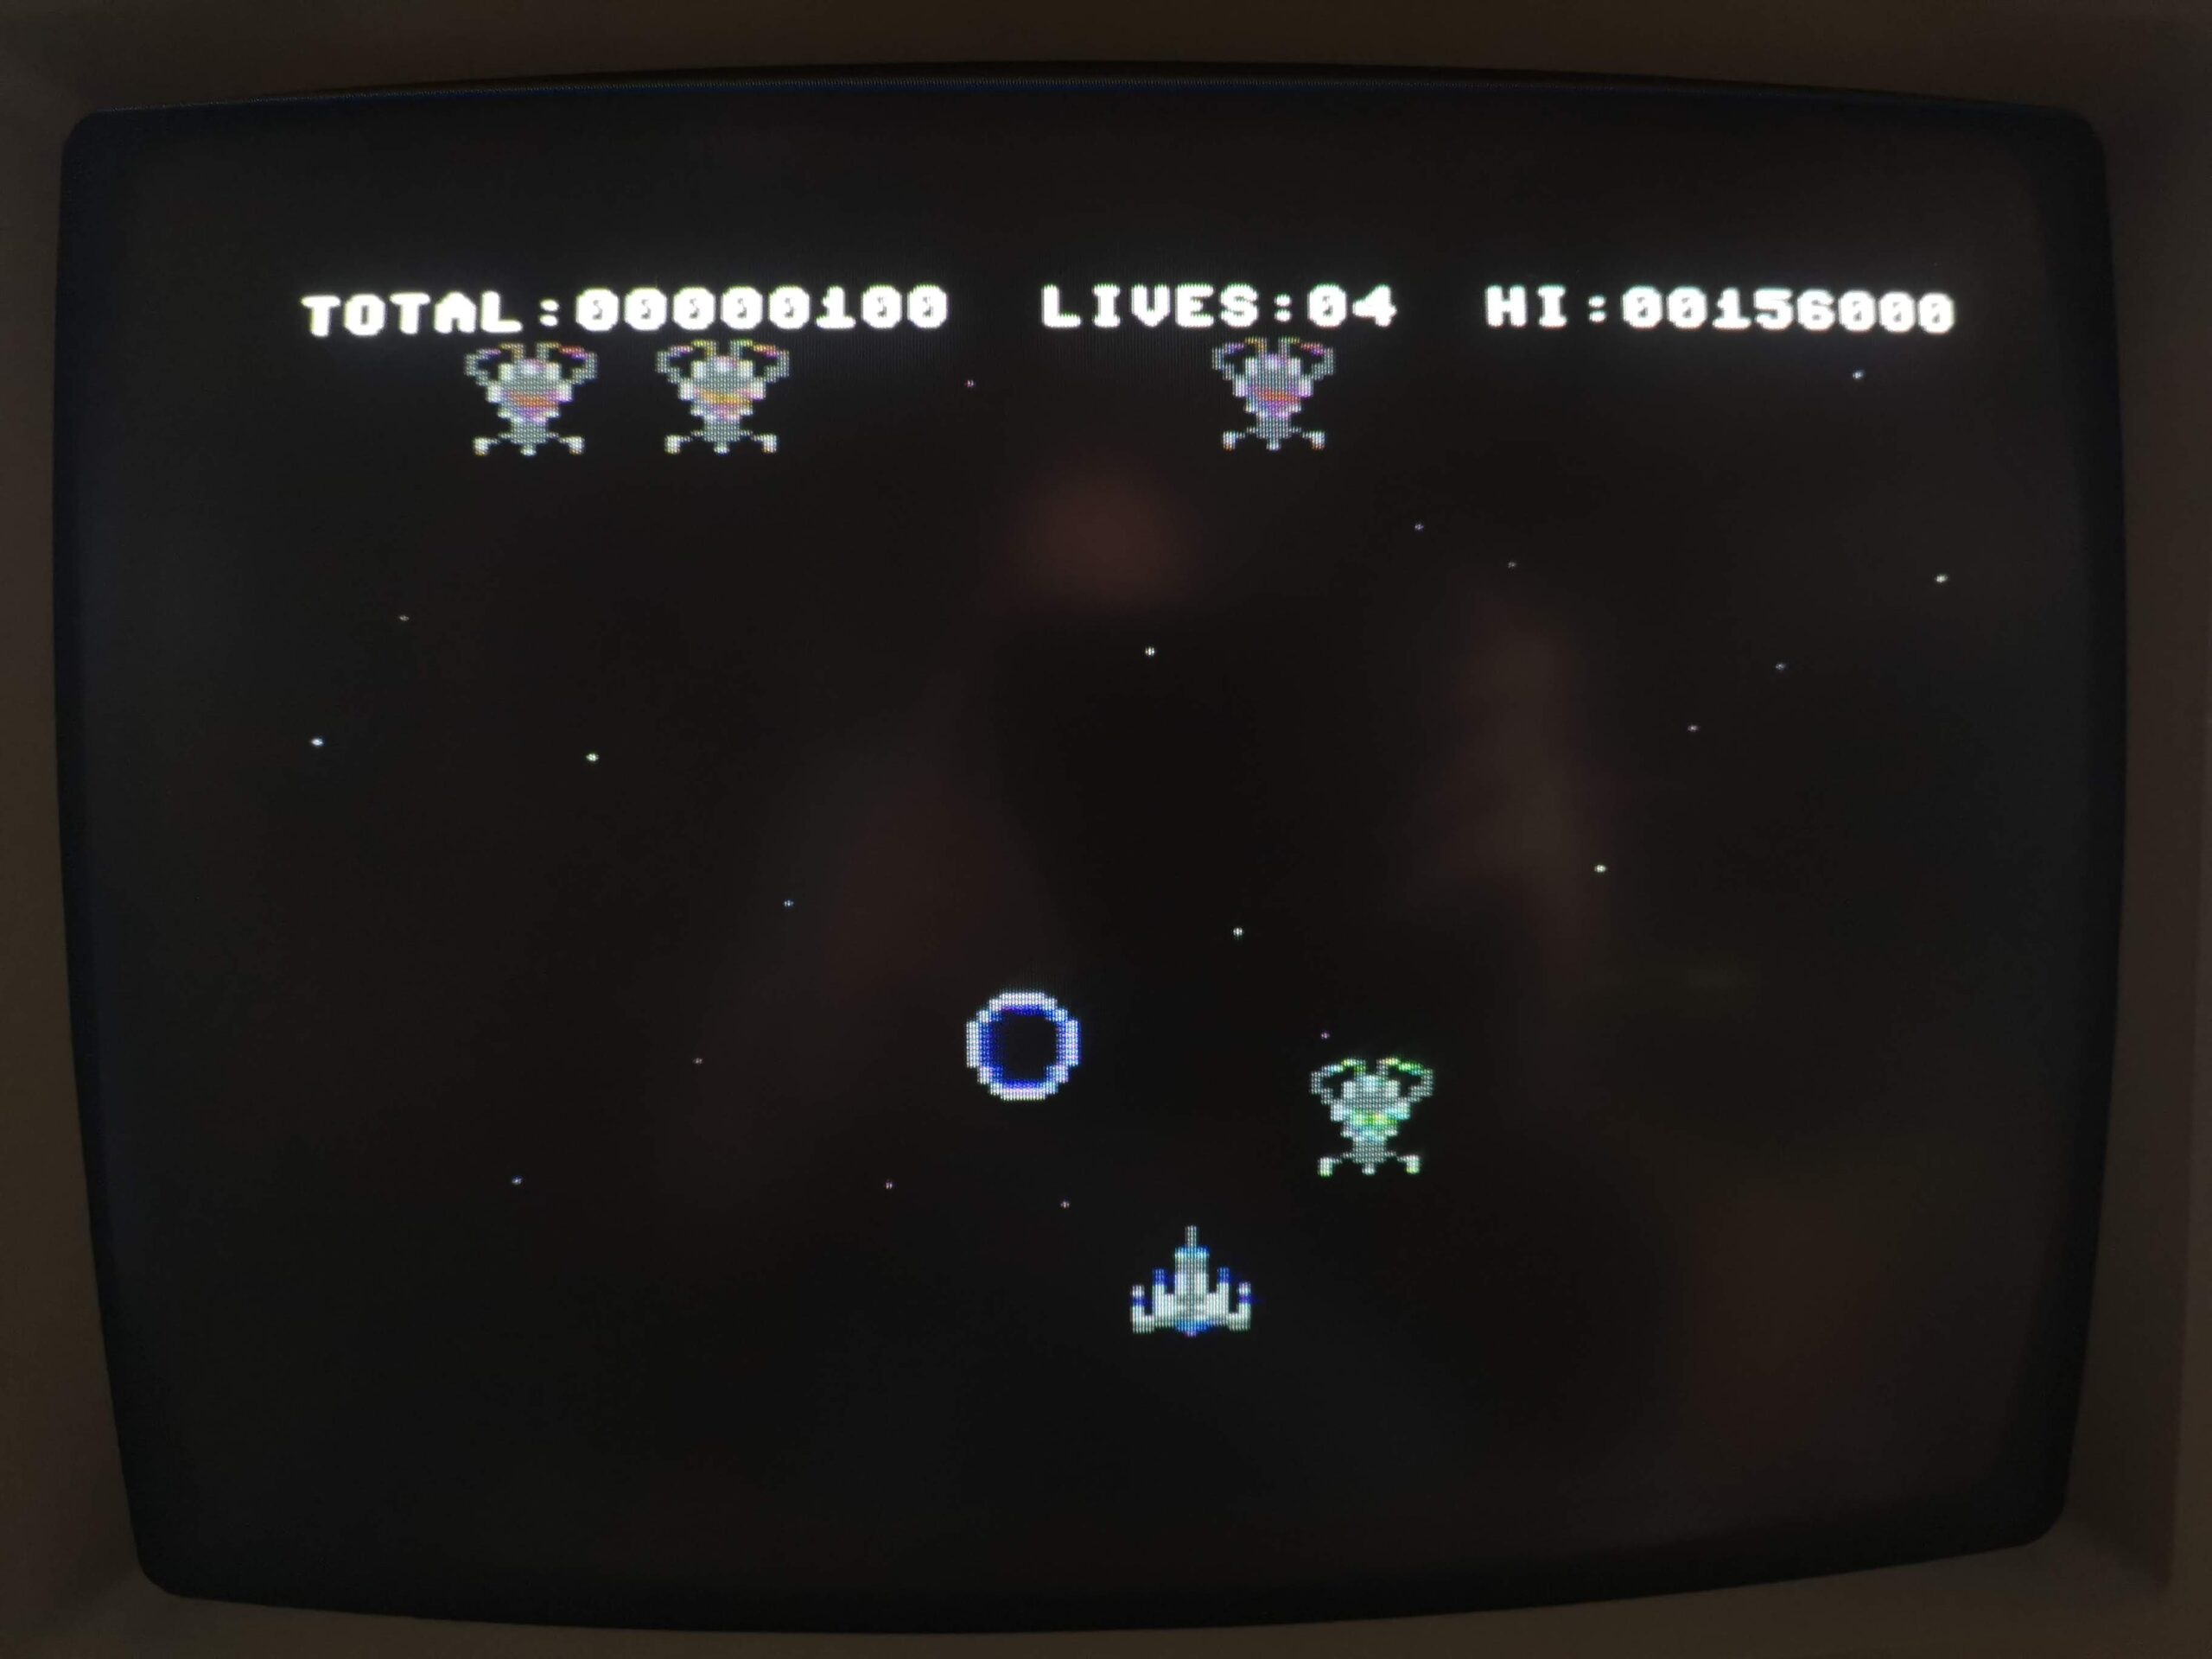
The ‘Galaxians’ Phase.
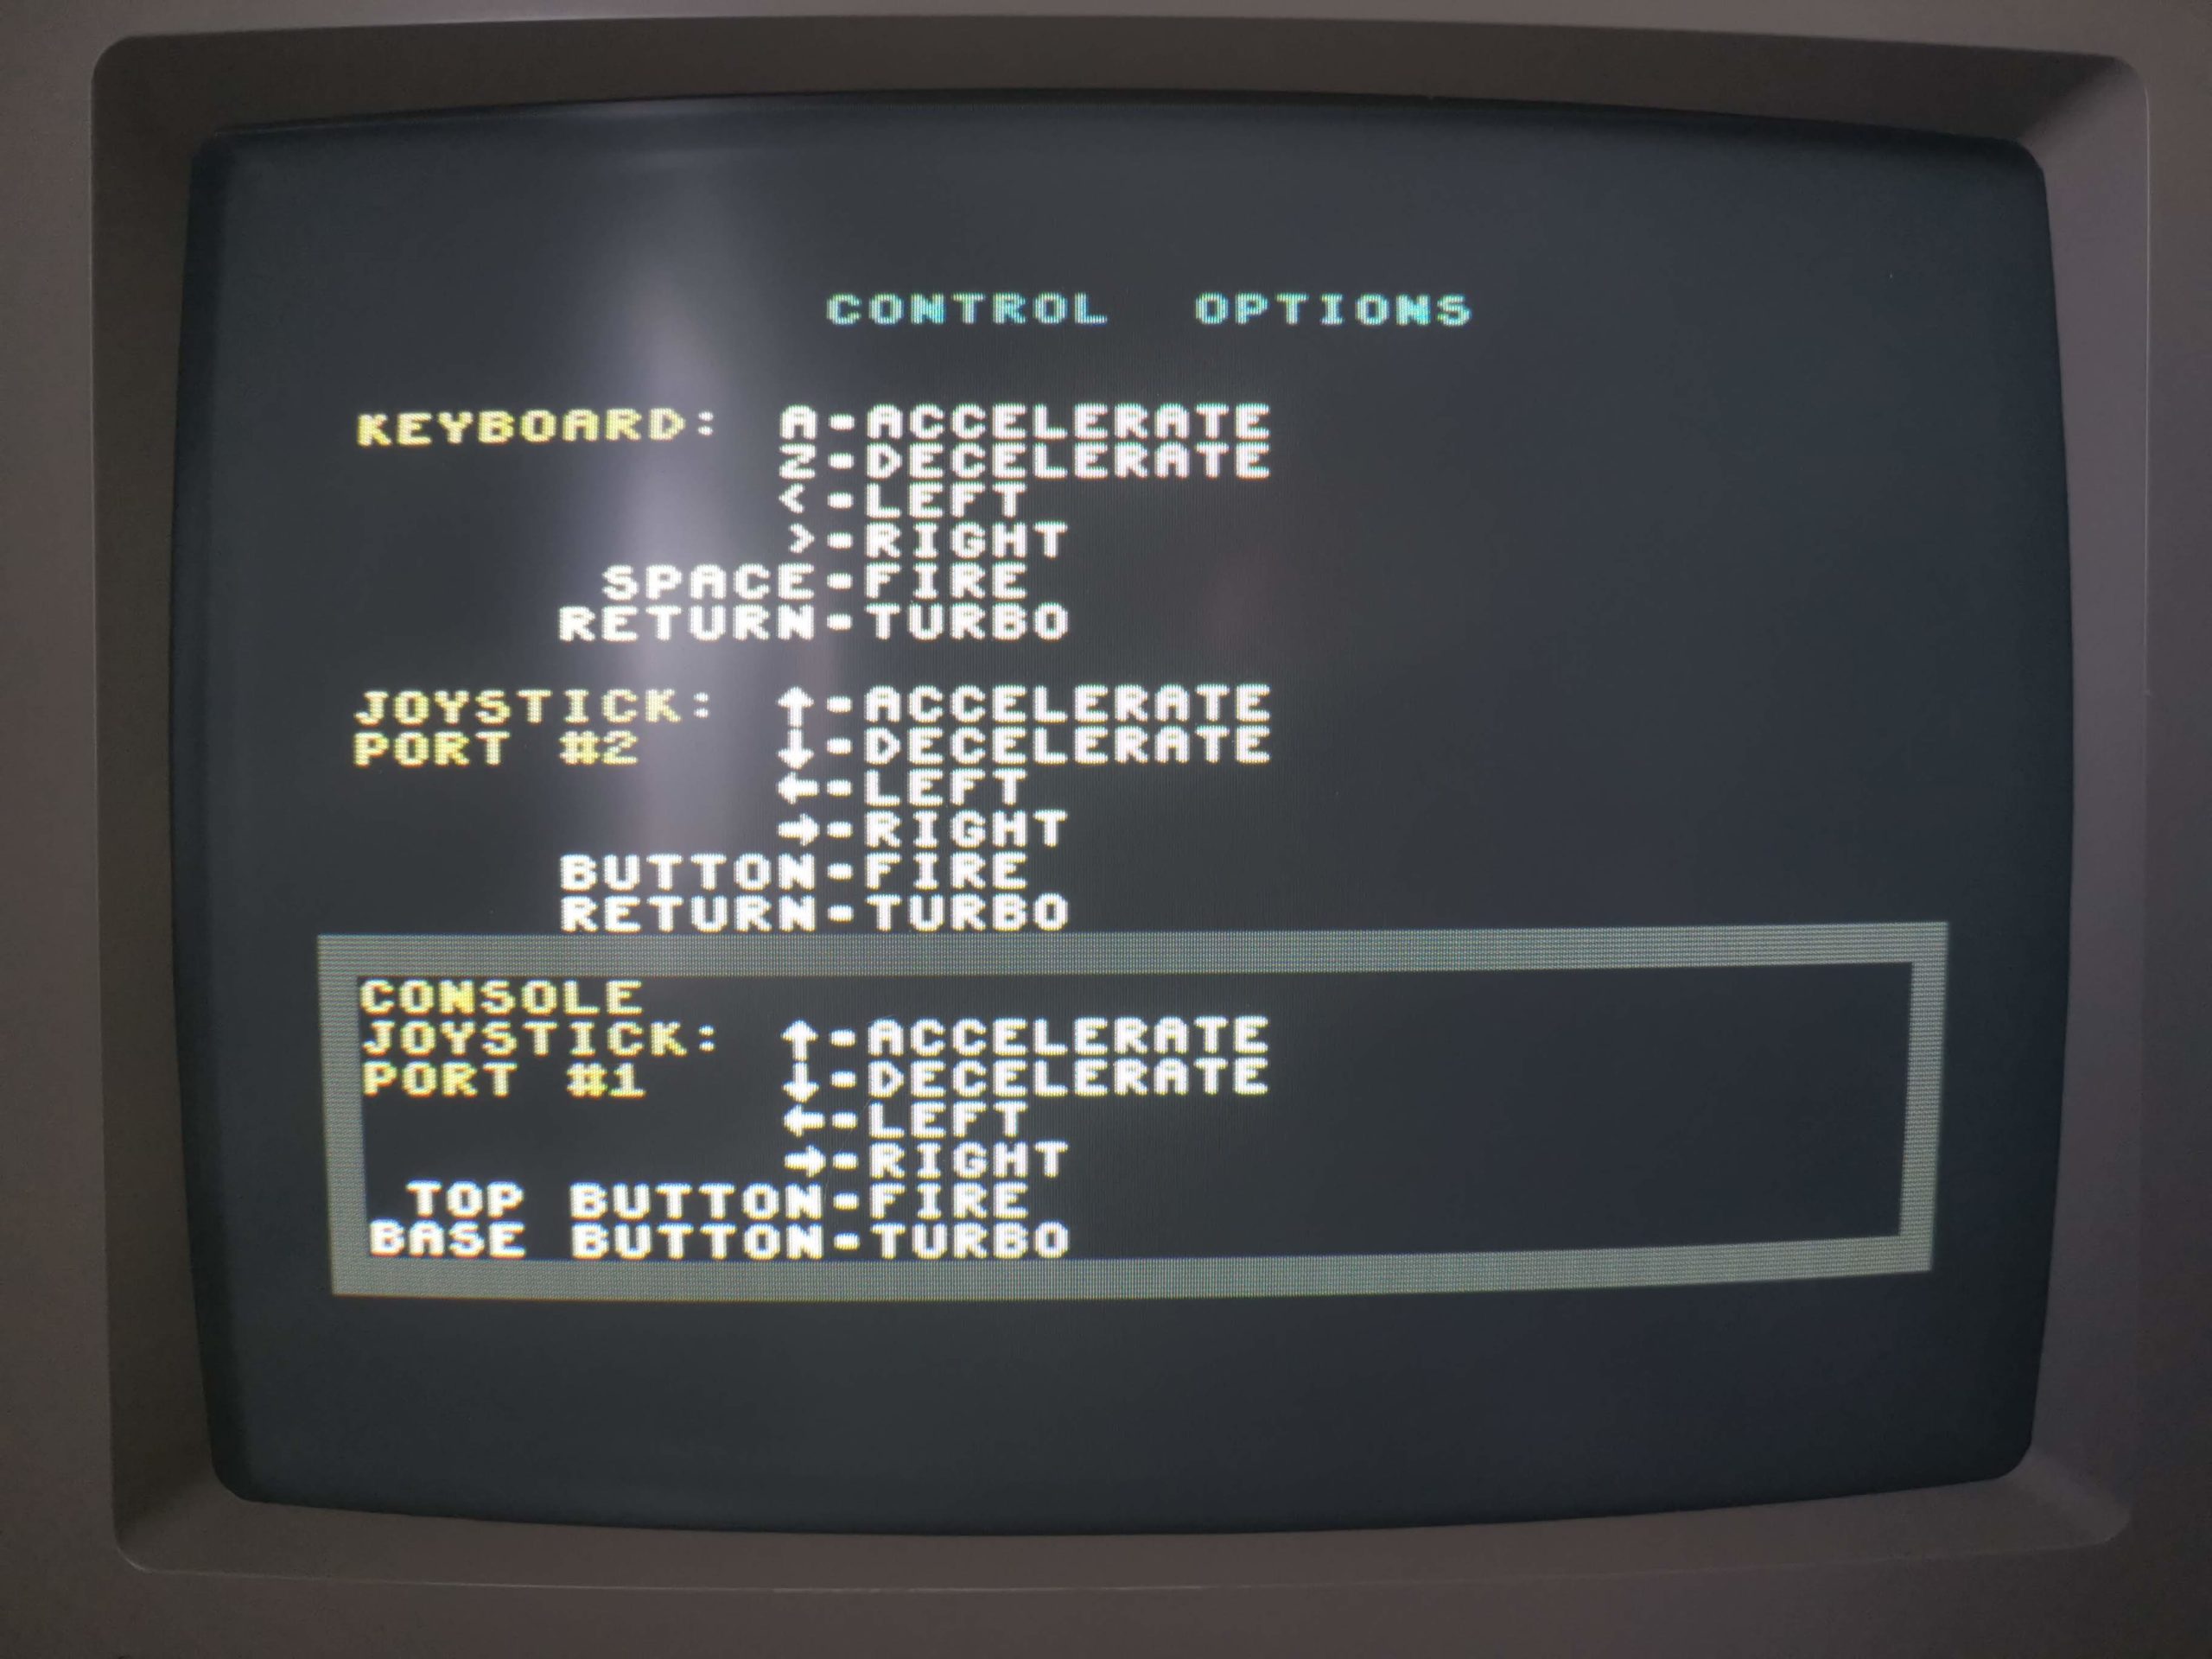
Your ship is able to move both vertically and horizontally as you would expect and firing speed is only limited by how fast you can mash the fire button. A simplified version of the music continues to play during the game using one less channel leaving room for the sound effects of your laser fire and enemy explosions.
Phase 2
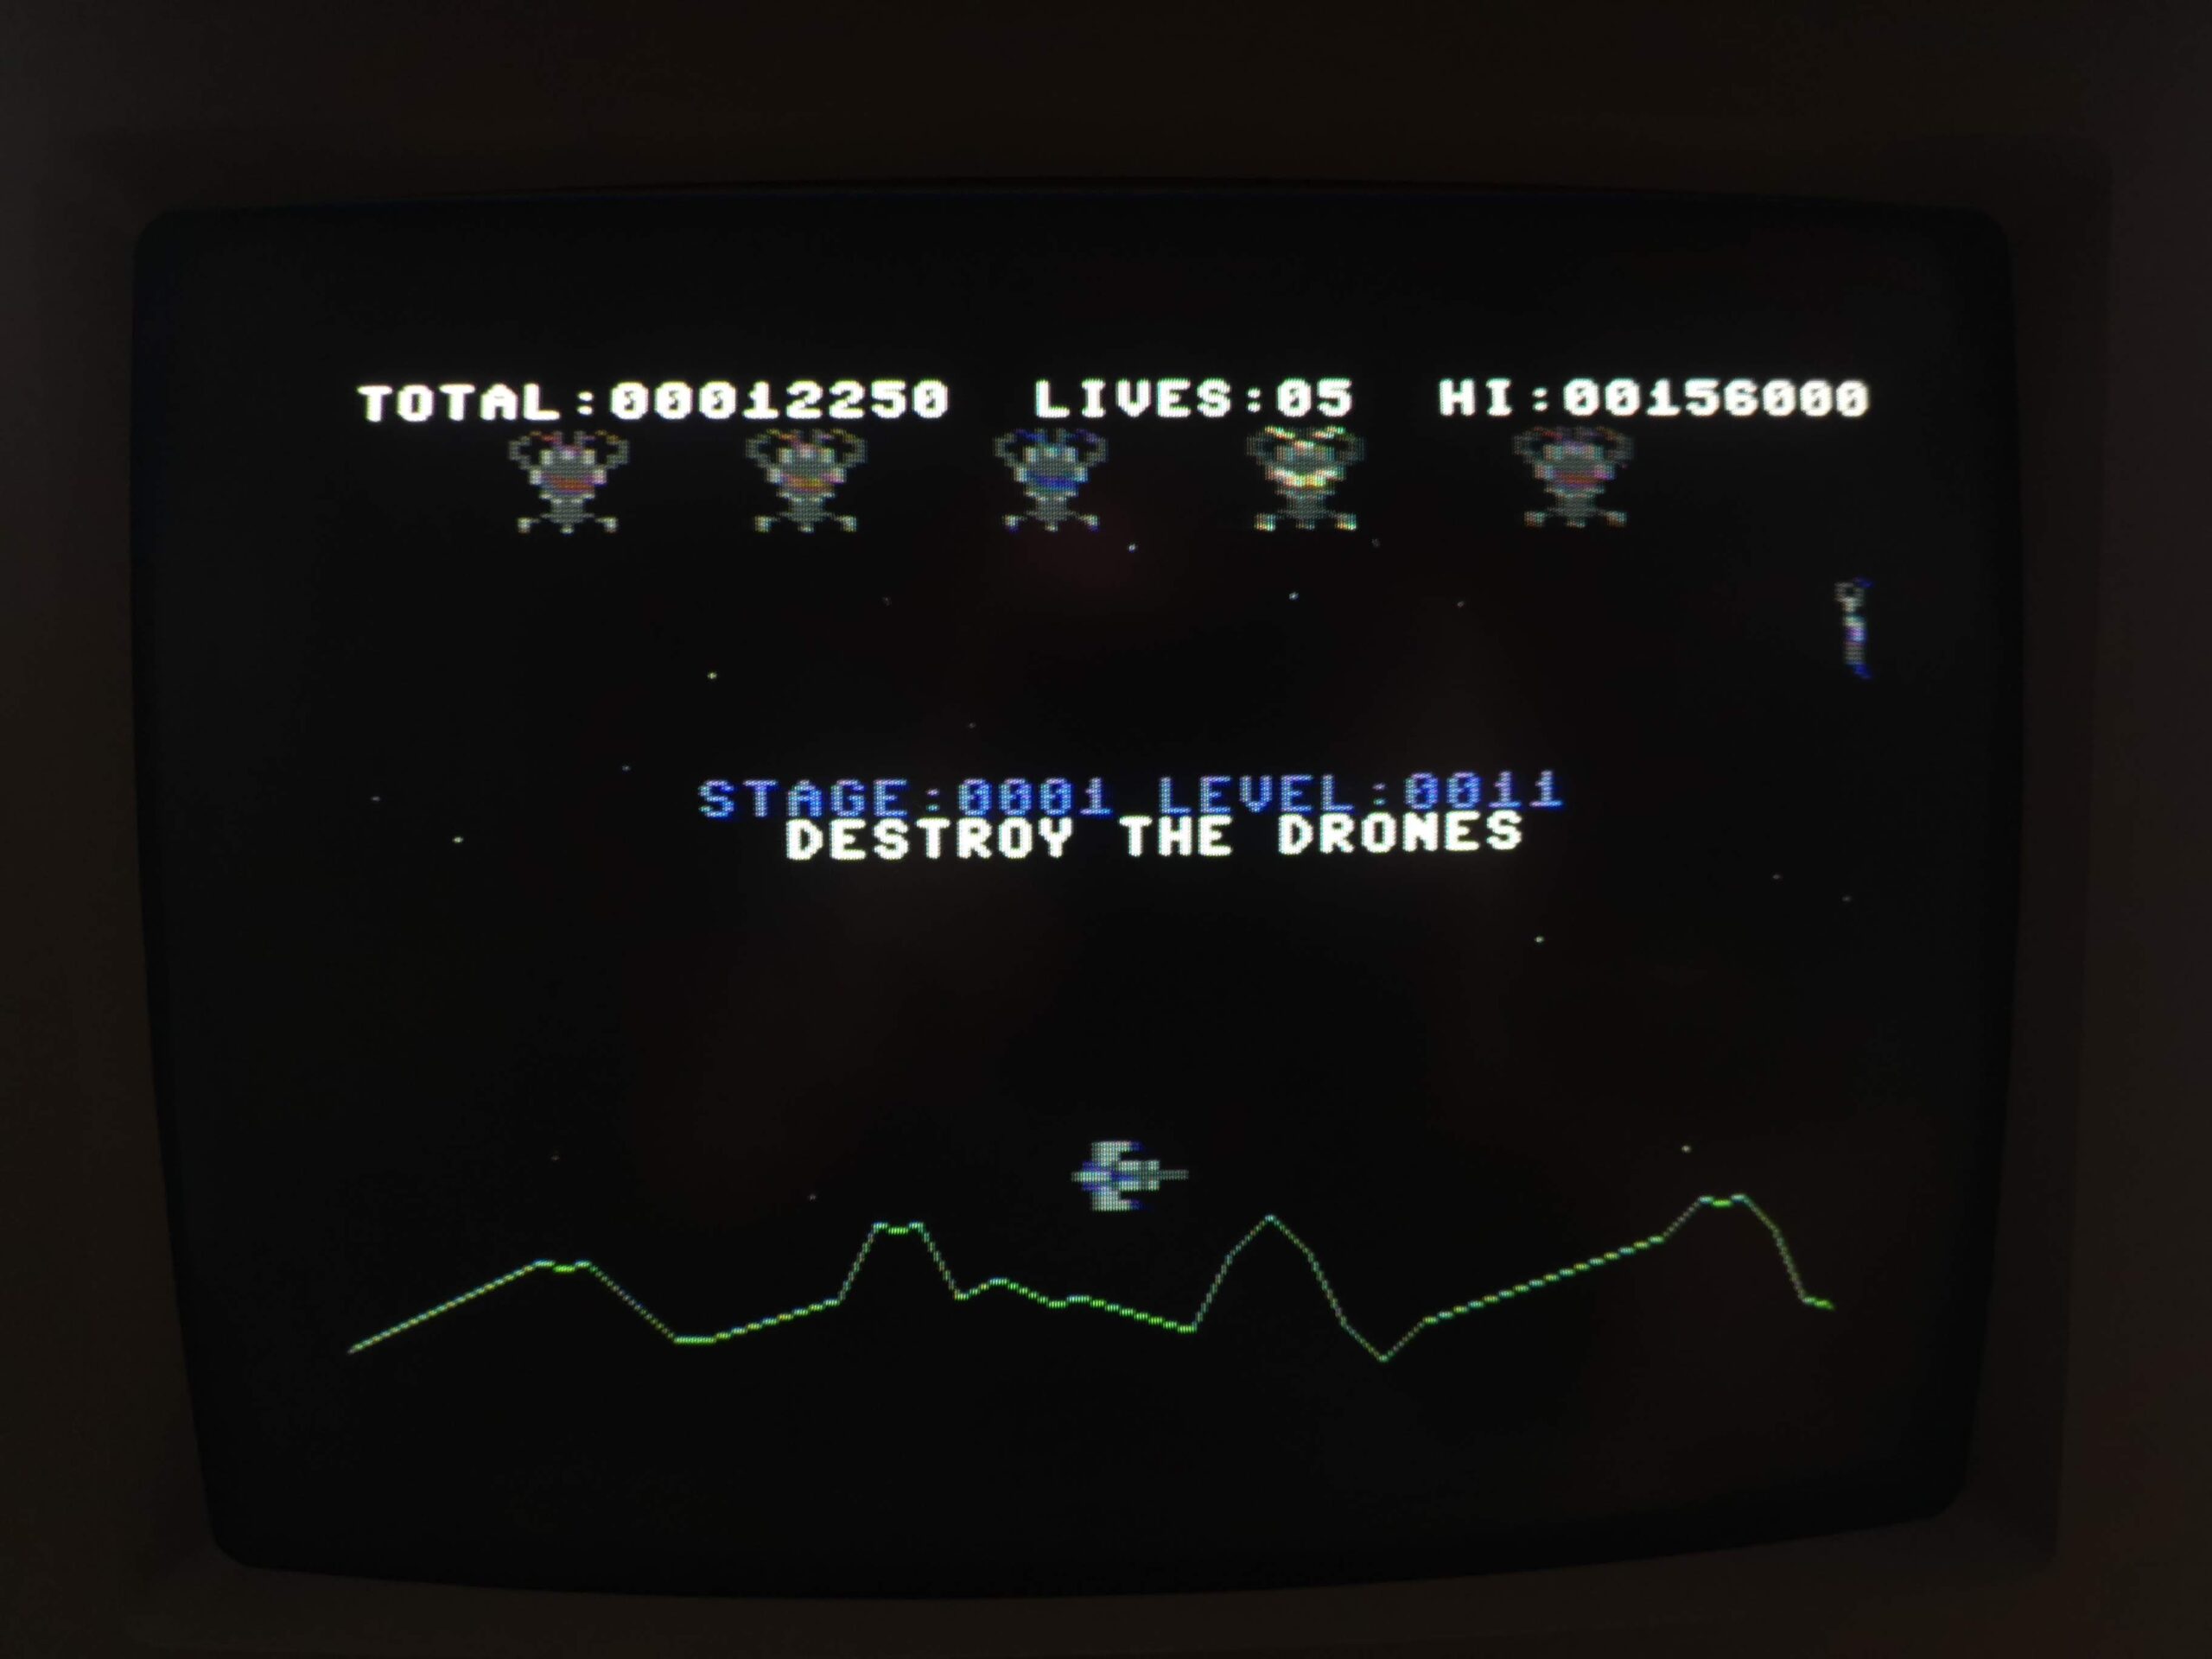
After a few waves of Galaxians you move onto the next series of levels – the ‘Star Wars’ phase. This is easily the weakest part of the game for me. Waves of enemy drones follow an elliptical path ‘into’ the screen. To give a 3D effect, blocky sprites are reduced in size to make them appear to fly away into the distance which in itself is an acceptable effect. However they do not fire back at you!! You can sit there doing nothing and the drones will just appear in front of you and fly away into the distance only to reappear in front of you and do the same again and again until you shoot them down. At the very least there should have been a timer or something to add some level of tension here but really the enemies should have been firing back at you.
The ‘Star Wars’ Phase.
Another niggle I have with this section is the lack of a firing animation. When you press fire the crosshairs will briefly flash and you hear a beep… and that’s it. If an enemy is under the crosshairs at the time it will be destroyed. Some sort of laser beam effect would have been nice here… even if it was just a couple of flashing lines like you got in Elite so you know your weapon is actually firing.
Phase 3
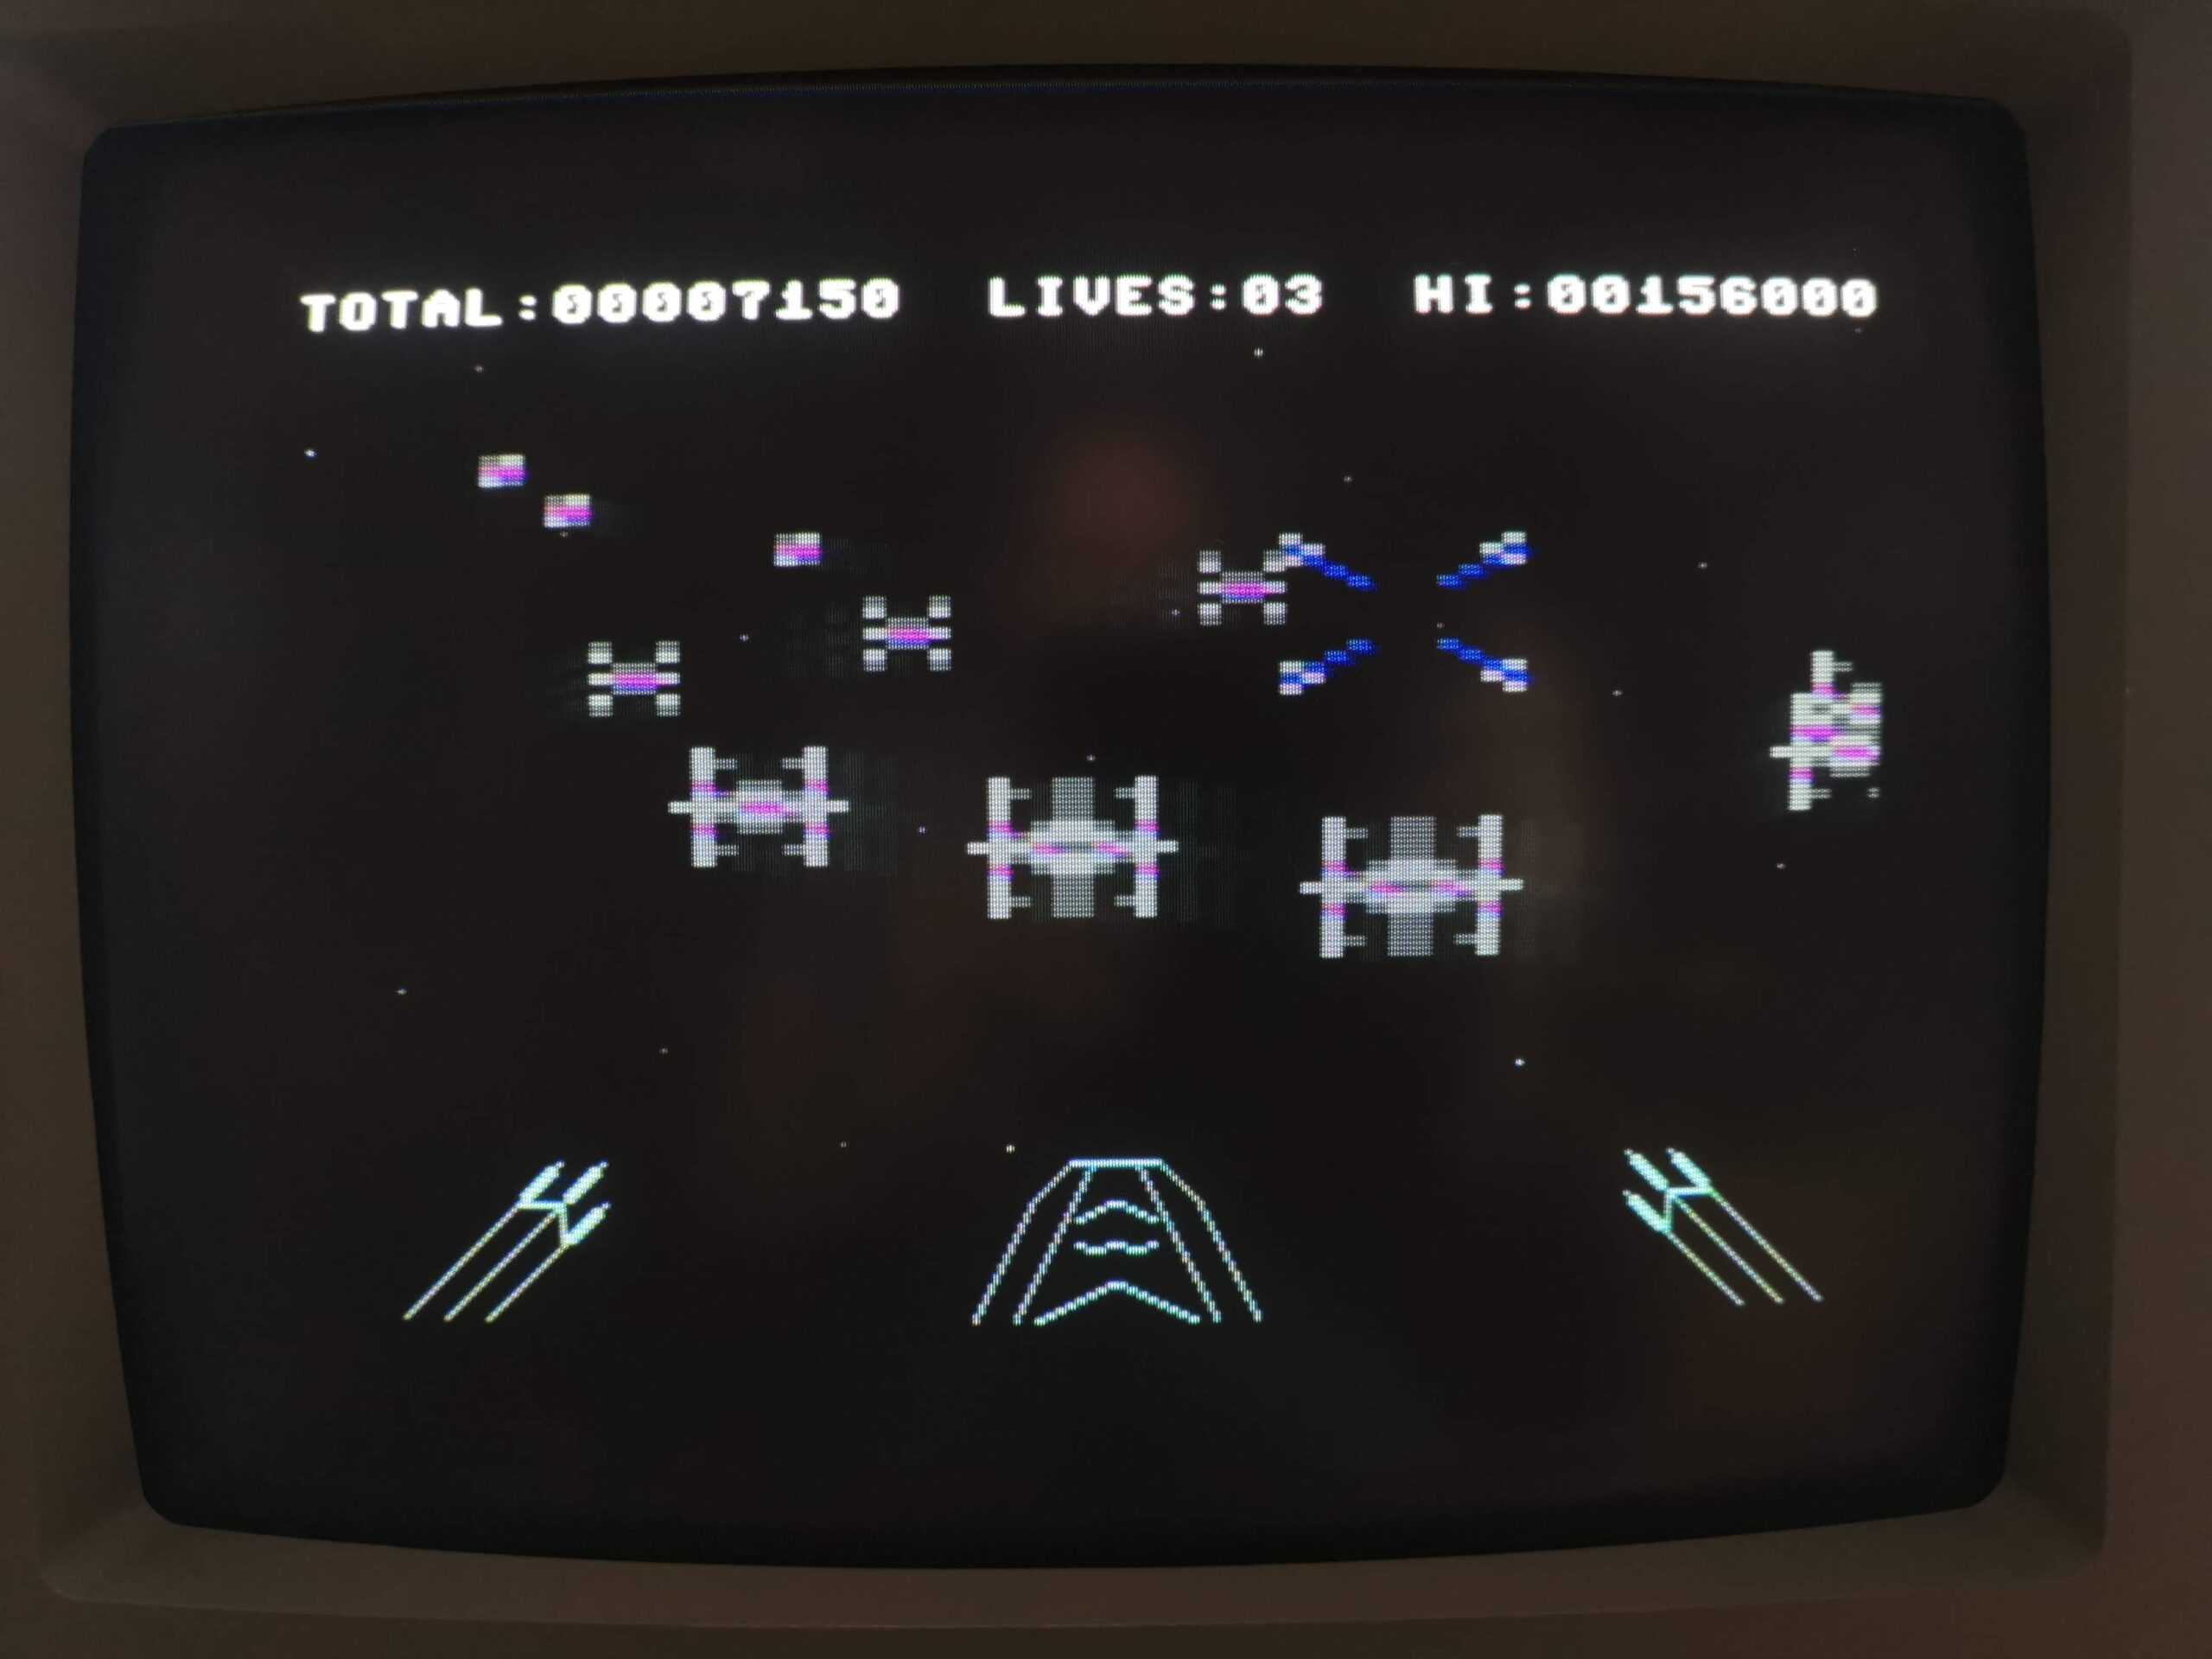
When you complete the star wars bit (and lets face it, it’s impossible to fail) it’s on to the final Defender phase. Here you fly your ship horizontally left and right across a scrolling vector landscape shooting down enemies and trying to prevent them from building bases on the planet surface.
The ‘Defender’ Phase.
The enemies are by and large the same as the ones you faced in the first stage of the game. They share similar attack patterns even though the screen is now scrolling horizontally. The new mechanic here is preventing the aliens from landing and building bases on the surface. Sadly there is no radar included for this section of the game which is an odd omission for a defender clone. It doesn’t ruin the gameplay completely but it does make accidental mid-air collisions with enemies more frequent than I would have liked.
Interspersed between the three phases are the occasional challenge levels. These are a variation of the Galaxians phase but enemies drop lots of pick-ups giving you a chance to stock up on extra lives and bonus score. After phase three you go back to phase one with slightly more enemies to deal with.
Verdict
The presentation of the game is a little disappointing I feel. The game makes a great first impression with a high quality box, physical goodies and that impressive pixel art screen. However things take a turn for the lacklustre once the main game loads with a screen full of text using the C64’s standard font. The enemy sprites are also very dull with poor use of colour making the game look very drab and uninteresting.
After the three phases the levels just loop around with maybe a few extra enemies so you are basically playing the same levels over and over with little to set them apart. There’s the occasional challenge level thrown in that offers extra lives and score bonuses but these don’t look much different from the standard levels. There are 108 levels in total and so far I’ve reached level 40. Other than encountering an asteroid field once there hasn’t been anything radically different from the first few levels of play.
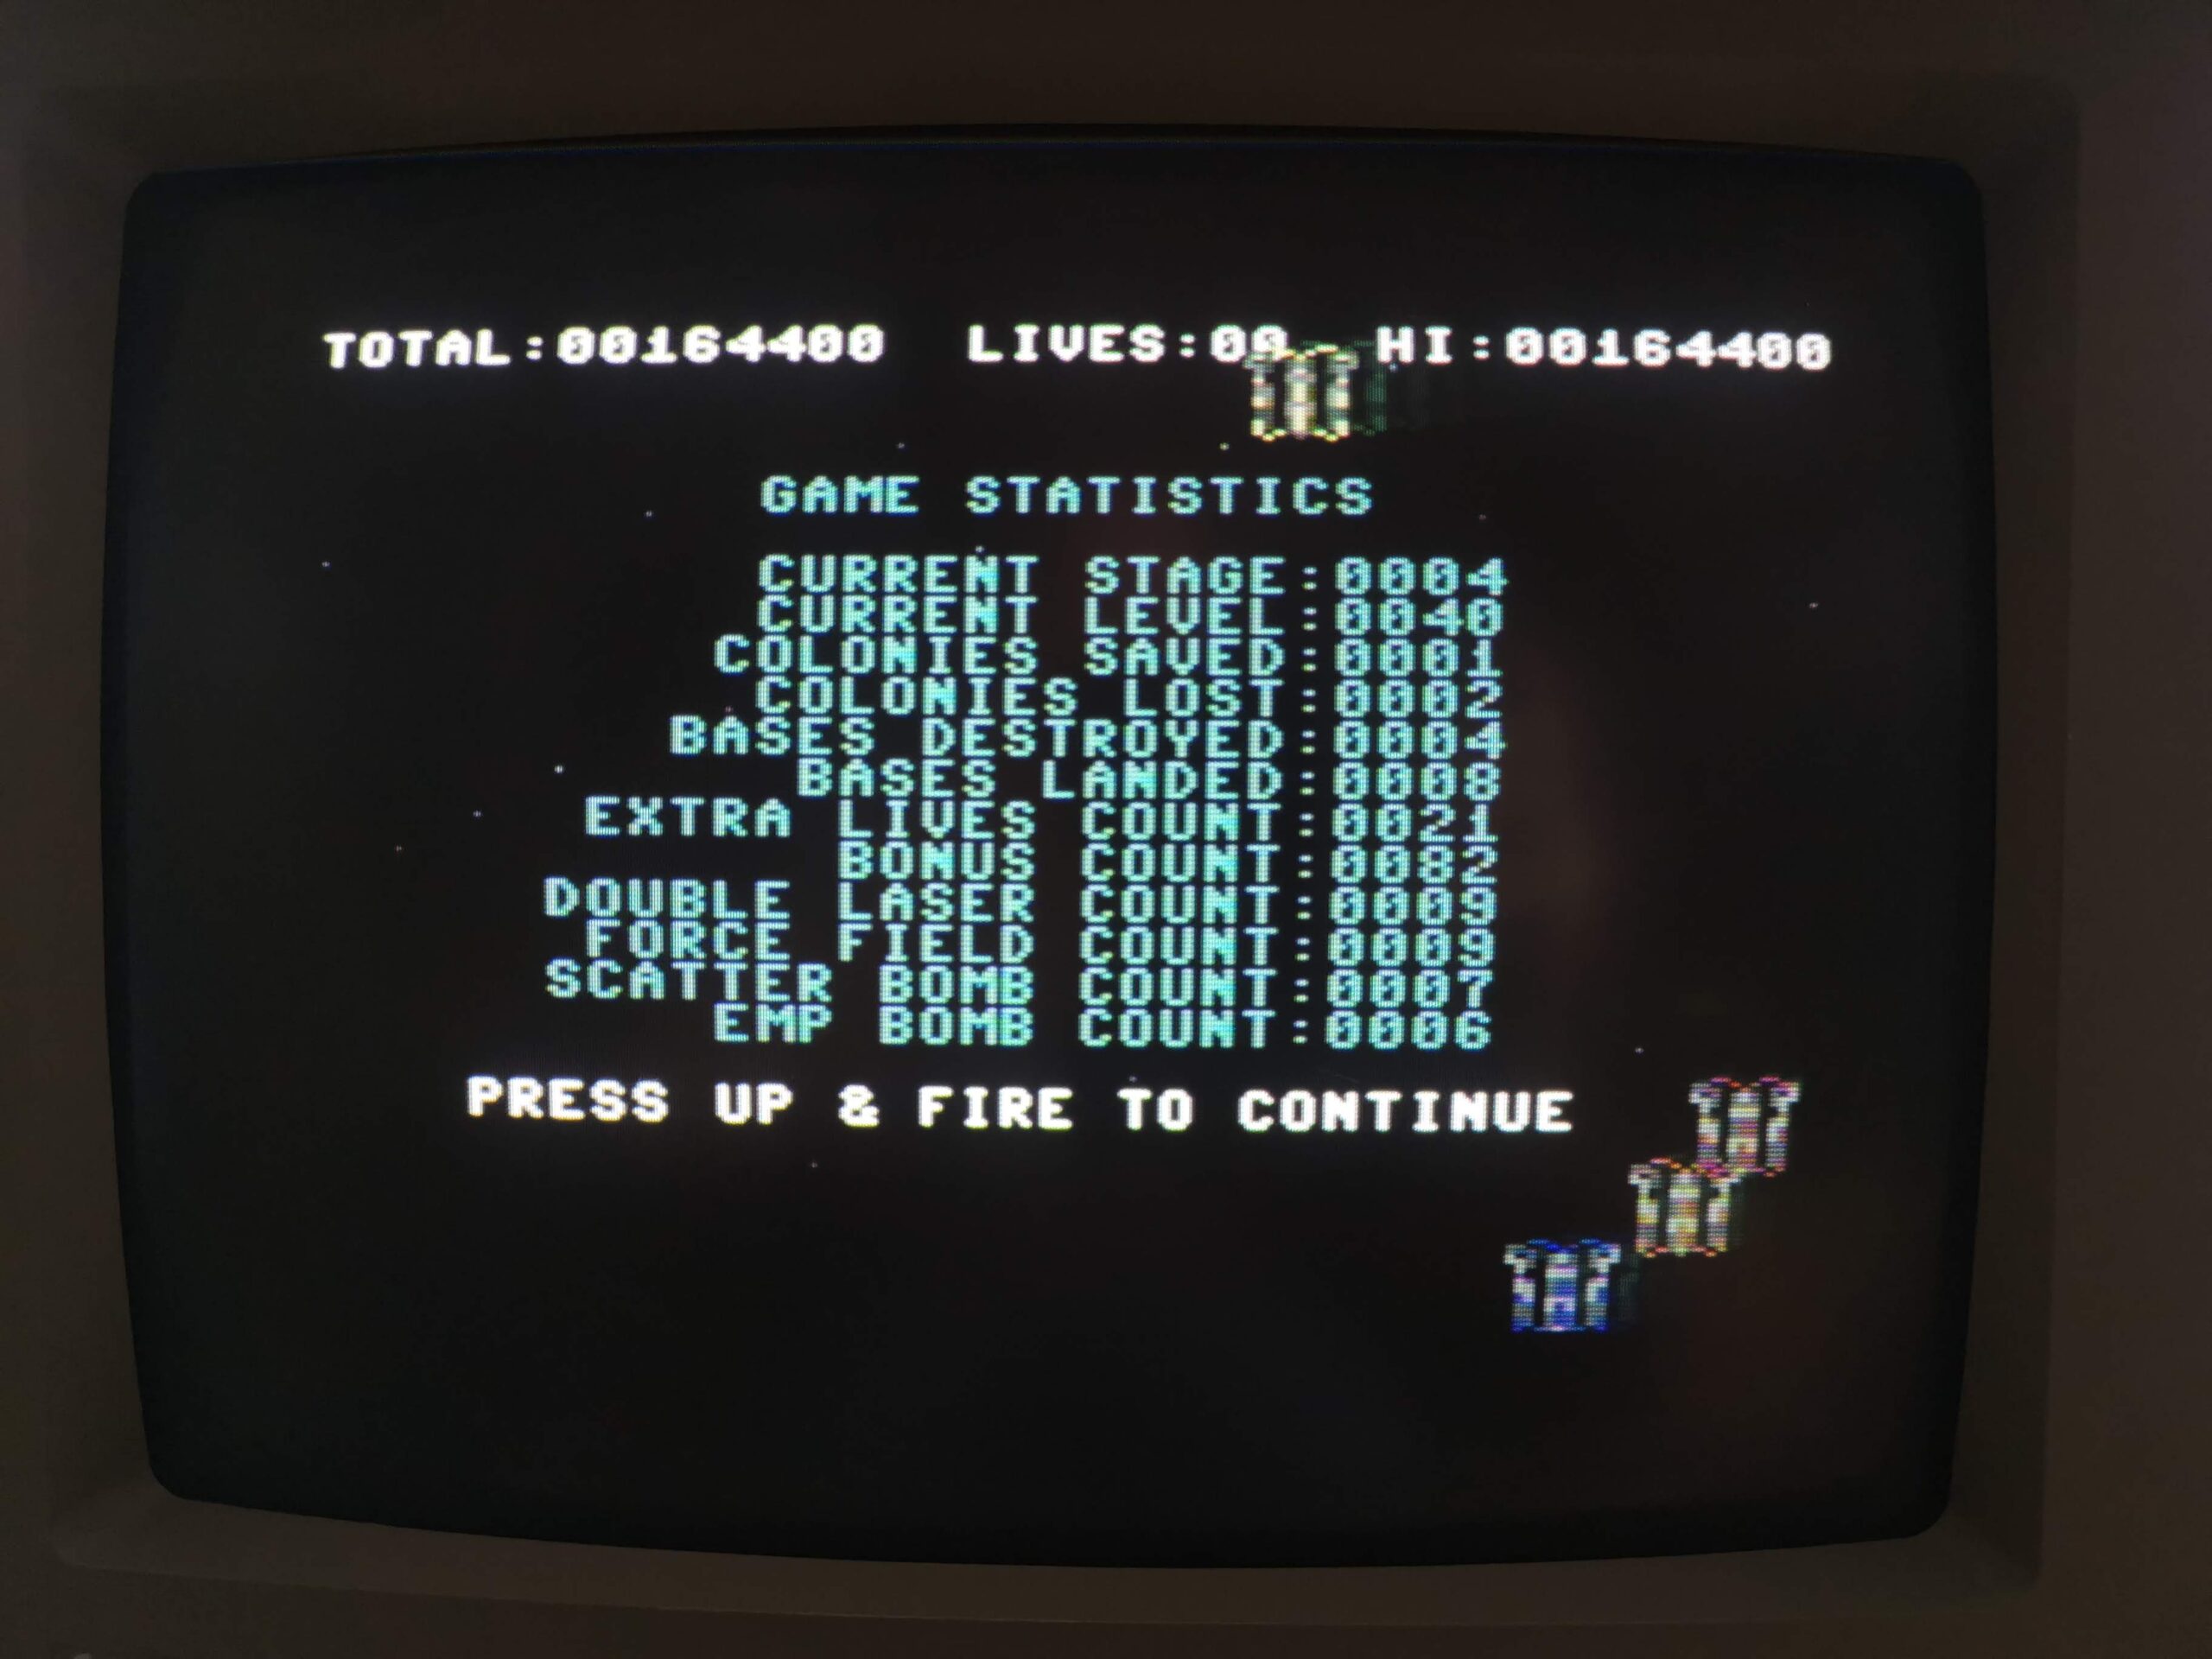
The ‘Game Over’ / High Score Screen.
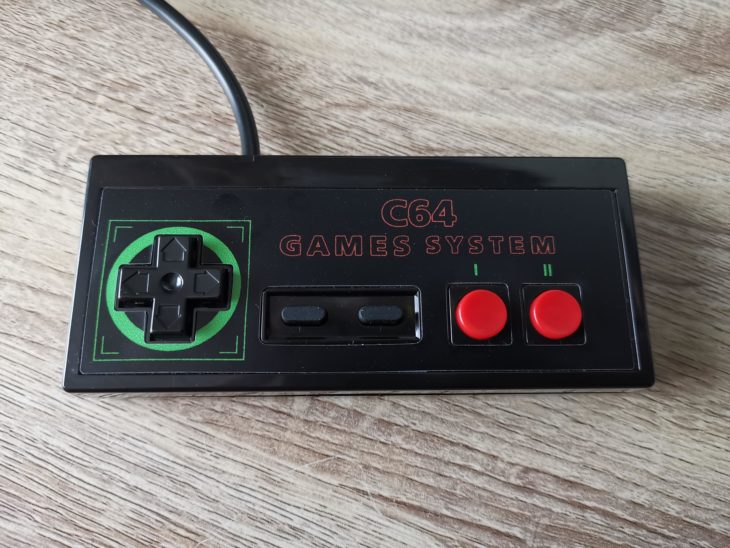
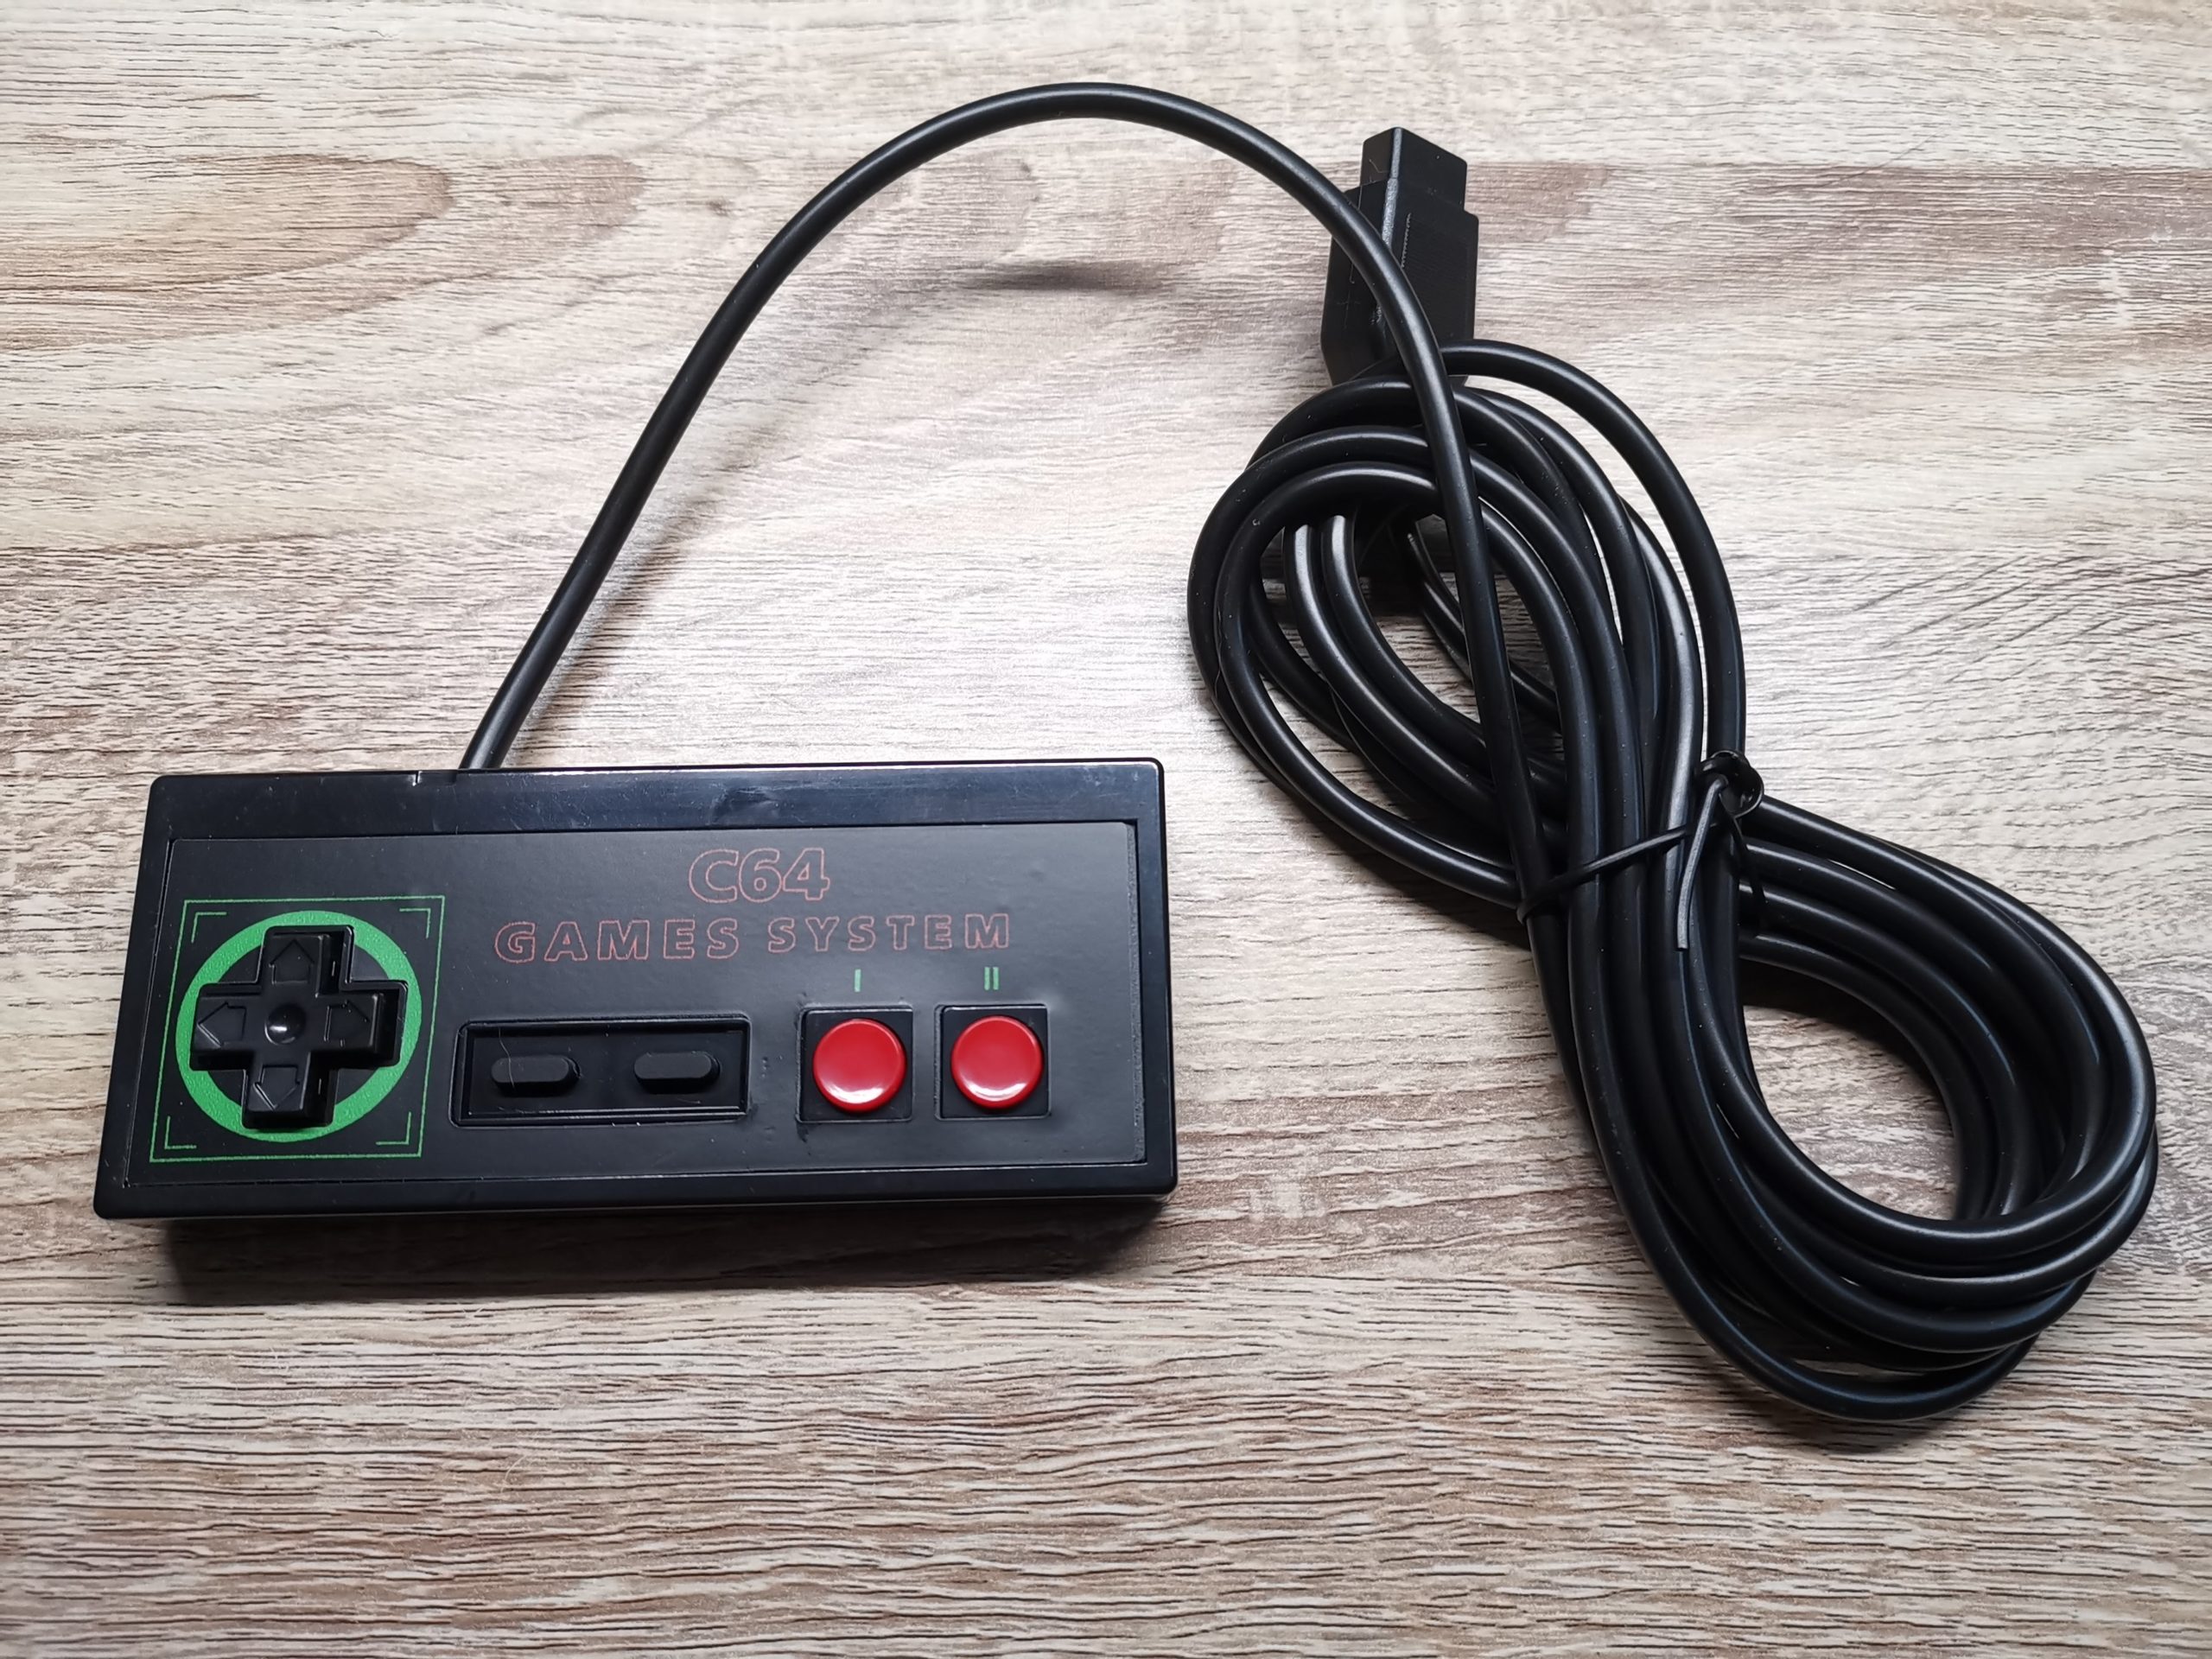
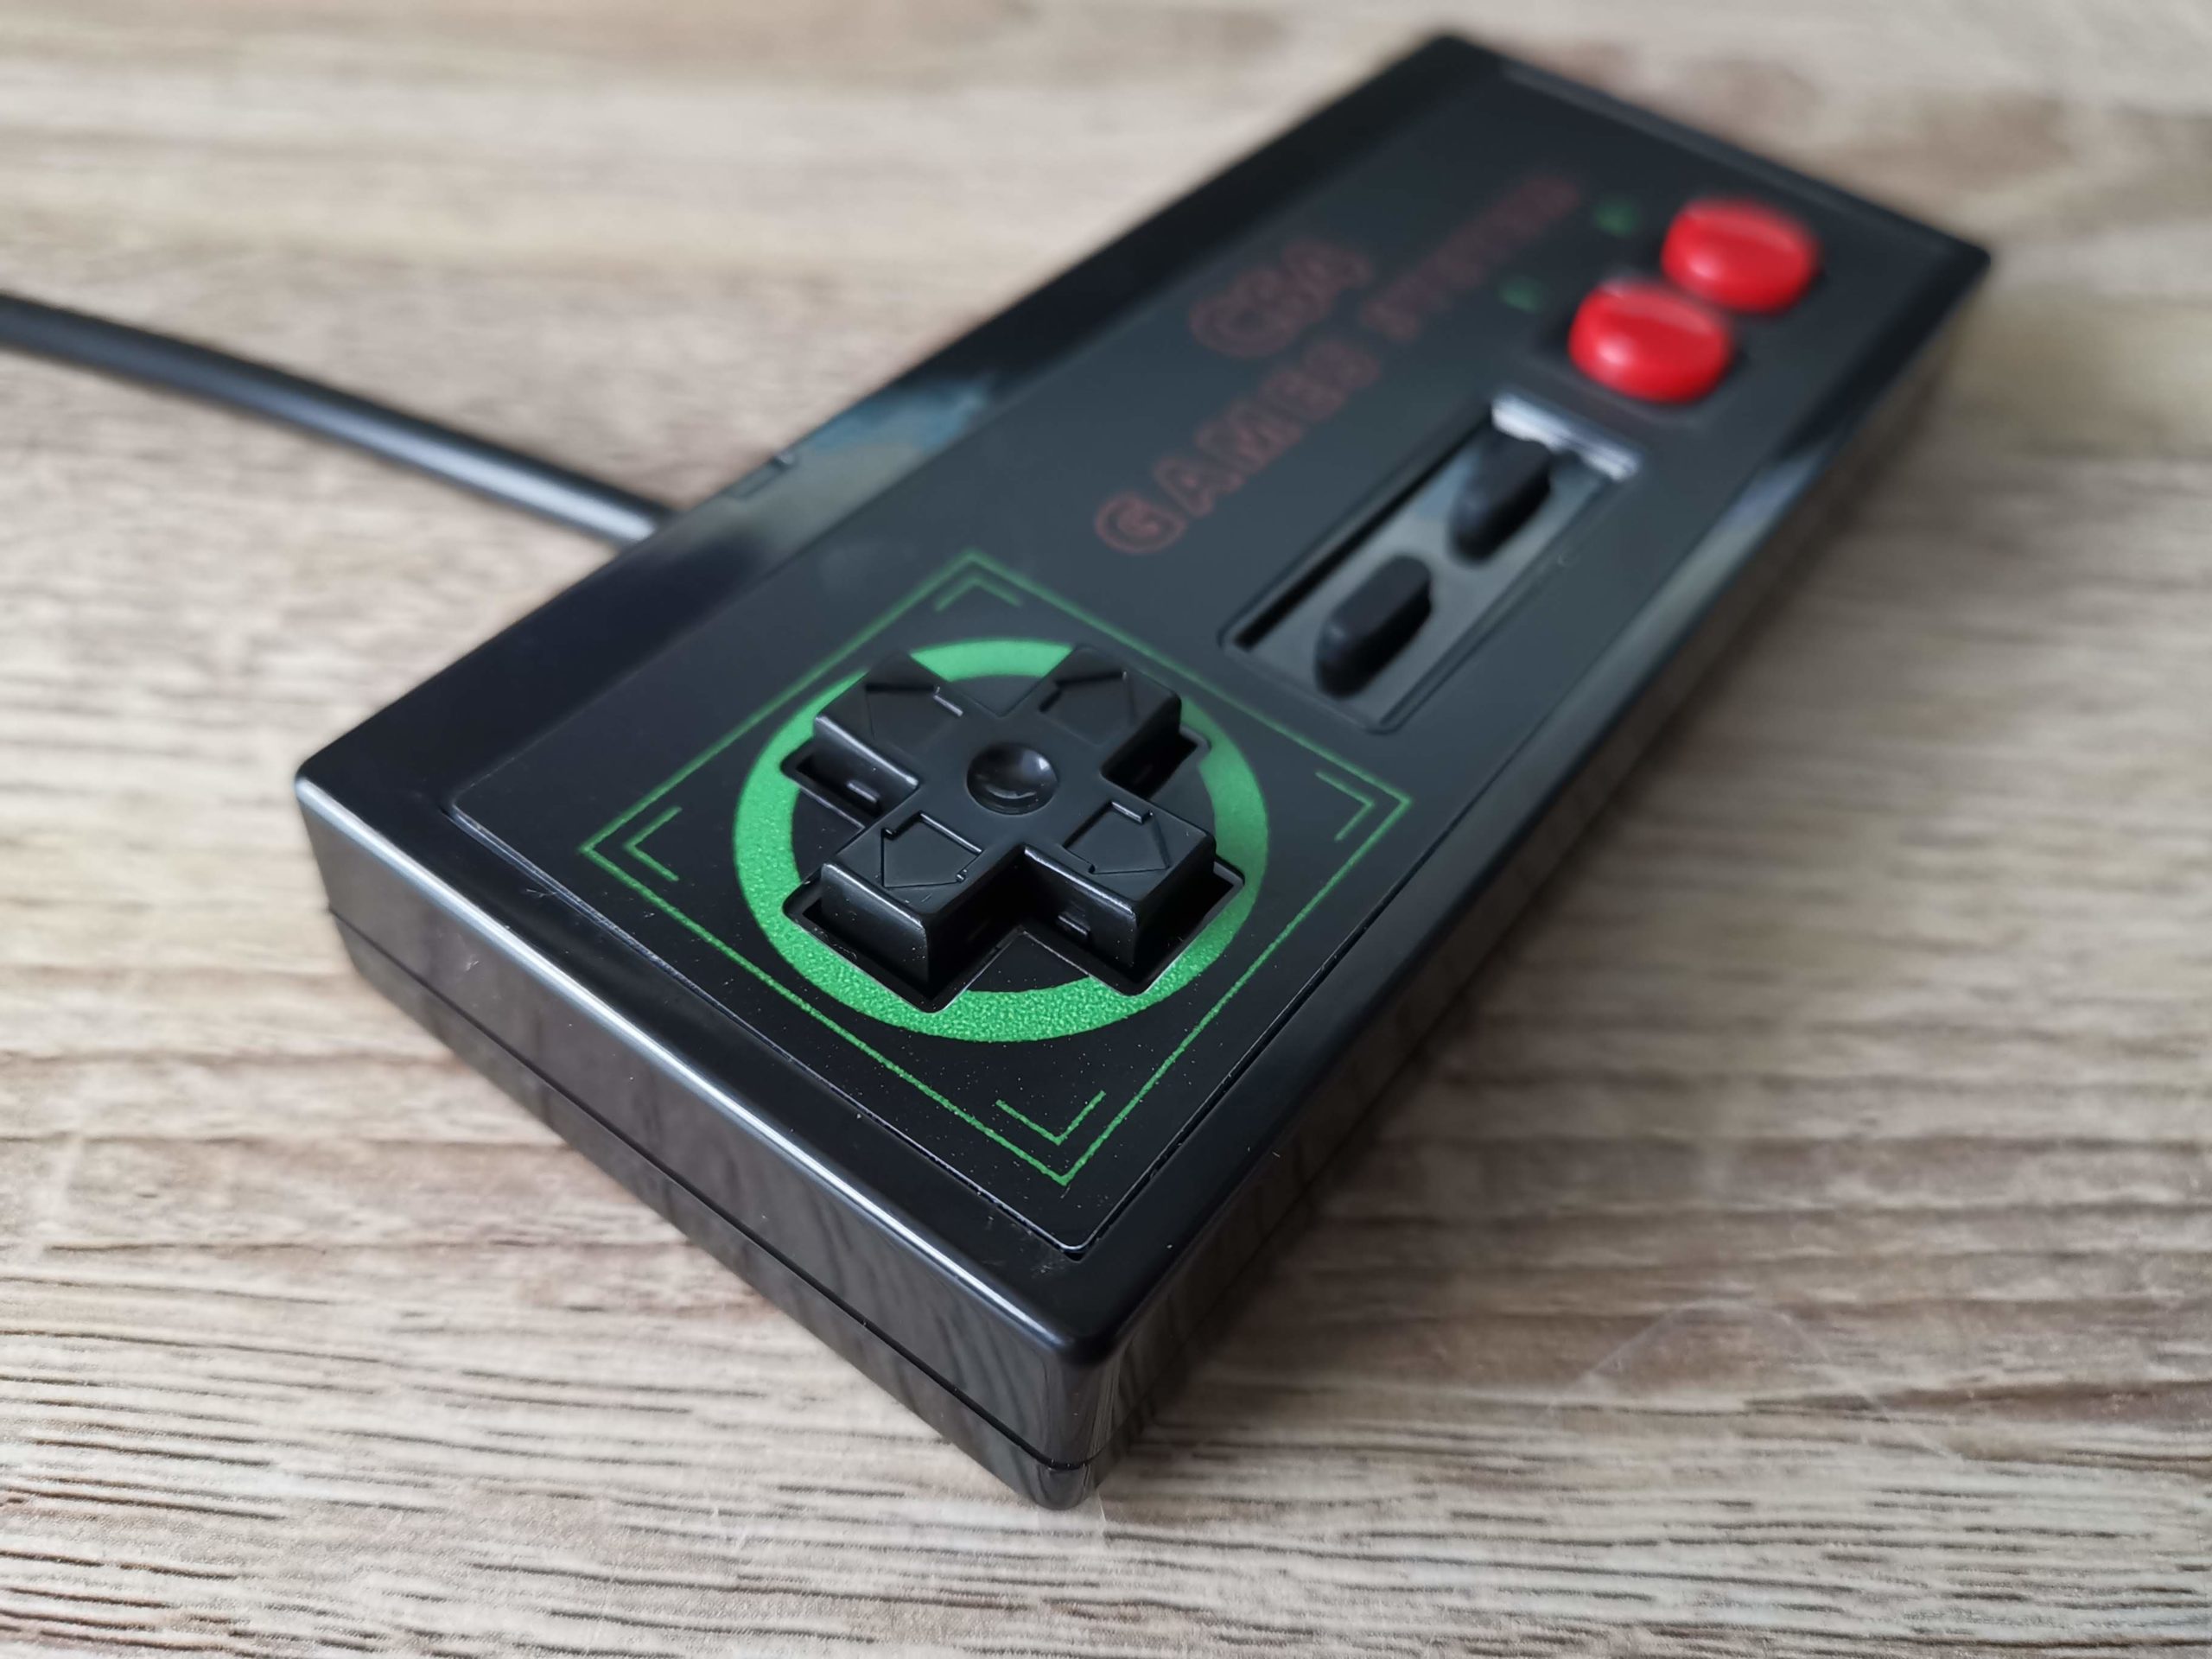
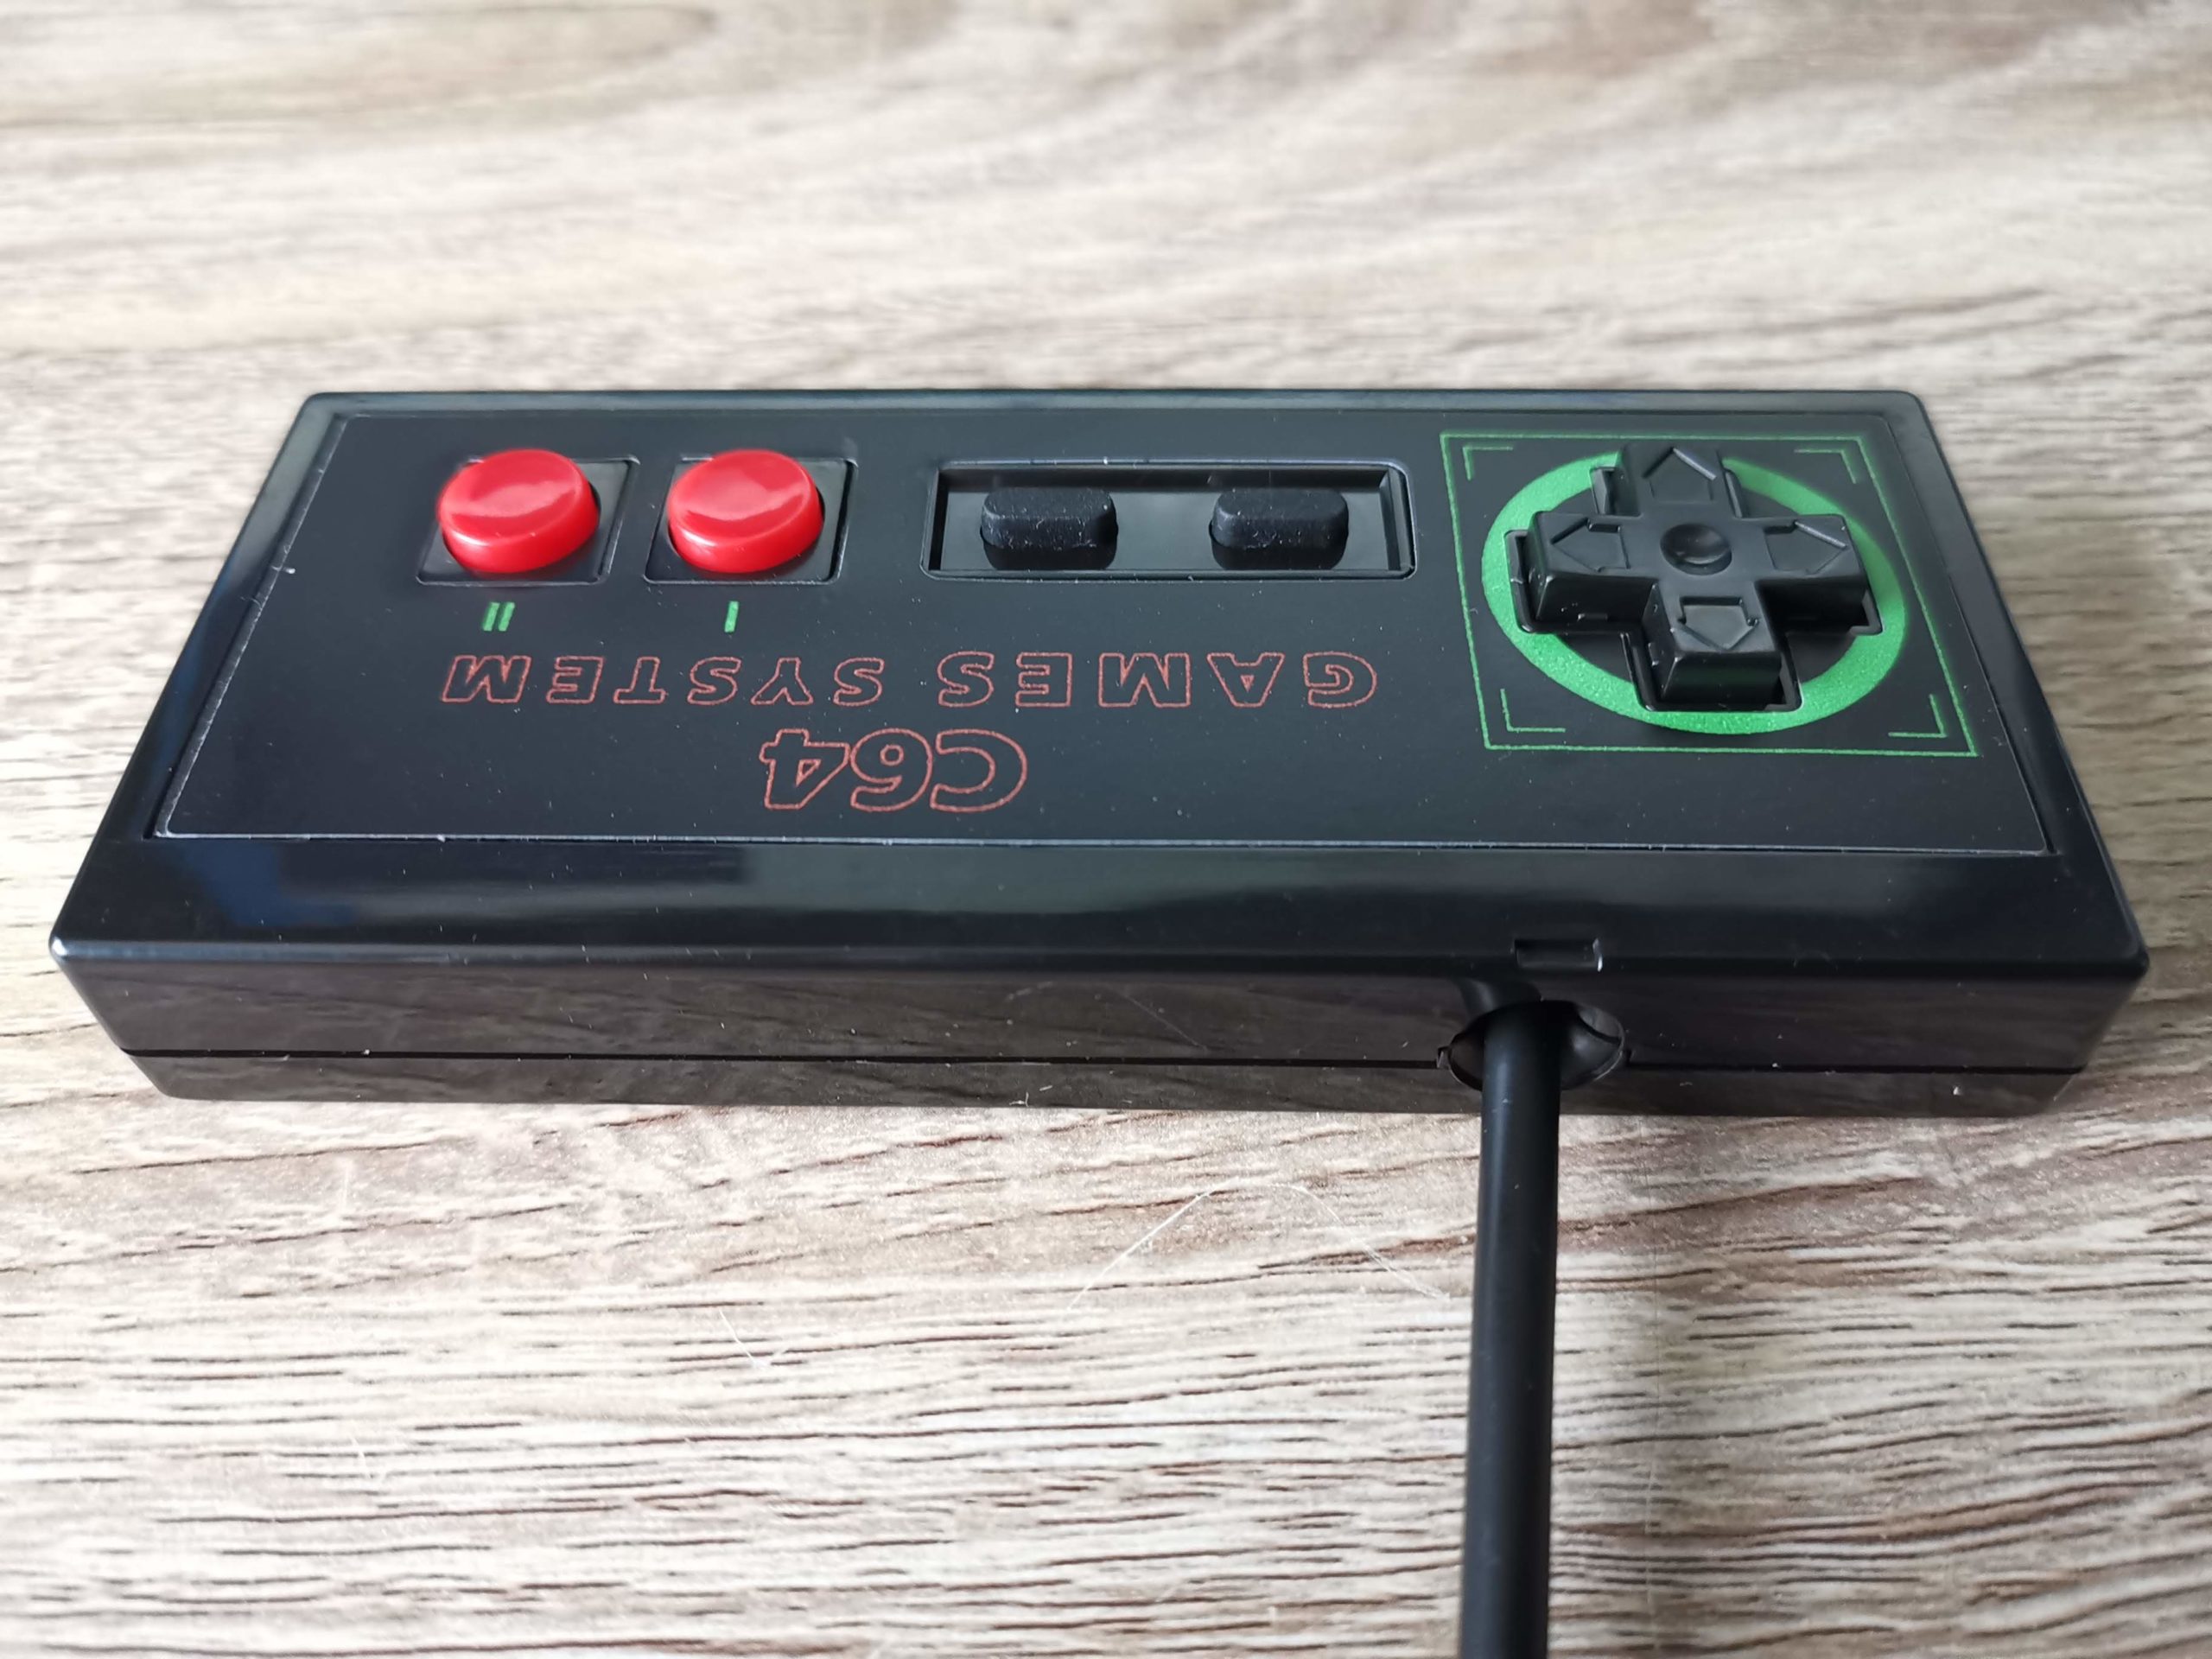
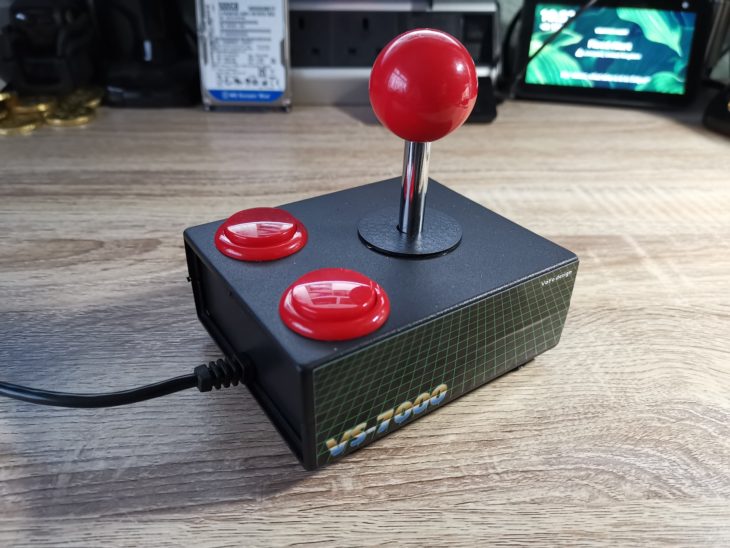
Despite appearances though it’s actually a fun little shooter once you get into it. I highly recommend using a gamepad rather than a joystick as you really need that extra responsiveness you get with a D-pad. The inclusion of a permanent high score is a big positive too as you are always striving to beat it. Sadly it is literally just a high score that is saved though. No names or initials are stored so if your wife beats your score there’s no way to save that fact for posterity.
So is it worth the £35 I pledged on Kickstarter? Sadly I don’t think so, no. It would definitely make a great budget game, maybe on Itch.io for a few pounds. However I feel it just doesn’t have the polish or variety I expect for a game at this price level.