Lyonsden Blog

Tag - MEGA65

MEGA65 Showdown Review

MEGA65 Showdown

Showdown, by Badger Punch Games, takes the award for being the very first boxed retail game that I’ve picked up for my MEGA65 from PolyPlay. Hopefully as the MEGA65 userbase continues to grow more games like this will emerge as has happened with the ZX Spectrum Next scene. I actually bought this way back in November 2023 but as I never had a machine to play it on it’s been sat sealed on a shelf – until now!
 

MEGA65 Showdown

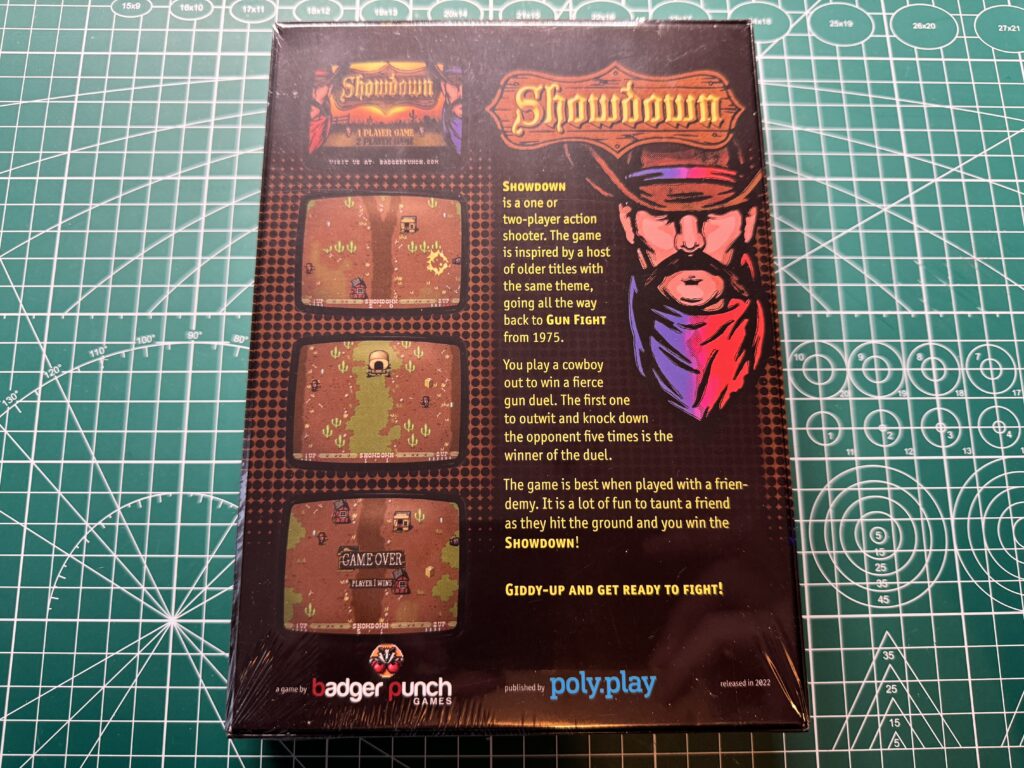
Back of the box


The box itself is beautifully produced with a picture of your typical spaghetti western gunslingers on the front and some screenshots of the game along with a description of the gameplay on the back.
 

MEGA65 Showdown

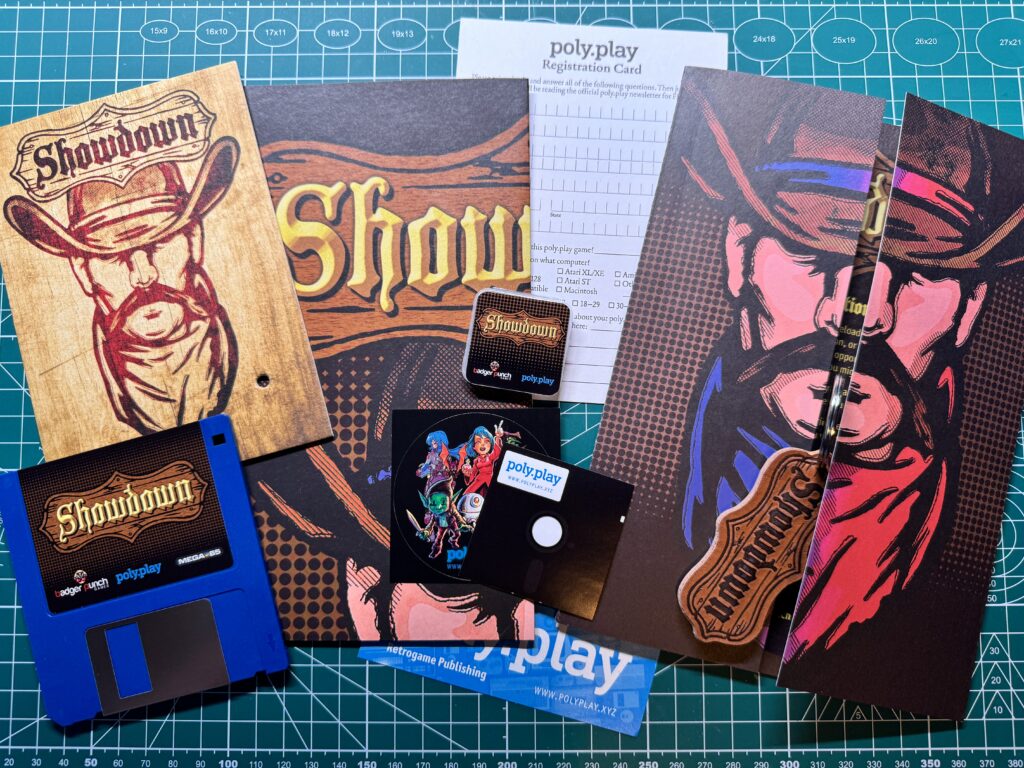
All of the goodies you get inside the box


So what comes in the box?


Removing the shrink-wrap seal on the collectors edition box reveals a plethora of goodies inside, including;

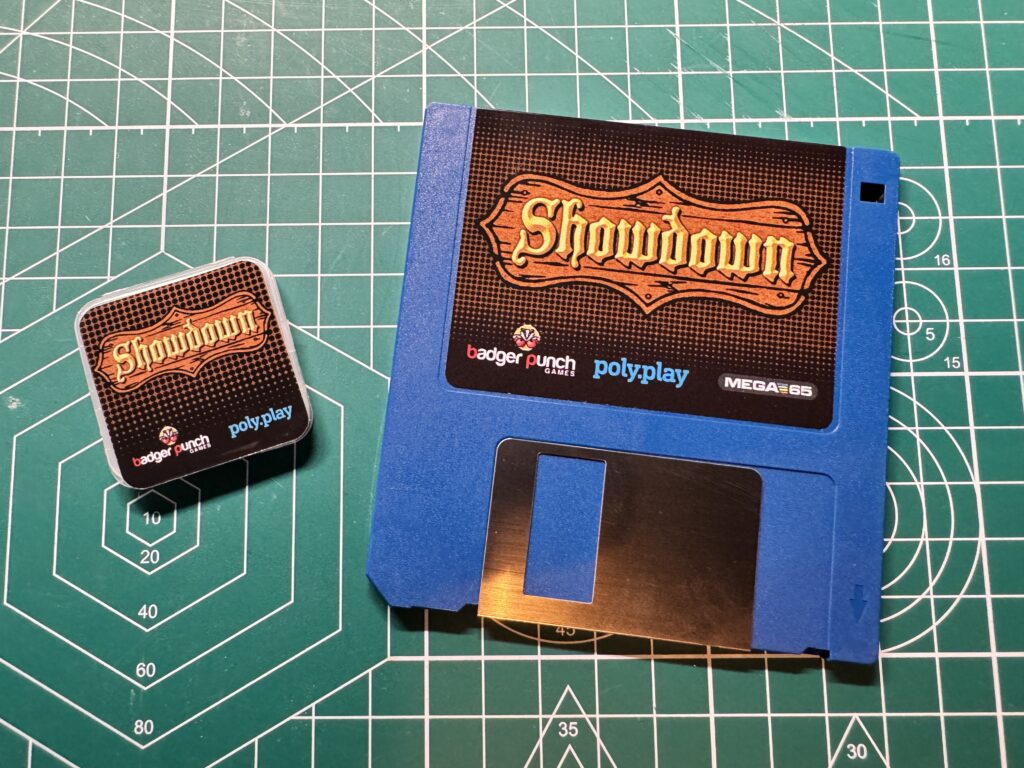
  • 3.5″ floppy disk with professionally printed game label.
  • Leather Showdown keyring
  • MicroSD card including D81  disk images and other digital files
  • Fold-out manual
  • Thick postcard with mock bullet hole (whole thing is made to look like its a plank of wood)
  • Stickers
  • A3 Showdown poster
  • Registration card


MEGA65 Showdown

3.5″ Floppy and MicroSD card. Both containing the game


The game is included on both a standard DS/DD 3.5″ Floppy Disk and also digitally on a small 256MB MicroSD card. The card also stores a copy of the manual in PDF format, the box artwork, postcard, poster and also the soundtrack music in mp3 format. It’s essential that releases like this have a digital option, either included on a card like this, or as a download, because magnetic media is notoriously unreliable now. Floppy disks haven’t been manufactured for about 15 years or more so even if you find some ‘new old stock’ they have still been in storage for at least that long!
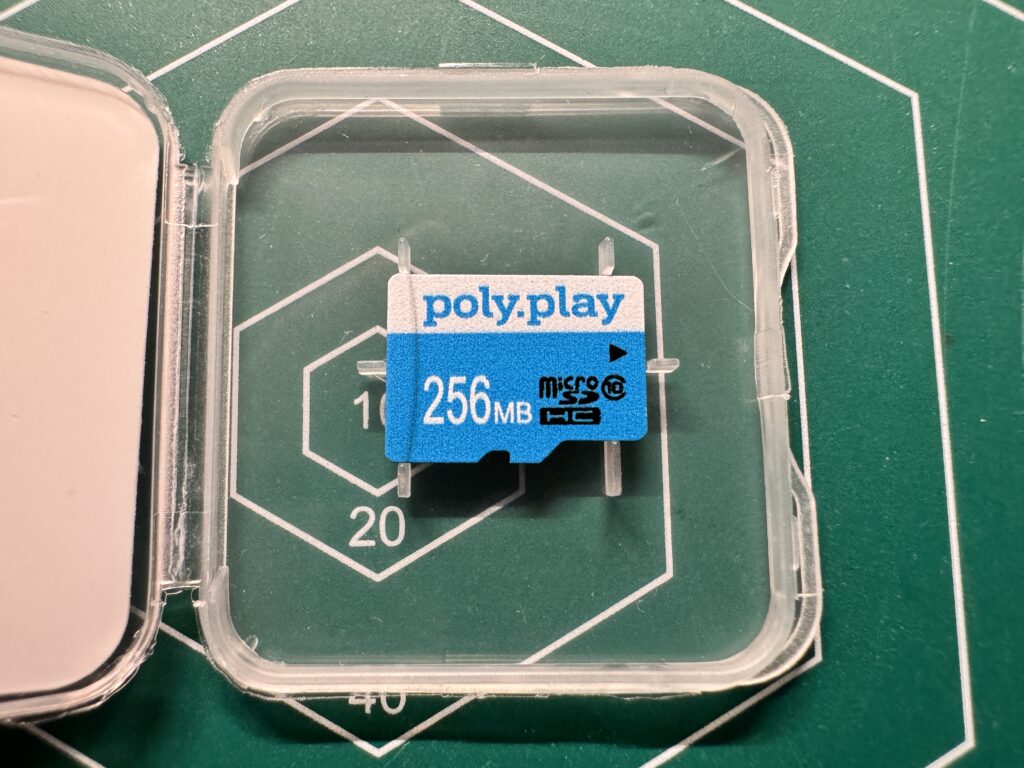
 

poly.play MicroSD card

MicroSD Card


I’m really glad I had the digital D81 version of the game too because when I popped in the floppy disk I couldn’t get the game to load. On closer inspection there appeared to be nothing on it which was disappointing.
 

MEGA65 Showdown

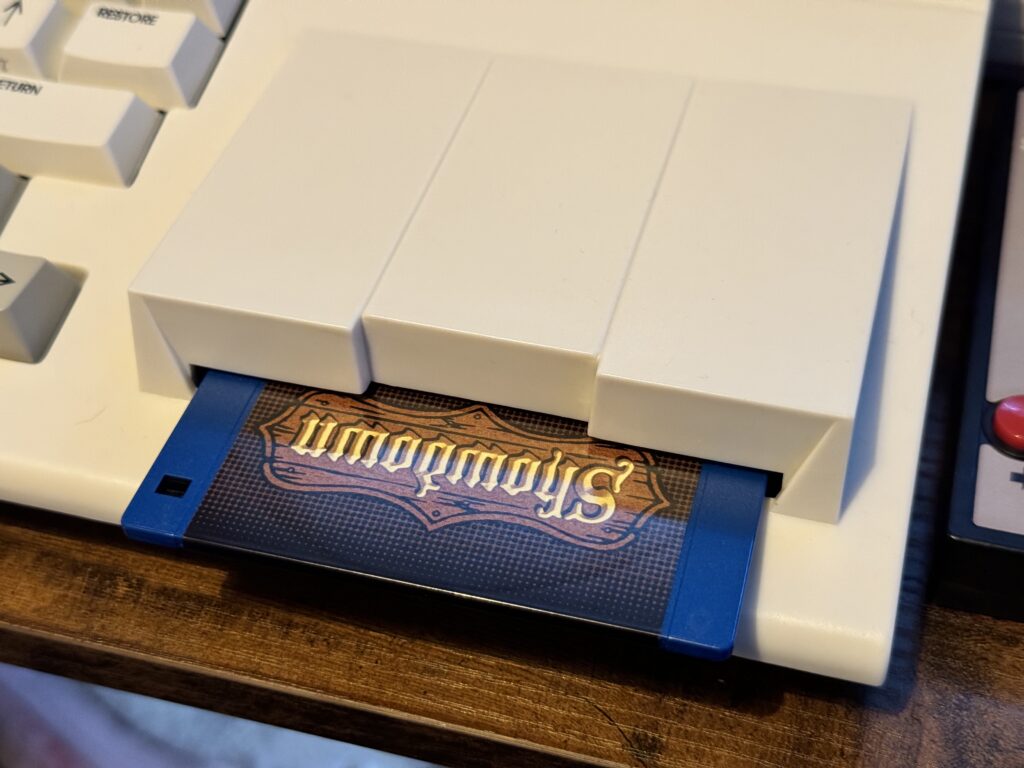
Popping the game into the MEGA65’s floppy drive


Thankfully the D81 image loaded fine so there was an easy fix. Leaving the floppy disk in the internal drive I mounted the D81 disk image as drive 9 and then used the MEGA65 command ‘BACKUP U9 to U8’ to copy the contents of the disk image to the real floppy disk. It was quite a slow process but at the end I had a fully populated physical floppy disk. I ran a quick ‘DIR’ to make sure all the files were present before attempting to load up the game once more – which they were.
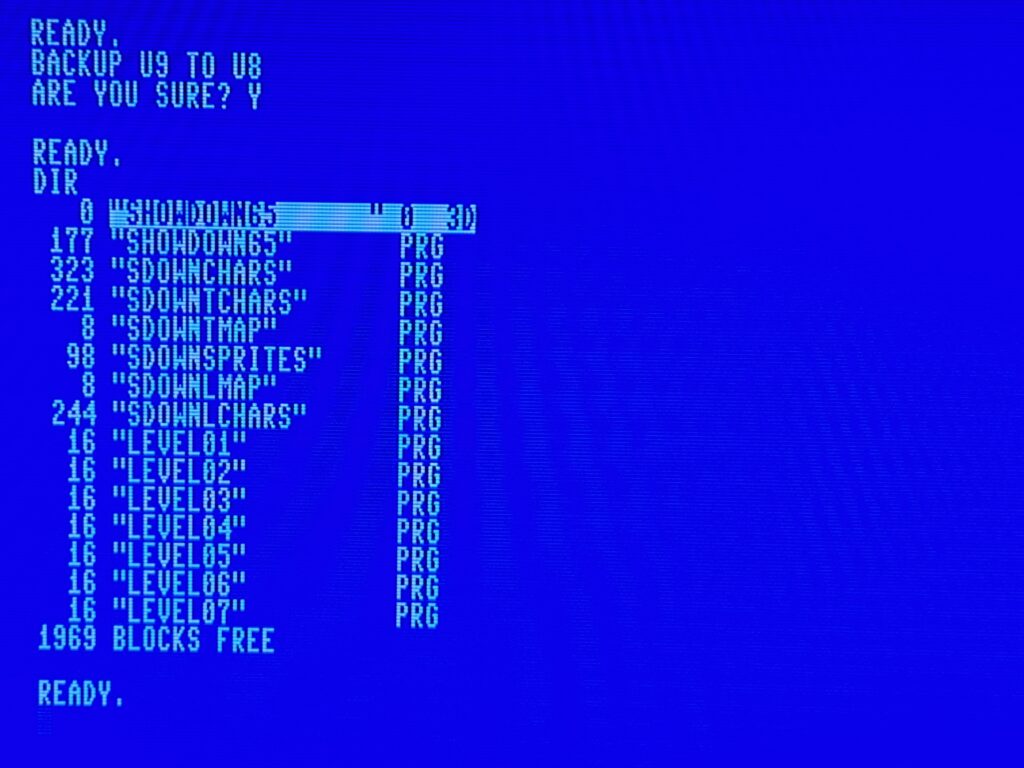
 

MEGA65 directory listing

Contents of the freshly copied Showdown floppy disk


I’ve no idea why my disk appeared blank – it’s the first MEGA65 game I’ve bought from poly.play. Maybe it’s supposed to be blank and you have to copy the game onto it yourself? Maybe somebody just forgot to put them on my disk? Who knows.

I did a bit of googling before posting this and it turns out this was an oversight by the team as they didn’t have access to an actual MEGA65 machine to test the disks on which is fair enough. Presumably any copy of the game bought since won’t have this issue.

Anyway this time I was able to boot up the game successfully from the floppy and was greeted with a nice Badger Punch Games splash screen.
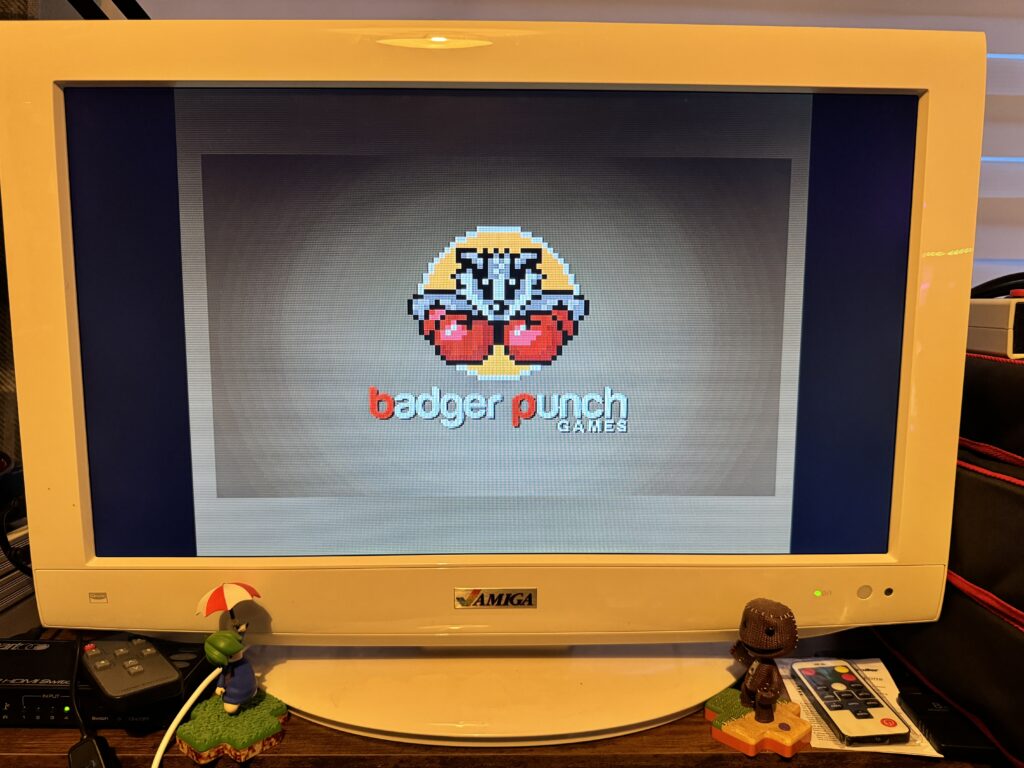
 

Badger Punch splash screen

Badger Punch splash screen


Shortly after that the game finished loading and I reached the title screen with the option to pick either a 1 or 2 player game. Sadly I have no retro gaming friends so it was ‘1 Player Game’ or nothing for  me.

Gameplay is very straightforward and everything takes place on a single screen. You, the red guy, are on one side of a dirt road and the enemy, the blue guy, is on the other side. You can run around the confines of your side of the screen but you cannot cross the road. You need to shoot the other guy before he shoots you and the first gunslinger to rack up 5 kills wins.
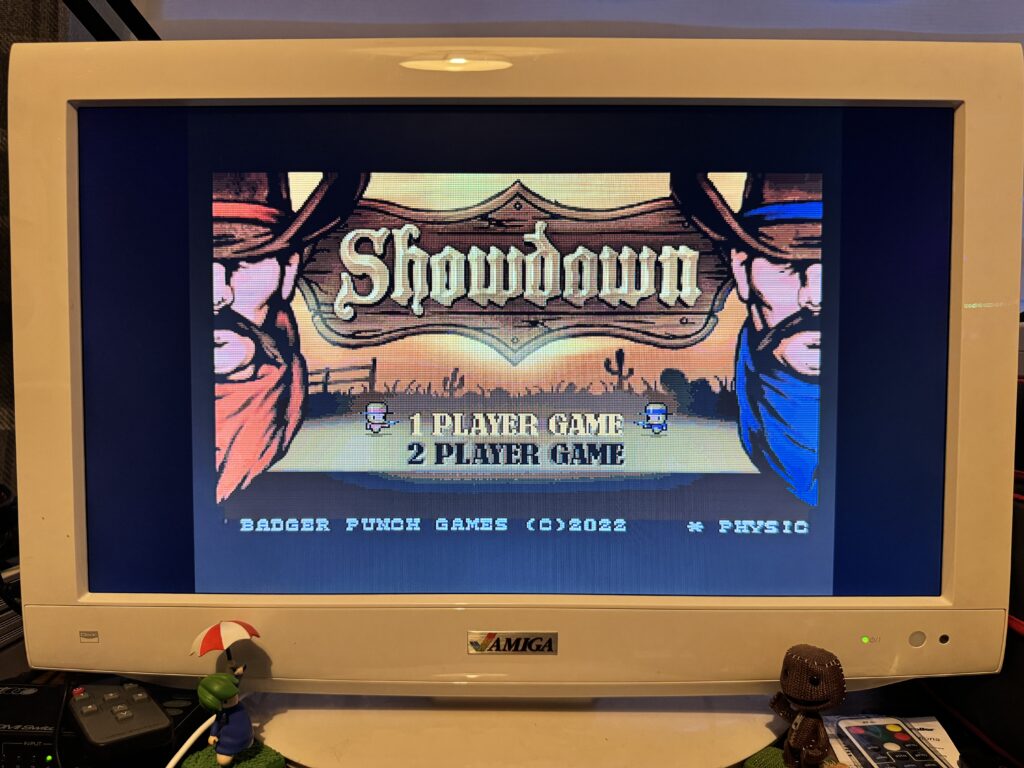
 

MEGA65 Showdown title screen

MEGA65 Showdown title screen


Screens are are peppered with cacti and sometimes a few buildings which you can use as cover. These don’t last forever as bullet hits chip away at them, space invader base style. Occasionally a covered wagon will make its way up the screen making for some mobile cover whilst you duke it out.

If you stand still whilst firing then your bullets shoot straight across the screen. However if you fire from the hip whilst moving then your bullets follow a diagonal trajectory in the direction you were heading. Skilful exploitation of this mechanic can help take out the enemy from behind cover.
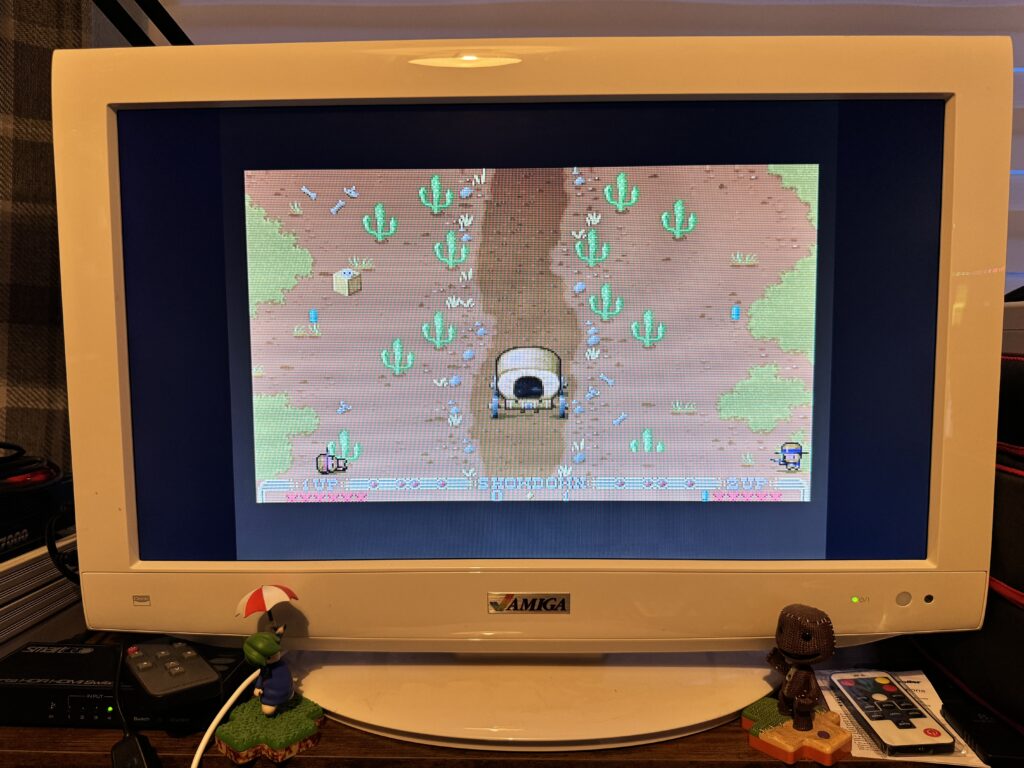
 

MEGA65 Showdown

Don’t play whilst trying to take photo’s…


Explosive crates appear from time to time and these are great for catching the enemy unawares as they have quite a wide blast radius if you shoot one. Just be careful he doesn’t do the same to you, or worse still, you accidentally shoot one next to you and take yourself out!

Your gun can only hold 5 bullets but thankfully ammunition is plentiful and you only need to walk over one of the blue bullet icons that randomly appear to replenish your supply. The first player to rack up 5 kills is the winner and that’s about it really as the game ends and you are whisked back to the title screen.
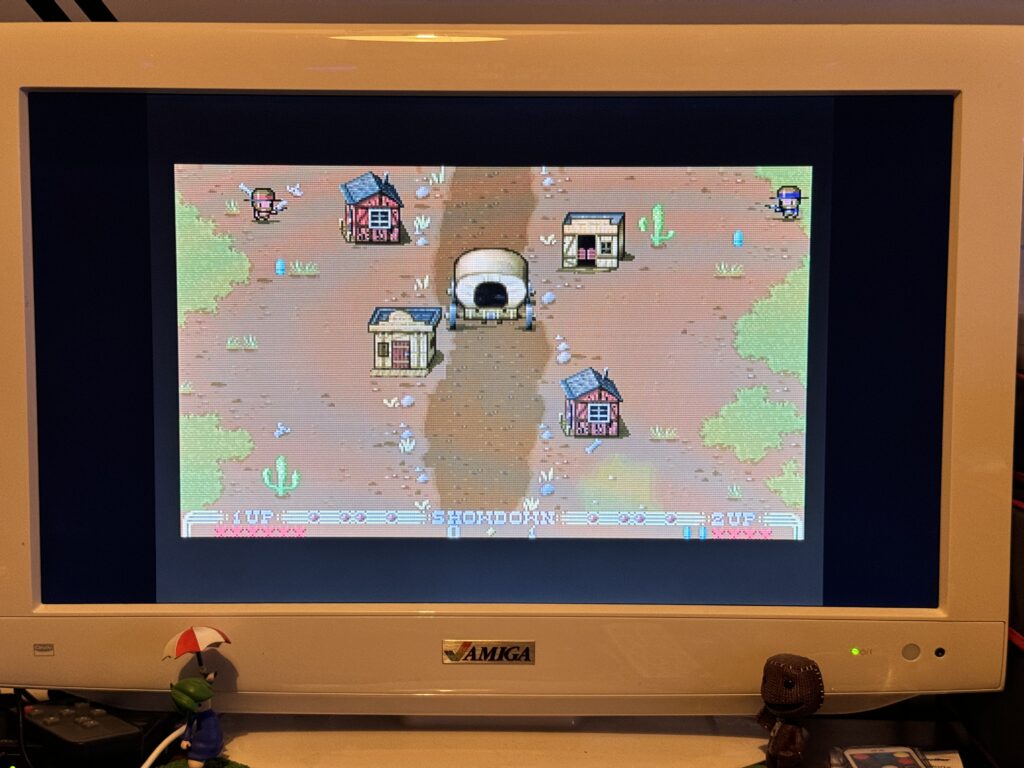
 

MEGA65 Showdown gameplay

Hiding behind cover


There’s some decent music playing throughout the game but no gunfire sound effects which is a shame. Showdown is certainly fun for a while but it lacks the mechanics that would keep me coming back for more. There’s no scoring and thus no high score to try and beat and no new levels to try and unlock. It’s clearly been designed as a 2 player game and I’m sure it would be infinitely more fun running around trying to kill your mate sat next to you and rubbing their nose in your victory than the rather more hollow satisfaction of besting an AI bad guy.

Wireless Tank Mouse

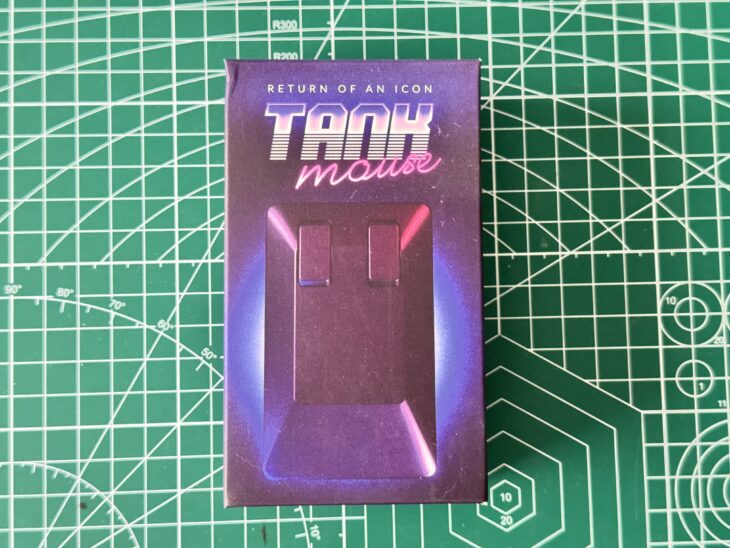
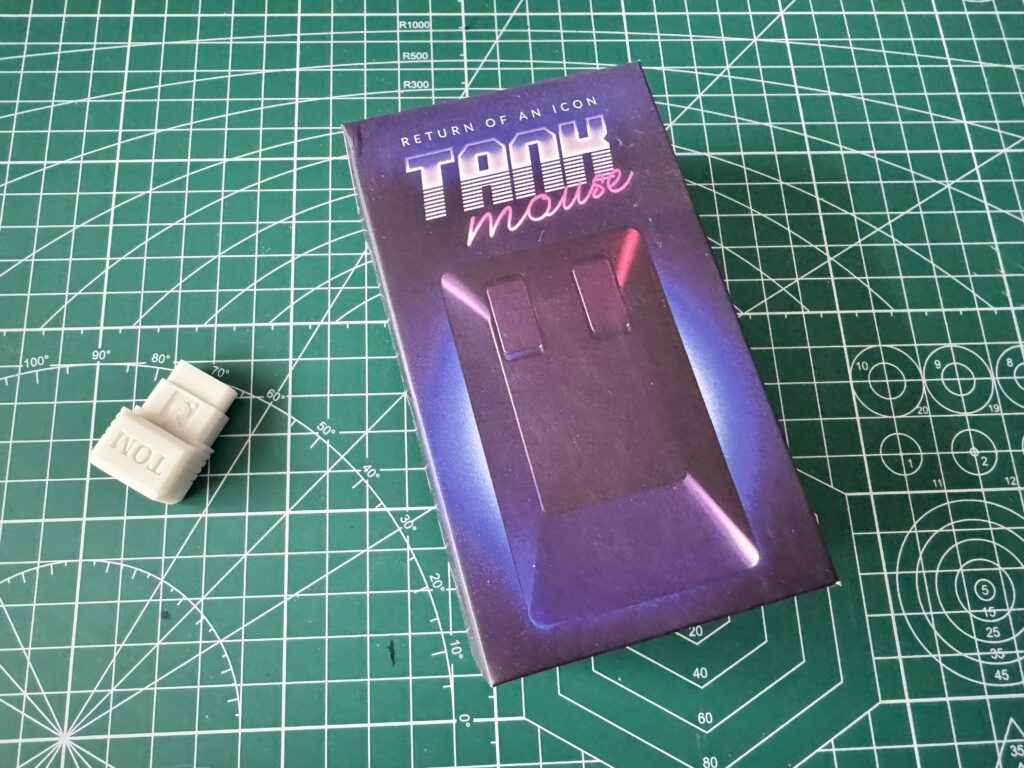
Wireless Tank Mouse Box

I missed the initial Kickstarter for this ‘Wireless Tank Mouse’ back in 2022 but now that they are on general sale I decided to pick one up from Sordan.ie to see if it was any good and hopefully use it with my Commodore and MEGA65 machines.


This slideshow requires JavaScript.


The packaging is certainly very attractive featuring a very 80’s neon VHS style design on the front and a multitude of specs and features plastered over the sides and back of the box.


Wireless Tank Mouse

Wireless Tank Mouse


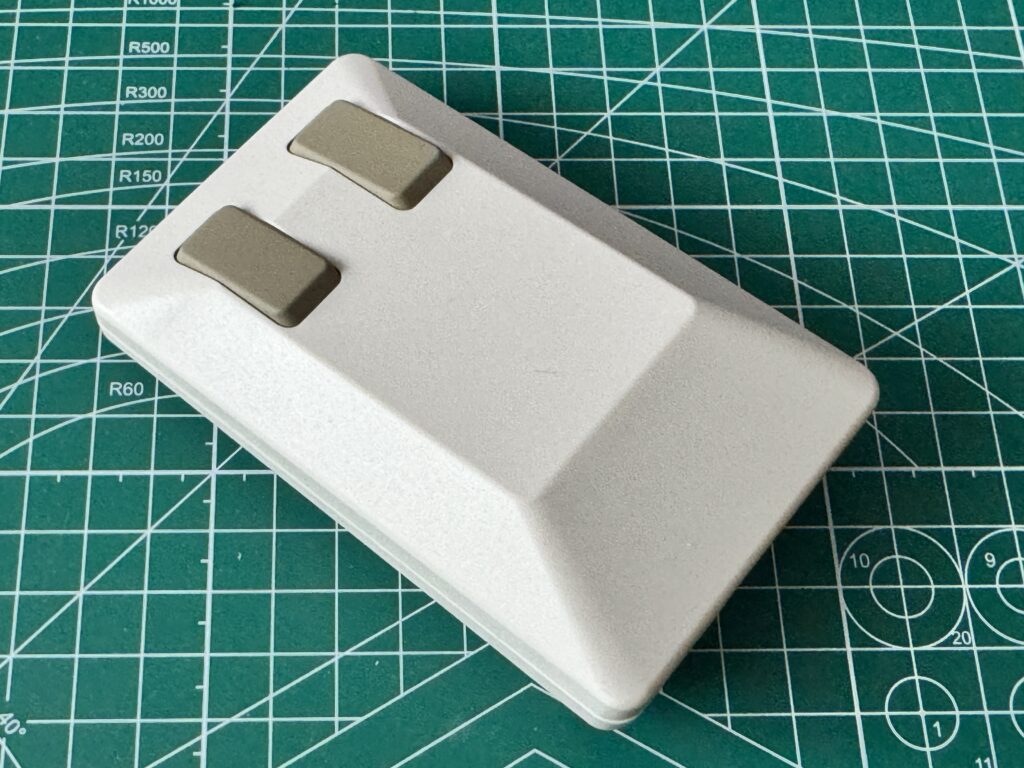
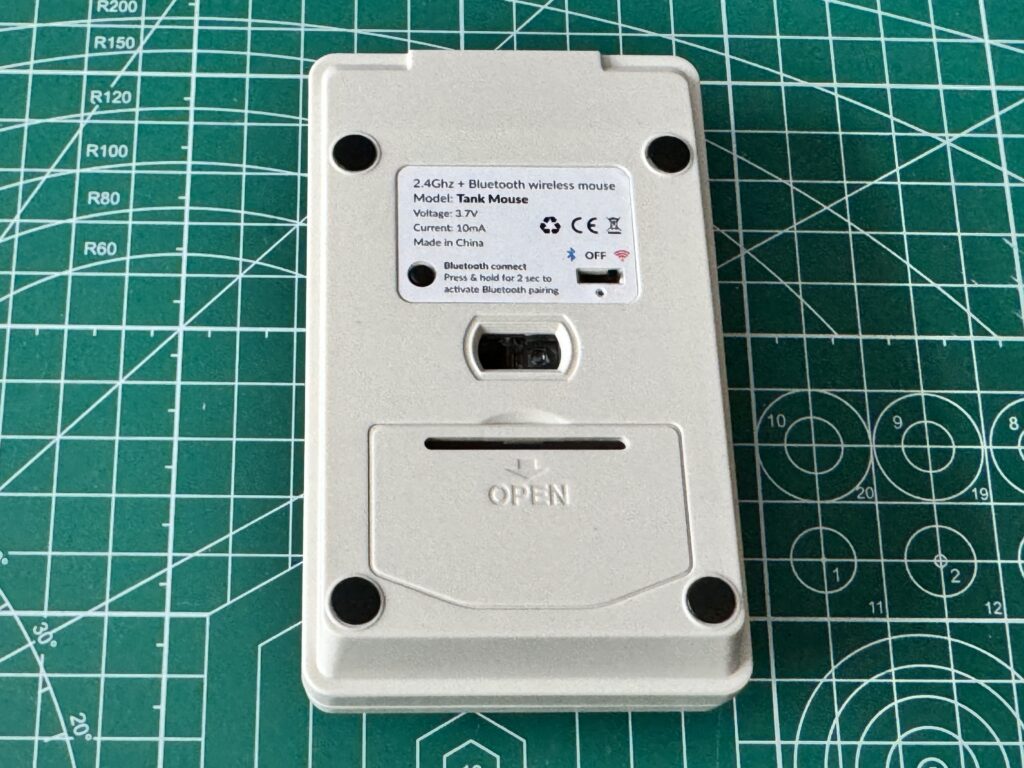
In the flesh it certainly looks the part and is very similar to the Amiga tank mouse we all know and love. Of course there’s two striking differences, the first of which is that this is now an optical mouse with the ball having been relegated to the history books. The second is the lack of a wire as this is now fully wireless, utilising either Bluetooth or 2.4Ghz to transmit the necessary signals back to your computer. You can switch between these options using a little 3-way switch underneath. This same switch is also used to power the mouse off when it’s placed in the middle position.


Wireless Tank Mouse

Wireless Tank Mouse underside


An optional extra that I purchased was the Tom adapter which came packaged separately in a little plastic bag. I have to confess to wondering why it was called Tom for a little while until I remembered the Tom and Jerry cartoons and then it all made perfect sense! Without this little gizmo the mouse will only work with modern computers which would defeat the purpose of it for me.


Wireless Tank Mouse with Tom adapter


The Tom device is basically just a USB to DB9 adapter with some clever electronics to convert the USB signals into something old Commodore computers can understand. Compared to most of the Tom adapters available on eBay this one seems to be extremely compact and is actually referred to as a ‘Micro Tom’. It’s housed in a really nice 3D printed case that holds everything together securely.
 

This slideshow requires JavaScript.
 

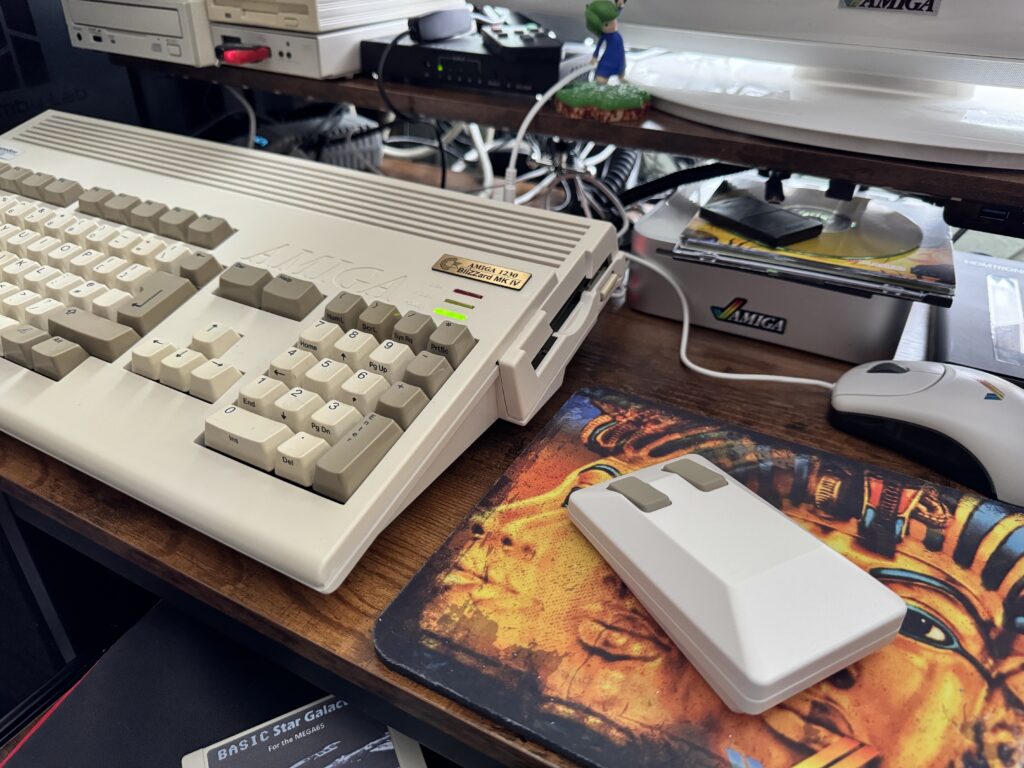
When placed next to my original Amiga Tank mouse you can see just how close the design is. The main visible difference, besides the obvious lack of a wire, is that the buttons are a little narrower and spaced further apart on the new mouse. There’s a good reason for this that I will get to later on.


This slideshow requires JavaScript.


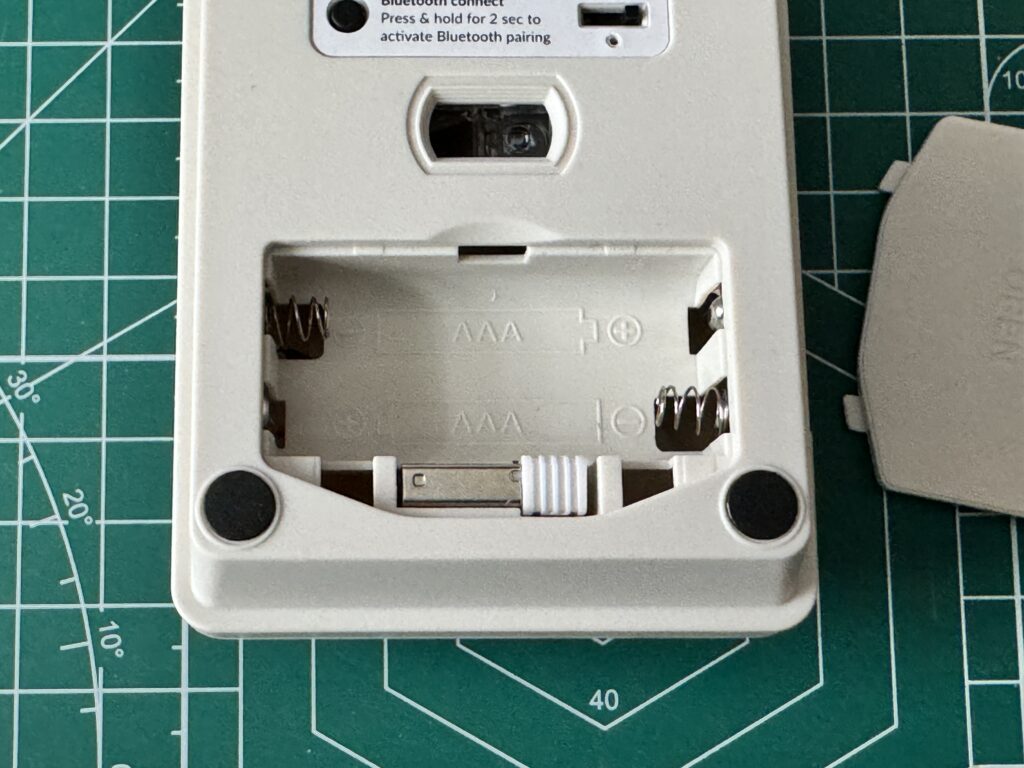
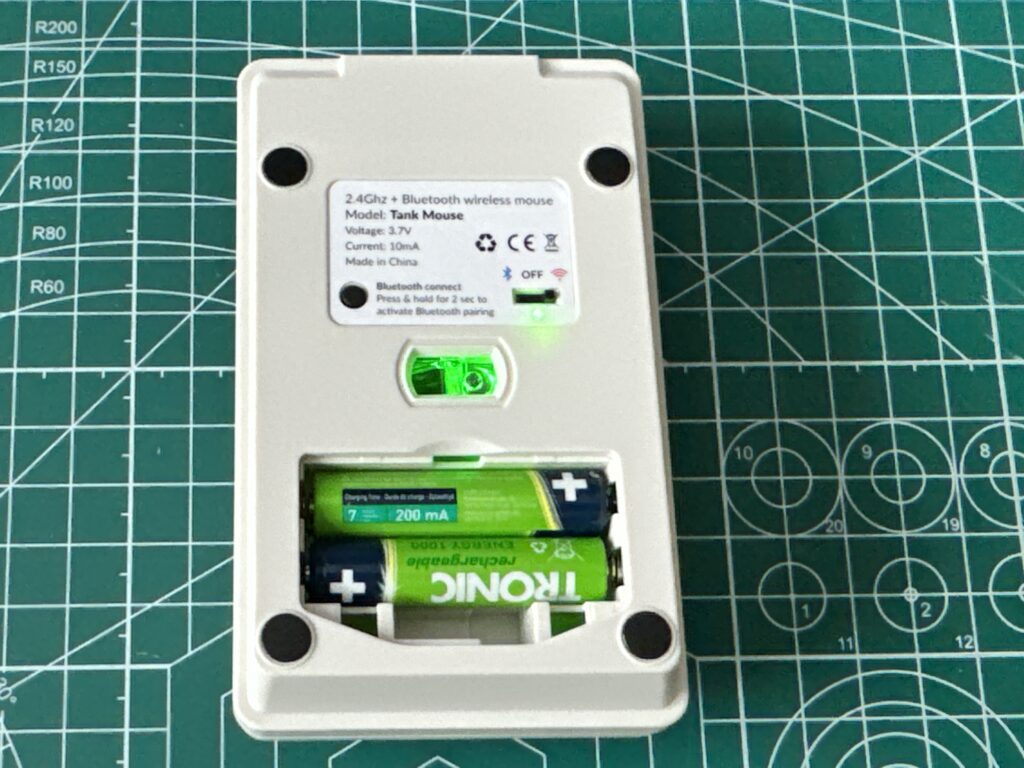
Opening up the battery compartment reveals a small USB receiver tucked away at the bottom.


Wireless tank mouse

Wireless tank mouse battery compartment and USB receiver storage


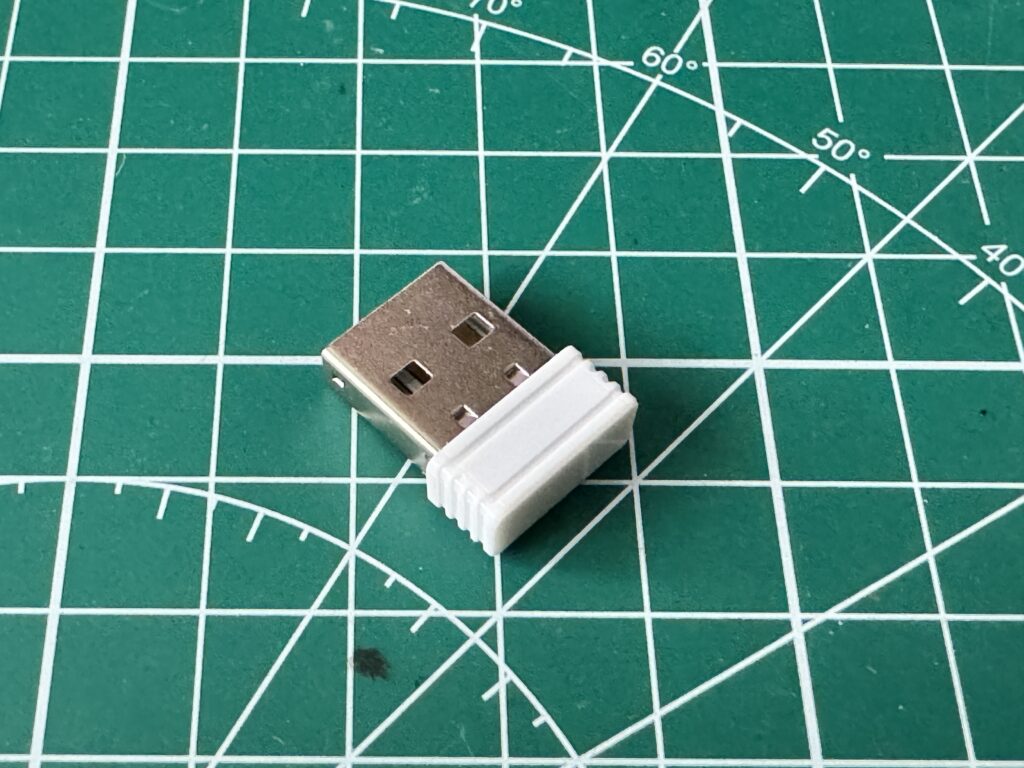
This USB receiver can be plugged directly into a modern computer should you wish (Mac, Linux or PC) so you can use the mouse with those systems (or emulators running on them). If your computer has Bluetooth then you can leave the receiver in its cubby hole and simply pair it with your PC using that instead.


USB Receiver

USB Receiver


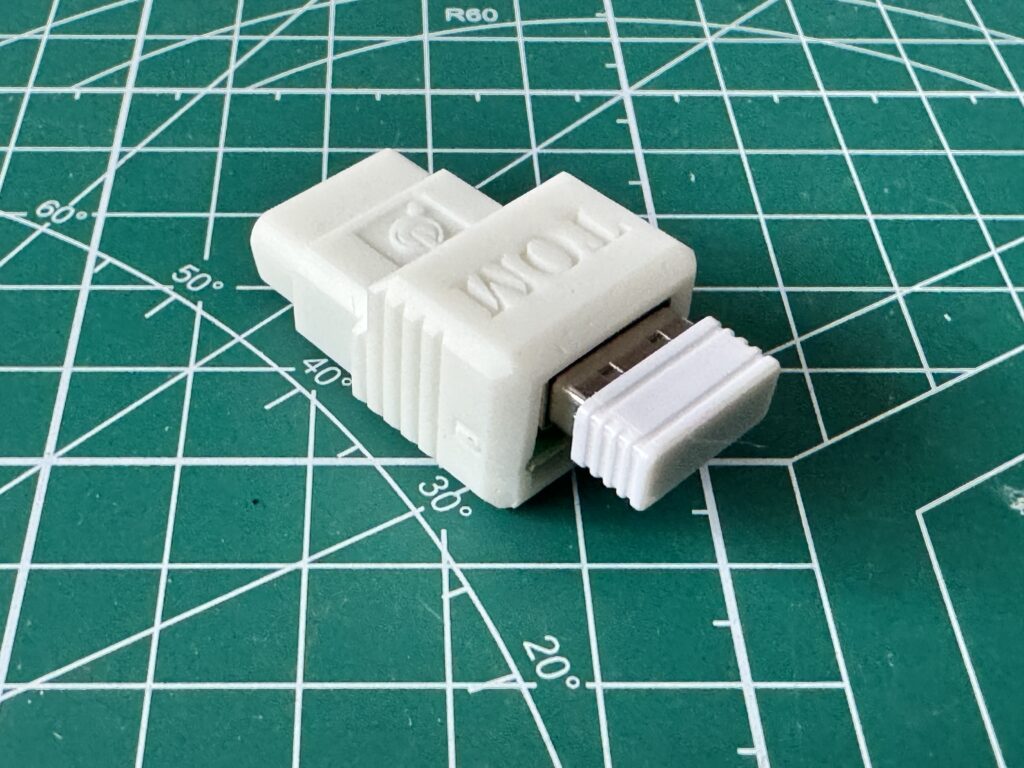
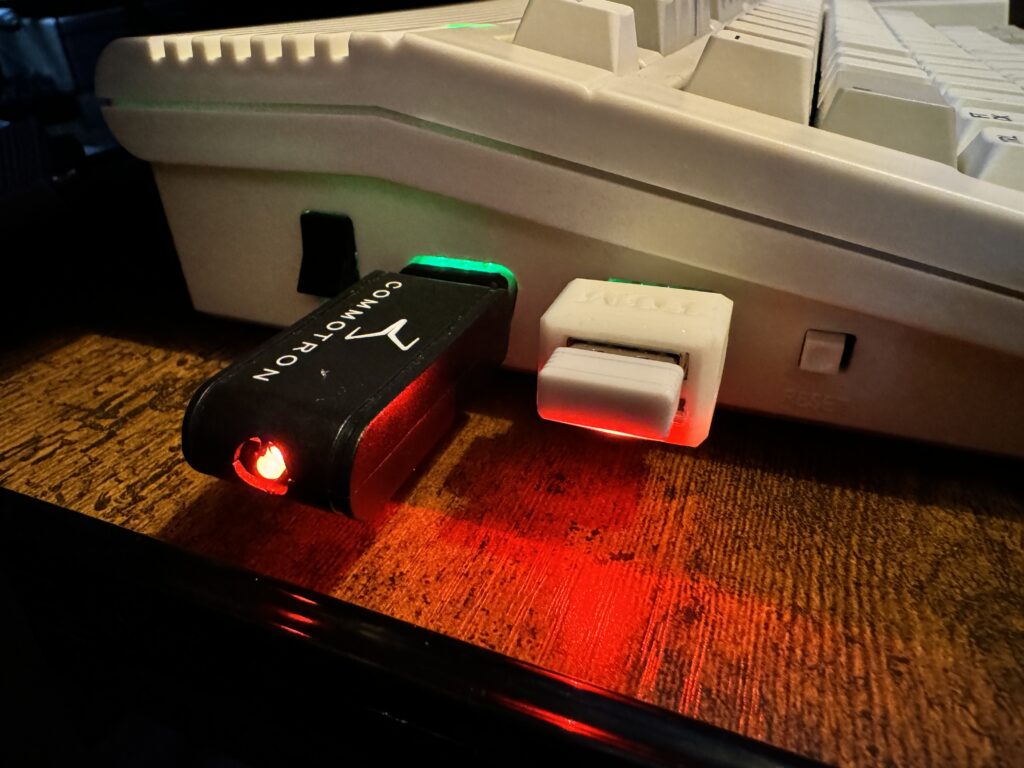
To use the mouse with Commodore machines you need to insert the USB receiver into the Tom adapter.


Tom adapter with USB receiver plugged in

Tom adapter with USB receiver plugged in


It was a really tight fit, so much so that I felt the need to double check I was putting it in correctly before risking applying more force to get the job done!


Wireless tank mouse batteries

Let there be (green) light!


It’s powered by a couple of AAA batteries (rechargeable ones appear to work fine) which helps to add a bit of weight to it. I know some people like their mice light but I’m not one of them so the batteries went some way towards compensating for the lack of the ball.


Mousing Around


Before trying the wireless tank mouse with my retro machines I gave it a quick go in my Windows 11 PC and it worked immediately and completely flawlessly. I also tried it with my MorphOS Apple Mac Mini G4 with similar success. When used with modern machines you can use it with your favourite emulator for a more immersive experience or even as your daily driver should you wish.

In addition to the obligatory left and right mouse buttons the wireless tank mouse actually fully supports mouse scrolling too. Now you may well be thinking how’s that possible – it has no scroll wheel? Well remember earlier on when I mentioned about the buttons being spaced further apart? That’s because the designer has ingeniously incorporated a touch sensitive strip between the two buttons. You can simply swipe up and down with your finger to scroll in those directions. It works really well too. Obviously it lacks the tactile feedback of an actual wheel but having one of those would ruin the whole aesthetic.


wireless tank mouse with my A1200

Using the wireless tank mouse with my A1200


I have plenty of mice for my modern computers though, I got this to use with my Amiga mainly so I plugged the Tom adapter into port 1 of my A1200 and powered it on, and it just worked. No messing around, no pairing, no software to install, just plug and play. The scrolling support worked seamlessly too, (I installed scroll wheel support for my existing wired Amga mouse years ago). Tracking was super accurate and smooth and the mouse was just as comfortable to hold as ever – in fact more so now as I’m not constantly fighting against the cable in the limited space I have available to use it!


Wireless tank mouse ‘Tom’ adapter (on the right)


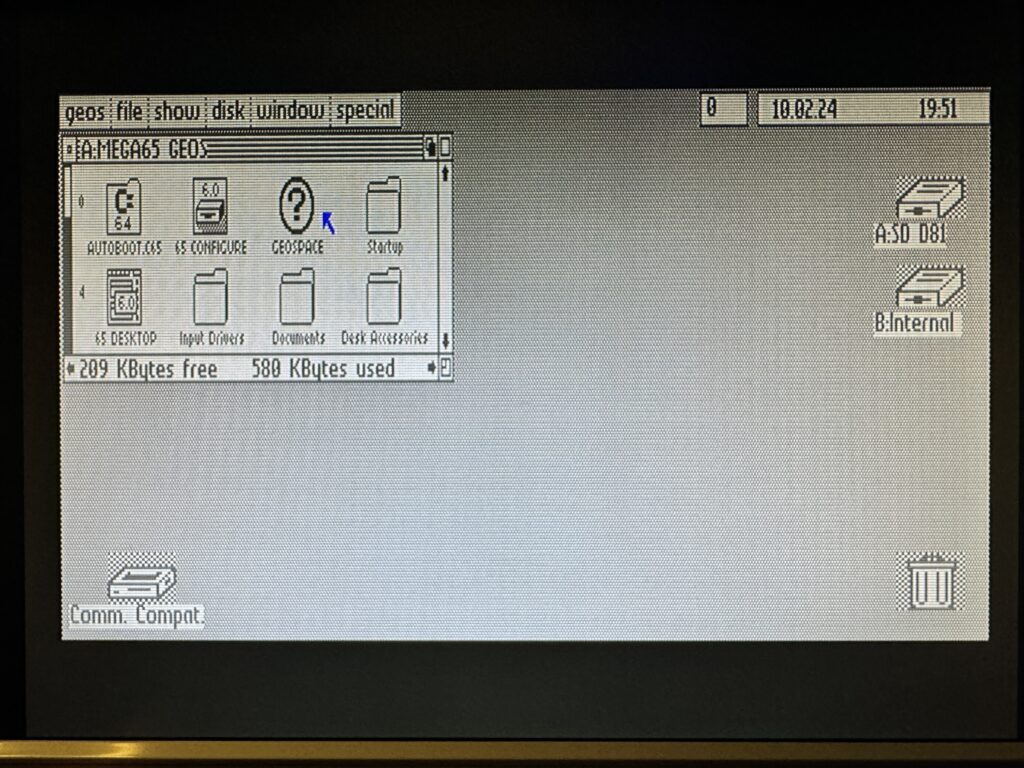
Satisfied that it worked with my Amiga I fired up my MEGA65 and loaded up GEOS65 and sure enough it worked really well with that too.


GEOS 65 running on my MEGA65 controlled by my wireless tank mouse


Next I invoked ‘GO64’ and switched my MEGA65 into C64 mode to load up a BASIC Solitaire game that I typed in a few years ago. This was designed to work the the Commodore 1351 mouse and sure enough this also worked like a charm with just occasional jittering. Incidentally this is also a game that really benefits from switching the CPU to 40Mhz mode – no more lag when shuffling the cards!

I tried it with my real C64C computer and ran into my first problem. It simply refused to work. After a bit of RTFM (or RTFW in this case) I discovered the following…


Switching between C64 and Amiga Mode


Out of the box the Tom adapter is configured to run in Amiga mode. Consequently when plugging it into a C64 it just doesn’t work. (Same for the alternative C64 CORE in the MEGA65). Thankfully it can be switched into C64 1351 mode quite easily by plugging in a USB mouse, holding down the middle button (usually the scroll wheel) at bootup and whilst still holding it down press the left mouse button a few times until the red LED flashes 3 times and then you can let go. The adapter will now behave like a 1351 mouse forever until you change it back.

I did come a little unstuck trying to change it back to Amiga mode though. Either I have a slightly different model of Tom adapter or whoever wrote the instructions on the Sordan site got a bit confused. Thankfully after about 30 minutes of swapping different mice, power cycling, cursing and failing I figured it out. To switch to Amiga mode I had to hold down the right mouse button at bootup and then rapidly press the left button until the red LED flashed just the one time and then let go. (The instructions tell you to do the complete opposite which makes it flash twice which appears to be Atari ST mode).


What do I think of it?


All in this is a fantastic product that works with a huge range of machines, both old and new. It oozes nostalgia thanks to its design but at the same time embraces modernity by swapping the ball for an optical sensor, the wire for wireless connectivity and adds ‘invisible’ scrolling support beneath the plastic case. It works with pretty much every machine I own; all my Amigas, CD32, MEGA65, Commodore 64, Mac Mini running MorphOS and even my PC’s and emulators. My only criticism is the method of switching modes on the Tom adapter is a bit of a faff. I would much prefer a little 3-way toggle switch than trying to pull off some kind of weird secret handshake with the mouse. Other than that though the wireless tank mouse seems to be a jack of all trades and a master of them all and I’m really glad I picked one up.


MEGA65 Dust Cover

MEGA65 Dust Cover


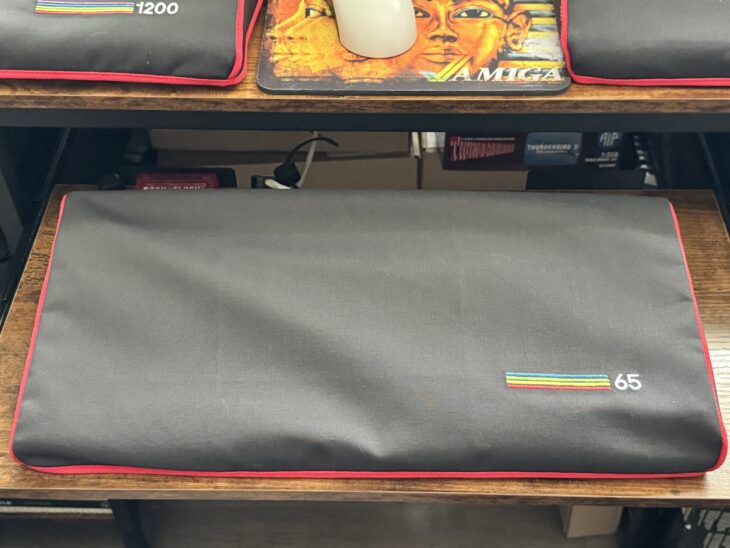
Picked up a new accessory for my MEGA65 today, granted not a particularly exciting one in the grand scheme of things, but useful nevertheless. It’s a MEGA65 Dust Cover in case you missed the post title – an essential retro accessory to keep not just dust at bay but UV rays too!

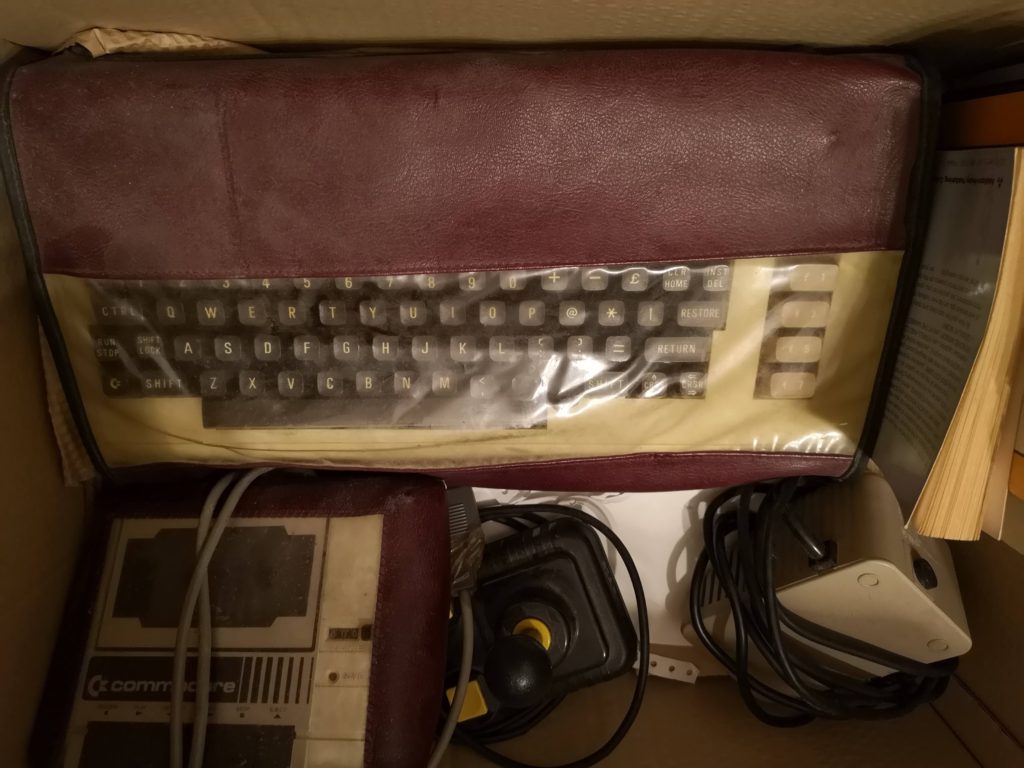
Back in the 80’s I always had covers on my Commodore computers and peripherals including my C64, VIC20, 1531 Datasette and even my dot-matrix printer. It just seemed the logical thing to do as I wanted to keep them all in tip-top condition. Now whether that was a commonplace thing or not I don’t know but it’s something I have always done.


VIC20 Vintage Dust Cover

Forty year old dust covers!


You can see a couple of the original cases I had on my childhood VIC20 above when I unearthed it a few years ago in the attic. Of course having survived for forty years they had long since passed their best but they fulfilled their mission and kept my stuff safe all that time.


MEGA65 Dust Cover

MEGA65 Dust Cover


I purchased this cover off eBay from a seller I have used before called Sew Ready. The woman who runs it makes all manner of covers for retro machines, including floppy drives, datasettes, monitors and even Spectrum Nexts!


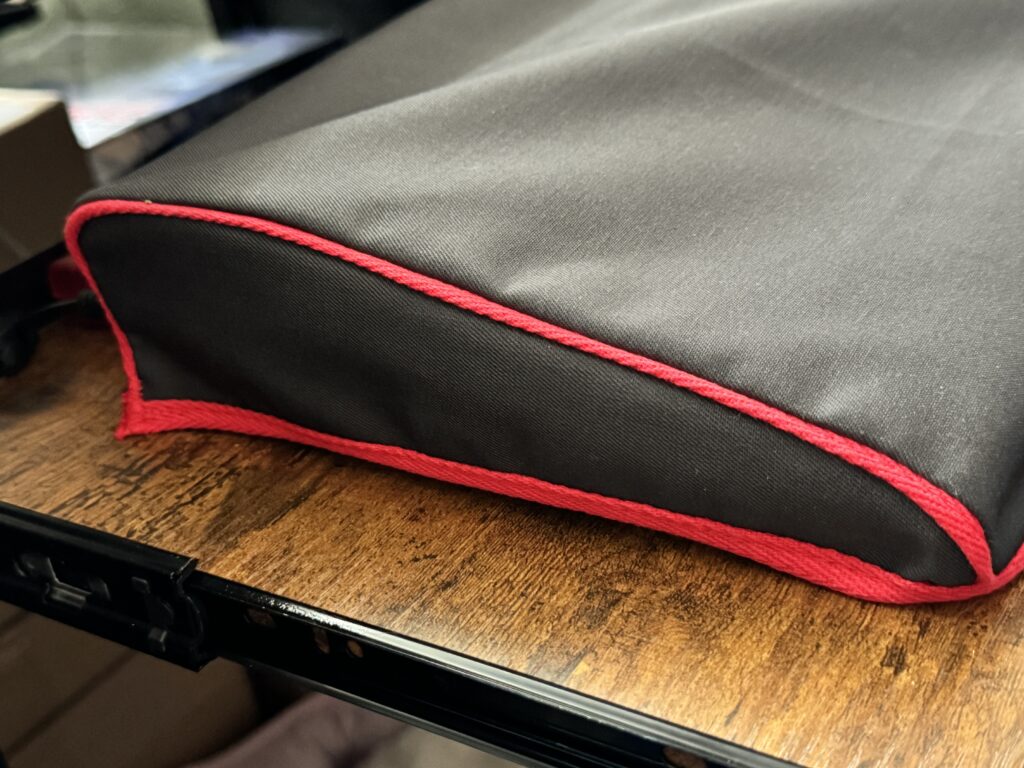
MEGA65 Dust Cover

Side view


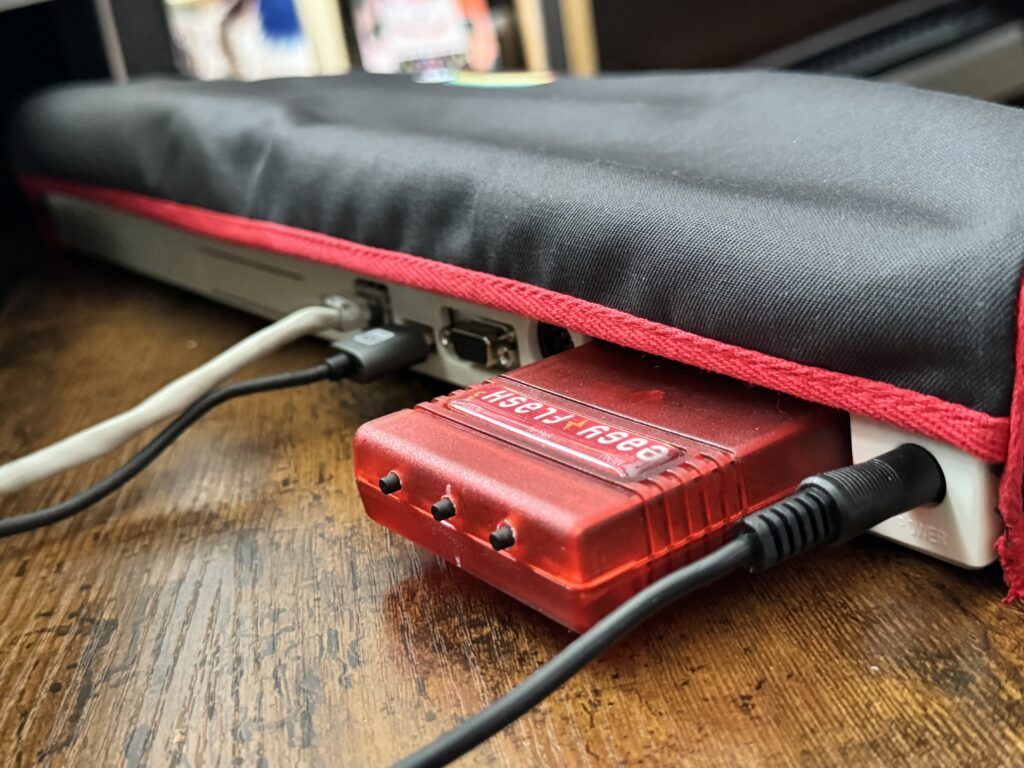
It’s a nice snug fit all around and features contrasting red piping along all the edges and a cut-away section at the back so you can leave all your cables and carts plugged in.


cut-away section

Handy cut-away section at the rear


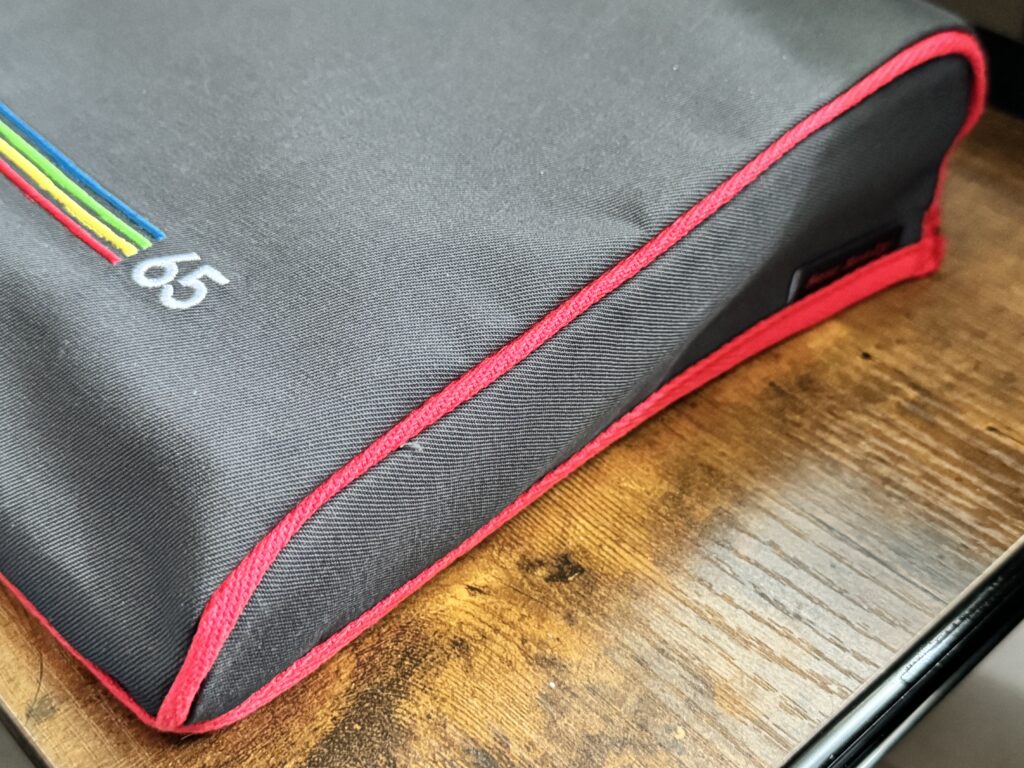
Embroidered onto the front is the MEGA65 logo featuring the correct blue, green, yellow and red coloured stripes off the badge.


Embroidered Logo

MEGA65 Embroidered Logo


If I could change one thing it would be to add a cut-away section on the left hand side to allow controllers (or in my case a wireless controller dongle) to be left plugged in. However that’s a minor flaw in an otherwise terrific product.

MEGA65 User’s Guide – 2nd Edition

Although my MEGA65 came with the very latest Revision 6 mainboard, the same cannot be said about the User’s Guide which is from the original print run of 1st Edition tomes. Trenz won’t be shipping the newer user guide with machines until they’ve used up the rest of that stock. Of course there’s a PDF user’s guide available online which I could refer to but you just can’t beat a decent paper version that you can have open right in front of you.

Thankfully there is a ‘Print on Demand’ version of the user’s guide available from Lulu so about a week ago I placed an order for it and it has now arrived!


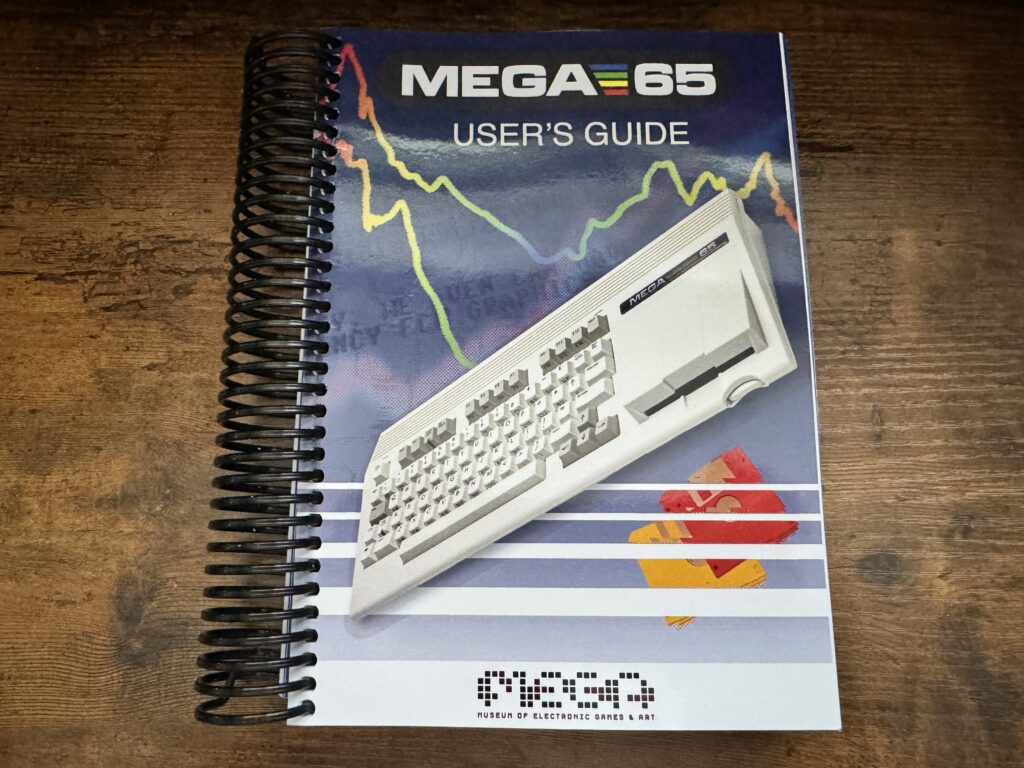
MEGA65 User's Guide

The 2nd Edition User Guide from Lulu.


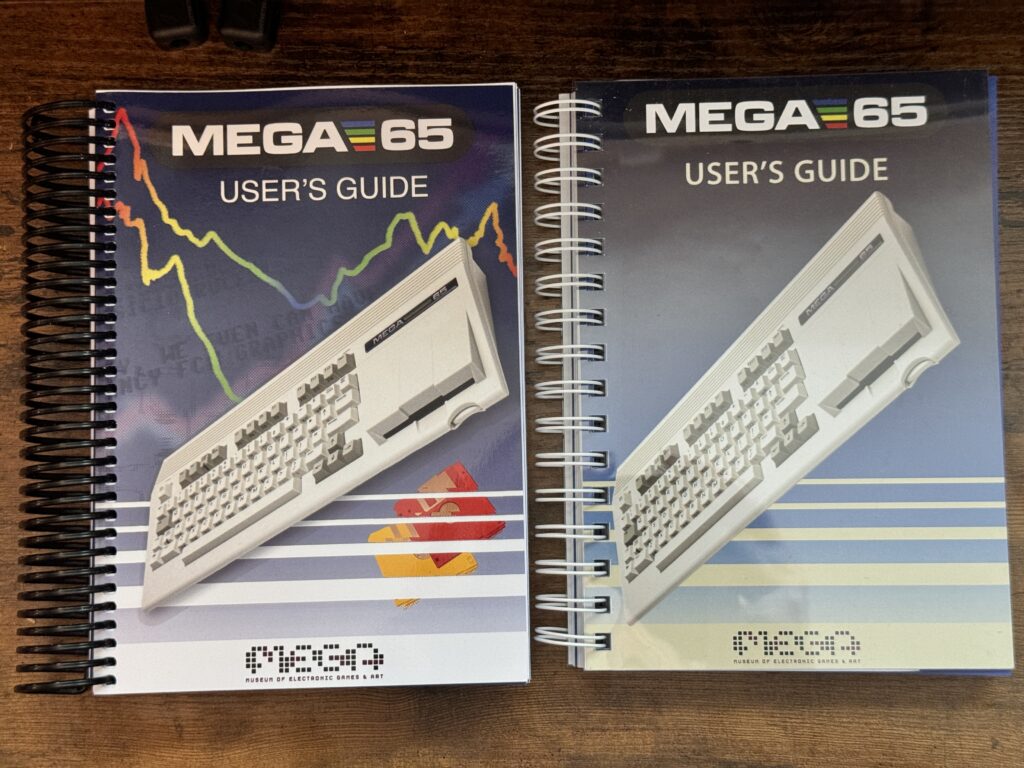
Have to say I was very impressed with it. I wasn’t sure if the quality would take a hit but happy to say it didn’t. The only noticeable physical differences are that the comb binding is plastic on the Lulu one and it lacks the clear plastic covers on the back and front of the original.


MEGA65 User's Guide

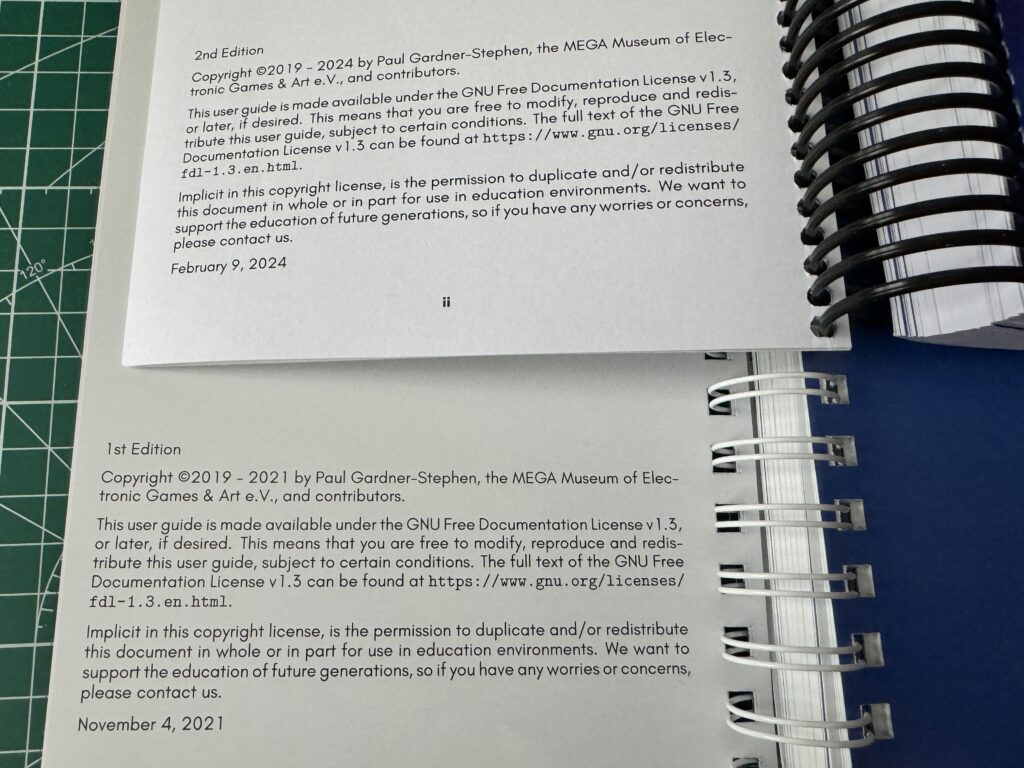
1st vs 2nd Editon Dates


Opening up the guide reveals the edition details near the front with the First Edition having gone to print back in November 2021 whereas the Second Edition is dated February 2024.


MEGA65 User's Guide

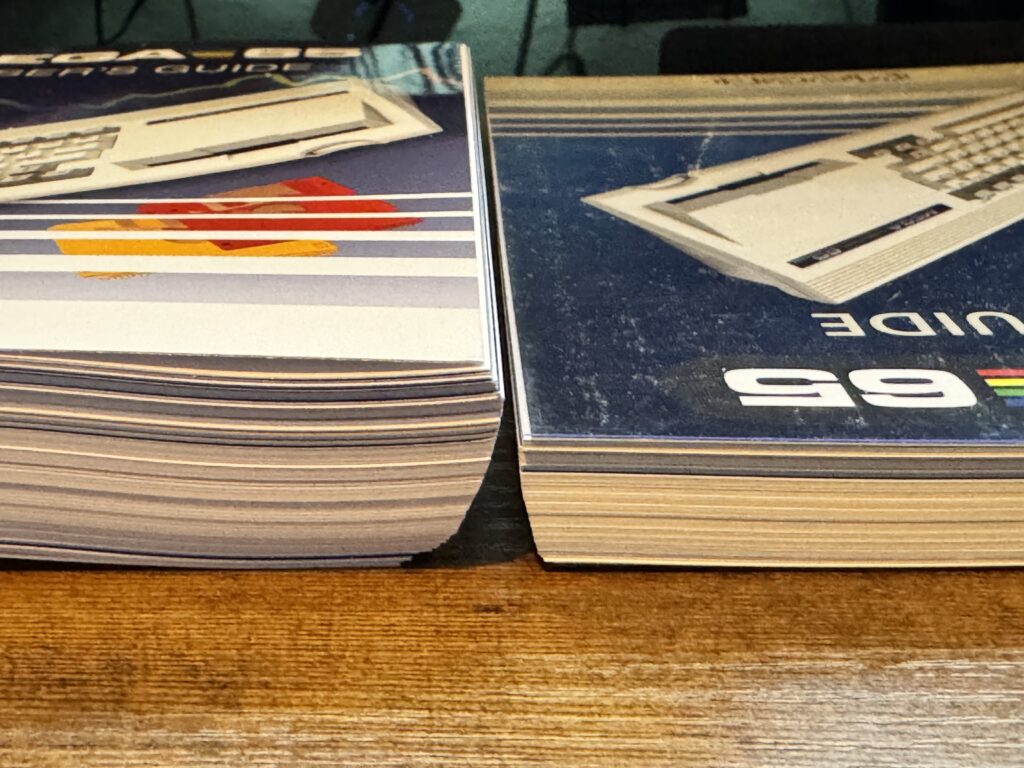
How the two guides stack up side-by-side


One big difference between the two versions though (besides a snazzier front cover on the newer guide) is that the second edition comes with a whopping extra 54 pages making it almost a full 1cm thicker overall!


MEGA65 User's Guide

The newer front cover (left) is definitely a lot snazzier – I like it!


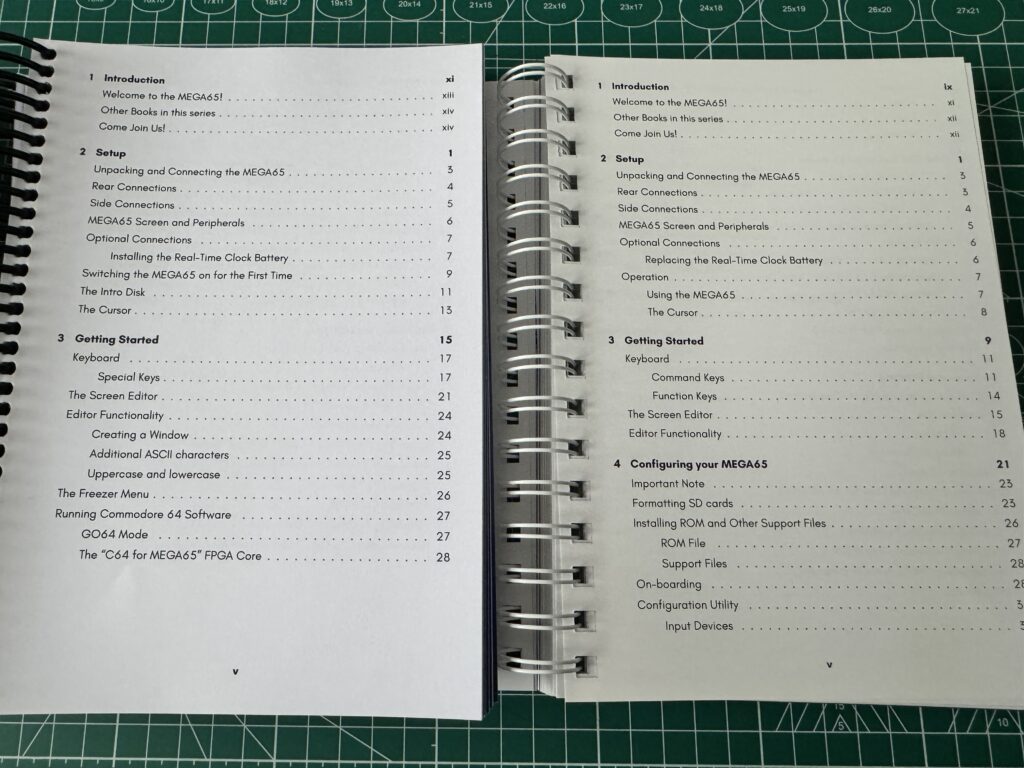
Looking at the contents pages side by side you can already see an extra 10 pages having been added by the end of section 3 (18 pages vs 28) and this continues throughout the remainder of the guide.


MEGA65 User's Guide

Differences stacking up already


Some of the sections have been expanded upon, others have morphed into something different entirely. There are aslo a lot more appendices. The table below gives a rough outline of the differences.


First EditionSecond Edition
IntroductionIntroduction
SetupSetup
Getting StartedGetting Started
Configuring your MEGA65Configuring your MEGA65
C64, C65 and MEGA65 ModesUpgrading the MEGA65
Cores and FlashingUsing Disks and Disk Images
Floppy Disks, the Freezer and D81 ImagesTransferring Files
APPENDICESAPPENDICES
A. BASIC 65 Command ReferenceA. BASIC 65 Command References
B. Special Keyboard Controls and SequencesB. PETSCII Codes
C. Supporters & DonorsC. Screen Editor Keys
D. Screen Codes
E. System Palatte
F. Supporters & Donors


MEGA65 User's Guide

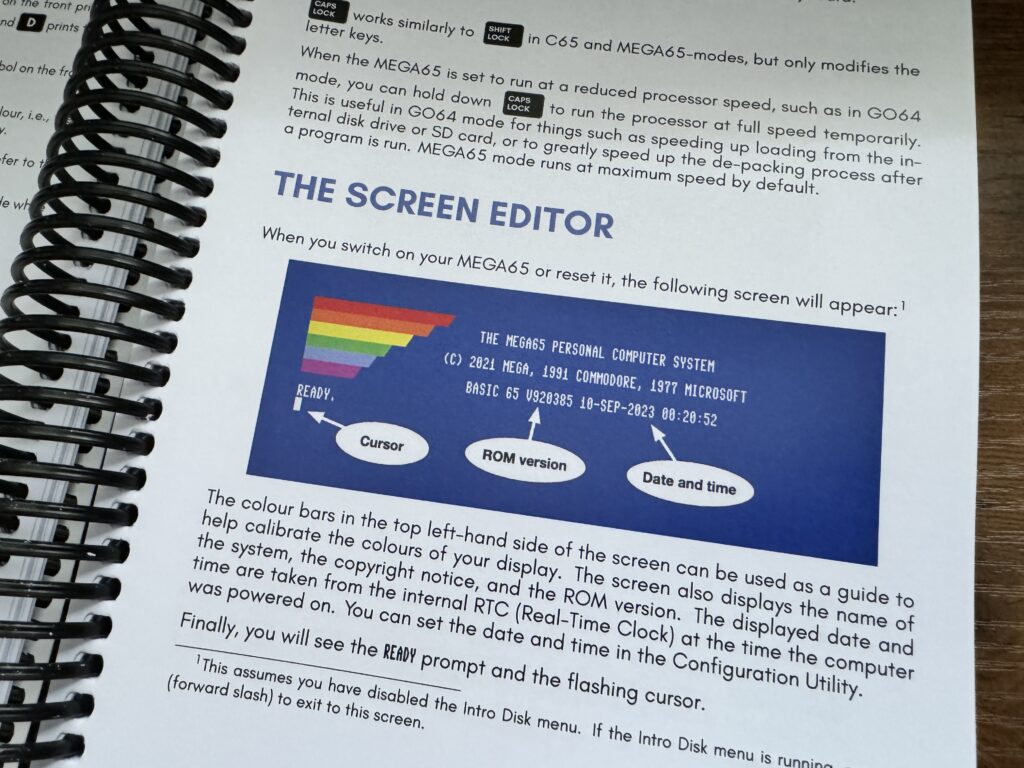
There are plenty of splashes of colour within the guide


Very happy I picked this second edition up now. It contains tonnes of extra information over the original guide and it’s a lot more relevant to the hardware I actually have now. If you have one of the newer R6 machines but are still rocking the older manual then this is well worth the investment.

My MEGA65 is finally here!

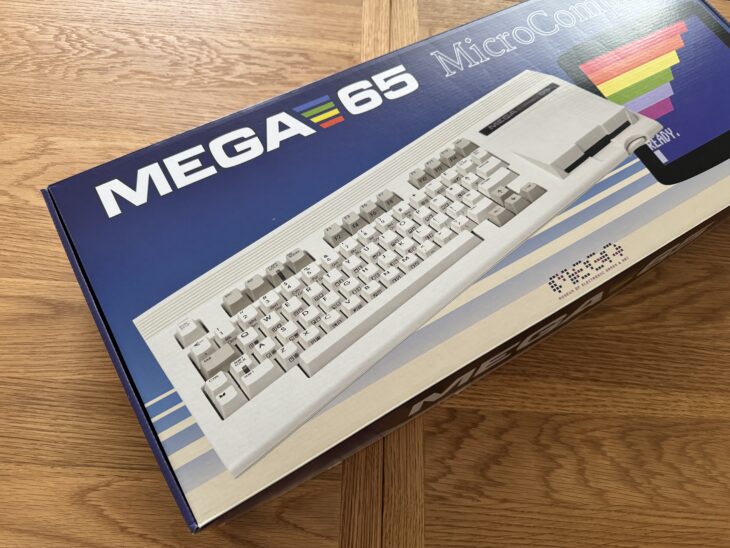
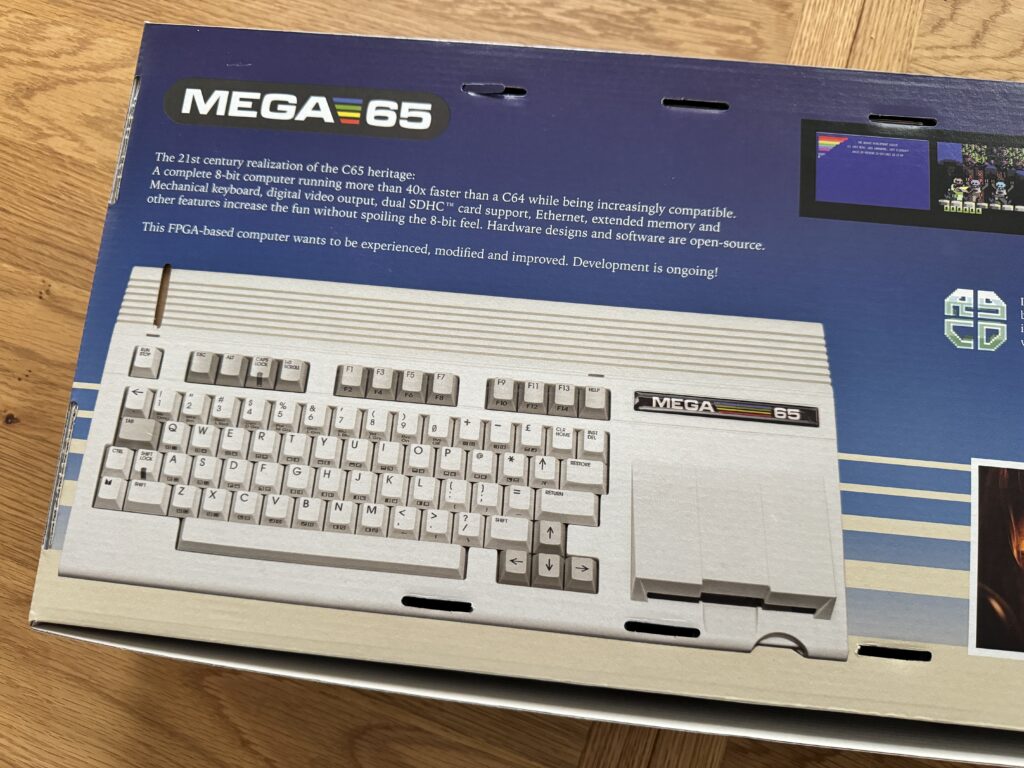
MEGA65 Box

Finally, after waiting patiently for over two years for my pre-order, my MEGA65 arrived a today! I bought and paid for this way back in May of 2022 but production was delayed first by Covid and then by the resulting chip shortage that followed. The tedium of waiting has all been washed away now that I actually have it in my hands though, so in this post I will share my initial experiences with it.


Background

Just in case you are not aware of this machine it is based on the Commodore 65, a prototype machine made by Commodore in 1990. Had things panned out differently it would have been the direct successor to the Commodore 64, offering backwards compatibility alongside a feature set not dissimilar to the Amiga. Sadly however, the C65 never went into production and not many were ever made. Consequently, examples of this mythical machine sell for silly money on eBay on the extremely rare occasions that they do pop up.

That’s where the MEGA 65 comes in. It’s been developed by the Museum of Electronic Games and Art (hence MEGA) which is a not-for -profit organisation located in Germany. It’s manufactured and distributed by Trenz Electronic, also based in Germany. It aims to be a “100% open-source implementation of the official (but never-released) Commodore 65 computer”. Basically they have produced a C65 from (mostly) modern components and thus made it affordable for hobbyist use.


Packaging

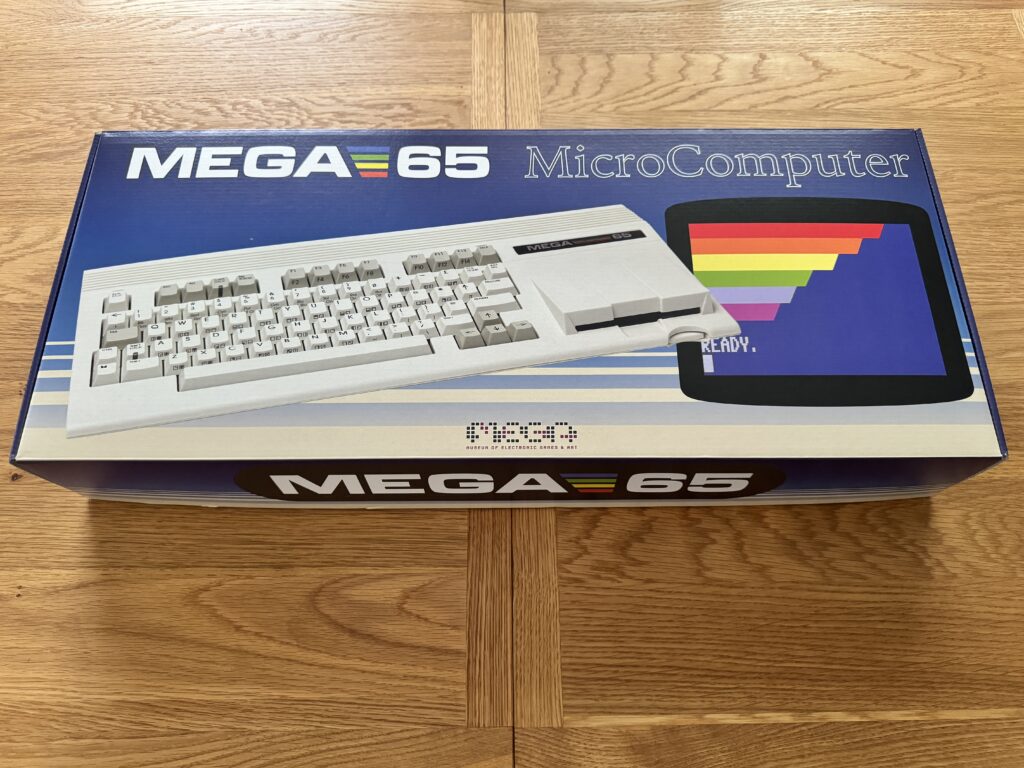
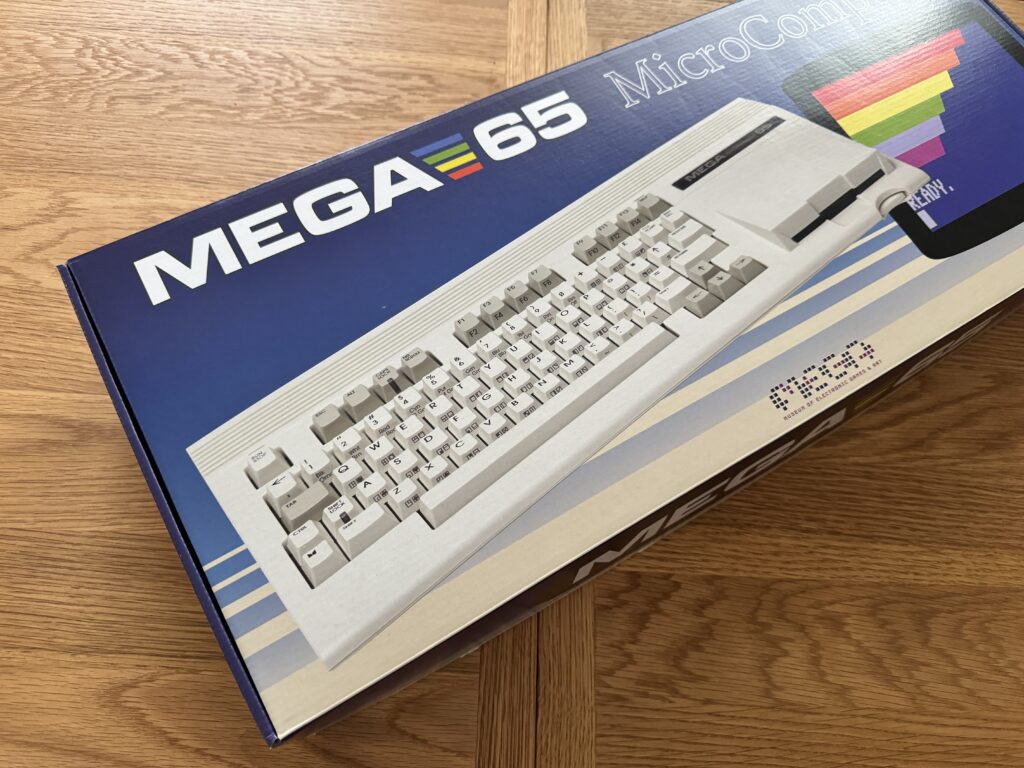
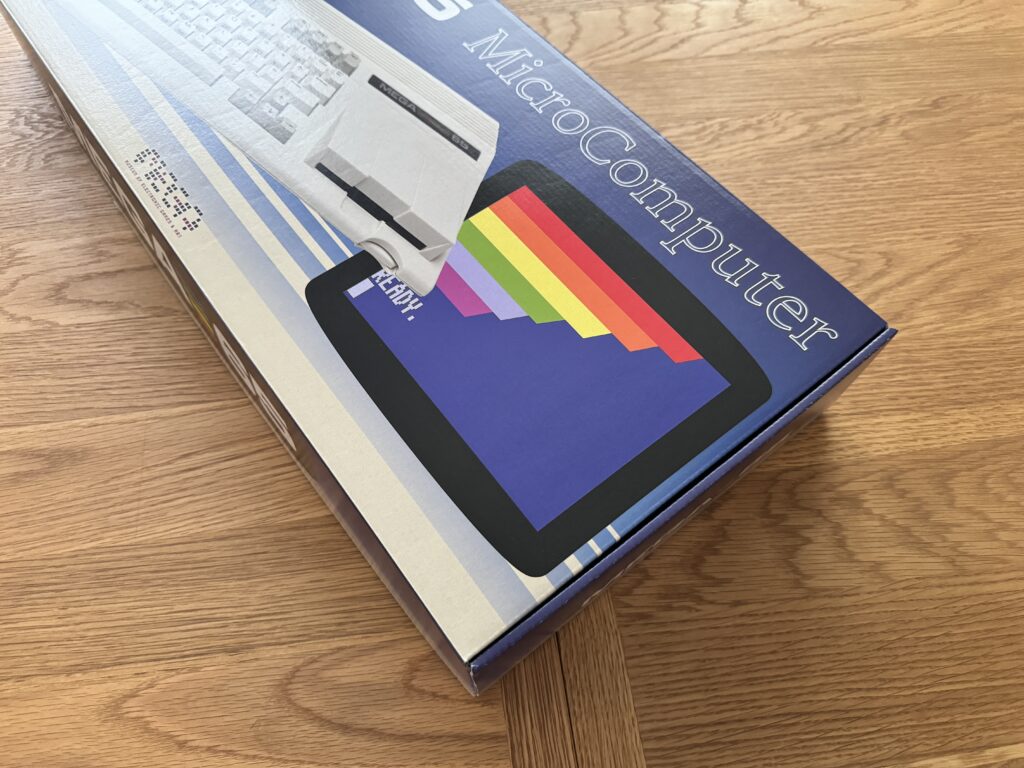
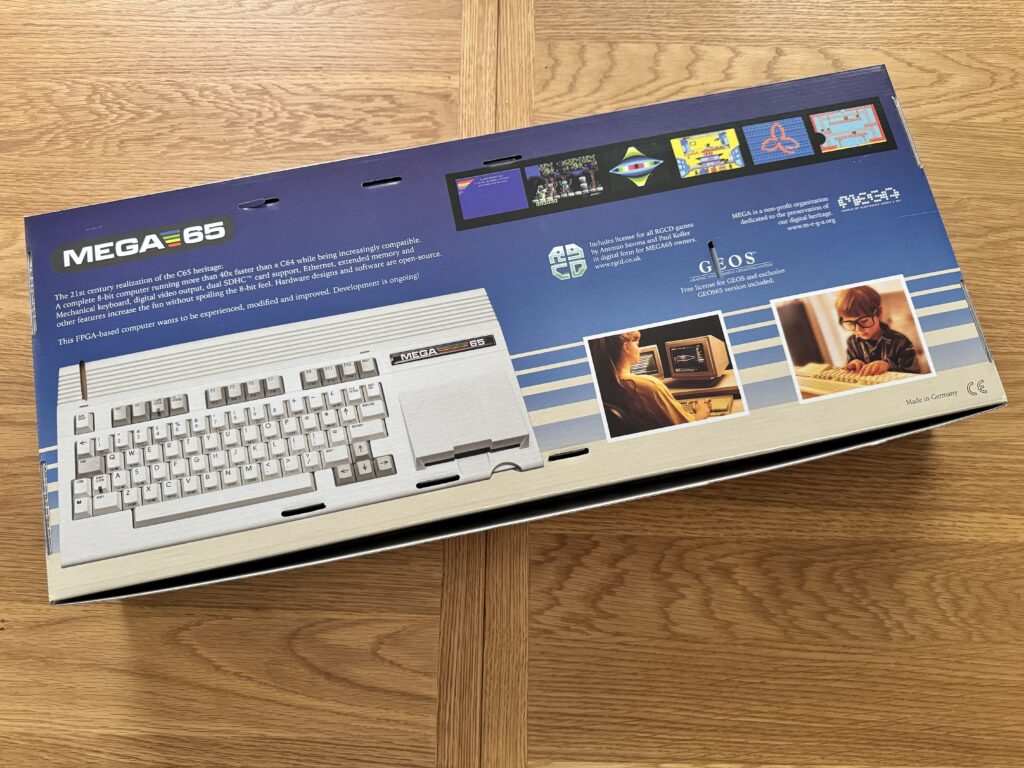
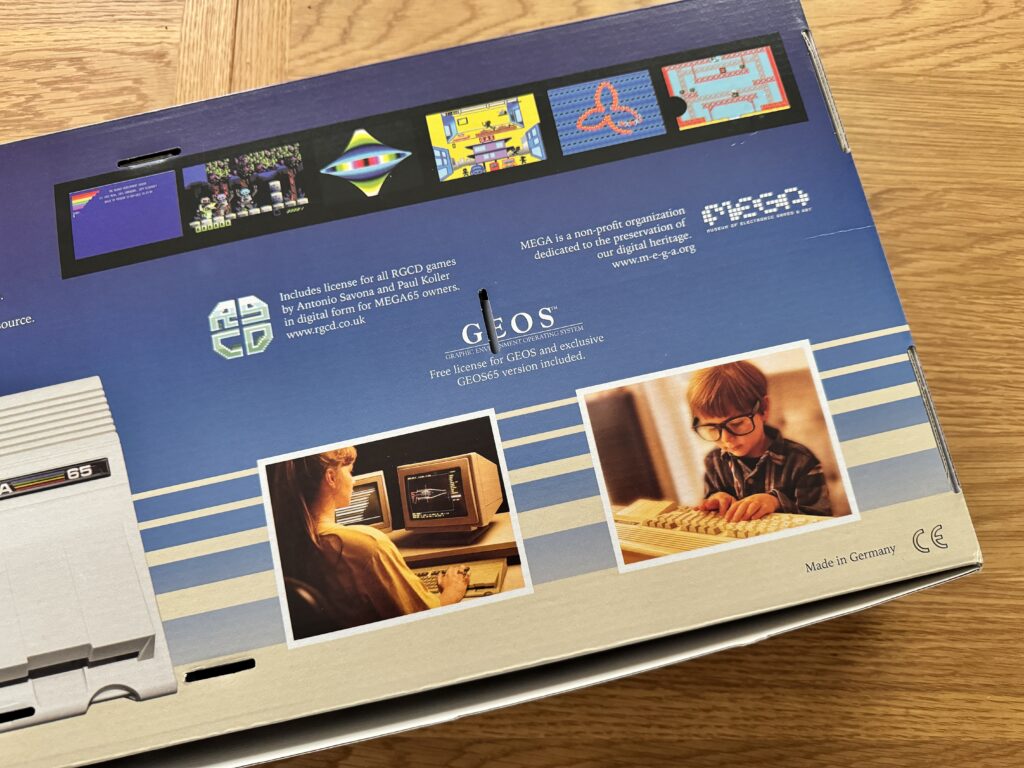
Anyway that’s enough background, here’s some photos of the absolutely gorgeous packaging that has clearly been heavily inspired by the retail boxes that the C64 came in.


MEGA65 Box

MEGA65 Box


MEGA65 Box

MEGA65 Box


MEGA65 Box

MEGA65 Box

MEGA65 Box

MEGA65 Box


MEGA65 Box

MEGA65 Box


MEGA65 Box

MEGA65 Box

Unboxing

Inside the box there’s a lovely spiral bound manual, and a PSU (with regional plug adapters).


User Guide and PSU fitted with UK adapter


There was also a registration card (kind of). This contained a special code on it that gave me full access to the MEGA65 Filehost site and the Discord support message board. No postage stamp required!


The registration card.


Onto the main event, the glorious Mega65 itself!


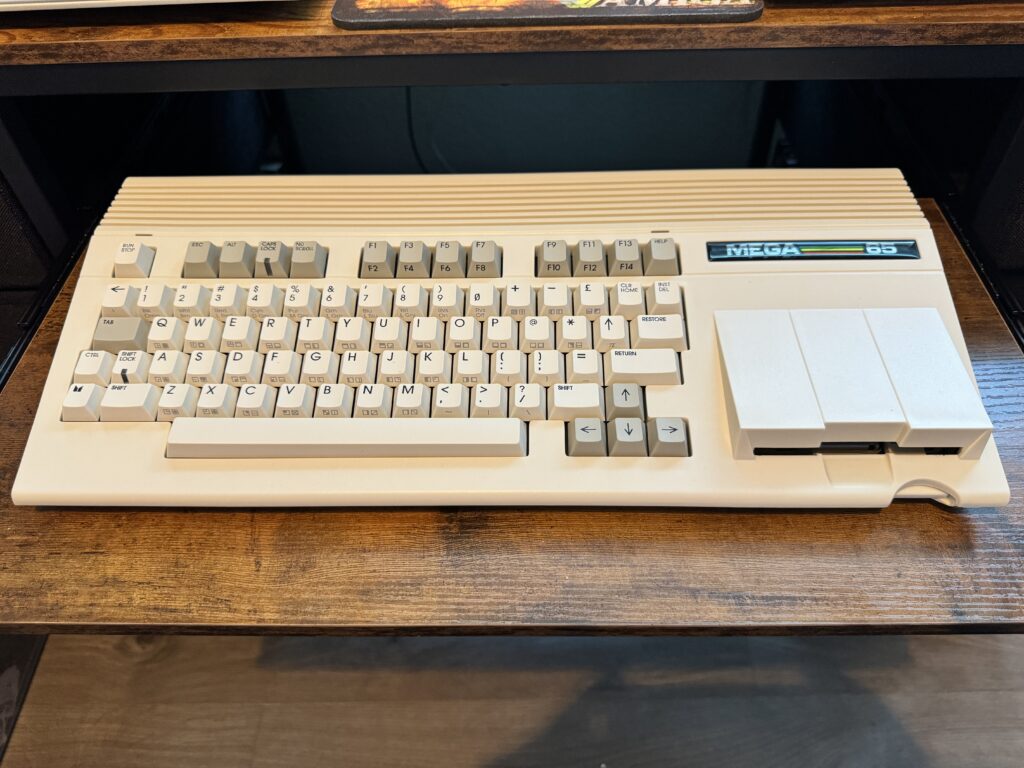
MEGA65

A thing of beauty


The machine itself is a thing of beauty and looks like a genuine Commodore product through and through.


MEGA65 Badge

MEGA65 Badge


Only thing missing is the Commodore name but the styling cues are all there, the rainbow stripes, the silver font…


MEGA65

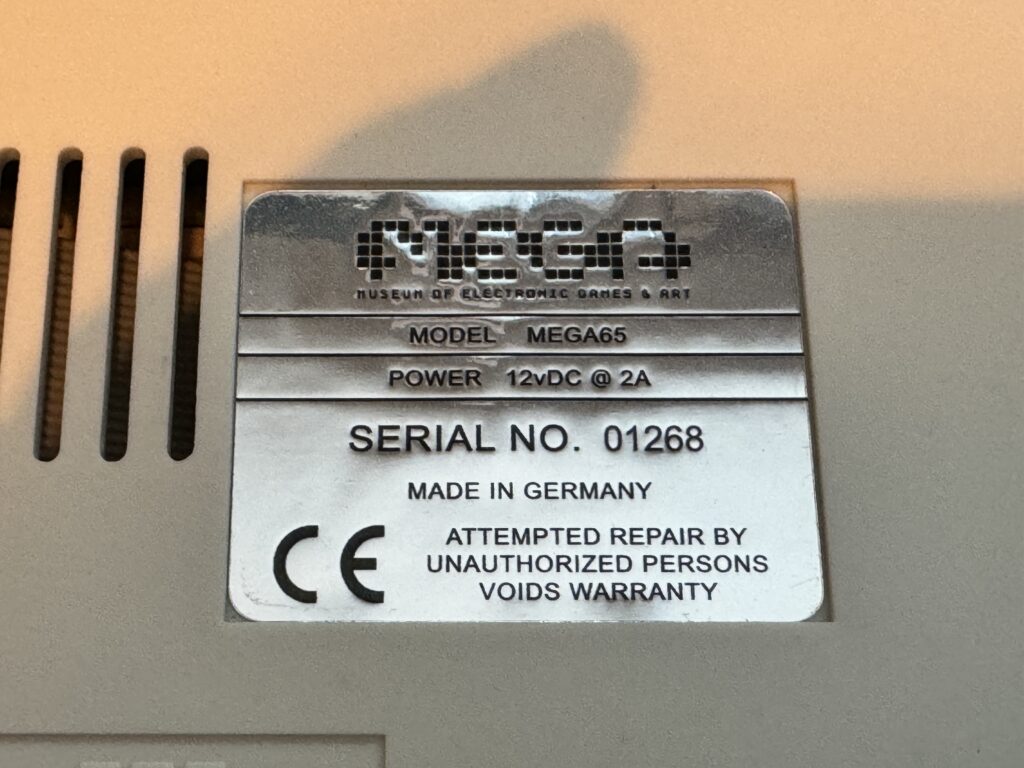
Serial Number: 1268


It even has a silver foil warranty sticker on the base of the machine. Mine is number 1268 so I know there are well over 1,200 MEGA65’s out in the wild now!


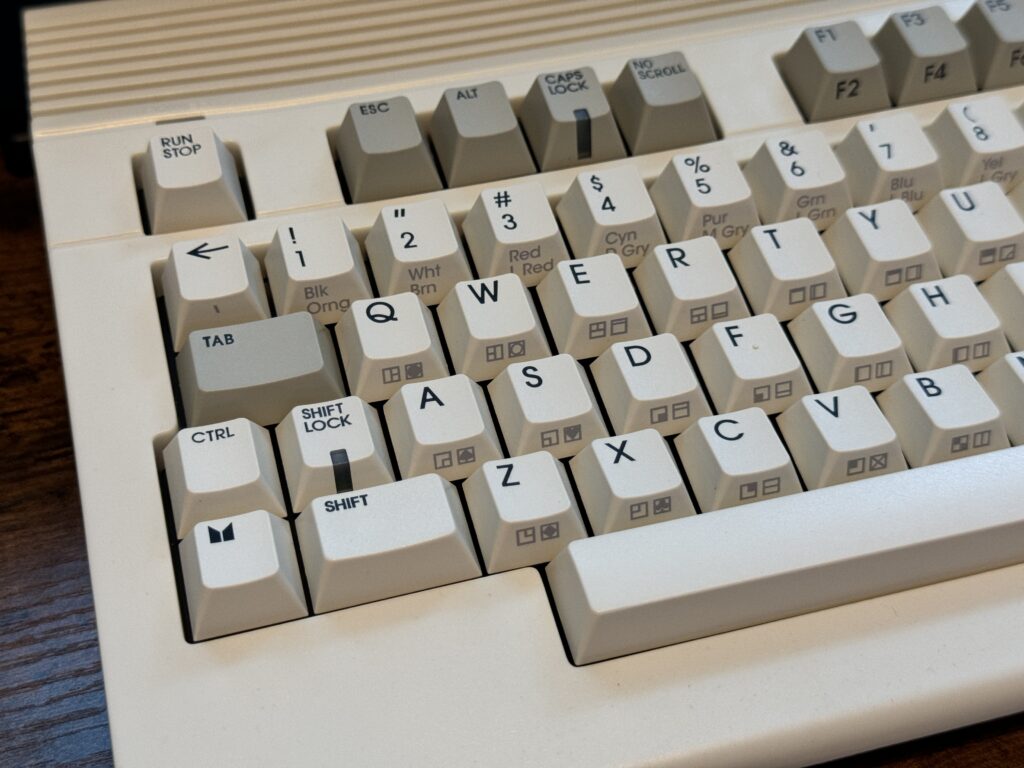
MEGA65 Keybaord

MEGA65 Keyboard with PETSCII Graphics


The keyboard itself is lovely to use – a far cry from the rather lacklustre examples found in the C64. The PETSCII symbols and font character colours are even printed onto the front of the keys as you would expect.


MEGA65

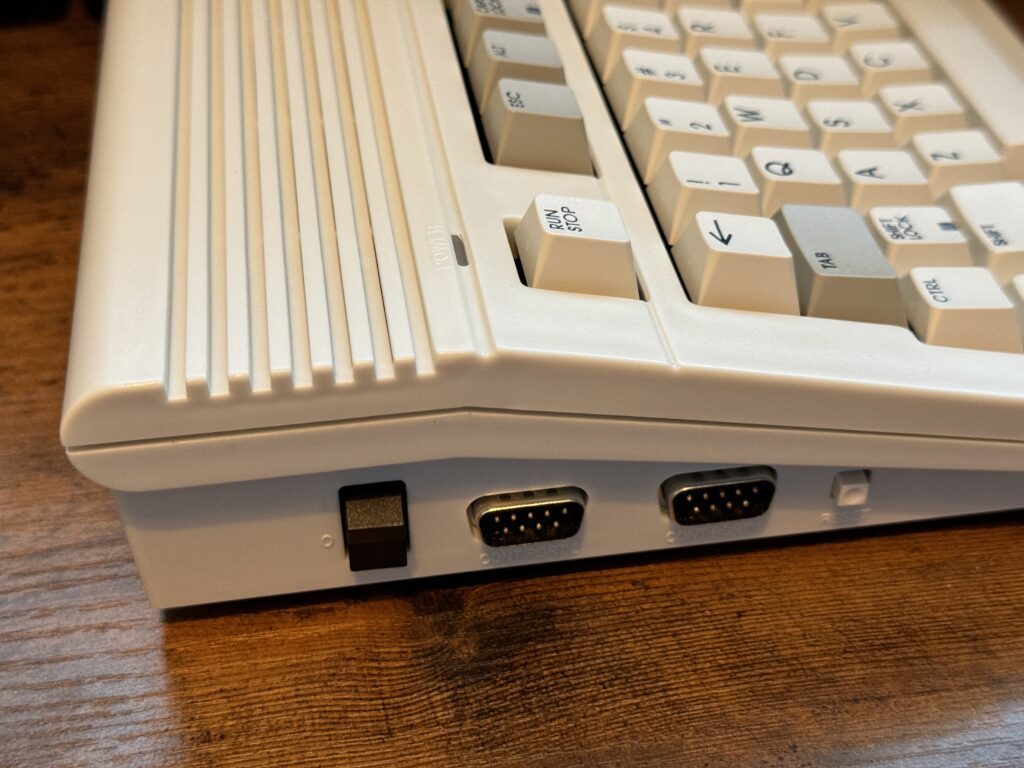
From left to right; on/off switch, joystick ports & reset switch.


Along the left hand side there’s the Power switch, two joystick ports and (finally) a little reset switch!


MEGA65

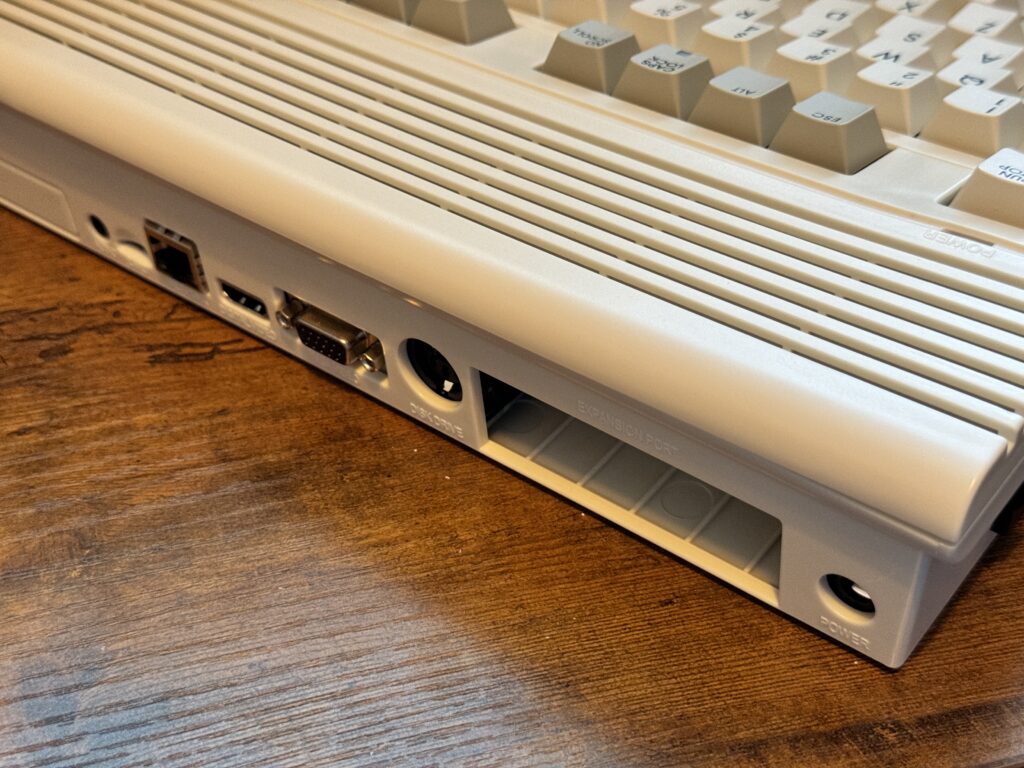
Rear ports (from left to right): Headphone jack, MicroSD slot, ethernet port, HDMI, VGA, serial port, cartridge slot & power socket

The back of the MEGA65 includes a headphone jack, MicroSD card slot, ethernet port, HDMI port, VGA port, serial port, cartridge slot and last but not least the power socket.


Quick Test


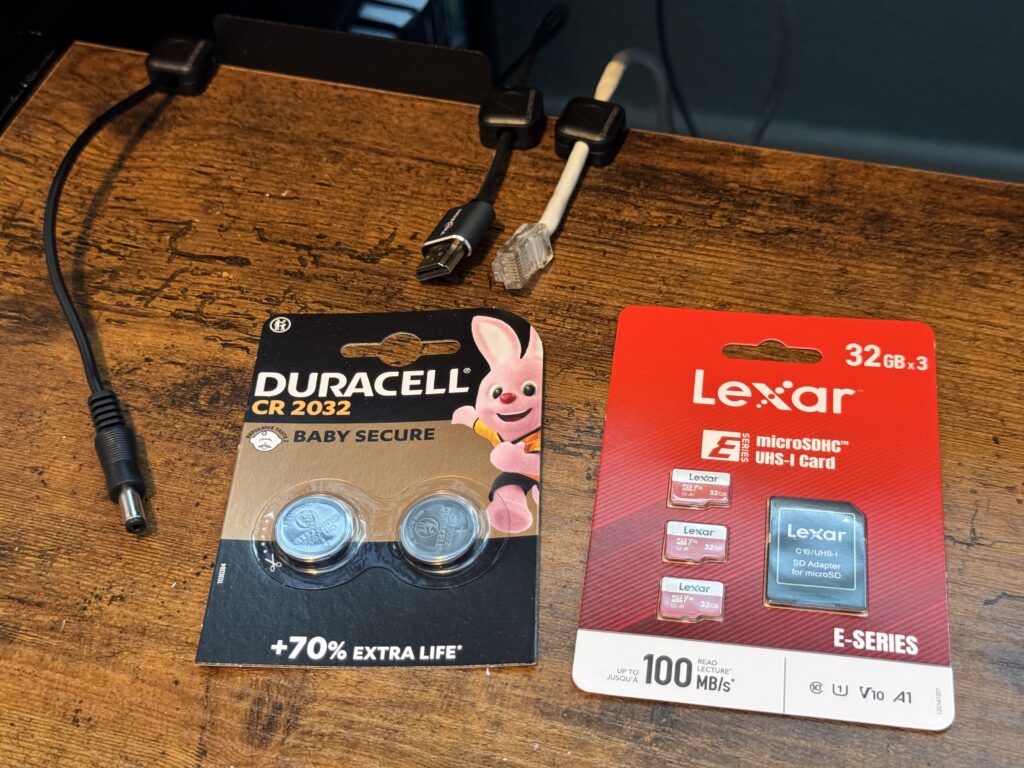
The MEGA65 didn’t come with any cables at all, but thankfully I was prepared for this and had HDMI and ethernet cables on standby, along with some MicroSD cards and batteries for the Real Time Clock (RTC).


Everything ready…


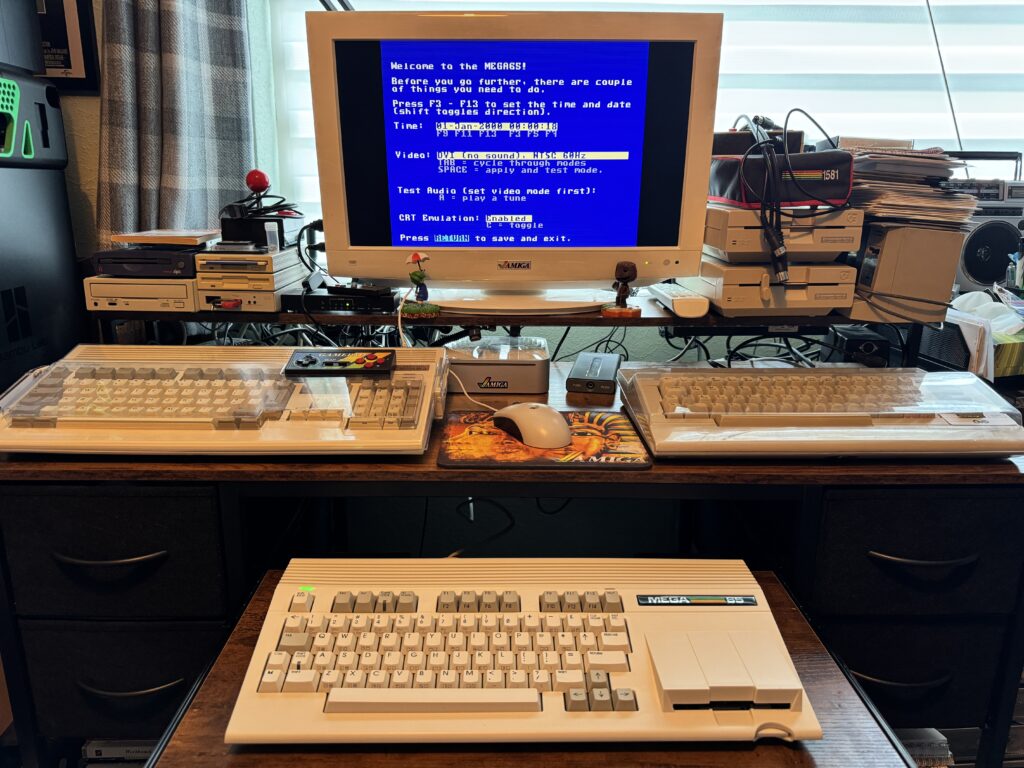
I hooked it up to my trusty ‘HD Ready’ Toshiba TV and powered it up. One day in the near future I hope to have it connected to my 19″ Checkmate monitor that I backed on Kickstarter but for now this will have to do.


MEGA65

The MEGA65 Onboarding Screen


After a few tense moments it booted up and presented the ‘Onboarding’ screen where I could set the date and time, video options and test the sound.


Inside the MEGA65


Satisfied that it was working I decided to turn it off, open it up and take a peak inside. I was curious to see what was inside and also wanted to fit a battery to power the RTC.

.

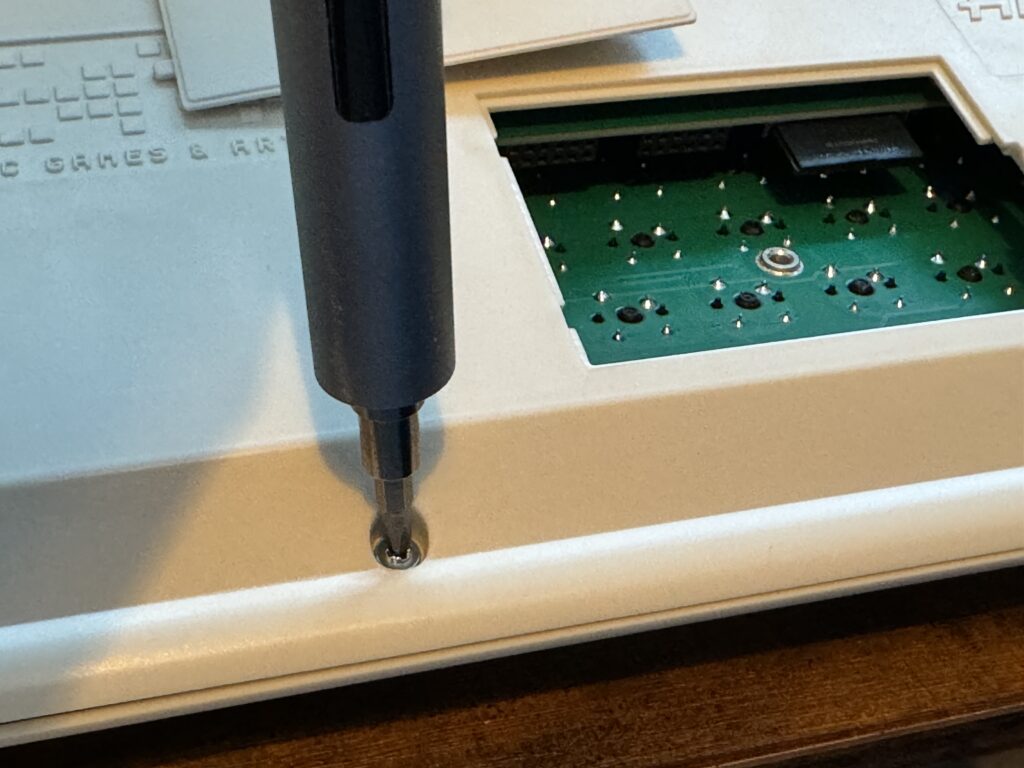
Undoing one of the case screws – trapdoor removed in the background


Just like on the C64 there’s only 3 screws to remove along the front – the back just has a row of clips holding it in place. There’s a little trapdoor on the bottom, similar to those on the Amiga. This provides access to the factory installed SD card which is handy.


MEGA65

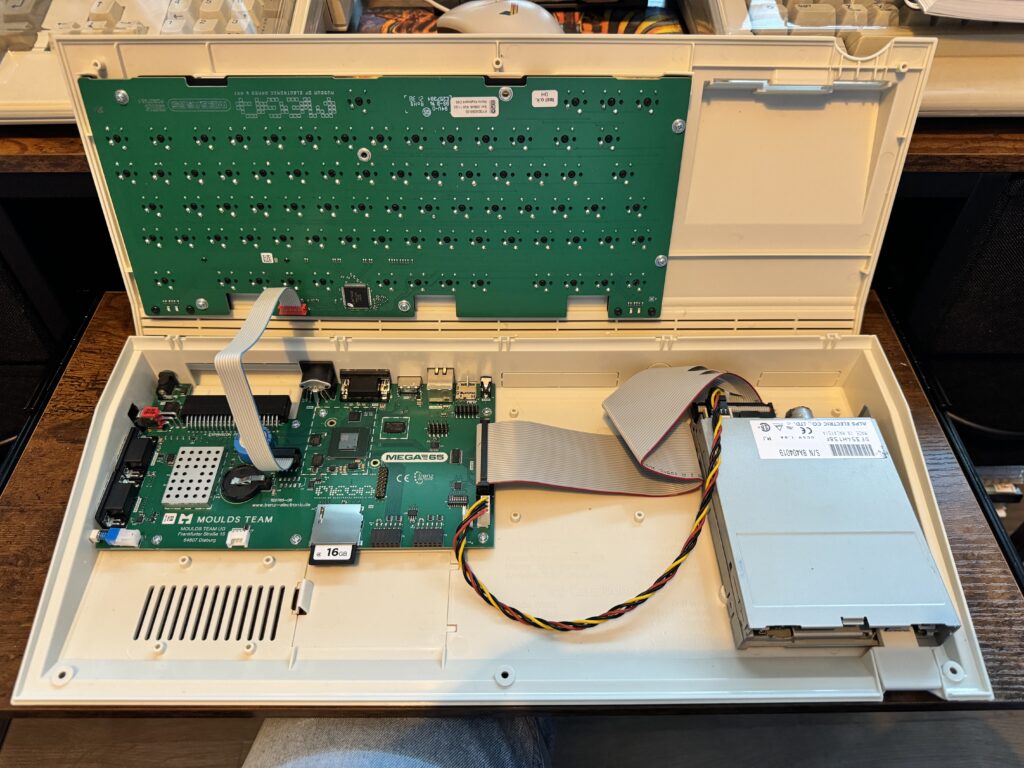
First glimpse inside the MEGA65 computer


With the lid lifted up you can see the motherboard which only takes up a little over a quarter of the available space. The rest is occupied by the floppy drive, keyboard and a few cables.


MEGA65

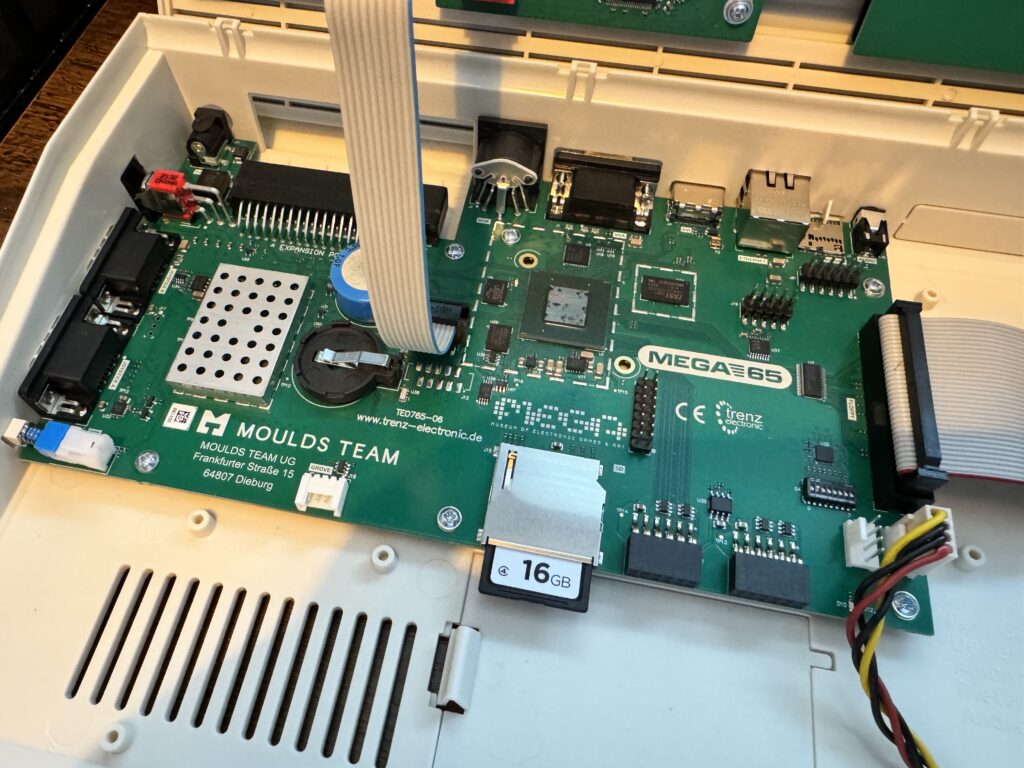
The factory installed SD Card front and center


There’s quite a lot of unused sockets and pin headers – presumably for future expansions.


MEGA65

MEGA65 Revision 6 Board or simply ‘R6’


Mine is a Revision 6 board – the majority of the rest of the machines our in the wild are R3 although that will soon change as more of this batch is shipped out.


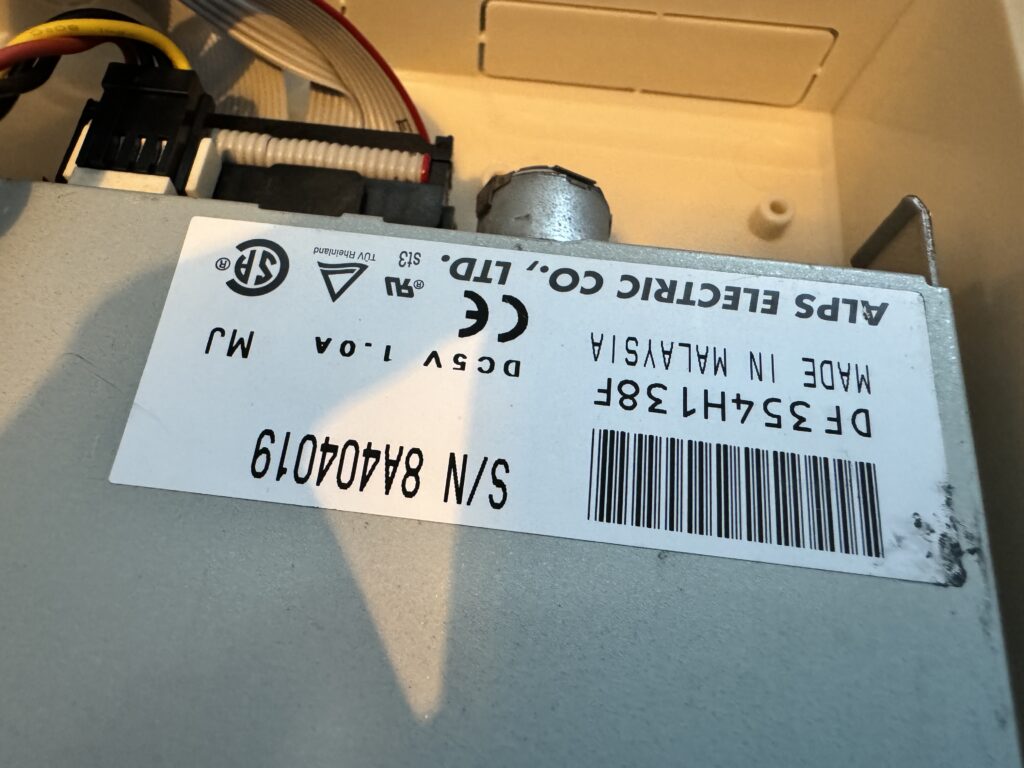
ALPS 1.44Mb Floppy drive


The floppy drive is an ALPS DF354H138F and these are widely available online which is good to know in case it ever needs replacing. It’s also interesting to note that this is actually a High Density 1.44Mb drive so perhaps one day we might be able to use the full capacity of HD disks with the MEGA65 with a future Core update? More likely is that this unit was simply chosen because it was more readily available than DD drives but one can hope…


MEGA65

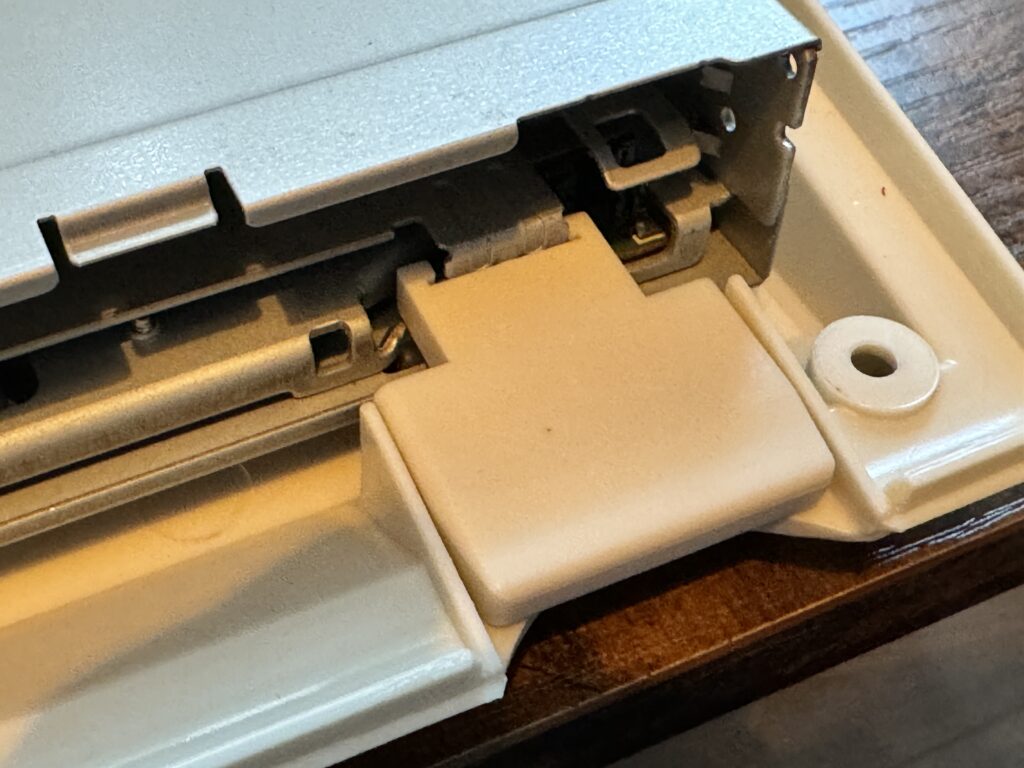
Jumbo eject button


The floppy drive is recessed deep inside the MEGA65 case so needs a pretty enormous button capable of reaching the eject mechanism.


MEGA65

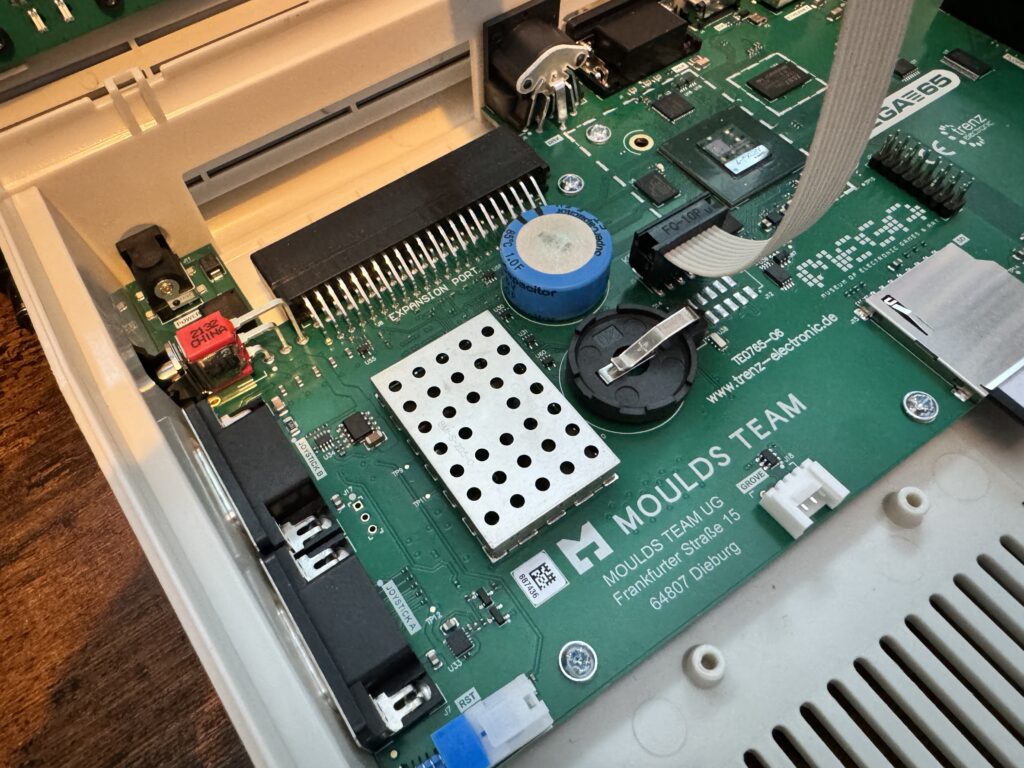
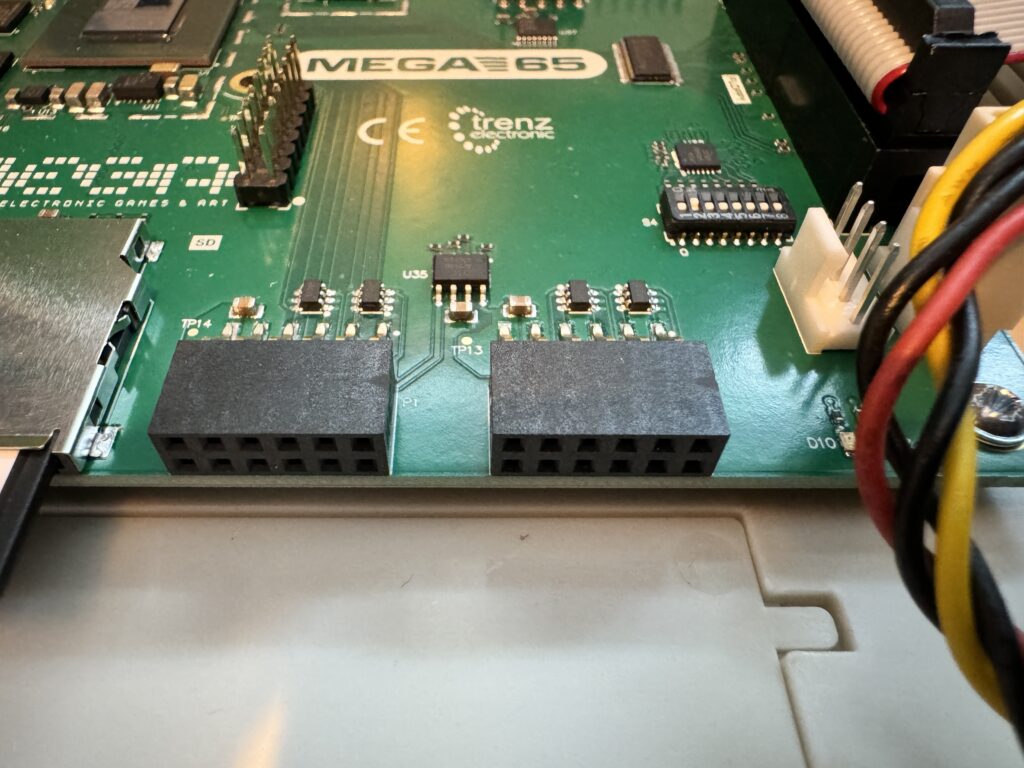
Not sure what these two ports are for but interesting how they are placed right above the trapdoor for easy access….


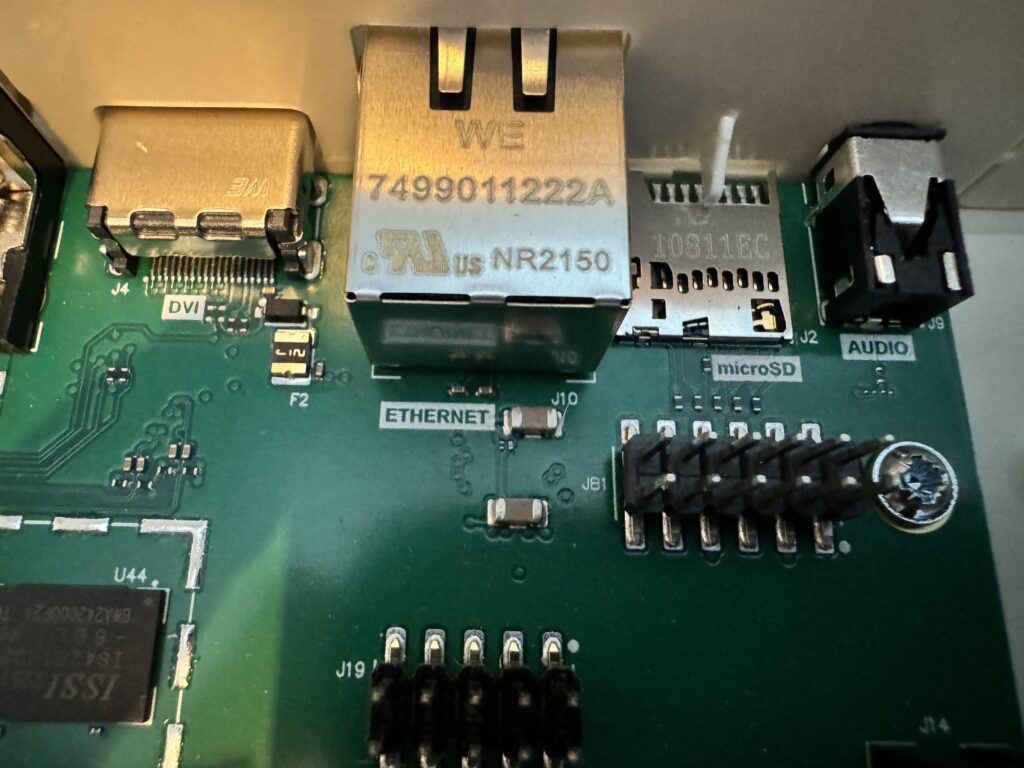
Most of the sockets are named on the board which is a nice touch. However there are a number of mysterious headers and sockets which aren’t.


MEGA65

Port names plus JTAG pin header on the right


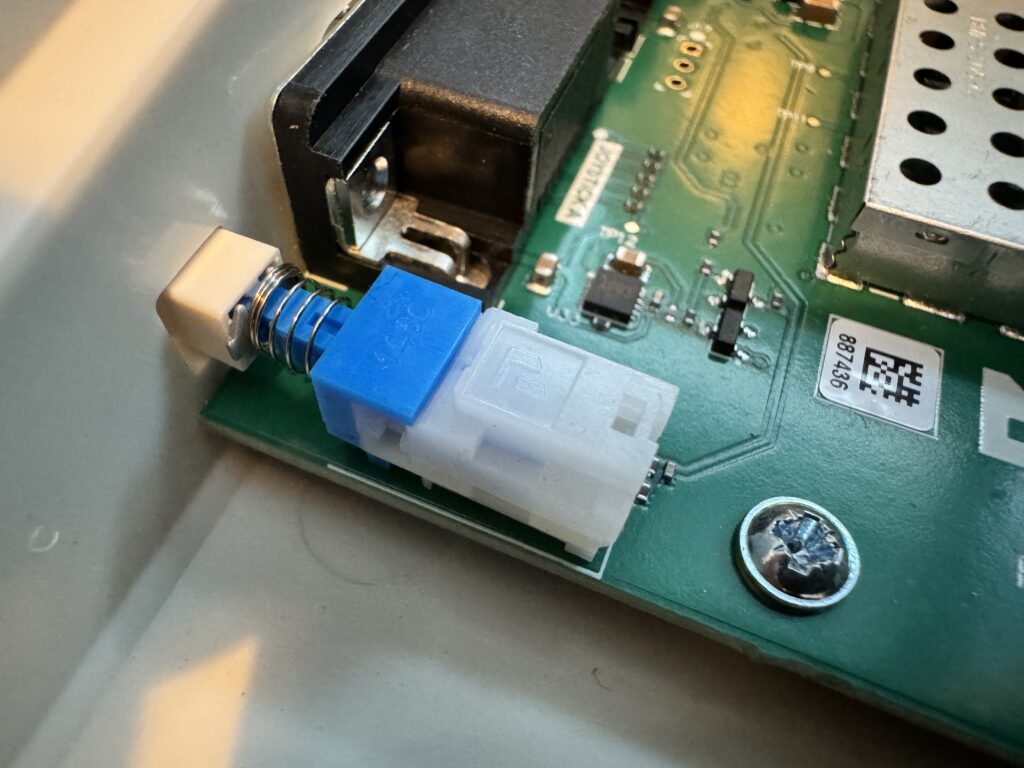
Something that was always lacking on the C64 was a reset button.


MEGA65

The reset switch


No need to resort to a DIY option with the MEGA65 though as it has one built-in.


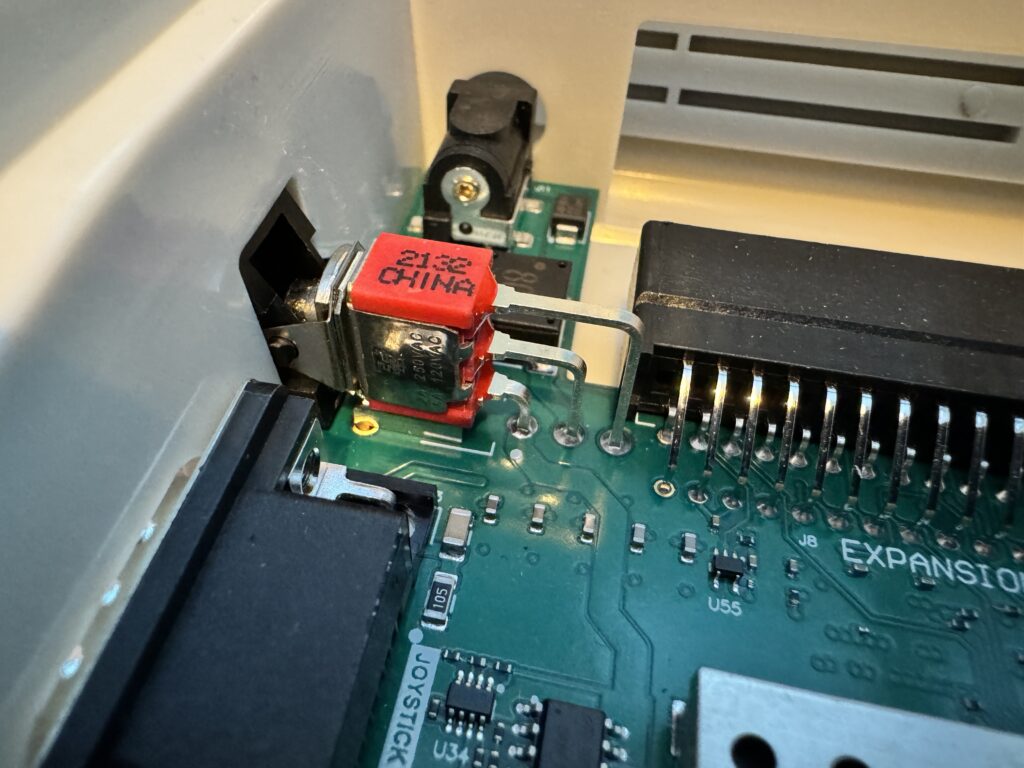
MEGA65

The power switch (coloured red) and cartridge port along the back


Powering the RTC


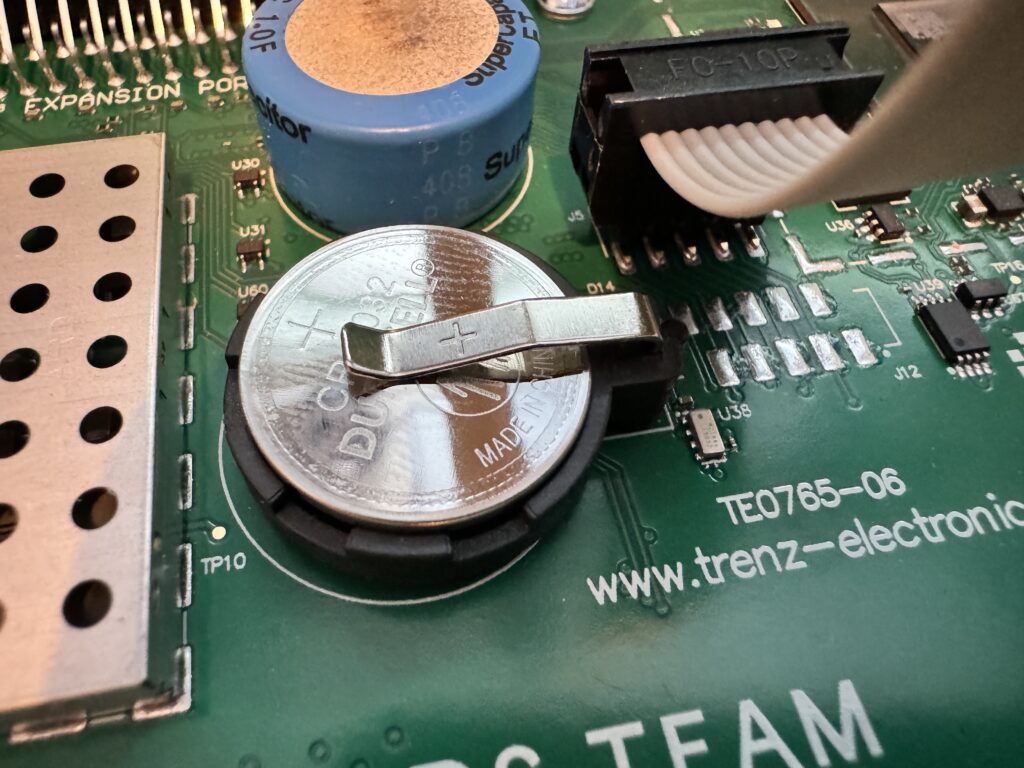
The MEGA65 Revision 6 (which is the version I have) does actually have a supercapacitor on the board which is capable of keeping the clock powered for several weeks – once fully charged.

However fitting a CR2032 battery will ensure the date and time aren’t lost even when the MEGA65 is having an extended holiday! Given CR2032 batteries are so cheap, and access to the clock so simple, there’s really no reason not to fit one.


MEGA65 Battery

CR2032 battery installed into the holder. The blue SuperCapacitor is visible behind it


Installing the battery was just a case of sliding it into place in the holder and bob’s your uncle.


Testing the MEGA65


With the battery installed I put it all back together again and hooked all the cables back up, I ran through the setup screens, set the time/date/video and audio preferences, enabled CRT scanlines and so on.


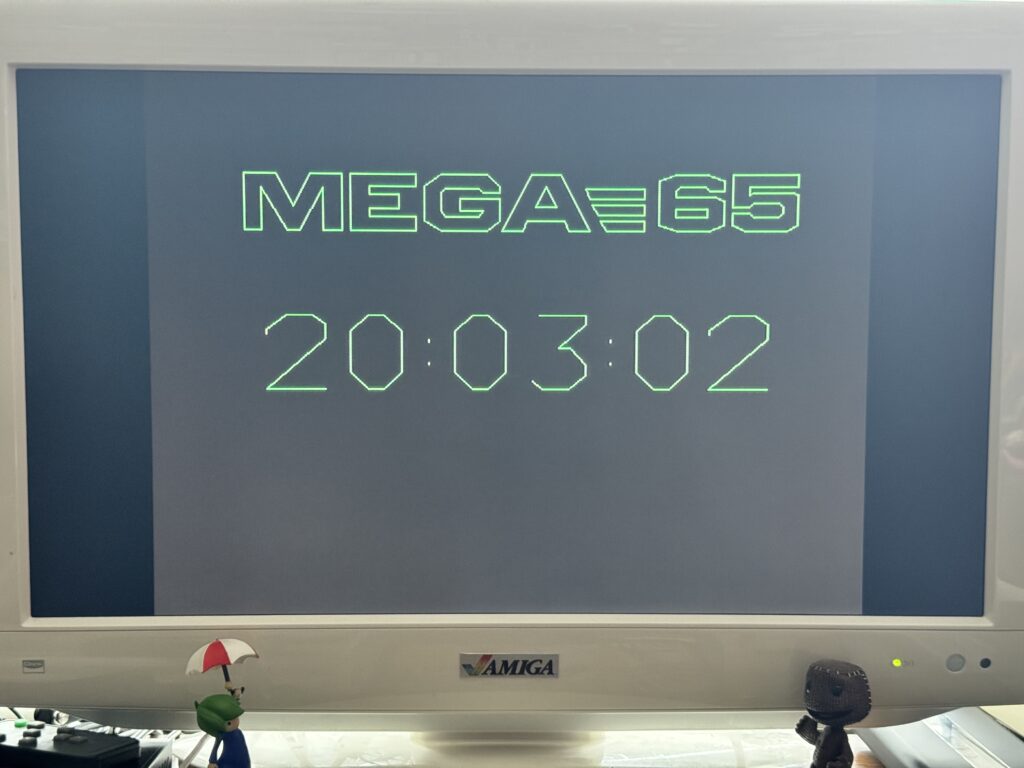
MEGA65 Clock

A MEGA65 Clock program


I quickly loaded up one of the clock utilities to check the RTC was working correctly and then it was time to honour the age old tradition of writing a childish BASIC program on my new computer!


BASIC Program


A program most nerds (including me) used to run on every computer we came across in department stores back in the 80’s. The salesmen must have been sick to death of kids doing this all day every day – some of the messages weren’t always so polite either!


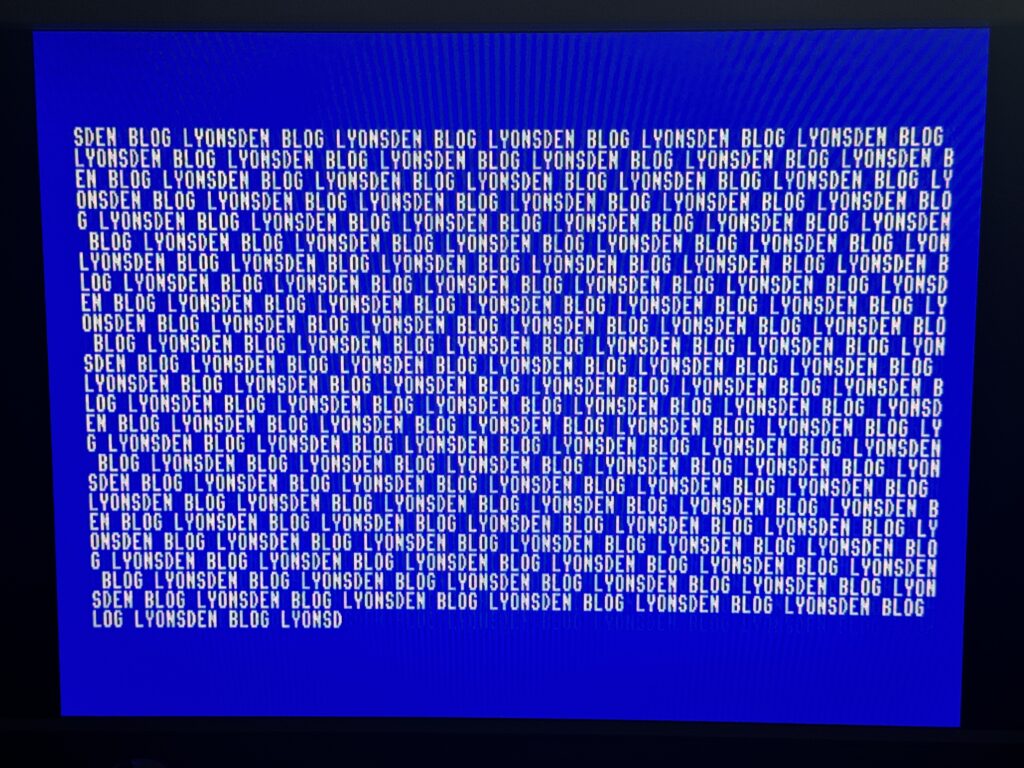
Lyonsden Blog scroller


Have to say I was blown away by the speed at which the text flew up the screen when I pressed the Return key. Too fast too read – only for the fact that the shutter speed on my camera has managed a perfect freeze-frame you wouldn’t be able to see it! This bodes well for writing some decent programs in BASIC without having to resort to using assembly or machine code!


MEGA65

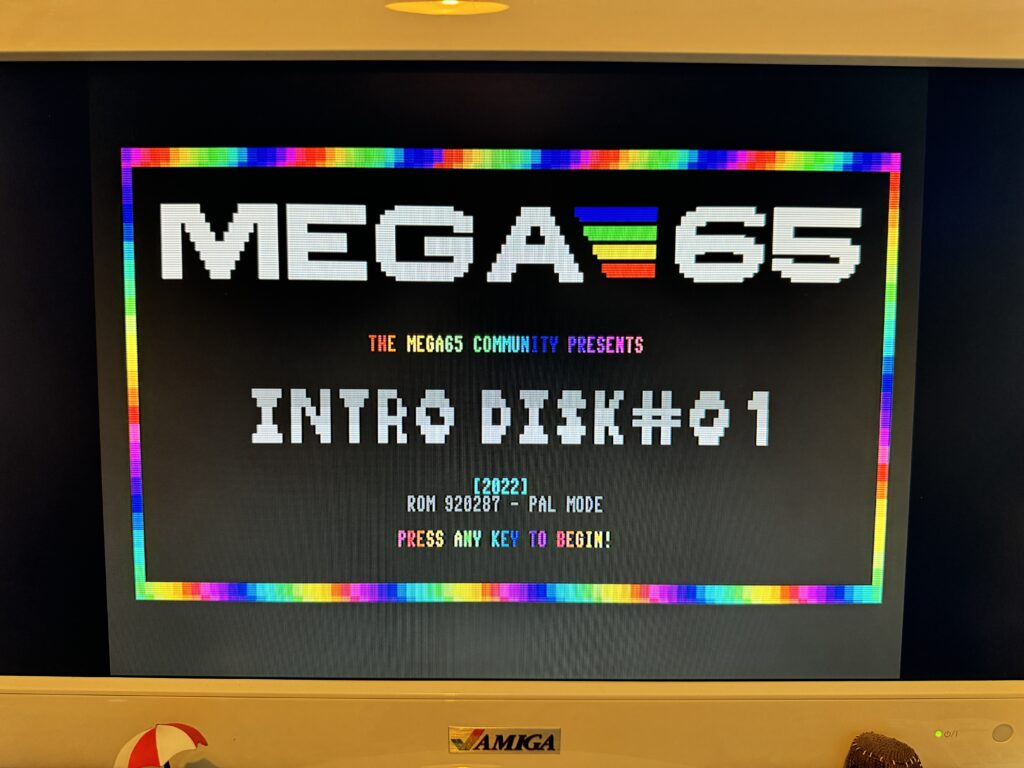
One of the 3 included MEGA65 Demo disks


There’s stacks of demos, music, games and utilities pre-loaded onto the SD card but I’ll round this post off by showing a little clip of my favourite MEGA65 demo so far’ Bad Apple!


Right I’m off to go and play with my MEGA65 some more….