If there was one take-away from my recent clean install of AmigaOS3.2 it was that transferring files across to a stock Amiga system is a real pain in the arse. Sure you can use CrossDOS, but that is limited to 720K files. If you have a CD drive then you can burn stuff to a CD which raises the limit considerably to 650mb. However this is pretty time consuming and my drive refuses to read CDRW discs so means I have to use CDR’s which is downright wasteful.
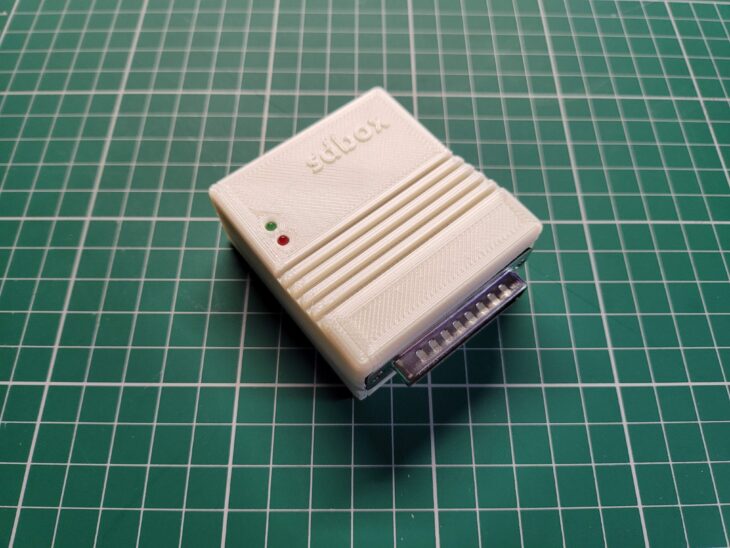
Enter the SDBox – a little expansion for any Amiga system that enables it to read and write data to MicroSD Cards. A few years ago I wrote a post about adding an SD Card to an A500, however that relied on having a Vampire accelerator card. This device just requires a parallel port to operate, something which all Amiga’s have.
What’s Included
The SDBox is actually a public domain Amiga community project that you can construct yourself (see here). However due to the inclusion of some surface mount components I chose to buy one ready made from Amigastore.eu. I can normally solder stuff OK but dealing with tiny surface mount components is beyond my skill level.
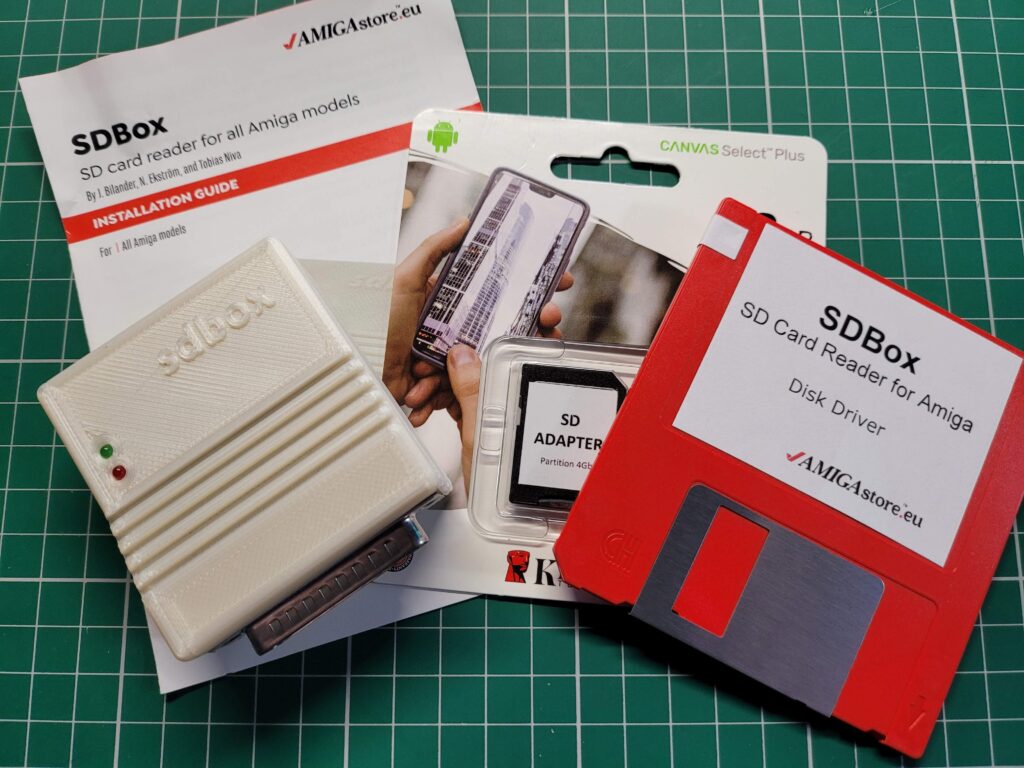
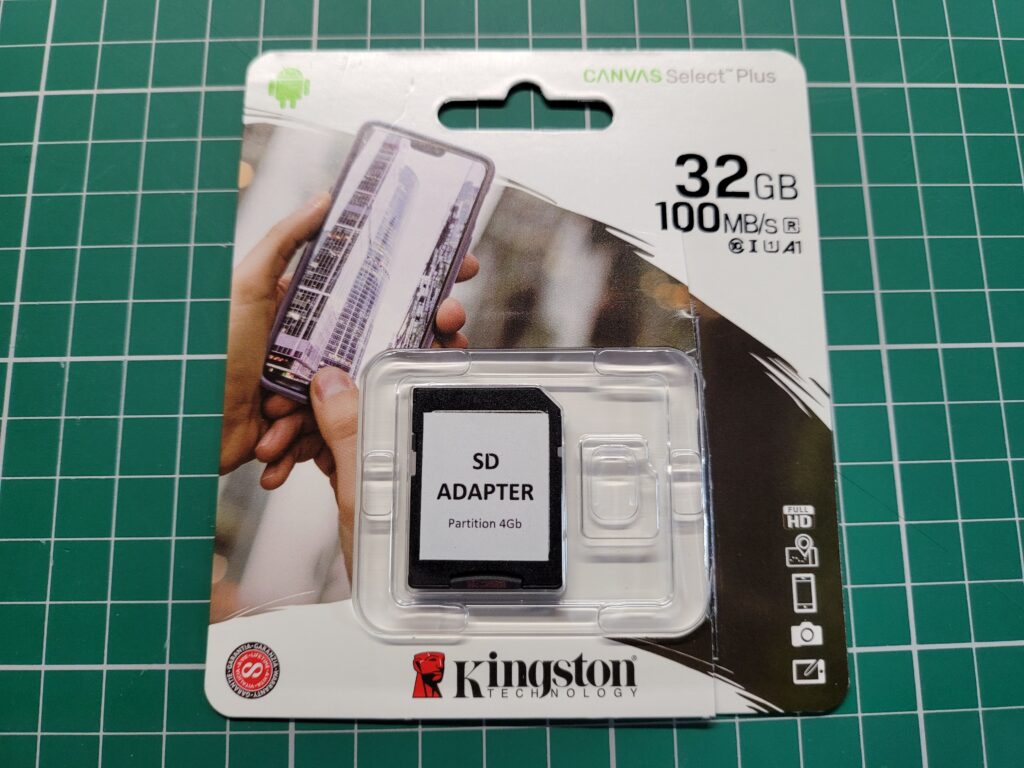
Included in the package was the SDBox device in a nice 3D Printed case, a 4GB MicroSD Card with adapter*, instruction booklet and a 3.5″ floppy containing the software to make it all work. A mini USB cable was an option too but I’ve accumulated dozens of them over the years so didn’t see the point in getting another one.
Connecting the SDBox
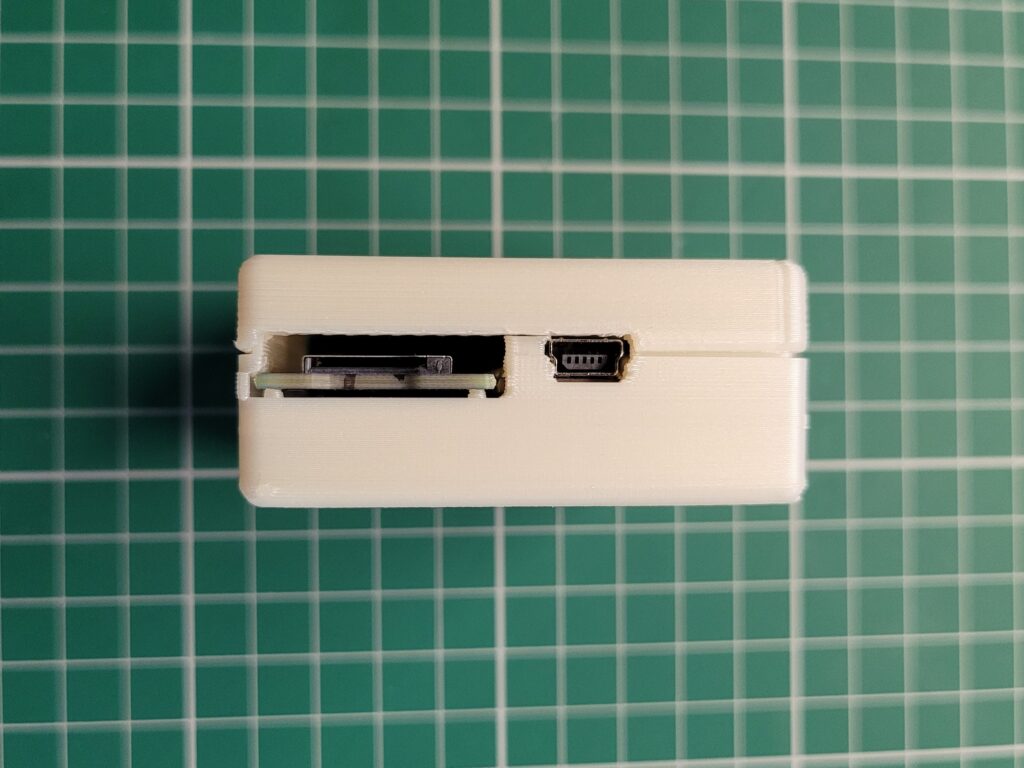
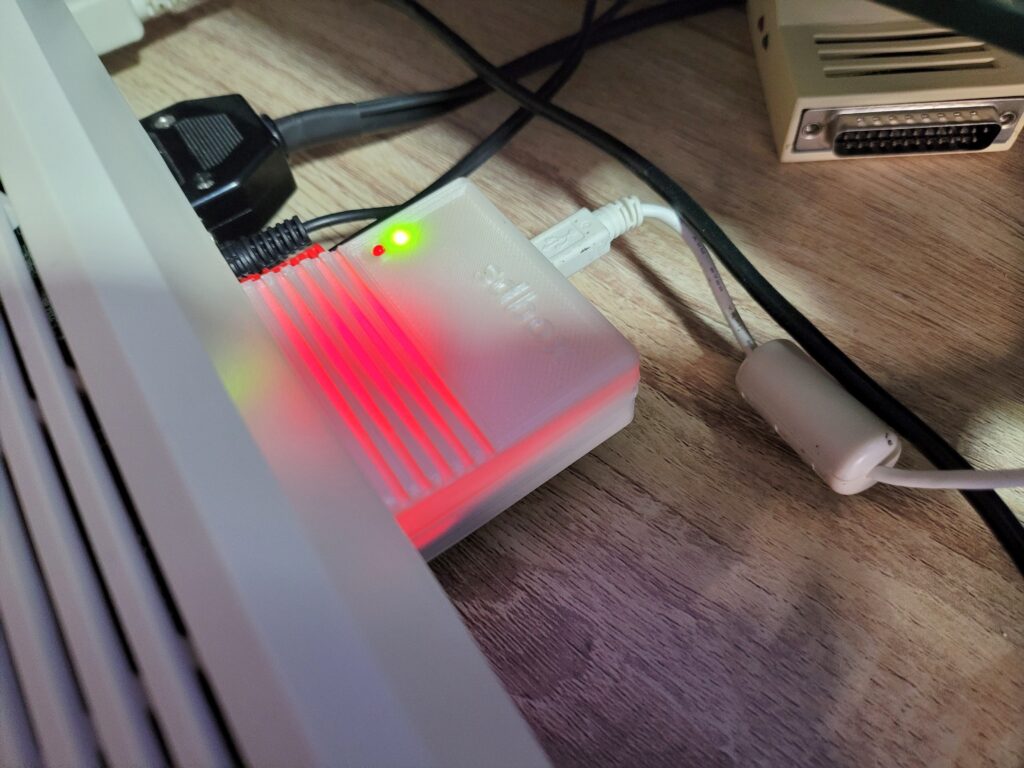
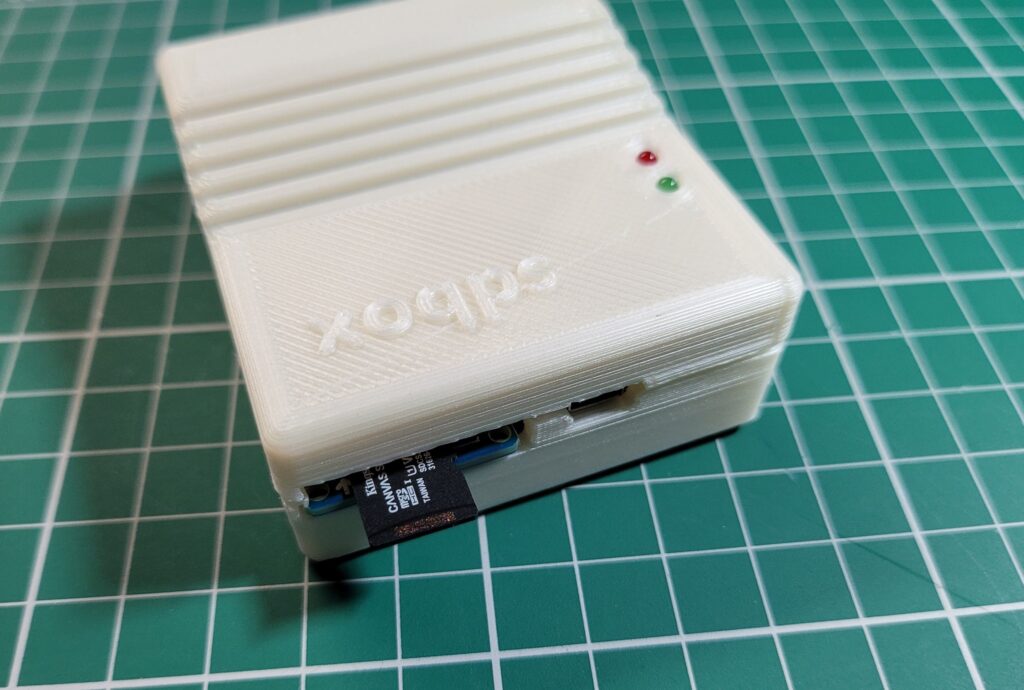
With the Amiga turned off the SDBox simply plugs into the parallel port socket round the back. It also requires 5V of power to function which can be provided via a mini USB cable.
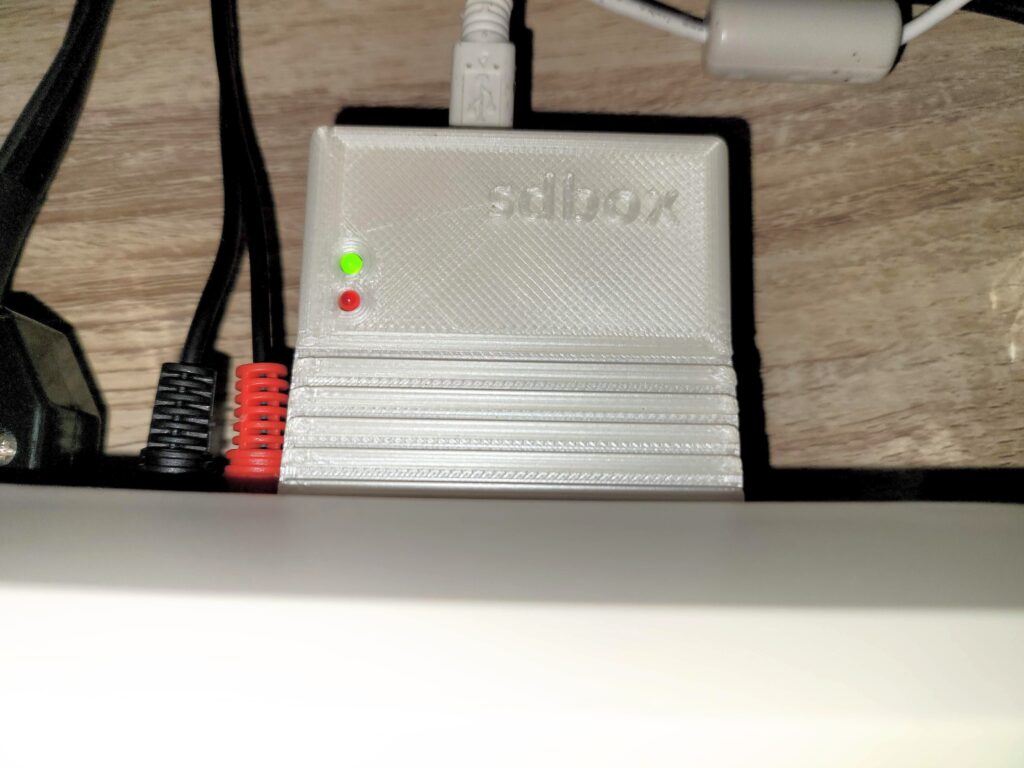
I found there was just enough clearance at the side for it to not interfere with my RCA audio plugs but this might not be the case if you have thicker plugs.
When powered on the box glows red from inside – presumably this illumination comes from an LED on the Arduino Nano. It’s not quite as noticeable as the photo below would have you believe and it’s not a big deal.
Installing the Drivers
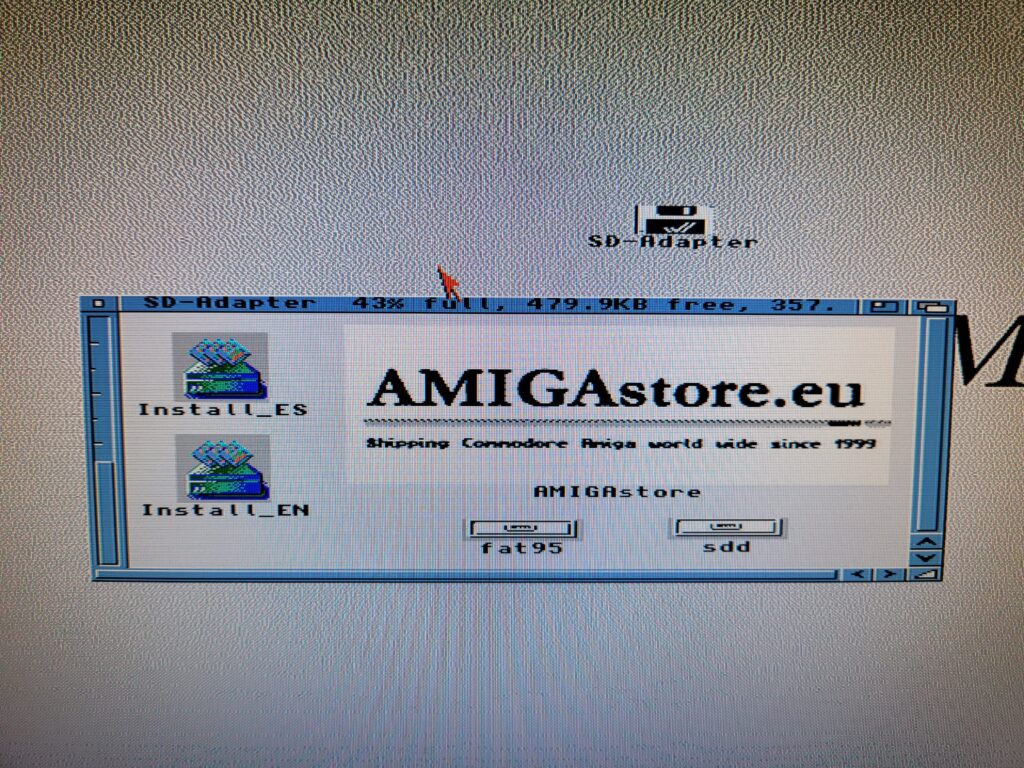
With the hardware powered on and connected the next task is to pop in the floppy and run the installer to install the driver software.
The floppy comes with a handy installer (in both English and Spanish) to copy over and configure everything necessary to use the SDBox.
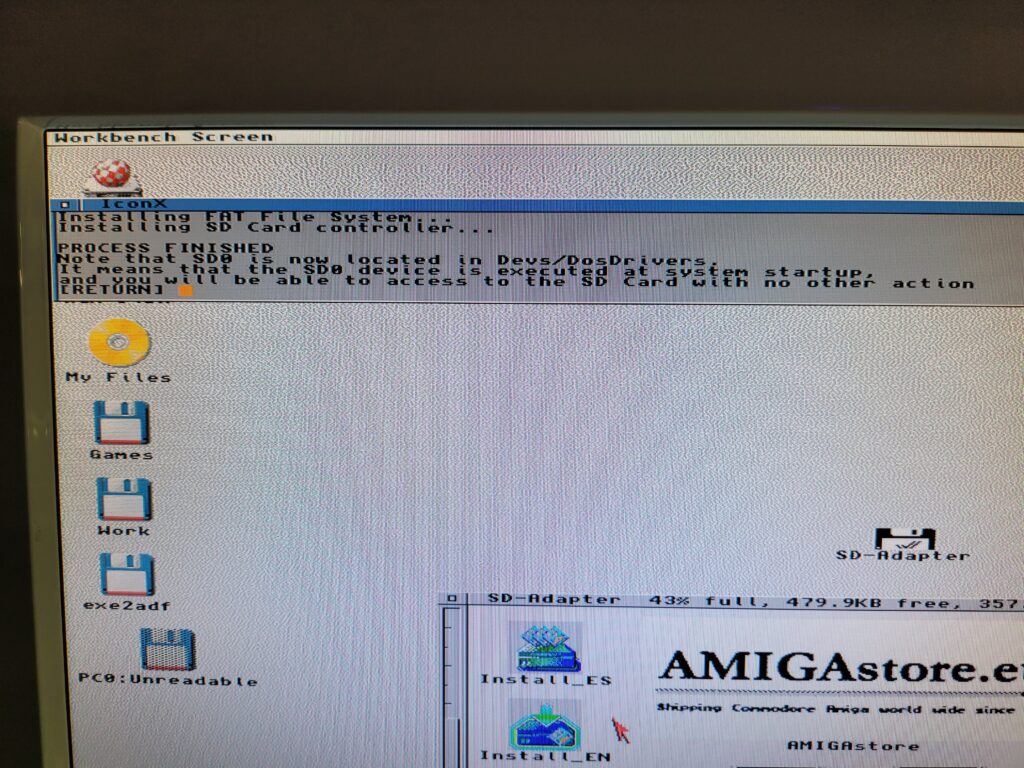
A few moments later a message appears on the screen to inform you that the install is complete and where it has put the SD0 device.
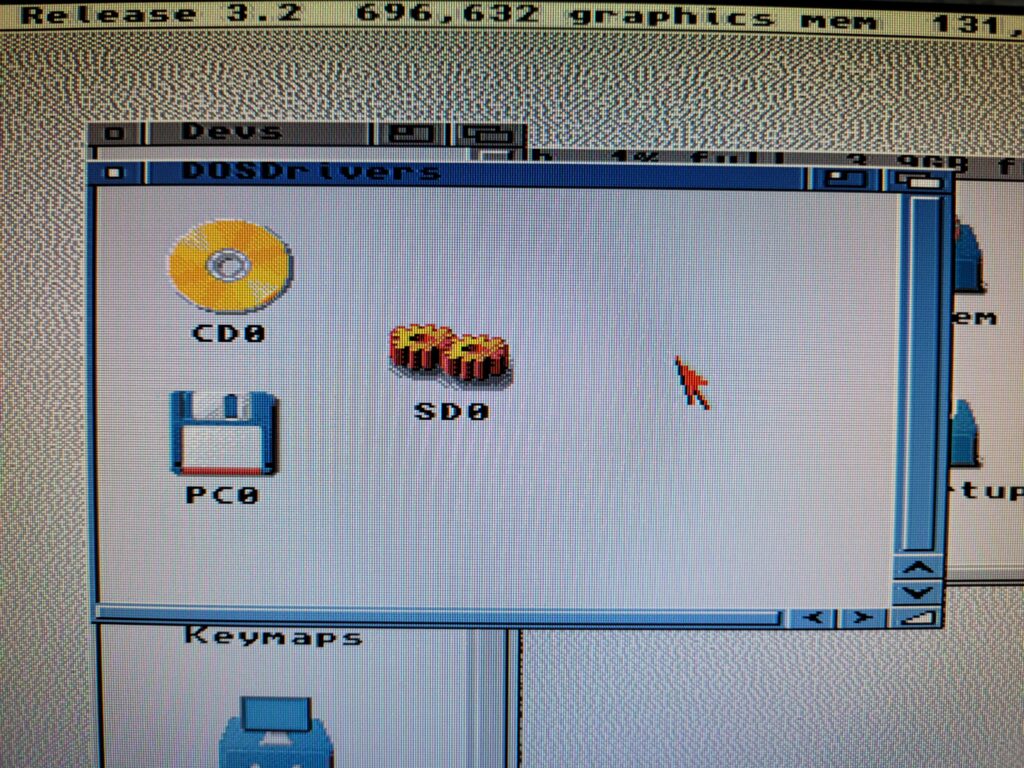
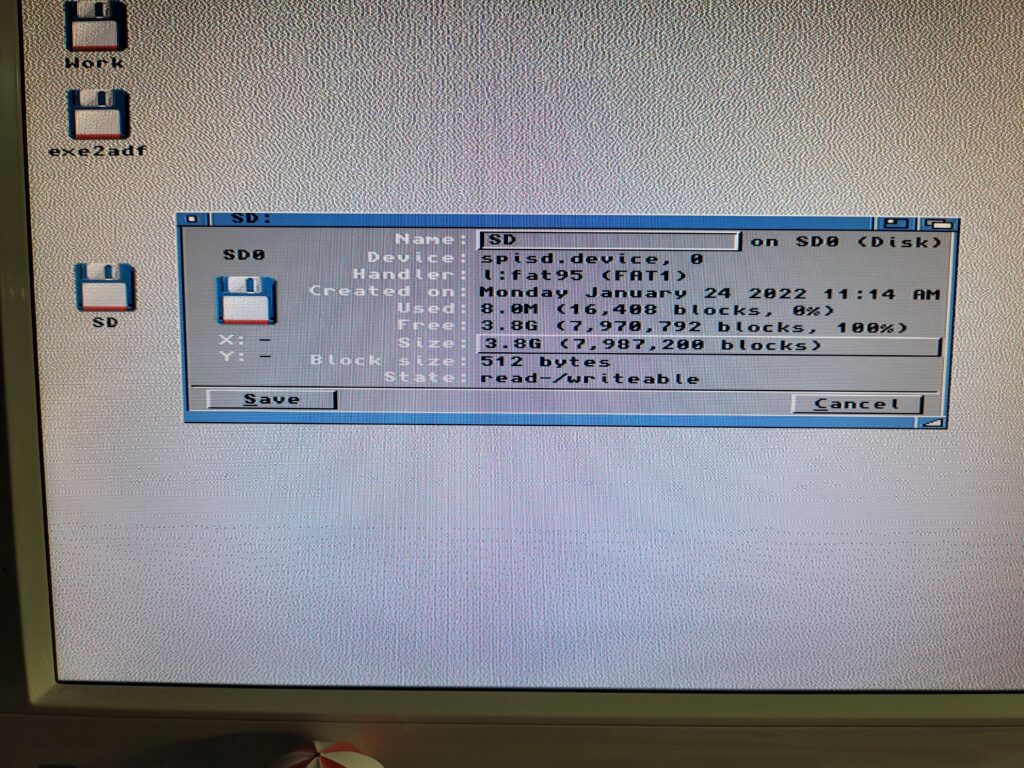
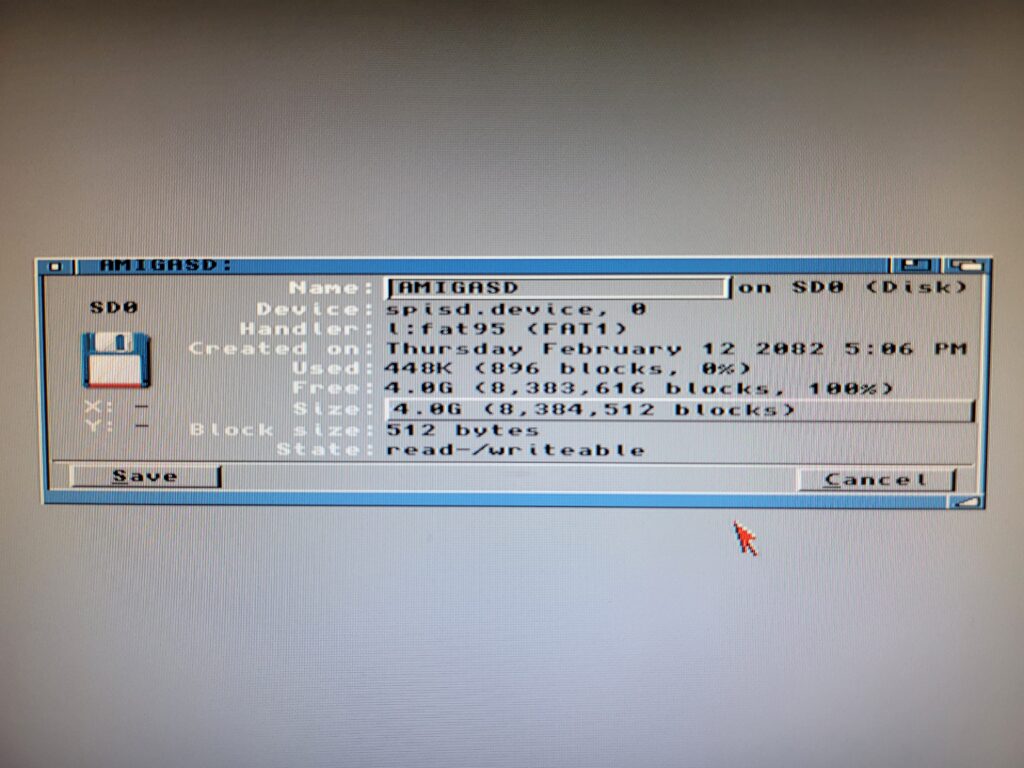
A quick reboot and my SD card was showing up on my Workbench screen, just like any other drive would. I brought up the drive info window for SD0 to confirm it was reading the card properly.
SD Cards
I chose to get an SD Card with my SDBox but you can use any MicroSD card you may have lying around. The one caveat is the device is only capable of accessing 4GB partitions so if you have a bigger card you must create a 4GB (or smaller) partition on it for it to work. There’s some info at the end of this post describing how to partition a MicroSD card in Windows if you need it.
*Clearly AmigaStore.eu were unable to source a 4GB card for me as they actually sent me a 32GB MicroSD card that had been manually partitioned to 4GB.
Using the SDBox
In use the SDBox performed well and exactly as described. It’s not going to set any speed records but given it’s hooked up to a parallel port that’s to be expected. To give an idea of transfer times I copied an 880K ADF file from my RAM Disk to both my internal CompactFlash card and the SDBox. It took about 1 second to transfer to the CF card and 6 seconds to the SDBox. Next I tried a bigger file; AmiSSL 4.12 which was 5.7MB. It took 6.5 seconds to transfer to my CF card and 39 seconds to complete the transfer via the SDBox. Approximately six times slower but still perfectly acceptable.
The SDbox doesn’t support swapping thecard whilst the Amiga is running so don’t expect it to update the contents if you do – it’ll just result in an error. It requires a full reboot to refresh the contents of the card but again this is not a great inconvenience.
Fly in the Ointment – Conflict with Indivision AGA Mk3 Flicker Fixer
On a slightly more sour note I did encounter one issue with my unit. Whenever the SDBox was accessed, whether that be reading or writing data, my screen flickered/wobbled around. You can see exactly what I’m on about in the little video clip I recorded below. After testing all sorts of things I narrowed it down to an issue with using interlaced HIGHGFX screenmodes on my Indivision AGA Mk3 flicker-fixer. Normal Amiga screenmodes, including interlaced ones, worked just fine as did non-interlaced HIGHGFX modes (all of these still going through my flicker-fixer).
Naturally Sod’s law meant that my screen was utilising ‘HIGHGFX Super-High Res Laced’ which is why I witnessed the issue from the start. It’s certainly not a deal-breaker – it’s more of an irritation than anything else (especially if you are a bit of a perfectionist). It doesn’t affect the operation of the SDBox and I can certainly live with it – just something to bear in mind for anyone with a similar setup.
I tried many things to get rid of the issue and also contacted the manufacturer of the Indivision card but so far I do not have a solution. If I ever get to the bottom of the issue I’ll update this post.
How to make a 4Gb partition on a larger SD Card.
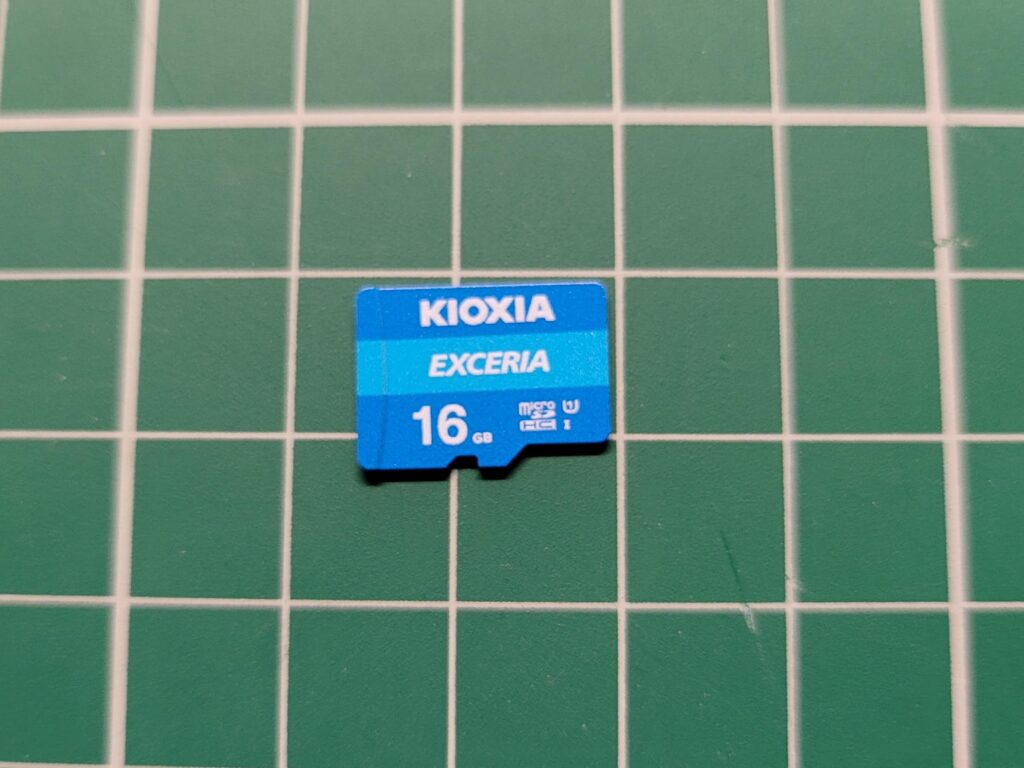
This is a pretty straightforward task to accomplish in Windows. I used a nice bit of free software called ‘MiniTool Partition Wizard‘ to do the job along with a spare 16GB MicroSD card that I had lying around.
Basically what you need to do is load up the software and then find your card in the list of drives. They normally show up slightly smaller than the stated capacity. For instance I popped in a 16GB card and it showed as 14.43GB under the list of available drives.
Once you’ve located it simply right-click it and select ‘Delete Volume’ then do the same again but select ‘Create’ to make a new, smaller partition. On the ‘Create New Partition’ screen select ‘FAT’ as the file system (see screenshot below) and it will shrink the size of the partition down to 4GB automatically. Give it a name (this will appear on your Amiga workbench) and then click ‘OK’ and then ‘Apply’ to make all these changes happen.
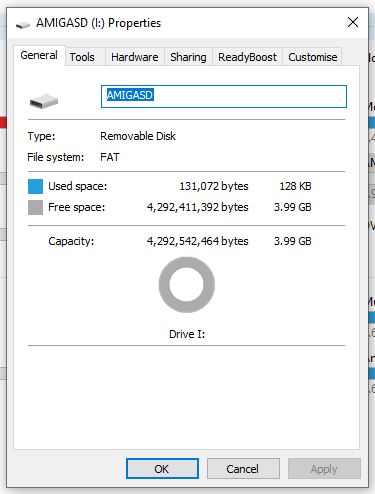
Now if you right-click the SD card and select ‘Properties’ in Windows you should get the screen below showing that the card is now recognised as being 4GB and formatted with the FAT file system.
Back over to the Amiga – pop the card into the SDBox and boot up your Amiga. You should now see the card appear on Workbench with the name you gave it in Windows. You can go to ‘Icon’ > ‘Information’ to bring up a similar properties screen to check it’s all setup correctly.
And that’s all there is to re-partitioning an SD card to work with the SDBox. Enjoy!
Discover more from Lyonsden Blog
Subscribe to get the latest posts sent to your email.



Have my SDBox connected to my A500 and reading your blog for the 3rd time trying to find out why it’s not being recognized as SD0: is mounted (located in dosdrivers) and fat95 is properly installed… the spuds.device is in L:
I didn’t get the floppy drivers from Amigastire thinking it would be “easy” to find them on the GitHub- it wasn’t and there is no online guide to how to manually install them! Was hoping you could have shown that.
The installer took care of all the drivers. Have you tried running SnoopDOS to check what’s going on? Failing that drop me an email (address is on my about me page) and I’ll send you an ADF of the disk. Cheers.
thankyou Steve for the offer- I did finally get the SD0 driver working (I think) but the card comes up on workbench as NDOS- non dos disk, so I think my fat32 formatting is the issue? I followed your partition guide using minipartition, but noticed it just says ‘FAT’ on the format type. Is that FAT12? 16? 32? I dimly recall fat95 in L: may handle 32-bit formats ok?
Yes it has to be just ‘FAT’. If you are using Minitool Partition Wizard like I did then just make sure you select the ‘FAT’ option when setting up the partition and it will be in the correct format. The Amiga sees it as FAT1 (FAT95) as you can see in the screenshot I took of the drive Information window below.
Perfect! I’m doing that on the 3rd small size uSD card, as the prior 2 small capacity cards didn’t work. I think this box is pretty picky about cards. thanks!!!
Not sure if this helps anyone or not but I didn’t go for the driver disk as it said I could download it. Anyway I installed FAT95 and copied the files in to the DEVS: directory. What got it working was to change the properties of the fat95 and spisd.device and untick executable and rebooted. All working fine now. 🙂
Chris- I got the SDbox working on the A500 under OS2. Now the issue is howto on the A3000. I put spisd.device in L: (and devs: !) and sd0: in devs: and unticked the executable under icon info. fat95 too got unticked (for exe). reboot – and nothing. using the same SD that worked in the A500. A3000 didn’t want to run the fat95 installer (‘couldnt fiind l/install’ baloney) so i unpacked the original .lha. Amiga makes everything harder :/ but im sure Ill get it working somehow eventually, lol.
it is a bit tempremental but once it works it seems OK. I actually emailed steven and he kindly sent me the ADF. I’m sure he wouldnt mind if I sent it to you? You can reach me on chris AT harper.im
You need to put SD0 in to DEVS:DosDrivers and the memory card needs to be 4GB FAT
I haven’t tried workbench 1.3 [500] or 3.1 [1200]
The installer is only good for is talking the Fat95 drivers if you are on workbench below 3.0. There is no DosDrivers on WB 1.3 for example. You need to manually copy the SD0 file and spisd.device files to your devs directory and then type mount SD0: from devs/SD0 in a shell to get it to work. Also a good chance you have to edit & insert SD0: to the front of the SD0 file.
Hello Newby here ,
One question, i ordered a sd box v2 and when it is installed properly,
i can just place my IFF sounds on the Card at the PC or do i have to use WINUAE ?
Yes you can just copy files to the card on your pc and transfer them across to your Amiga no problem.
thanks Steven,
I still am stuck on installing the SD card. I have a formatted SD card 4 gb, placed some iff files on it, But when i install the drivers i don’t know what to do after this message:
– installing FAT file system..
-installing SD card controller…
process finished
Note that SD0 is now located in DEvs/Dosdrivers.
It means that thr Sd0 device is executed at system start up. and you will be able to acces to the SD card with no other action
[return]
so what do i have to do next ?
That message just means it has put the SD driver in the DOSDrivers drawer which is basically where the Amiga stores all its media drivers. Anything in here is loaded up automatically when the Amiga boots and thus should ‘just work’. If all has gone well simply restarting your Amiga should have been all that was needed for the card reader to work.
Hi,do you share a adf file with driver?
Please check your email 🙂
Just received it, Thank you much
Can you share the ADF? Thanks
No problem, I’ve emailed a copy of it to you.
Hi can you share the ADF file please ?
Please check your email 🙂
Can you share the adf file?
Thanks
Please check your email 🙂