Ok so this post is a little different from my normal ones as it’s all about a bit of modern 21st Century kit. If you only follow my posts about old stuff then feel free to skip this one.
So with that out the way, what am I on about? Well I finally let my curiosity get the better of me a couple of days ago and I pulled the trigger on a 3D printer on Amazon. (Link below if you want to see the exact one I got).
Truth be told I’ve been interested in acquiring one for a long time but considered them out of my price range as the ones that were affordable produced rubbish results. However I recently became aware of the budget Ender 3 Pro 3D printer and I suddenly realised that the technology to produce fantastic results was now well within my budget.
Setting Up
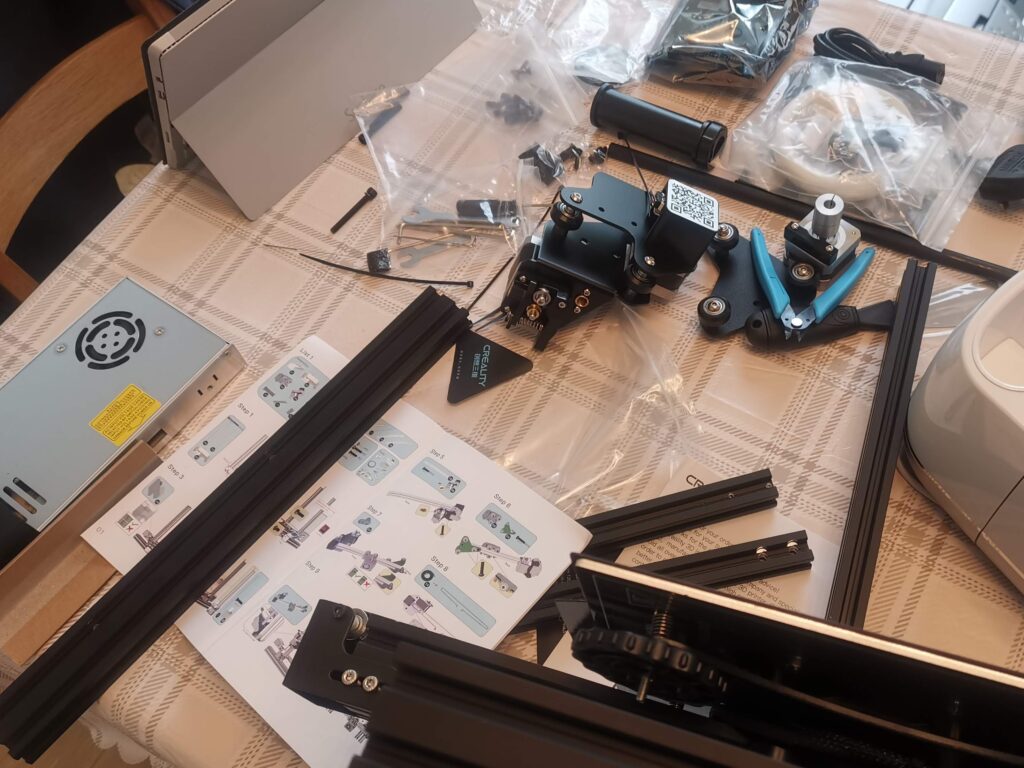
The printer arrived next day in a substantial box filled with thick foam to protect everything. The printer was described as ‘semi-assembled’ but I don’t think I was quite prepared for what that actually meant! When I unpacked everything there was a daunting pile of weird looking parts to put together. Bags of nuts and bolts, belts, bars, tubes, rods and connectors. The supplied colour instruction booklet was appallingly unhelpful. Thankfully, buried on the supplied MicroSD card was a very informative and well produced video demonstrating how to assemble it. There are also many fantastic YouTube videos that show how to assemble and more importantly calibrate the Ender 3 Pro as well. I used a combination of all three to assemble mine.
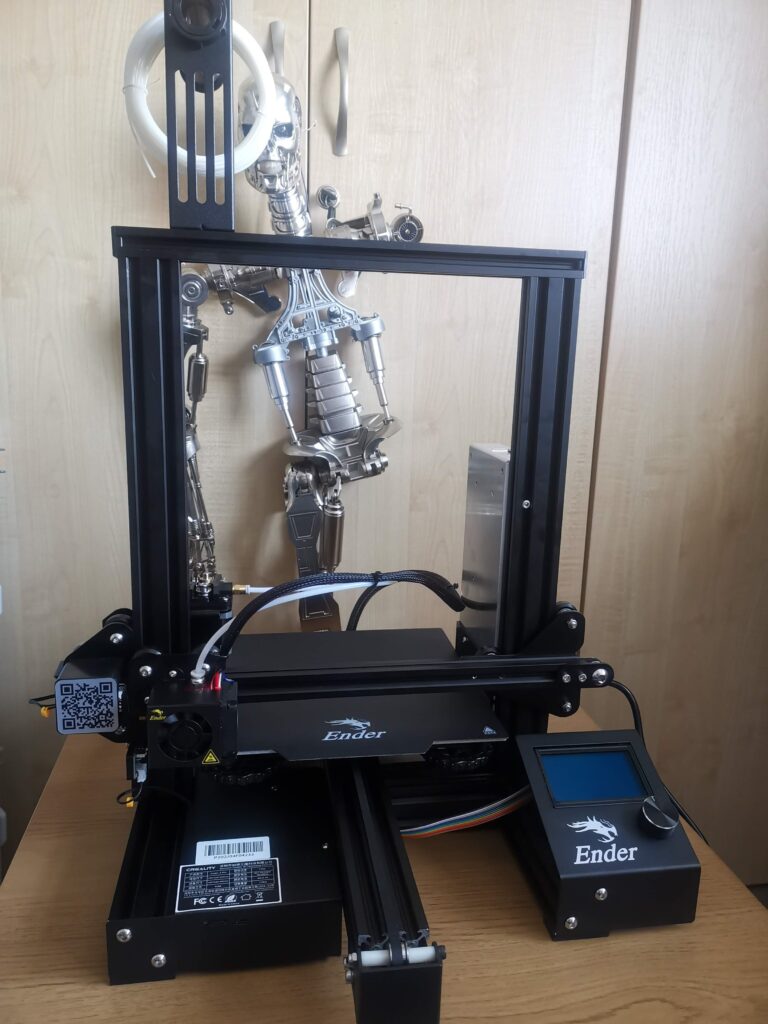
I took things slow and double checked every step to make sure I got it right. Around three hours later I had a fully assembled 3D printer! I hesitantly turned it on to be greeted by the illumination of the LCD panel and the fans springing into life. Definitely a good start. Next I ran the ‘Auto Home’ procedure. This moves all three axis motors into their home positions so would test the mechanical side of things. Happily everything whirred into life and moved smoothly without any drama. Needless to say a huge wave of both relief and satisfaction washed over me.
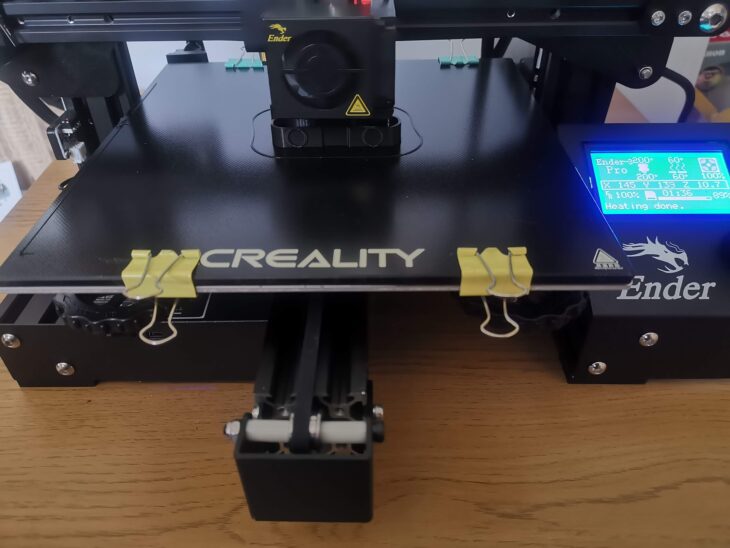
I probably spent another good hour or so checking everything over. Pulley wheel tension, belt tension and of course bed levelling. I made life easier for myself here as I did a bit of research and got myself a glass bed to make sure I had no warped bed or adhesion problems.
3D Printing!
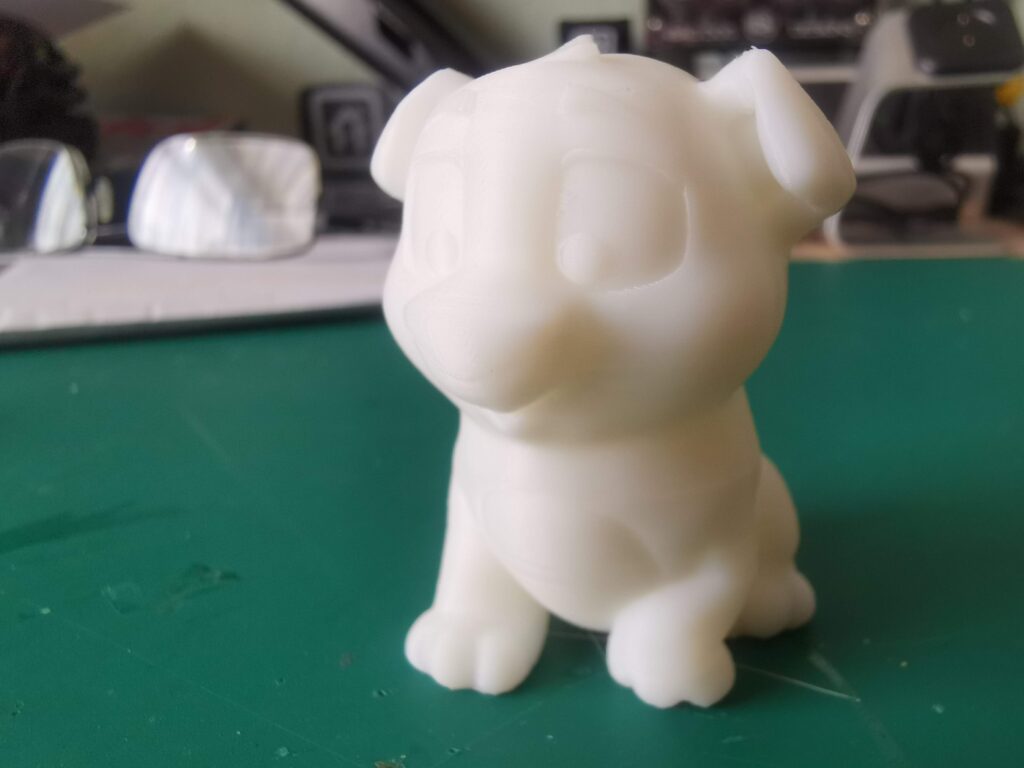
Once all the checks were completed I made my first print. Probably the same first print that thousands of other Ender 3 users have made… the dog! Three hours later (3D printing certainly isn’t quick!) and I was marvelling at my very first 3D print and just how far things have progressed since the days of the humble dot matrix printer!
Video of my Ender 3 Pro 3D printing some shock absorbing feet for itself!
Now that I have the ability to 3D print stuff a whole new world has just opened up to me. There are hundreds of retro computer components, upgrades, spare parts and more that I can now print to enhance my hobby.
Right now I’m actually printing out parts and accessories that actually improve my 3D printer. Once these are done I’ll be branching out. When I come across any good Commodore related prints I’ll post about them on this site.
Finally, if anyone reading this has a 3D printer already then I’d love to hear from you about what retro stuff you’ve been printing!


