2021 Update – This article on how to access IMAP email on an Amiga 500 has been superseded by this one as unfortunately I have been unable to replicate this setup with the latest versions of AmiSSL 4.8+ and SimpleMail 0.45 on Workbench 3.1.4.
Yep, you read the title correctly, this article is a step-by-step guide on how to access IMAP email on an Amiga 500 in 2018! This works with any IMAP email system including Gmail!
Who would have thought 30 years ago that we’d be able to get electronic mail on our Amiga 500 computers in 2018. It really is a testament to both the original designers of the Amiga and to the ingenuity and tenacity of the current community that this is actually a real possibility now. In this guide I’ll show how to get it working, step by step. It’s entirely feasible and actually works really well! Read on to find out what you need and how to get it configured.
What you need
First things first, you need to head on over to the SimpleMail website to download the latest version of the software (currently 0.44). Click on the downloads page and select the appropriate installer file from the list. I’m using Workbench 3.9 so downloaded the simplemail-0.44-0s3.lha file. If you’re using anything less than Workbench 3 then I’m afraid you are out of luck.
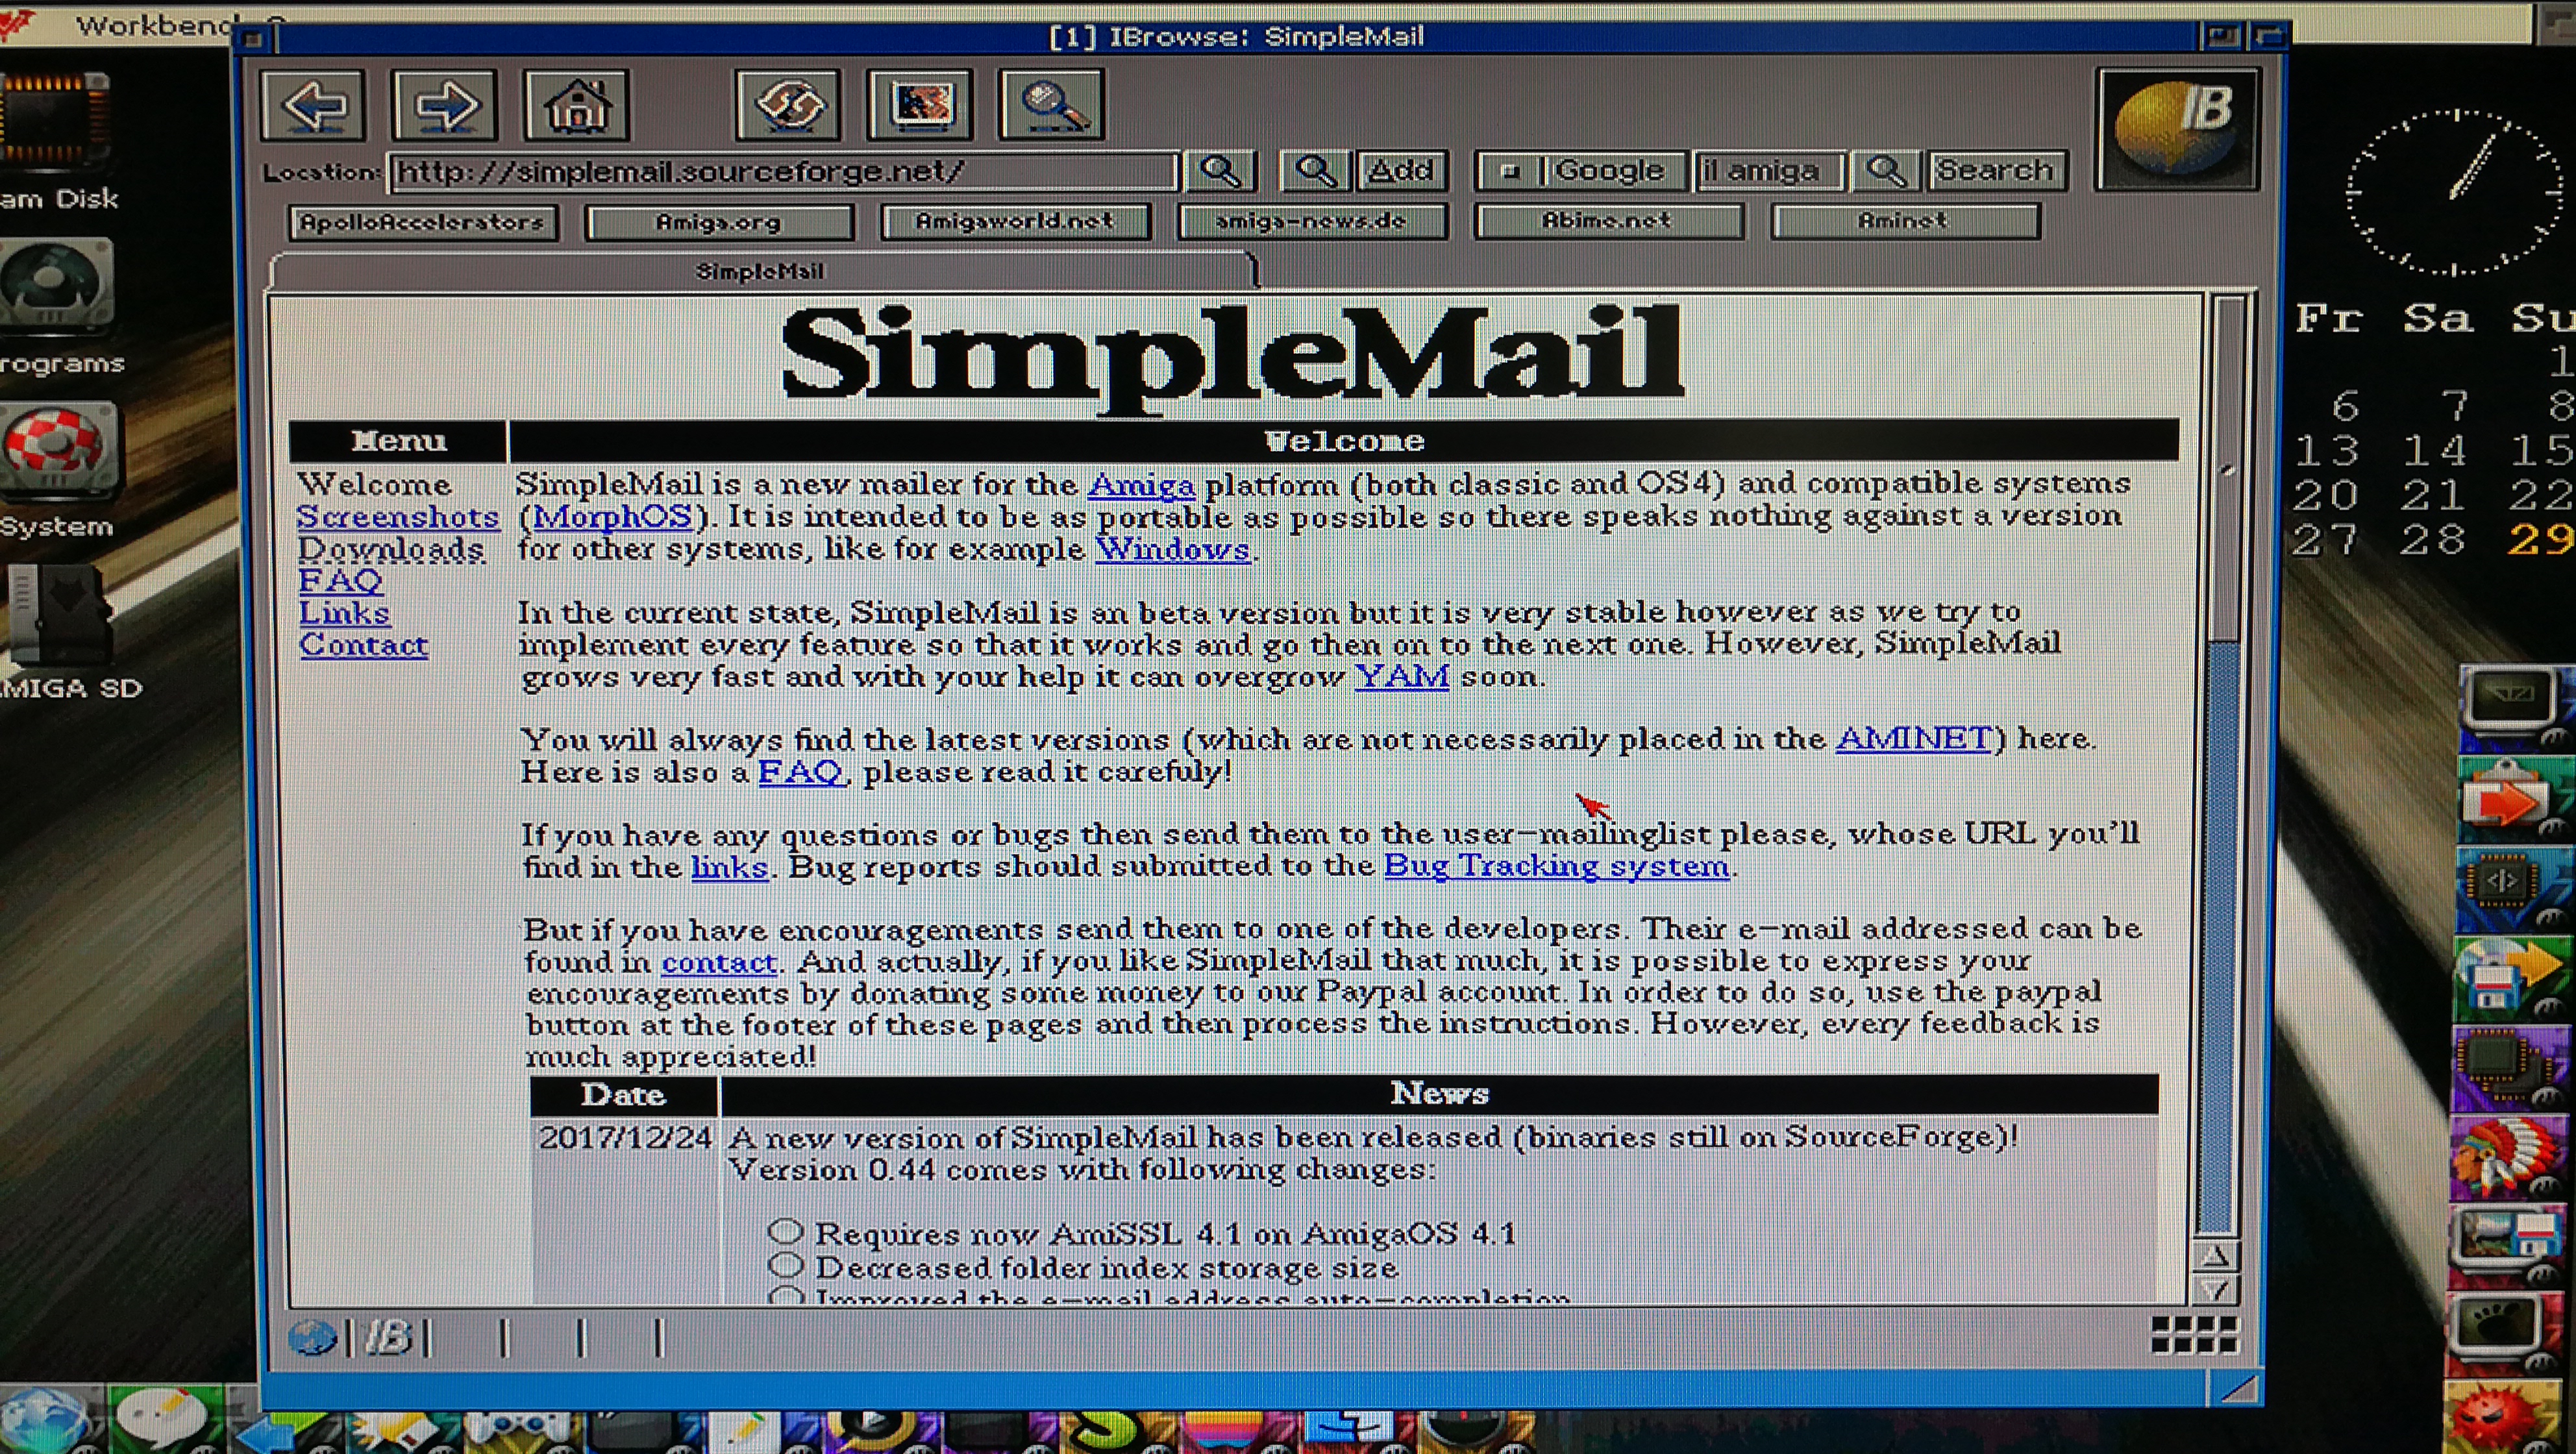
The SimpleMail page on the SourceForge website
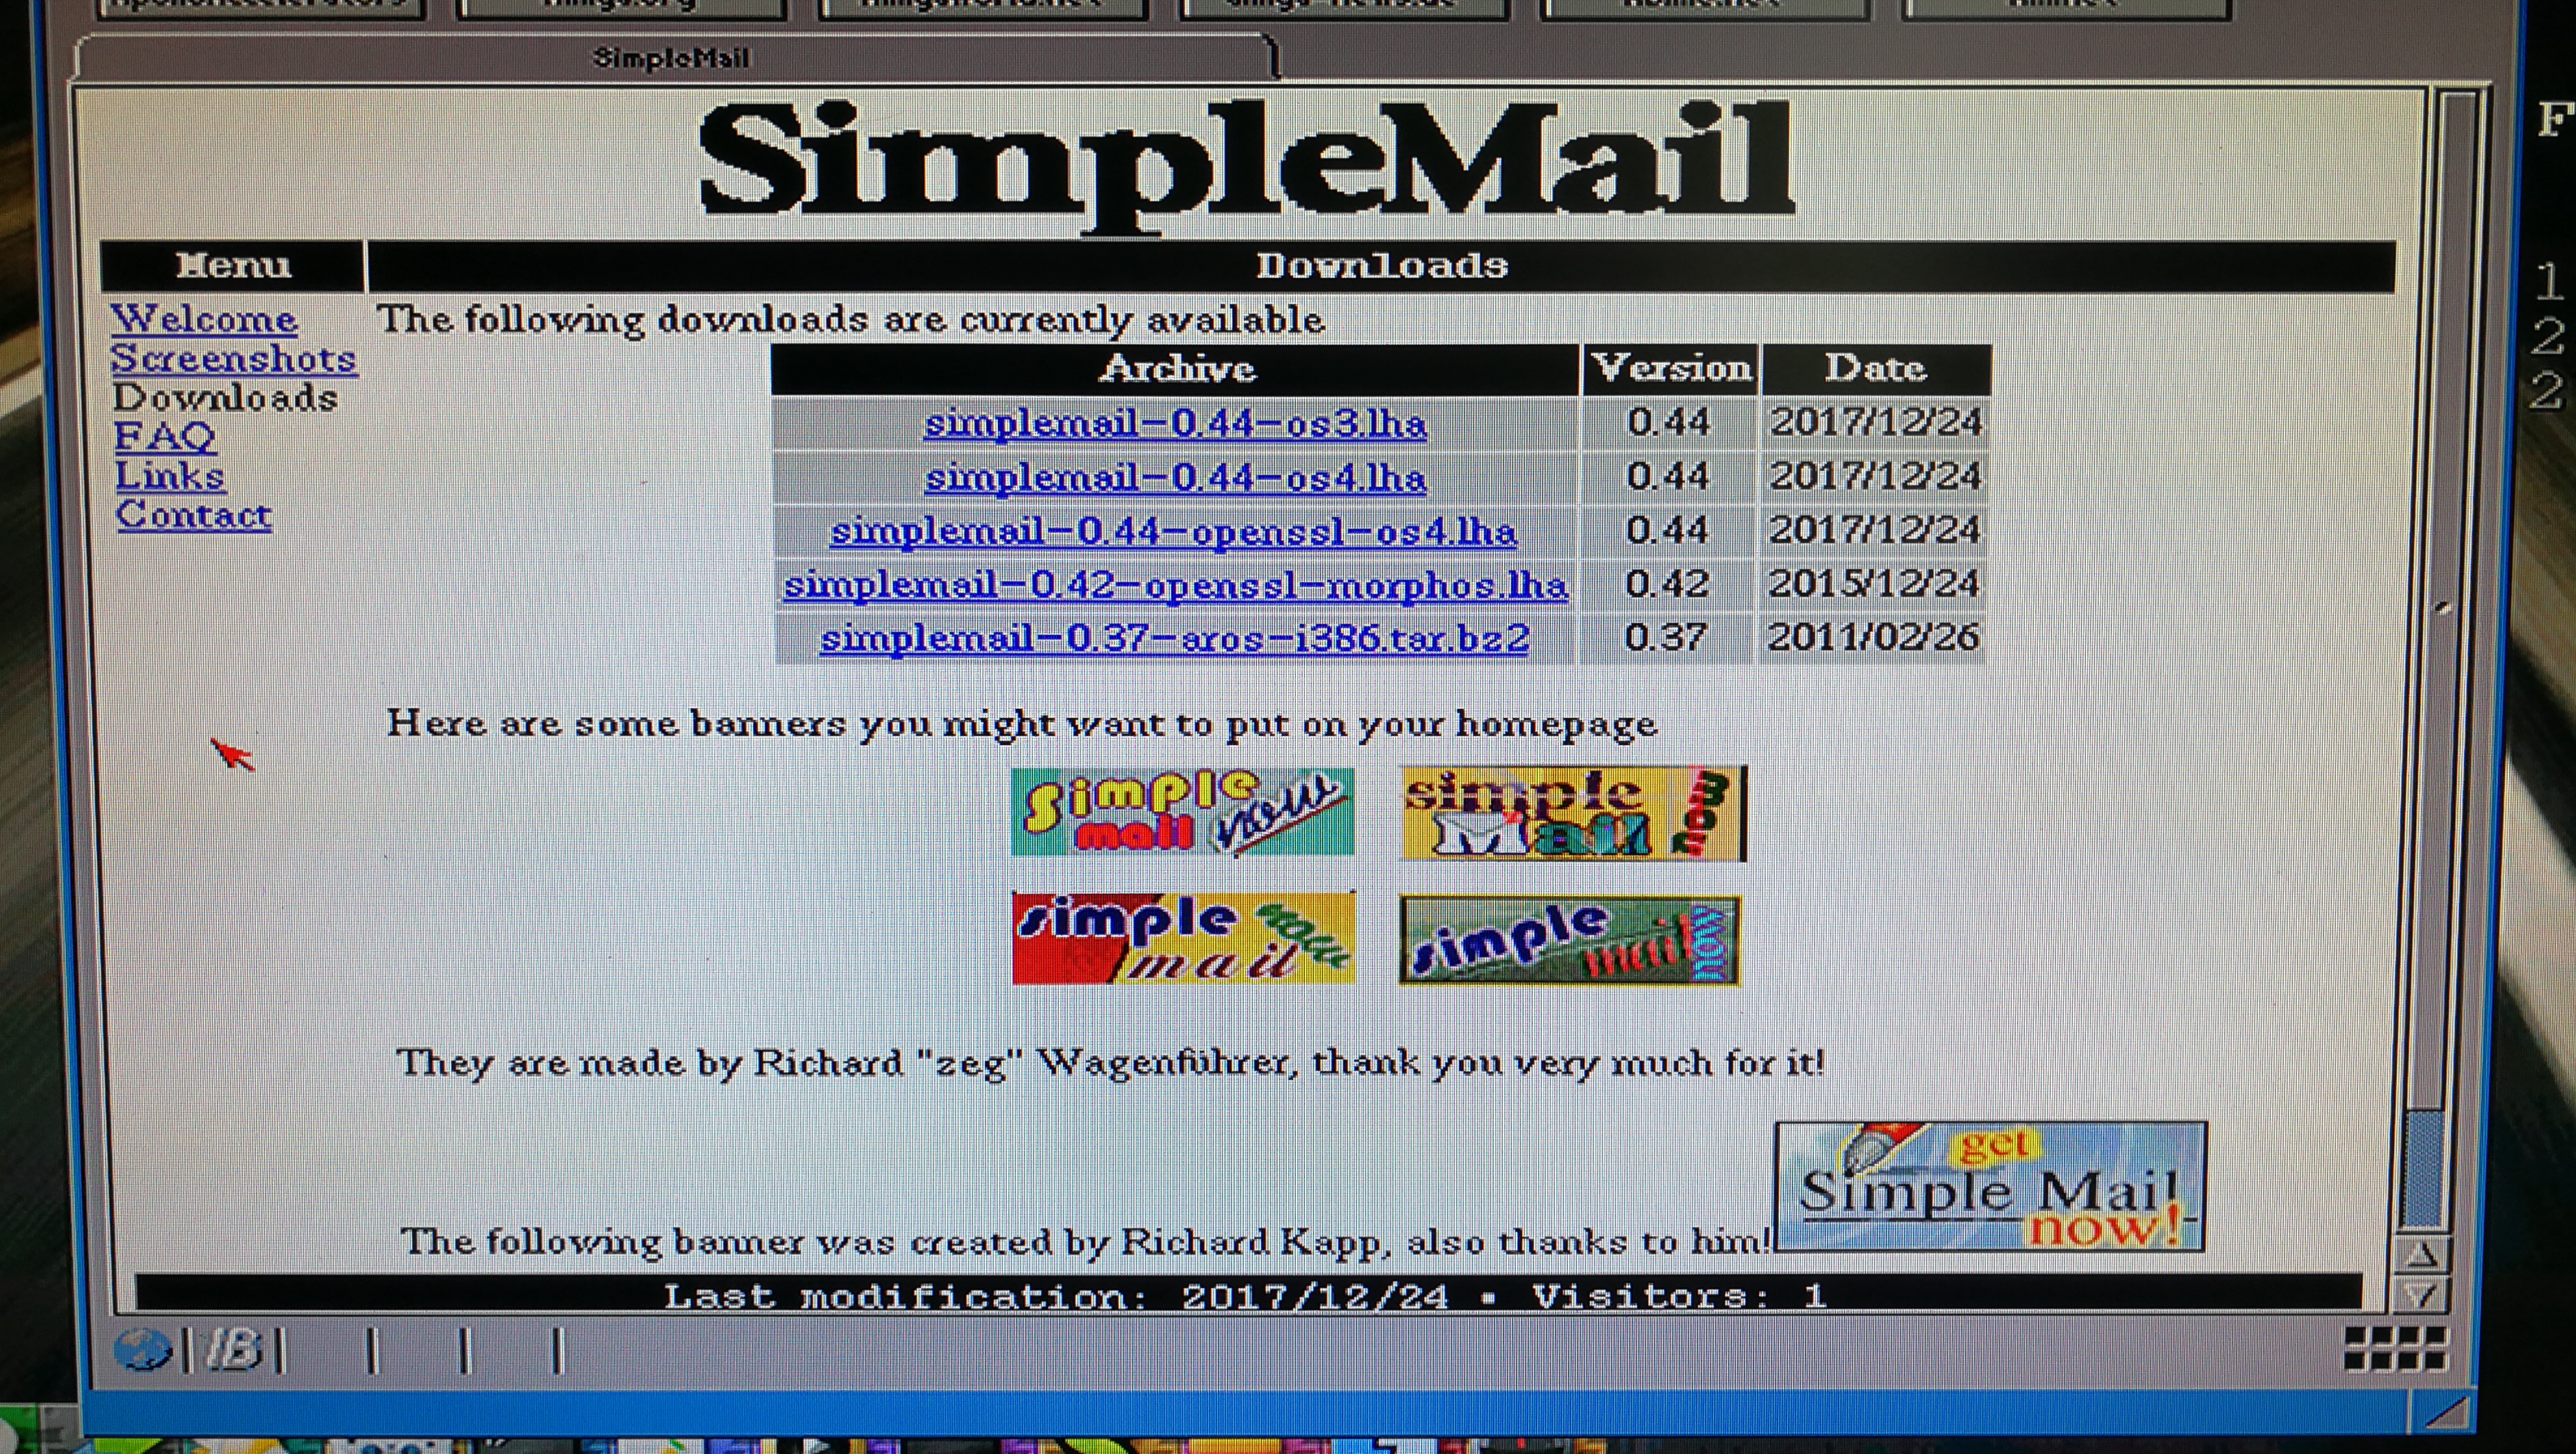
The download page – choose the OS3 version.
One you’ve download the installer go ahead and install it and meet me back here for the next step. If the program doesn’t run then go back and check the readme file. There are a number of additional custom MUI classes that it requires to run and you may need to download and install one or more of these too.
Launching SimpleMail
Find the folder where you installed SimpleMail and open it. Inside there should be a Readme, an AmigaGuide document and the program itself. Double-click the SimpleMail icon to launch the software. After a brief splash screen you should be presented with the main application screen. This is the point at which we can begin to configure the program to get our emails.

The SimpleMail folder

The SimpleMail Splash screen – very attractive!
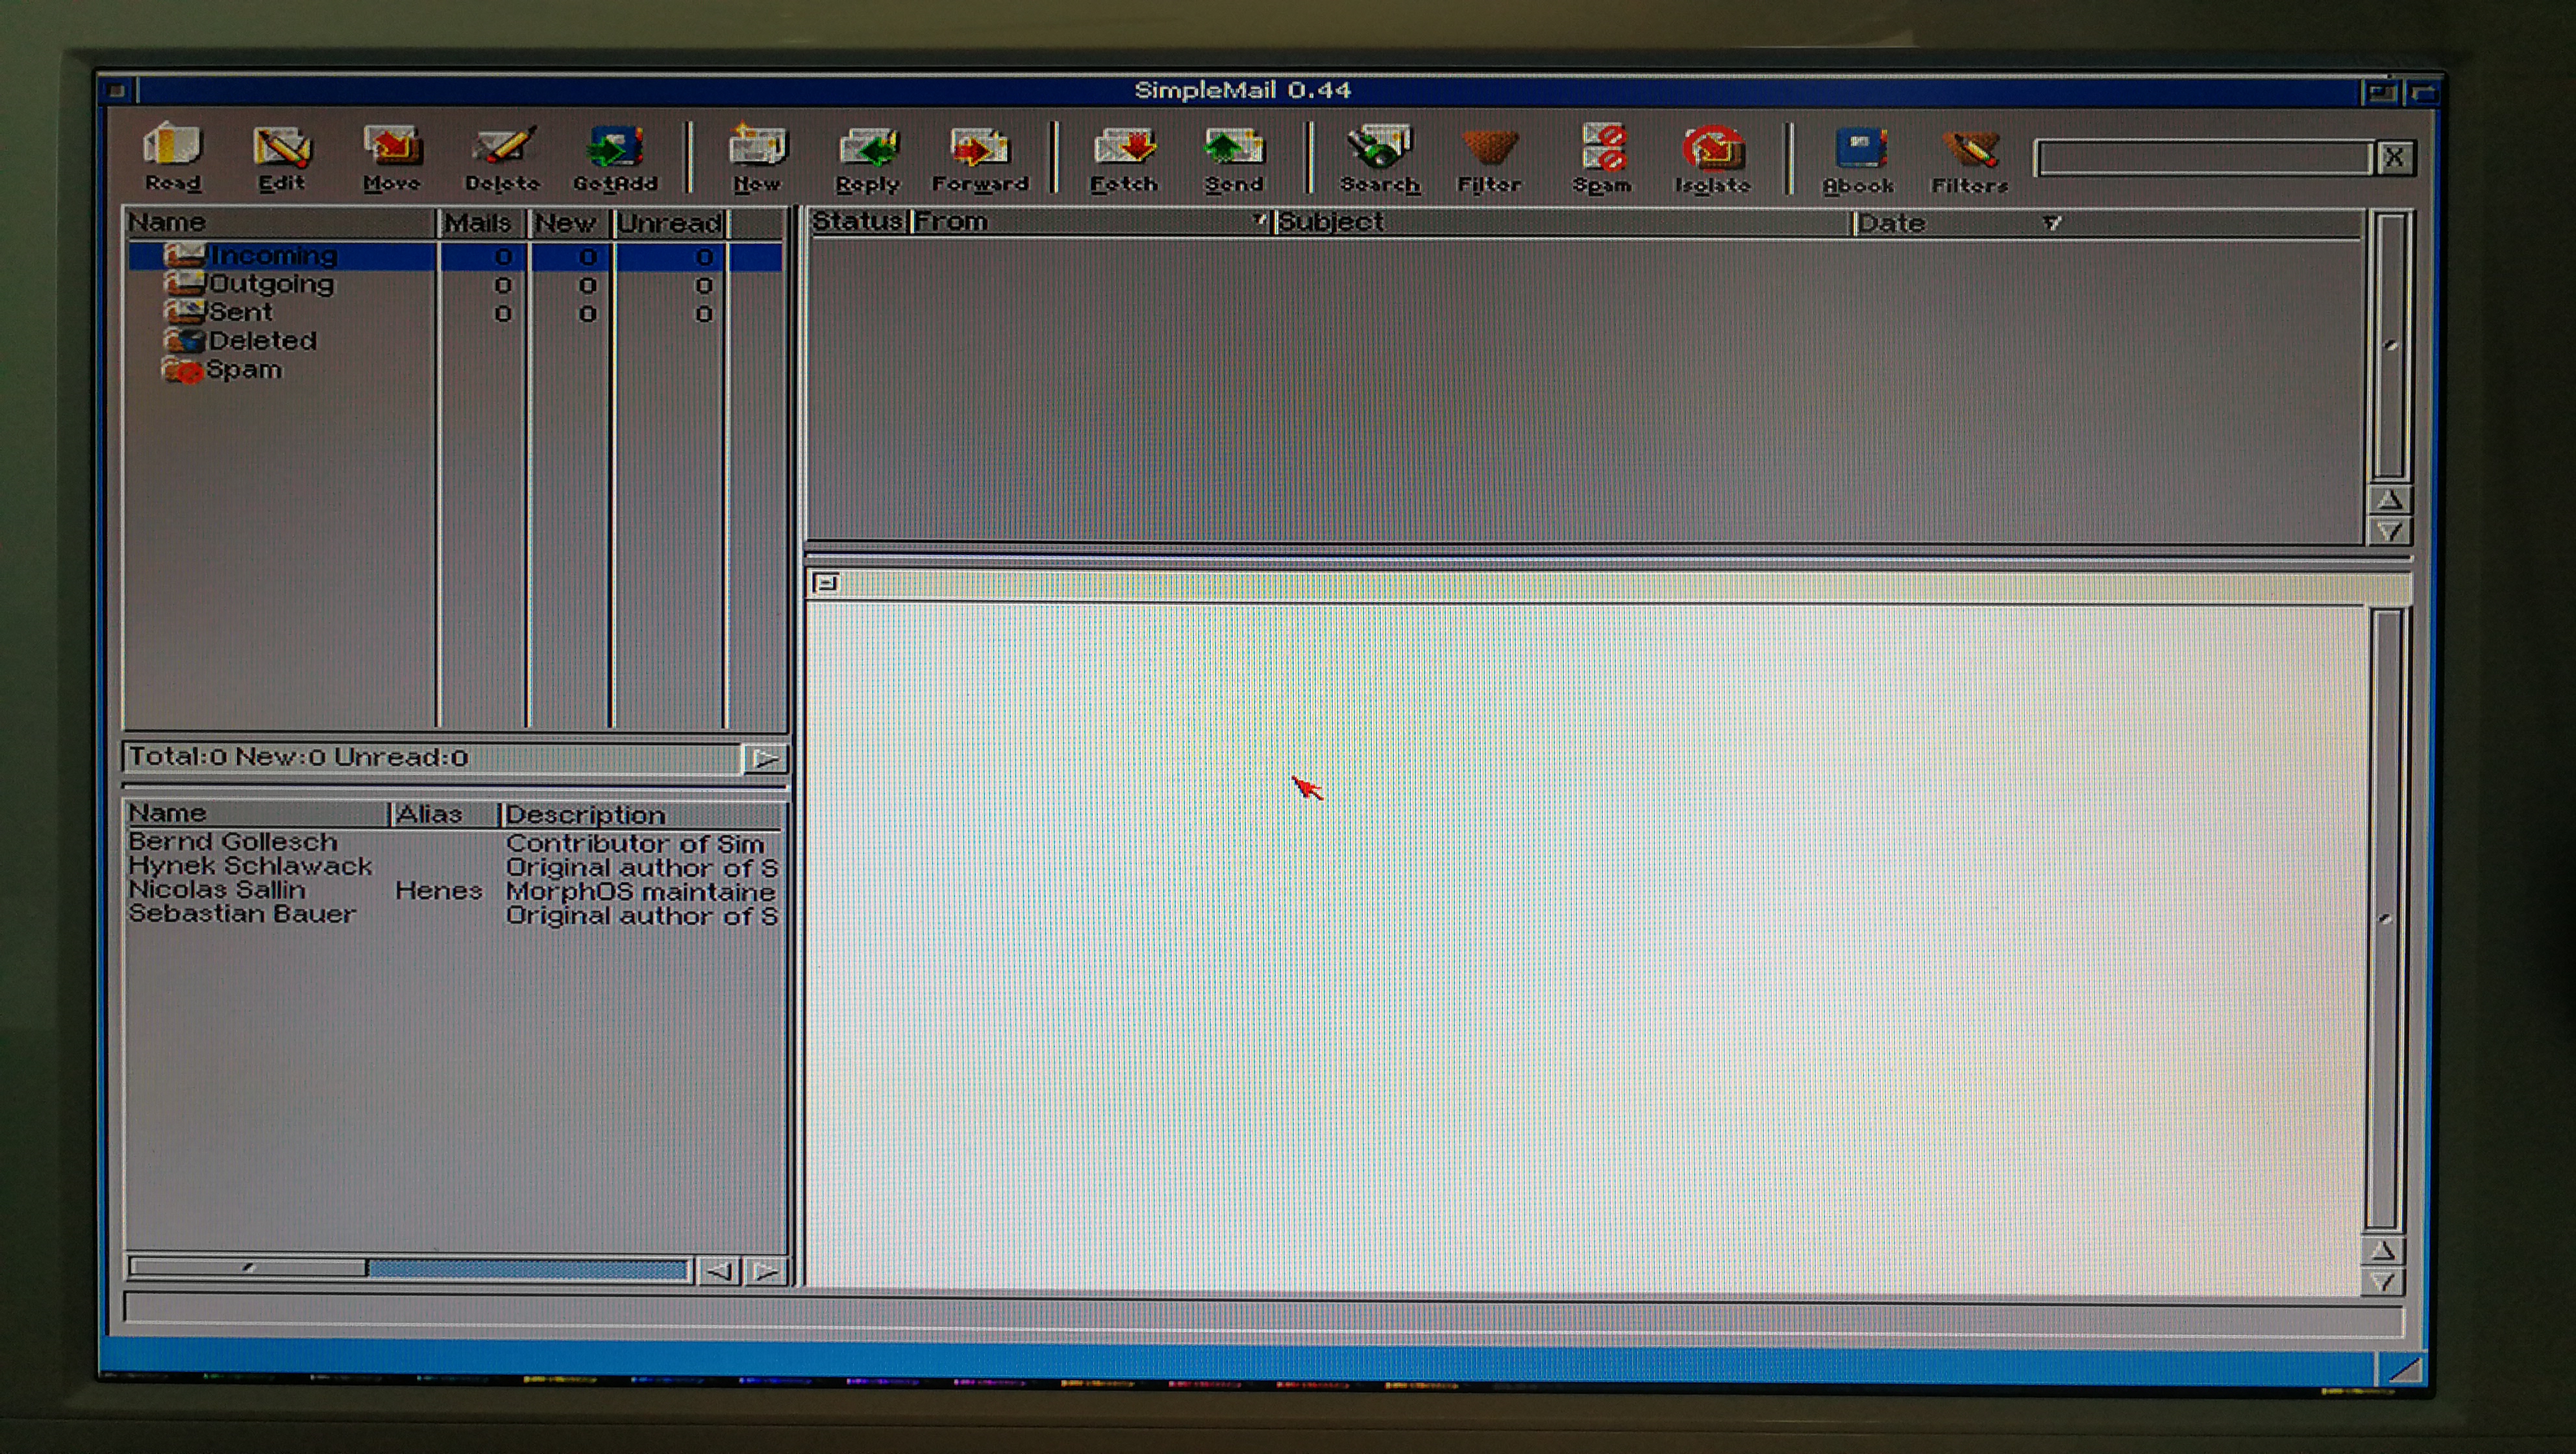
The main program window
How to Configure your email account
Select “Configuration…” from the Settings menu and then Accounts from the configuration screen that pops up. This is where we can add our account and do lots of other things later on to get the mail program working just how we want it.
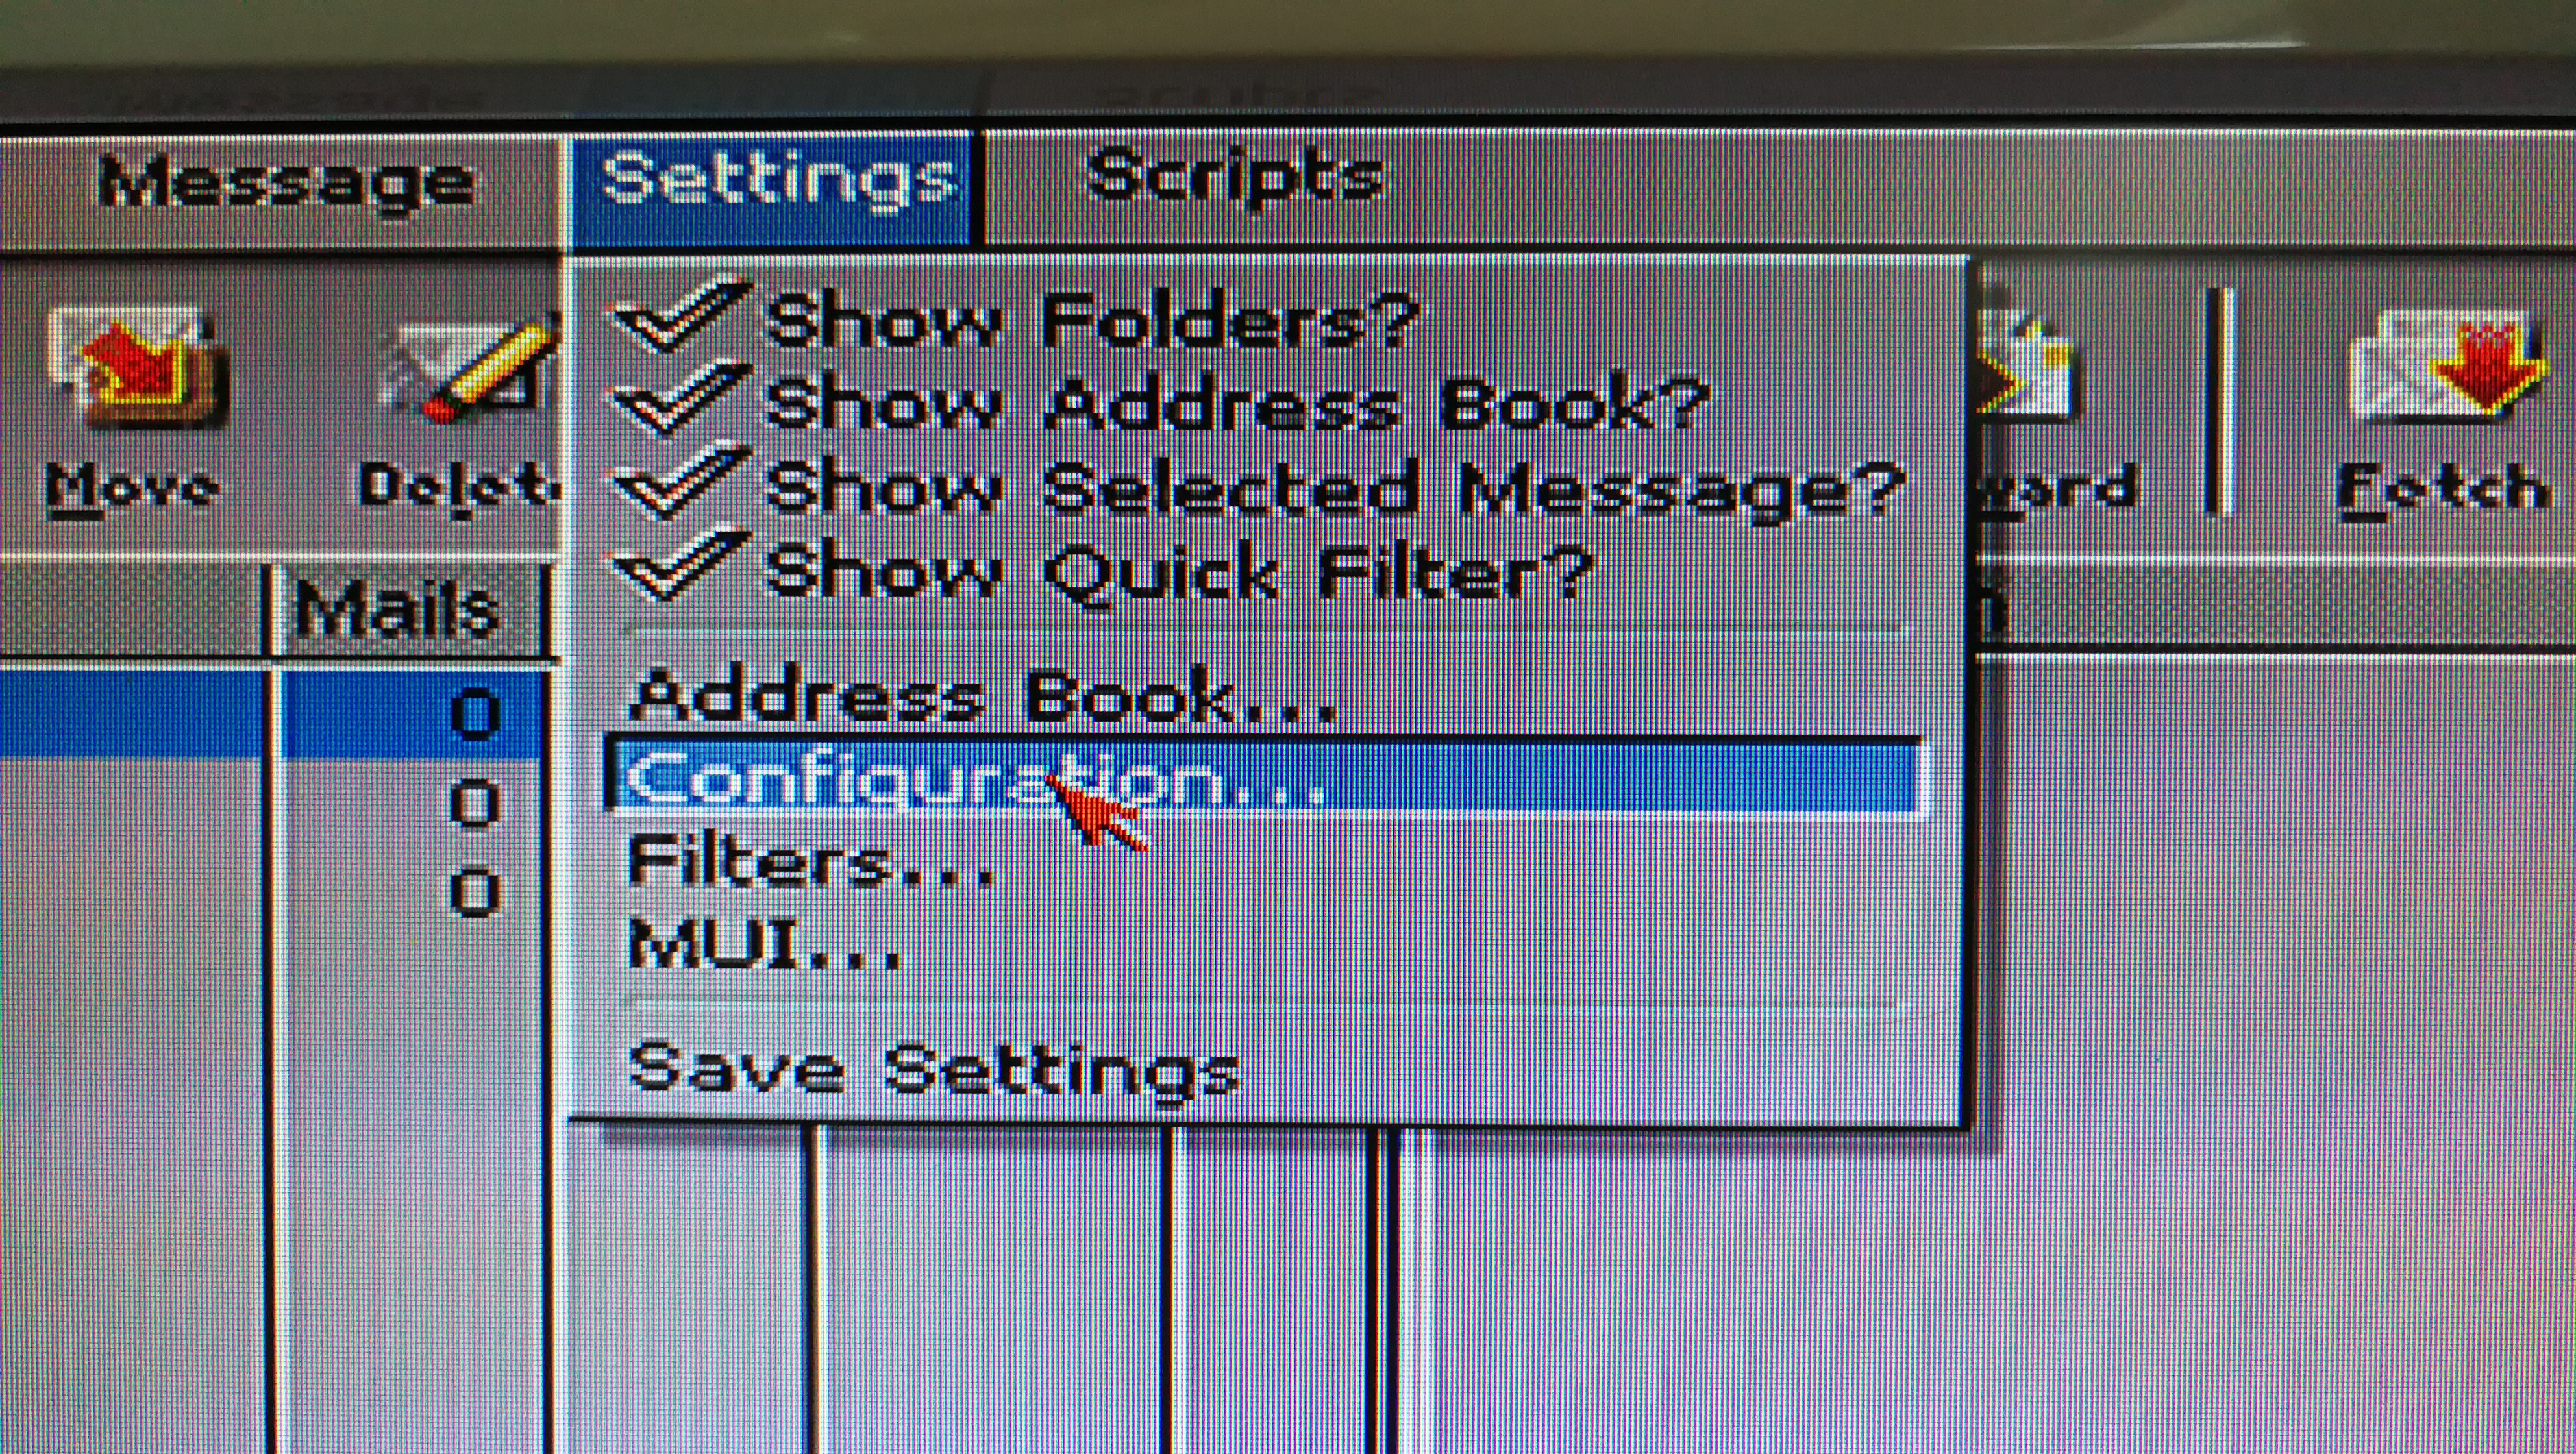
Here is how you access the configuration screen.

The ‘Accounts’ section of the configuration screen.
Adding your email account
The next step is to add your email account and you start the process by clicking on the ‘Add’ button in the top right of the window. I should point out that the program has very helpful tool-tip descriptions that pop up if you hover the mouse pointer over a particular button or text entry box for a few seconds.
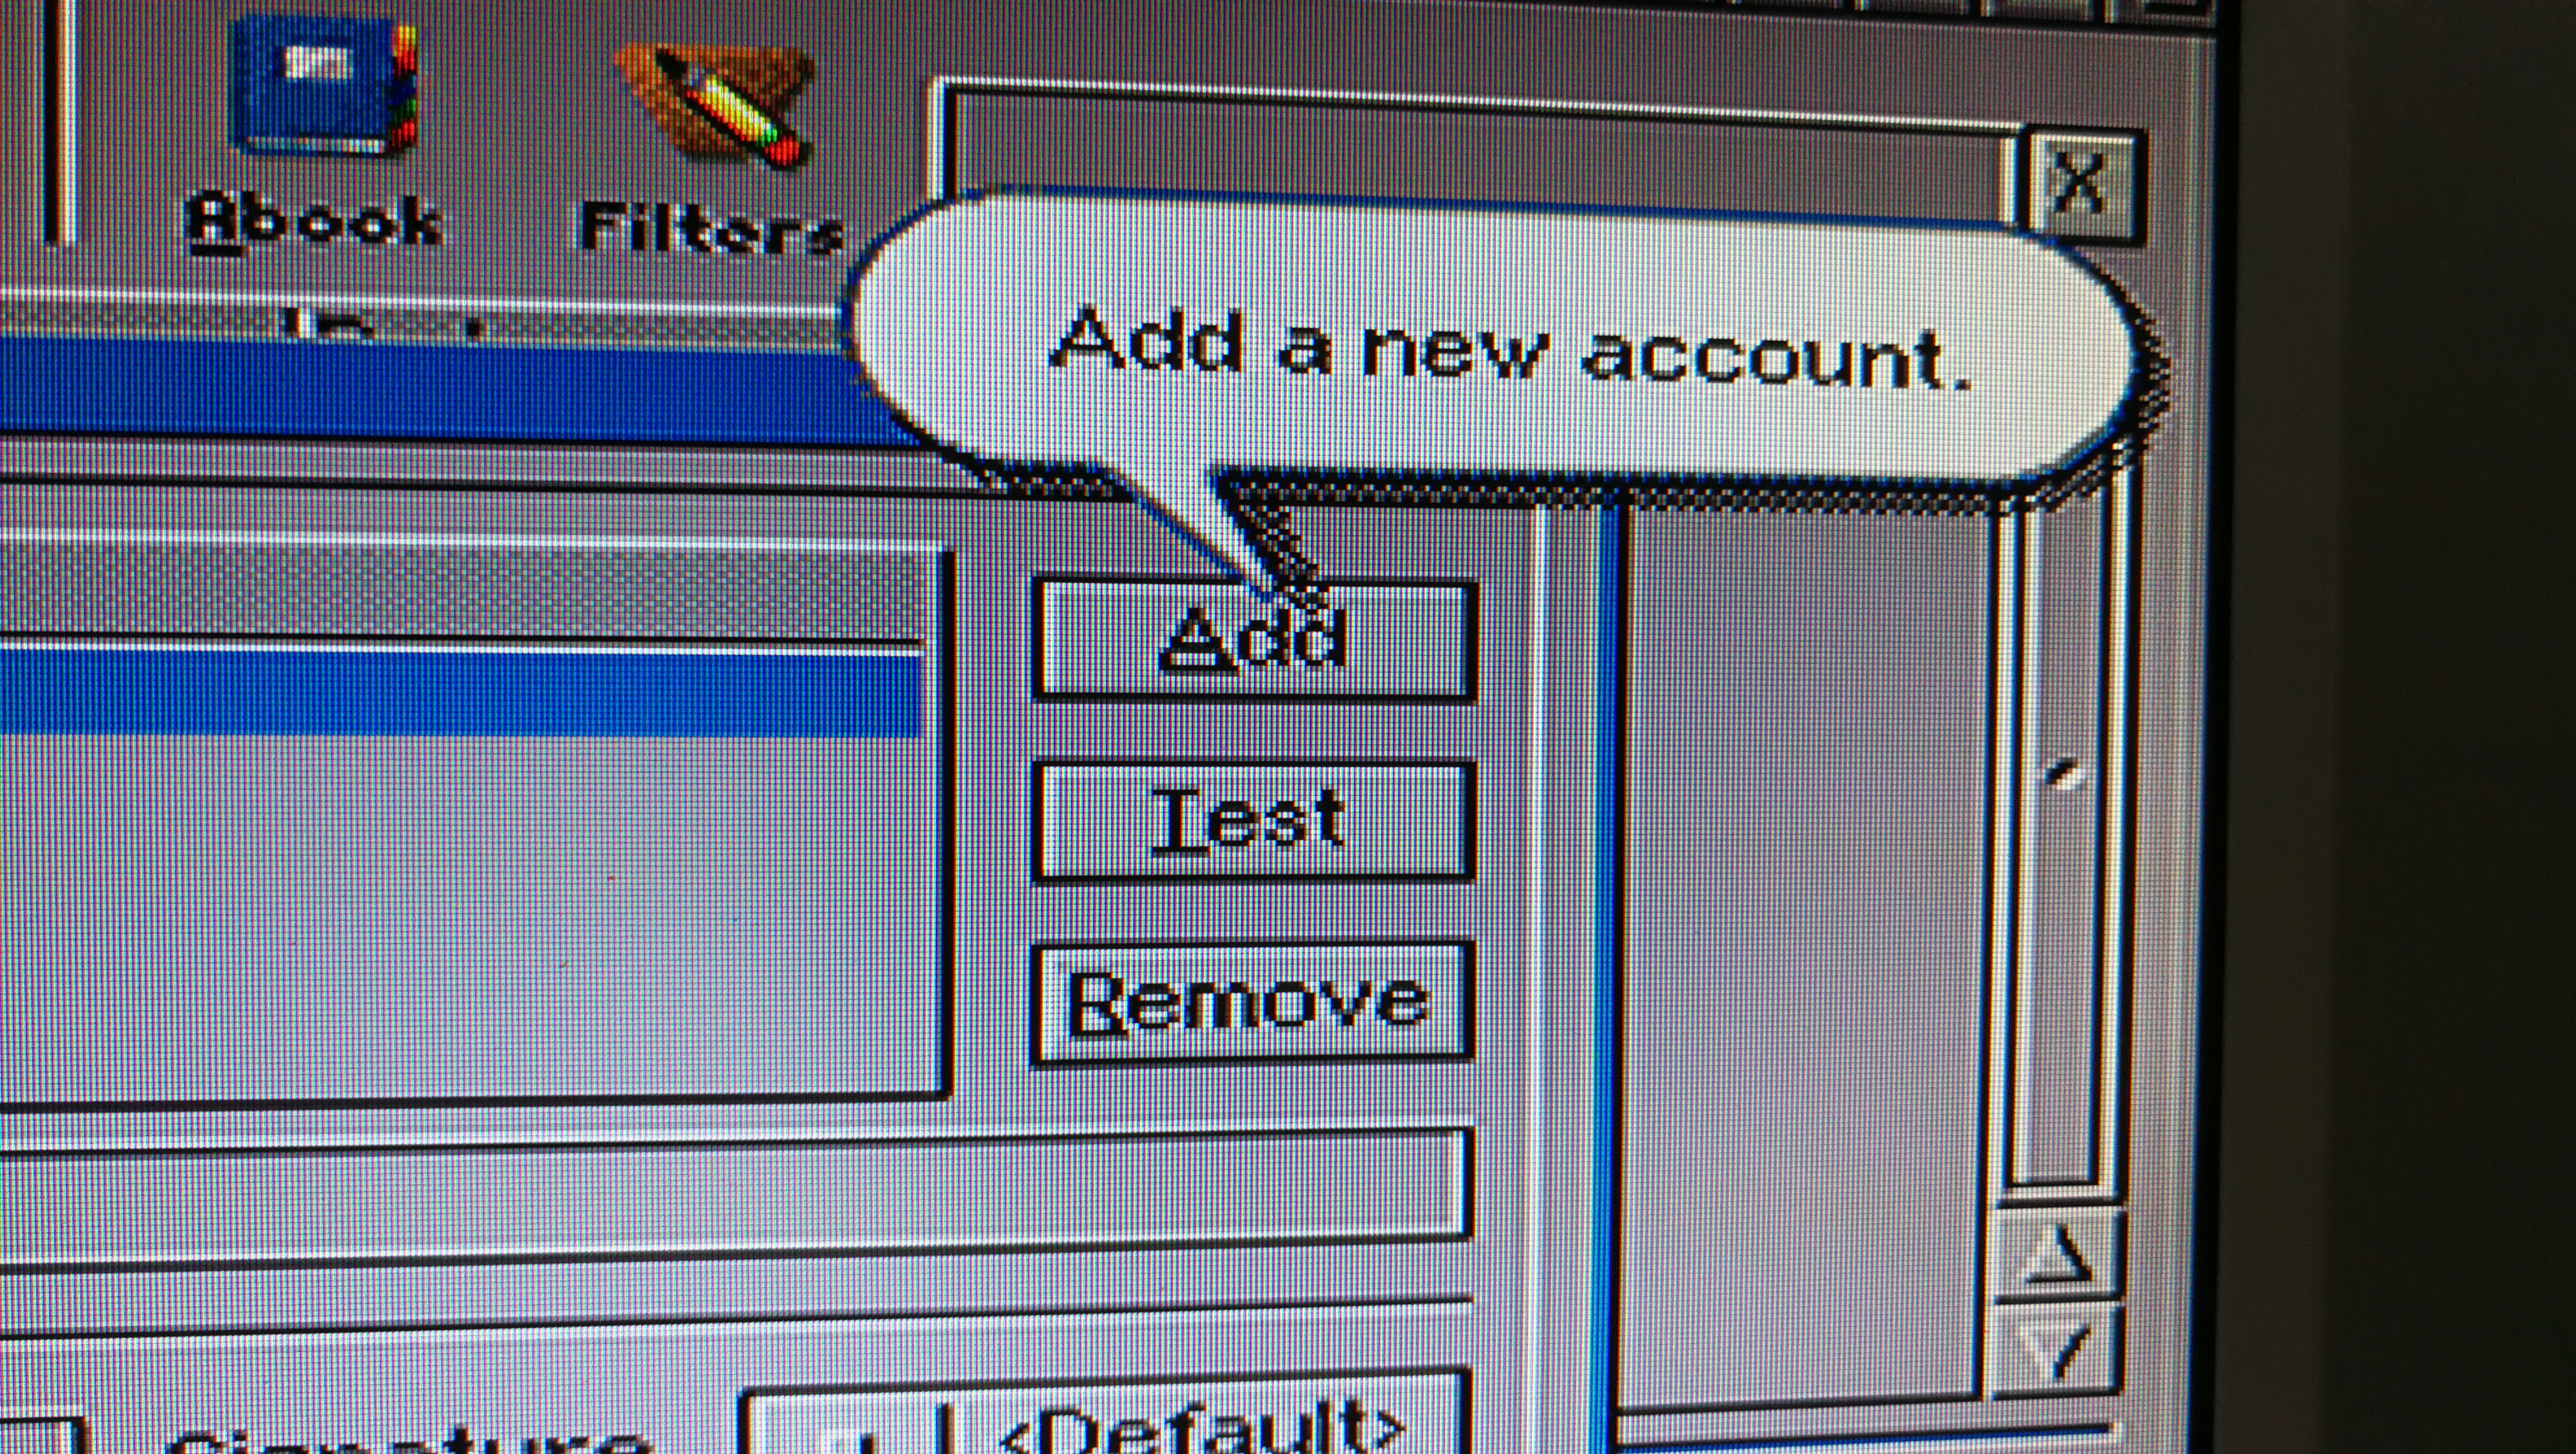
Click this button to begin adding your email account
The account name can be anything you want – this is just a label so you know what the account represents in the future. Enter your name, email address and reply address (if you want one) associated with your email account.

Entering the account name and personal info relating to the account
Setting up IMAP – the ‘Receive’ configuration
- Click the IMAP4 radio button in the ‘Receive’ section..
- Enter your IMAP server name in the ‘Server’ box.
- Enter the port number in the ‘Port’ box.
- Ignore the Fingerprint box for now – this will be automatically filled later on.
- Select the type of security your account uses next to the ‘Security’ drop-down menu (for SSL select TLS).
- Enter the username and password you need to authenticate with in the ‘Login’ and ‘Password’ boxes respectively.
- Lave the rest of the settings in this section as they are.
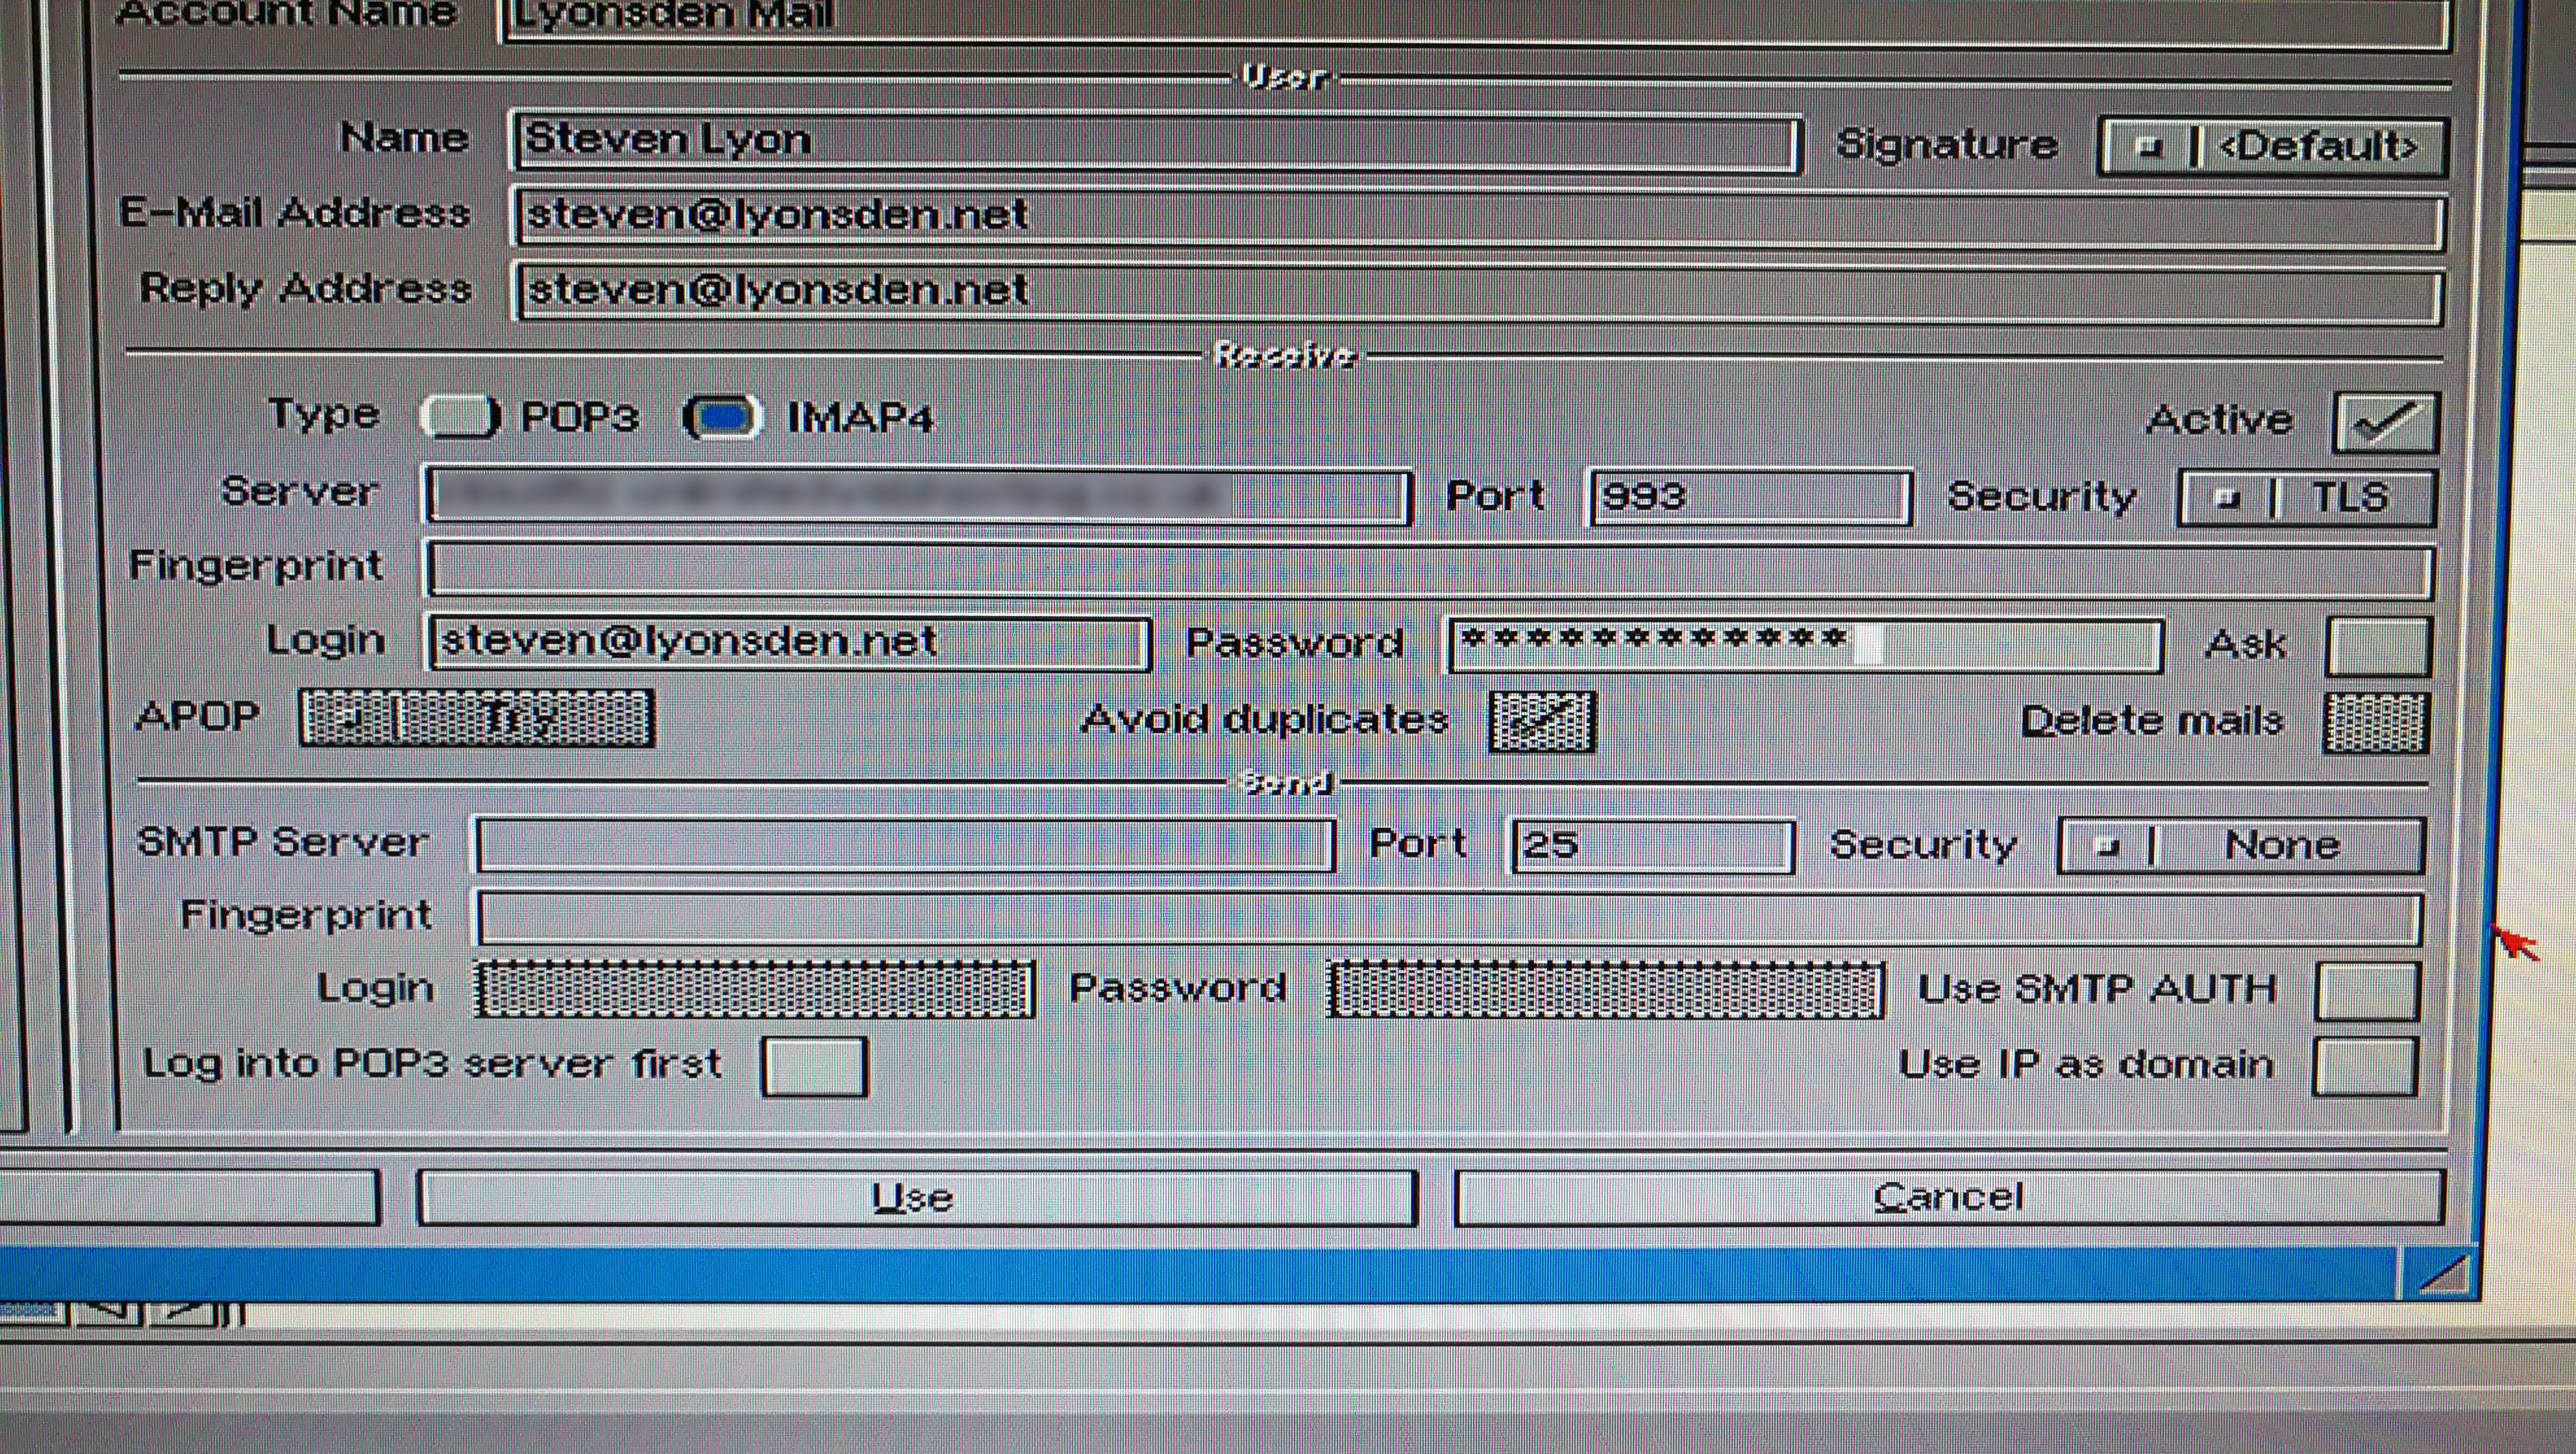
Entering your IMAP details
Setting up SMTP – the ‘Send’ configuration
- Enter your SMTP server name in the ‘SMTP Server’ box in the ‘Send’ section.
- Enter the port number in the ‘Port’ box.
- Ignore the Fingerprint box for now – this will be automatically filled later on.
- Select the type of security your account uses next to the ‘Security’ drop-down menu (for SSL select TLS).
- If your SMTP server requires authentication (most do these days) then click the ‘Use SMTP AUTH’ tickbox.
- (If required) Enter the username and password you need to authenticate with in the ‘Login’ and ‘Password’ boxes respectively.
- Leave the ‘Login into POP3 server first’ and “Use IP as domain” boxes unticked.
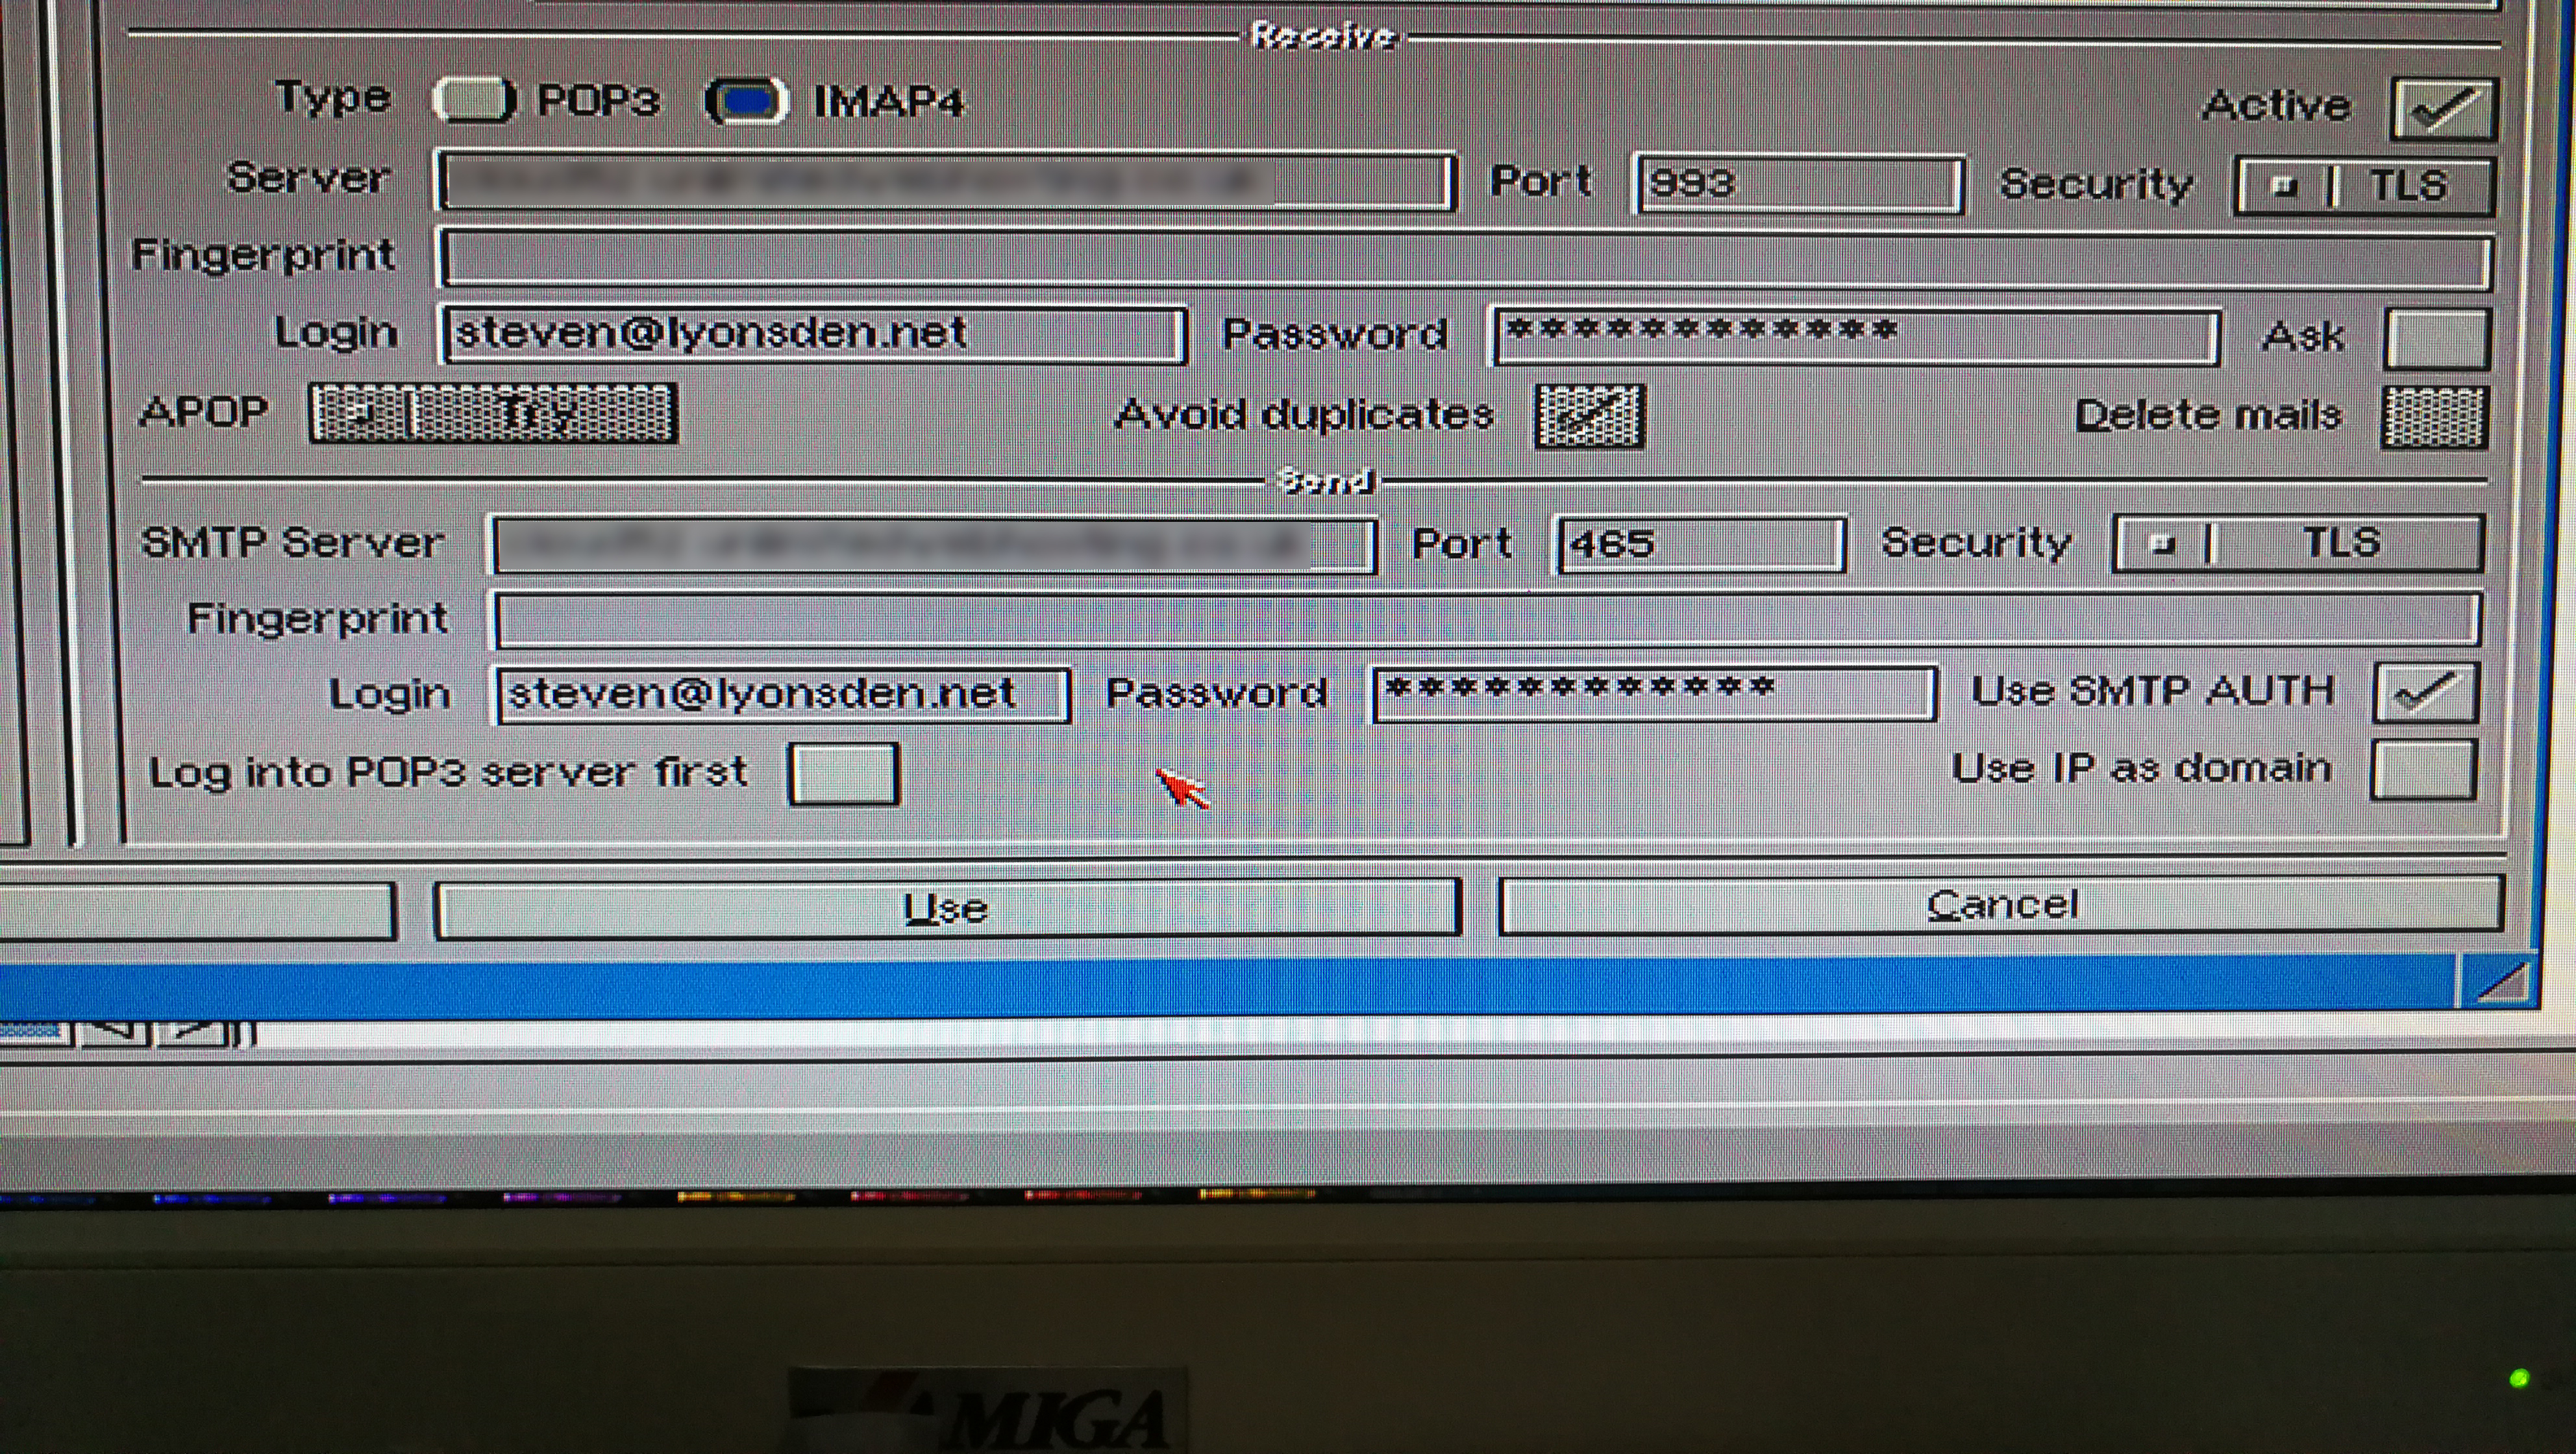
Entering your SMTP settings
Testing your setup
Now it’s time to see if everything works! Click the test button over on the far right. This will first test your IMAP settings and then run through your SMTP setup to make sure everything is in order.
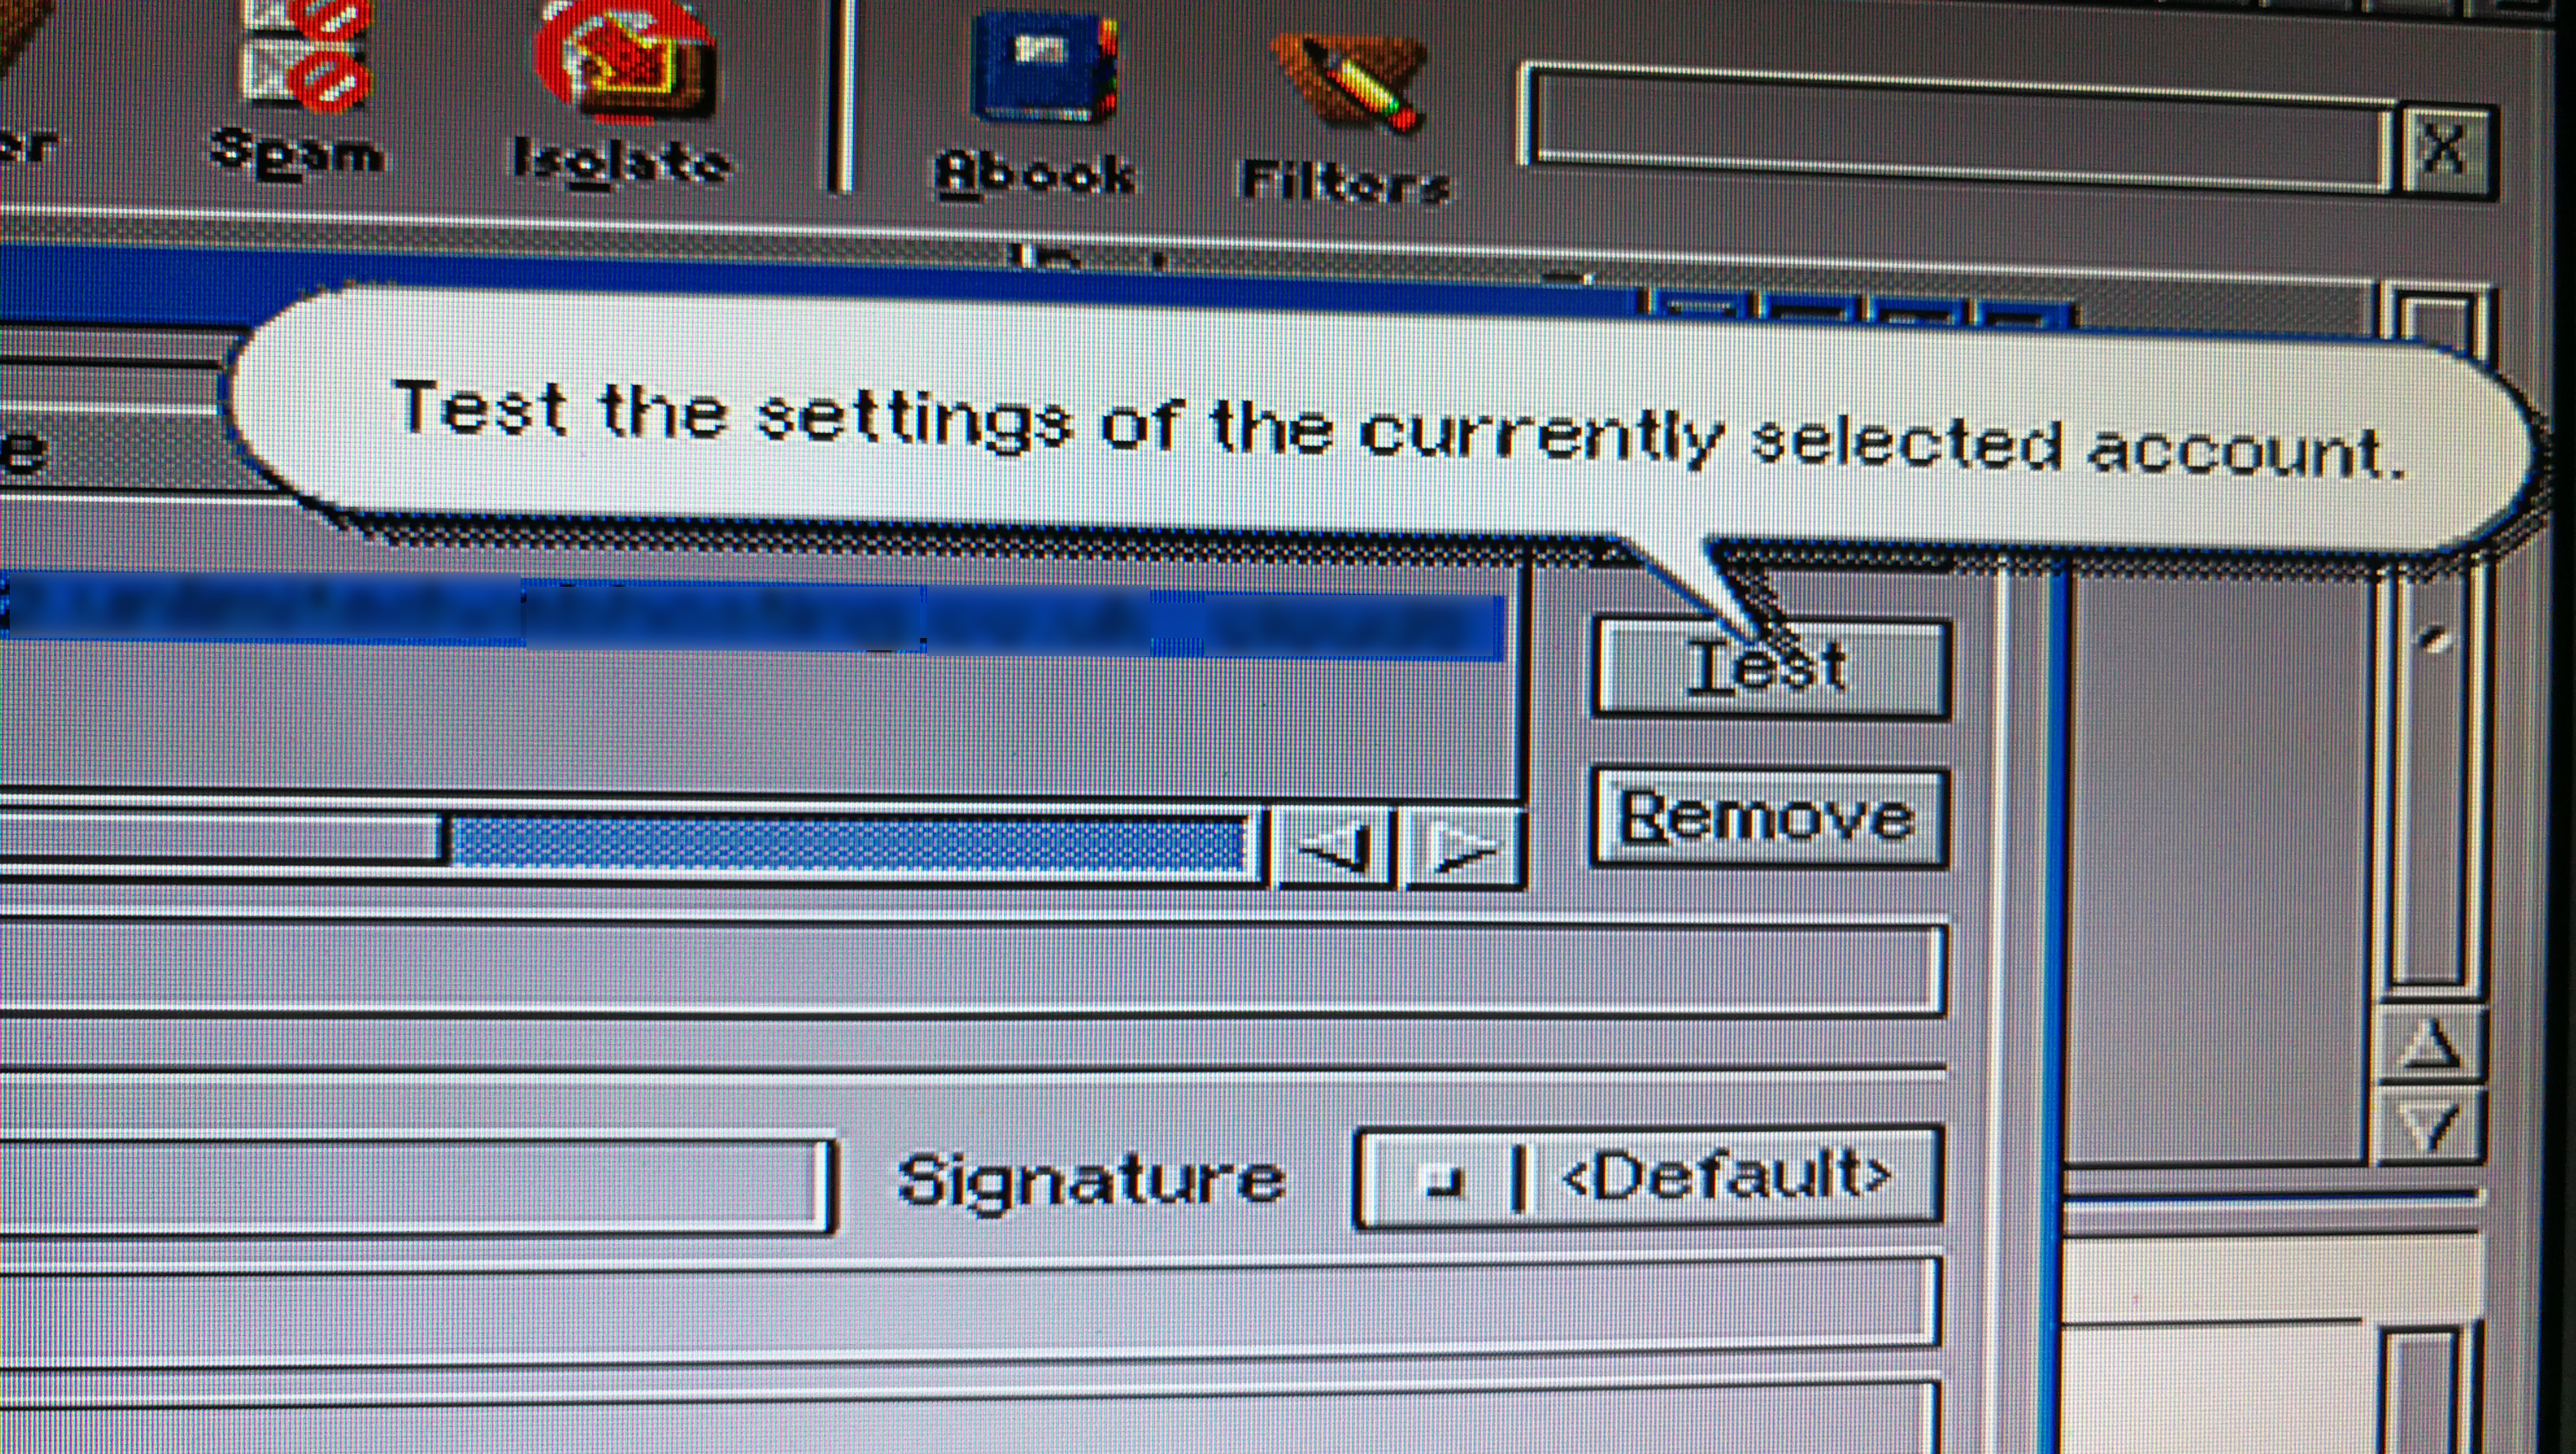
Testing your account settings
You will see the following error appear twice, firstly for the IMAP connection and secondly for SMTP. Click ‘Trust Always’ to have SimpleMail save the certificate ‘fingerprint’ so this error doesn’t re-appear in the future.

This error will appear but it’s OK to click Trust always as you know this is you email provider.
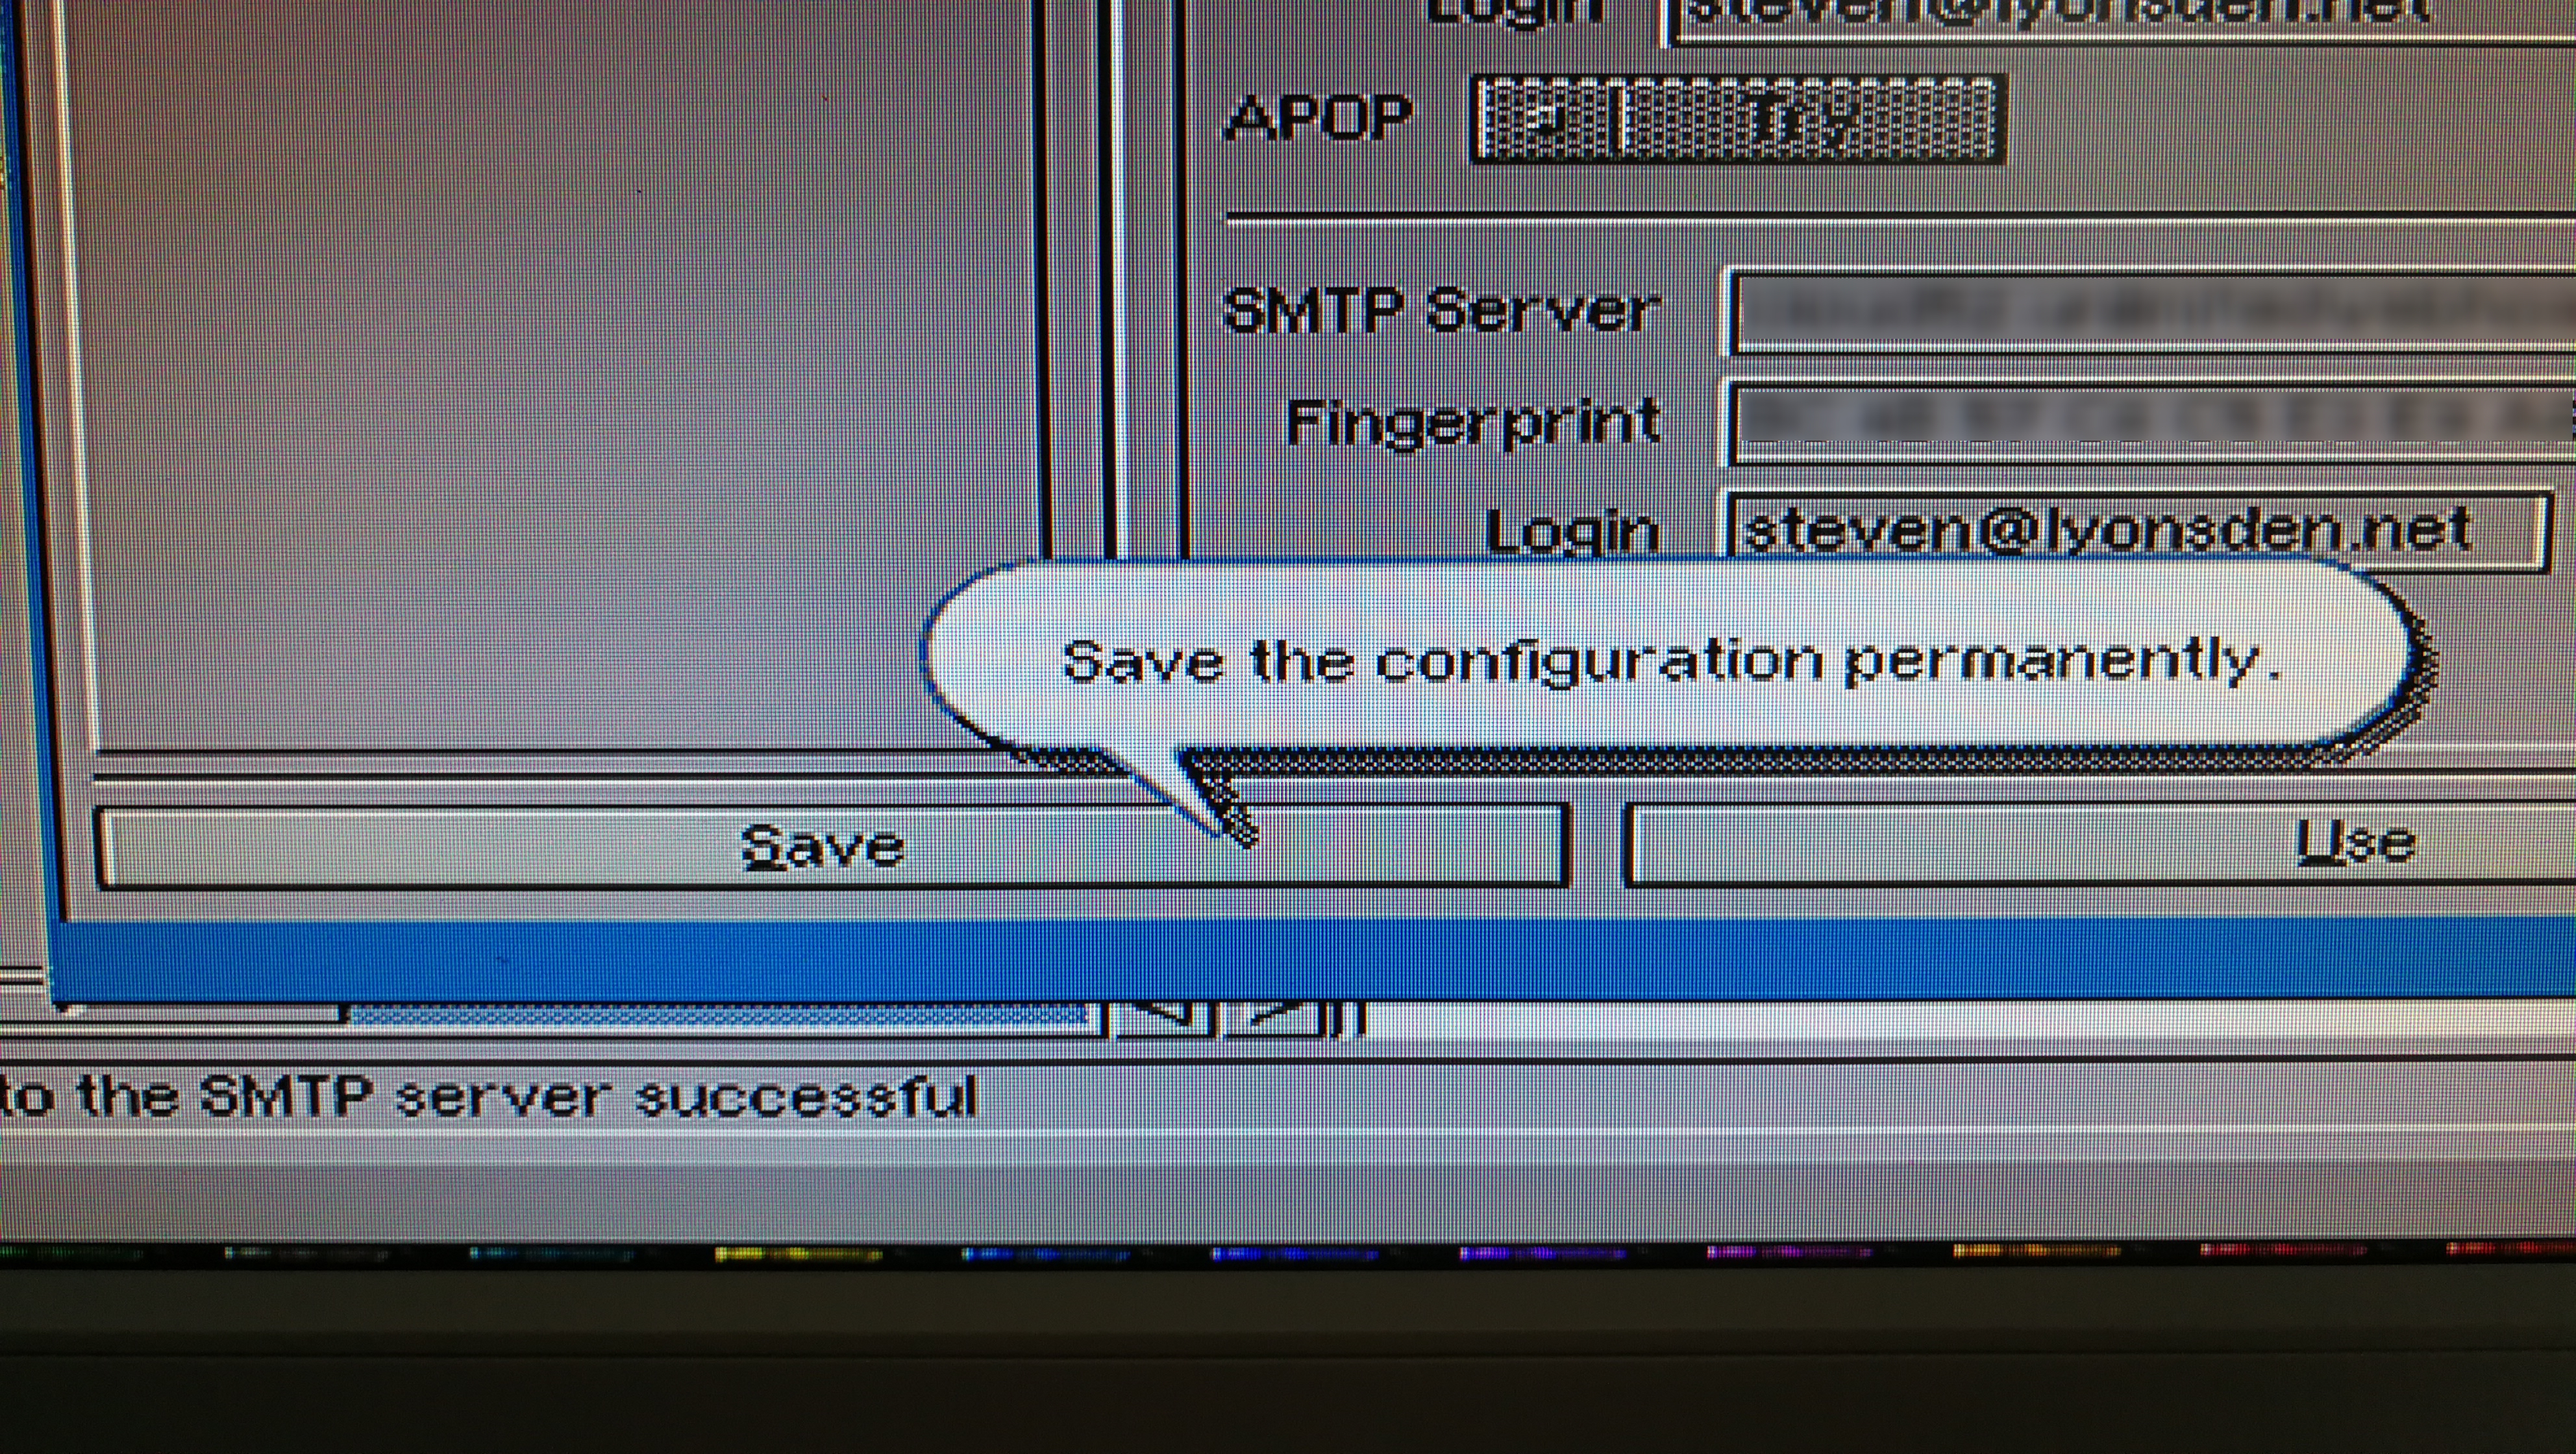
Now in order for these 2 fingerprints to be saved permanently, preventing any future warnings from popping up every time you try to download or send email you must save the configuration using the ‘Save’ button at the bottom left of the configuration window.
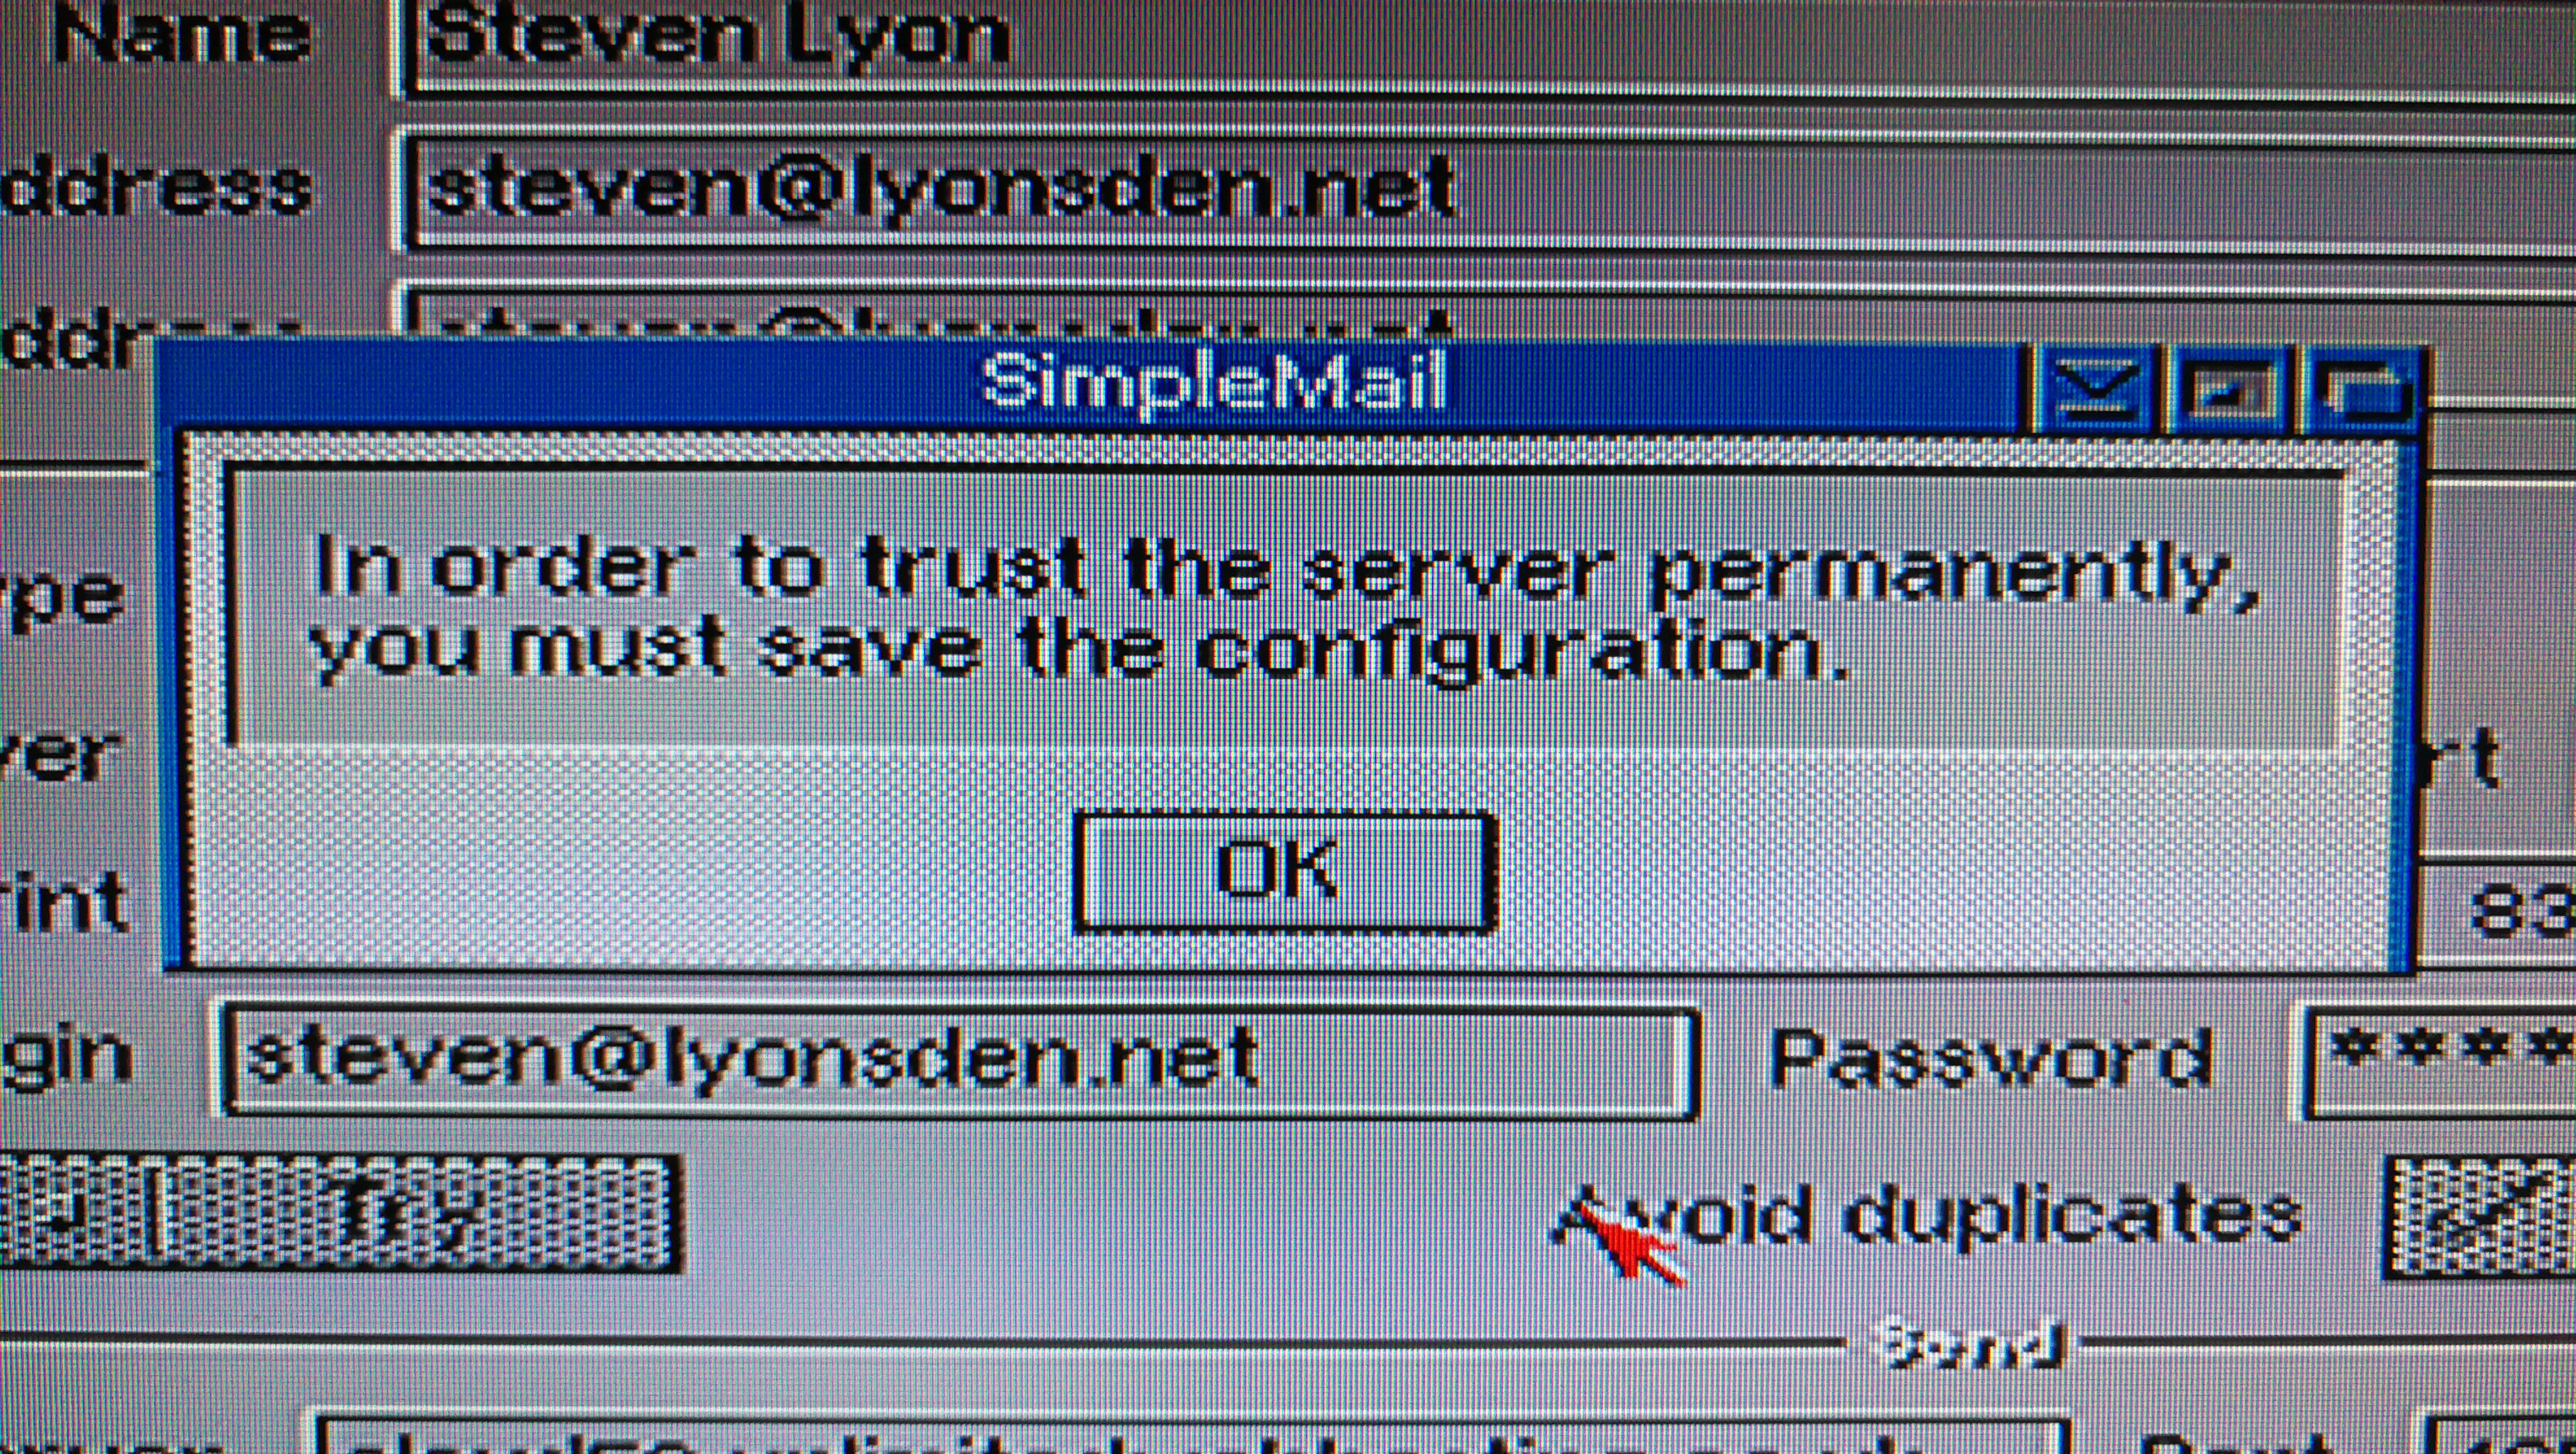
Prompt reminding you to save the configuration.
Correcting Errors…
Now at this stage you might end up with the following screen with everything highlighted in red! Don’t panic – this just means that the test failed due to an error in one or more of your entries. Go through and double/triple check every piece of information you have entered. Make sure the ports are correct, there are no typos in the server name etc.
The problem in my case was the passwords as mine contain numerous weird and wonderful characters. Now this isn’t normally an issue but for some reason the keyboard mapping on my Amiga was wrong so these characters were actually appearing as something else entirely when typed…
You cannot see the password you are typing so I highly recommend opening up a shell window and typing your password into that just to check it appears correctly. Once you have ironed out any kinks with getting it to appear properly, go back to SimpelMail and enter it again in both boxes.
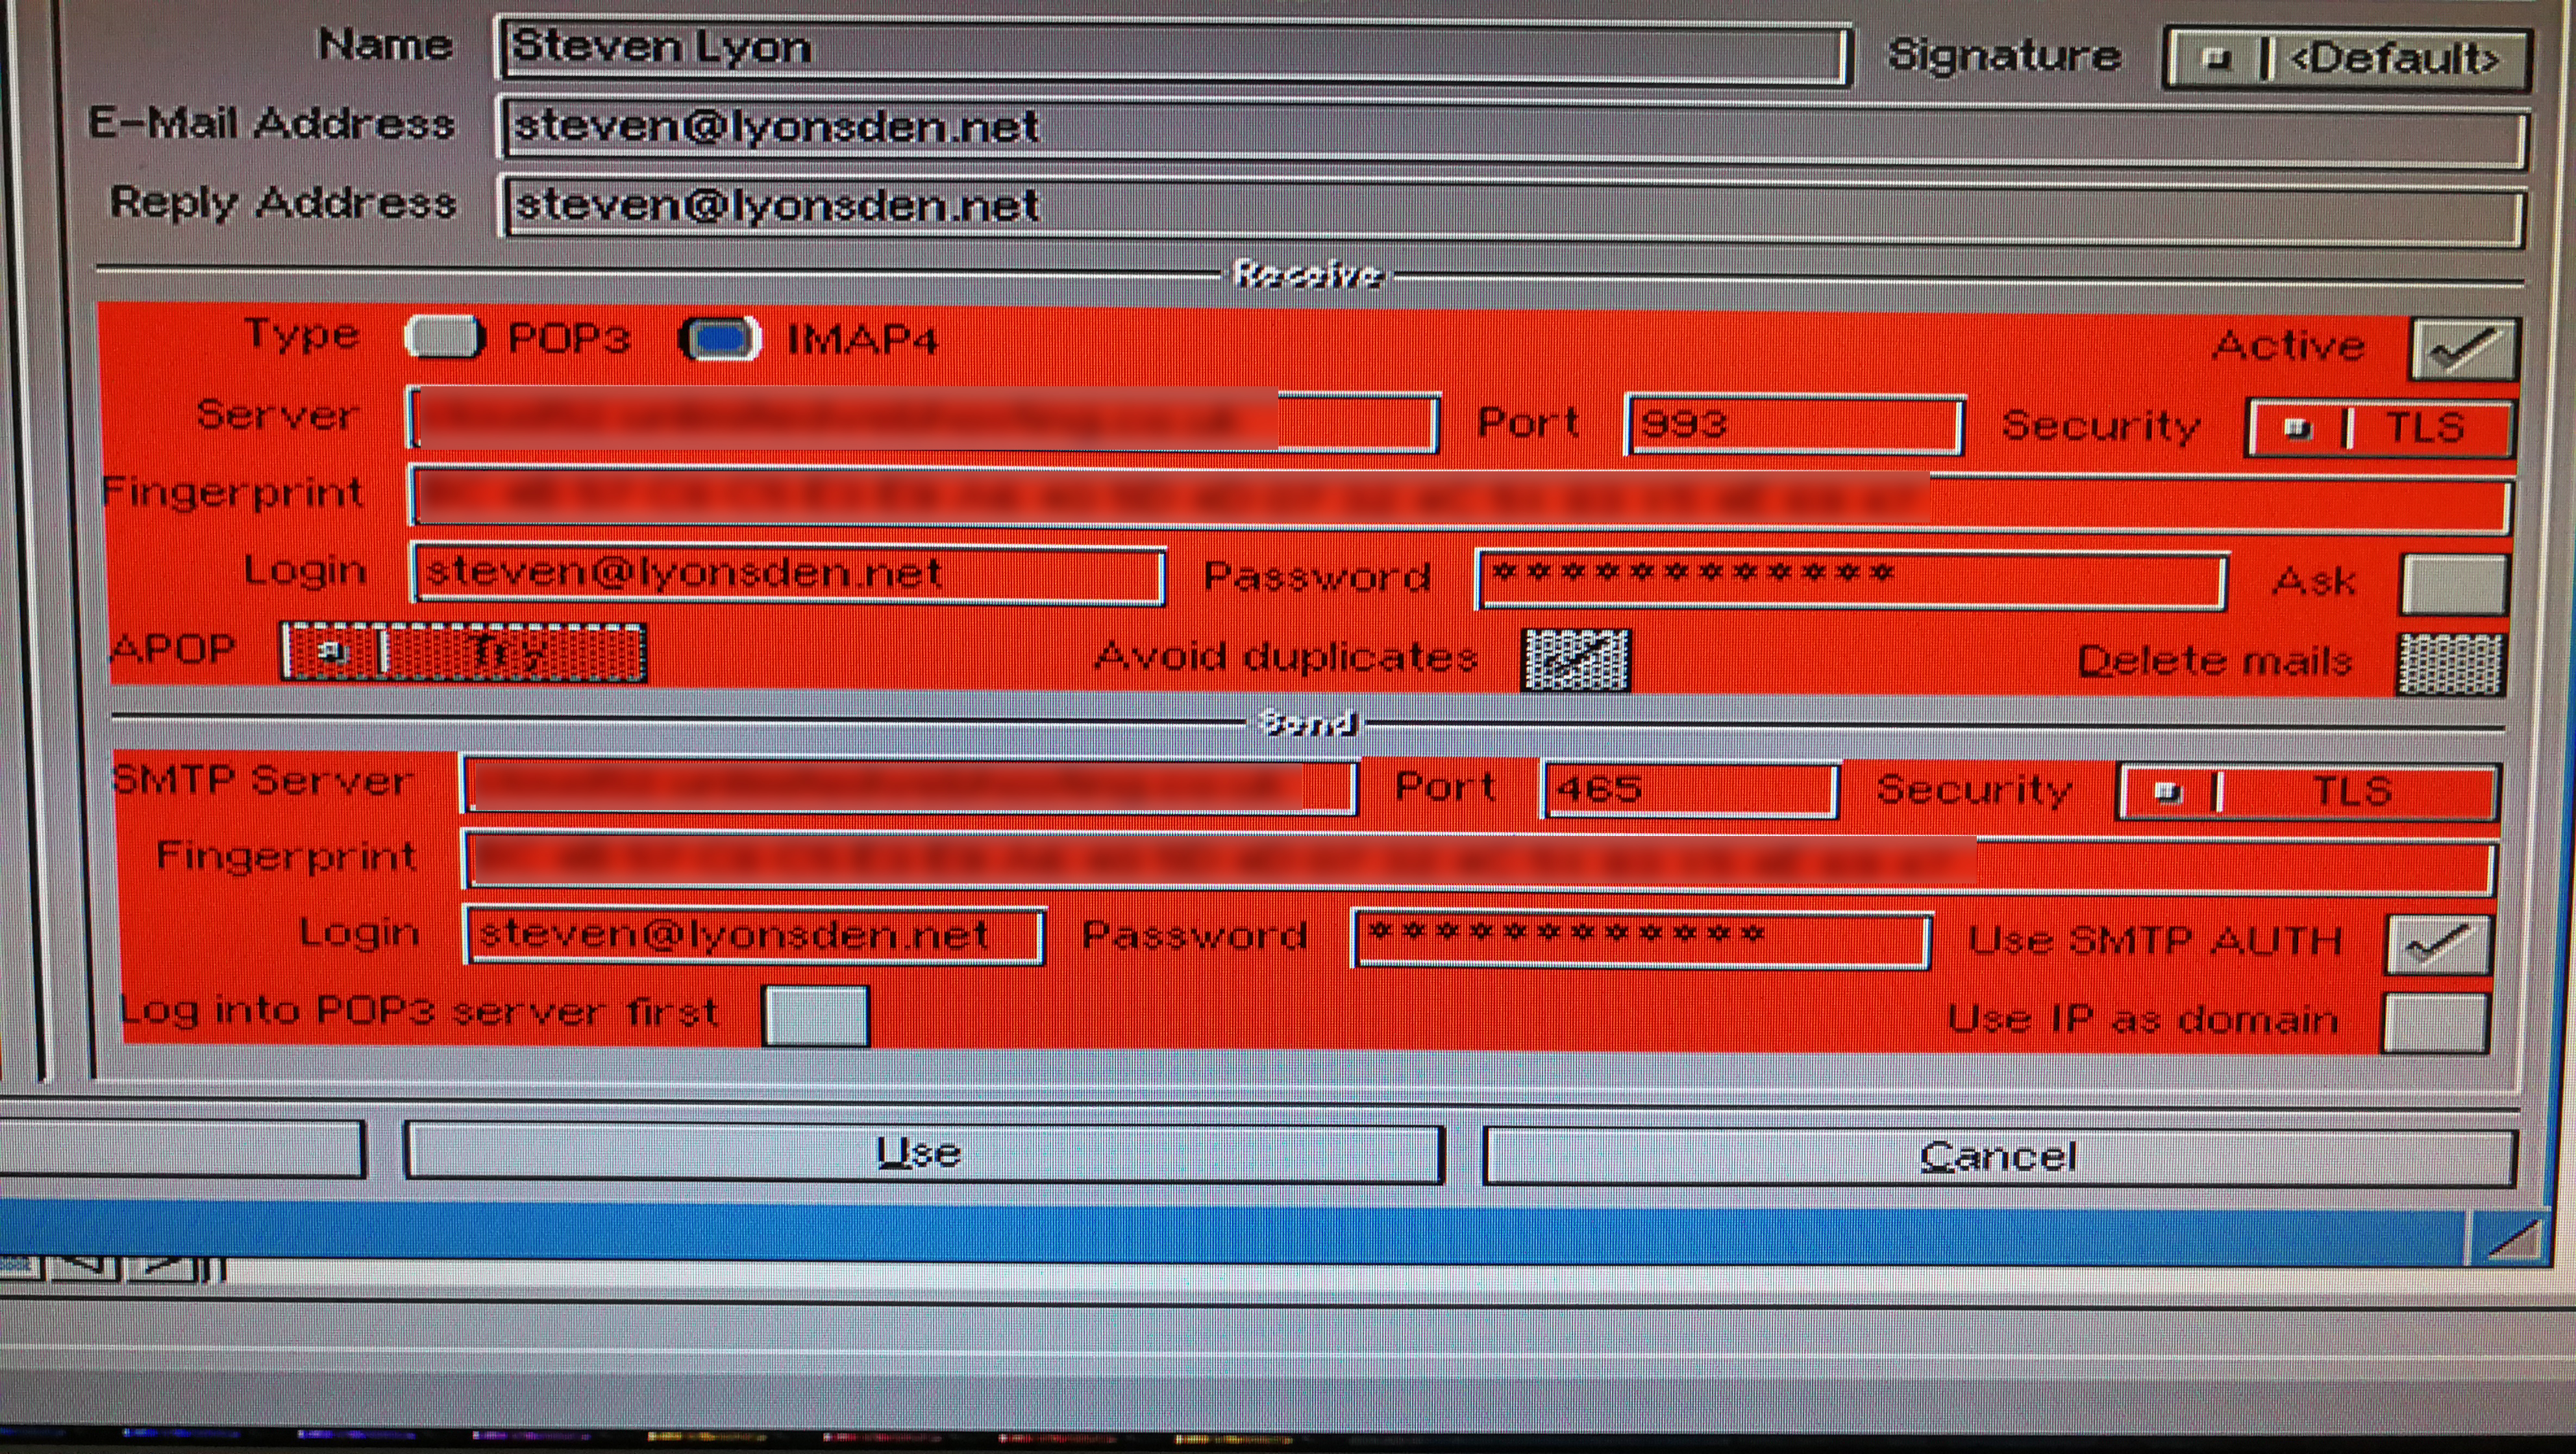
This screen means you’ve made a mistake somewhere!
Final steps
Hopefully you’ve got every bit of information correct now and can see a screen similar to the one below with the fingerprint boxes fully populated.

Success – IMAP and SMTP settings have been correctly entered and tested,
Don’t forget to click on ‘Save’ at the bottom left of the configuration window otherwise all your hard work up to this point will be lost!
Don’t forget to SAVE the configuration!
After you have saved the configuration you will return the main program window. You should see your newly added email account appear at the bottom of the folder list. At this point it will not have downloaded any of your emails or even folders for that matter.

Your new email account initially appears like this…
Accessing your emails
Now click on the name of your email account and SimpleMail will connect to your email server and download a list of all the folders within it. This will include your Inbox, Sent items etc. along with any custom folders your have created too. This might take a few seconds – you can see what is going on by checking the status bar at the bottom of the window.

You will always know what is going on by checking the status area of SimpleMail
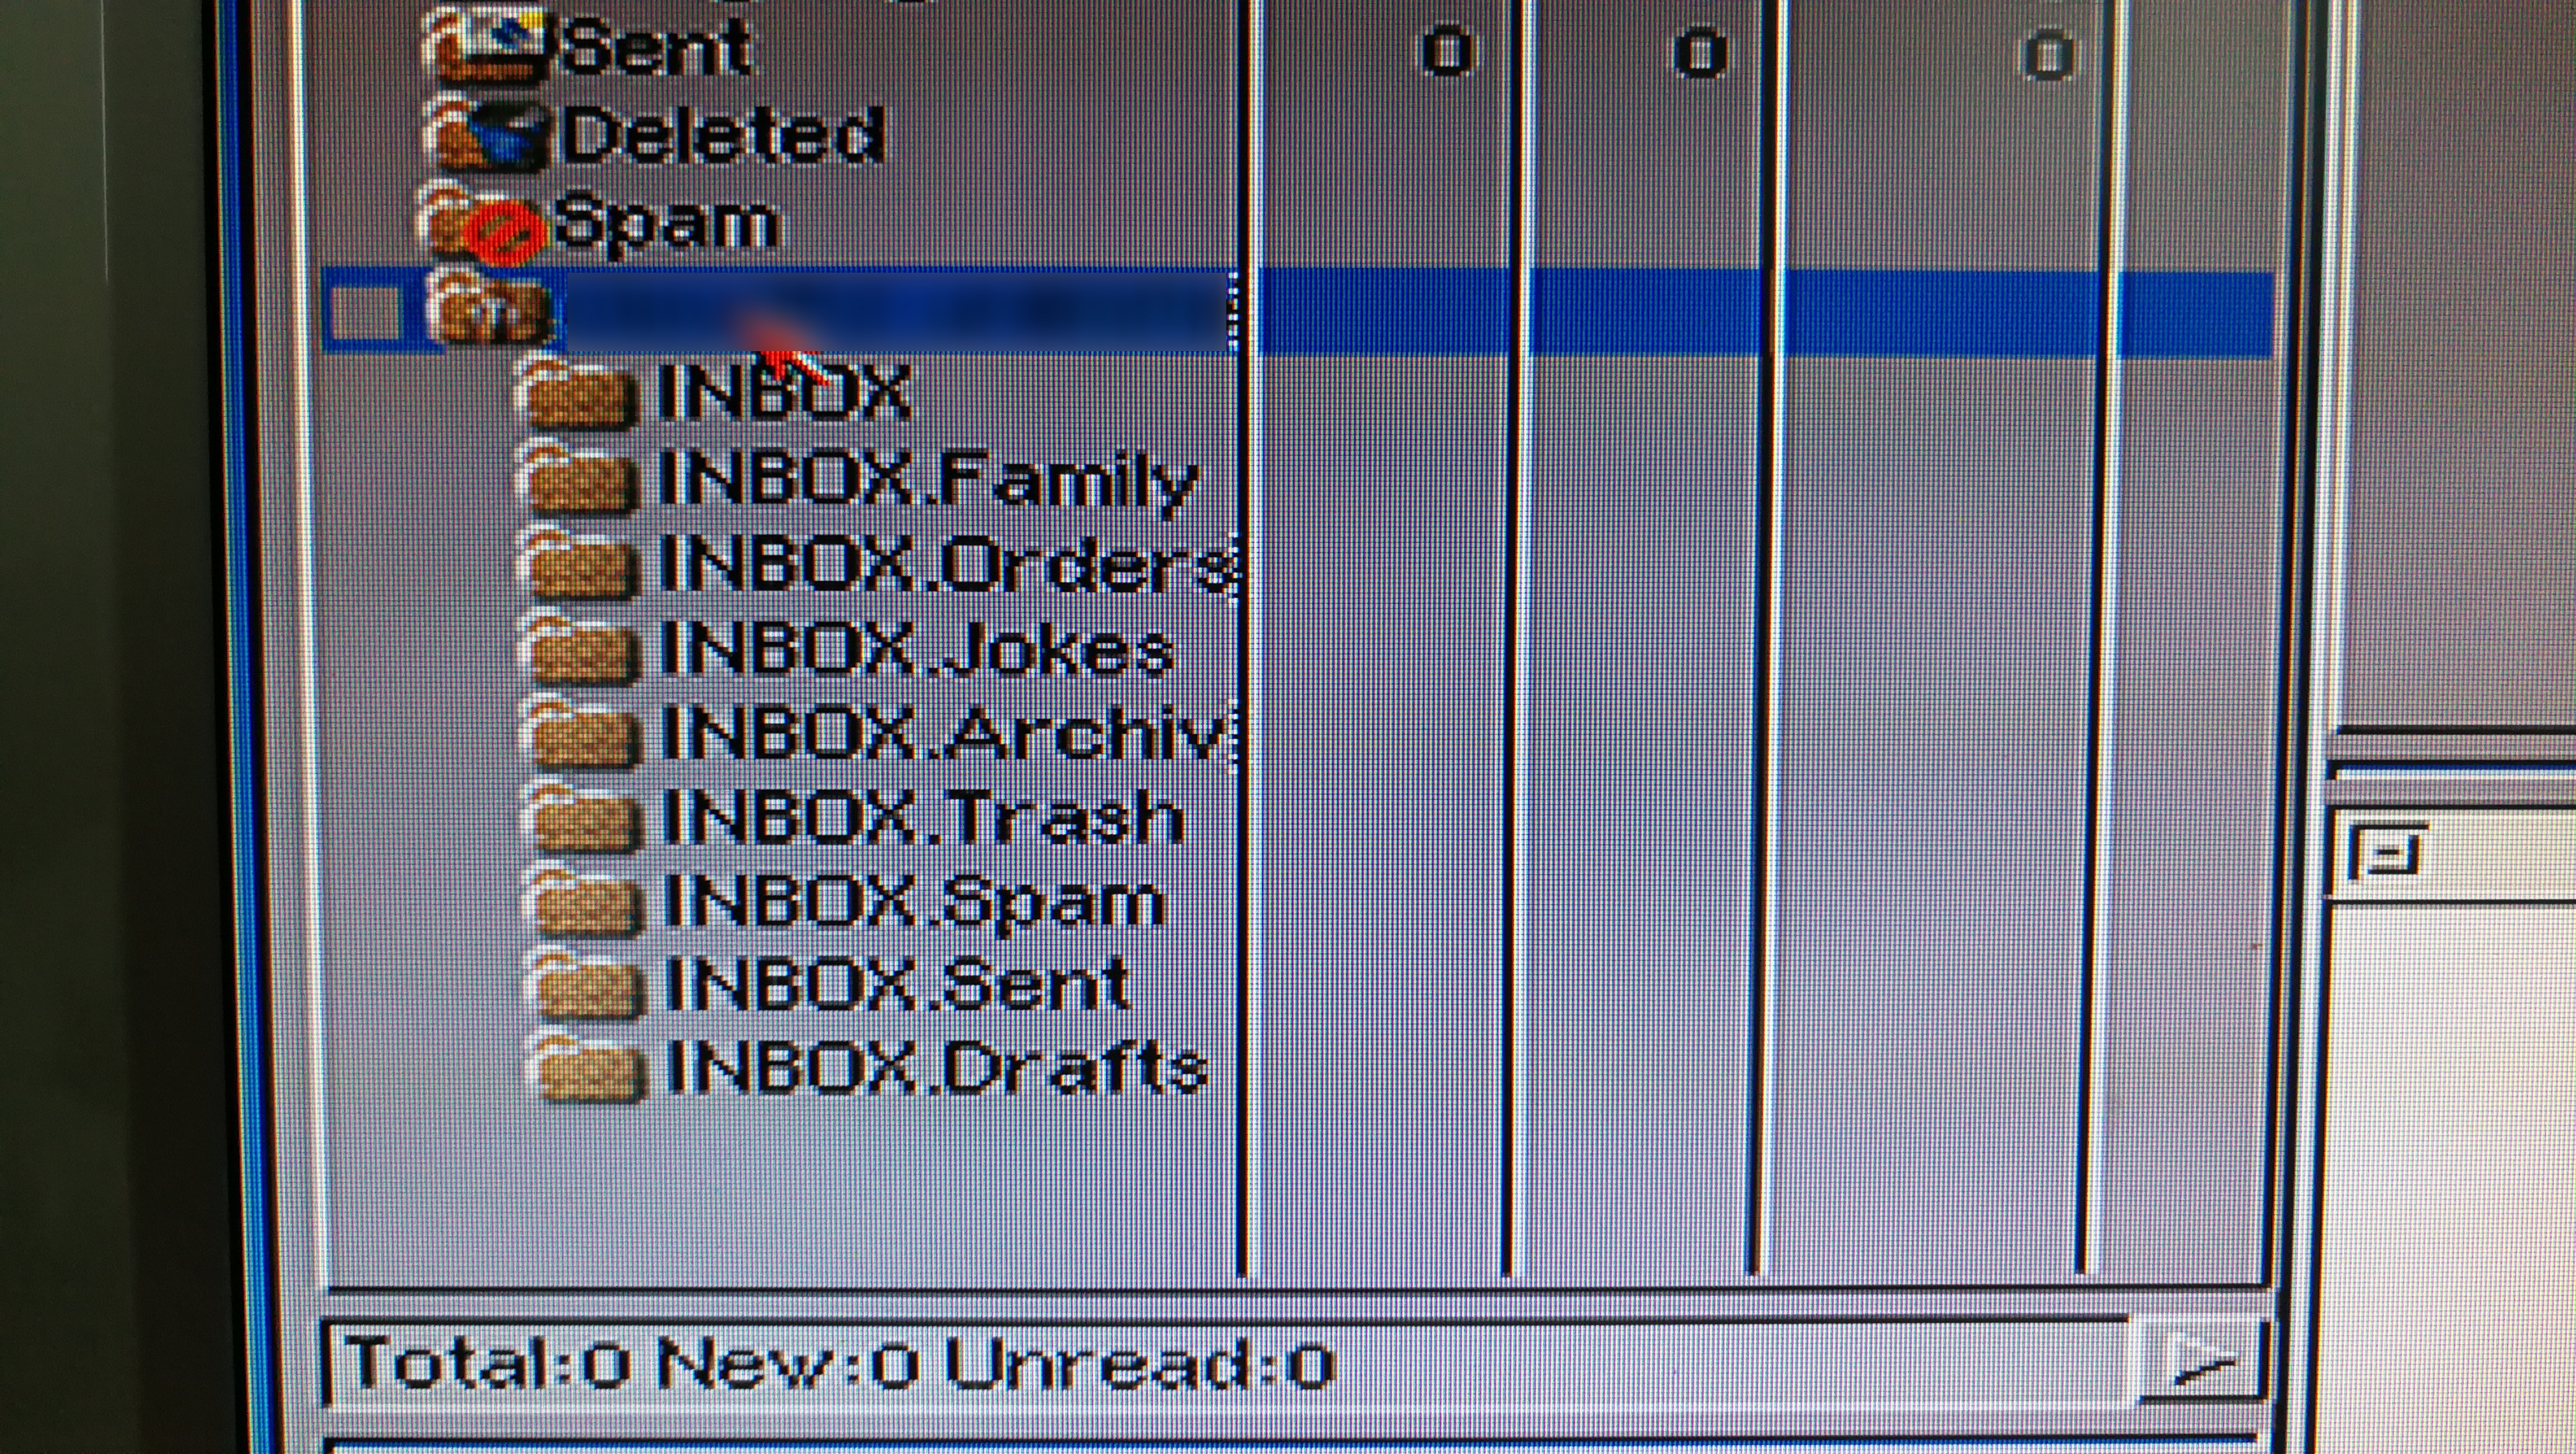
Your email folder heirarchy
At this stage the program still hasn’t downloaded any of your emails. To do this you must left click on any of the folder titles for it to fetch the contents of it from the server. In the below example I clicked on my Inbox and it fetched 17 mails from the server. This took just a few seconds – if you have hundreds or even thousands of mails it will take a bit longer.
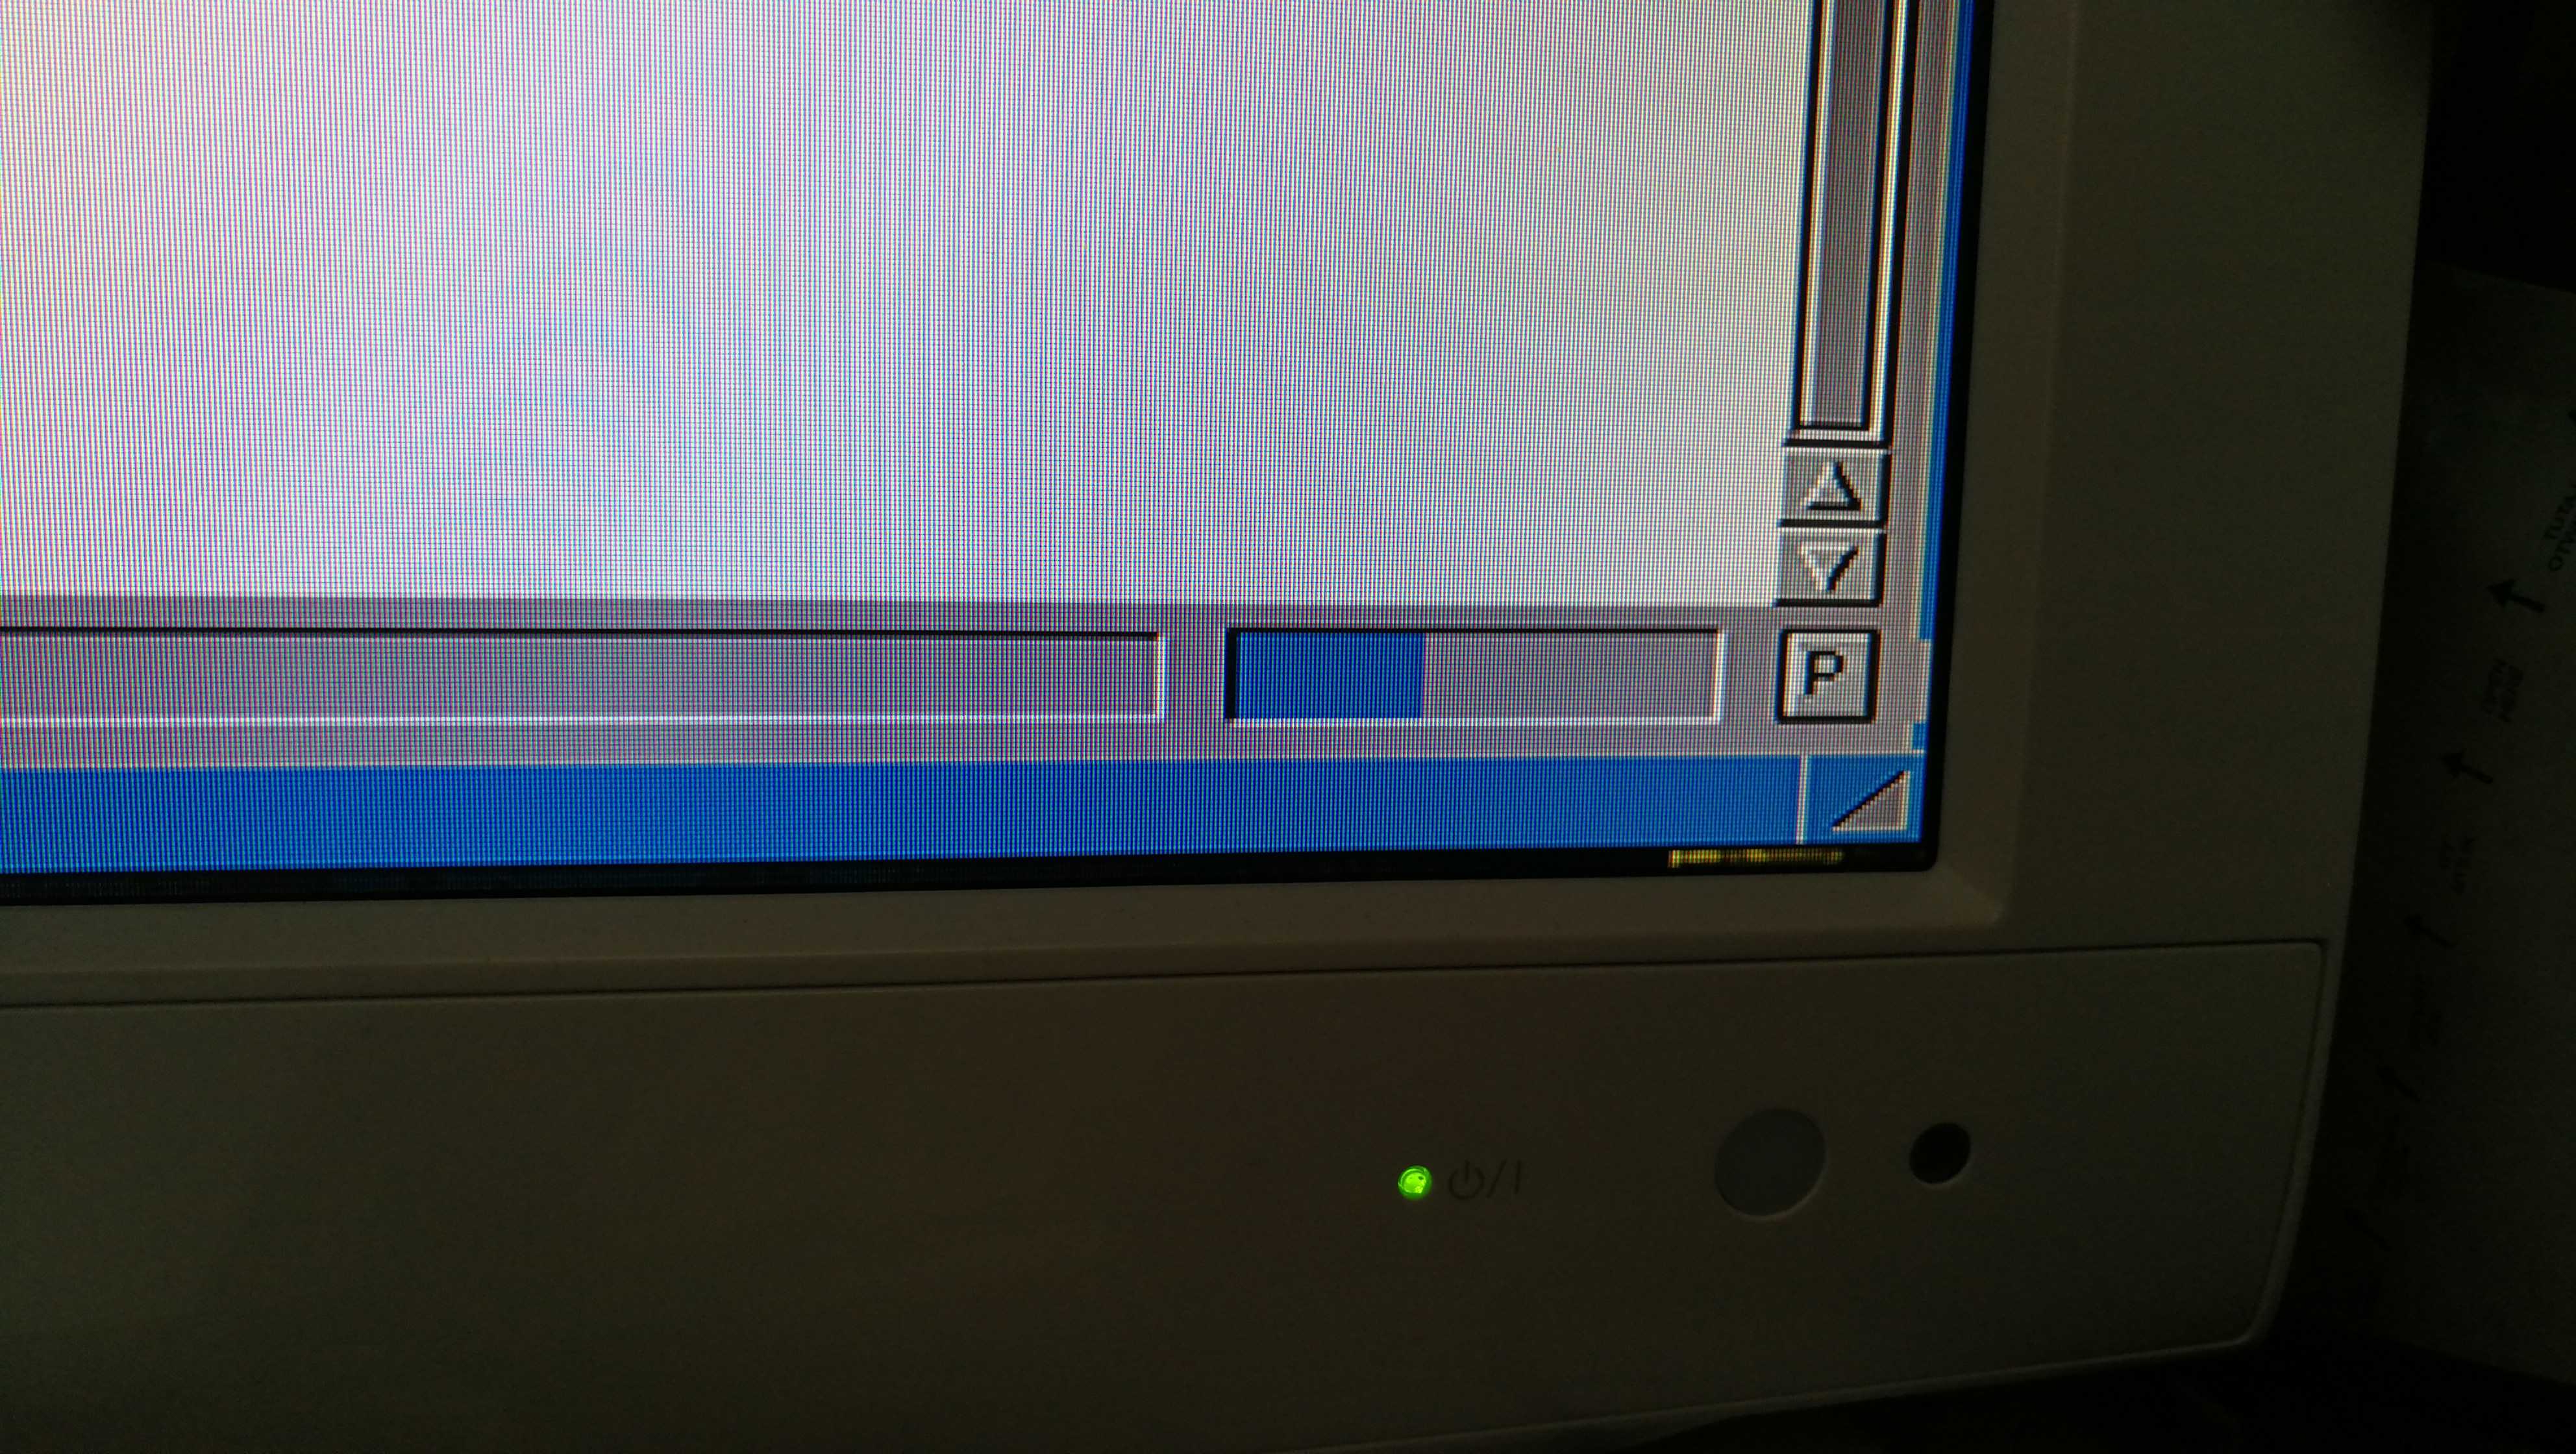
This is the progress bar. If you have a lot of emails then it will move quite slowly
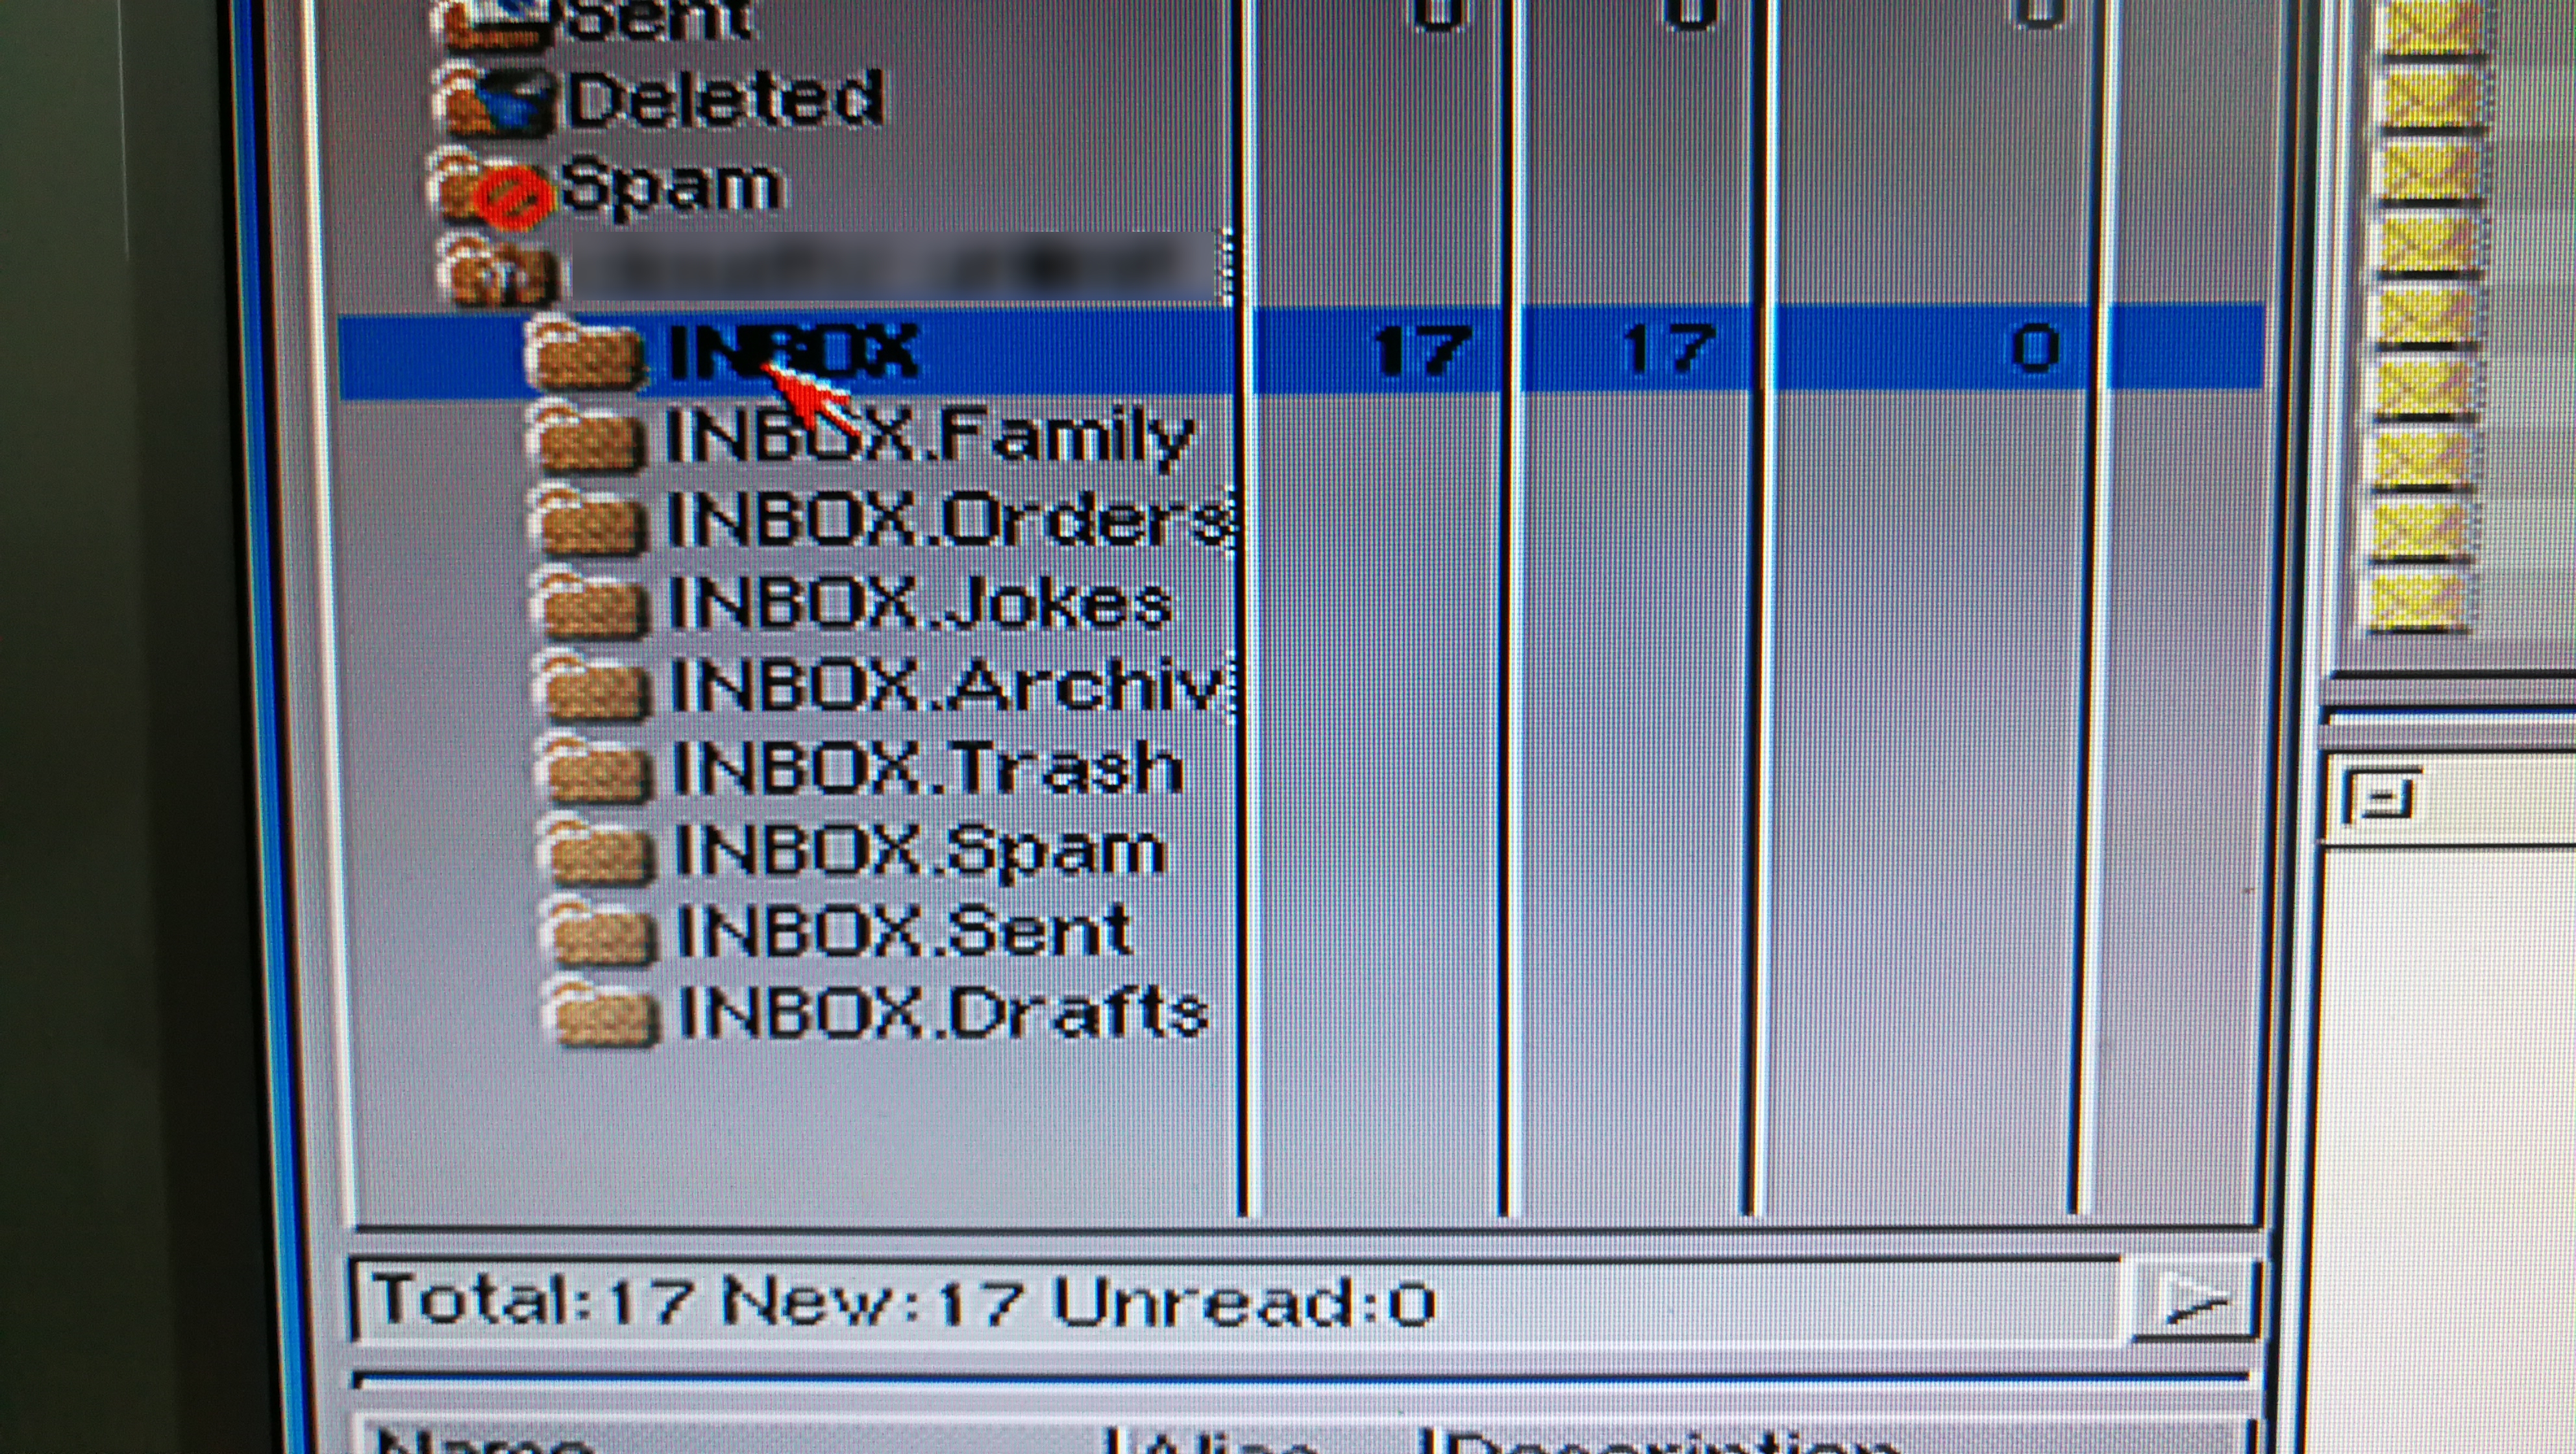
Inbox with 17 new emails.
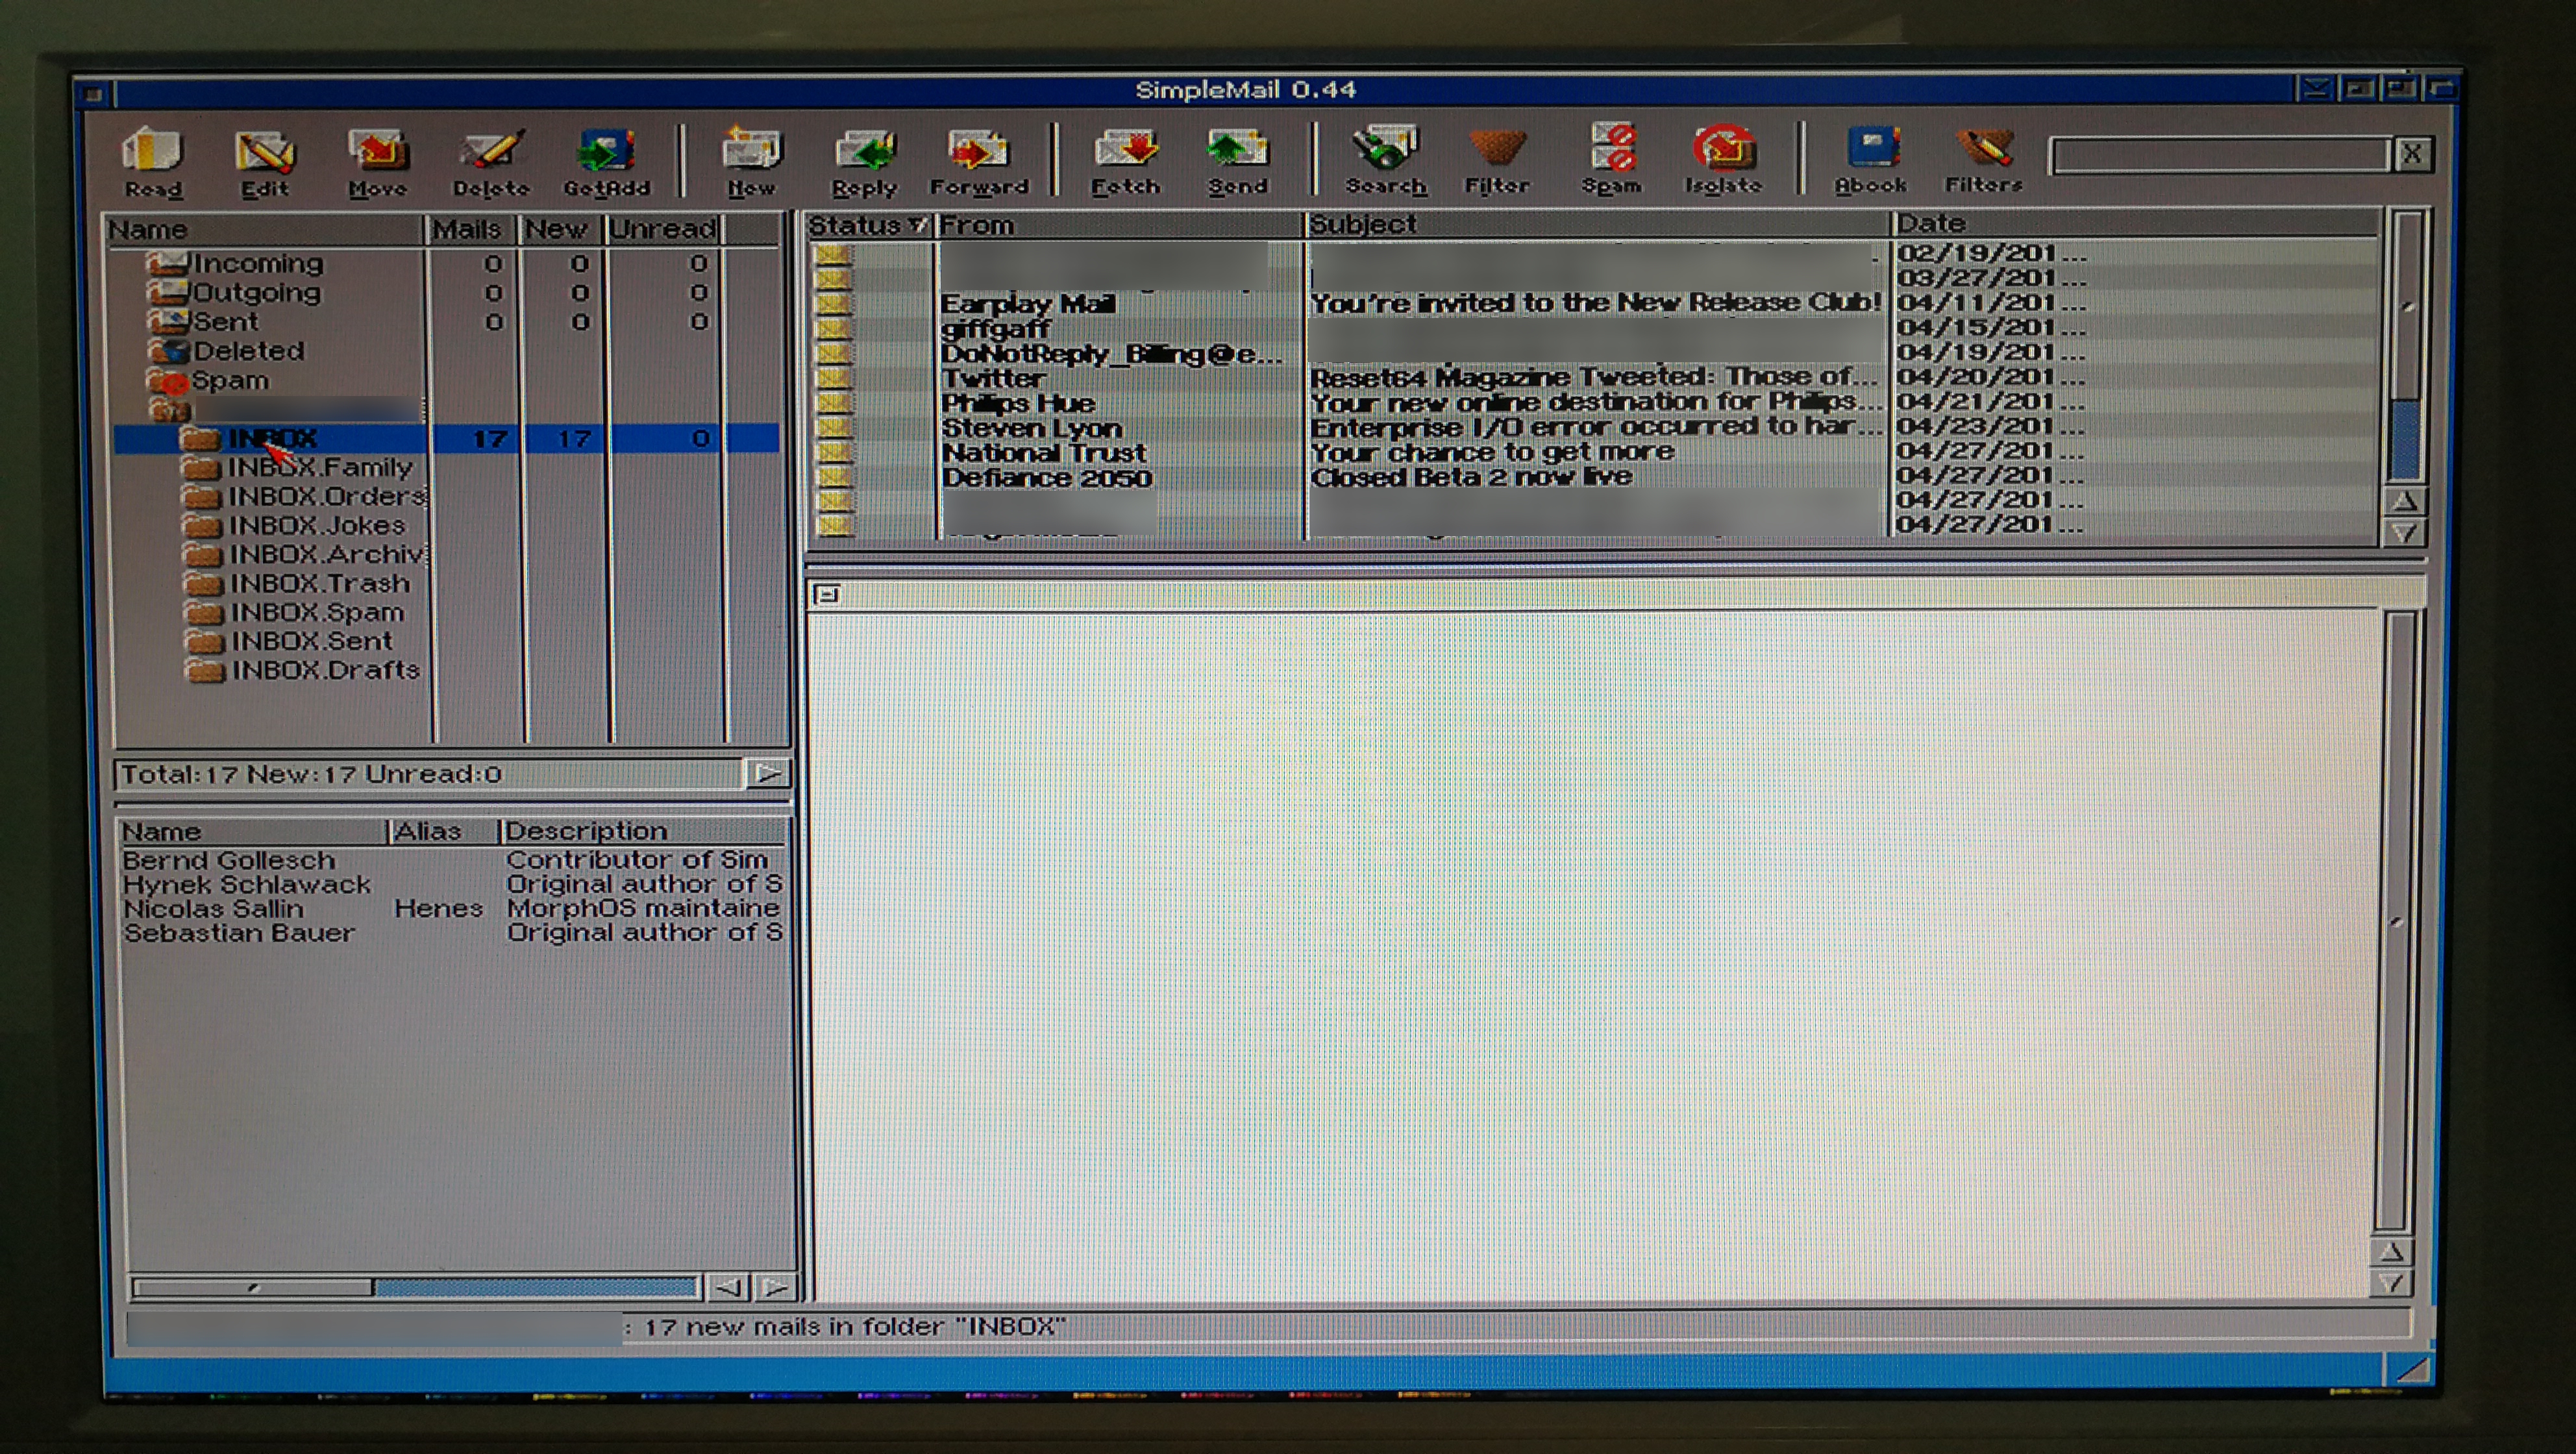
Main program window with Inbox emails displayed in the top right pane
Finally – Viewing an email!
Even though the messages are now displayed in the list view, these are only email headers. The body of the messages have not been downloaded. Click on an email to download the message – the body will be display in the bottom right viewing pane. If you would like the program to automatically download full messages you can of course enable this but it will greatly slow down the process of fetching emails.
Unfortunately SimpleMail does not yet support HTML mails so you will only see the plain text version of them like the example below. Personally this doesn’t bother me too much as most HTML mails are sent from companies trying to sell you stuff. Friends and family send plain text emails so I can live with that.

Example of how HTML mails are presented
Downloading Complete emails rather than just the headers
As I mentioned above, you can have SimpleMail automatically download complete messages, including the full body. It does make reading through your mailbox quicker, but at the expense of longer fetch times. Only you can decide if the trade-off is worth it. To do this, left click on the folder or Inbox you want to make the change to and select settings.
Selecting the settings option
Now you should see a window like the one below. Select ‘Complete mails’ from the ‘Download’ drop-down menu and then click OK. The next time you perform a fetch/click on that folder it will download each and every message inside it in full.

Getting the software to download Complete mails instead of just the headers
Renaming your email account
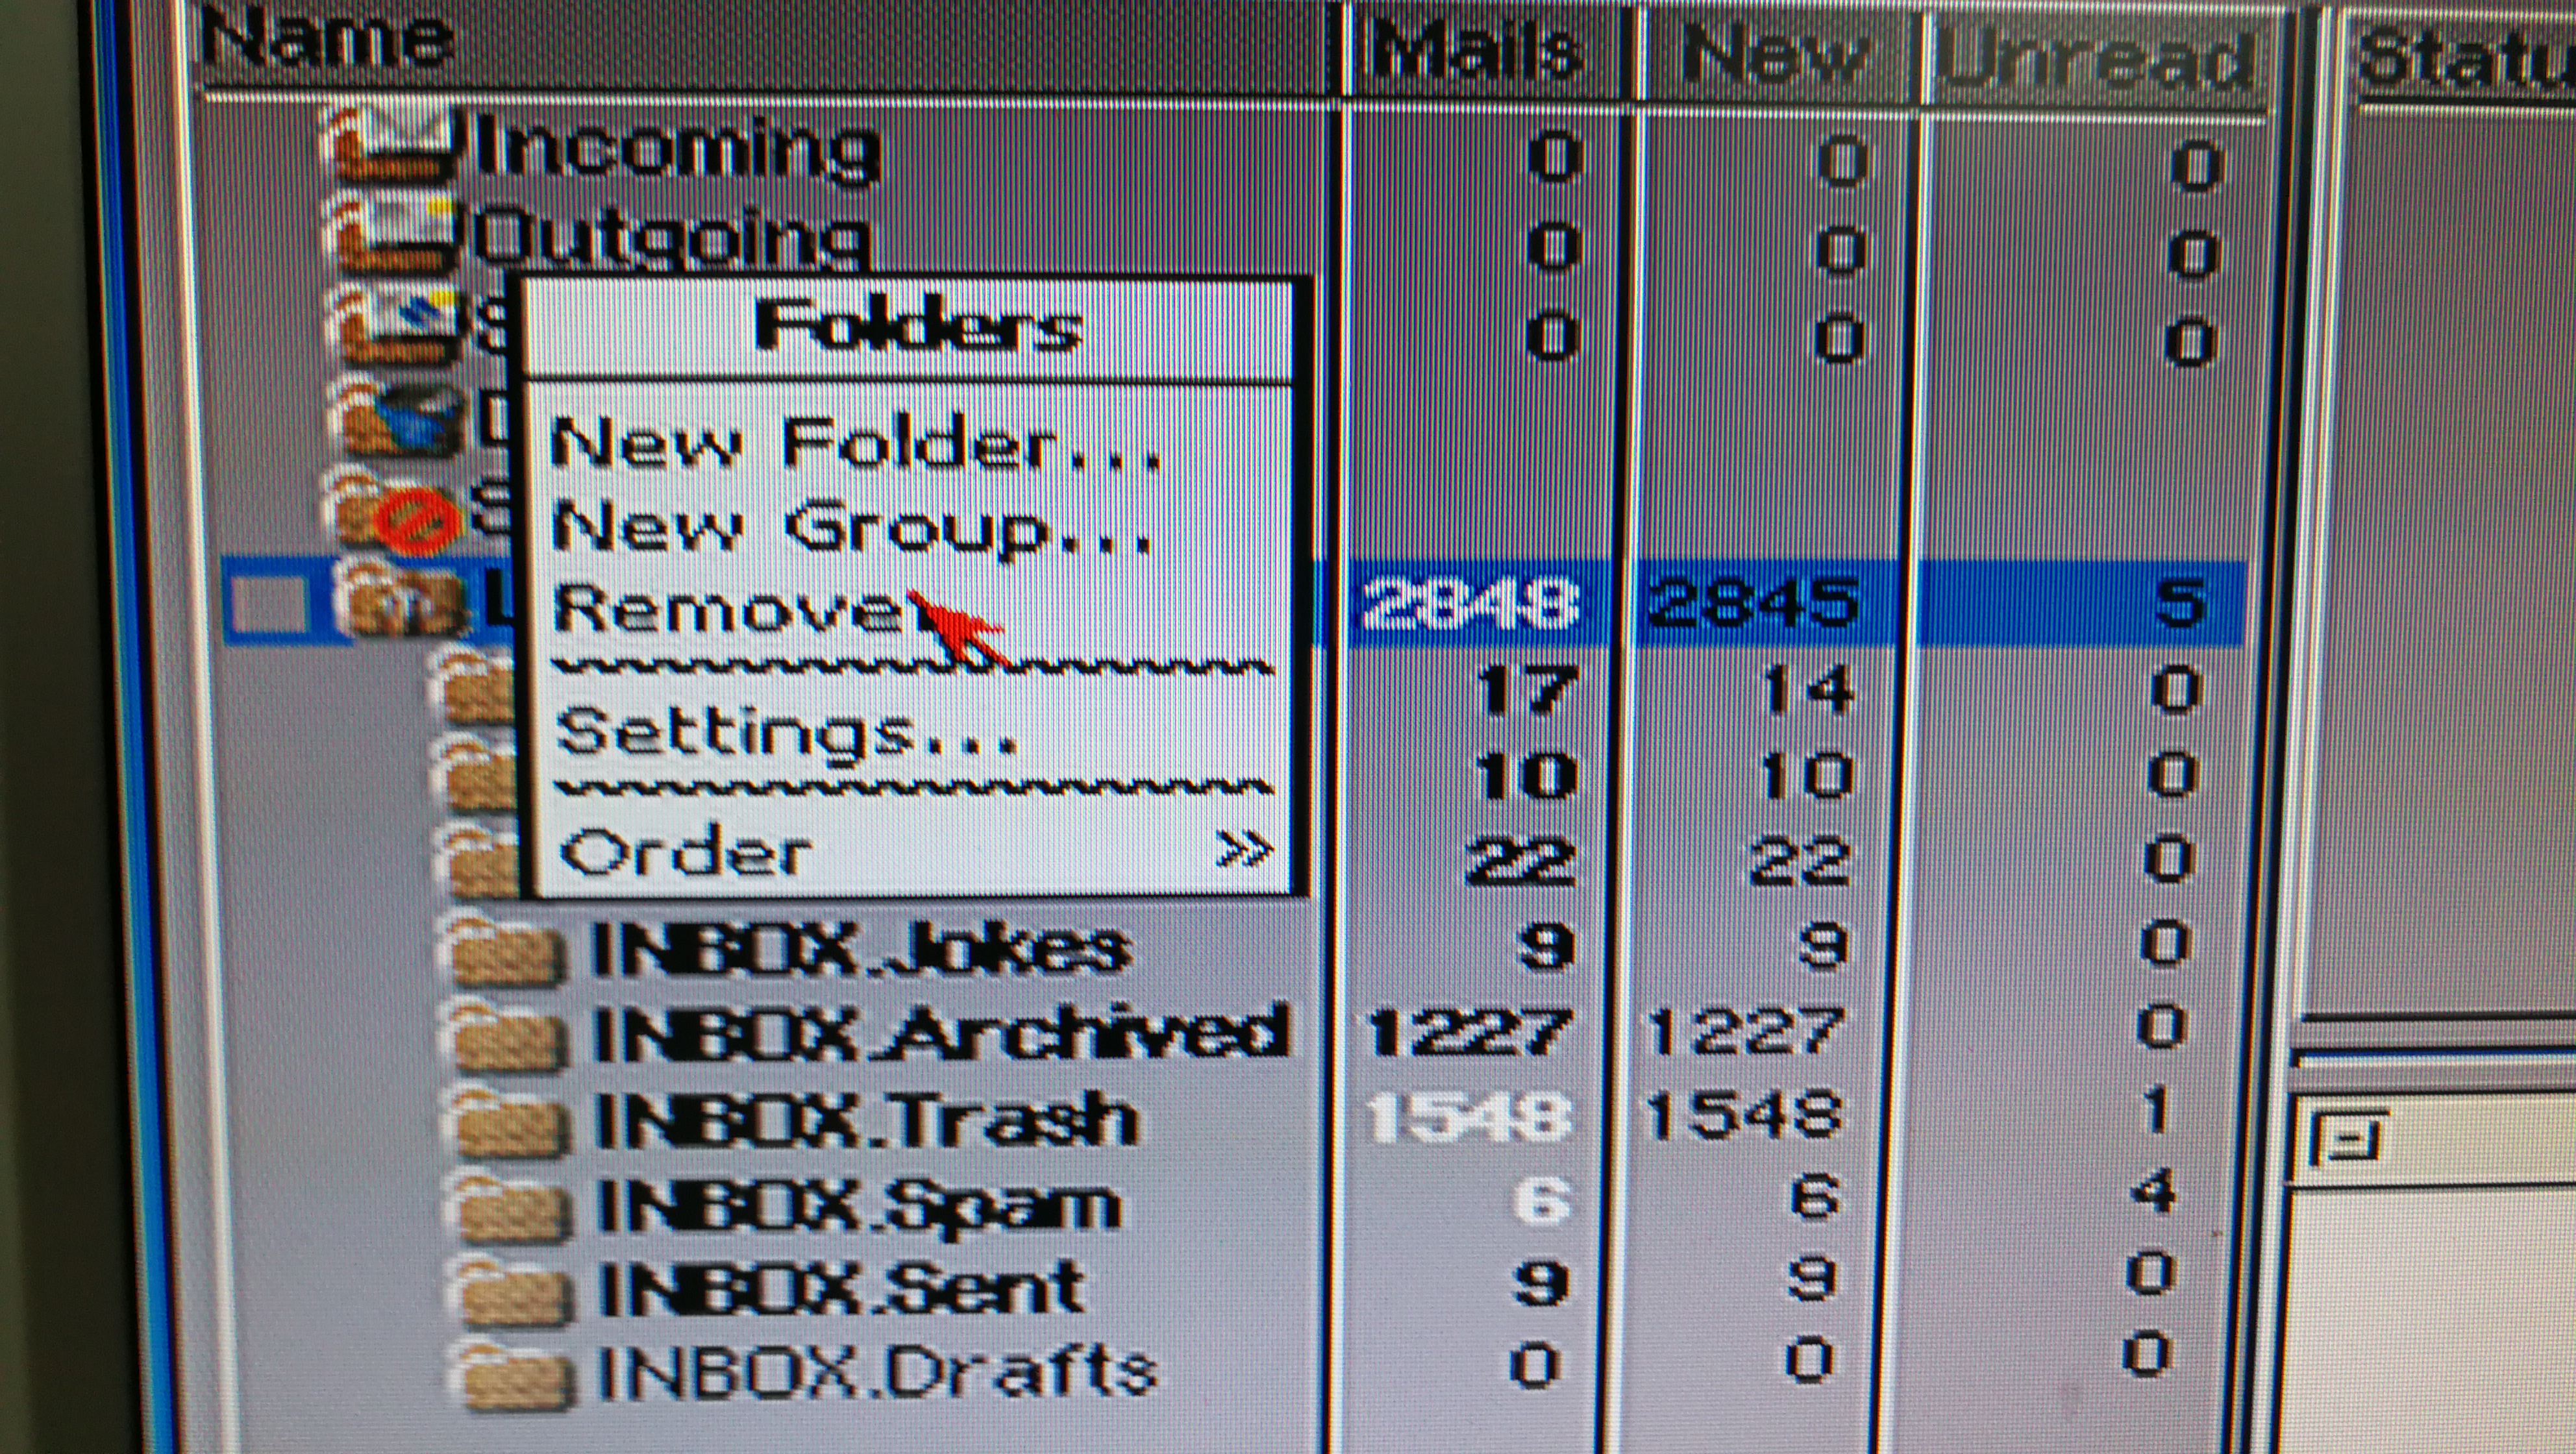
You may have noticed that your email account has an odd name. The program seems to name the account itself based off the server it connects to. Don’t worry though, you can easily change it to something more recognisable. Simply right-click on the mailbox name to bring up a folder menu and select ‘settings’.
Selecting Settings option in the Folder menu
Here you can enter the name you want to appear in the folder list by entering it into the ‘Name’ box under Folder properties. Hit ‘OK’ at the bottom of the window when you are done.

Entering your mailbox folder name
You should now be back at the main program window and your mailbox should be named correctly in the folder view.

Mailbox now showing the correct name
Concluding
And that is it – you can now access IMAP email on an Amiga in 2018!
SimpleMail is constantly being worked on, so if you are reading this in the future there may well be a better version out with even more features.
I have only given you the bare minimum instructions here to get you started with accessing your email. There are plenty of other things this software can offer. Mail sorting rules, signatures, integrated address book and so on. You can also resize each of the viewing panes or remove them completely. Have a play around with it all and enjoy.
Gmail!
I run my own mail server but this should work for any IMAP email out there. I have personally tested it with Gmail and it works perfectly. Here’s a screenshot of the configuration screen so you can see what settings I used.

Gmail configuration
Some extra info about system requirements
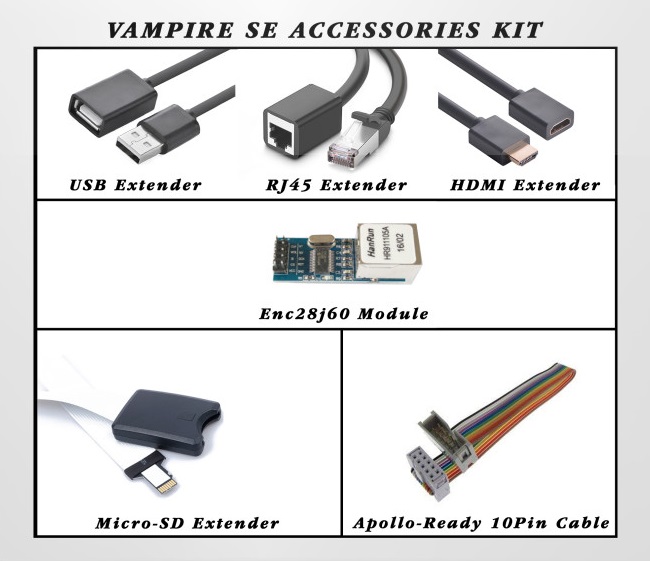
For the record I got this running on an Amiga 500 with a Vampire V500 V2+ accelerator card. The biggest advantage this offers is speed – up to 12 times faster than a stock A500! You certainly don’t need a Vampire to run SimpleMail though. What you will need is Workbench running off a hard drive or CF card solution, a TCP/IP stack and SSL software. I’m pretty sure you would also need at least an 68020 CPU or suitable accelerator card to get any of this running at all.
Of course this isn’t just limited to Amiga 500 computers, that just happens to be what I use. It should work just as well on the big box Amiga’s and of course the A1200 too.
Anyway, I really hope you found this article on how to access IMAP email on an Amiga both interesting and useful – if you did please let me know! If you have any questions or requests then drop me a message and I’ll do my best to answer them.
![]()