In this guide I’m going to document how I got my Amiga A1200 online. I’ll cover installing a network card and configuring a TCP/IP Stack. I’ll also cover installing a Web browser and email program and maybe a few other bits and bobs too.
Prerequisites
- Amiga OS 3.1.4 is already installed on my A1200 so this guide will reflect that.
- My system includes a SCSI CDROM as part of my setup which I will be using to transfer larger files across in the early stages.
- I have access to a floppy drive on my PC system that can format, read and write 720k DS/DD floppy disks that my Amiga can also read.
These are not all essential but if you intend to follow the guide you may need to find an alternative means of doing certain things as a result.
The Network Card
There are a few different options when it comes to network devices for non ‘big-box’ Amigas. On my A500 for example I’ve used a Plipbox device which plugs into the parallel port. There’s also the really old school option of using a serial Modem and a dial-up connection (there are still some companies that offer dial-up!)
However since I’ve freed up the PCMCIA port in my A1200 by replacing my Squirrel with a Blizzard SCSI Kit I decided to go for a PCMCIA ethernet card. Although PCMCIA technology is now obsolete there are still plenty of cards knocking around. I found a few in a ‘junk’ box that I used in Windows 98/XP laptops around the turn of the century. They’re usually available quite cheaply on eBay too. As a general rule it would appear 10Base-T cards are most likely to work whilst 100Base-T ones should be avoided.
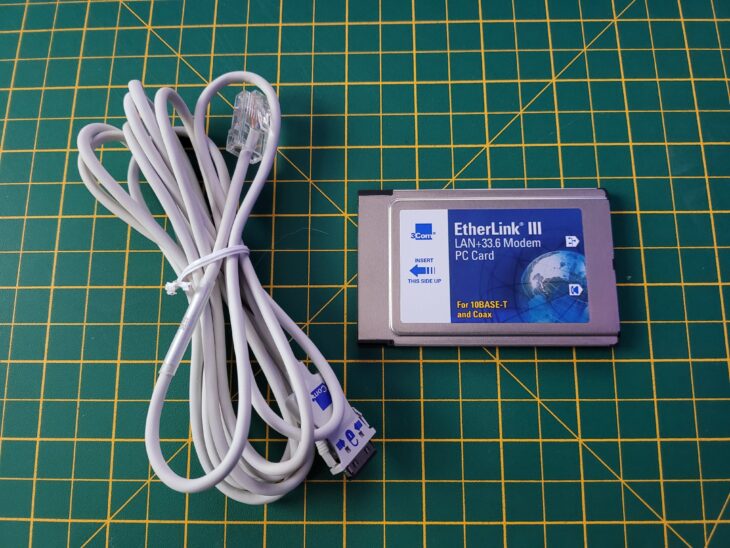
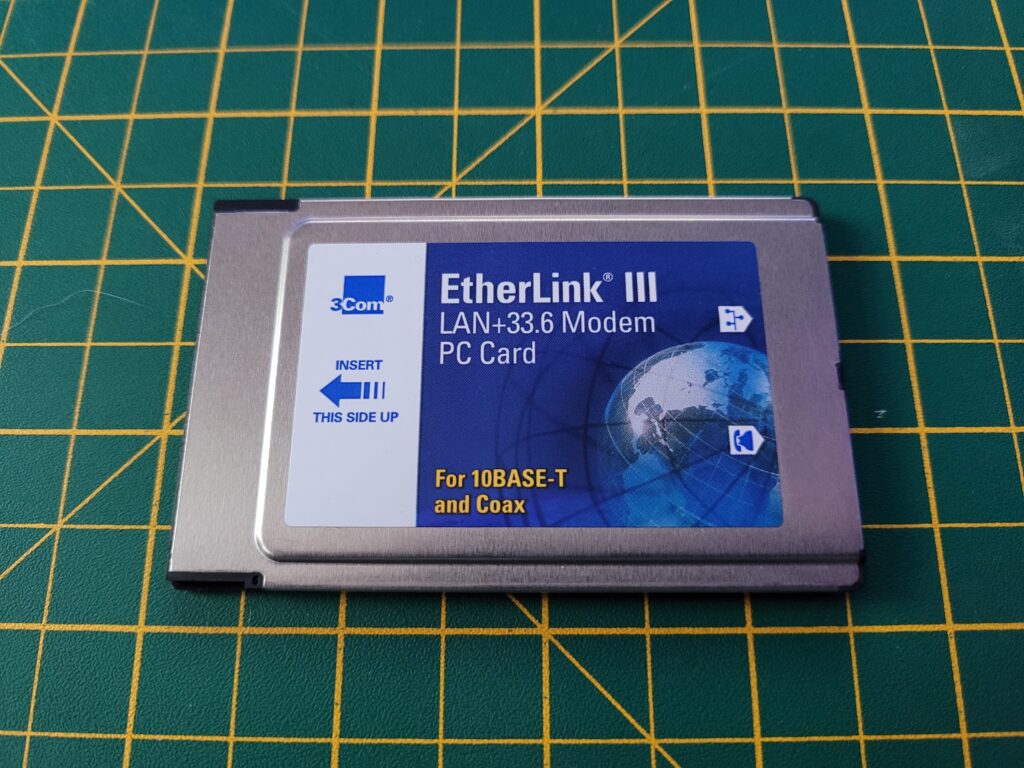
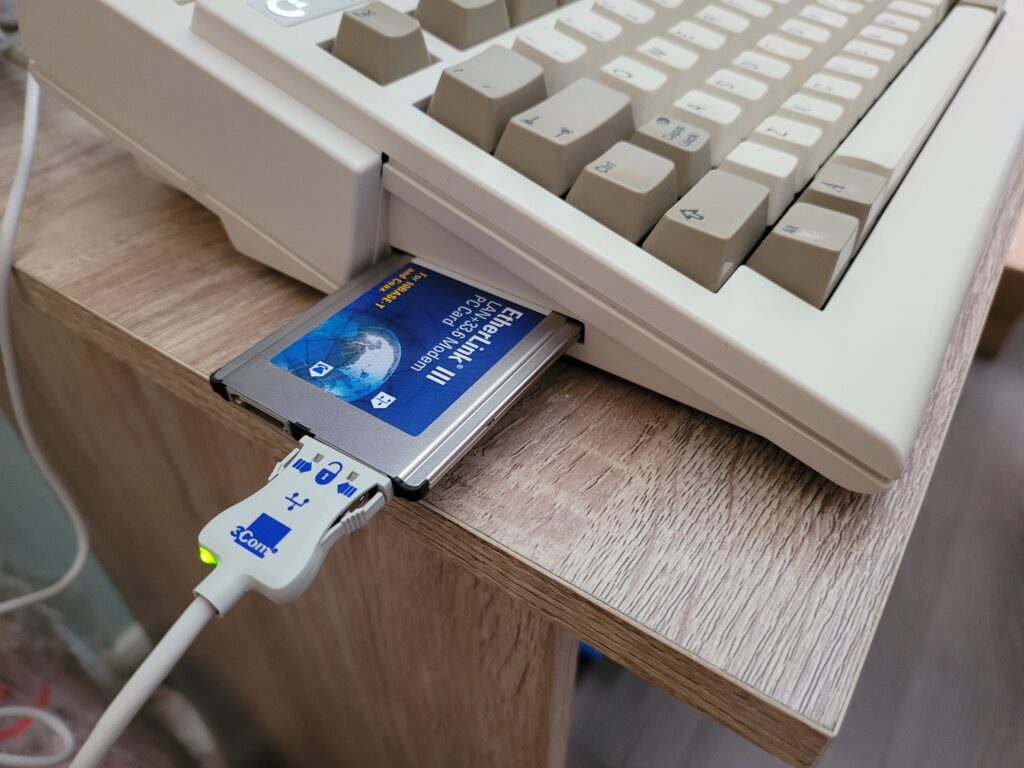
After a rummage through my box and checking Aminet I settled on the old 3COM 10Base-T card shown below.
Driver
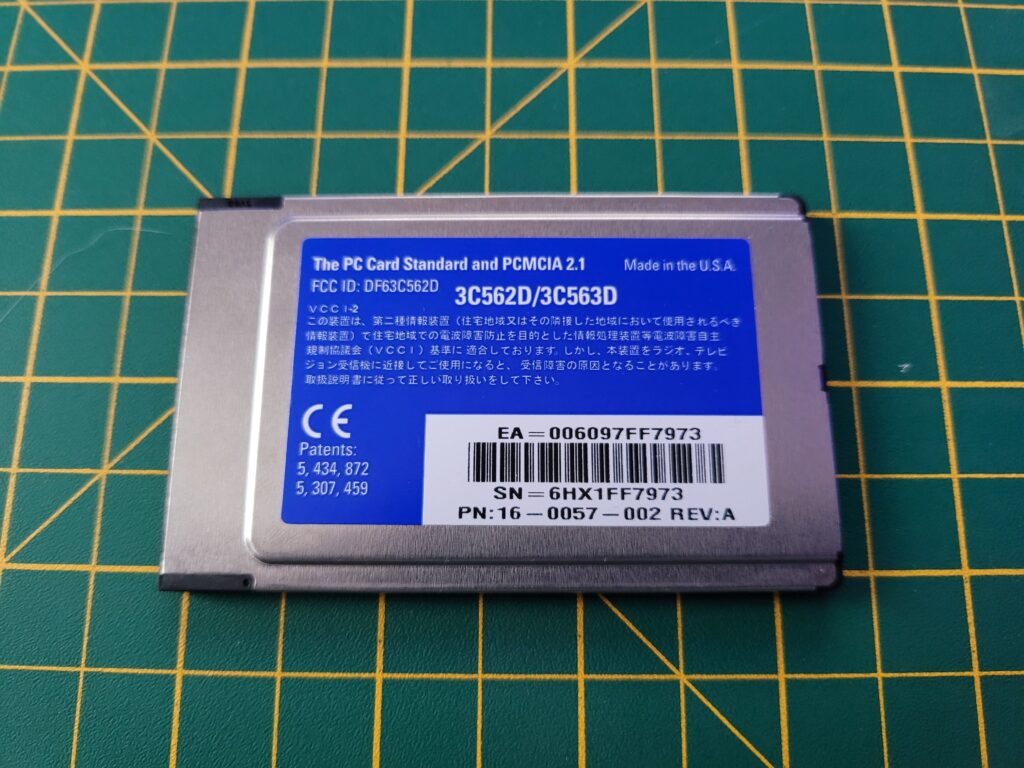
The part number is 3C562D and there is a SANA-II driver on Aminet that supports this card (and a whole bunch of others).
The driver can be found here: Aminet – driver/net/3c589.lha.
Below I’ve included a list of all the cards supported by this driver. If you are trying to get hold of a card yourself then make sure it is one of the models listed to avoid disappointment.
3C5623, C562B, 3C562C, 3C562D, 3C563B, 3C563C, 3C563D, 3C589B, 3C589C, 3C589D, 3C589E, 3C3FEM556C, 3CCE589EC, 3CCE589ET, 3CCEM556, 3CCEM556B, 3CXE589D, 3CXE589EC, 3CXEM556.
Installing the Card
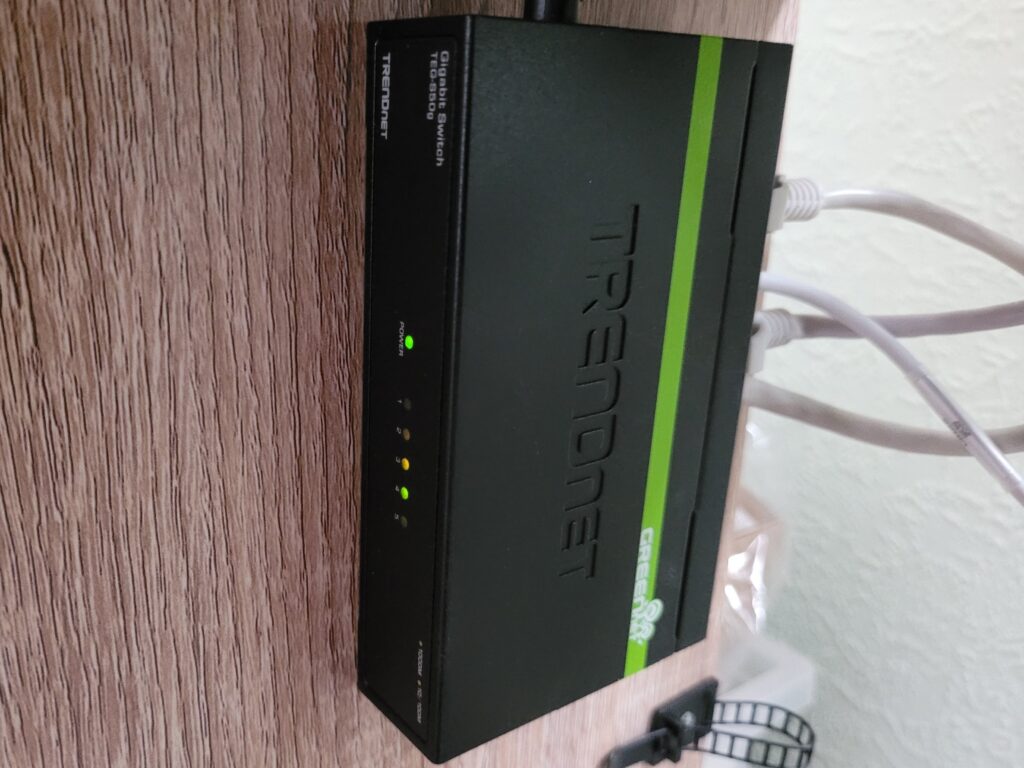
Installing the card couldn’t be simpler, it just slots into the PCMCIA slot on the left-hand side of the Amiga. It will only fit one way (usually label side up) so don’t force it. The Ethernet ‘tail’ plugs into an adjacent RJ-45 socket or in my case a cheap and cheerful little 5-port switch under my desk.
However I wasn’t terribly happy with how the card and the tail hung over the edge of my desk. With the connecter on the ethernet cable already being quite fragile it just looked like an accident waiting to happen. Sooner or later I was probably going to catch that cable and snap the connecter off!
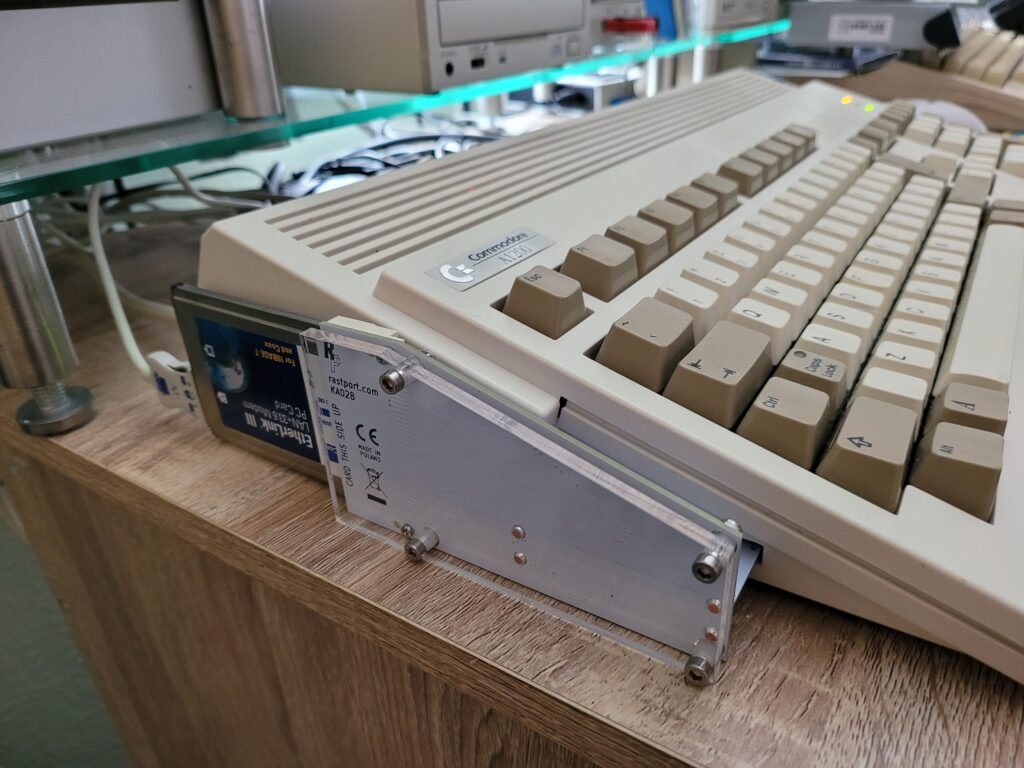
Obviously I wasn’t alone in thinking this as a search online lead me to an pre-existing solution. This little gizmo I found on eBay takes the PCMCIA slot and twists it through 90 degrees so that cards can be inserted flat against the side of the machine.
With the card fitted this way I no longer had to worry about snapping the connector off. Cabling was also streamlined thanks to the ‘tail’ now facing the back of my desk.
Installing the Software
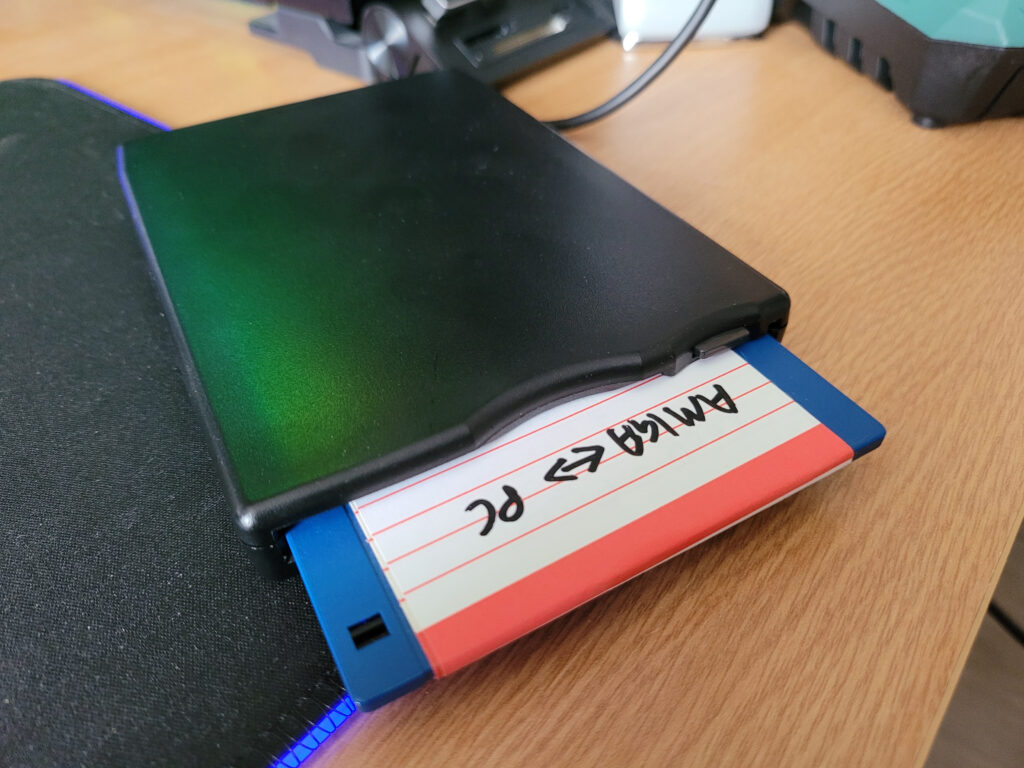
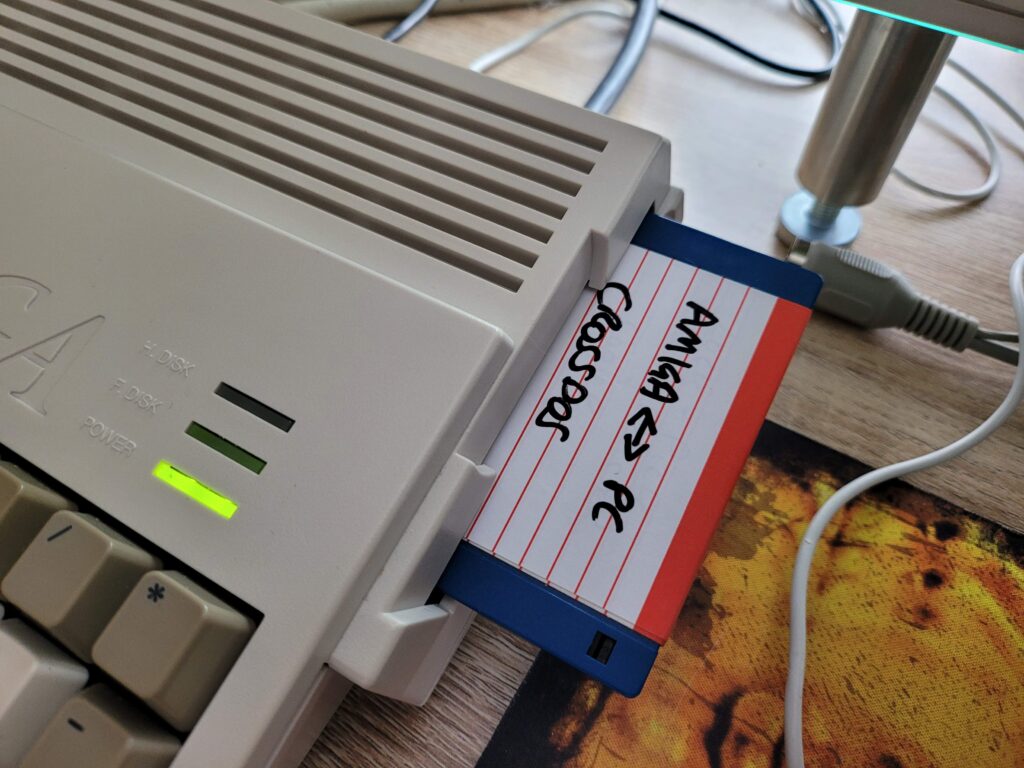
Having downloaded the driver off Aminet on my Windows 10 PC I needed a way of transferring this to my A1200. For this task I used my trusty 720K PC formatted floppy disk to move the file across.
I used a USB floppy drive on the PC side and CrossDOS (which is part of Amiga OS 3.1.4) on the Amiga to read the disk. This method only works for files smaller than 720k (the max capacity of DD disks on PC) but the LHA archive was only 54K so not a problem.
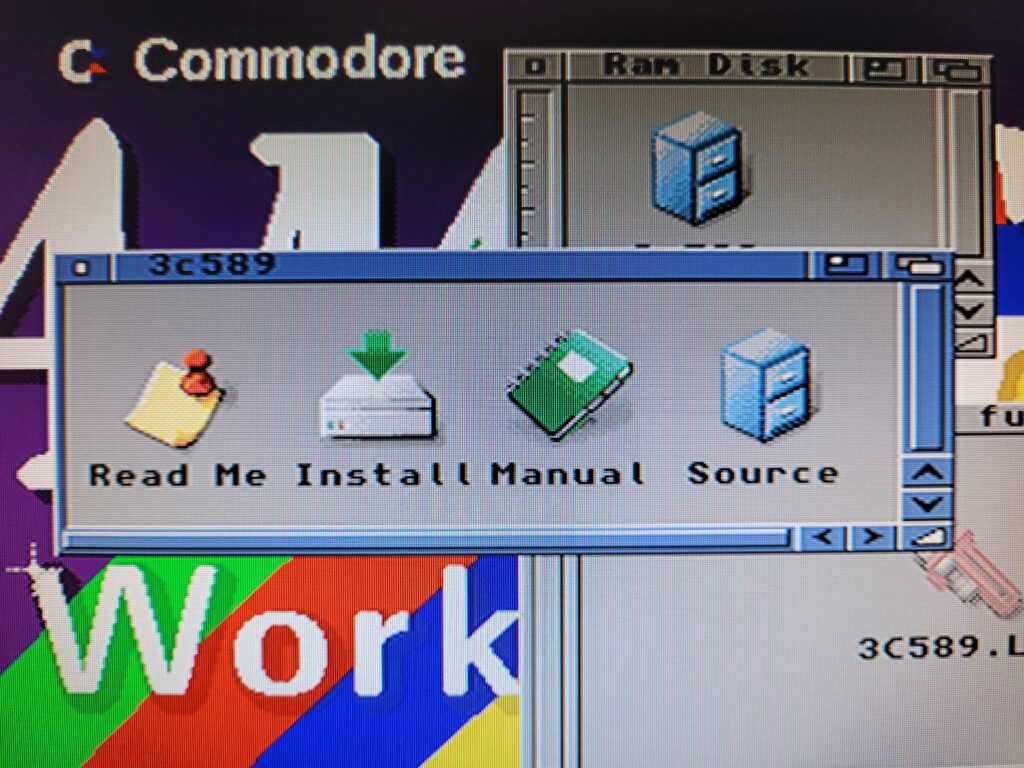
The LHA archive unpacked to a single ‘3c589’ directory that contained the installer for the driver.
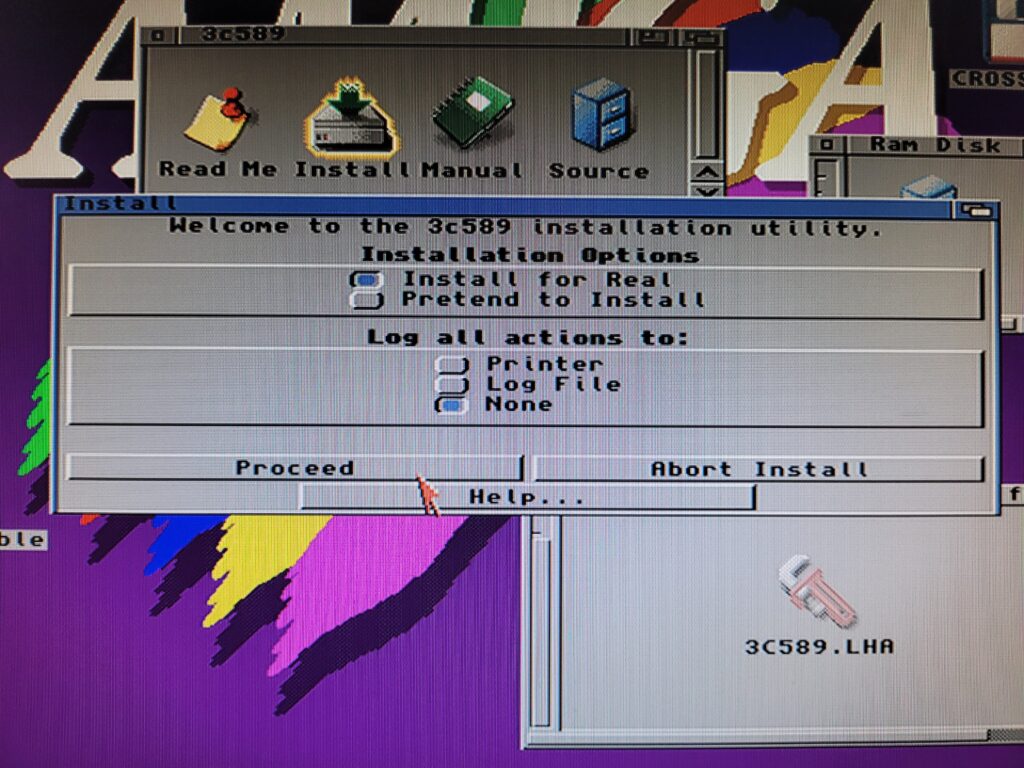
Running the installer was very straightforward, there were no options that needed to be tweaked.
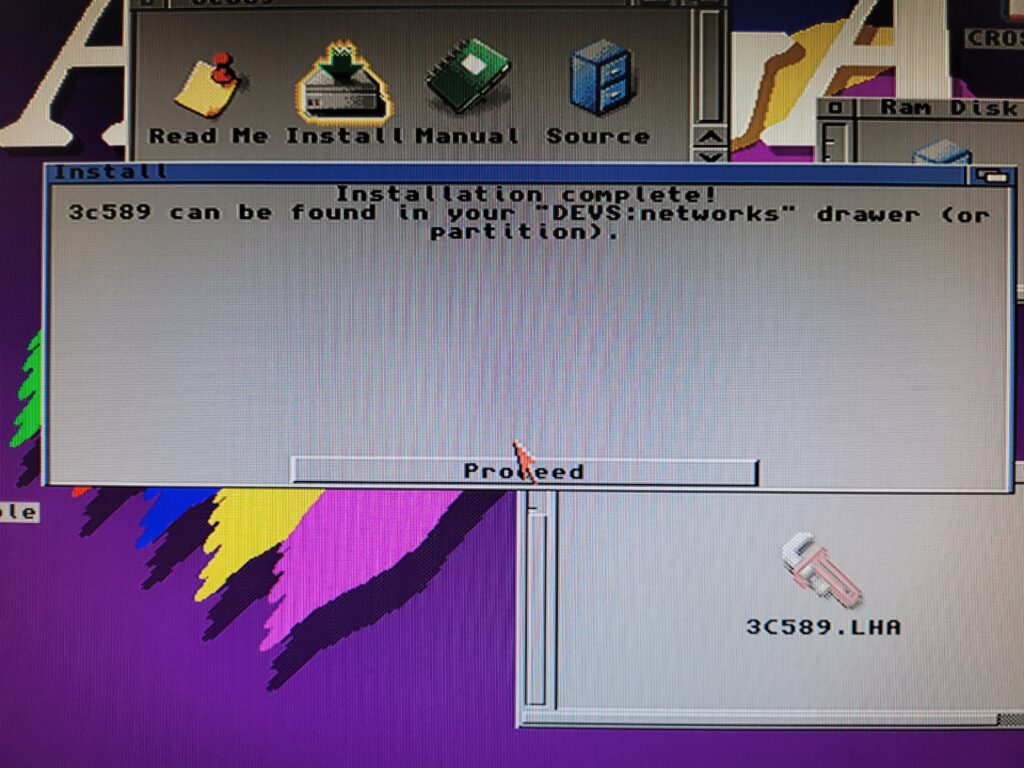
I simply clicked on ‘proceed’ a couple of times to complete the installation, whereupon it informed me that the driver could be found in the DEVS:networks directory.
That’s all there was to it for the network card driver installation. However there’s one more thing that needs installing which I’ll explain below.
PCMCIA Bug Fix
Unfortunately there’s a bug in the implementation of the PCMCIA slot on the A1200 that was never fixed. It’s nothing major but it can cause a few irritations if not dealt with. Basically it’s supposed to be a hot-pluggable system and cards should be reset automatically when inserted. However the bug prevents this from happening so you can be left in a situation where the card stops working and requires a full power cycle of the A1200 to fix. For me this manifested itself each time I reset my Amiga using ‘CTRL A A’. It happened frequently enough to encourage me to look for a solution.
Fortunately there’s a fix available Aminet which requires the installation of two command line programs called CardPatch & CardReset. They’re available here:
Aminet – util/boot/CardPatch.lha
Aminet – util/boot/CardReset.lha
There’s no dedicated installer for them so they need configuring manually.
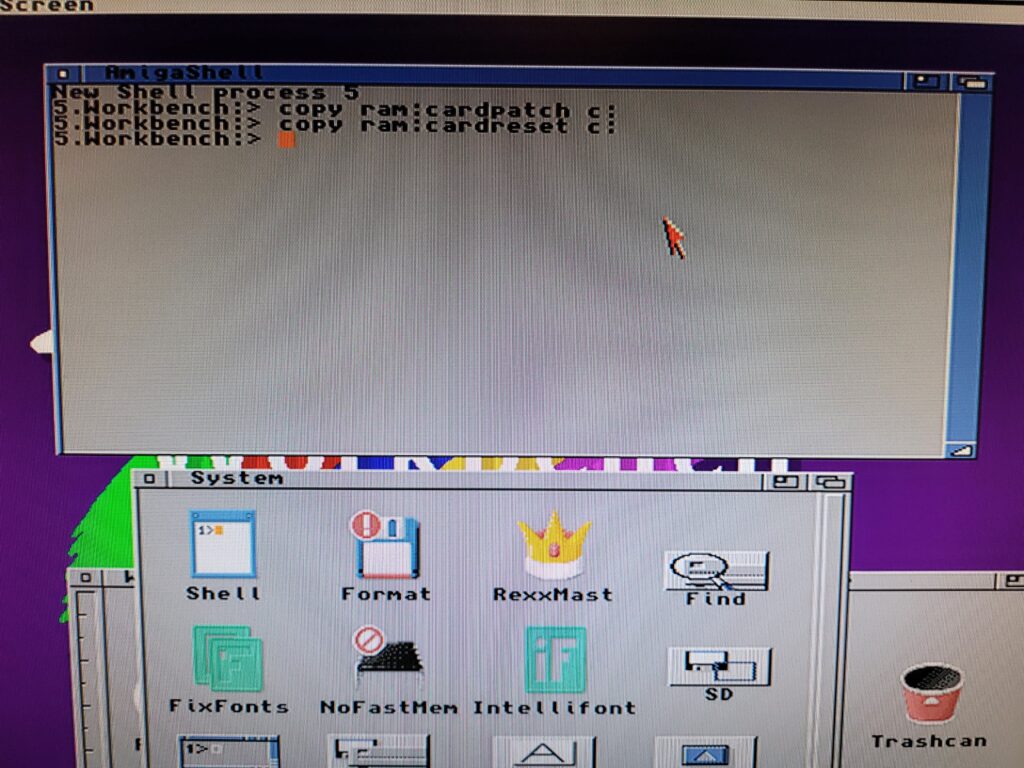
Once I had the LHA archives on my Amiga I extracted them to my RAM Disk. The CardPatch and CardReset commands need copying to C: and this can be achieved by opening up a Shell window and entering the following two commands:
COPY RAM:CardPatch C:
COPY RAM:CardReset C:
Now we need to get these commands to run during the Amiga’s boot-up so that the card will work after a system reset. To do this we need to edit the Amiga’s ‘startup-sequence’ file. You can either use your editor of choice or the one built into AmigaOS.
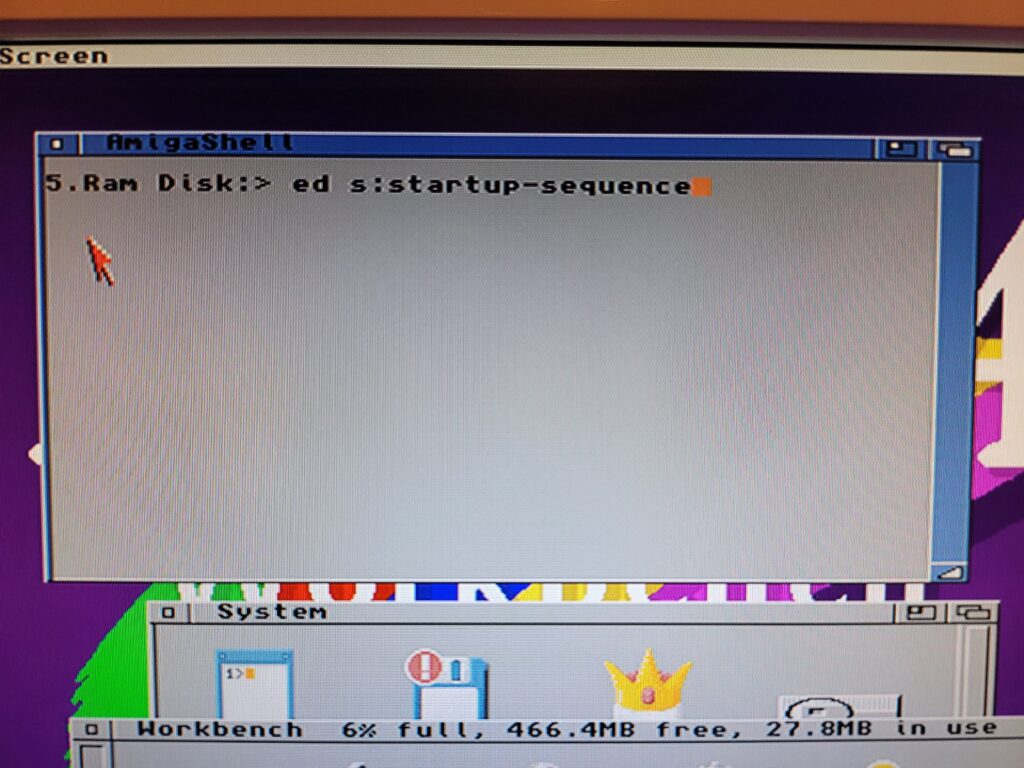
To use the built in editor to amend the startup-sequence enter the following command:
Ed S:Startup-Sequence
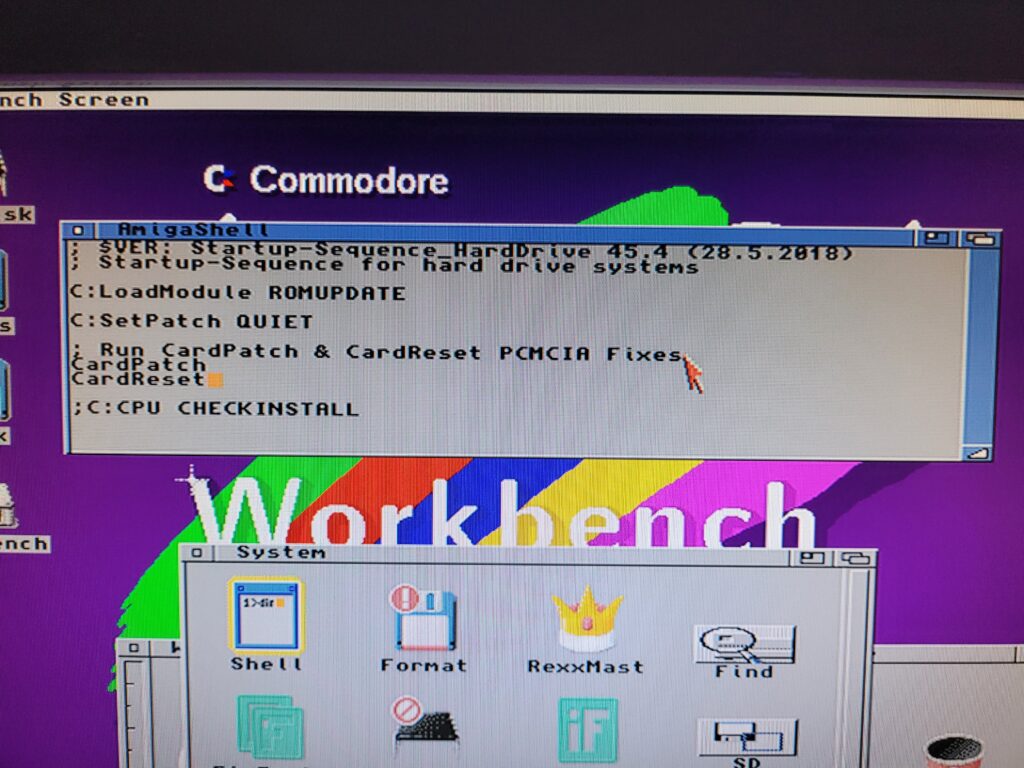
This will open up the file ‘startup-sequence’ into the editor ready to edit. Now add the following 2 lines near the beginning of the file after the SetPatch command:
CardPatch
CardReset
As shown in the screenshot below. I’ve also added a comment (indicated by the use of a semi-colon) to remind me what these commands do for future reference but this is entirely optional. Don’t worry if your startup-sequence looks different. Every setup will differ depending on what hardware and software you’ve installed on it.
To exit and save the changes press Esc, then press x and finally press enter. Alternatively select ‘Save and Exit’ from the Project menu.
And that wraps up Part 1 of this guide for now. In Part 2 I’ll go through setting up a TCP/IP stack which will finally connect our A1200 to the Internet!
Discover more from Lyonsden Blog
Subscribe to get the latest posts sent to your email.


Thanks for the “Getting an A1200 Online Part 1-3” Blog Post. Was very useful. Never got my 3C589D 3Com working, had to use a Wodem Wifi (Serial Port) but the rest of the tutorial was awesome.
Glad you found it useful 🙂