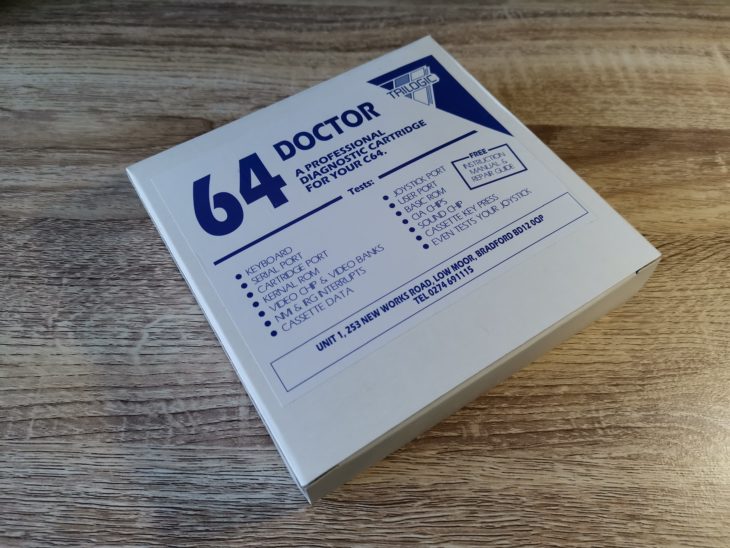
I picked ‘Trilogic 64 Doctor’ up a little while ago as I thought it might come in handy one day. As it had been sat around on a shelf for some time I decided it was time to have a play around with it. You would be forgiven for thinking that this was new old stock given that Trilogic (as we know it) ceased to be a long time ago*. However this is actually a factory fresh product, made under licence by the prolific Tim Harris of SharewarePlus.
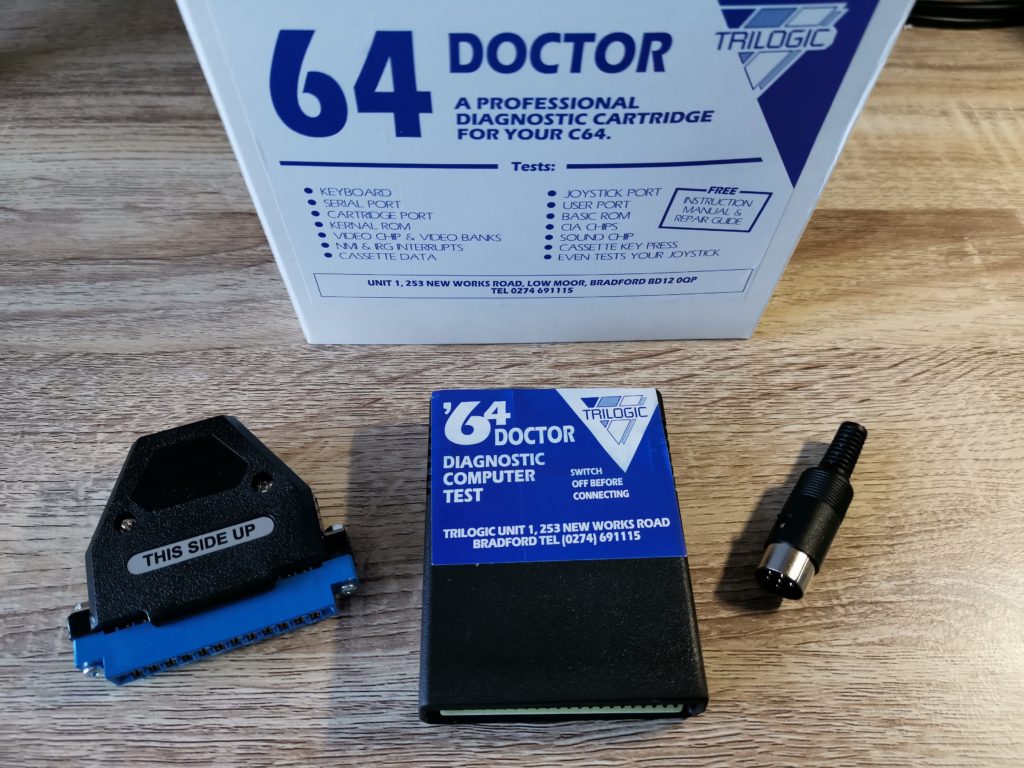
Here’s the contents of the box. From left to right. User port dongle, test cartridge and serial port dongle.
Inside the box you get an instruction booklet, some flyers for other Trilogic products, the Trilogic 64 Doctor diagnostic cart itself, a user port dongle and also a serial port dongle.
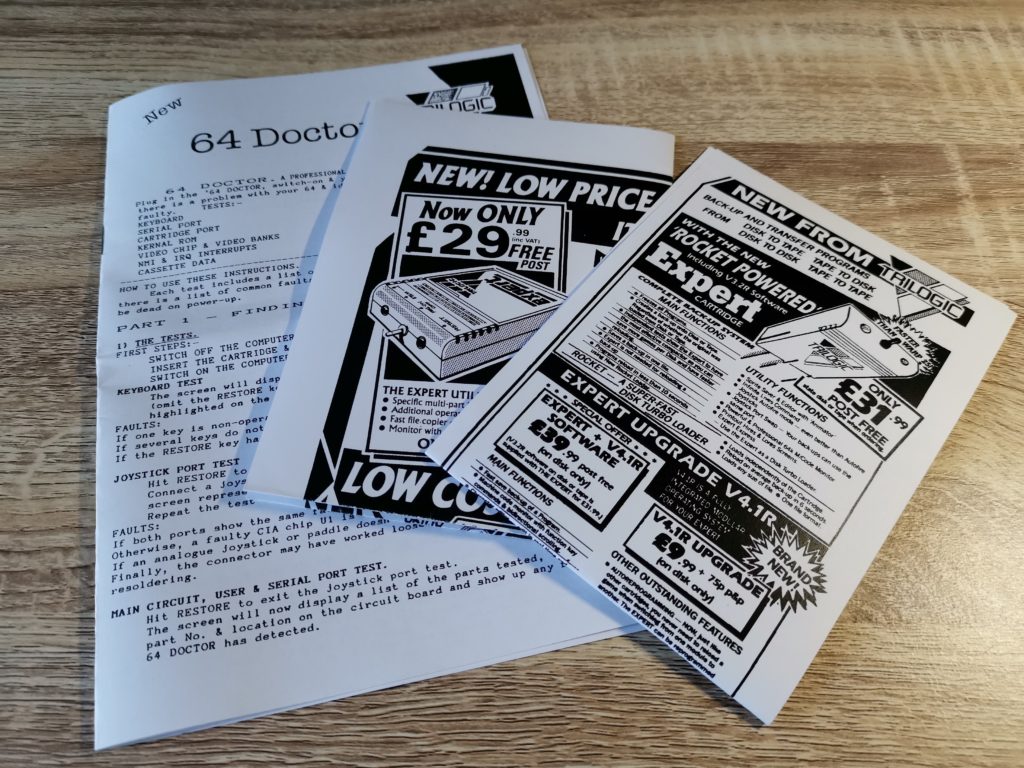
Here’s the instruction booklet along with some very retro looking flyers for other Trilogic stuff.
What does it do?
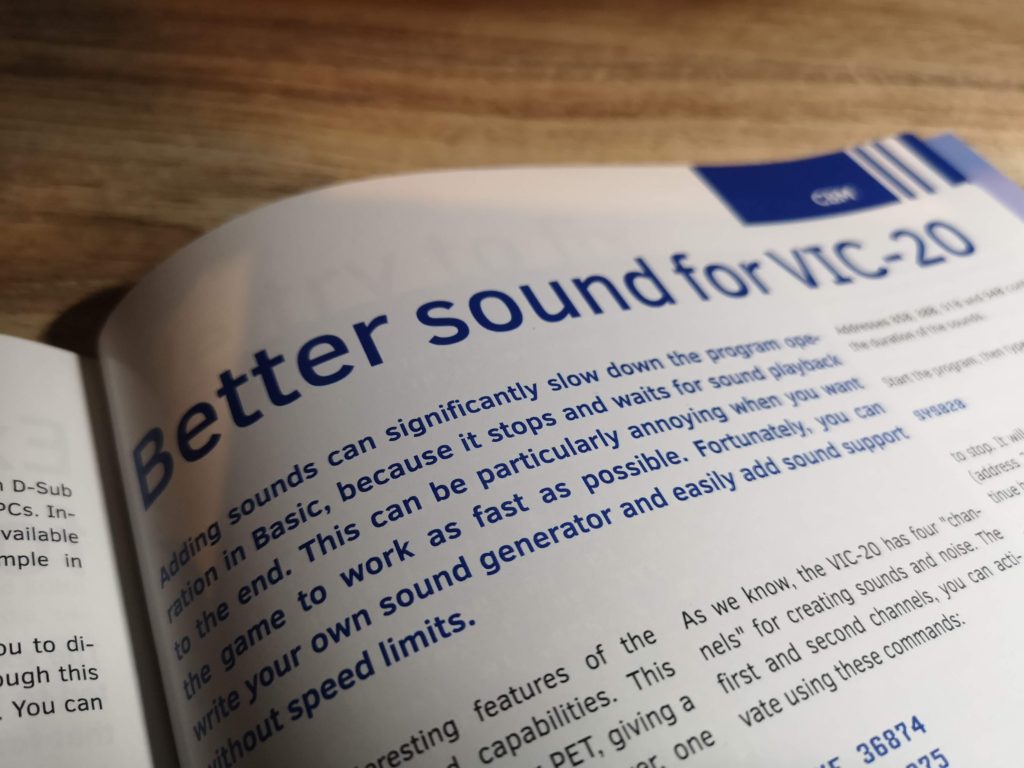
So what does the Trilogic 64 Doctor actually do? Well there is a little clue in the ‘doctor’ part of the name itself. Basically you plug it in and it will then perform a barrage of tests on your Commodore 64, from RAM chips to joystick ports.
Here’s a list of the tests it can perform:
- Keyboard
- Serial Port
- Cartridge Port
- Kernal ROM
- Video Chip & Video Banks
- NVI & IRQ Interrupts
- Cassette Data
- Joystick Port
- User Port
- BASIC ROM
- CIA Chips
- Sound Chip
- Cassette Key Press
- Joystick(s)
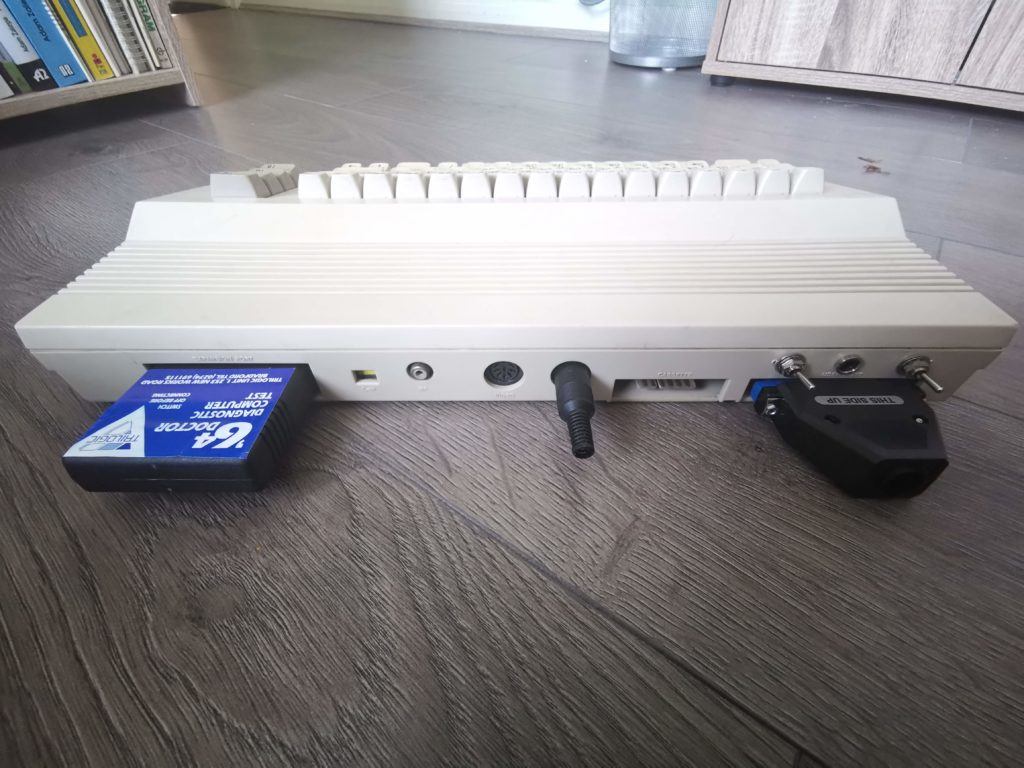
Rear of the Commodore 64 with cartridge and both dongles inserted.
Keyboard Test
When you first turn your C64 on with the cartridge inserted you are presented with an on-screen keyboard. This is the keyboard test and allows you to quickly determine whether any of your keys are misbehaving. As you press each key in turn, their on-screen counterparts light up in yellow. If any don’t light up then you know there’s a problem. The restore key isn’t included in the test per se, but given it is needed to progress to the next test it will be obvious if it’s faulty!
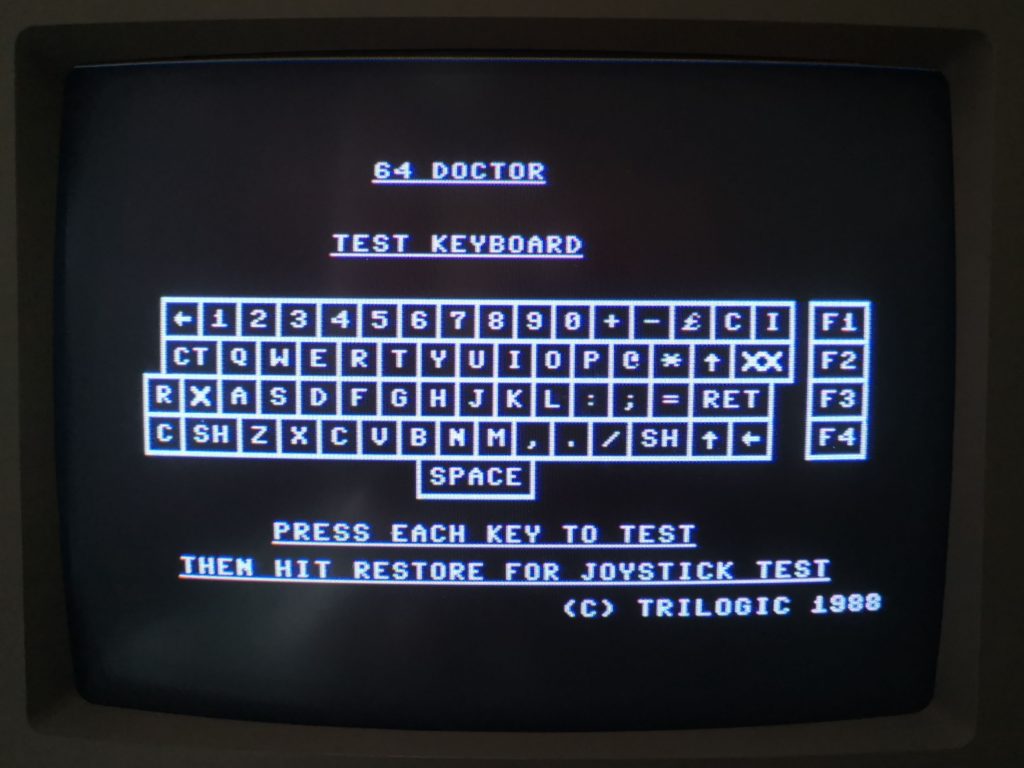
The Keyboard test screen
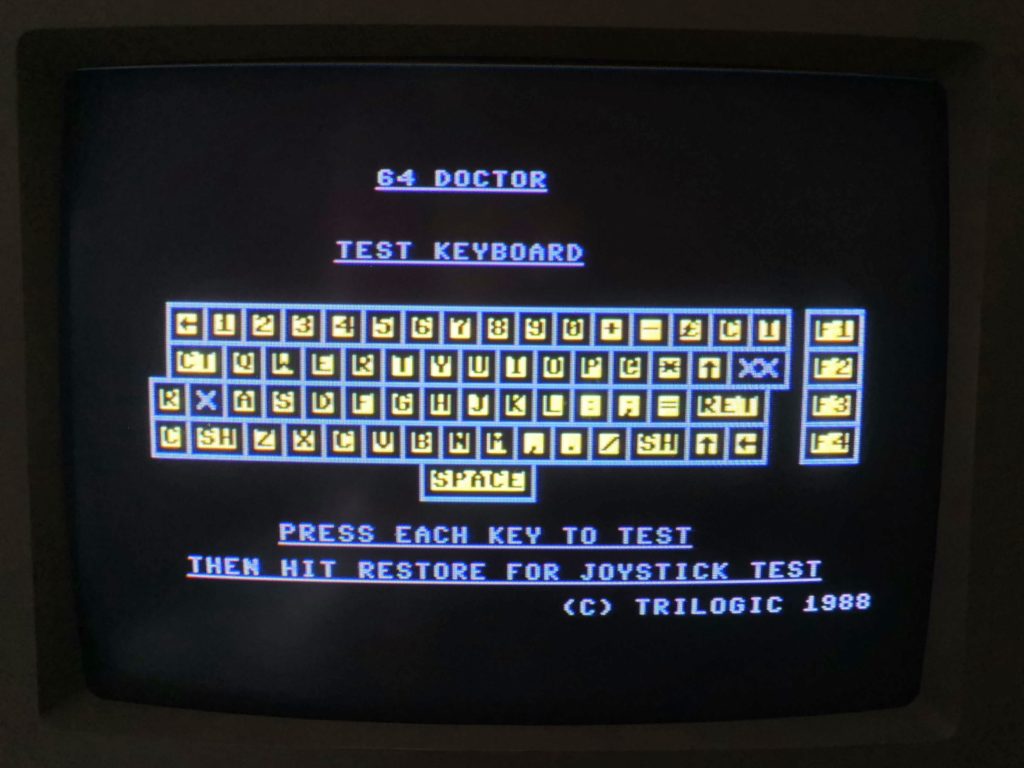
Successfully passing the keyboard test
Joystick and Joystick Port Test
The next test is for the two joystick ports and of course whatever joystick you happen to have plugged in. Simply press up, down, left, right and fire with a joystick attached (in turn) to both ports. Like with the keyboard test, an on-screen visualisation of the presses should appear if all is working correctly.
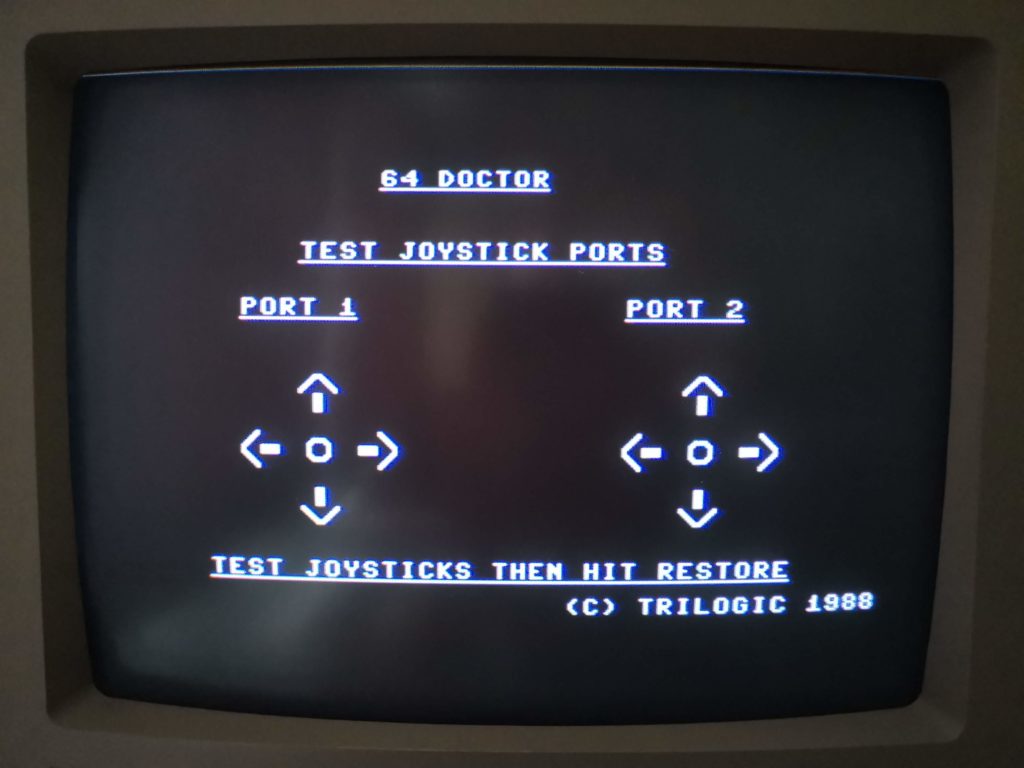
The joystick test screen

Successfully passing the joystick test
Chip and Ports test
The final and probably most important test is that of the various chips and ports of the Commodore 64. This test includes both the User Port and Serial port so long as you have plugged in the supplied dongles. Video, SID, Kernel, CIA and several other chips are also tested too. If you need to test the cassette port then you must connect a datasette to it, after making sure you unplug the serial port dongle first.
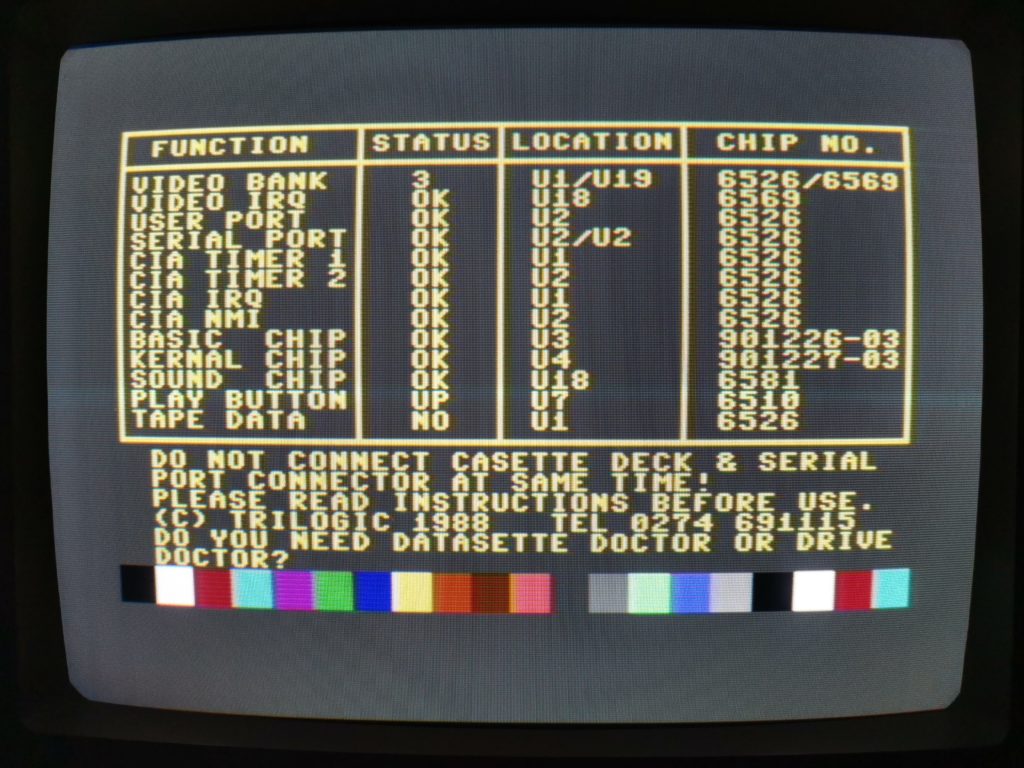
Successful chip tests
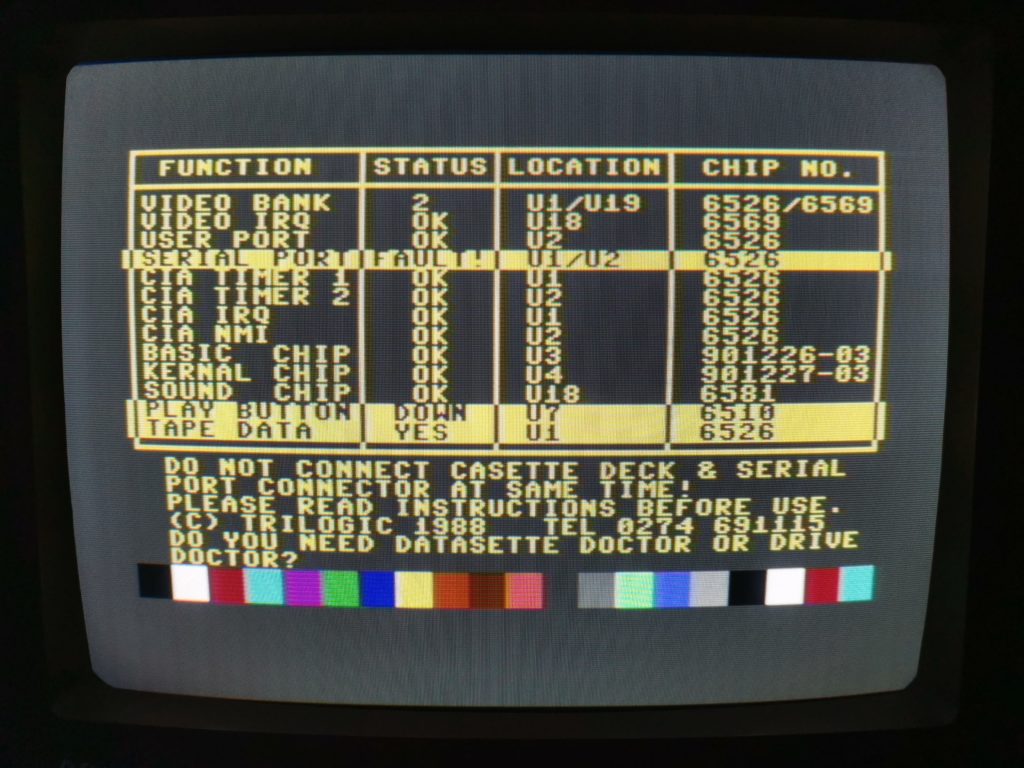
Successful cassette deck/port test. Notice how the serial port lists a fault – this is because the serial port dongle has to be unplugged for this part of the test.
After the tests…
Once the tests have completed you will either be presented with a clean bill of health or a fault to fix. The included manual provides a wealth of useful information not just about faults but also how to fix them. It goes into great detail about common reasons for each fault, how to troubleshoot them and ultimately what you can do to fix them. It even goes as far as recommending other useful tools that you may need to diagnose faults or perform repairs.
Conclusion
With the inclusion of the two dongles this offers a very comprehensive phalanx of tests for your Commodore 64. Combined with the informative manual, whether you need to troubleshoot a faulty C64 or just want to have it ‘in reserve’ in your retro toolkit this is a recommended purchase.
If you fancy getting hold of one yourself, head on over to SharewarePlus – it’s £25 at the time of writing.
*Curiosity got the better of me so I did some googling. Although Trilogic Computers does still exist, it is now a PC repair business. It’s still in Bradford only located at a different address. A look through the records at Companies House indicate that they changed from their old address to their current one back in 1997. Maybe one day when I’m in the area I’ll pop in with my old Expert cart and ask them to fix it!