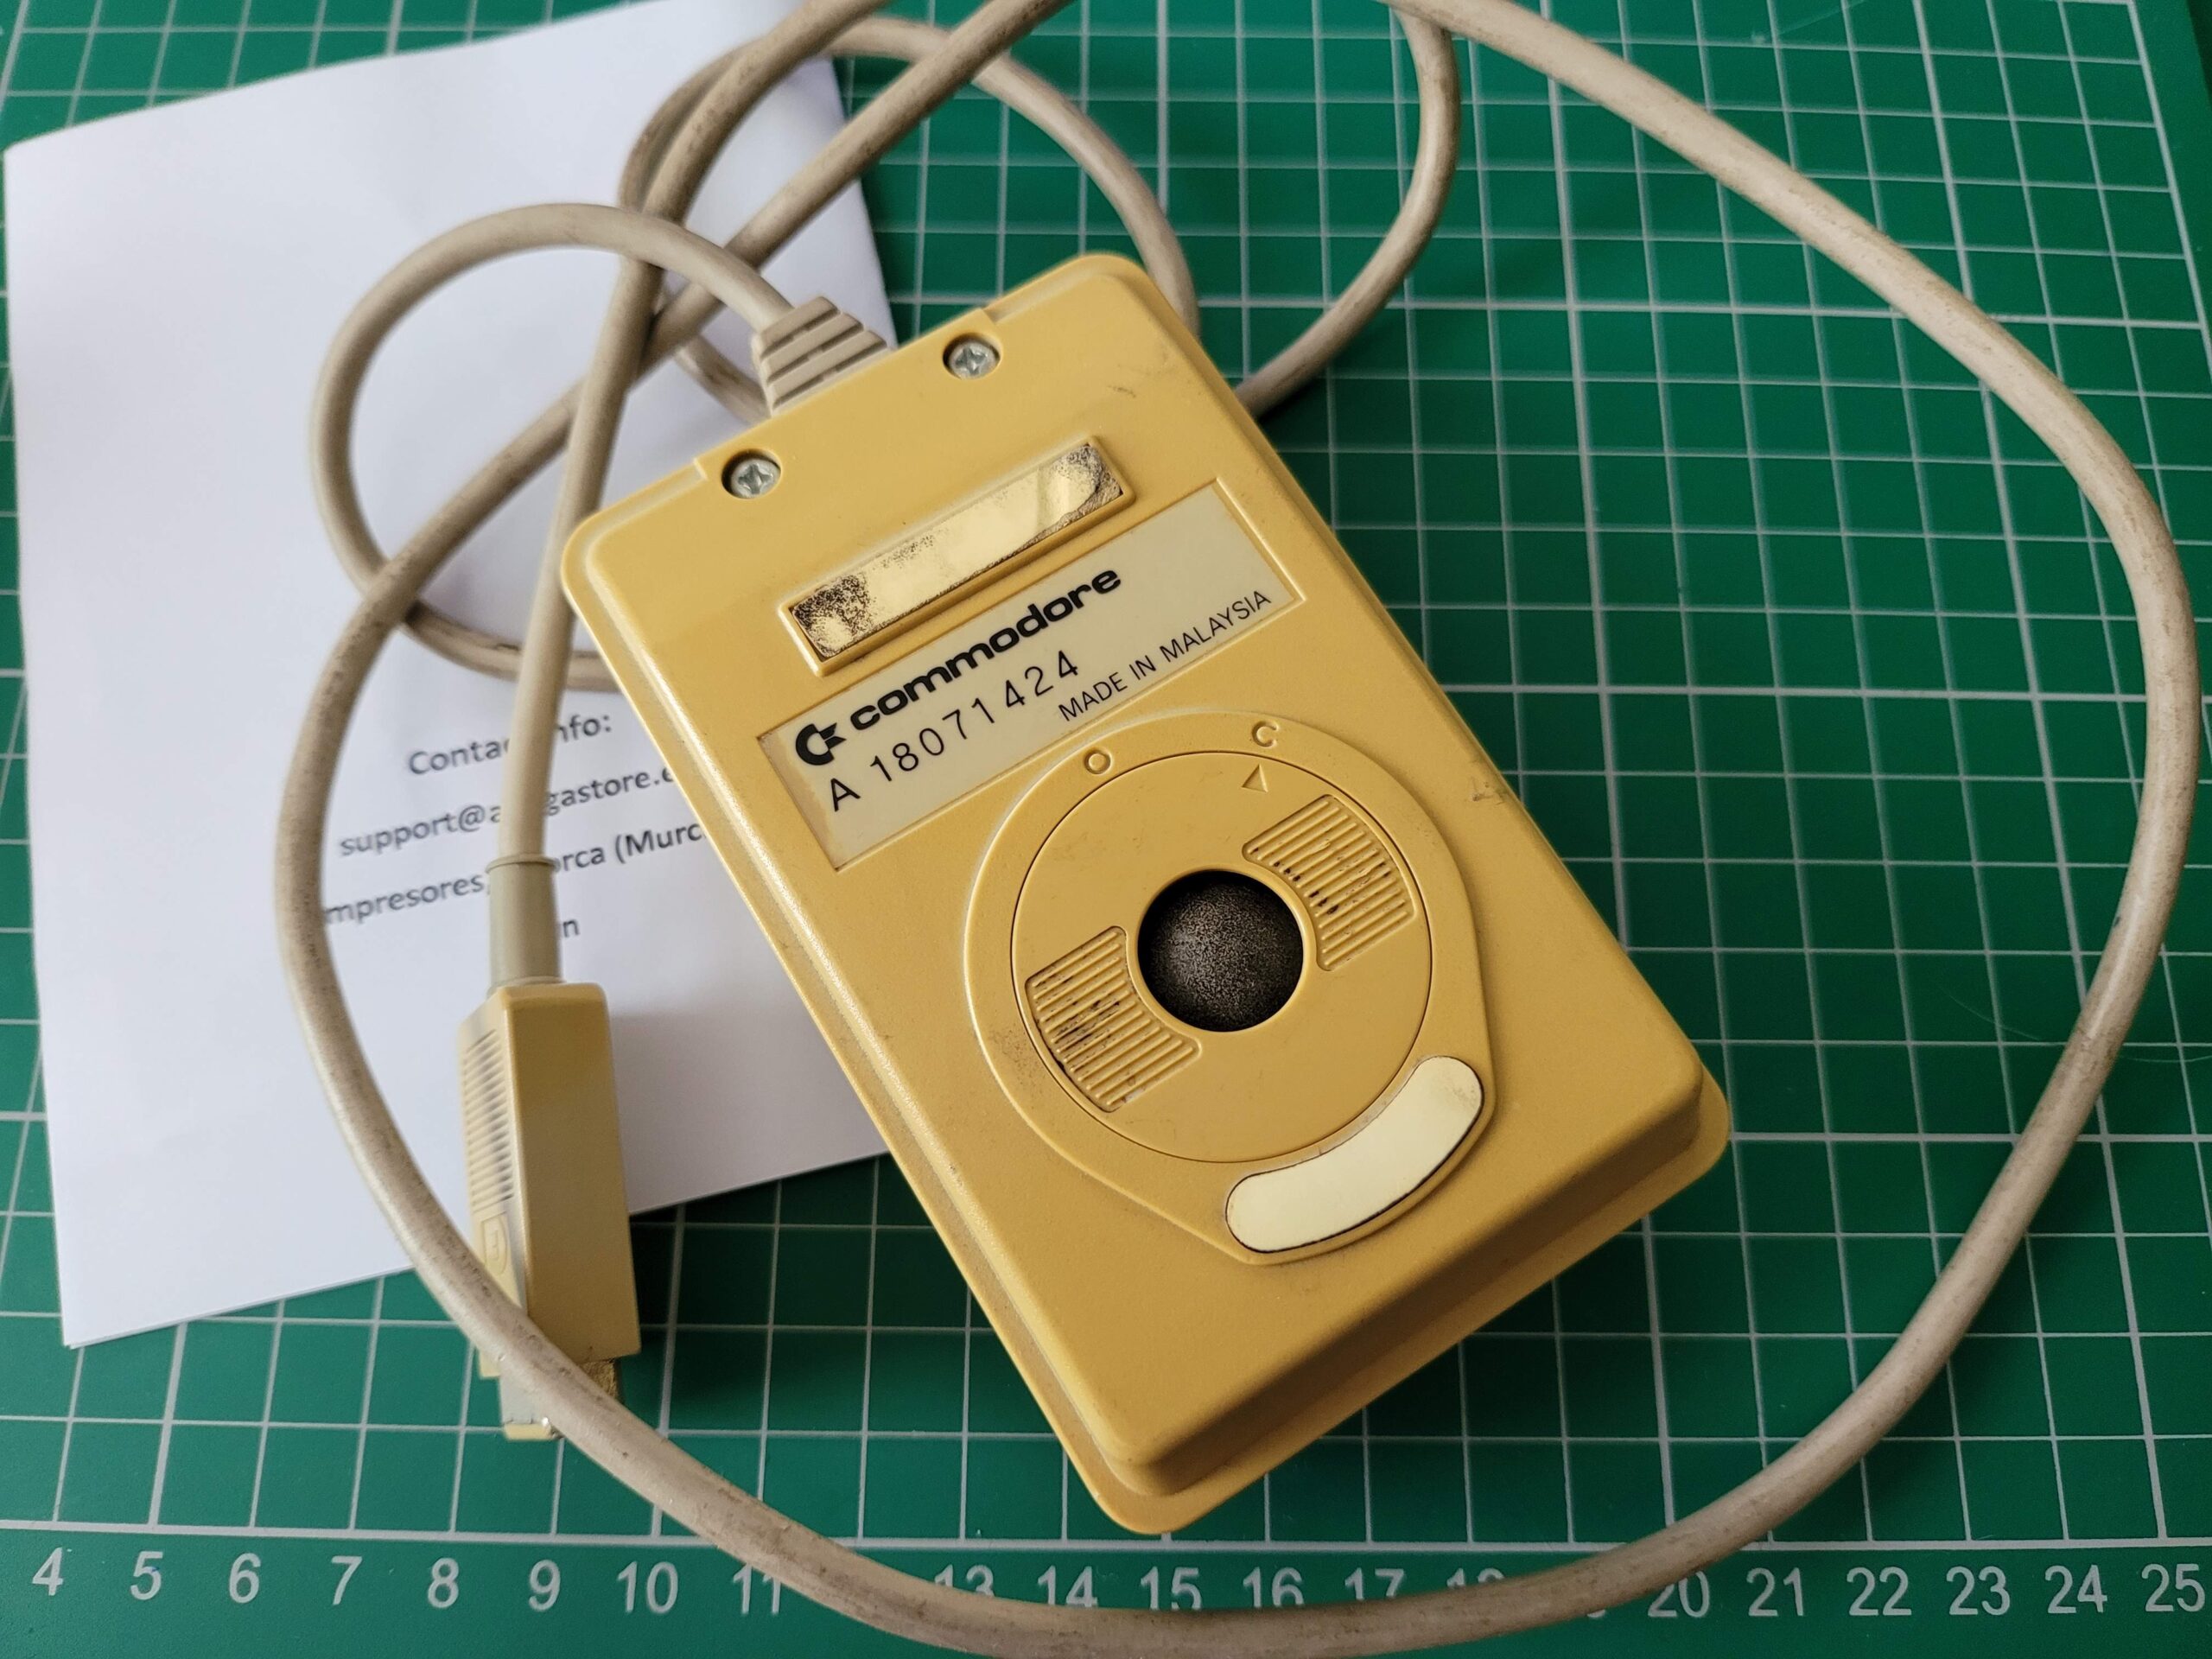
Love it or loathe it the Tank mouse is synonymous with the early Amiga computers and even though they’re very angular in design I actually find the ergonomics of them quite comfortable to use. However what I no longer appreciate is the imprecise and clunky ball mechanism and the constant need to remove the fluff and detritus that always collects on the rollers.
Now I know that some may consider this part of the nostalgia, and if it was only used occasionally then I might possibly agree, but as someone who uses my old machines on a regular basis I say balls to that – give me an optical mouse any day! With this Amiga Laser Mouse Upgrade kit I picked up from AmigaStore.eu I can finally have the best of both worlds!
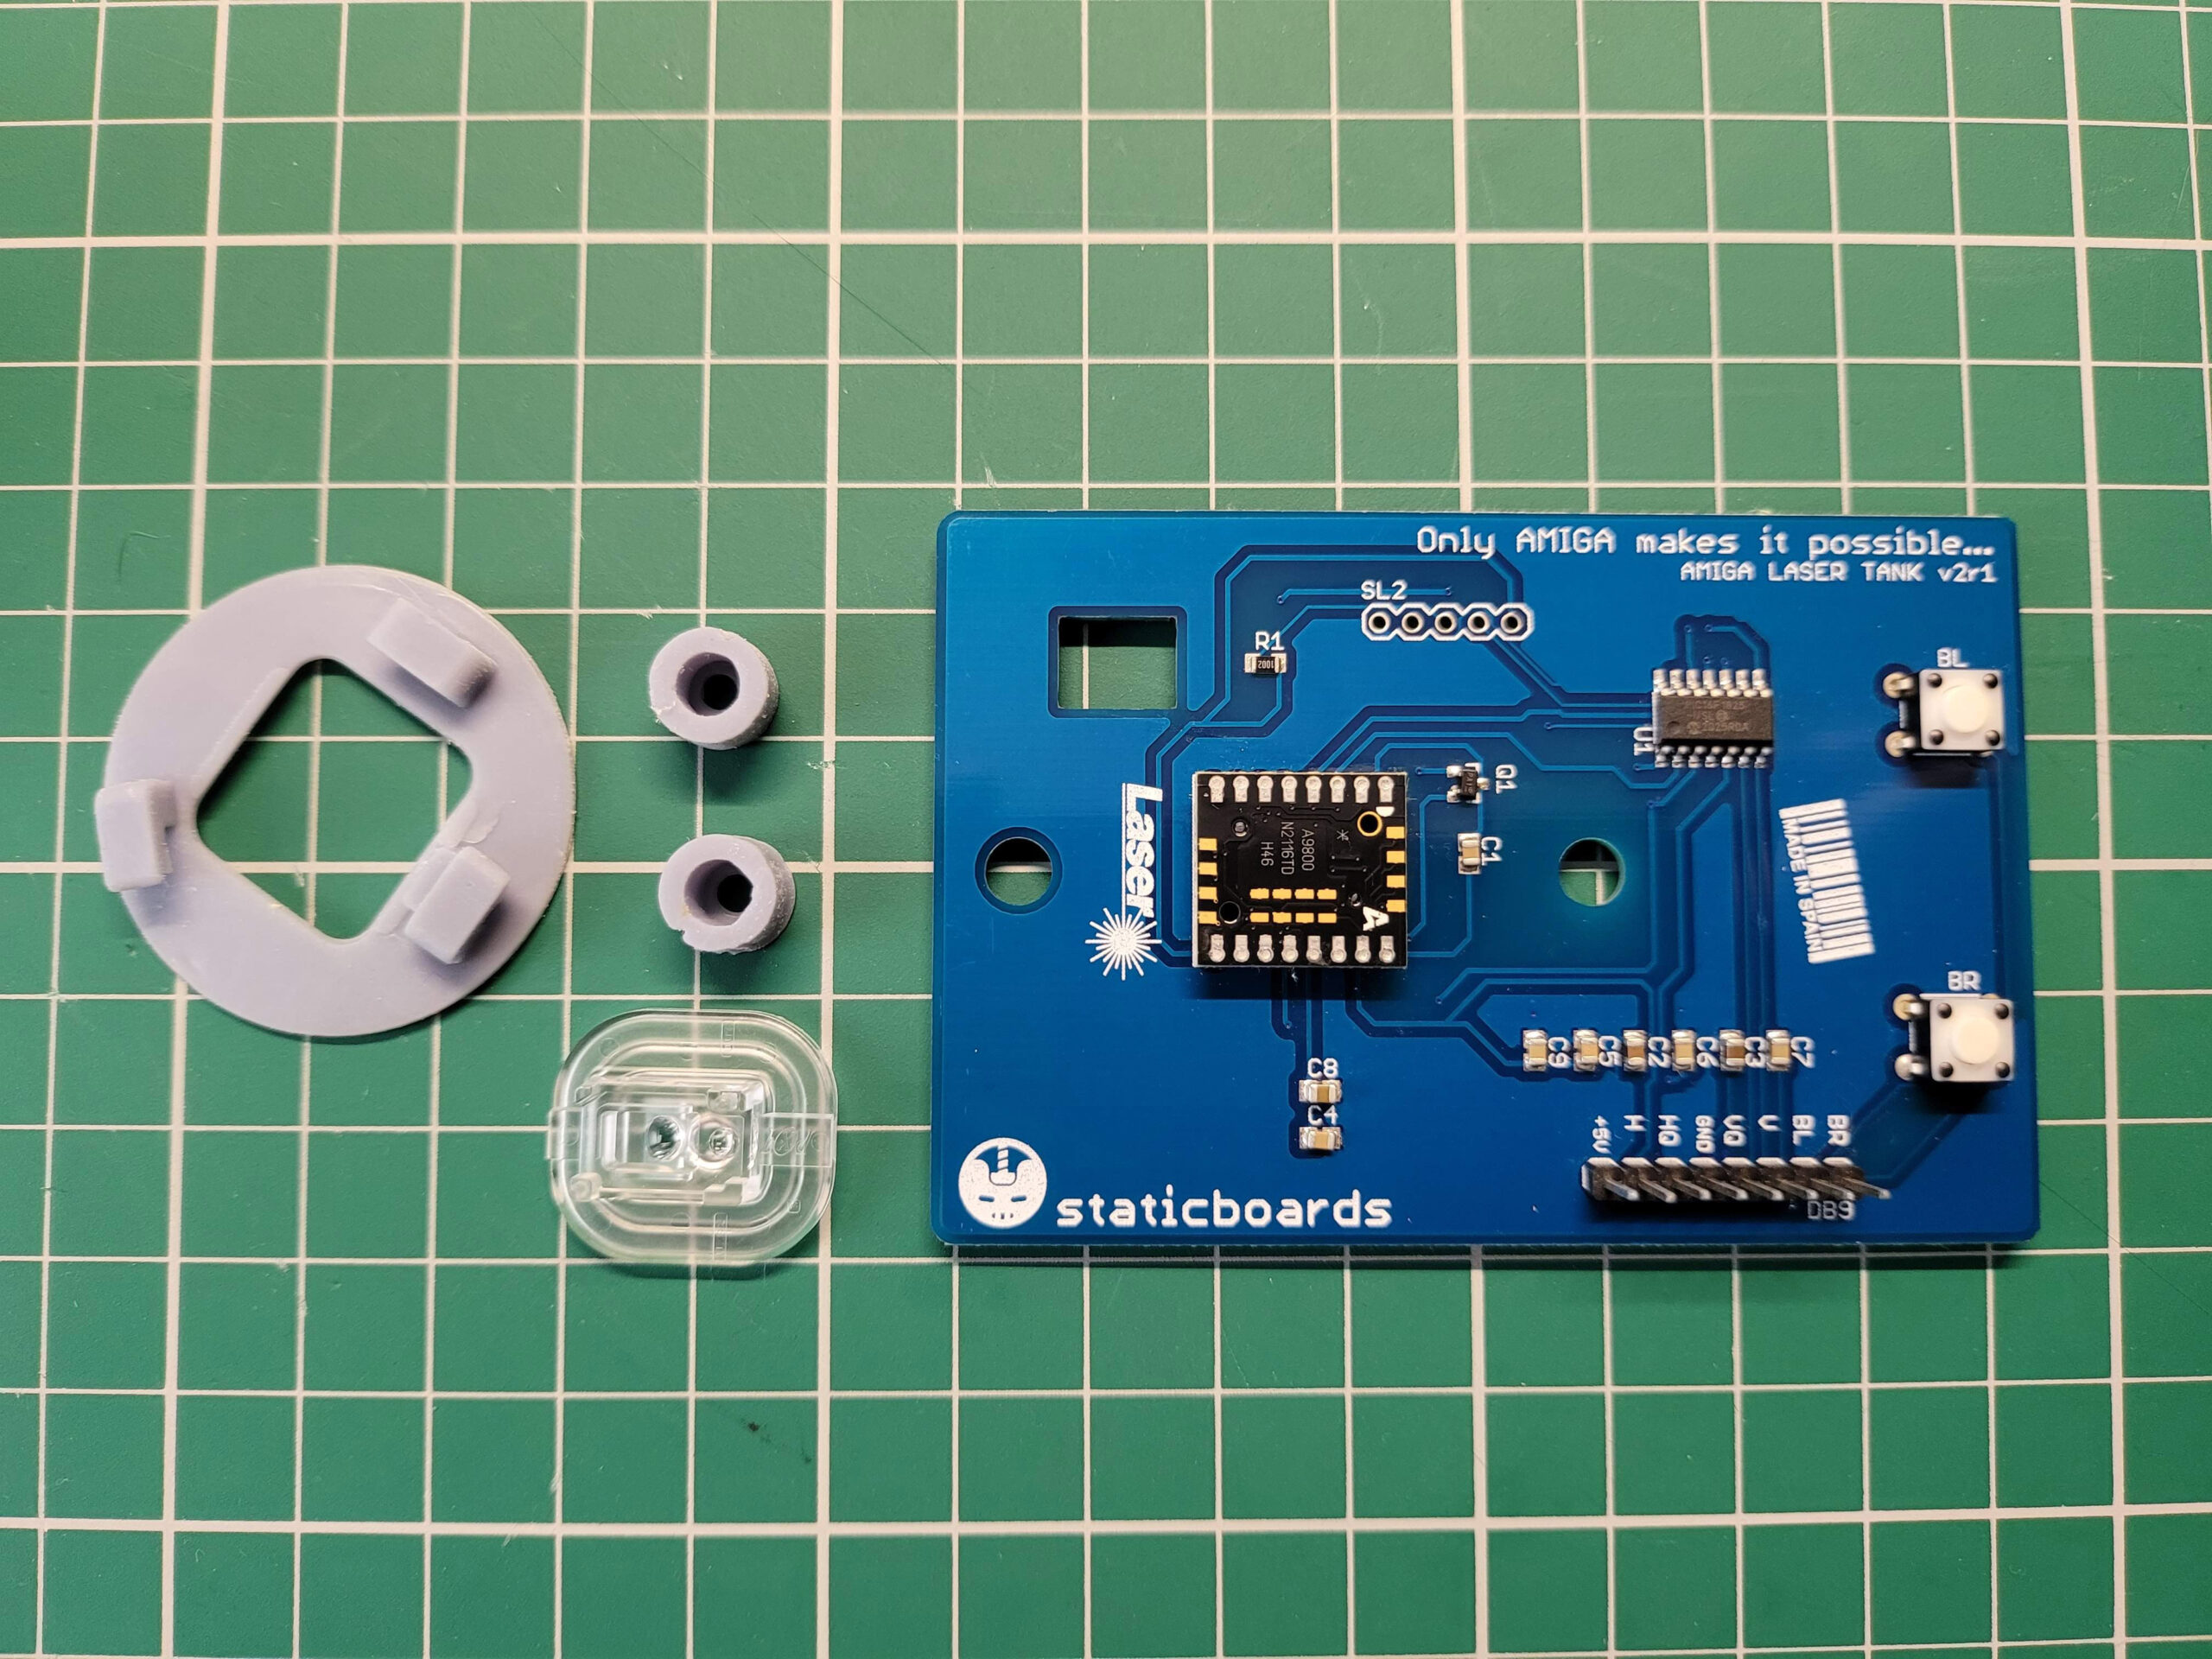
The laser upgrade kit contents.
The upgrade kit took around a week to arrive and included a single PCB with optical sensor, a little lens to fit over it, a replacement cover and a couple of little plastic spacers. There was also a small instruction booklet.
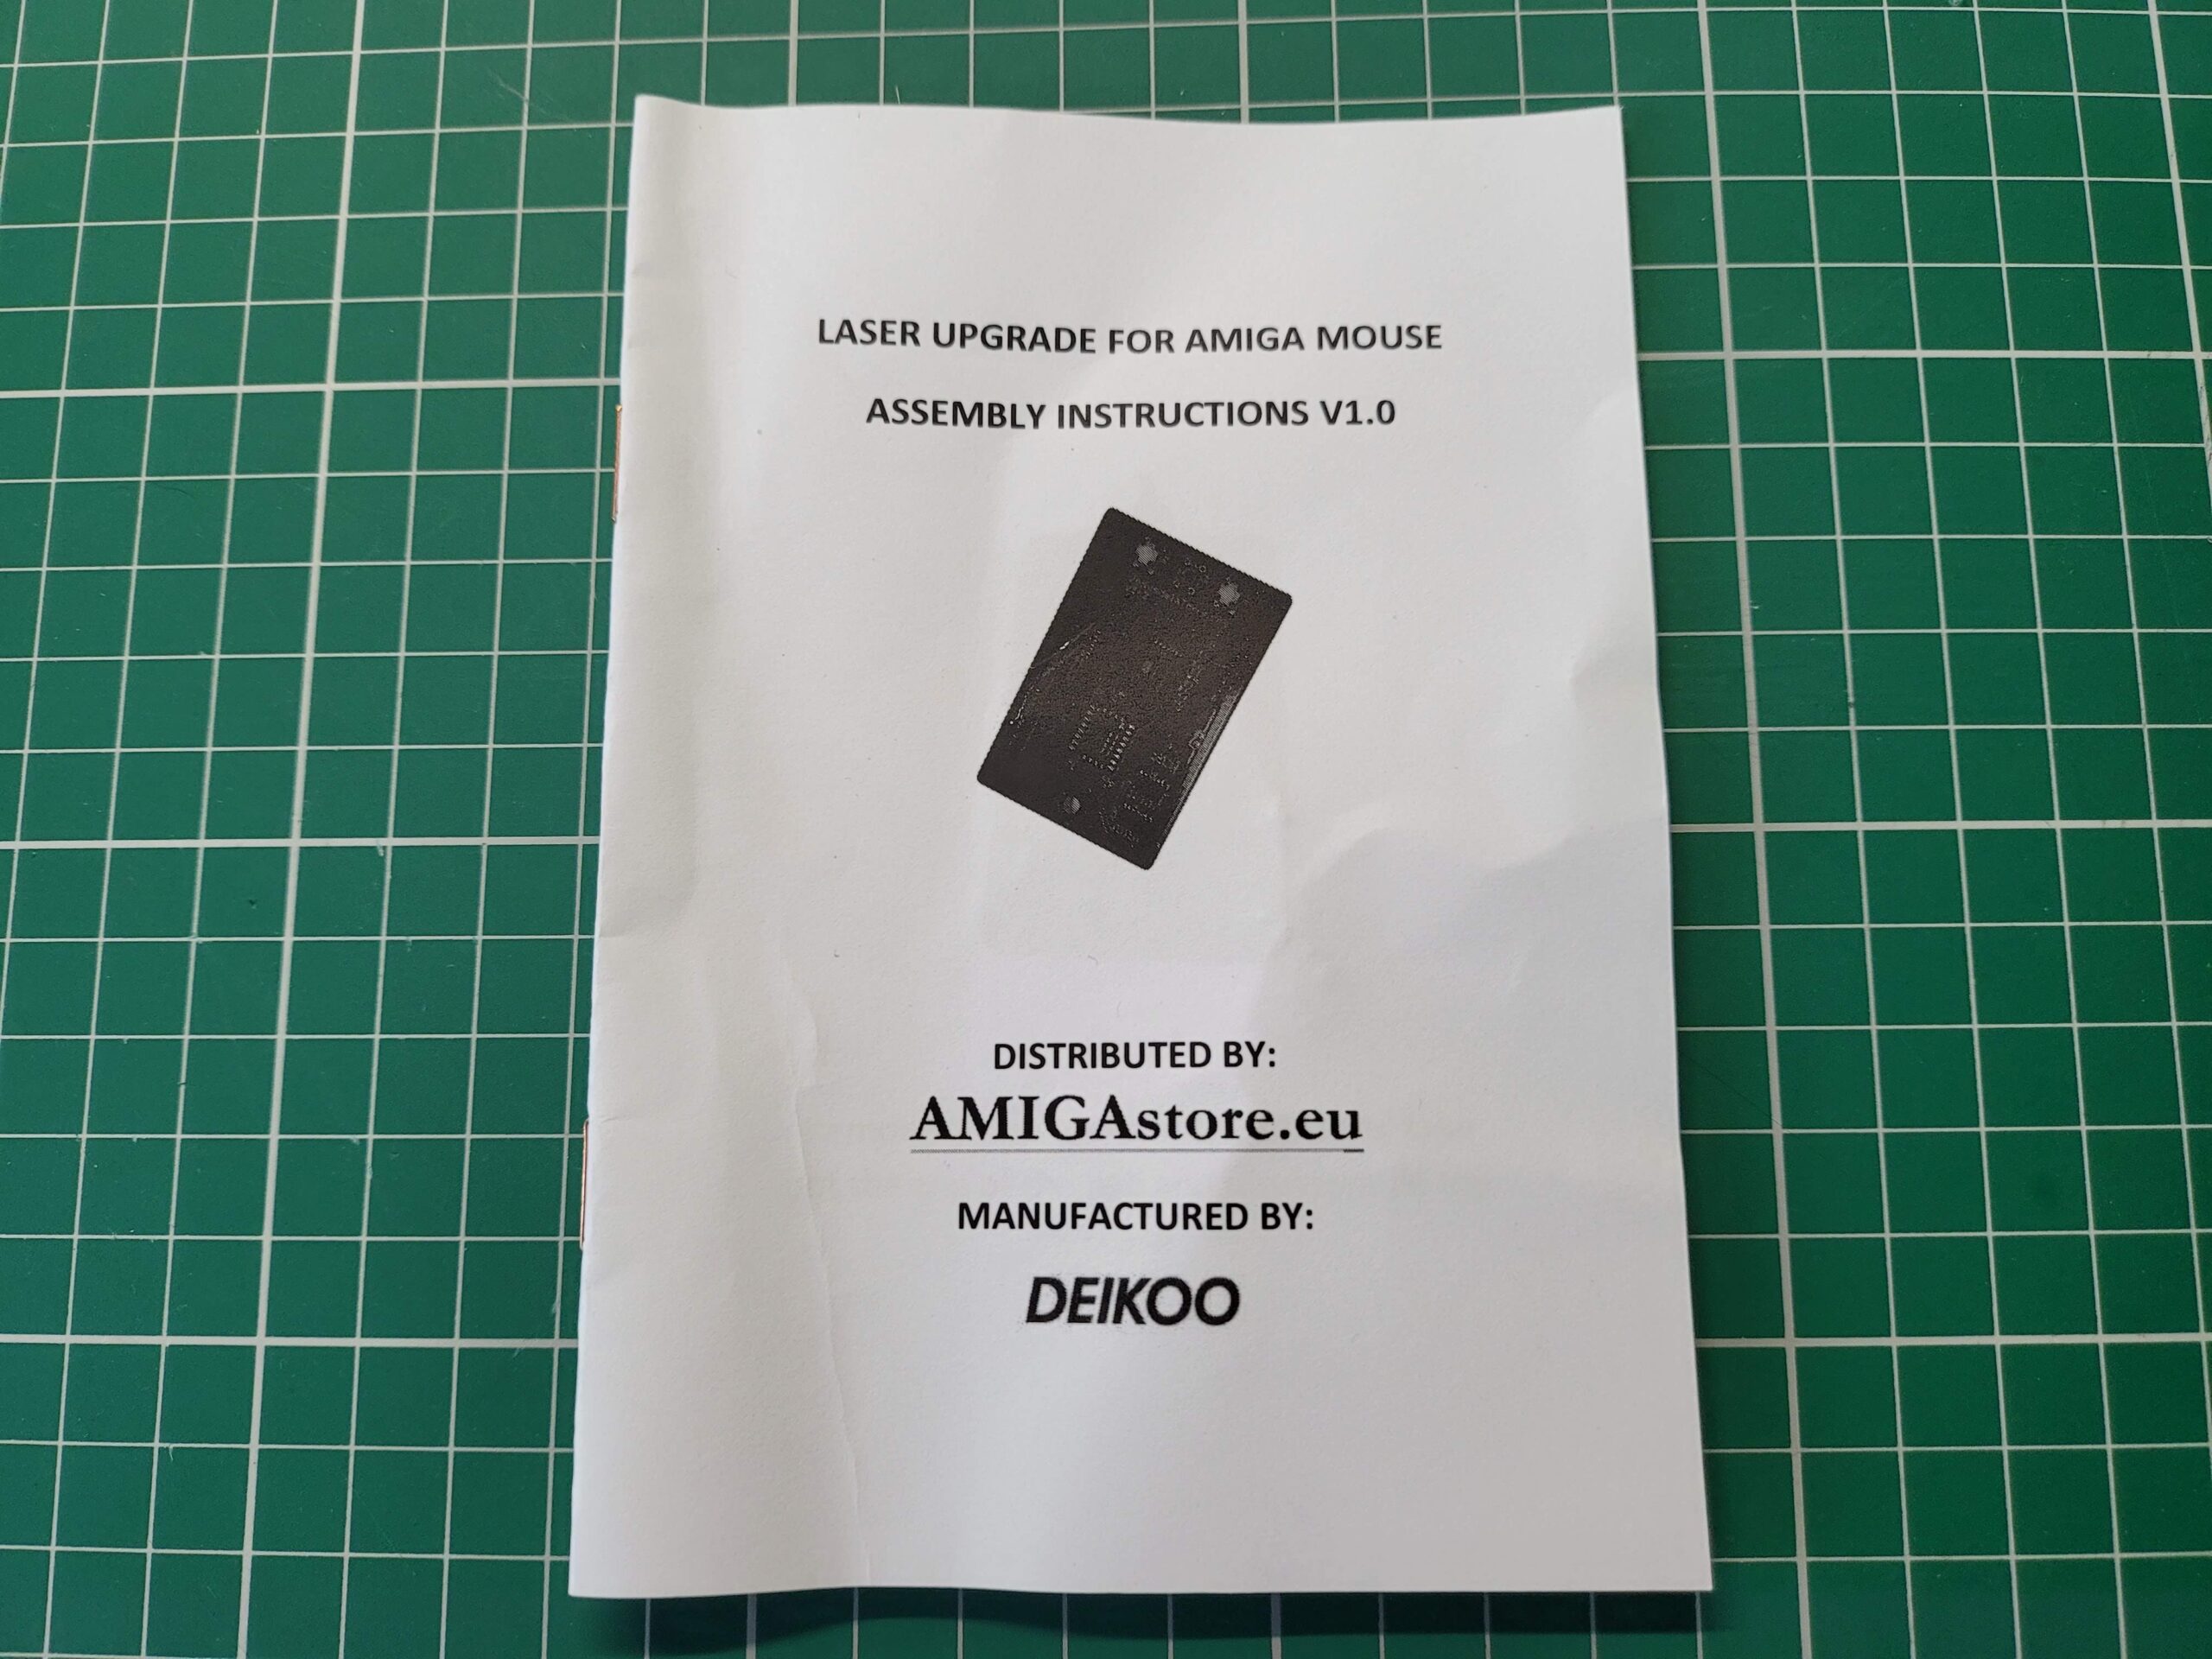
Instruction manual.
Annoyingly everything (even all the plastic parts) was covered in sticky soldering flux. All the components came supplied in a small Ziplock bag so the flux must have smeared itself onto everything in transit. I had to spend a good fifteen minutes giving everything a thorough cleaning with Isopropyl alcohol to get rid of the residue.

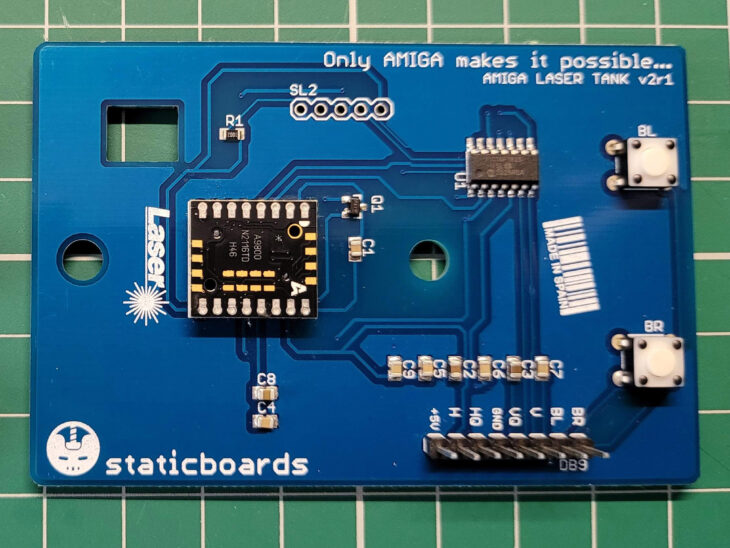
What the board looked like before the excess flux was cleaned off it.
The manual was also a little disappointing – all the photos were dark and murky so details were near impossible to see. It was like a photocopy of a photocopy of a… well you get the idea. Thankfully it’s a pretty straightforward install and you don’t really need much guidance but it’s definitely something that could do with addressing in the future.

Quality of the photos in the manual leave a bit to be desired.
Preparations
My tank mouse had been sat in a cupboard, unloved, for many years so when I dug it out for this project it was looking a little sorry for itself and was quite yellowed, especially underneath.
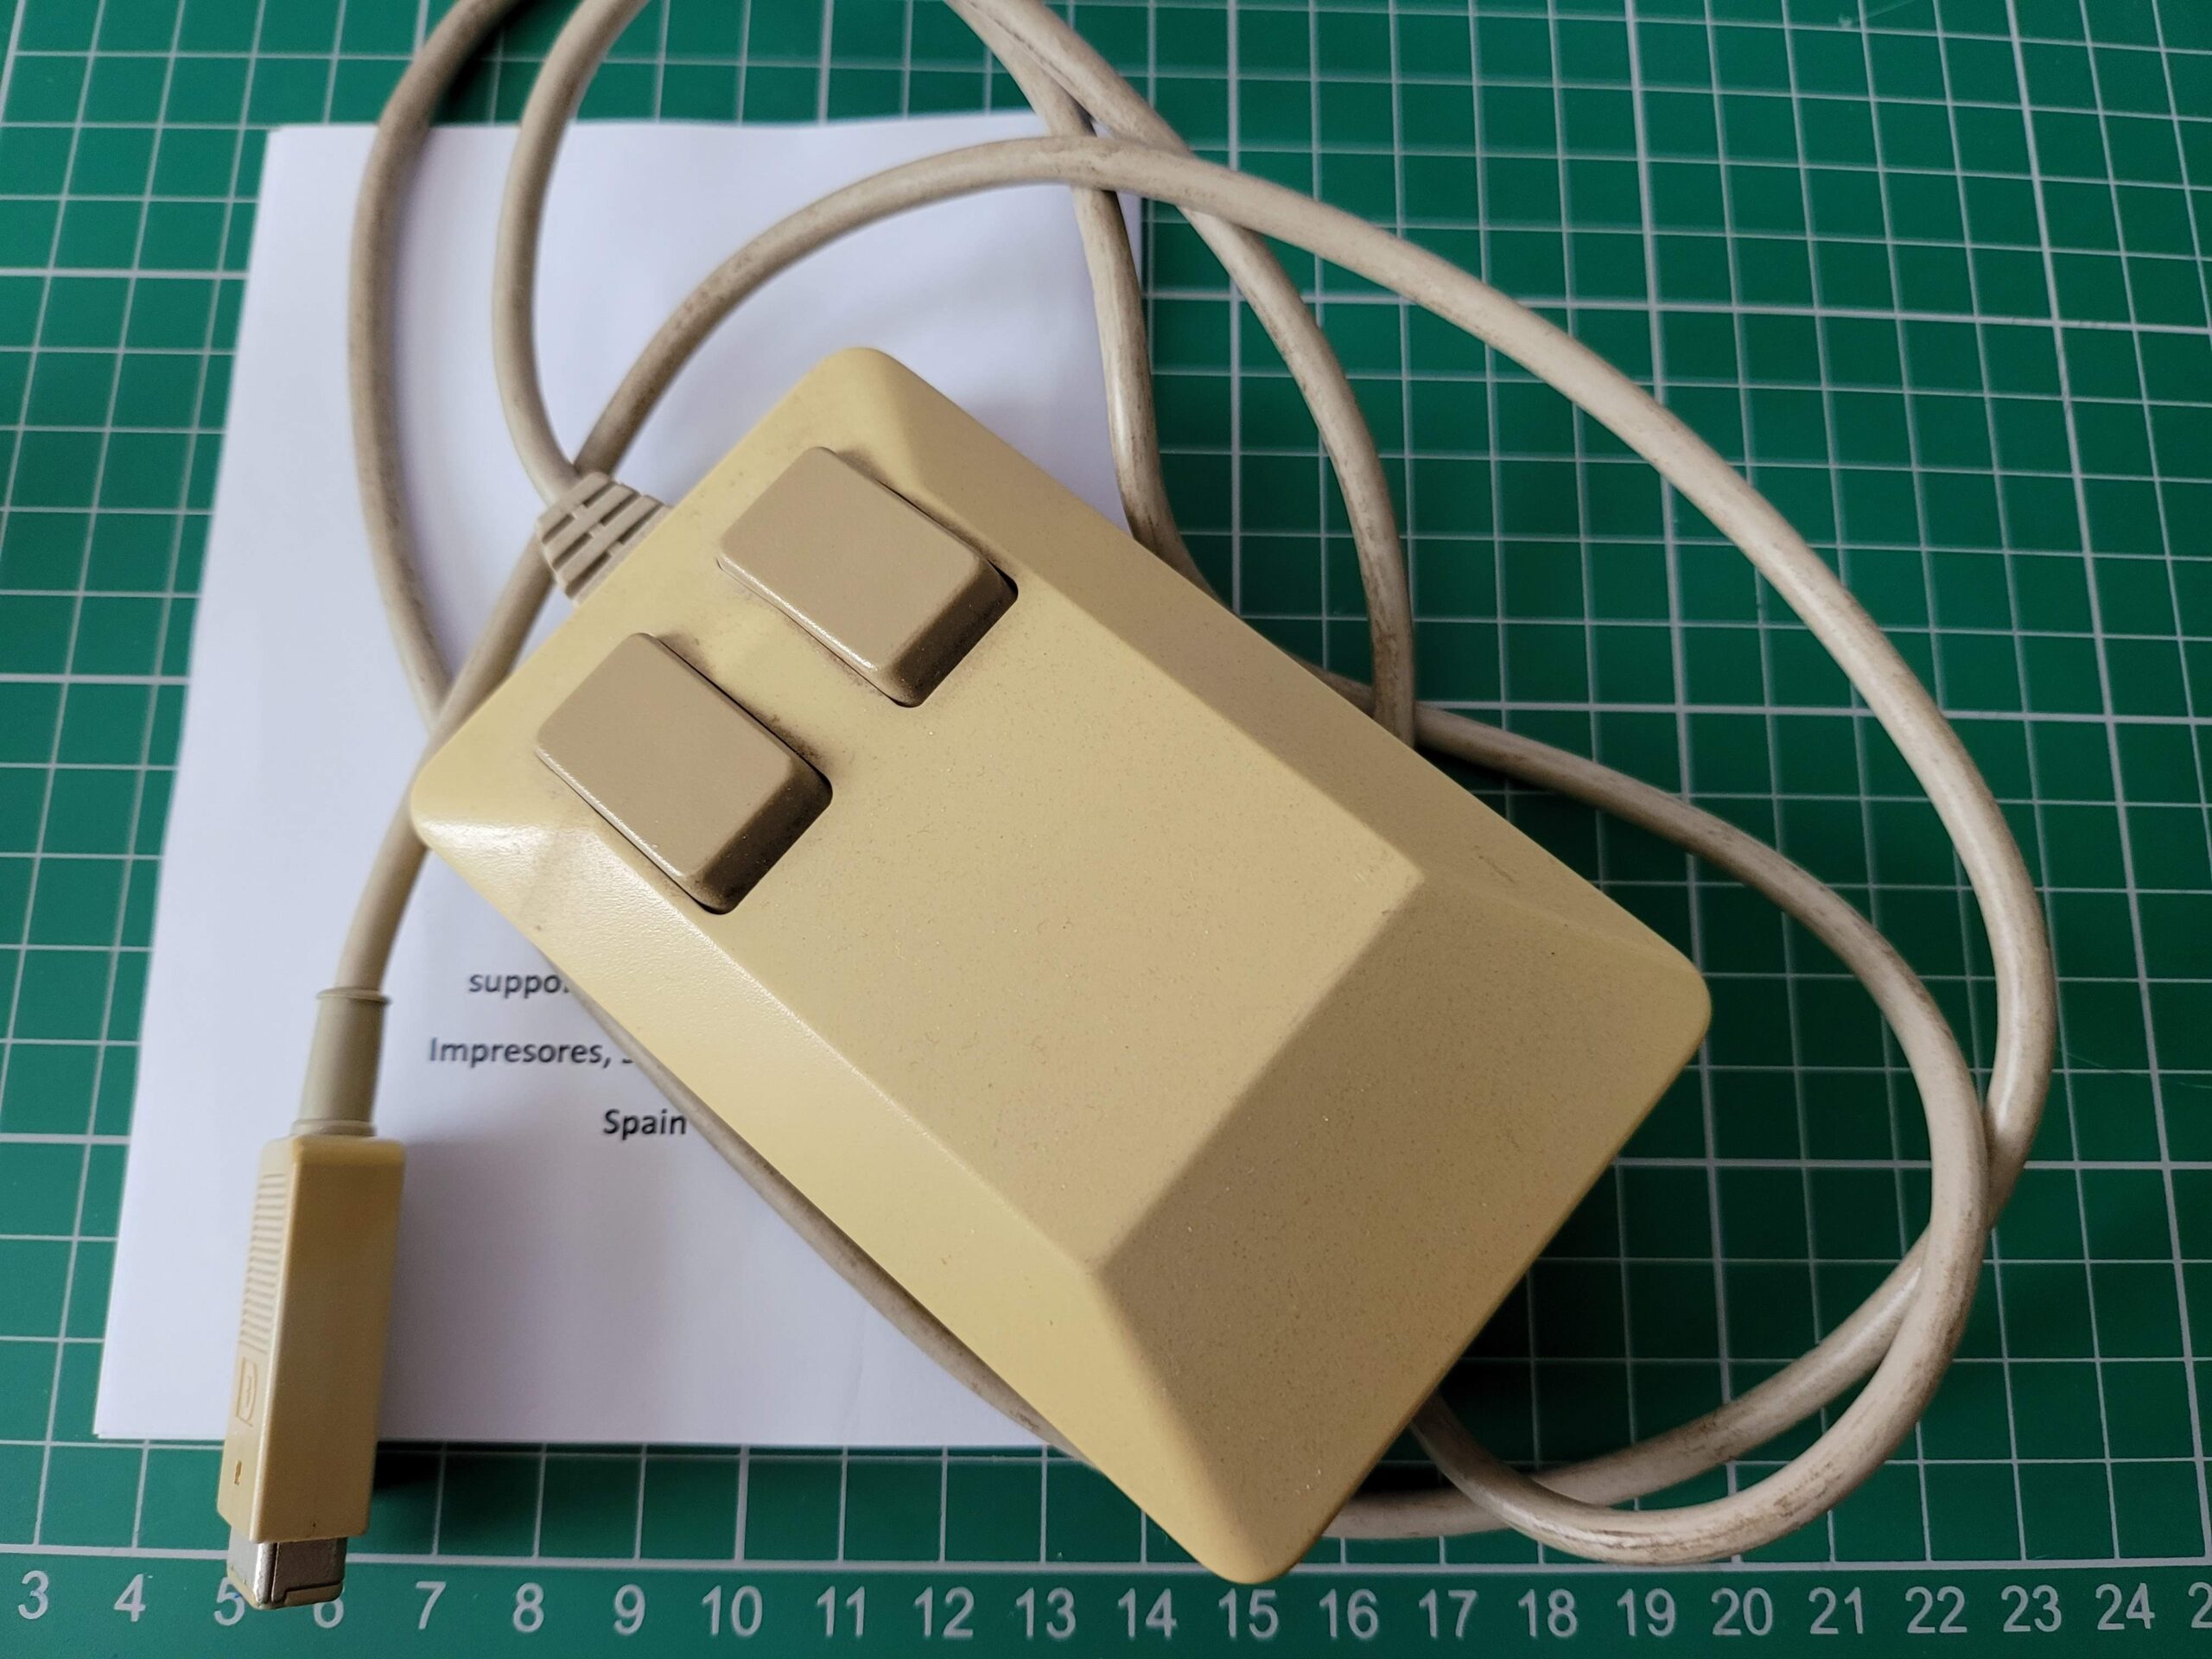
Top of the mouse doesn’t look too bad, a little dirty perhaps but nothing major.
One of the glide pads on the base of the mouse was also looking quite tatty so I wanted to sort this out too.
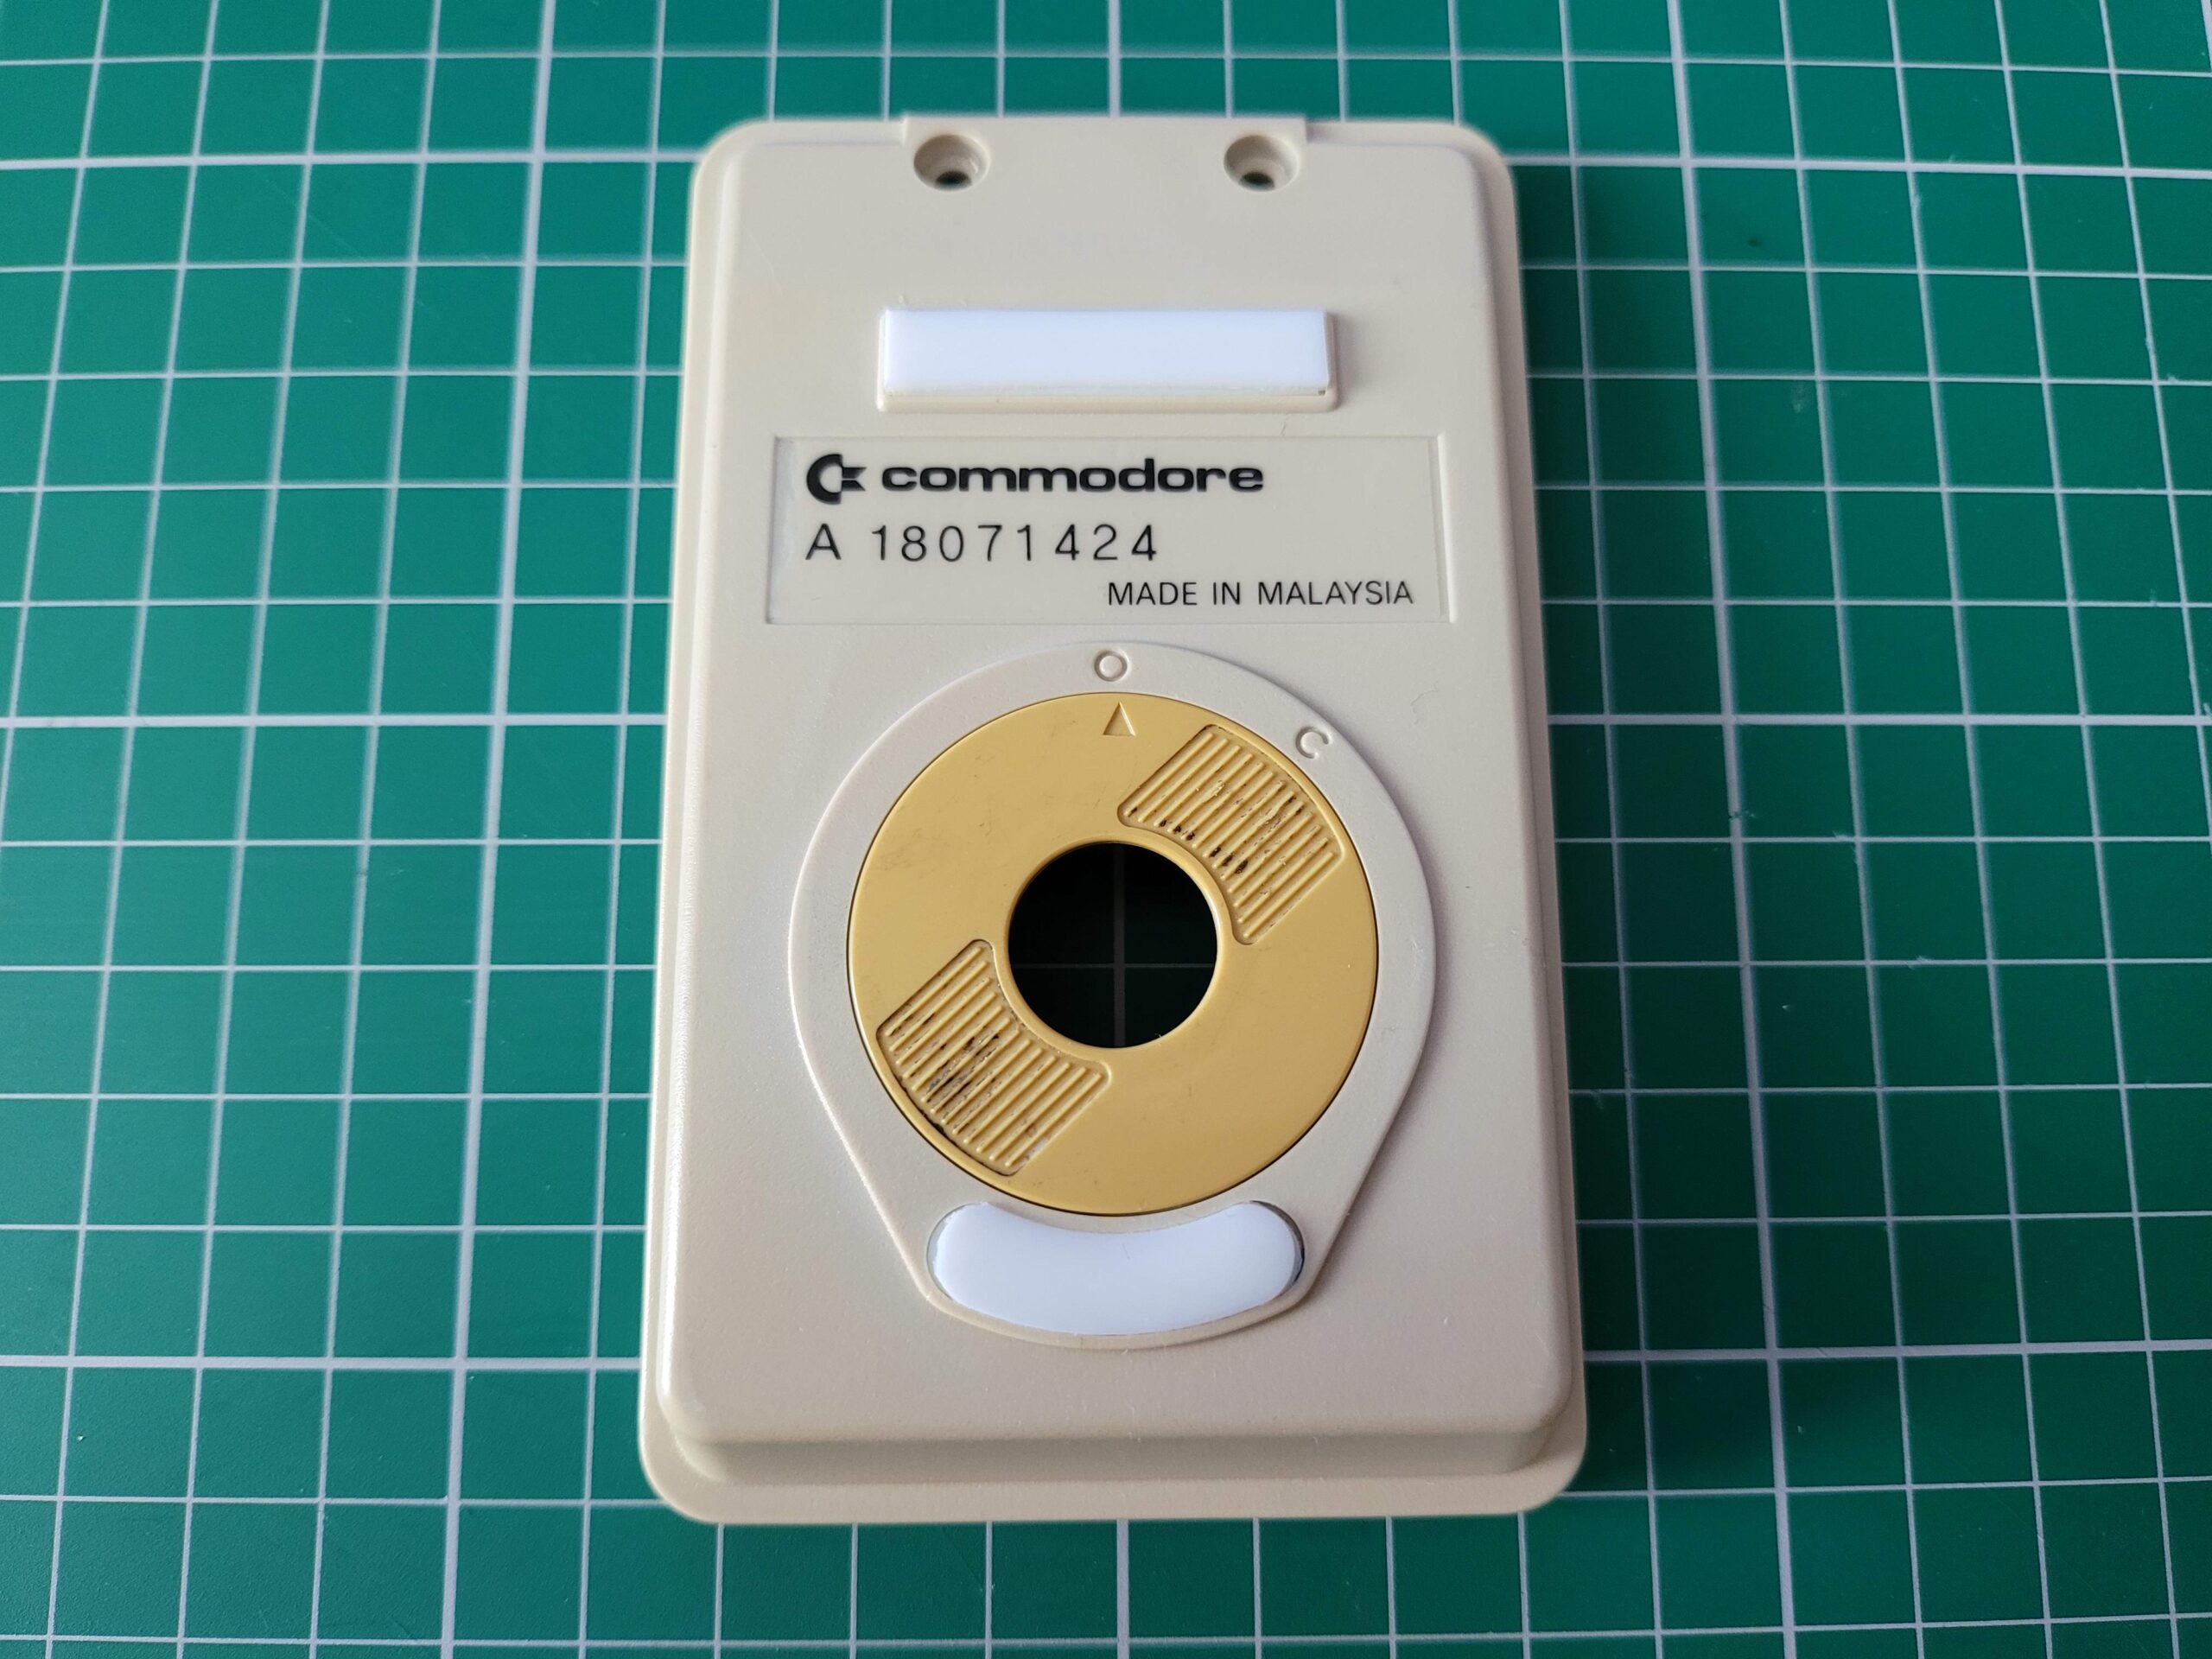
The underside of the mouse is a completely different story. It’s turned a very unpleasant looking shade of ‘nicotine’ yellow.
Dismantling the mouse was pretty straightforward. Two small silver screws either side of the cable entry point needed removing to free one end of the case, whilst a couple of plastic clips secured the opposite end and just needing to be gently teased apart.
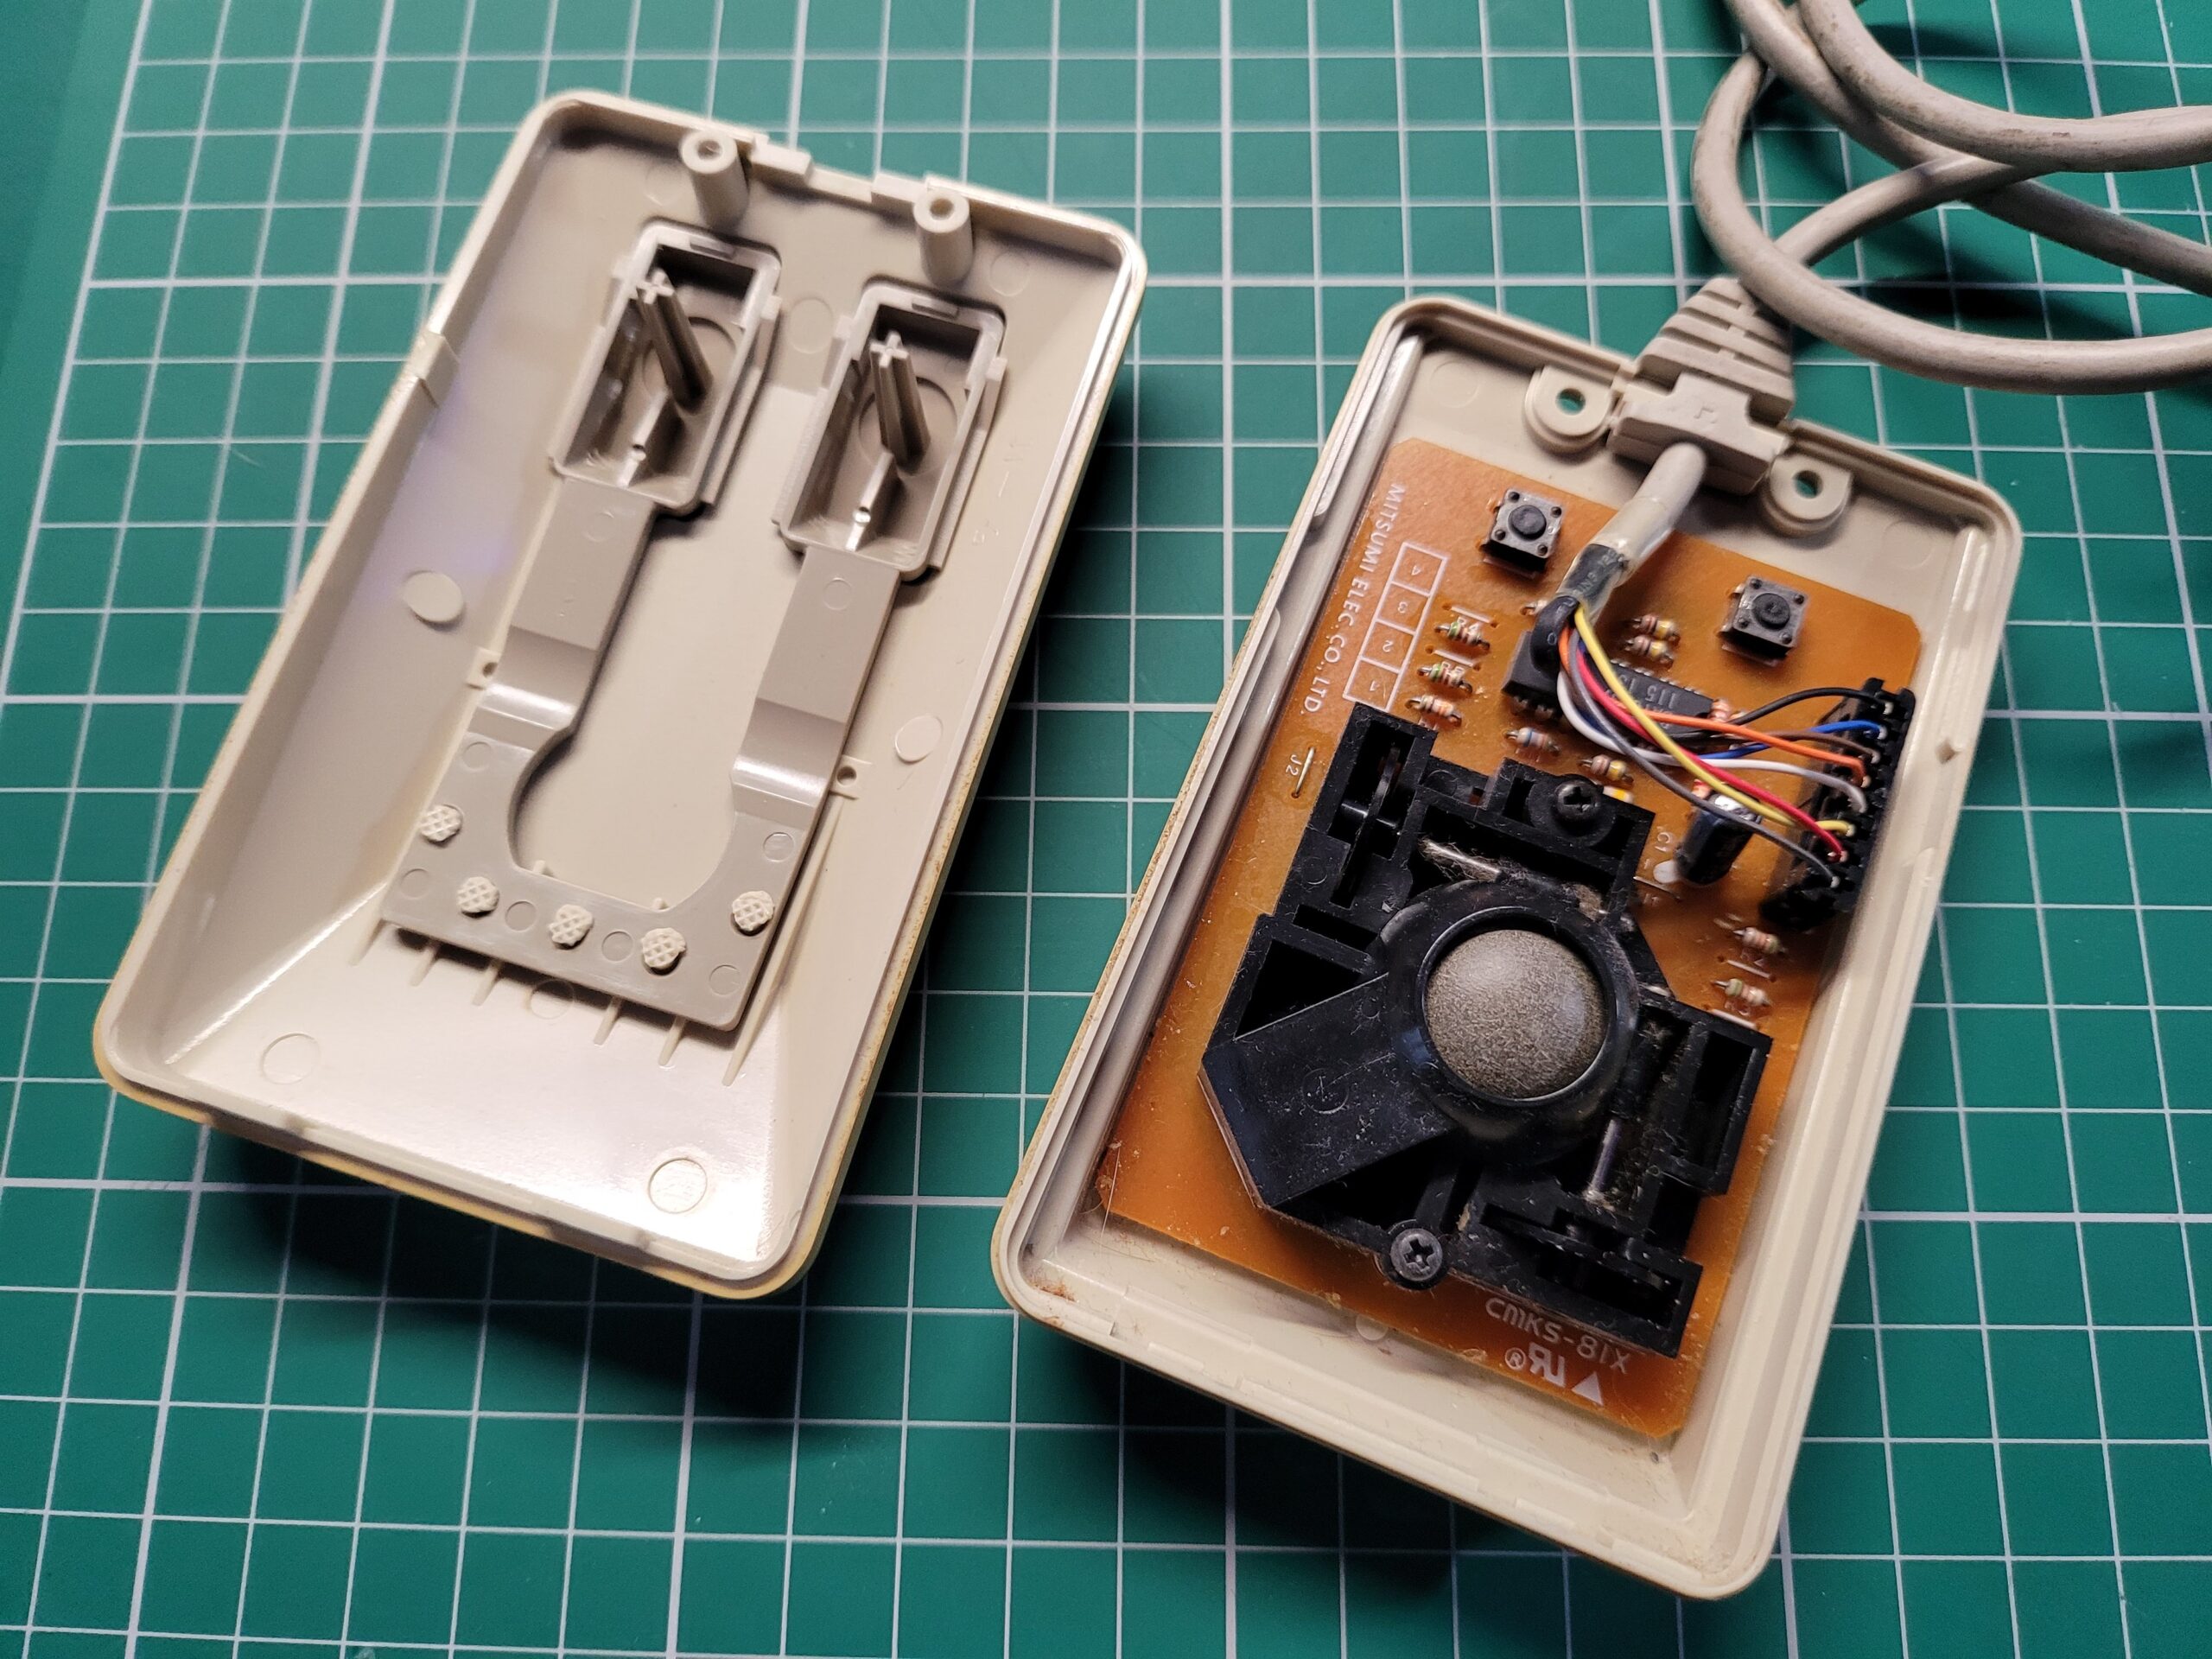
With the case opened you can see the ball mechanism in all its fluffy glory.
There were a further two black screws above and below the ball mechanism, holding the circuit board in place that also needed removing. I set both sets of screws aside somewhere safe as they would be needed later on when putting it all back together.

The two black screws at the top and bottom of the black plastic ball housing need to be removed and put to one side safely for later.
Once the board was out, the cable connector was removed and the ground wire soldered to the circuit board cut. It isn’t required for the the new laser board to work.

The black ground wire that is soldered directly to the board needs to be cut here.
The old board is surplus to requirement now but I’ll be keeping hold of it as it may come in handy to repair another tank mouse in the future.
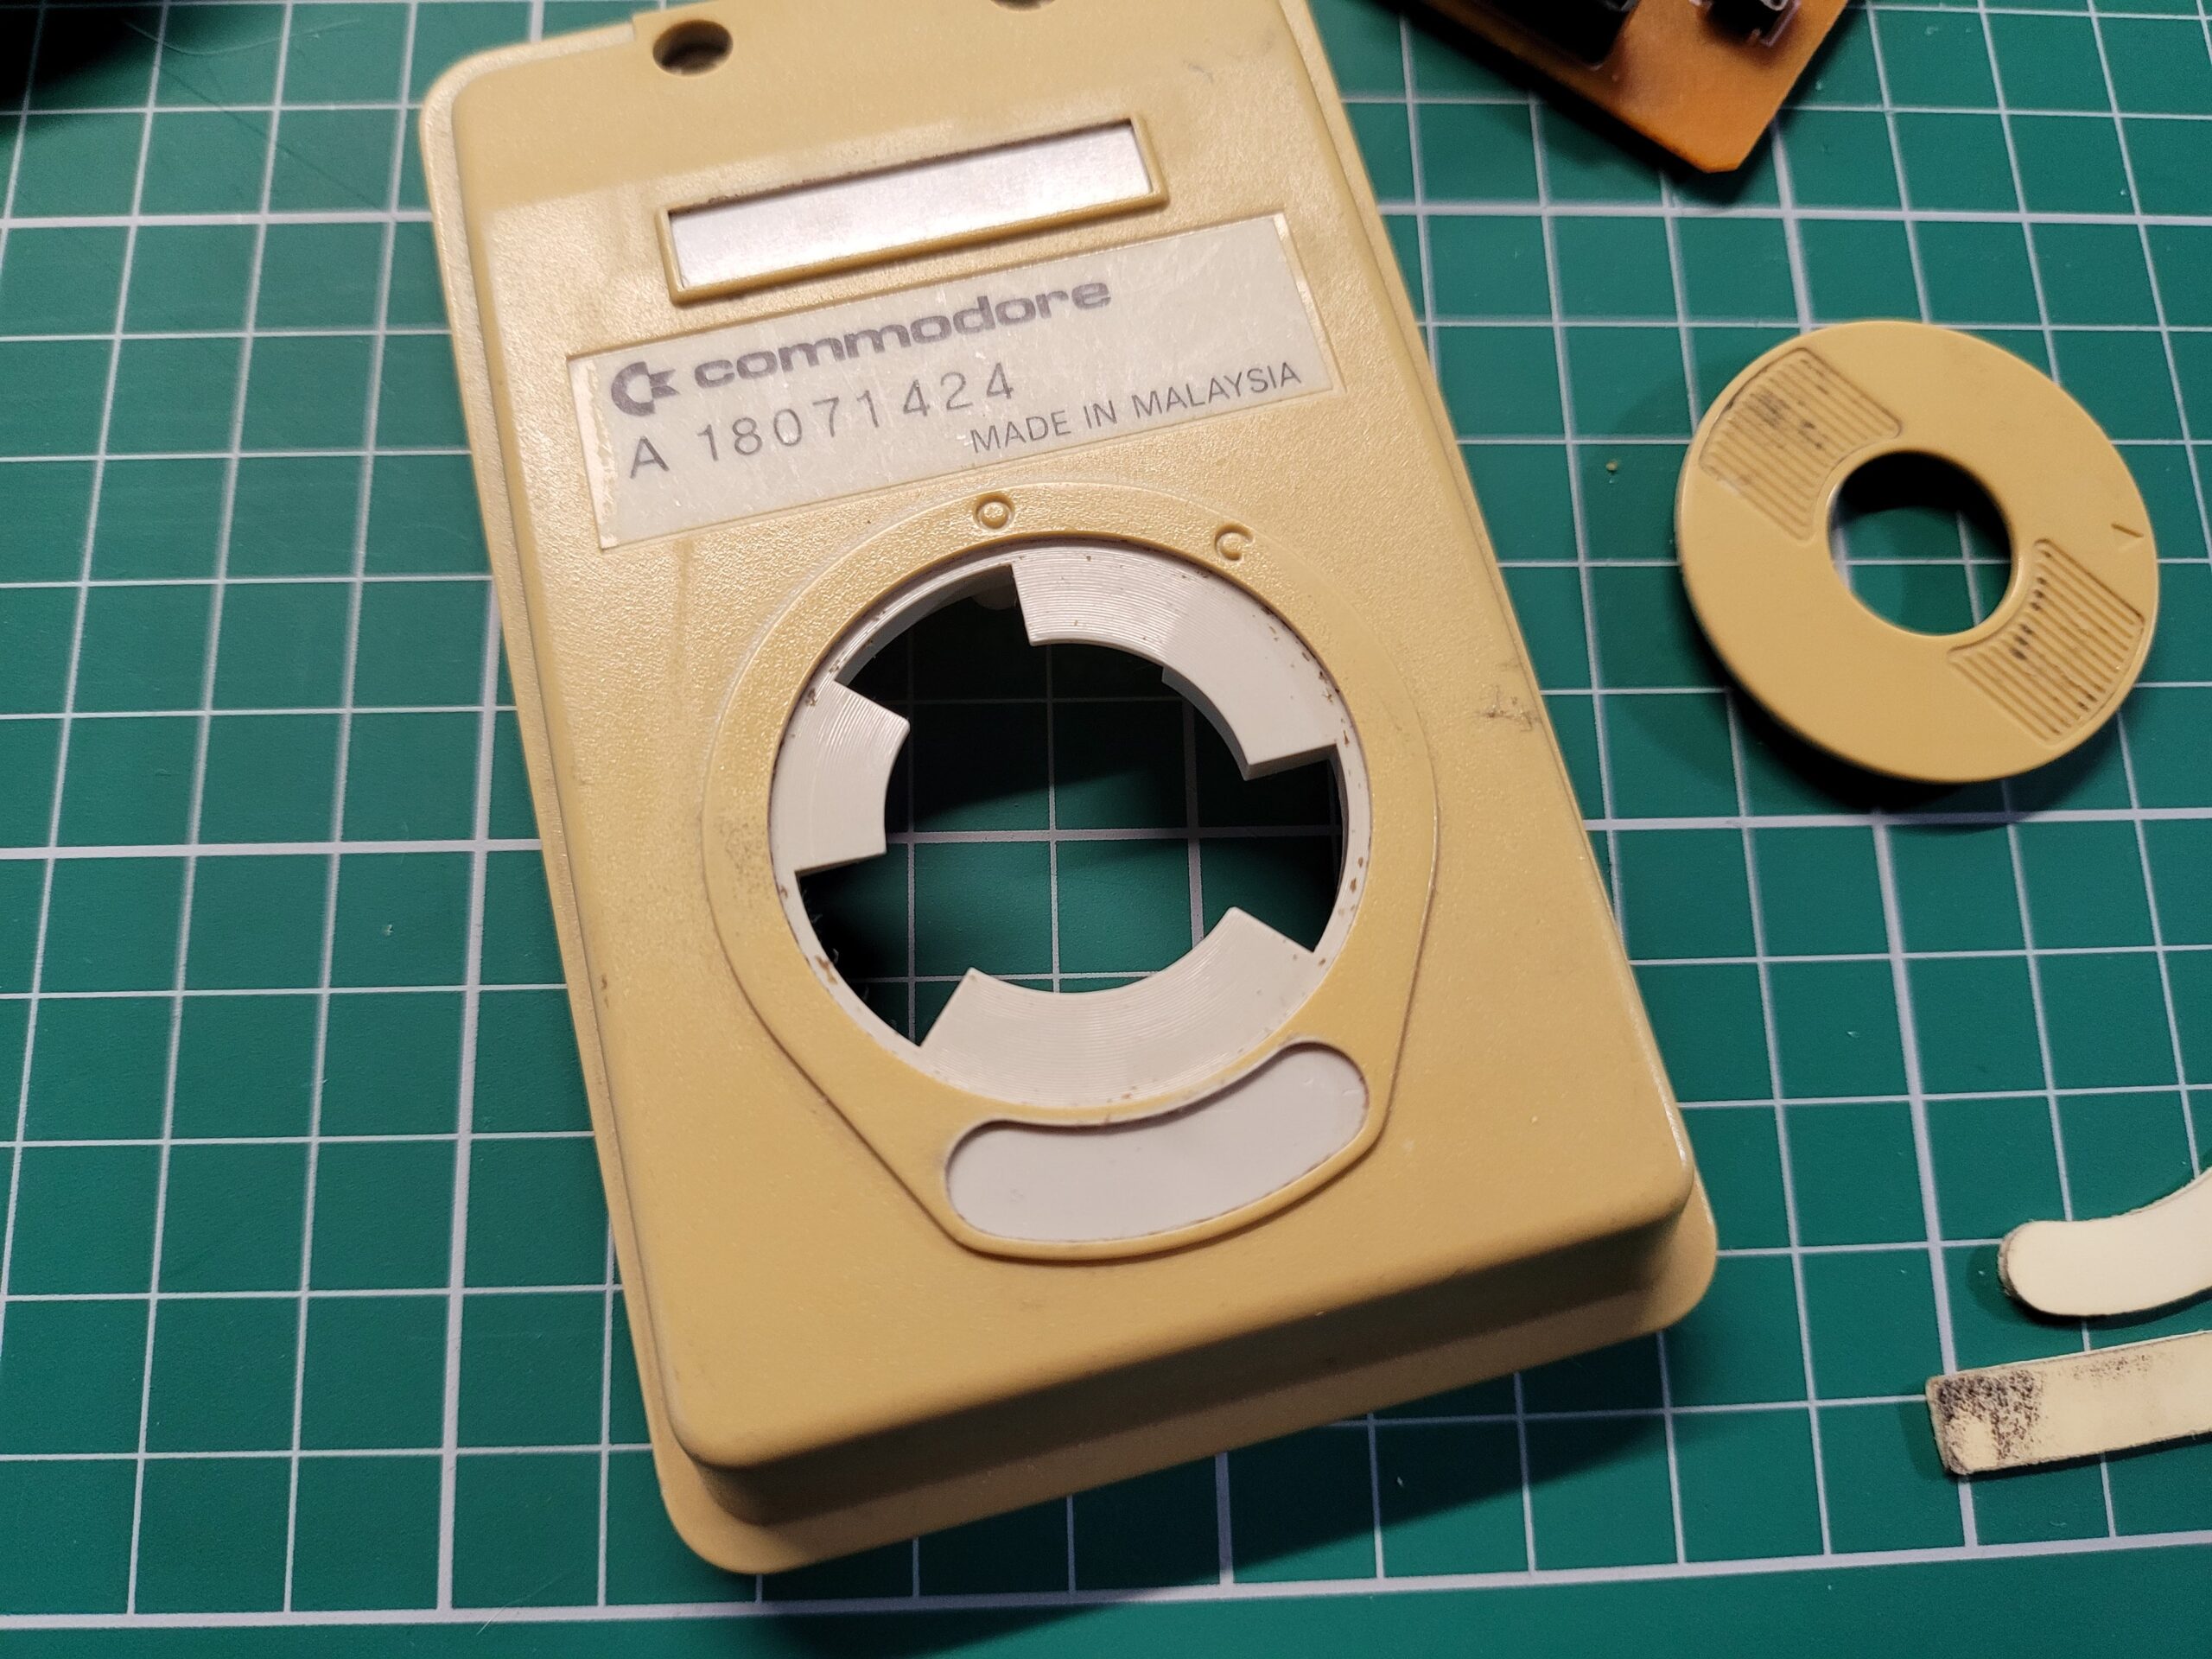
The extent of the yellowing was clear to see once the cover and sticky pads had been removed.
After removing the old glide pads and the cover off the ball compartment the extent of the yellowing was pretty evident. The original beige colour could clearly be seen underneath. Hopefully this is the colour the whole mouse will be by the end of this project after a spot of Retrobrighting.
Retrobriting
I live in North West England so hot sunny weather is something of a rarity here so I had no chance of just using the suns UV to do the job as I have in the past. Just as an example, at the time of writing it’s raining and about 12’C outside.
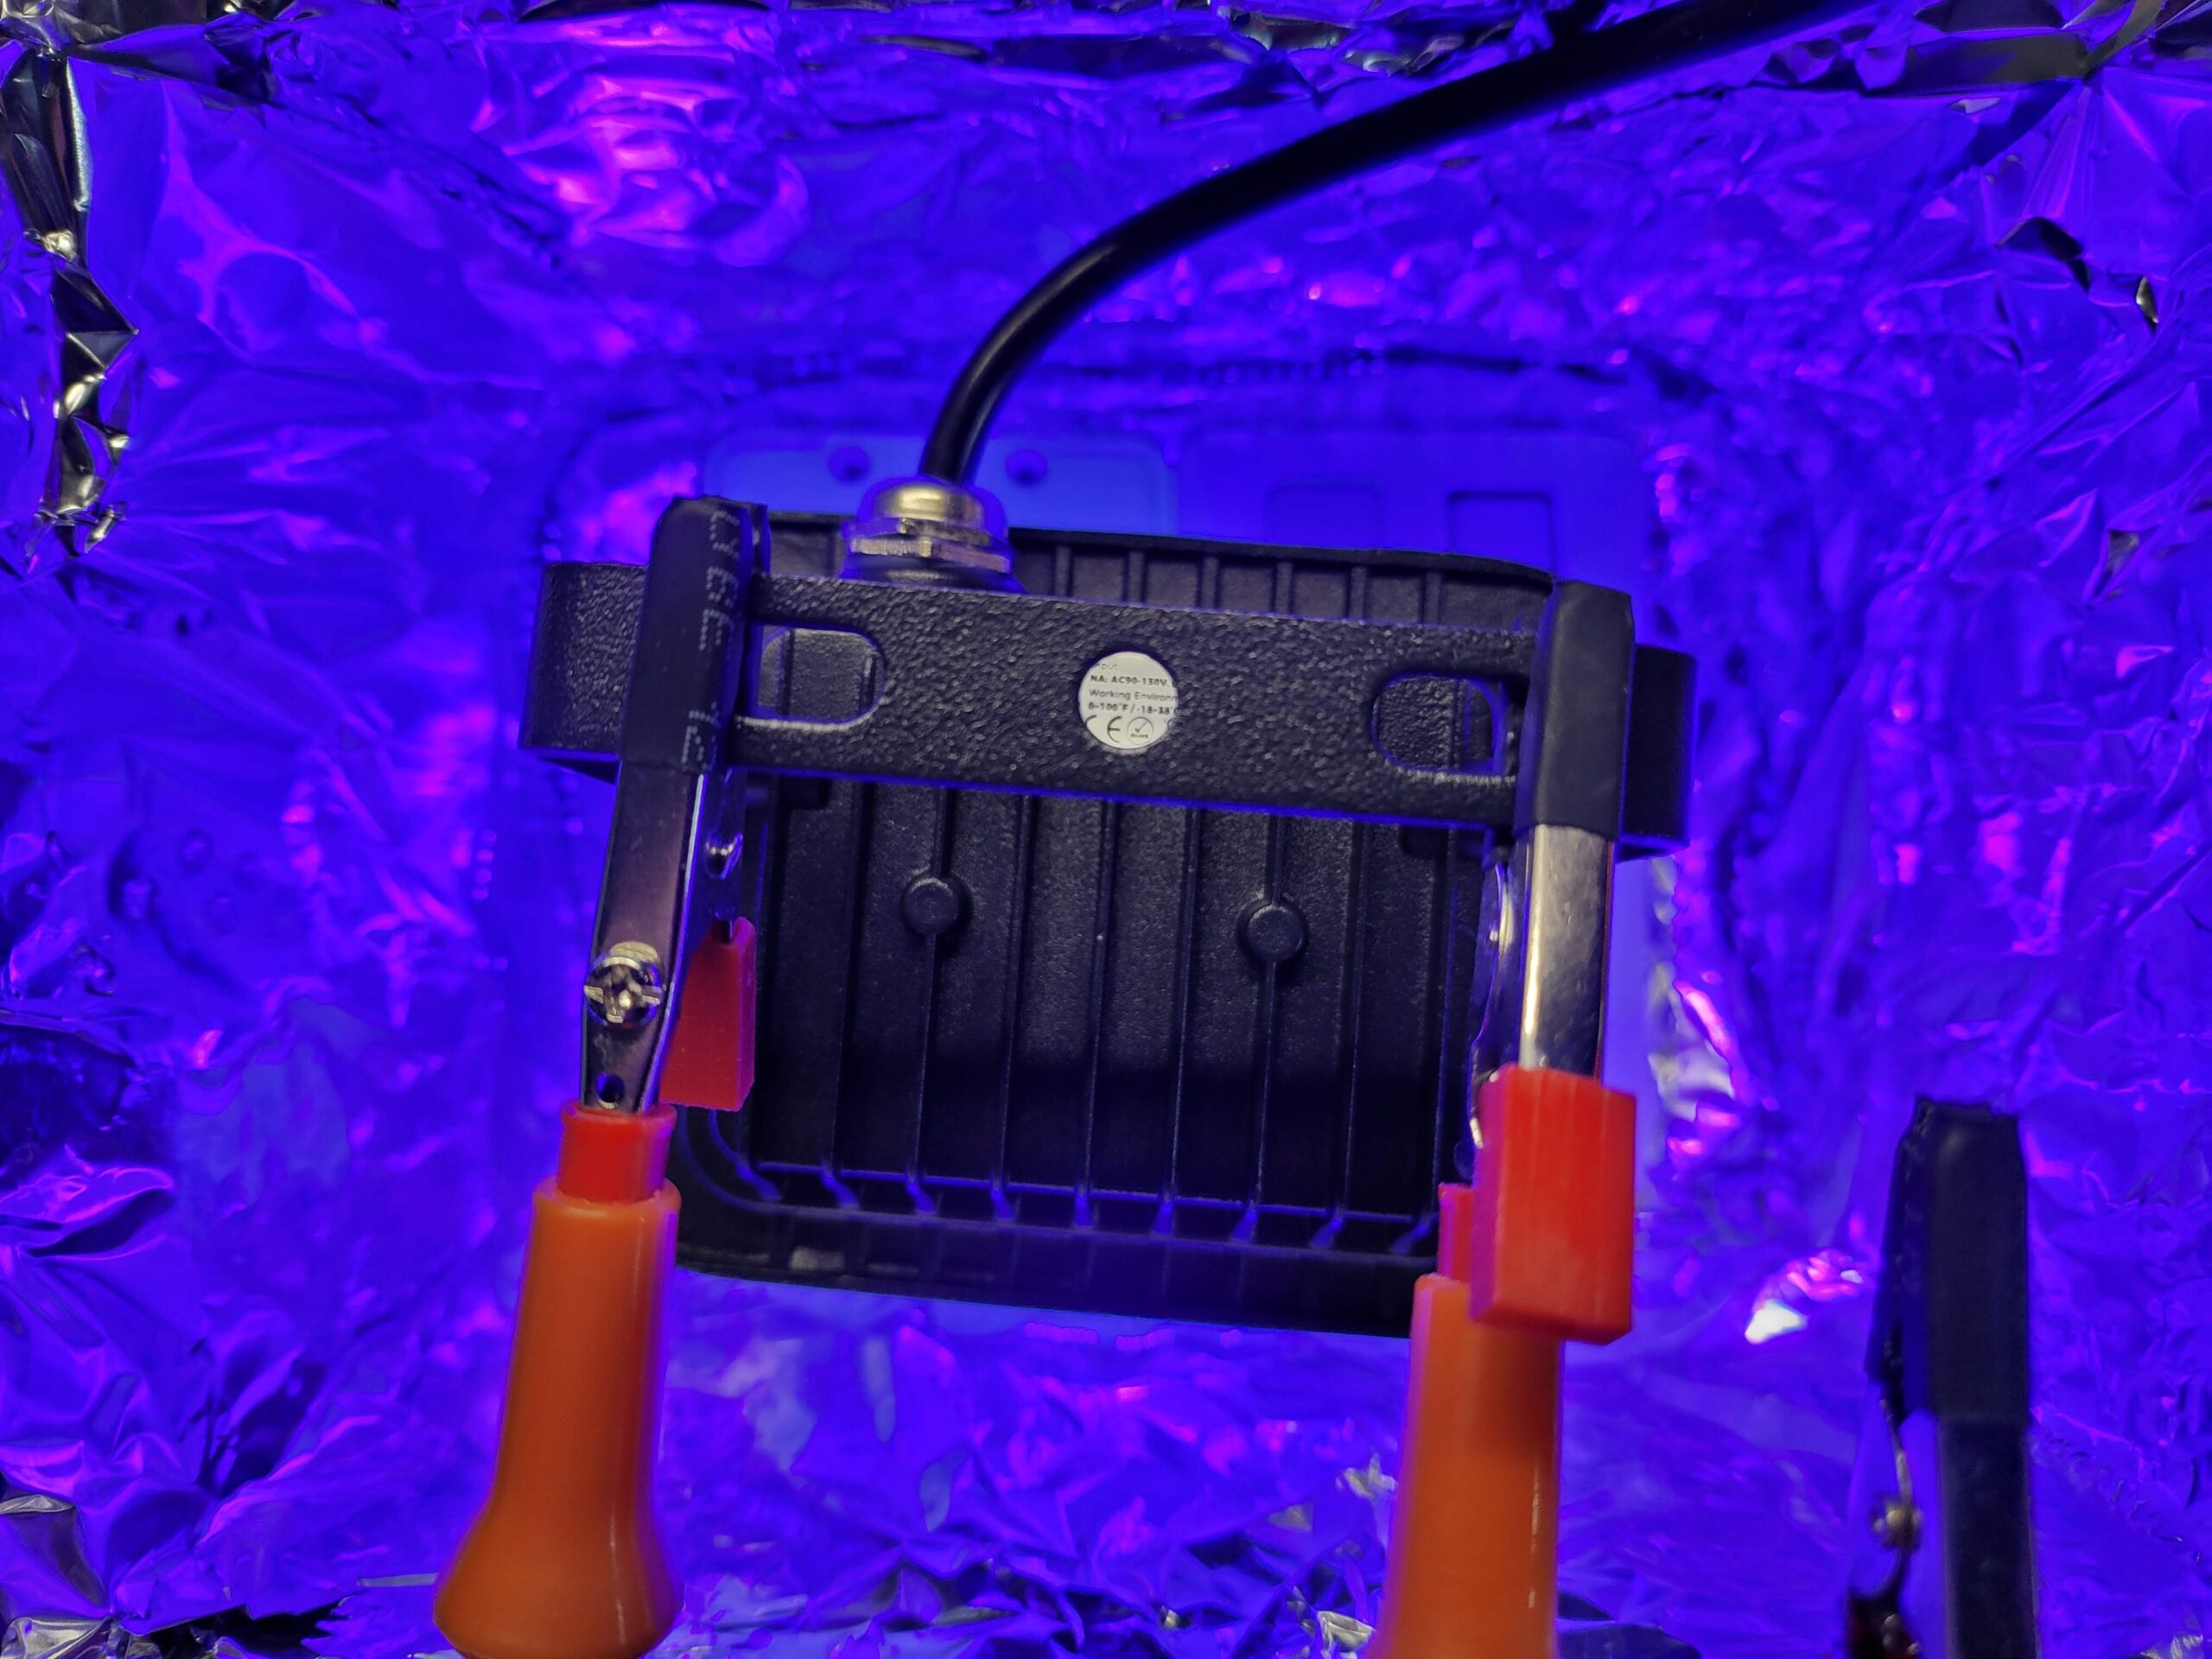
To this end I decided to buy the necessary kit off Amazon so I could do this sort of thing indoors whenever I wanted in future and not be beholden to the weather. I picked up a small 10W UV lamp that came with a built-in bracket and power cable with inline on/off switch and moulded UK plug.
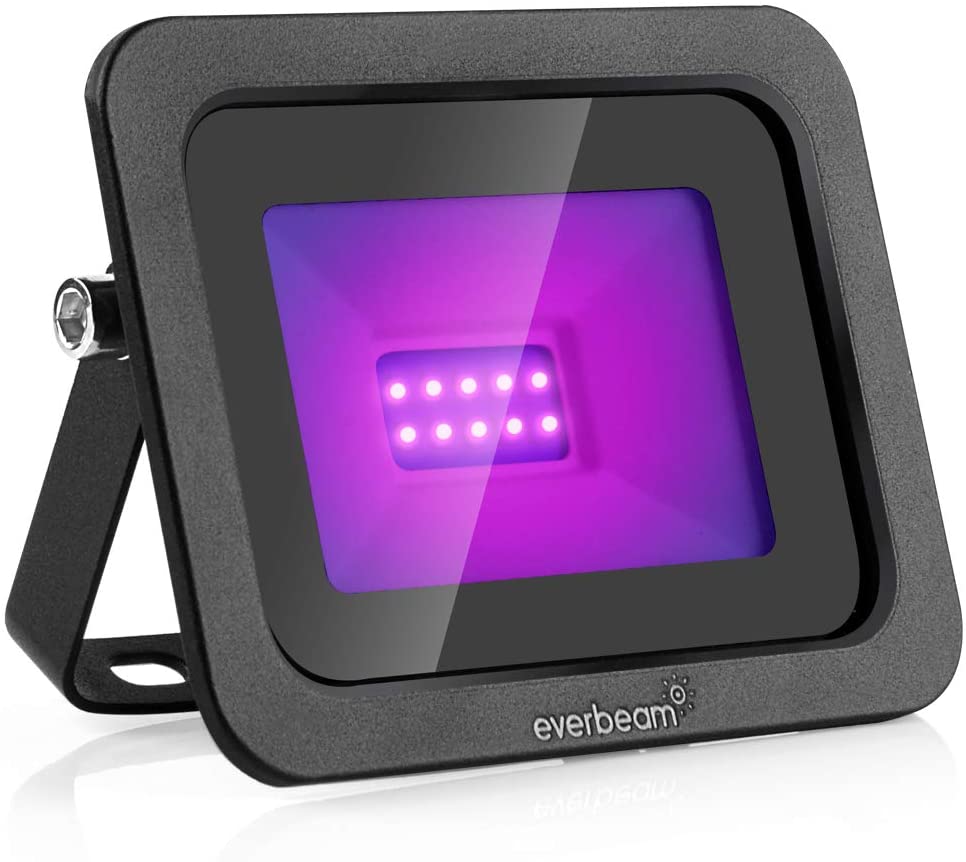
The UV lamp.
I also got a 500ml bottle of 6% Hydrogen Peroxide to make a nice bath for the mouse to soak in. I only had to use half of it too so could have got away with buying a smaller bottle.
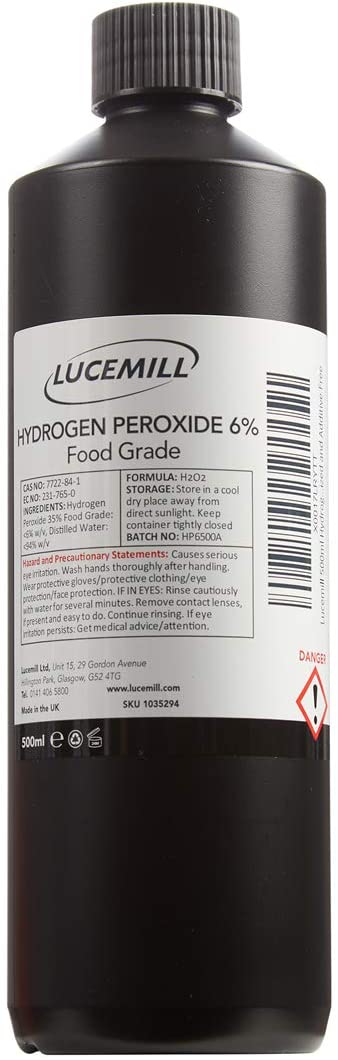
Hydrogen Peroxide.
To begin the process I first gave the mouse case a clean in some soapy water before putting both sides into a tin foil lined plastic box. The idea behind the tin foil was two-fold. Firstly it would reflect the UV light around the box helping ensure even coverage and secondly it would prevent the UV light from making the plastic box brittle and possibly even bleaching the colour out of my desk.

Plastic mouse case sitting in the bottom of a tin-foil lined box.
I then covered them with a 50/50 mix of warm water and Hydrogen Peroxide solution. I chose a box that wasn’t much bigger than the mouse case which kept the amount of fluid needed to a minimum.
UV light suspended over the box.
Once the case halves were immersed in fluid I positioned the UV light over the top of the box and held it in place with some helping hands and switched it on. Everything looked good so I left it for about an hour and then came back to check on it. The plastic parts were covered in hundreds of tiny air bubbles which meant the process was obviously working. The bad news was that those same bubbles were causing the case to float up and no longer be covered in the hydrogen peroxide solution. Over a period of a few hours I had to keep adding blobs of blu-tack to the underside of each part before they would finally stay submerged.
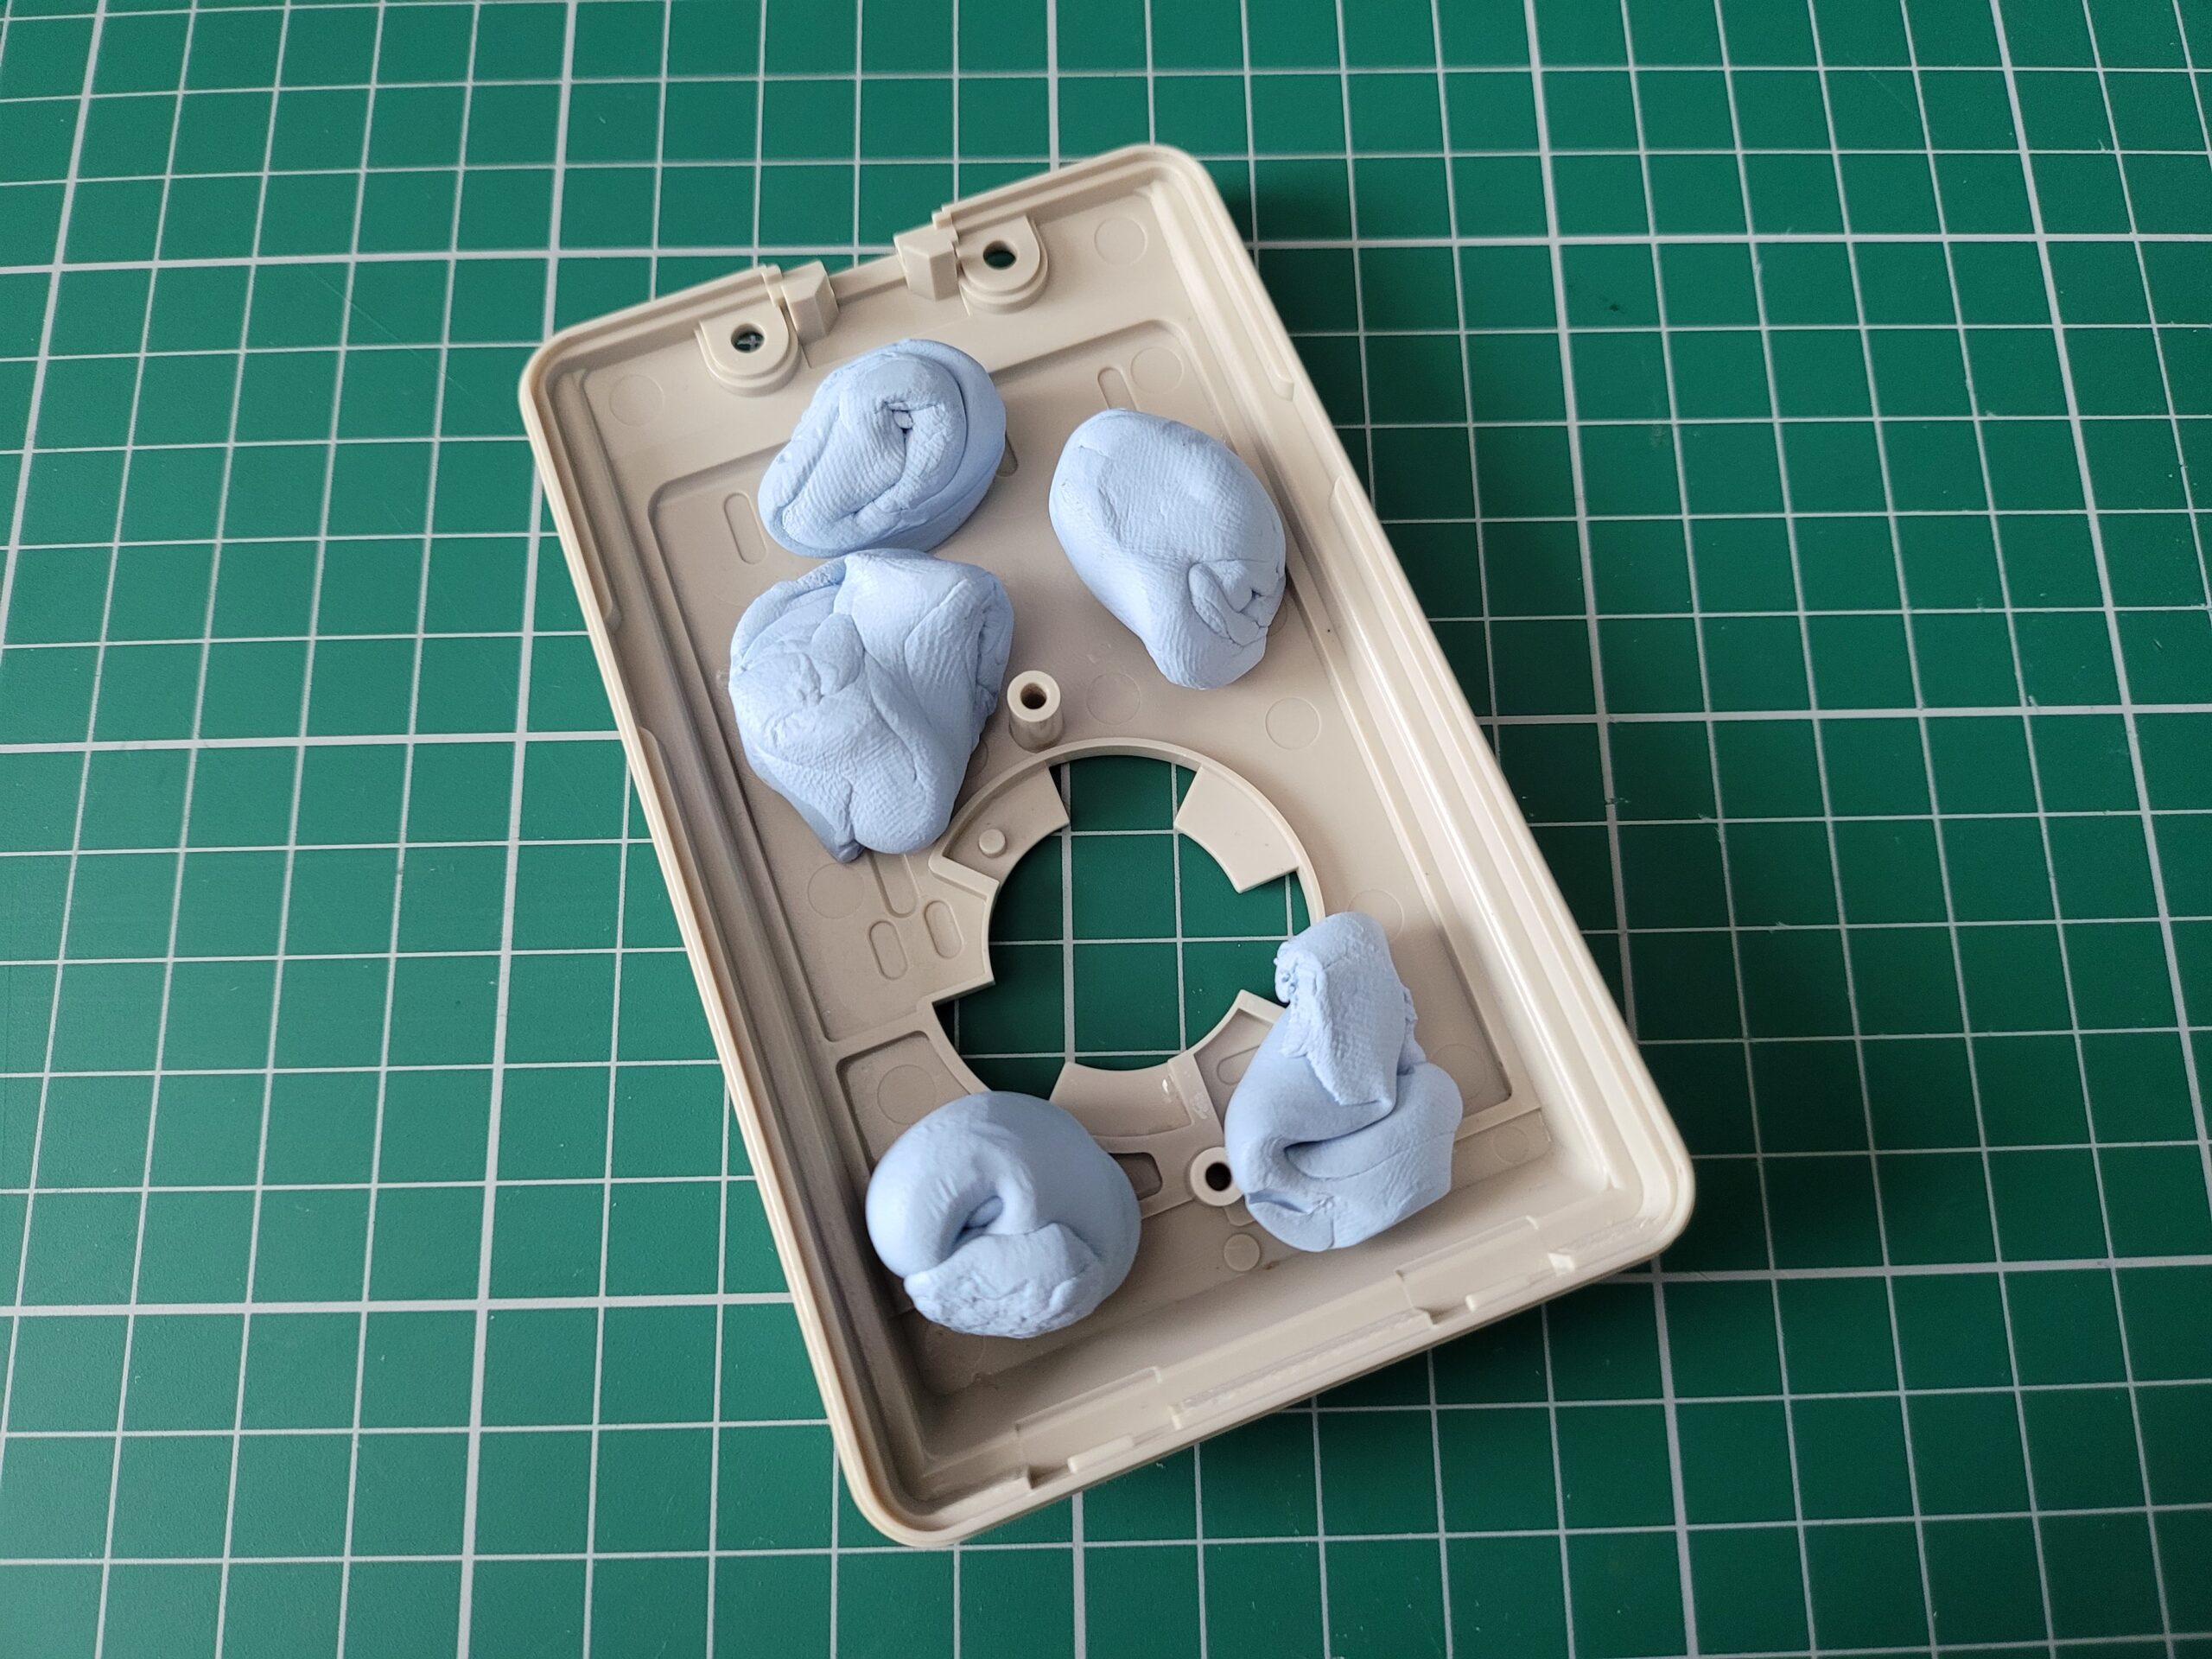
Blu-tack weights to keep the case submerged.
Once I was happy that the case wouldn’t float up any more and that the UV light wasn’t going to overheat or nose-dive into the liquid I shut the door to the man cave and left it all overnight to marinate.
Results
The following evening after work I fished the case out of the water and had a look at the results which you can see in the photo below. Needless to say I was pretty chuffed with how it turned out as everything was now a nice uniform beige colour top and bottom.
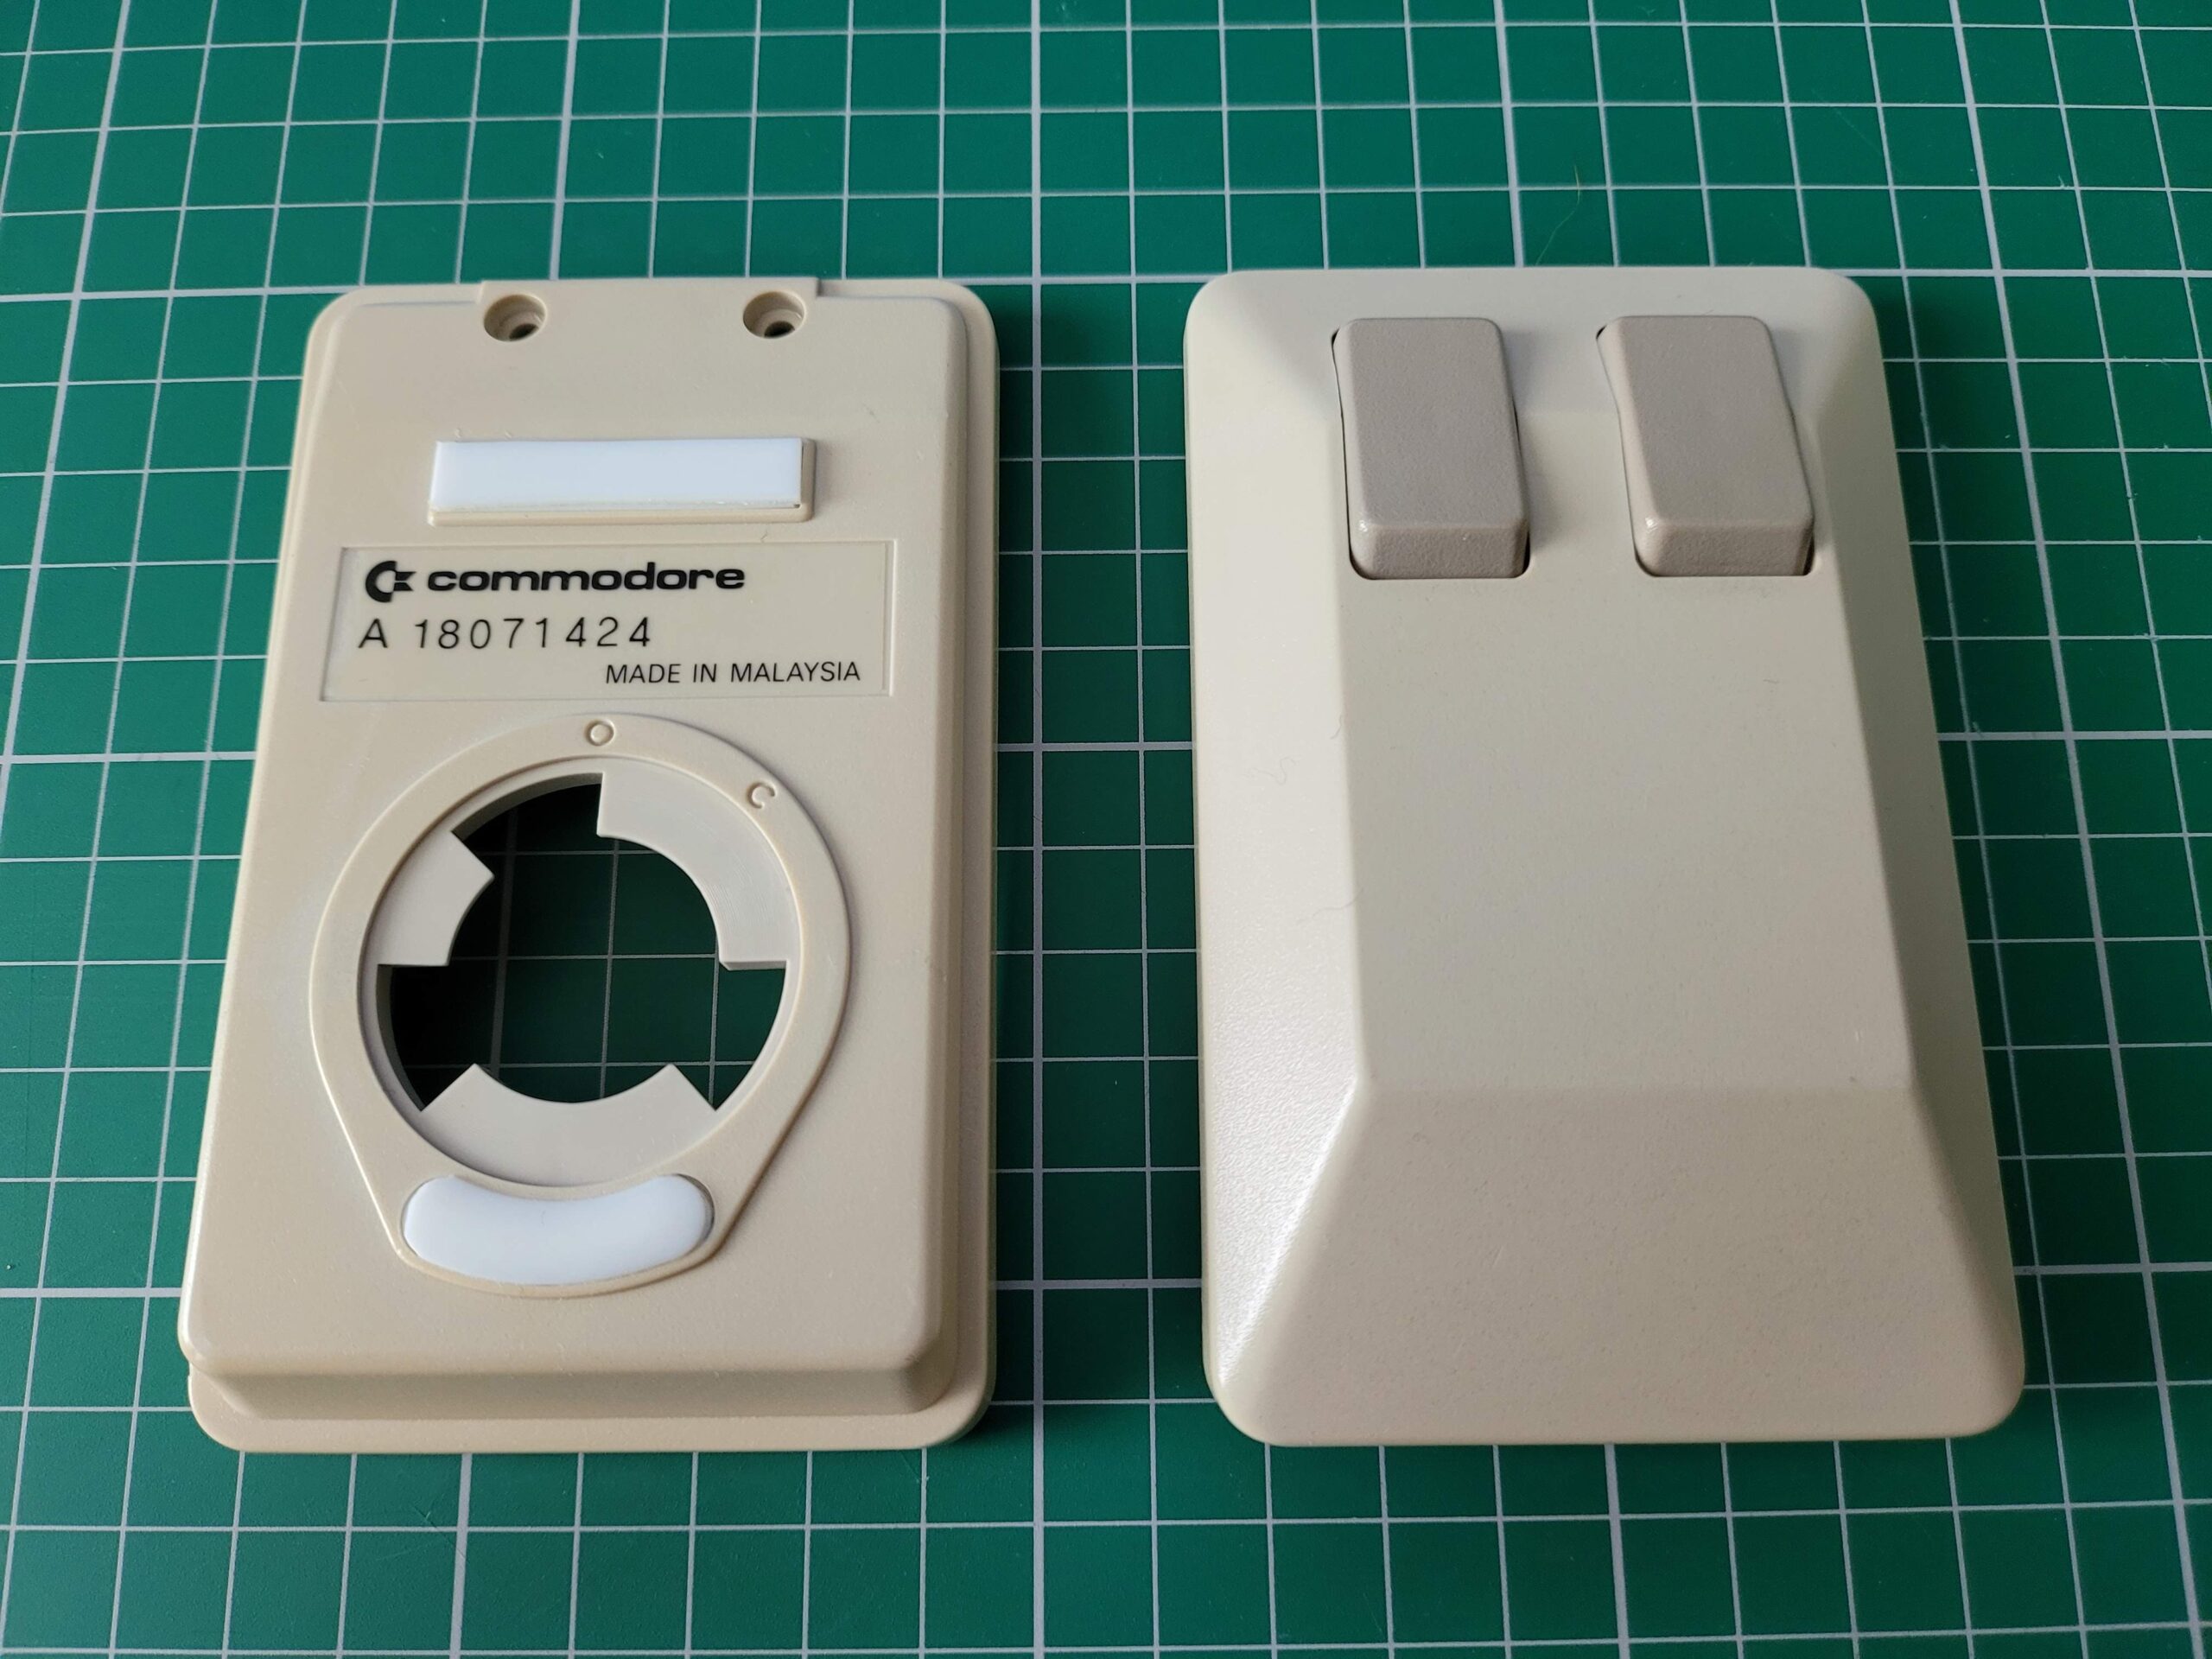
Freshly retrobrighted cases.
Compared to the mouse ball cover (which I deliberately didn’t treat – see photo below) the difference was night and day. All in I’d say the case probably spent about 24 hours under the UV lamp in the hydrogen peroxide solution. Perhaps they might have been ready a bit sooner but I wasn’t able to keep checking in on them. Either way I’m quite happy to wait a day for such a good result. Incidentally, the liquid solution was at room temperature (about 22′-24’C) the whole time, I didn’t use any kind of water heater.
Spot the difference.
Replacing the Glide Pads
Unfortunately in my excitement to finish my mouse refurb I forgot to take pictures of the case before fitting the new glide pads so you’ve already seen pictures of them fitted.
To get the correct sizing for the glide pads I simply placed the old pads on top of the new ones (photo below) and cut around the outline with a sharp craft knife. I struck it lucky with the curved pad at the bottom as it matched the curvature of the new one exactly so I only had to cut the rounded ends. The only slight issue I had was that the new pads were half the thickness of the old ones so I needed to cut out two of each and stick them on top of each other. If I hadn’t done this then they would not have cleared the recesses in the case and they’d have been a waste of time.
Anyway, I’m really happy with the end result as the mouse glides around like a dream now. I also still have enough material left to kit out another mouse should the need ever arise.
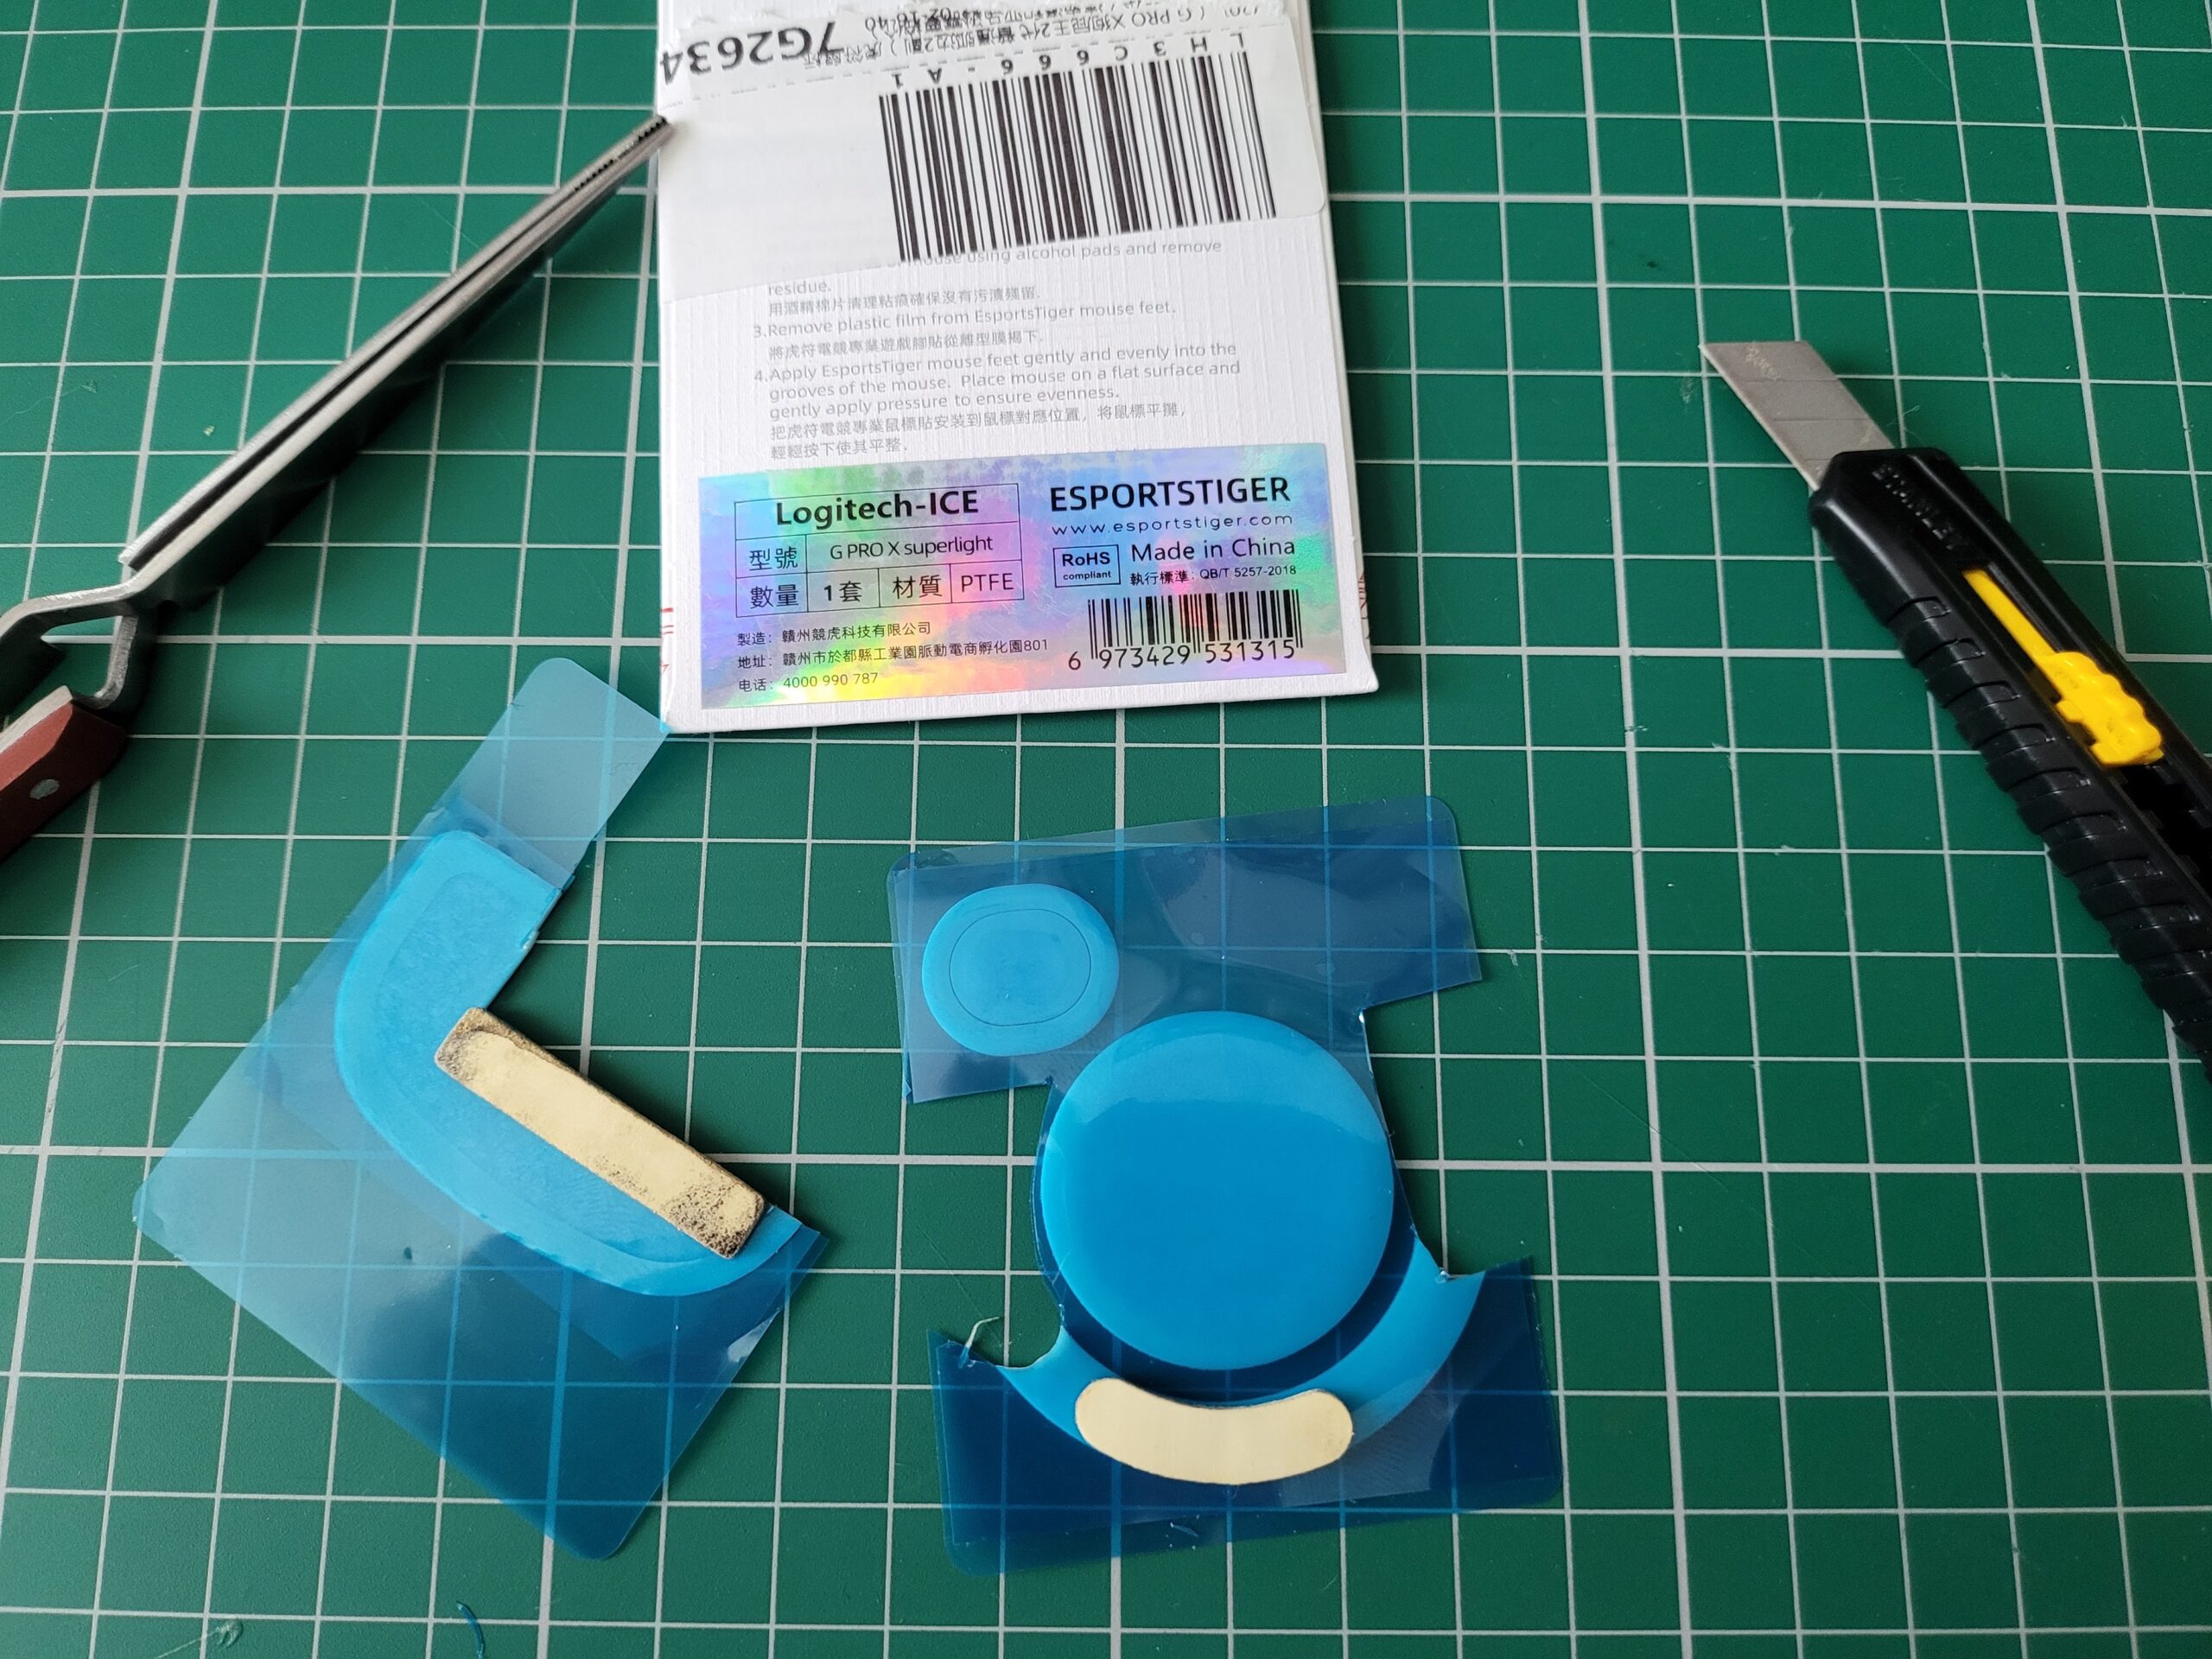
Cutting out the glide pads.
Incidentally the mouse glide pads I bought were designed to fit a “Logitech G Pro X Superlight”. There are plenty available on eBay at the time of writing.
Installing the Amiga Laser Mouse Upgrade Board
With the case now looking fine and dandy it was time to fit the laser upgrade itself. The first task was to fit the new plastic cover in place of the original. This is made out of some sort of flexible plastic material (TPU?) and I found it didn’t want to sit completely flat. Luckily it doesn’t hinder the use of the mouse but I might add a few tiny blobs of glue around the edge to hold it securely if it proves to be an issue in the future. Not sure why they made it grey either – definitely loses some style points for not being beige! At some point in the future I might have a go at 3D printing a better looking cover for it.
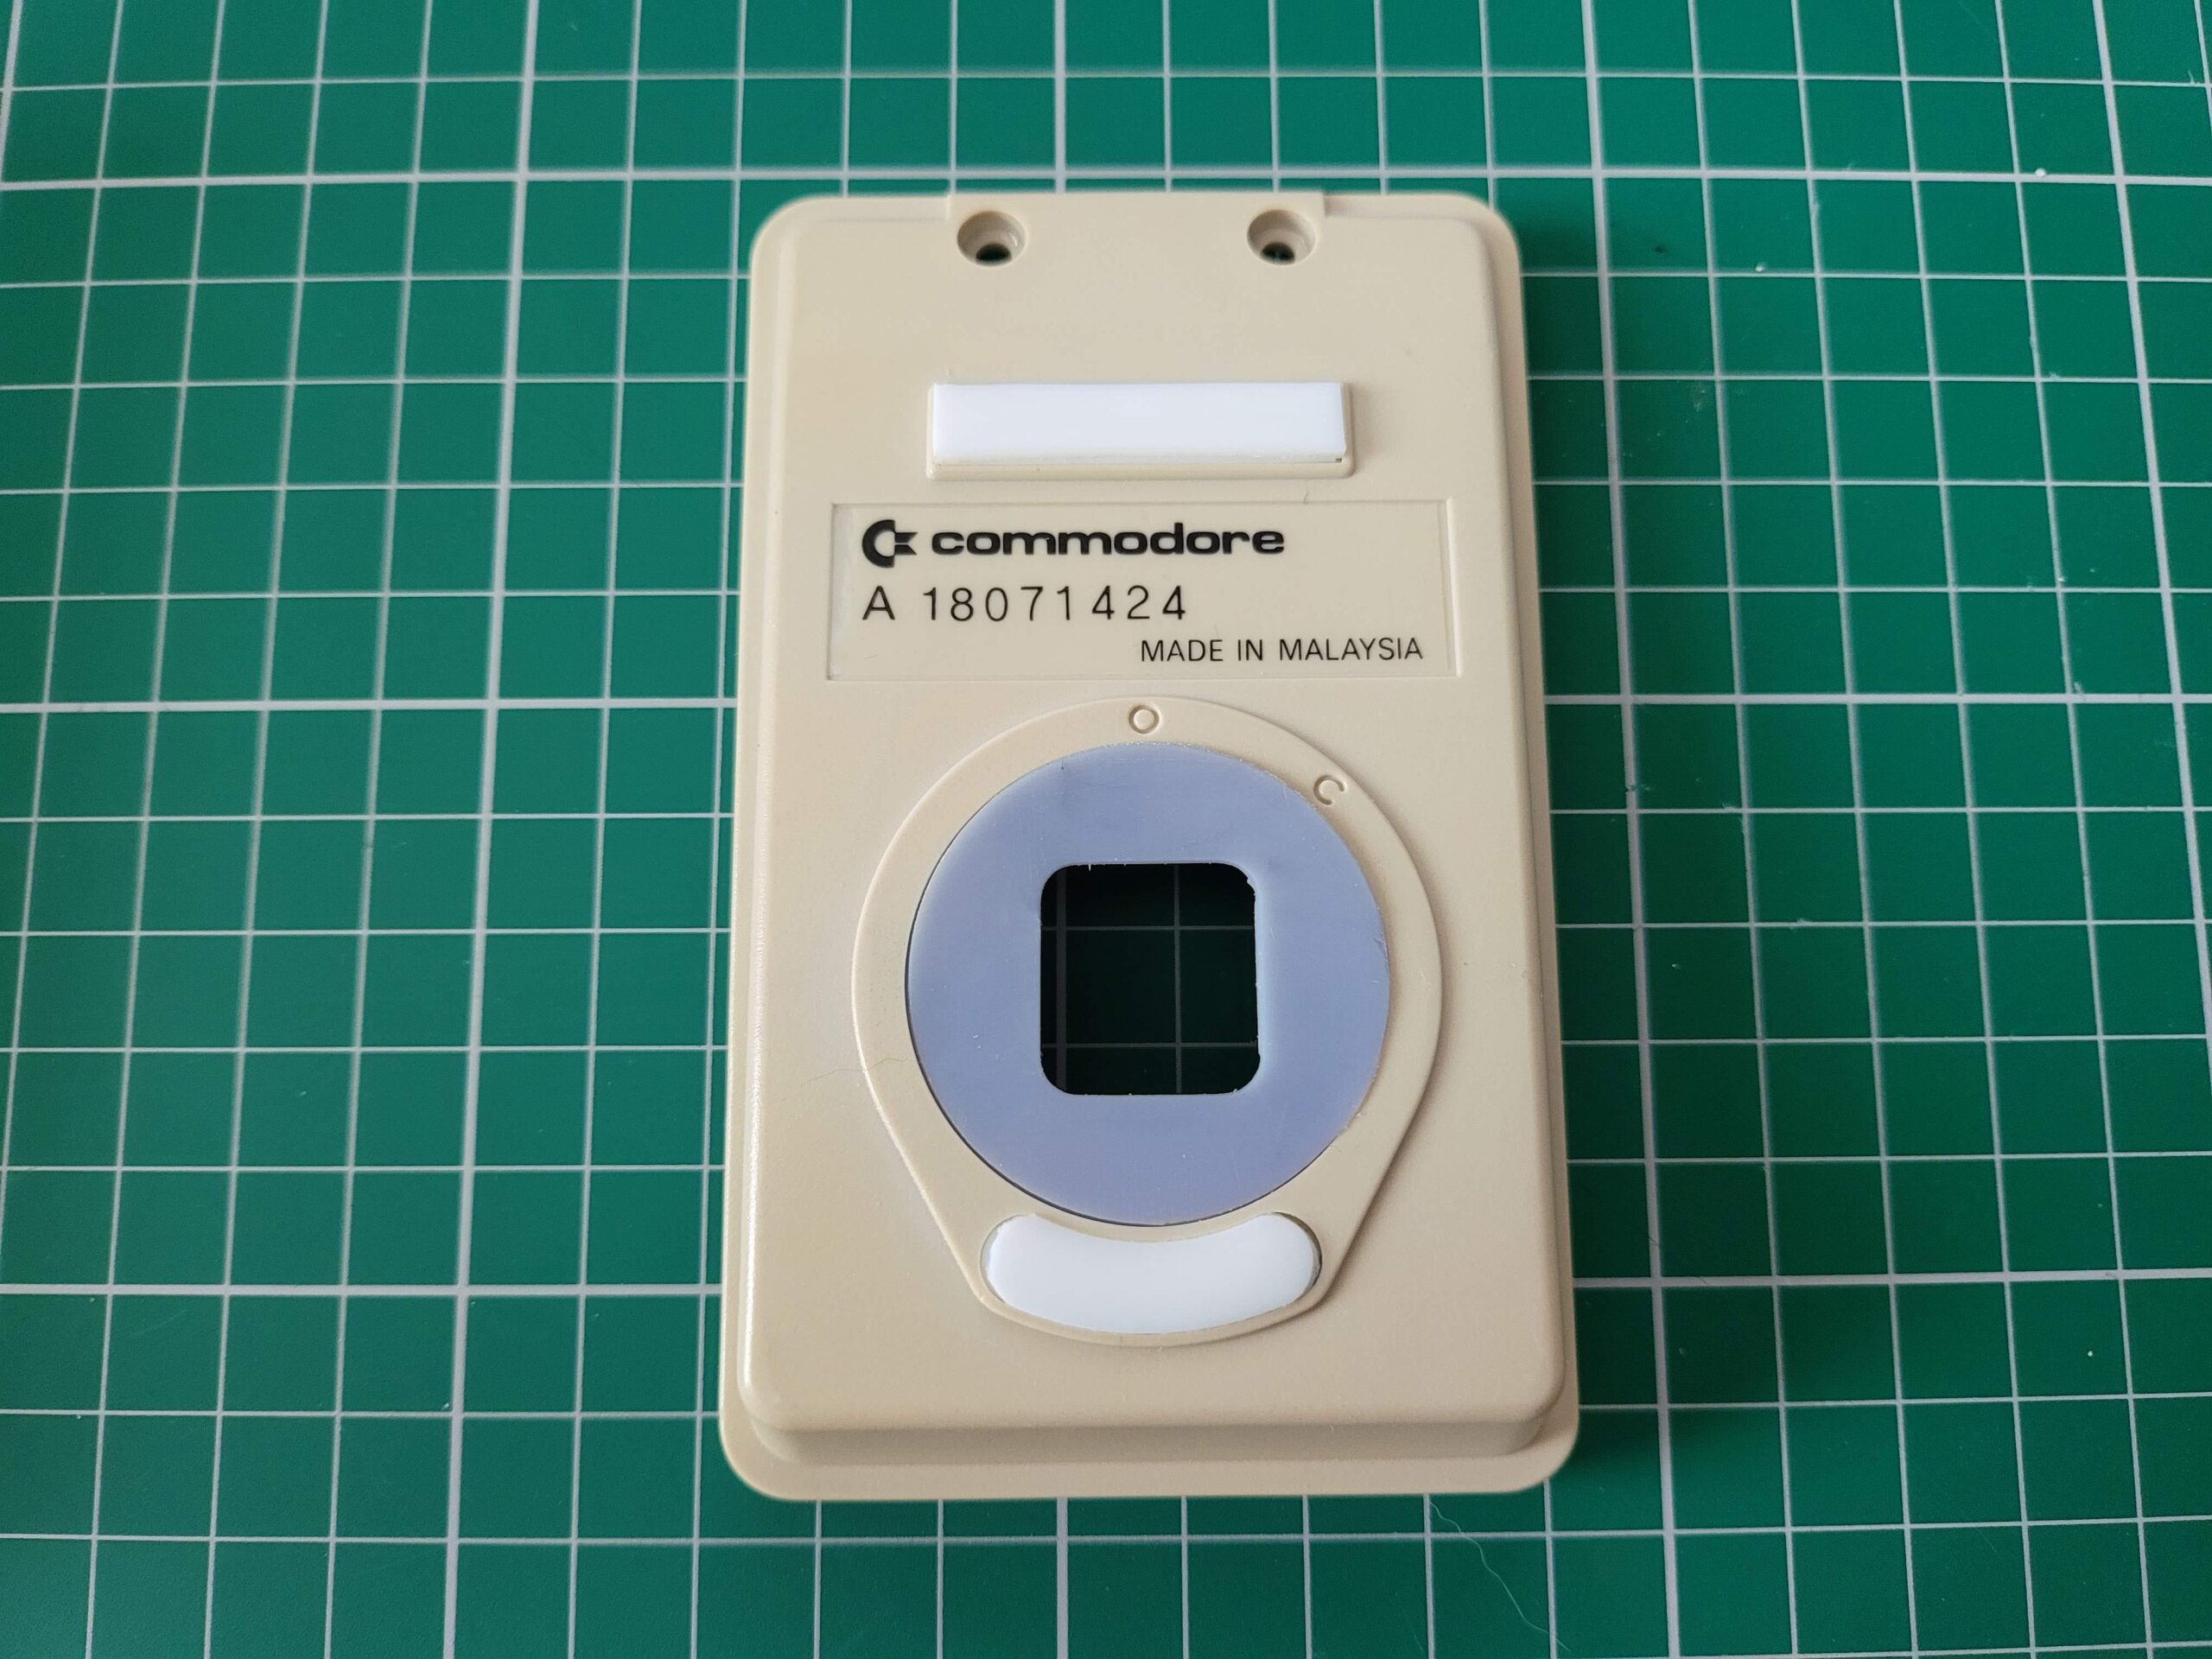
New mouse cover fitted – it now has a square hole to better fit the new laser mechanism.
The next task was to fit the transparent plastic ‘lens’ to the circuit board. This slots into the bottom of the board and thanks to the different sized plastic pins it has on the corners it would only fit one way.
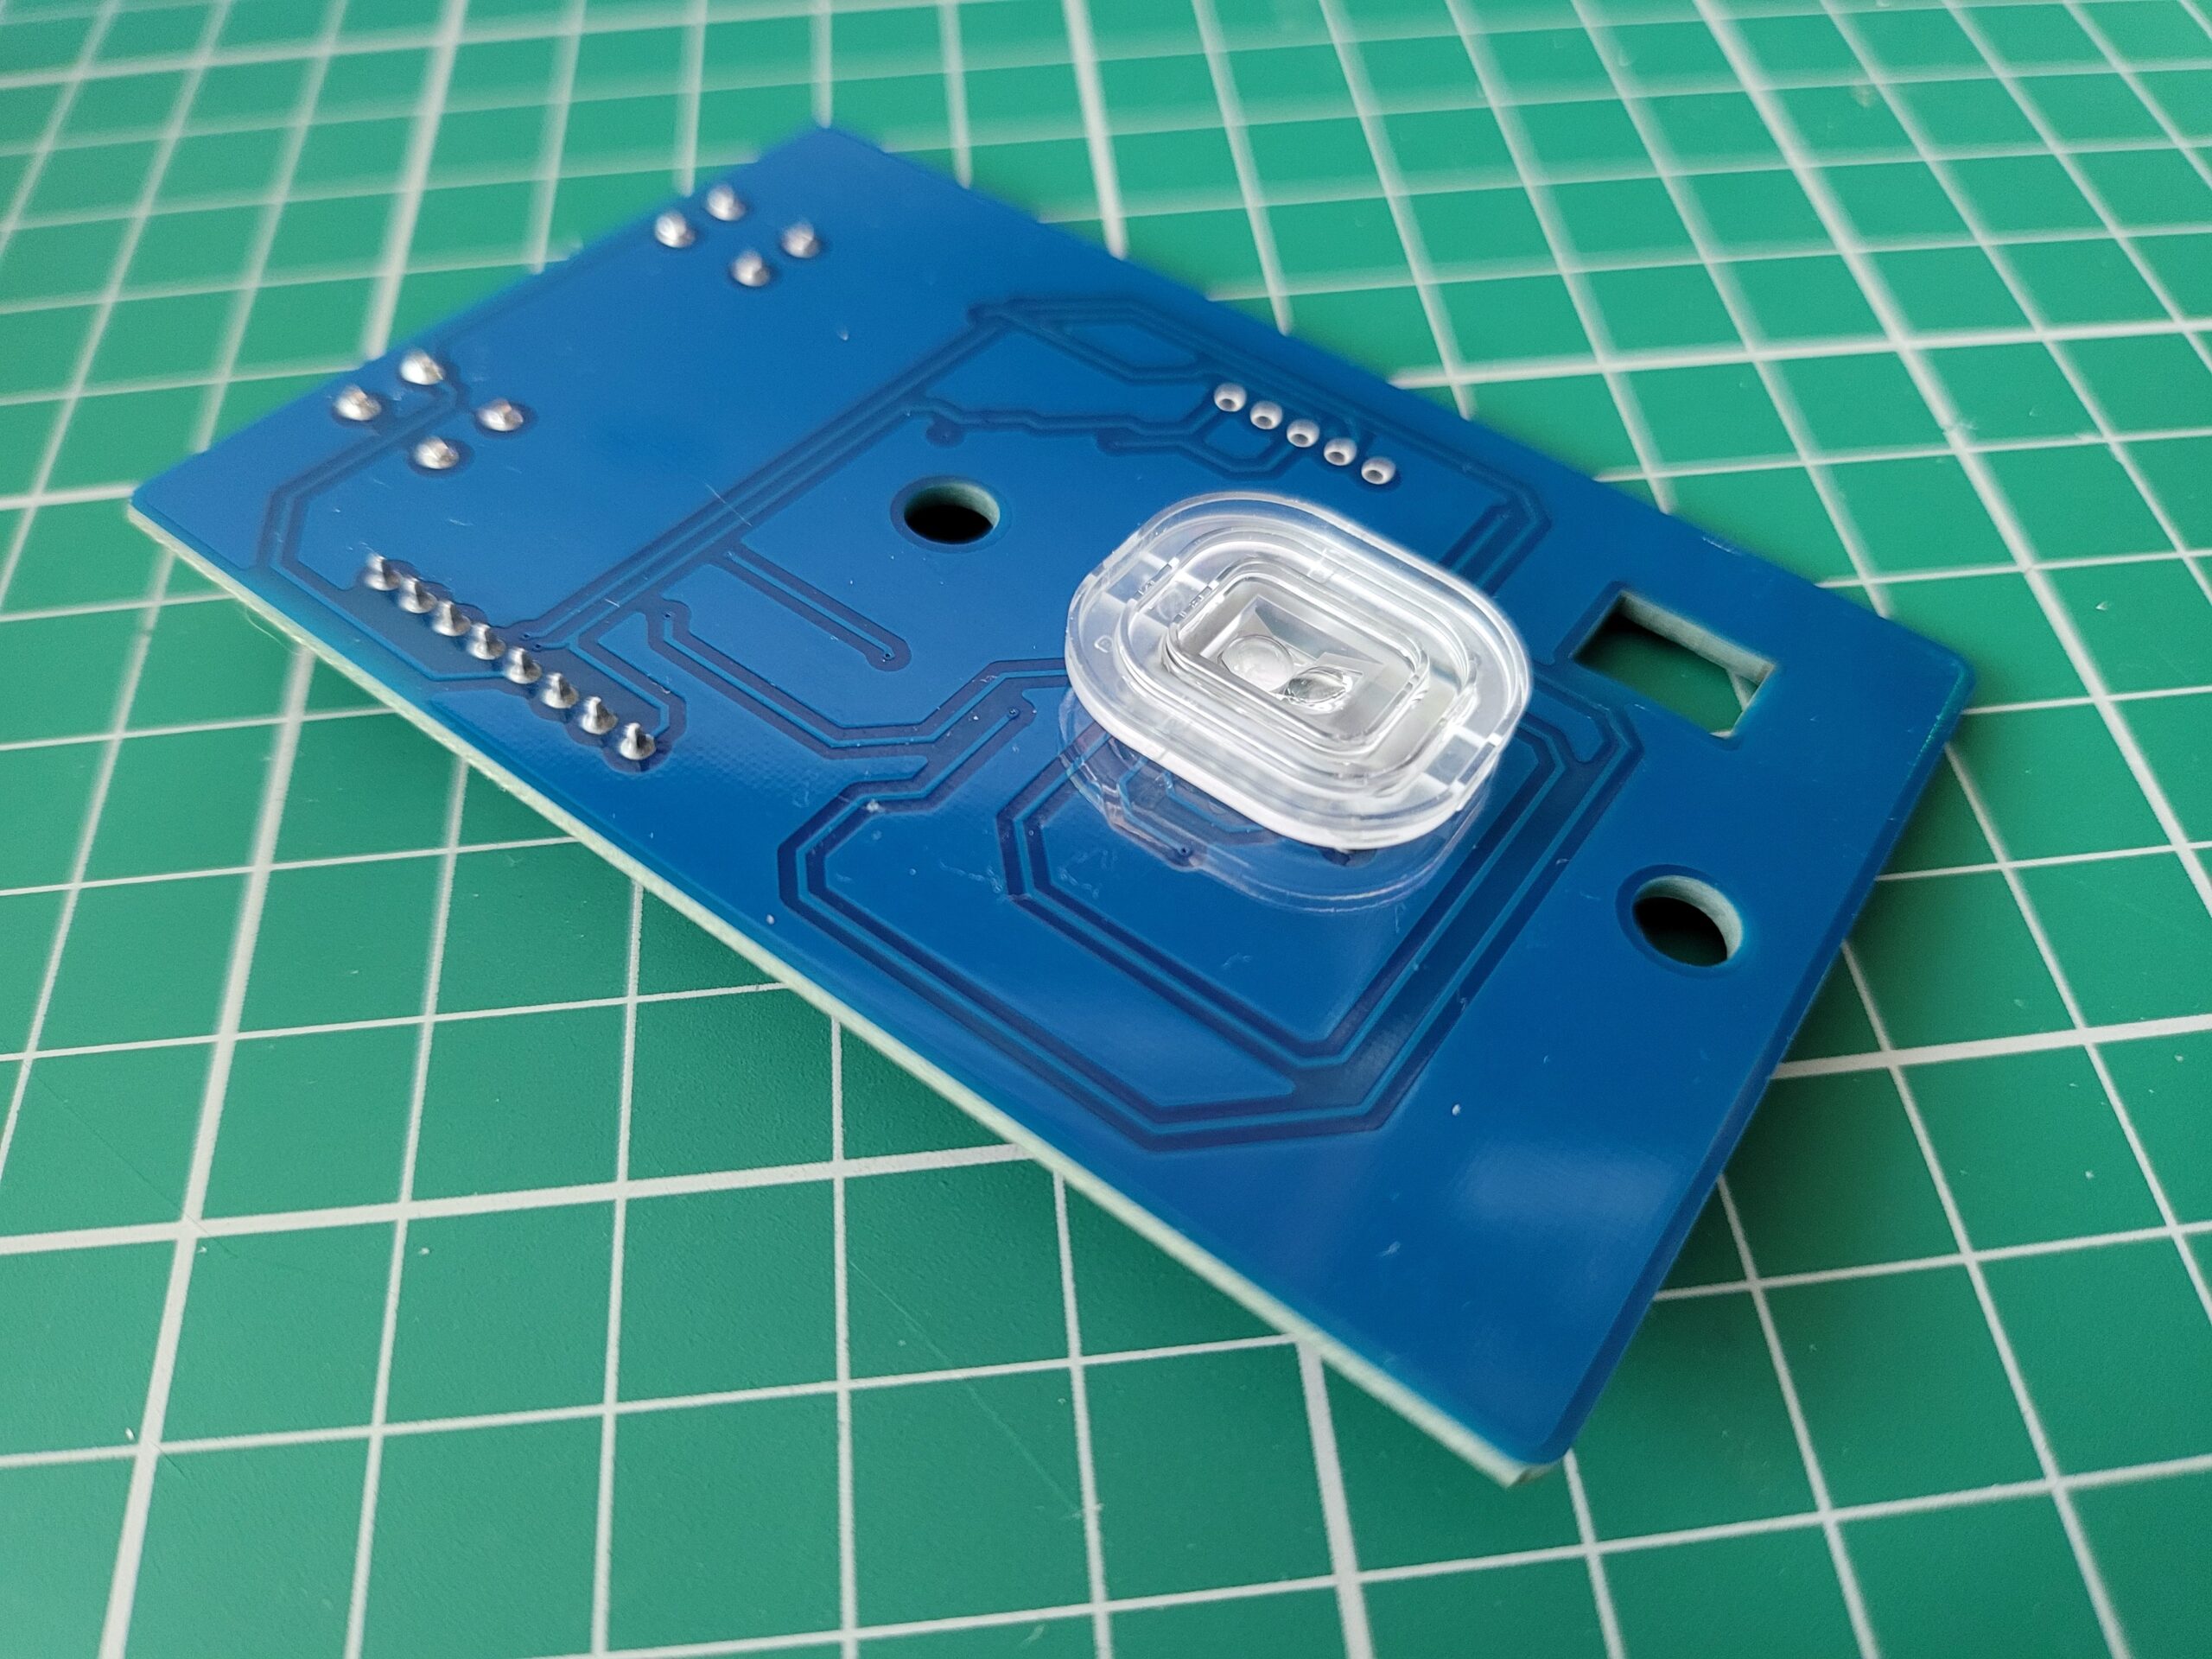
Plastic lens fitted to the underside of the circuit board.
With the lens fitted I carefully lowered the board into the bottom of the mouse case. The plastic lens needed to be held in place during this operation otherwise it kept falling out. Once the board was is in place, the flexible plastic cover fitted earlier prevented it from falling out through the bottom.
.

New board fitted into mouse base.
Next the two little plastic spacers were fitted over the existing screw posts allowing the board to be secured in place using the original black screws removed earlier. I then reattached the cable connector to the pin header on the new board.
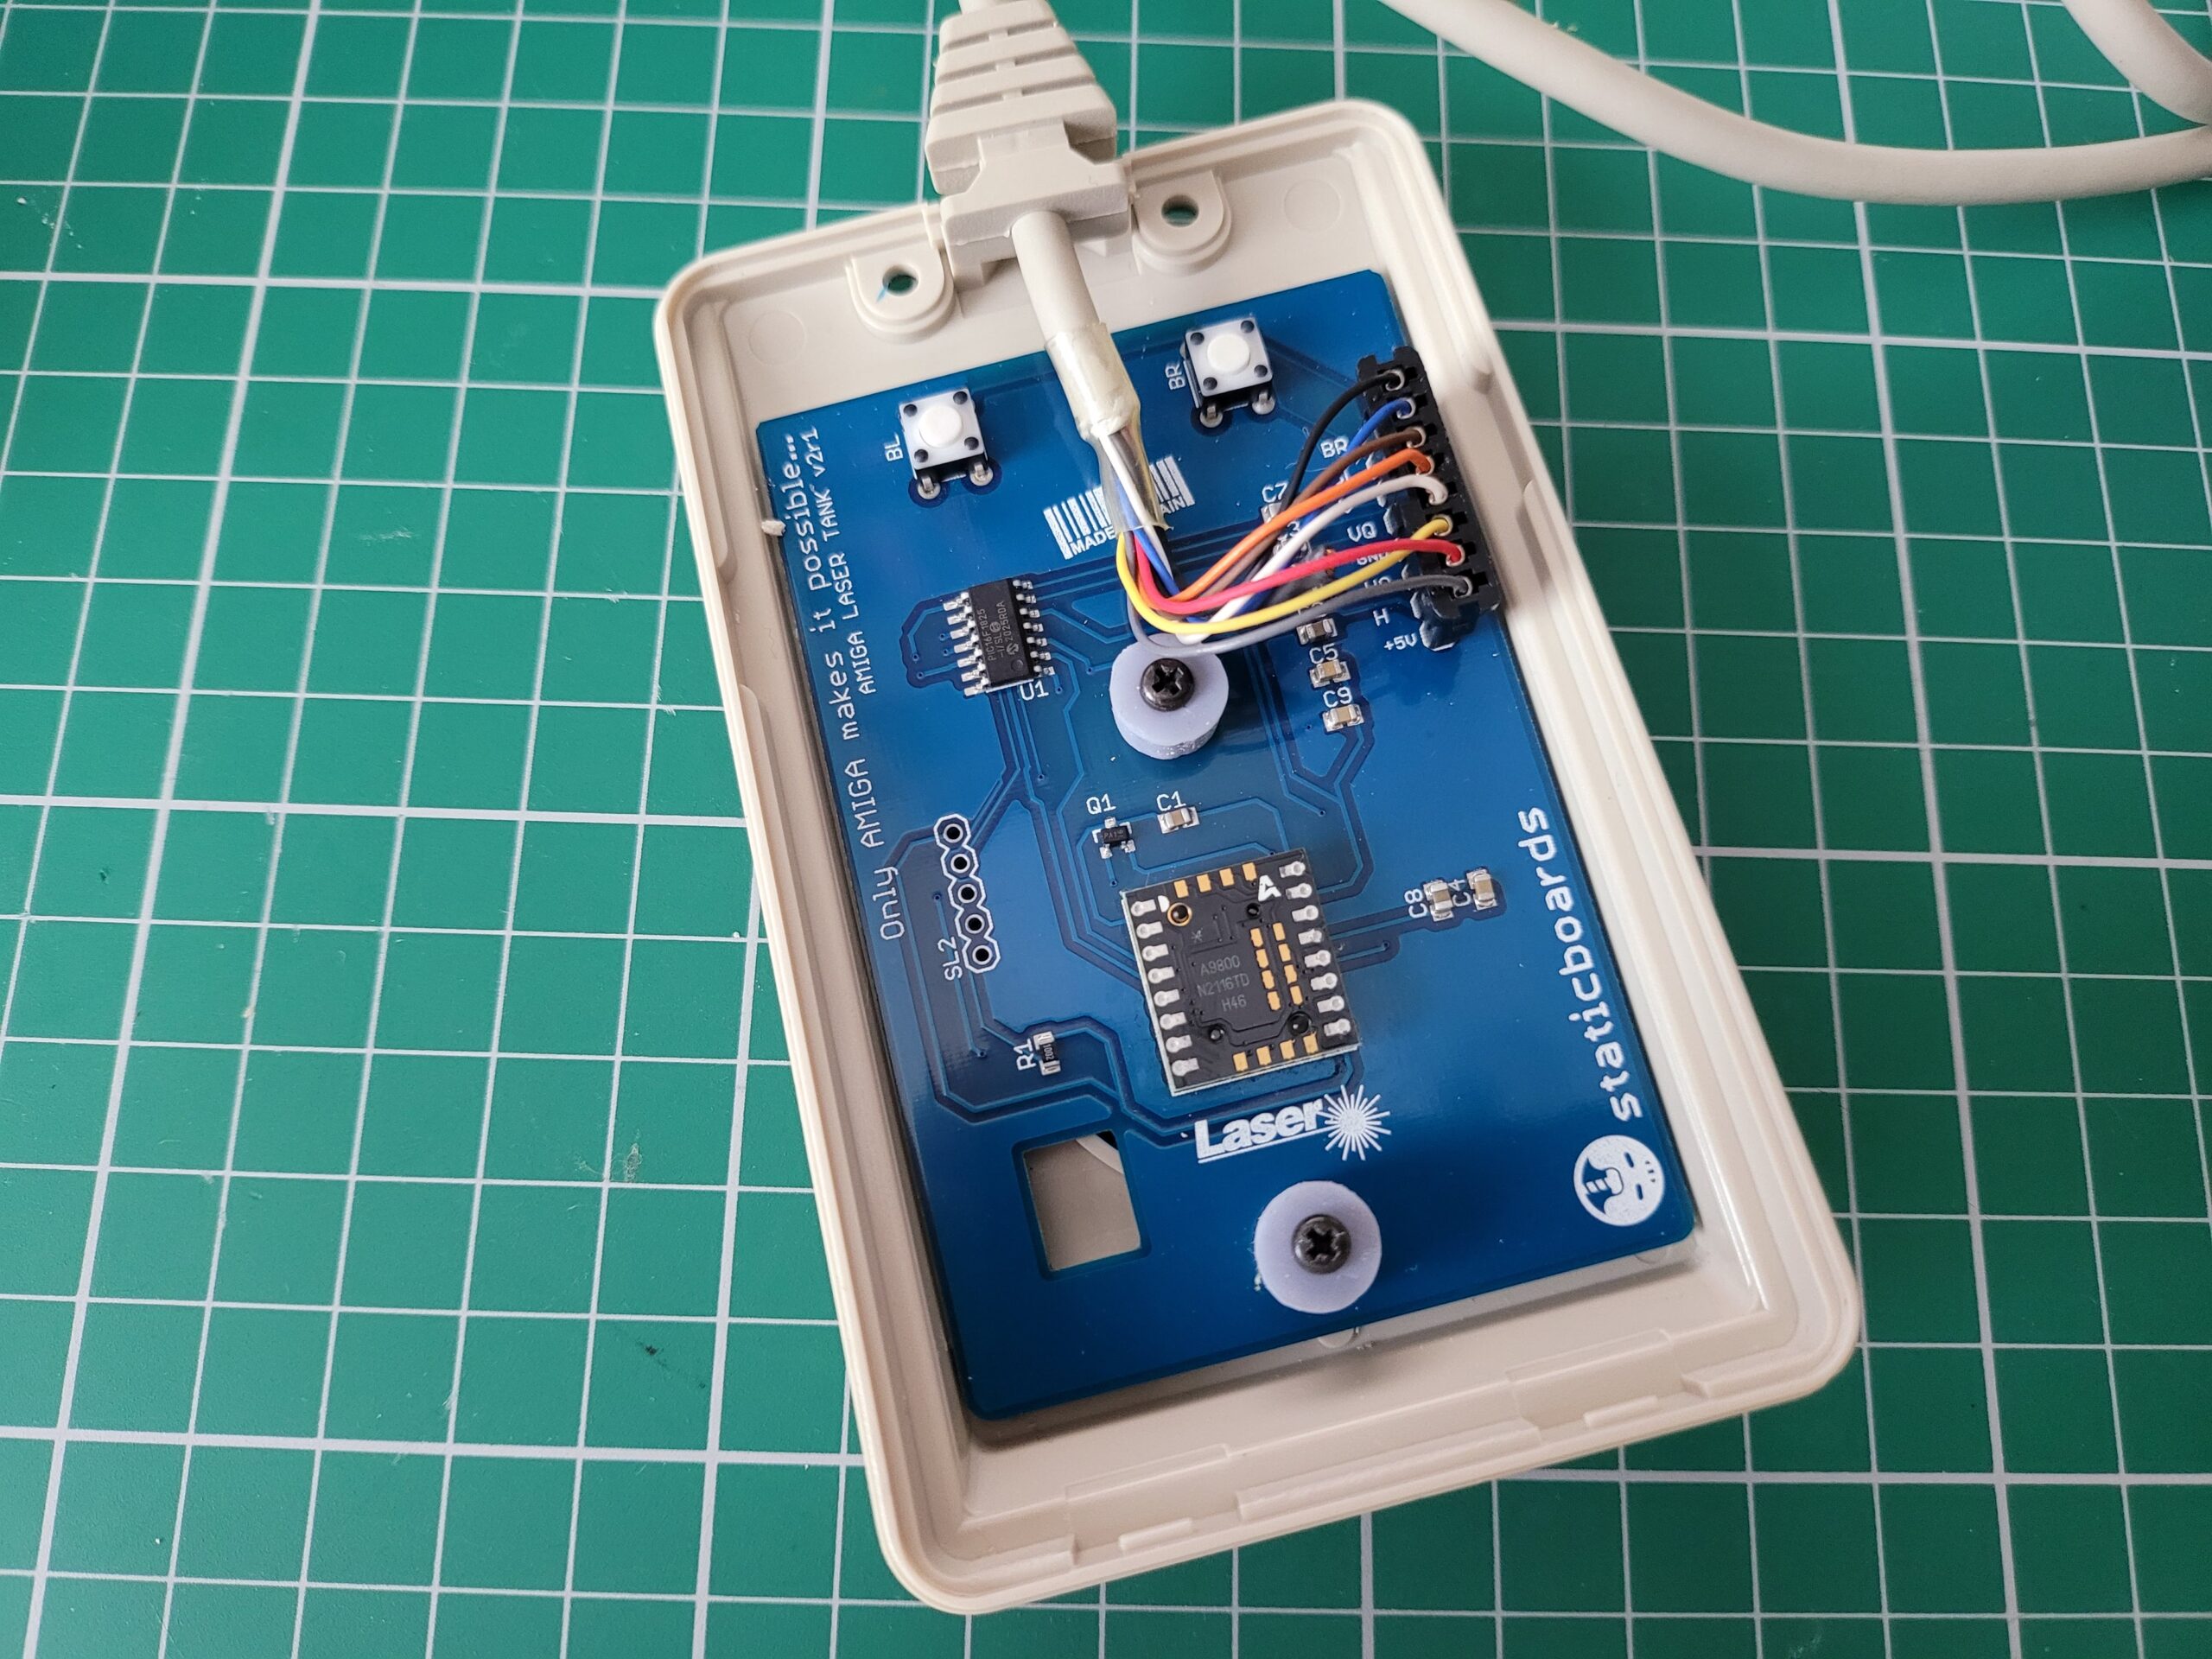
Board secured in place and cable reconnected.
Now I just needed to replace the top half of the case by carefully relocating the clips at one end and securing the other with the two silver screws.
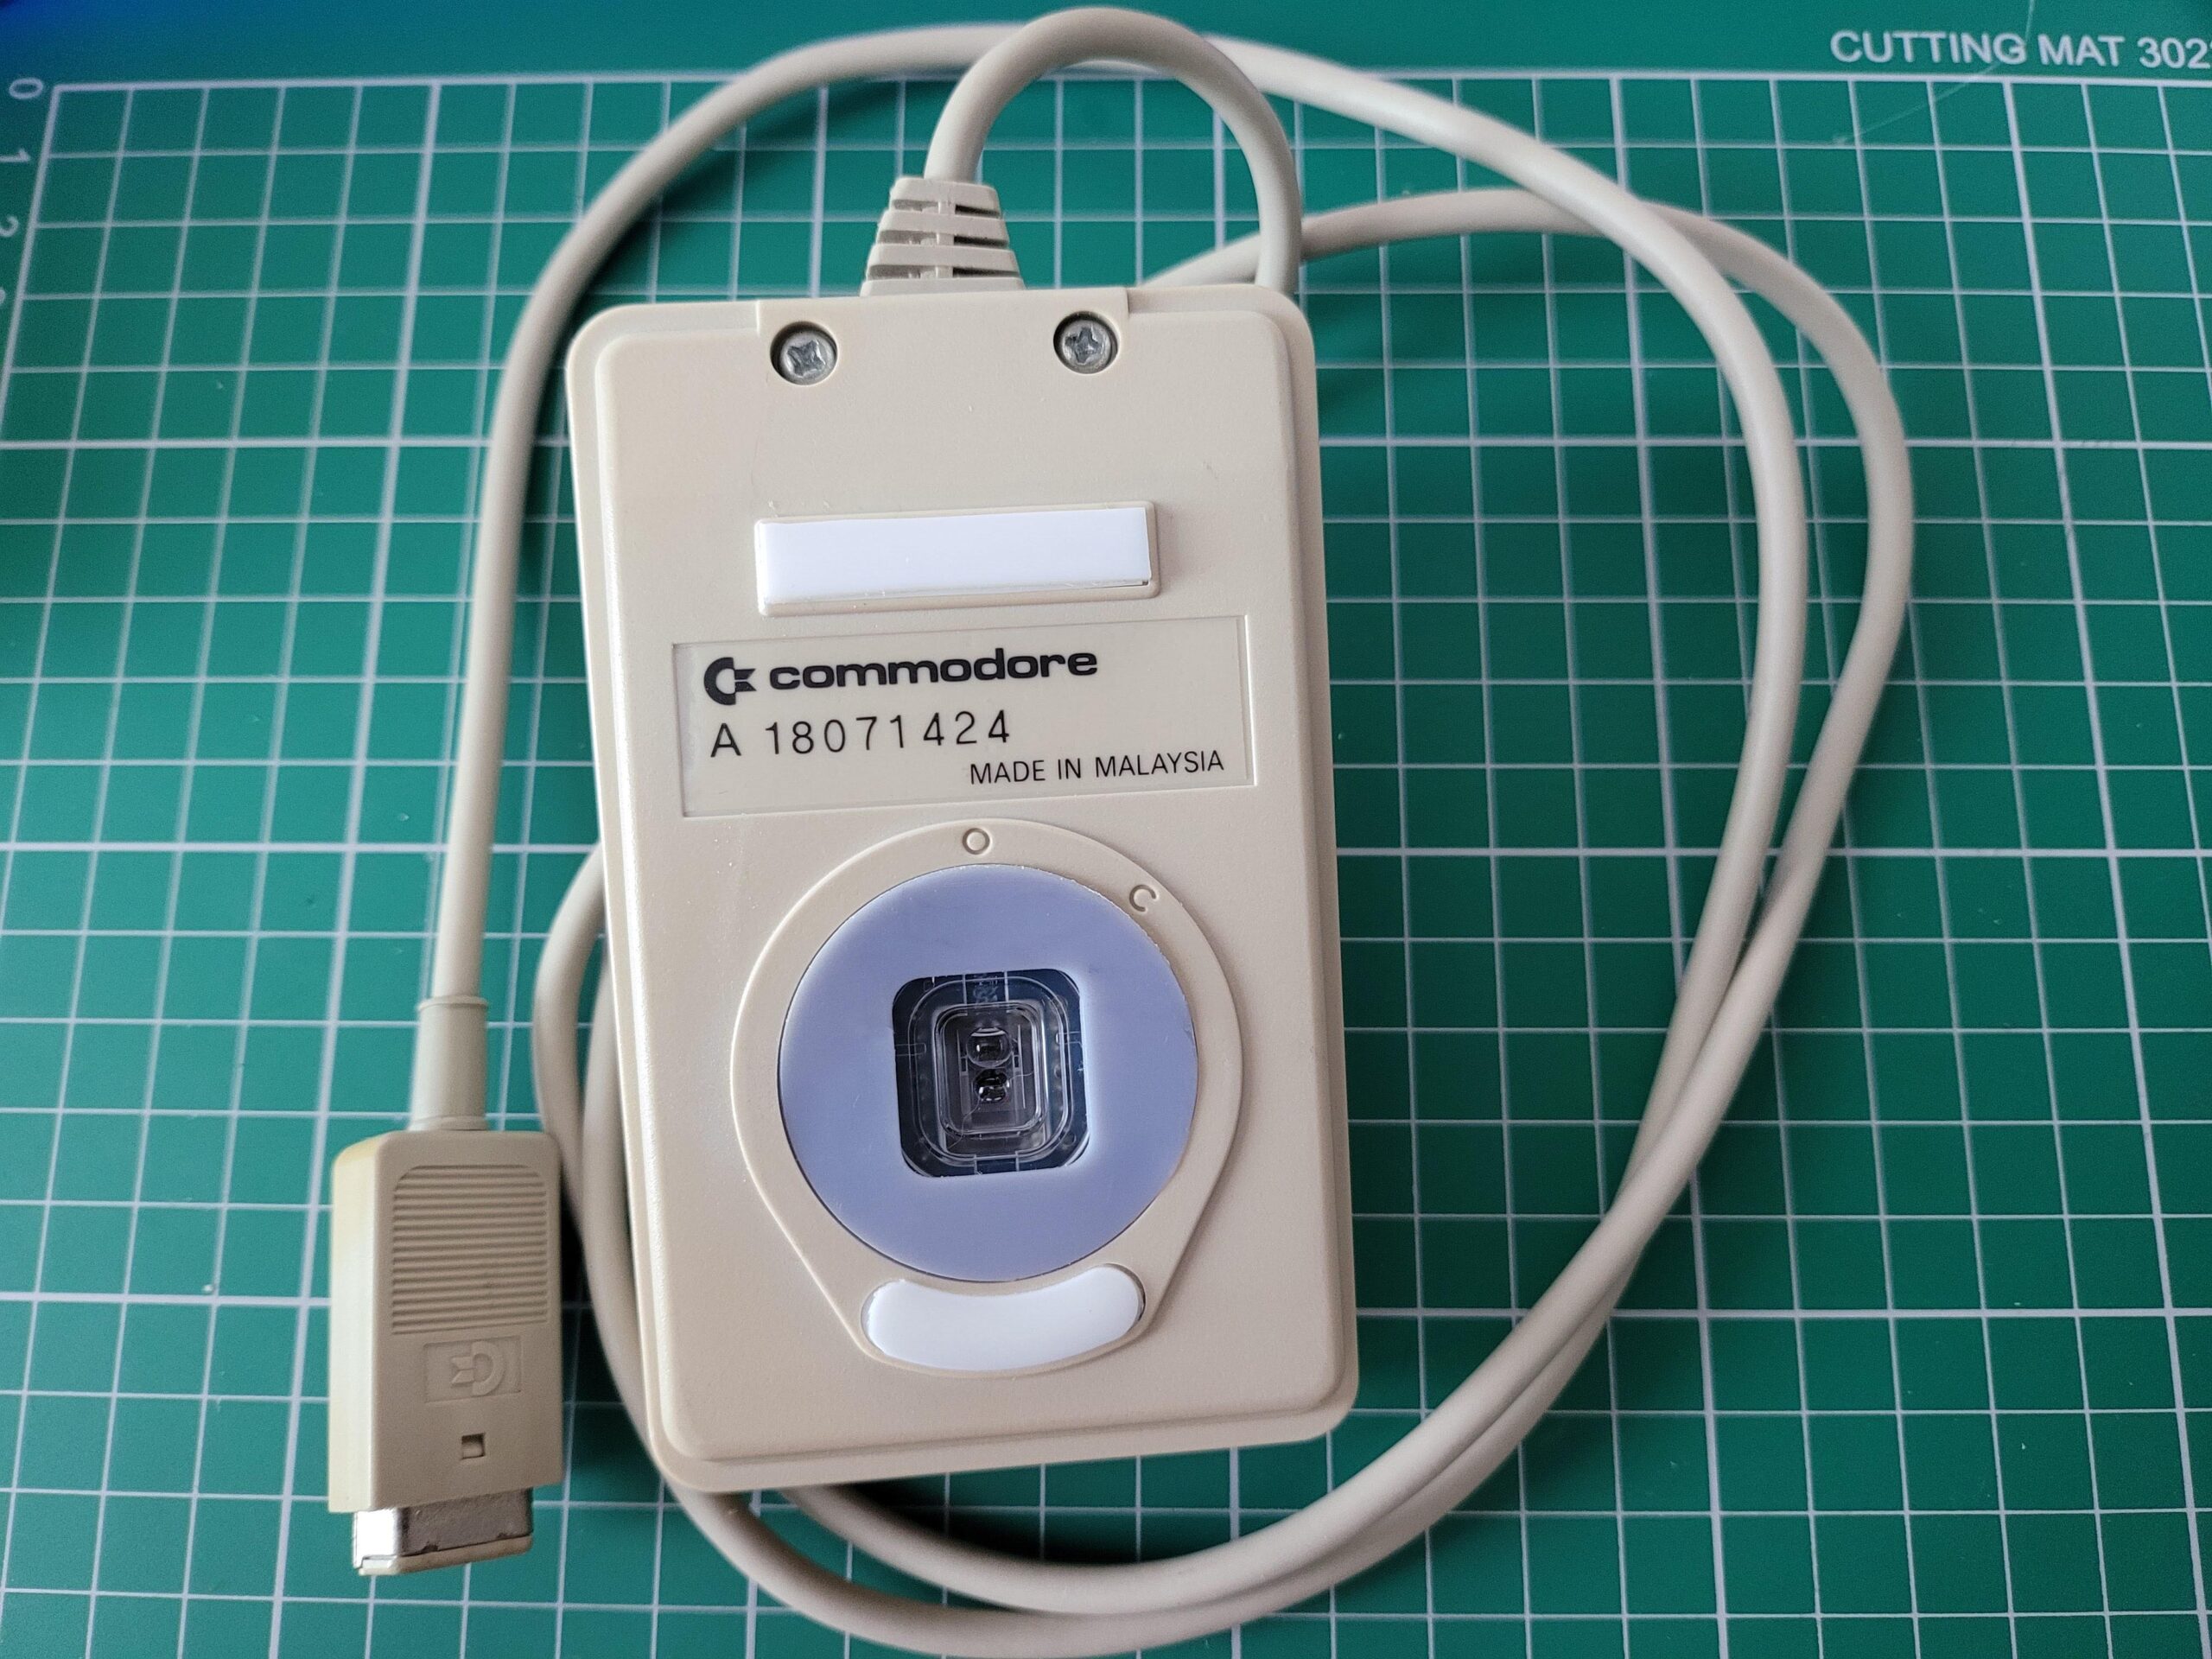
Job done.
Test Drive
The only thing left to do now was plug it into my Amiga and take it for spin. Happily it performed very well indeed, it was just like using a brand new mouse – which is effectively what it is now. I did find the mouse buttons to be quite stiff compared to modern mice but it’s something I could get used to. The stiffness will be down to the type of switches they’ve used in the construction of the new board and they may possibly soften up a bit in the fullness of time too.
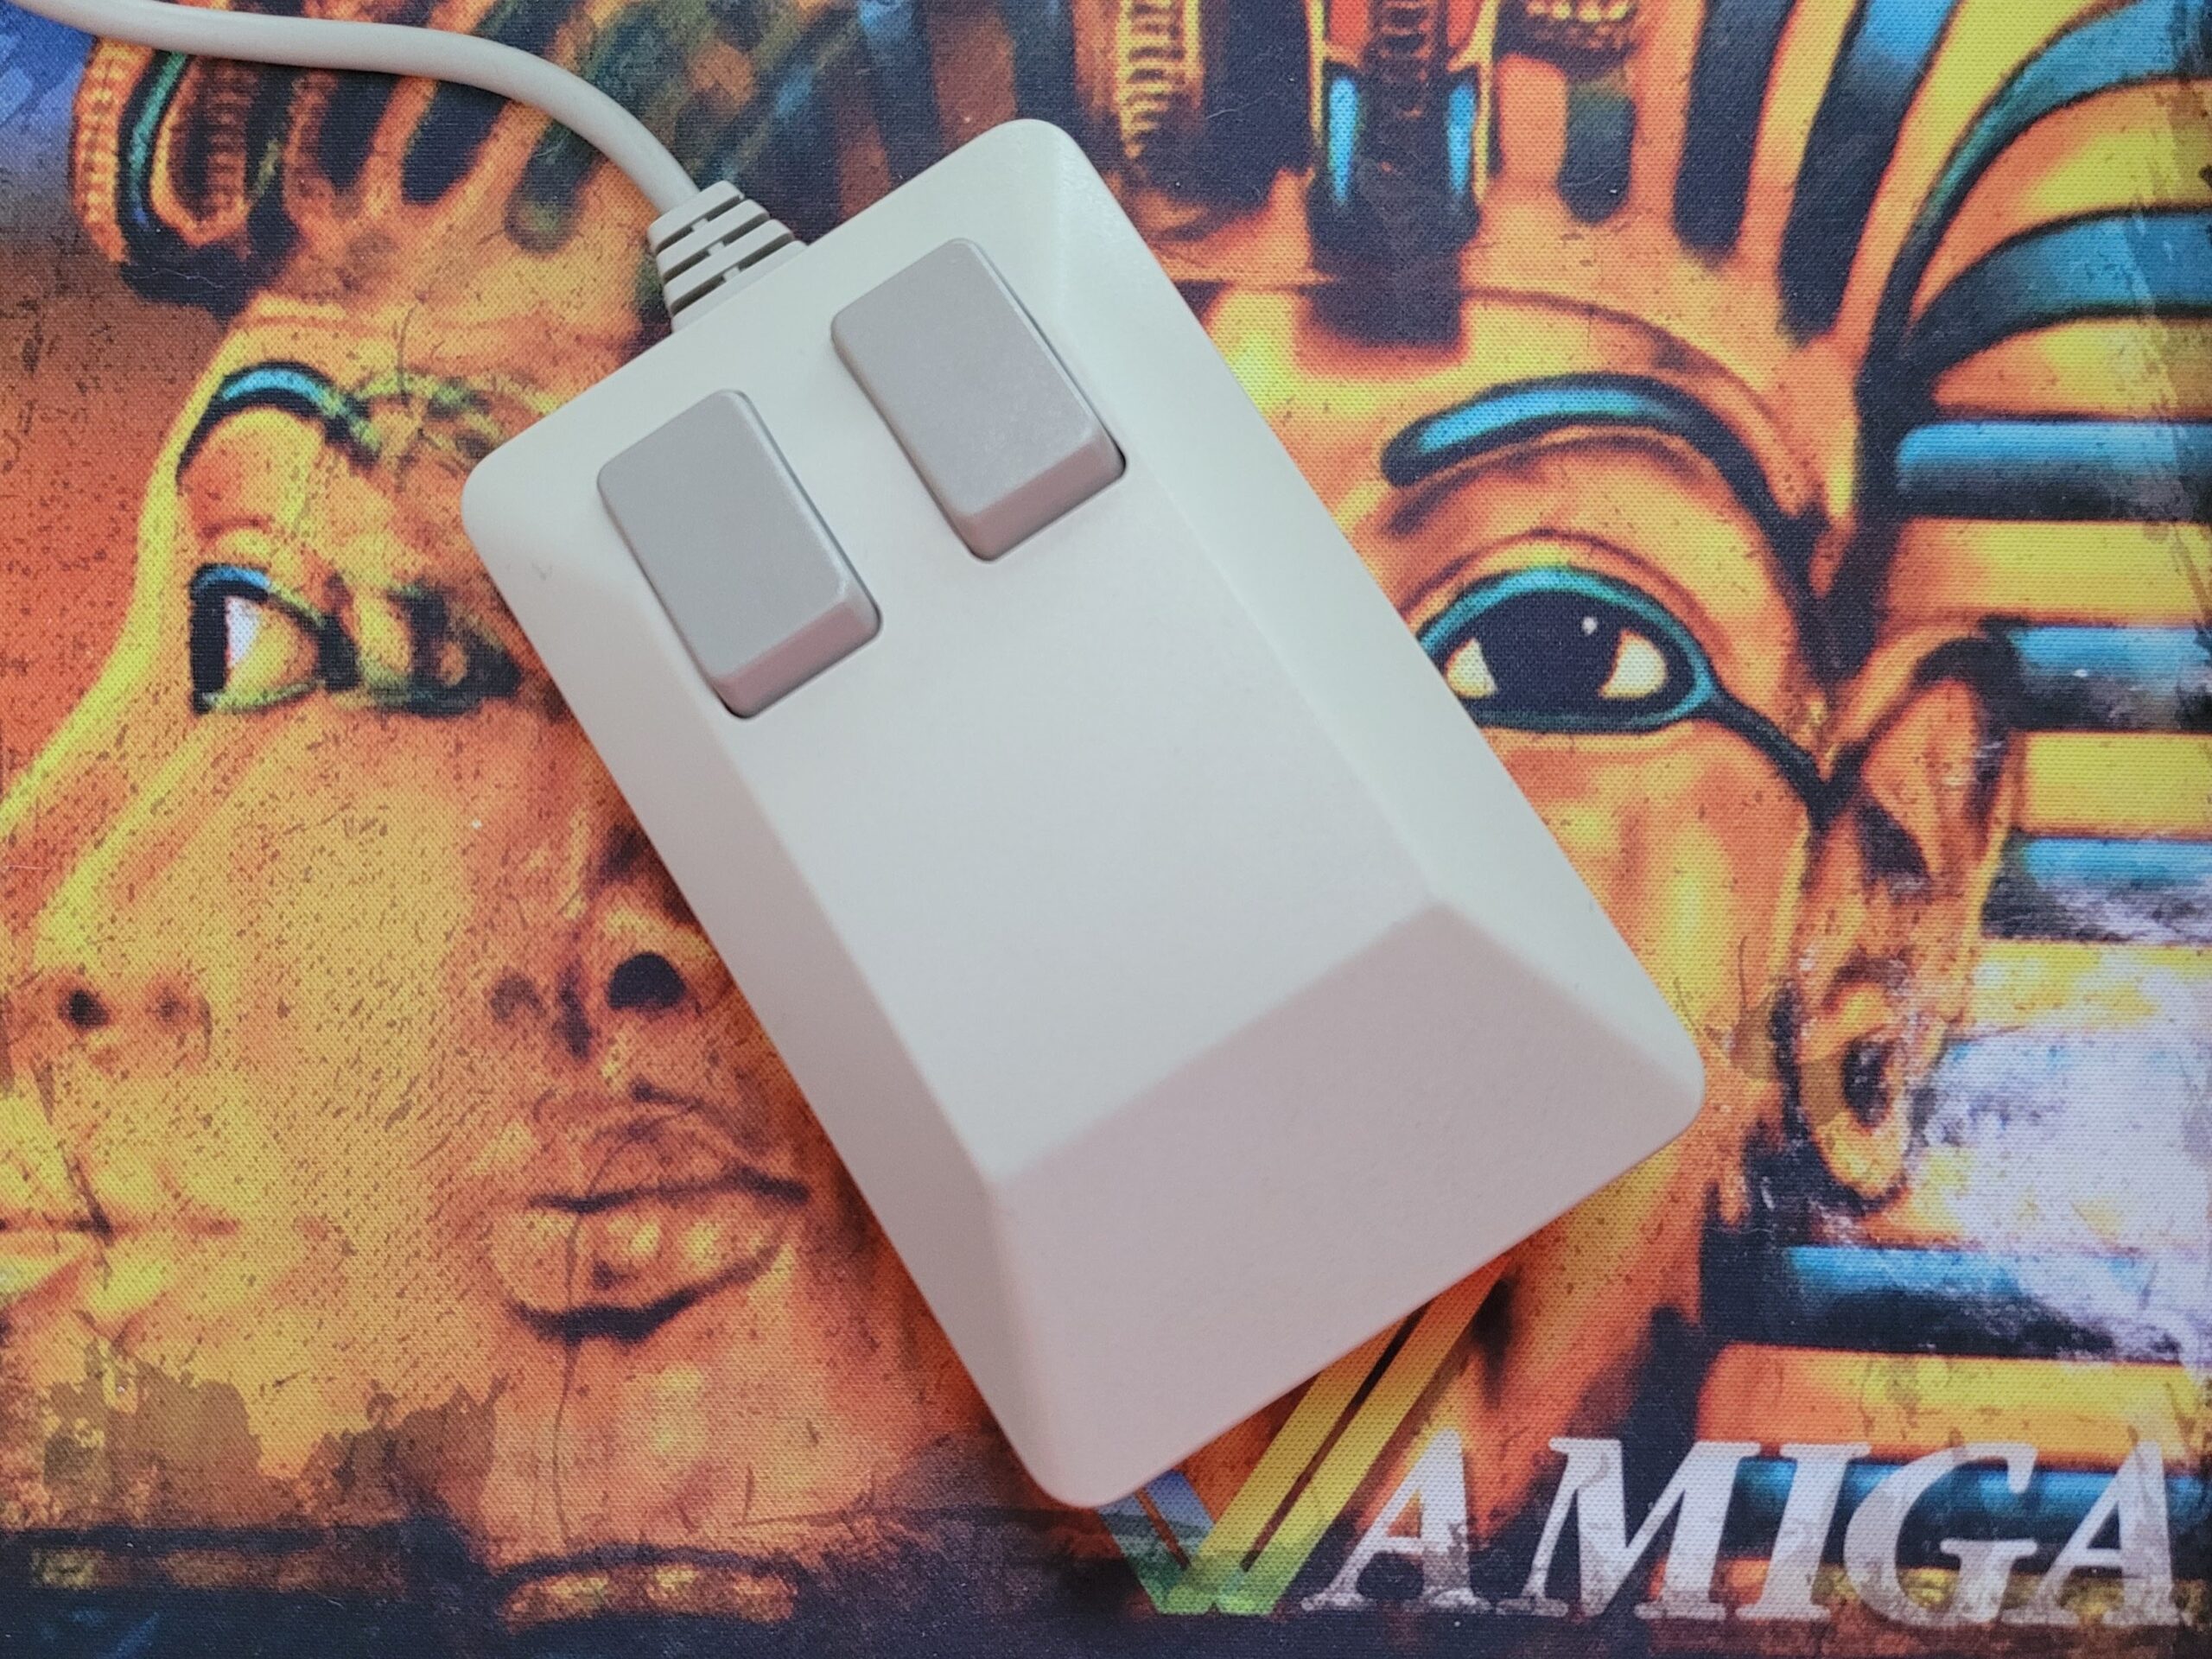
Mouse back in action!
All in all I can heartily recommend this laser upgrade kit. Sure, the photos in the instruction manual are a bit ropy and the grey mouse cover isn’t perfect but the stuff that really matters, the laser mechanism itself, is spot on. This upgrade has totally transformed my crusty old tank mouse into a device worthy of being used in the 21st century.
Unfortunately at the time of publishing this if you want one you will need to register your interest on their website as they are currently out of stock. Still, good things come to those that wait!
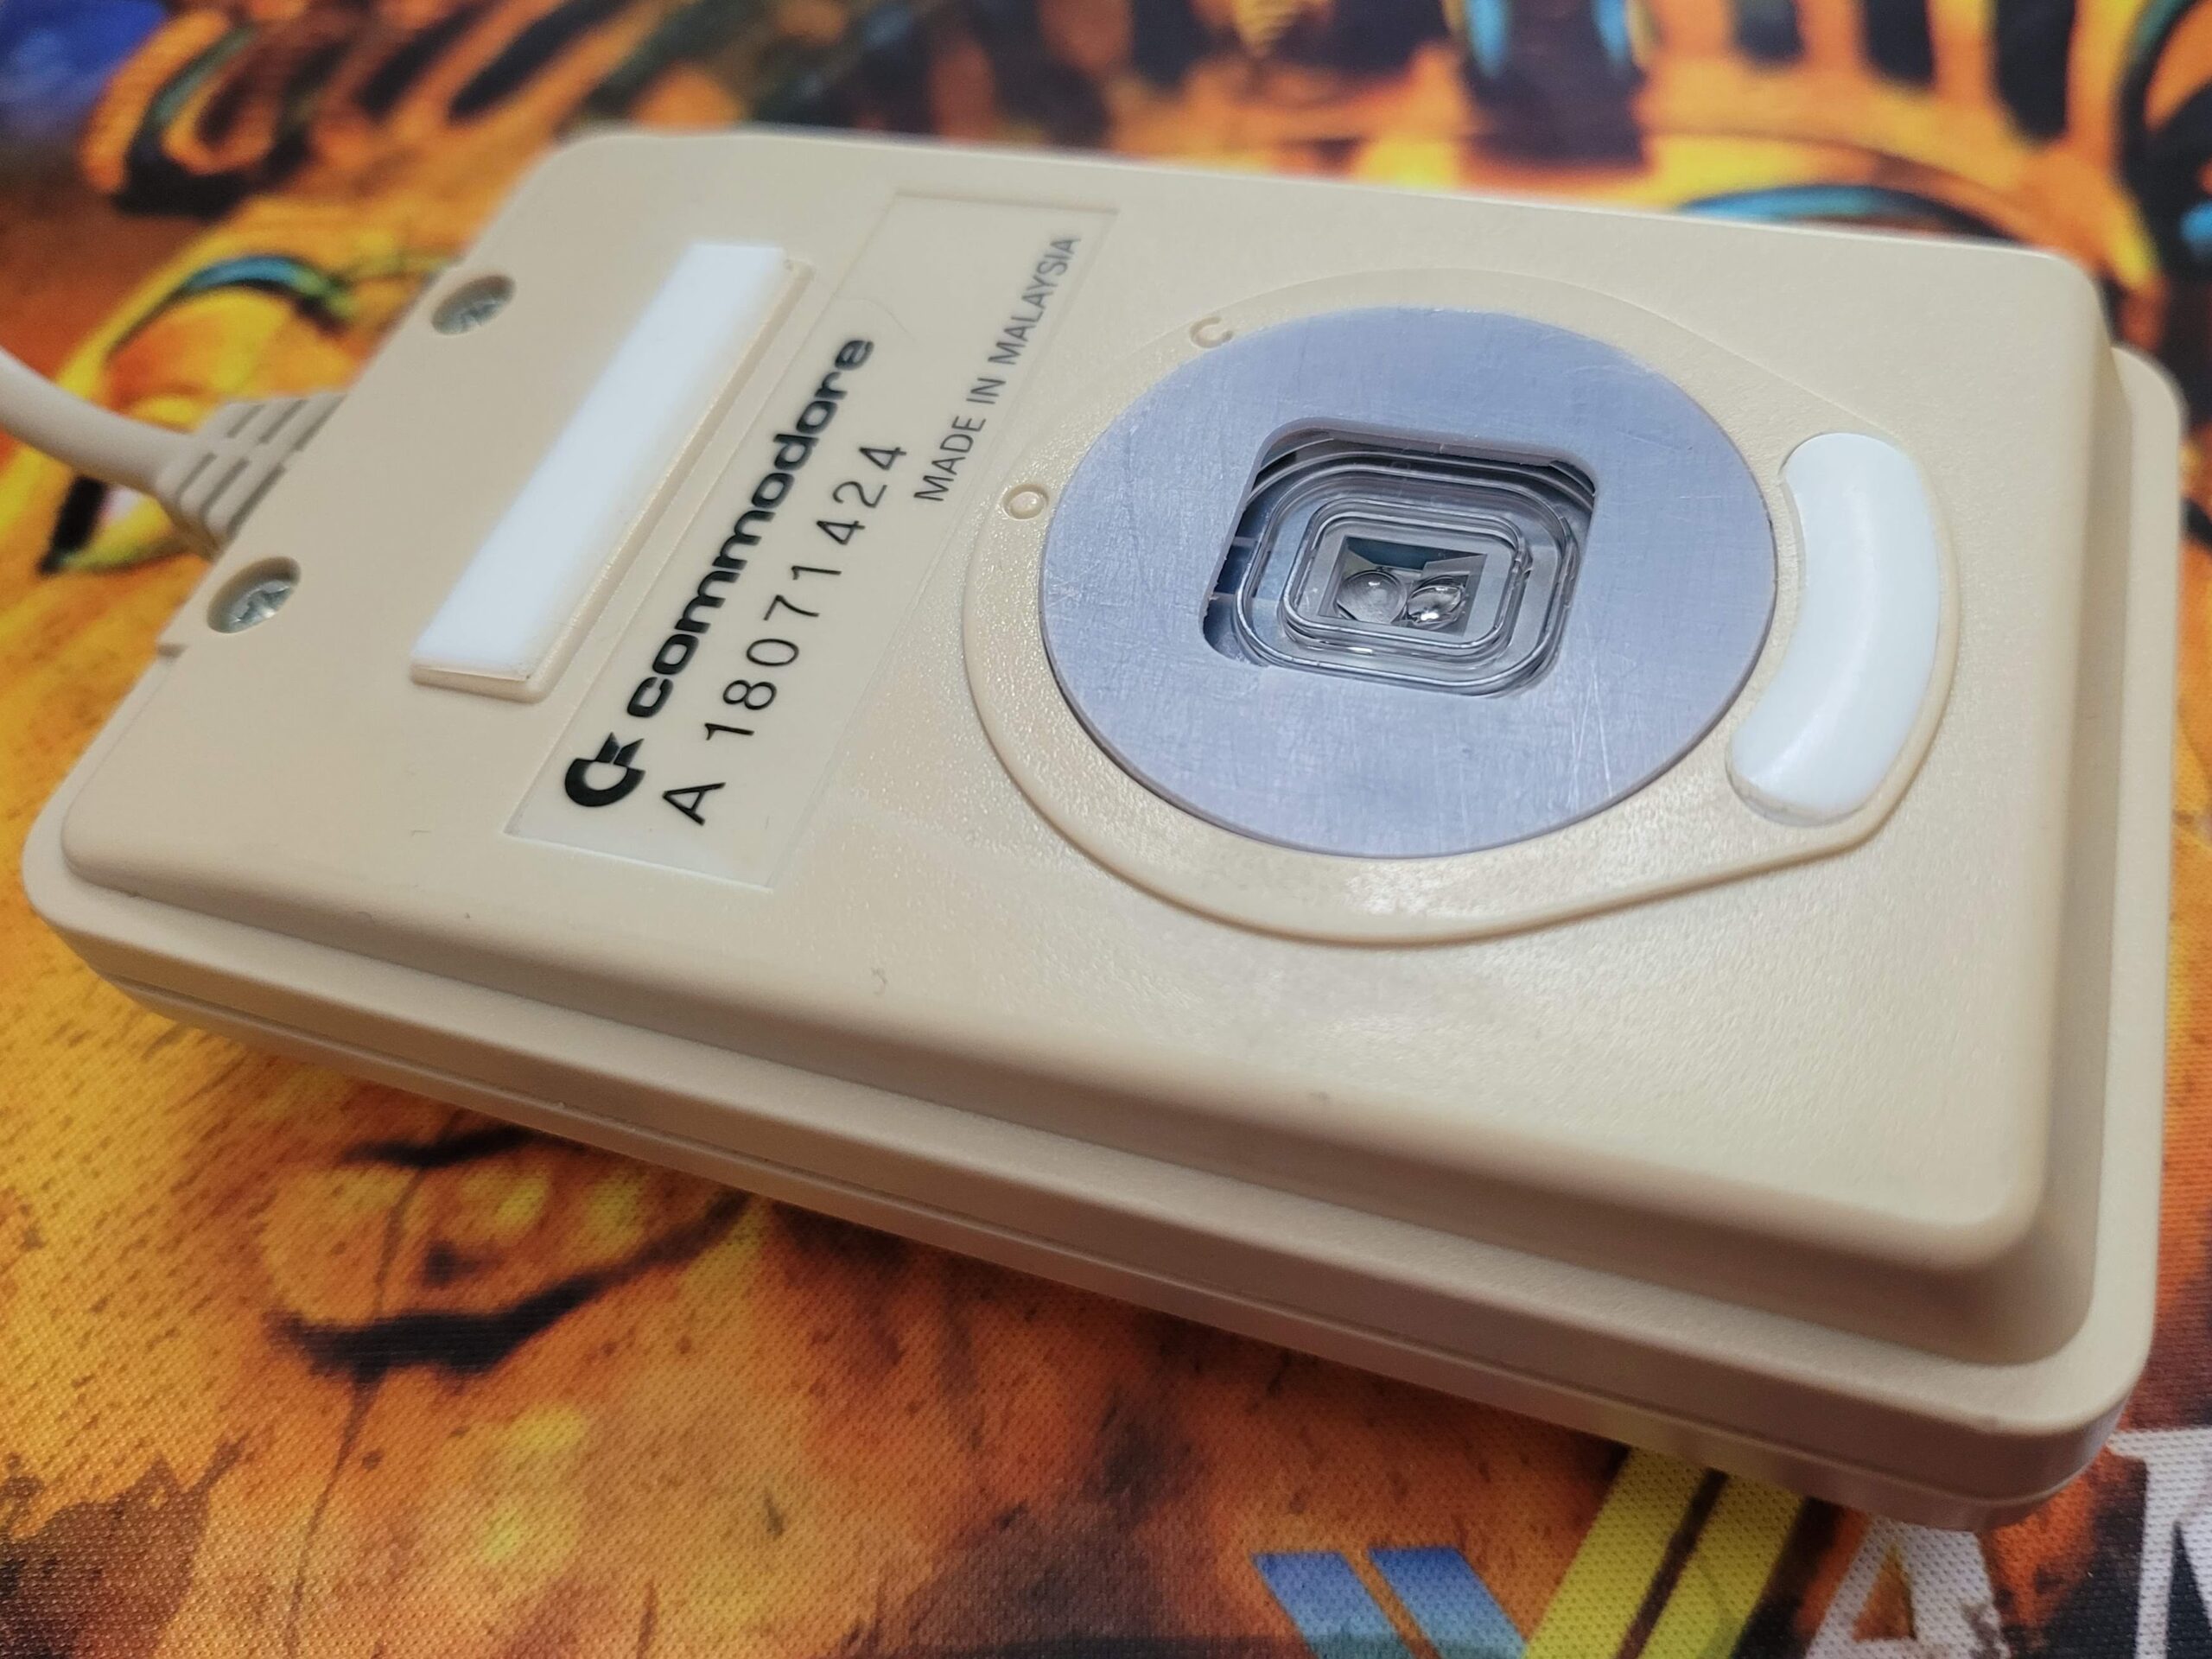
Close-up of the underside of the mouse.