Lyonsden Blog

Tag - gadgets

Changing a Boogie Board Battery

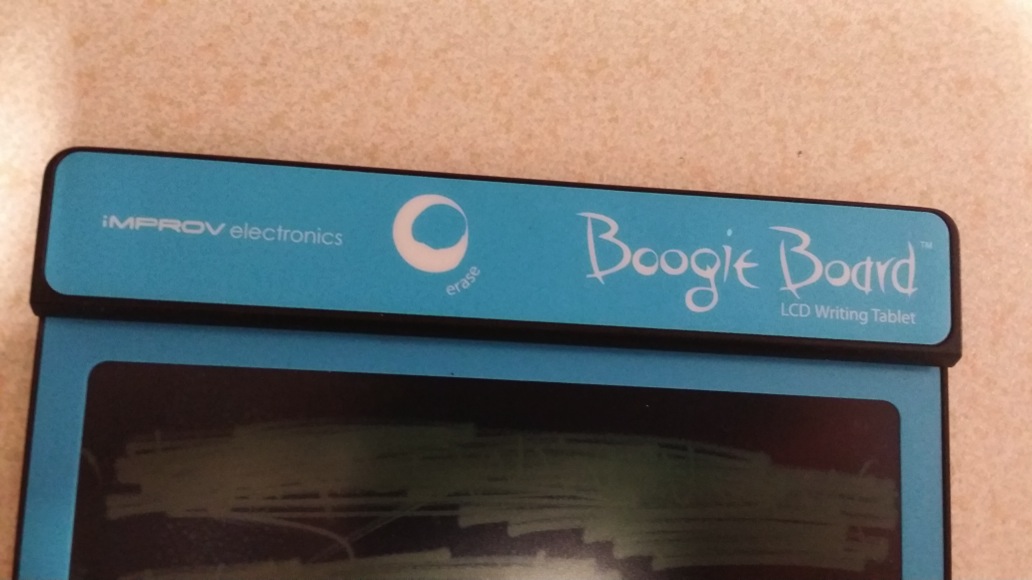
Boogie Board LCD Slate/Tablet

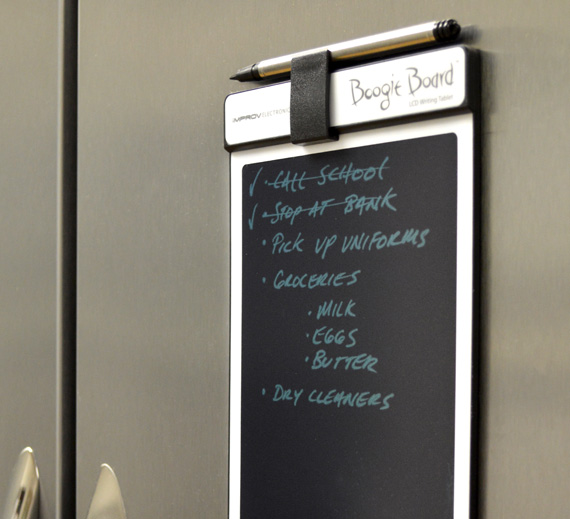
Boogie Board LCD Slate/Tablet

A couple of years ago I bought a cool looking gadget called a Boogie Board from Firebox. Intention was to attach it to the fridge-freezer and use it as a paperless notepad for shopping lists, reminders and so on. It has performed that job flawlessly until a week ago when it suddenly refused to erase the contents of the screen. To cut a long story short, the battery was flat and without any power the e-ink display (similar to the original Kindle) couldn’t be erased. The device is sold with a NON-REPLACEABLE 3V battery and is supposed to last for 50,000 screen wipes before losing charge. I’ve had the thing for not much longer than 2 years and even if it had been used and wiped every single day that would be less than 800 wipes, a figure massively short of the touted 50K. I’ve probably erased it once or twice a week so probably erased it 250-300 times, tops!!! When you consider that is cost me £30 and they expect me to throw it in the bin and get another one you can imagine I was not too pleased!

So, being a tinkerer and having nothing to lose if things went wrong I decided to open it up and see if there was anything I could do to salvage it. Turns out it is fitted with a normal 3v Lithium CR2032 Button Cell with the only complication being that it is soldered onto the small PCB inside. The good news is these can be purchased off eBay for a few pounds, complete with the solder tags – a much better prospect than throwing a perfectly good product in the bin and spending £30 to replace it! Incidentally, I did try my local Maplins but they don’t stock this type of battery..

I thought I’d share my exploits in case it can help anyone else in a similar situation.


Prising the cover off

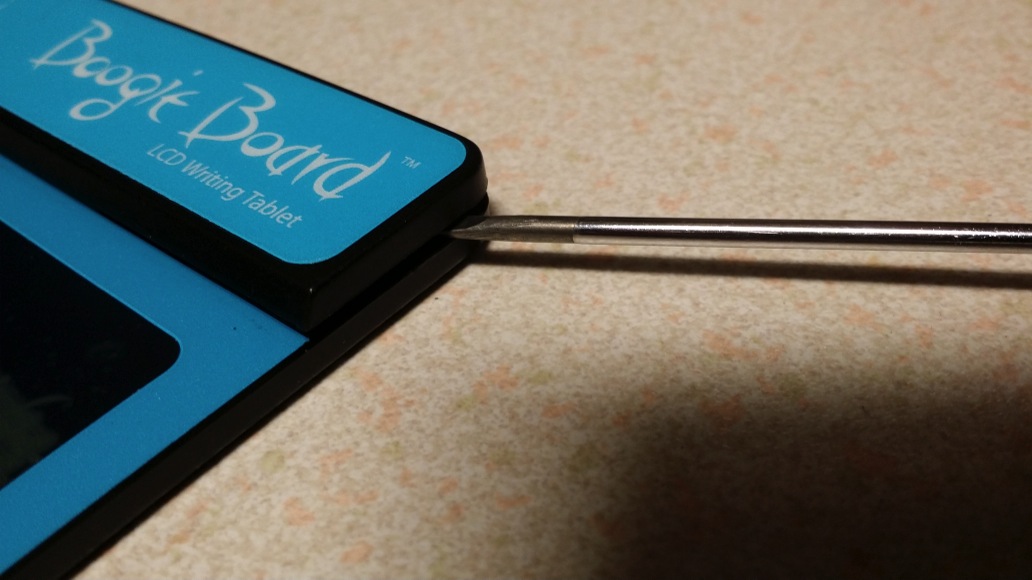
Prising the cover off with a screwdriver

First off, you need to remove the thick top strip (the bit that houses the erase button). There are no screws, it appears to just clip into place by means of four studs spaced across the width of the board. I was able to carefully prise this strip off using a very thin precision flat-head screwdriver, just be careful not to push the screwdriver in too far as you may damage the components inside.


Boogie Board with cover removed

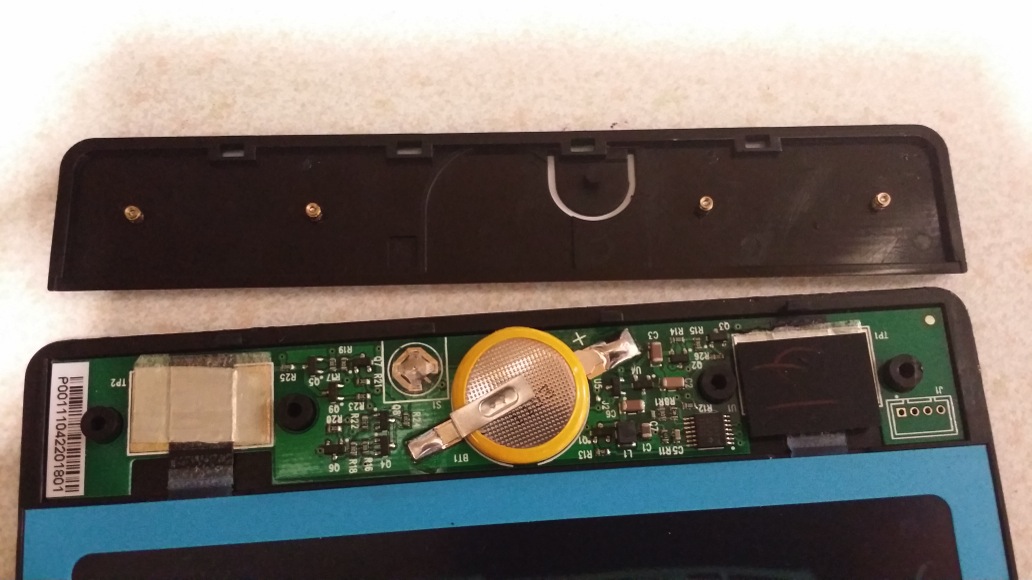
Boogie Board with cover removed

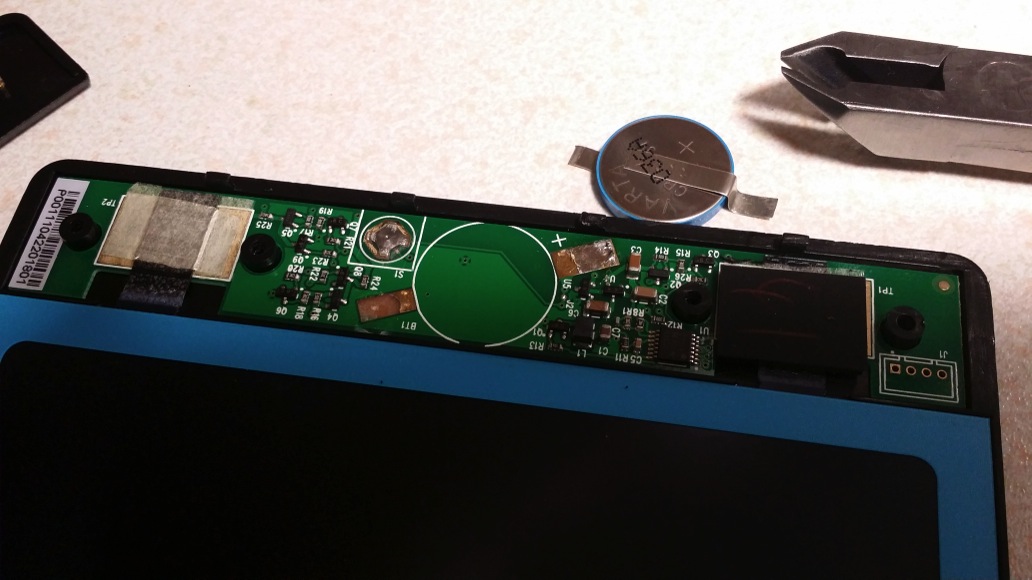
Once it is off you will be able to see the old battery in the centre, soldered to the PCB by means of two ‘tags’. You will need to de-solder the old battery to make way for the new one. Be careful though, I was a little ham-fisted and accidentally pulled away some of the solder pad on one side – luckily enough remained to allow me to continue.


Old battery removed

Old battery removed

Here’s the PCB with the old battery removed.


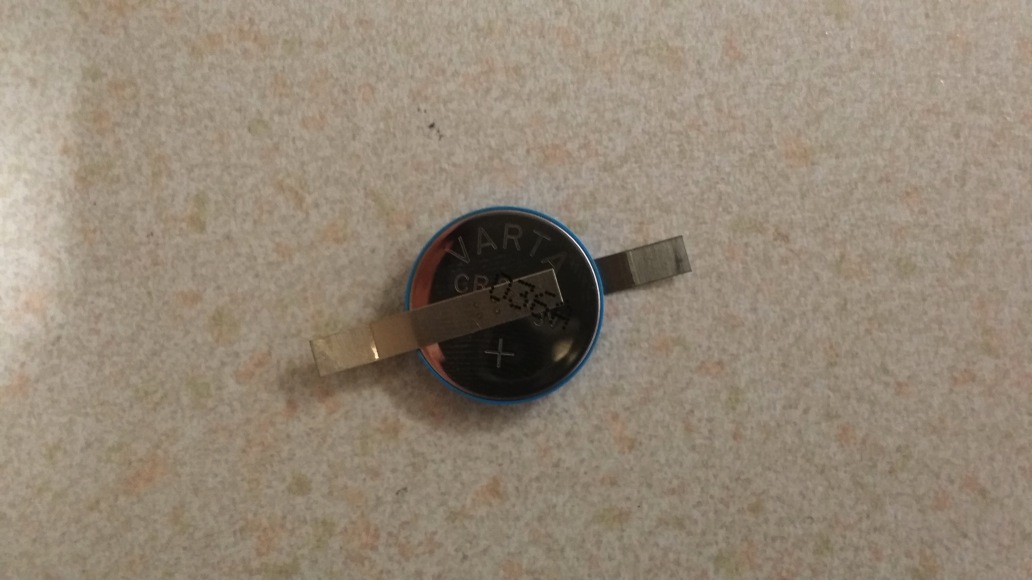
Replacement 3V CR2032 Battery

Replacement 3V CR2032 Battery

Here’s the replacement battery, complete with tags. You need to make sure you observe the polarity of the tags when you solder it back onto the PCB otherwise it may not work.


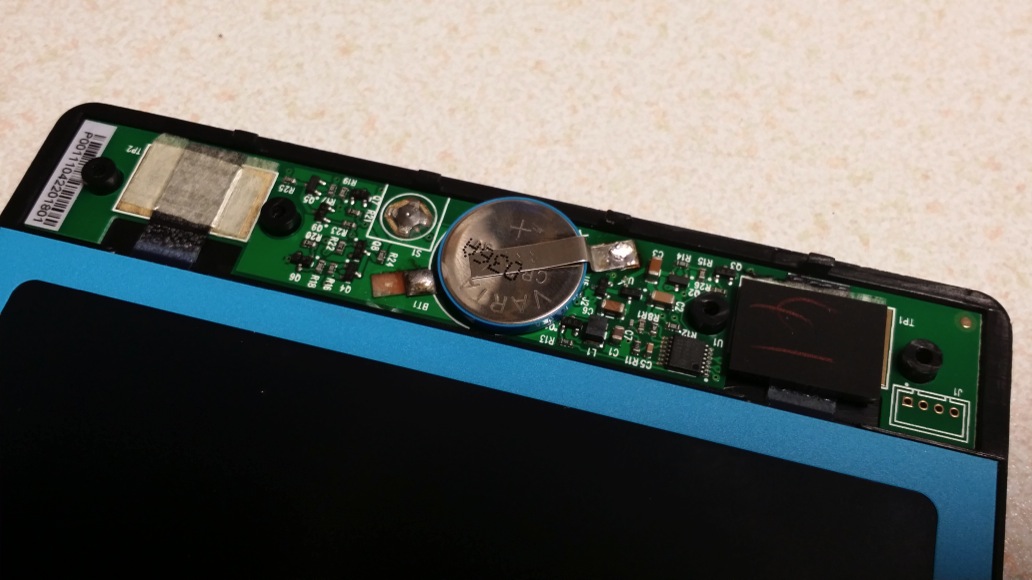
New battery fitted

New battery fitted

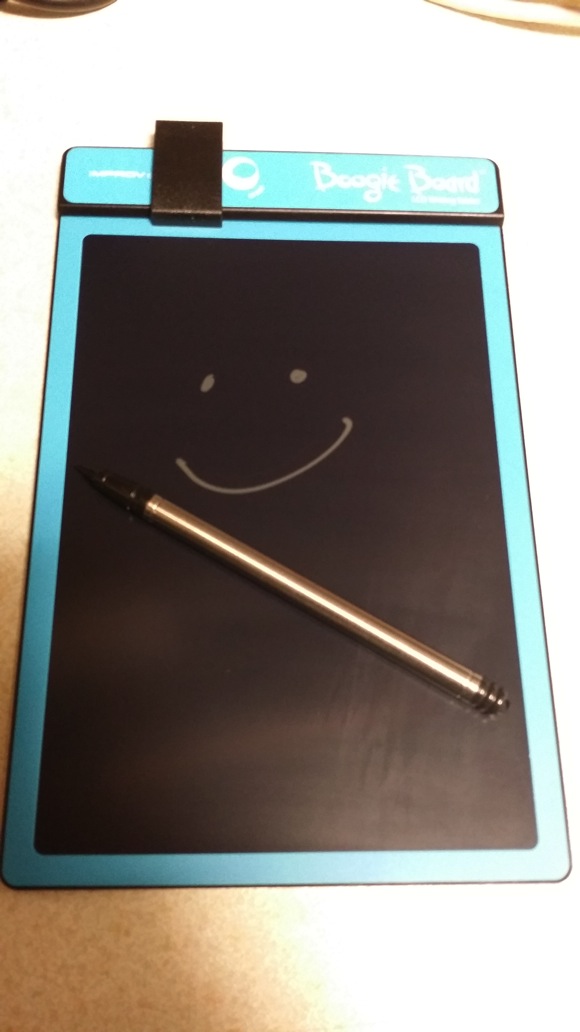
Once the battery is soldered back on, check the erase function now works by depressing the little silver switch to the top left of the battery. You can then replace the cover strip by simply pressing it back into place and you’ll have a fully working Boogie Board once more!


My fixed Boogie Board

My fixed Boogie Board

Moga Pro Review – PS Vita killer?

Moga Pro Review

Today I finally received my Moga Pro pre-order from Game and I’m very happy to say it was worth the wait!


Moga Pro Review

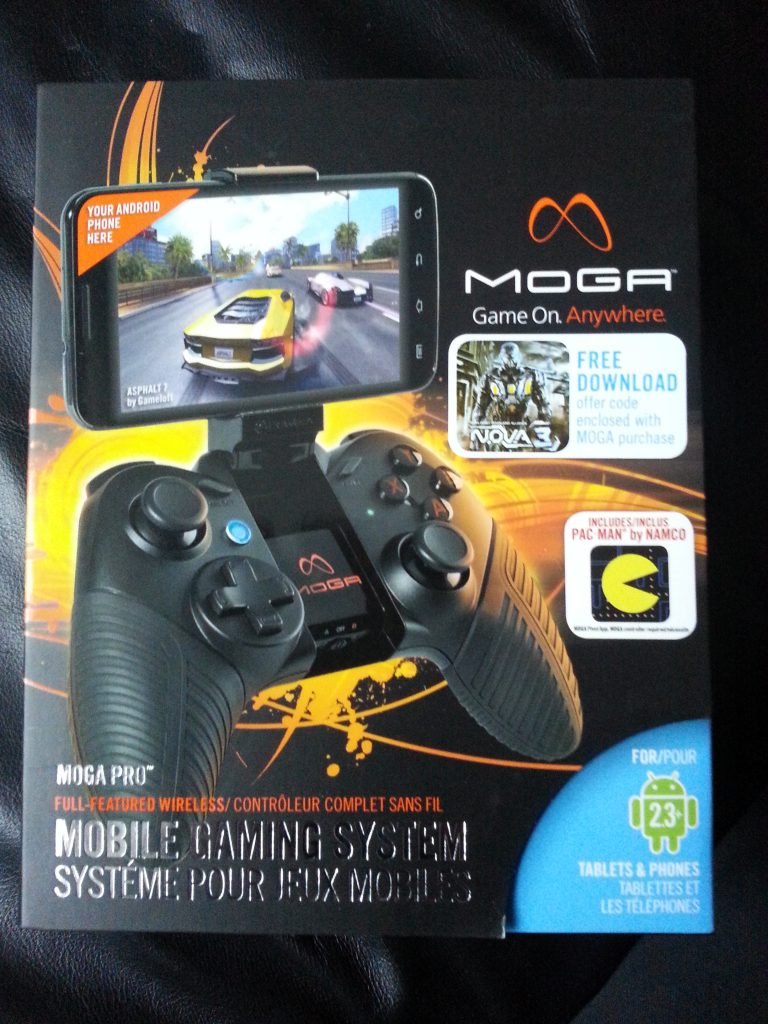
Moga Pro Box

Just in case you’re not aware of what one is – it’s a bluetooth hardware gamepad that works with Android phones and tablets to give you a more ‘console like’ experience and overcome the problems of using touch screens to play.

Moga Pro Review

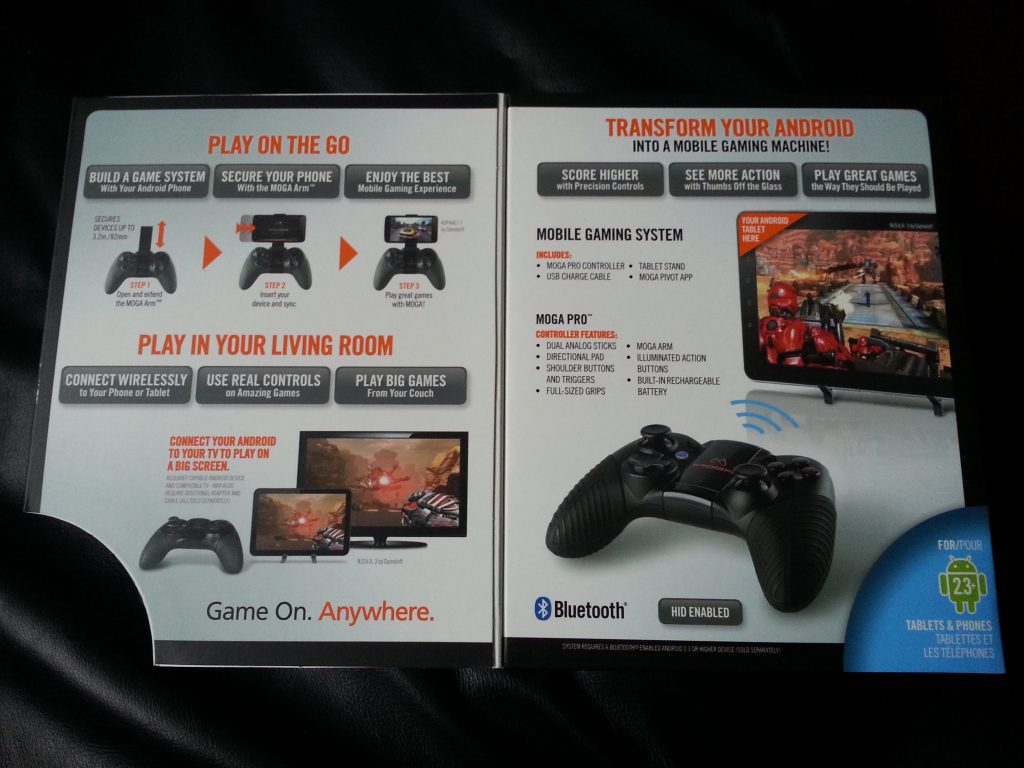
Moga Pro Box (flap open)

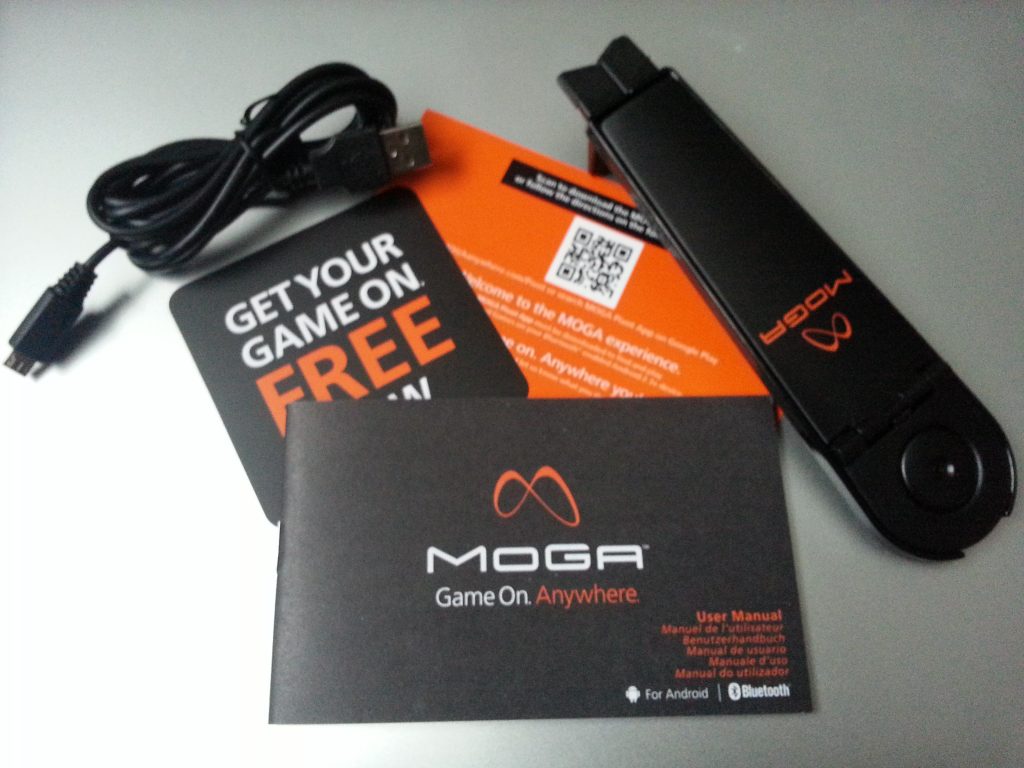
The devices retails for £40 and comes in a very attractive retail box with a fold out magnetic front flap that shows the device in action with phones, tablets and even a TV. Inside the box you get the pad itself, a plastic tablet stand, USB charging cable, instruction booklet, quick-start guide, QR code to download the driver for your device and a code to download a free copy of N.O.V.A. 3 from the Gameloft’s own store.

Moga Pro Review

Moga Pro Box (back)


First thing you need to do is charge the pad up as it is powered by an internal rechargeable battery. An LED flashes yellow to indicate the unit is charging and extinguishes when fully charged. While the pad is charging you can scan the QR code with your phone which will take you straight to the MOGA Pivot app which you need to install on your phone or tablet.


Moga Pro Review

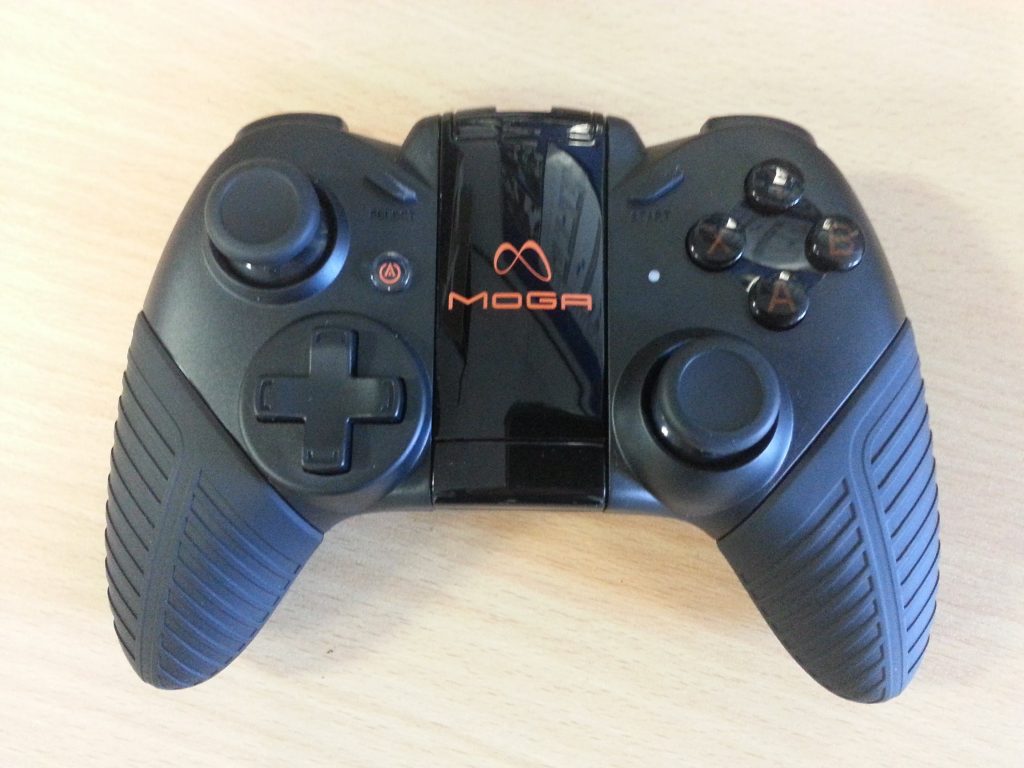
Moga Pro Gamepad

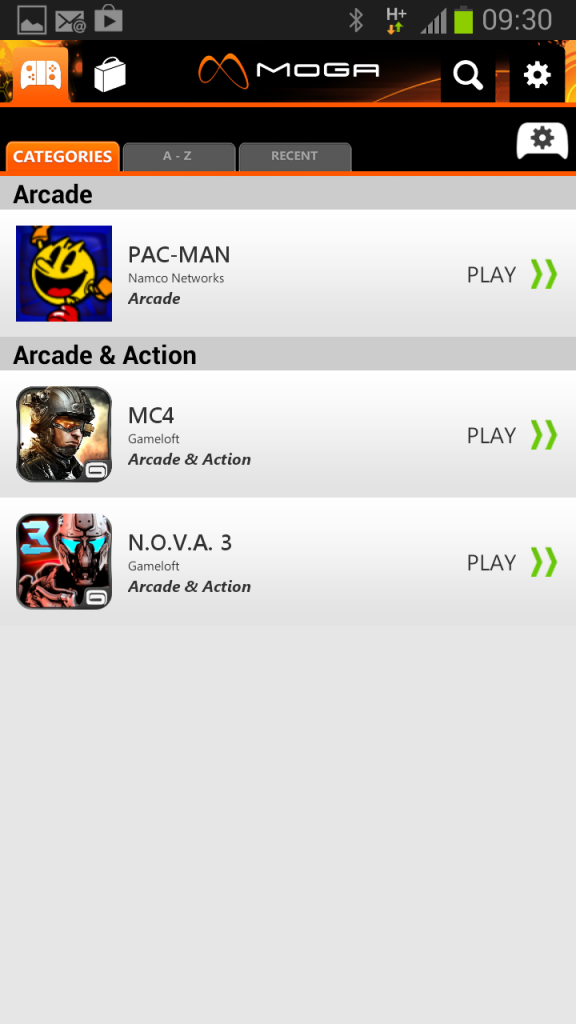
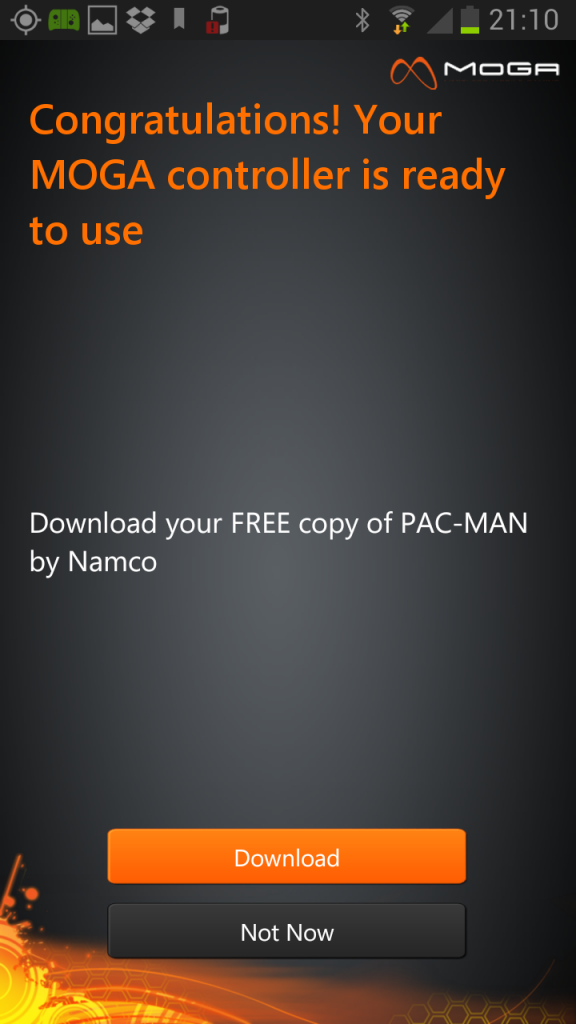
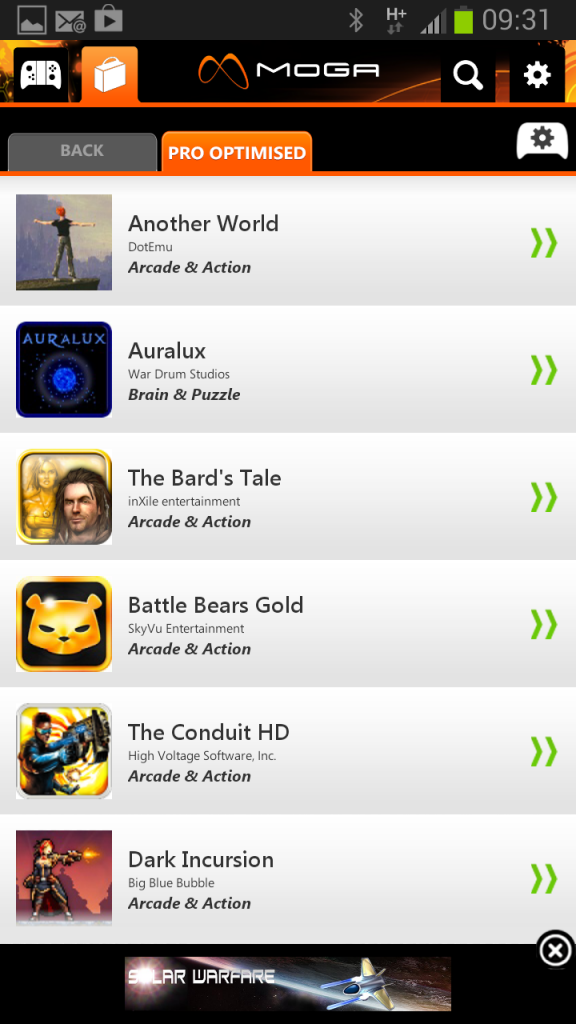
Once the gamepad is fully charged you can move onto the next stage which just involves running the Pivot app and following the simple on-screen instructions to pair the pad with your phone. It will also give you an opportunity to get a free copy of Pacman*, redeem your Nova 3* game code and register for updates. I received an email a few minutes after registering with instruction on how to actually get the game. The whole process couldn’t be simpler and my pad paired and worked first time with no issues at all. As well as letting you setup your pad the Pivot app also acts as a central hub where you can see all of your installed Moga Pro compatible games and also browse and download new ones.

Moga Pro Review

Moga Pro Box Contents

*In order to install both of these games you have to allow installs from Unknown sources on your phone. The option can be found in Settings>Security>Unknown sources. This is because the apps are being downloaded from outside the Google Play store.

Moga Pro Review

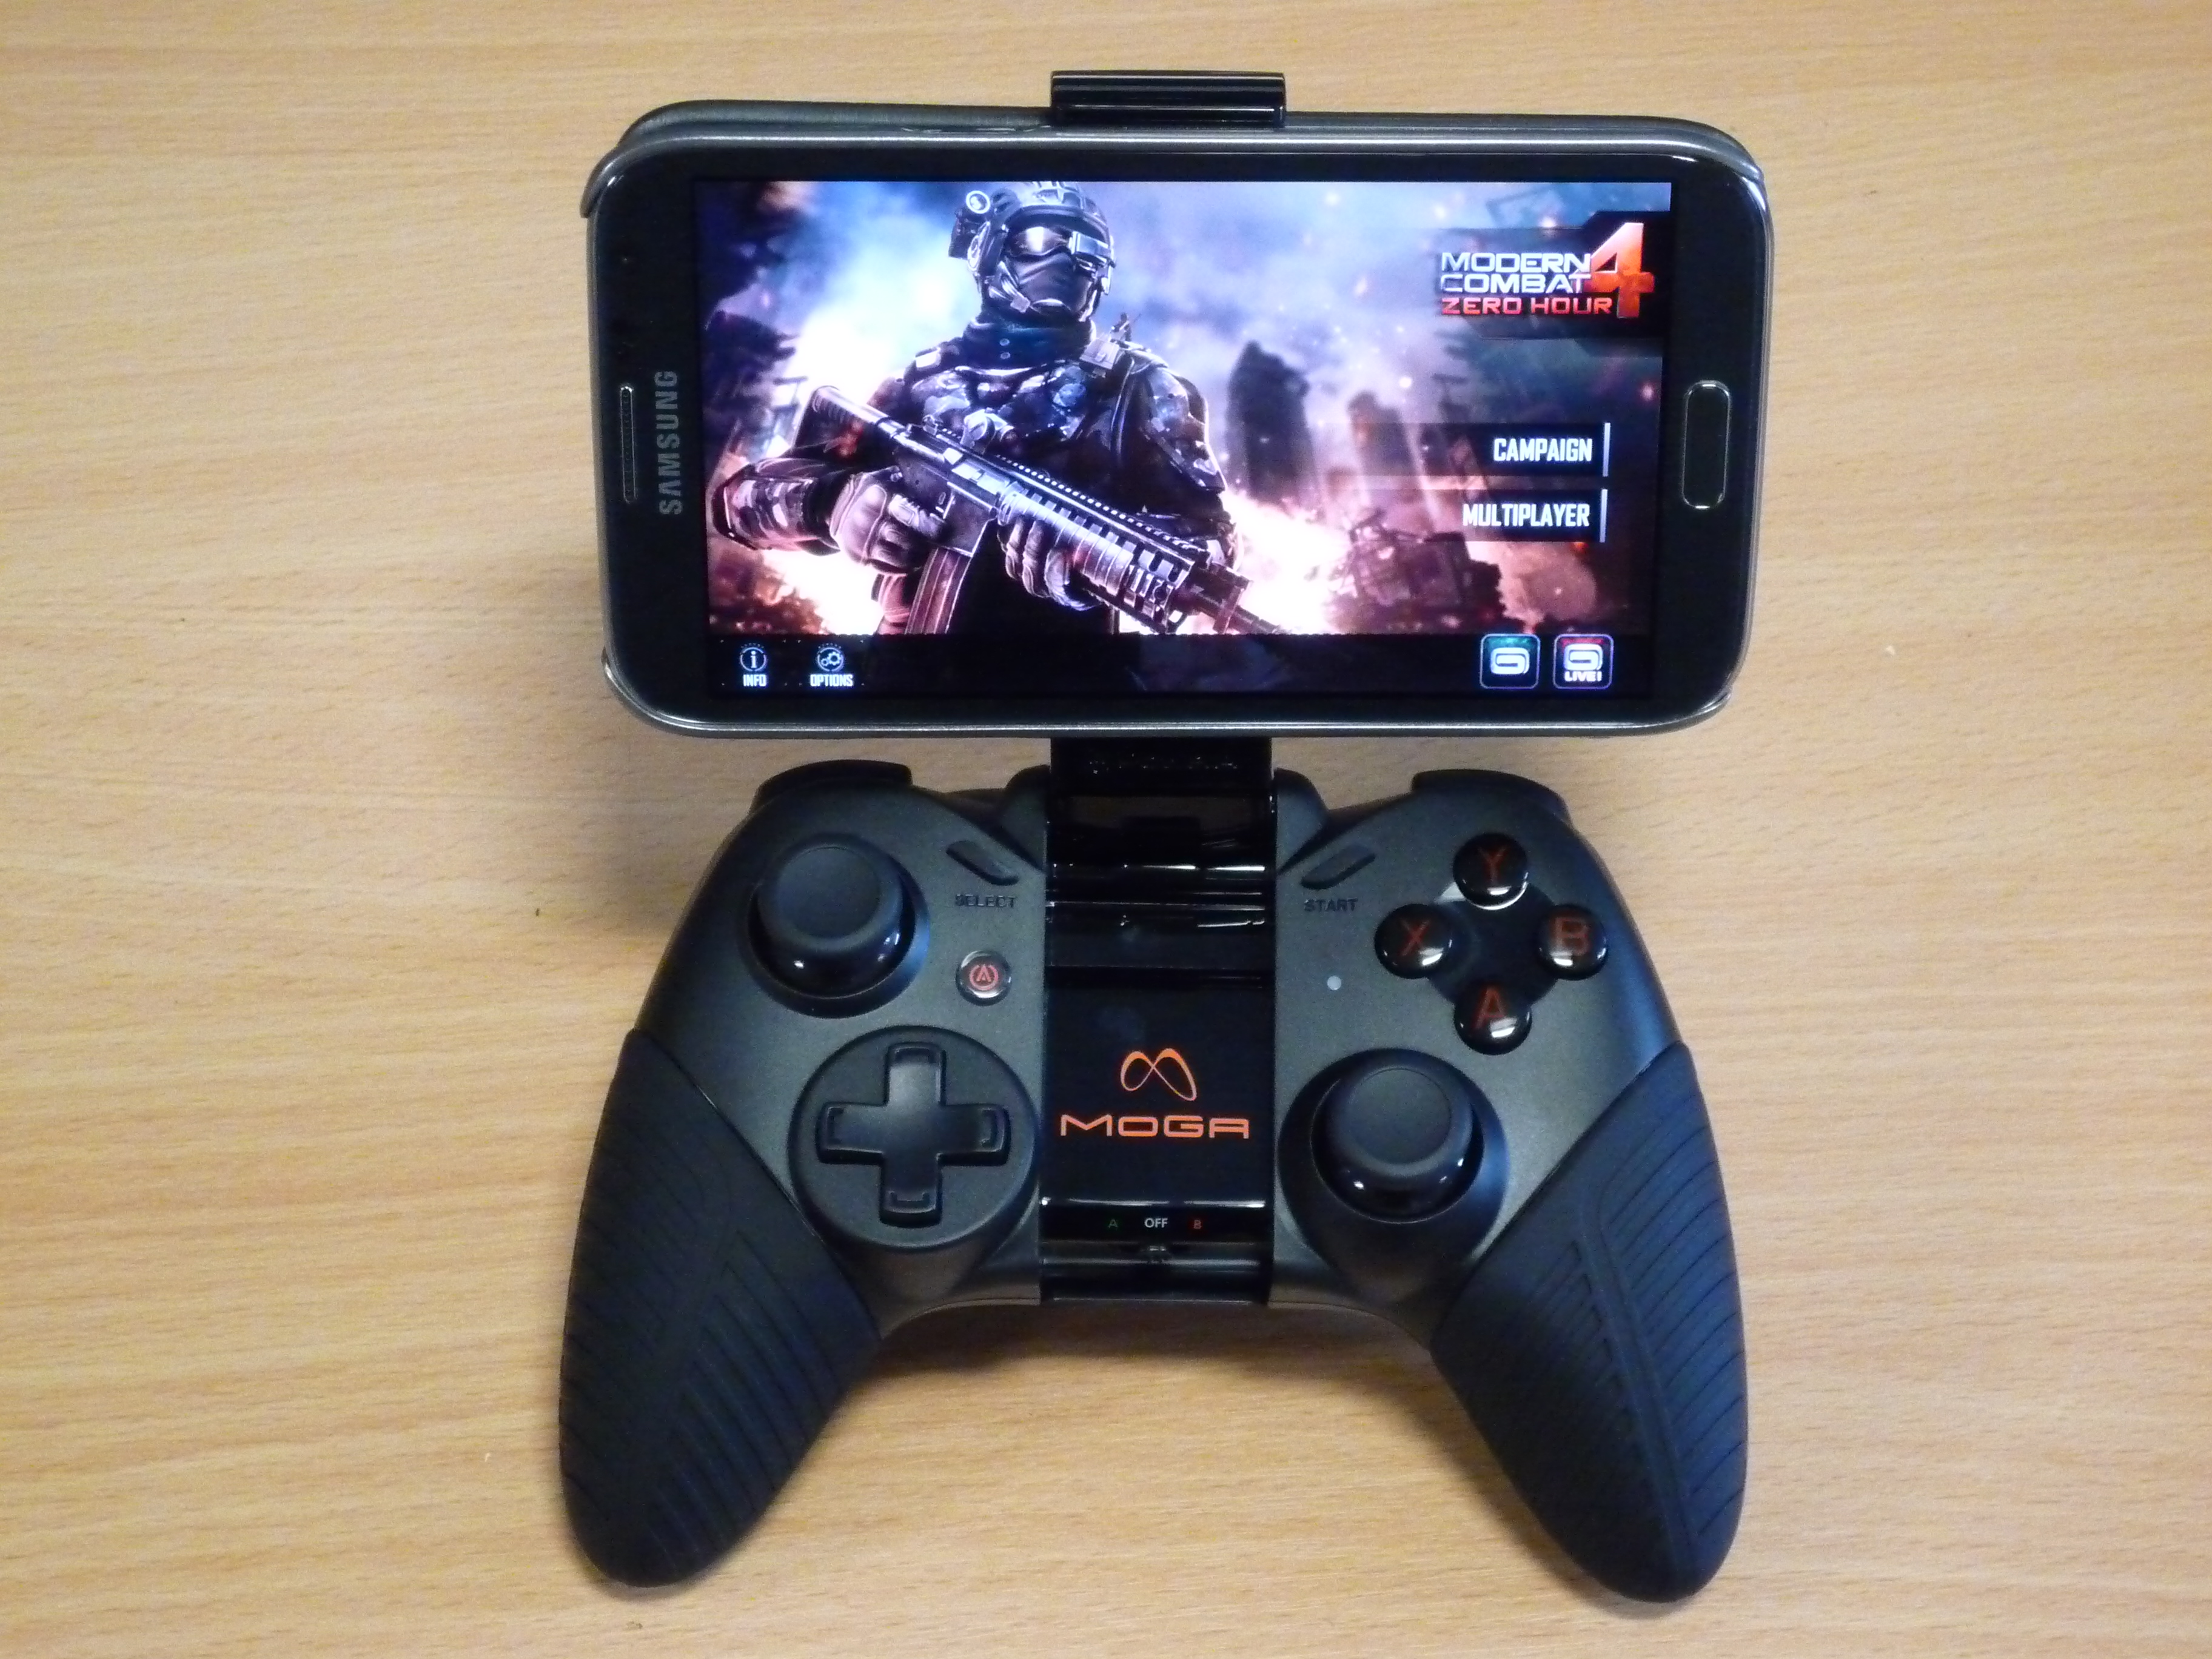
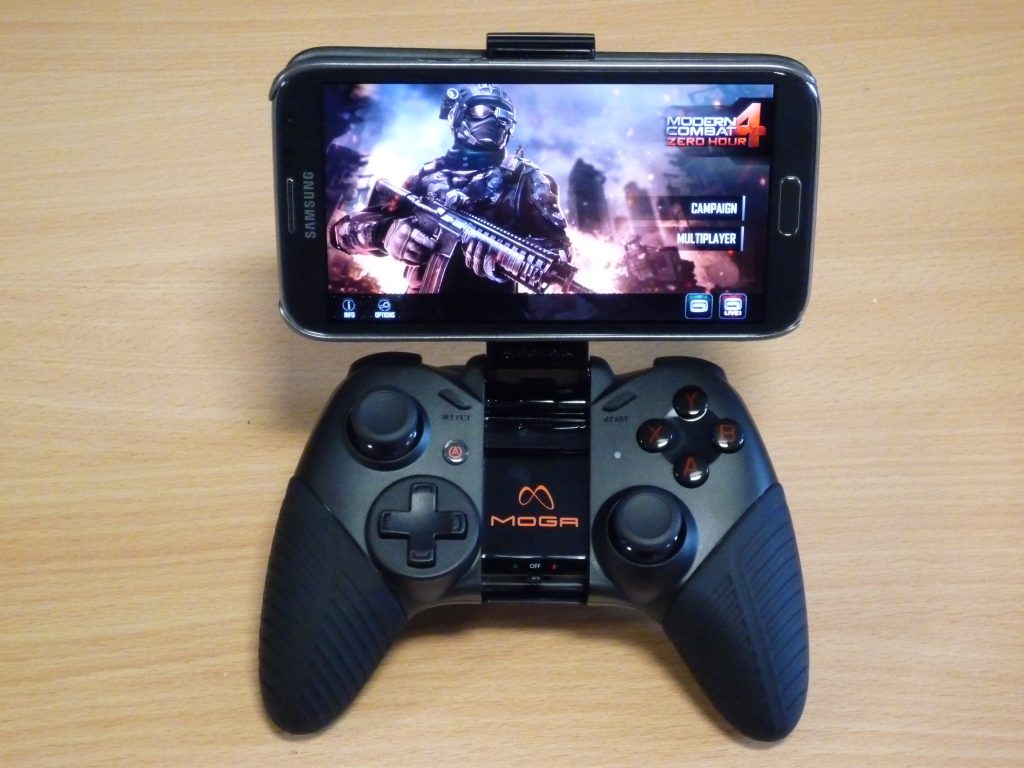
Moga Pro with Galaxy Note 2


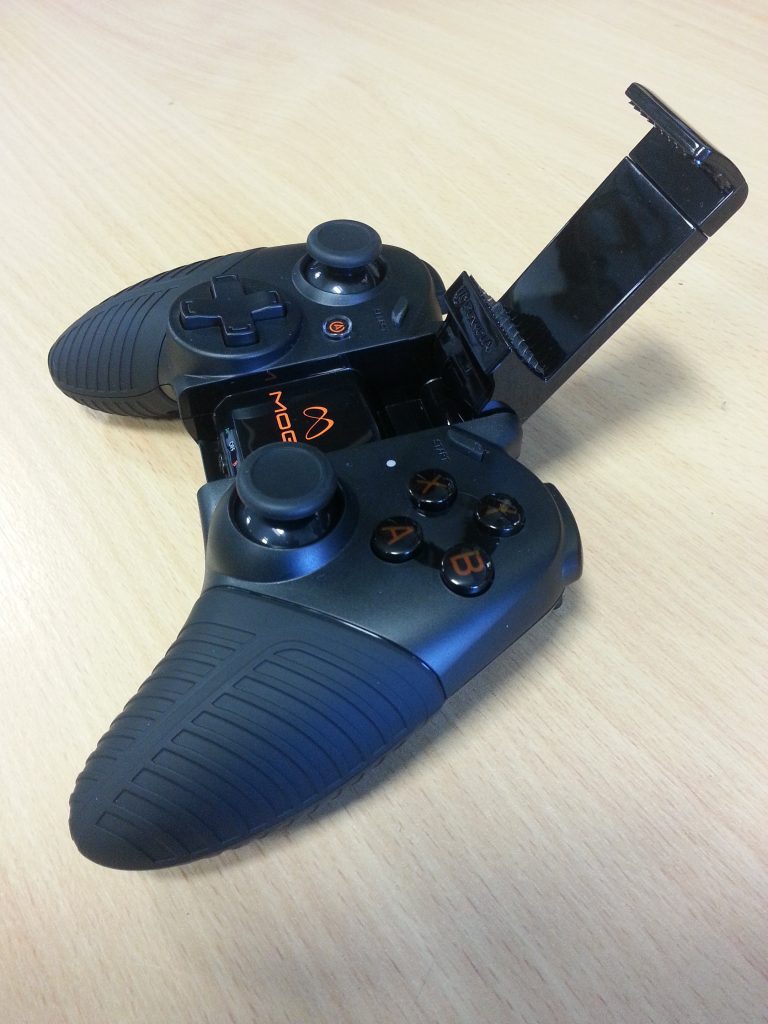
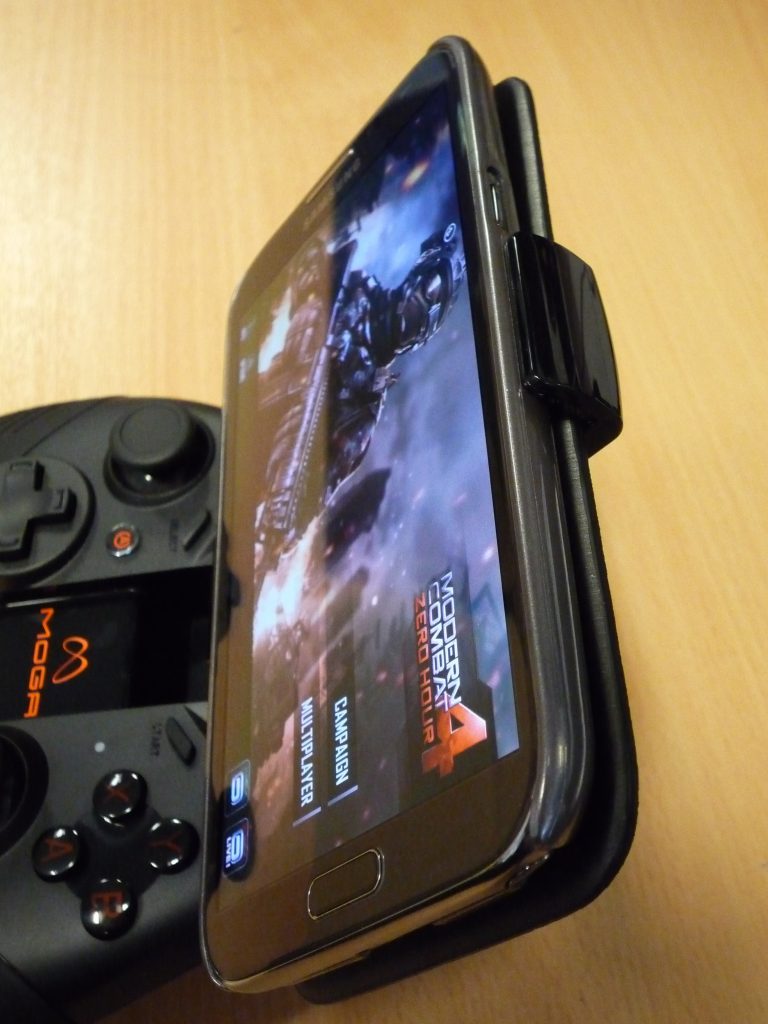
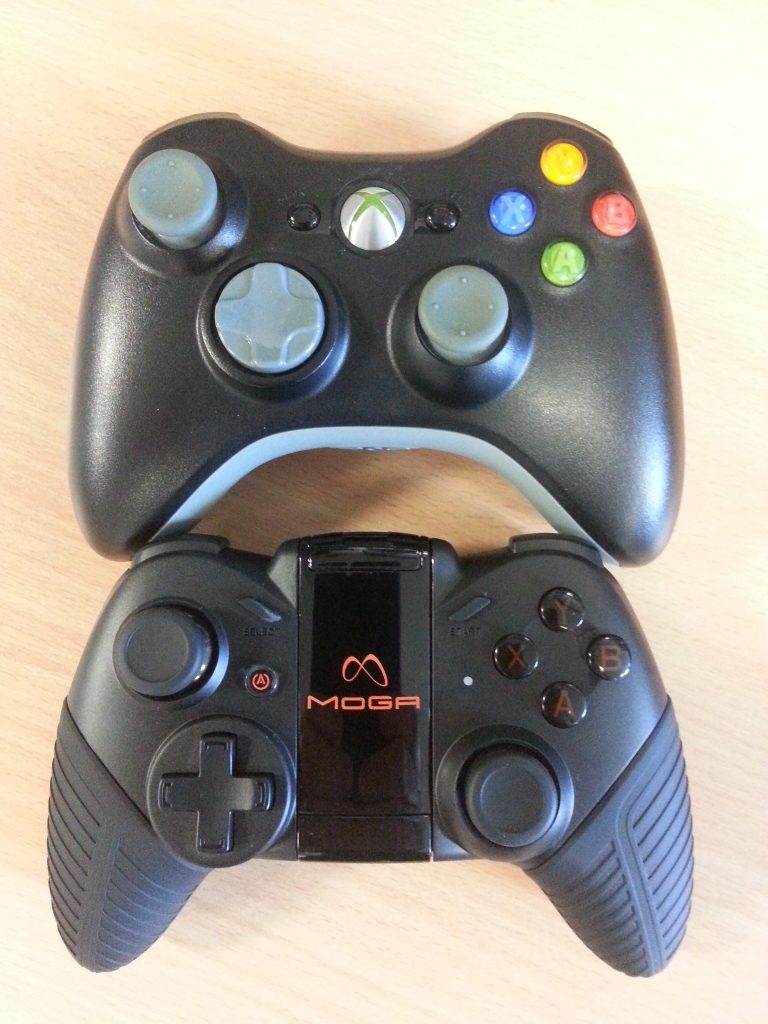
The build quality seems to be first-rate and the design has clearly been based on the XBox 360 pad as the dimensions, stick layouts, triggers and buttons are all virtually identical, even the XYAB letters on the buttons are same! This is fine by me – the 360 pad is by far the best I’ve ever used on any system and the Moga Pro is just as comfortable and precise to use. Where it differs from the 360 pad is that it incorporates a flip out spring-loaded arm which holds your phone in place securely while you game. The arm dimensions are extremely generous so don’t worry about your phone fitting – I have a Galaxy Note 2 and it fitted comfortably even with the phone in a Spigen case! It feels perfectly balanced once the phone is in place and very little effort is required to hold the whole thing steady. It could easily have been top-heavy and tiring to hold but it’s obvious a fair bit of thought gone in to the placement of the arm and it works well.

Moga Pro Review

Moga Pro phone holder arm


I tested the game with a copy of Gameloft’s Modern Warfare Combat 4: Zero Hour. This is a Moga Pro enhanced game which basically means it fully supports all the features of the Gamepad. The Modern Combat games have always looked and sounded the part but been seriously let down in the control department with the virtual sticks and touch screen controls being awkward at best and a downright hindrance at worst. Not to mention that you’ve got your thumbs obscuring a good chunk of the screen. The Moga Pro was a revelation – before I knew it an hour had passed and I was really enjoying myself. The sticks are really responsive, dead-zones almost non-existent and lining up head shots quickly became second nature. Familiar Call of Duty console button configurations also helped too, with bumpers launching grenades, X to reload, Y to switch weapons and so on.

I have a Playstation Vita which is a really great handheld system, the best I have ever owned in fact. However having experienced the Moga Pro coupled with my Galaxy Note 2 I’d have to say it’s a better gaming experience than the Vita. The screen is bigger, the whole thing is easier and much more comfortable to hold and the full-size pad and analogue sticks really are of console quality. The final kicker is that at just £4.99 the Gameloft COD clone is a darn sight cheaper than Black Ops DeClassified too!

Some more images…

Moga Pro Review

Moga Pro with Galaxy Note 2 – close-up of phone holding grip


Moga Pro Review

Moga Pivot app – viewing installed games


Moga Pro Review

Moga Pivot app – Congratulations!


Moga Pro Review

Moga Pro & XBox 360 Gamepad Comparison


Moga Pro Review

Moga Pivot app – browsing for new games


Moga Pro Review

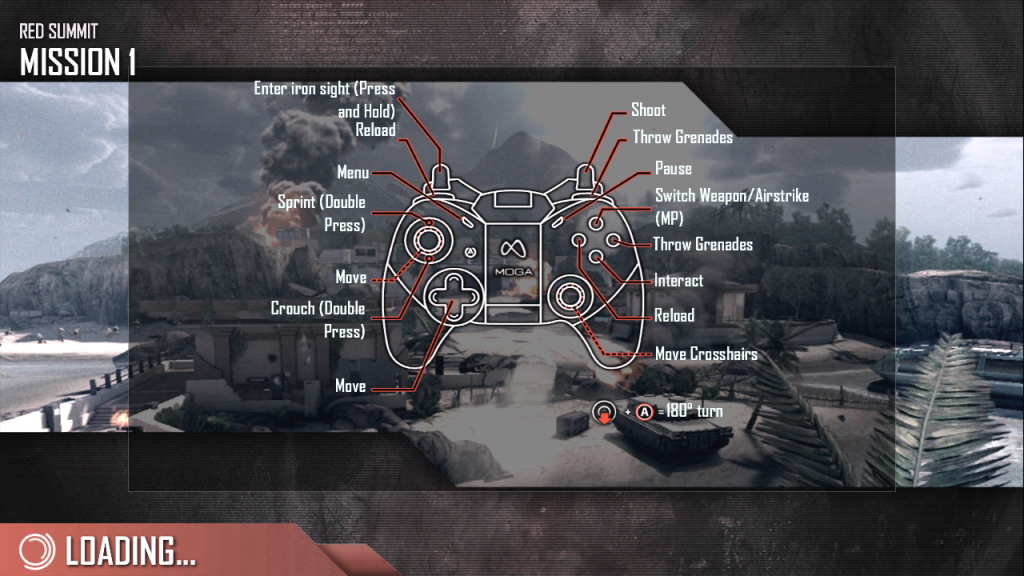
Moga Pro – Modern Combat Control Layout

Sennheiser RS130 Wireless Headphones Review

Received a pair of these bad boys yesterday so thought I’d share my findings for the benefit of anyone else that might be interested.


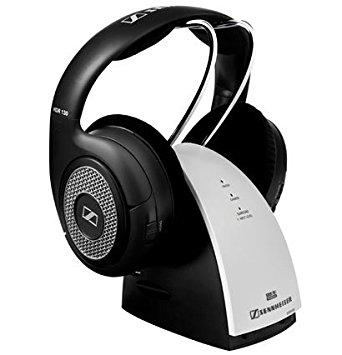
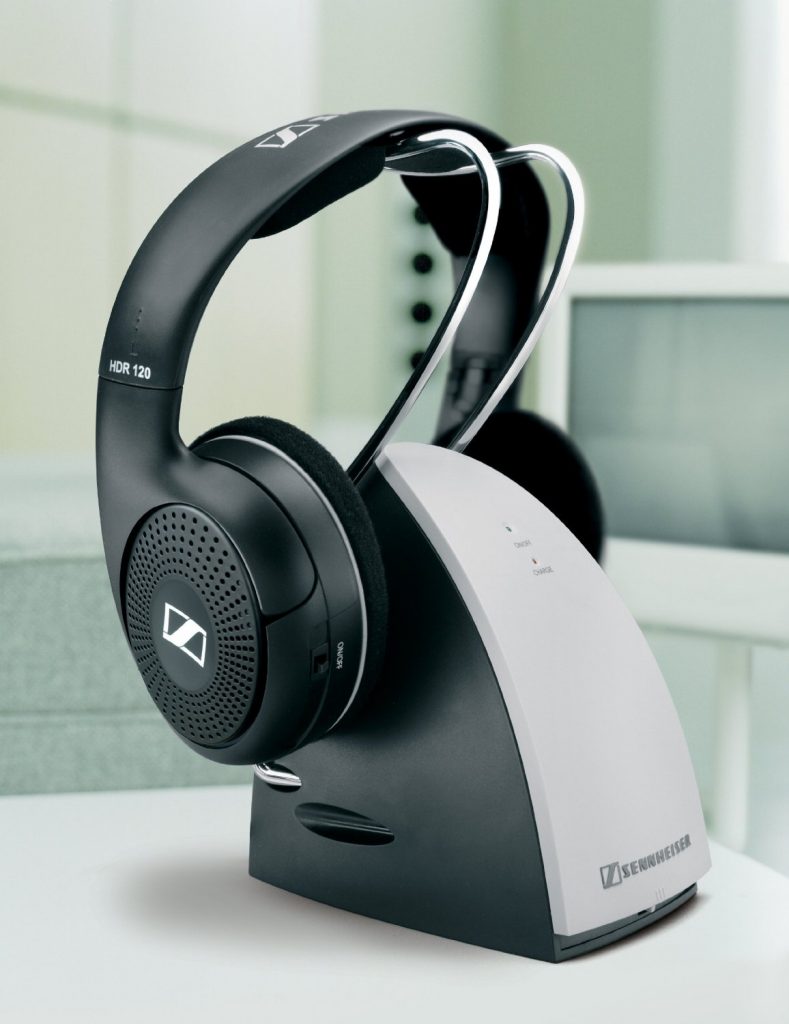
Sennheiser RS130 Wireless Headphones

Sennheiser RS130’s


Included in the box with your headphones is the transmitter/charger base, two AAA rechargeable batteries, a 1/8”->1/4” stereo jack adaptor, small power brick (similar size to a mobile phone charger) and a small multi-lingual manual.

Setup was a breeze, just power up the transmitter/charging station and hook up to your audio source. It will automatically turn itself on when it detects an incoming audio signal and off shortly after it ceases. Then you just need to open up one side of the headphones and slot in the two AAA’s. You switch the headphones on using a small on/off switch on the rear of one of the ear cups. They automatically tune themselves into the FM signal from the base, although you can also select 3 different “channels” on the base and initiate an auto-tune from a small button on the ‘phones themselves if you need to. It recommends you charge the batteries for 16 hours before first use – you do this simply by hanging the ‘phones on the charging stand. There are two metal strips in the headband that pickup the charging current from the metal stand… when it detects that the battery is charged it automatically switches to trickle-charging so no need to worry about over-charging. Being impatient I threw in a couple of Duracell’s so I could play with them right away…

The headphones themselves are well designed and constructed, lightweight for their size and extremely comfortable. The headband is well padded and has the usual vertical adjustment, the ear cups also pivot horizontally as well as vertically so you are assured of a snug fit. They are also well padded and have been covered in a suede type of material rather than vinyl which makes them very soft and comfortable and also less likely to make you sweat whilst wearing them for long periods. I was able to walk around the entire ground floor of our house without any loss of signal so you shouldn’t have a problem whilst sat on the sofa in front of your TV.

Sound quality wise I couldn’t fault them – the volume is controlled by a small thumb-wheel on the right ear cup and goes up far enough for you to be deafened by explosions in COD3 if you really want! There is plenty of bass on offer and I experienced no distortion in the sound and all dialogue and effects were crystal clear. There is a slight hiss when the volume is cranked up high during periods of silence but this is never noticeable otherwise. A welcome addition is a surround sound option you can enable – just don’t expect 5.1 effects from it… it basically seems to widen the field of sound so that you feel like the sound is coming from all around rather than just from your left and right. They do leak a bit of sound so no good for watching movies in bed, but for playing games late at night in your living room they are perfect.

I would definitely recommend these Sennheiser RS130 Wireless Headphones for those of you who are annoying your partner/parents/neighbours/pets with noisy late-night gaming sessions!