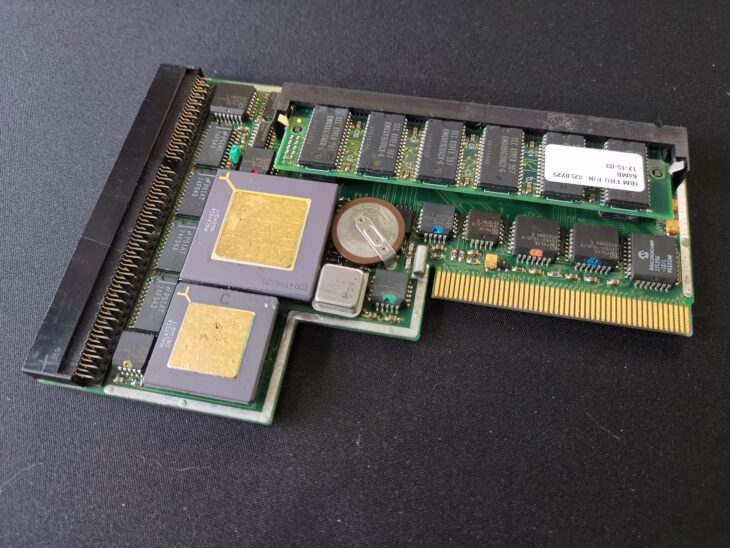
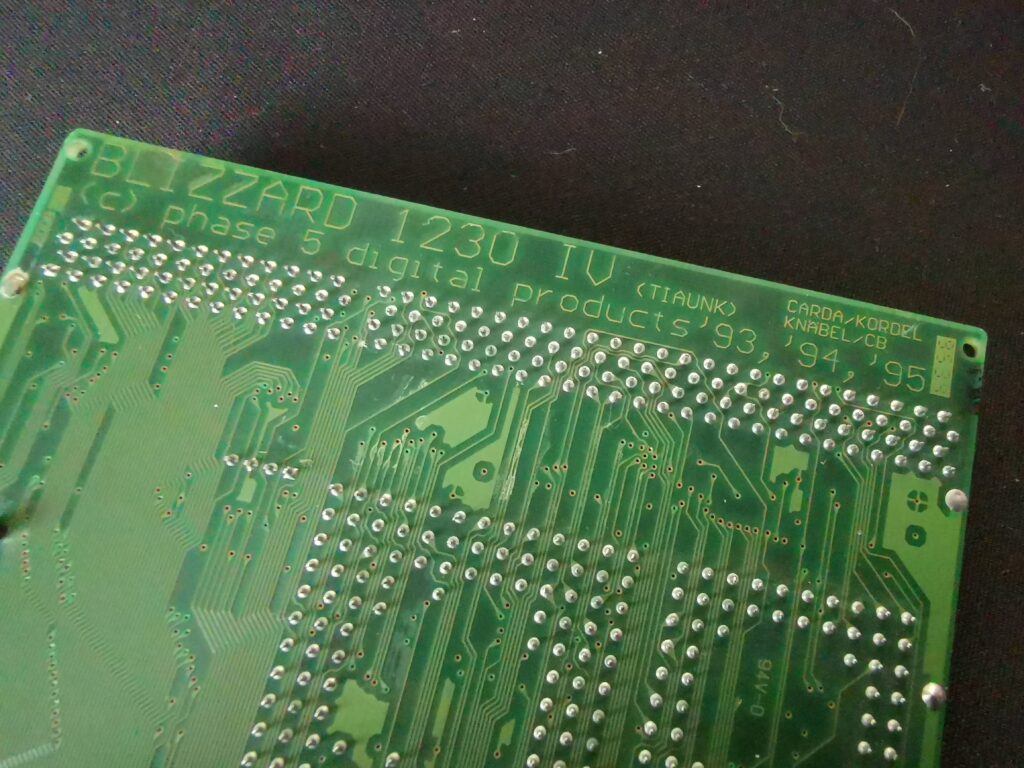
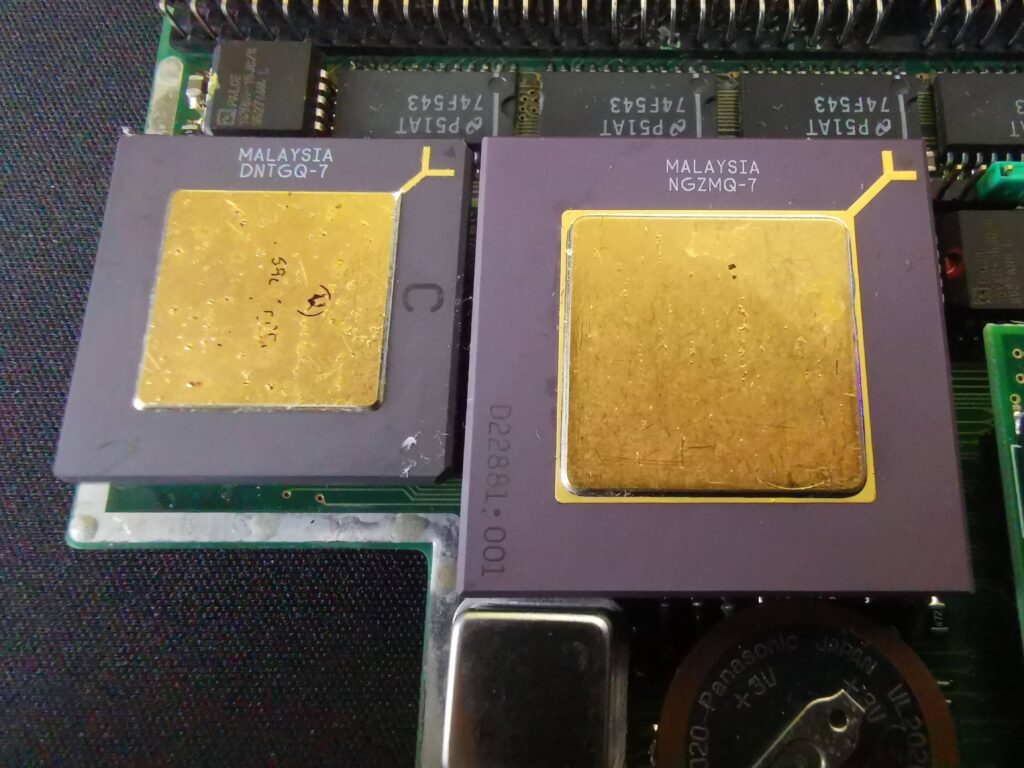
Ever since I picked up my Blizzard 1230 MkIV card last year I’ve been hankering after the SCSI expansion for it. The Squirrel SCSI system I’ve been using for the past six months certainly works great but I really wanted to free up the PCMCIA port for other things.
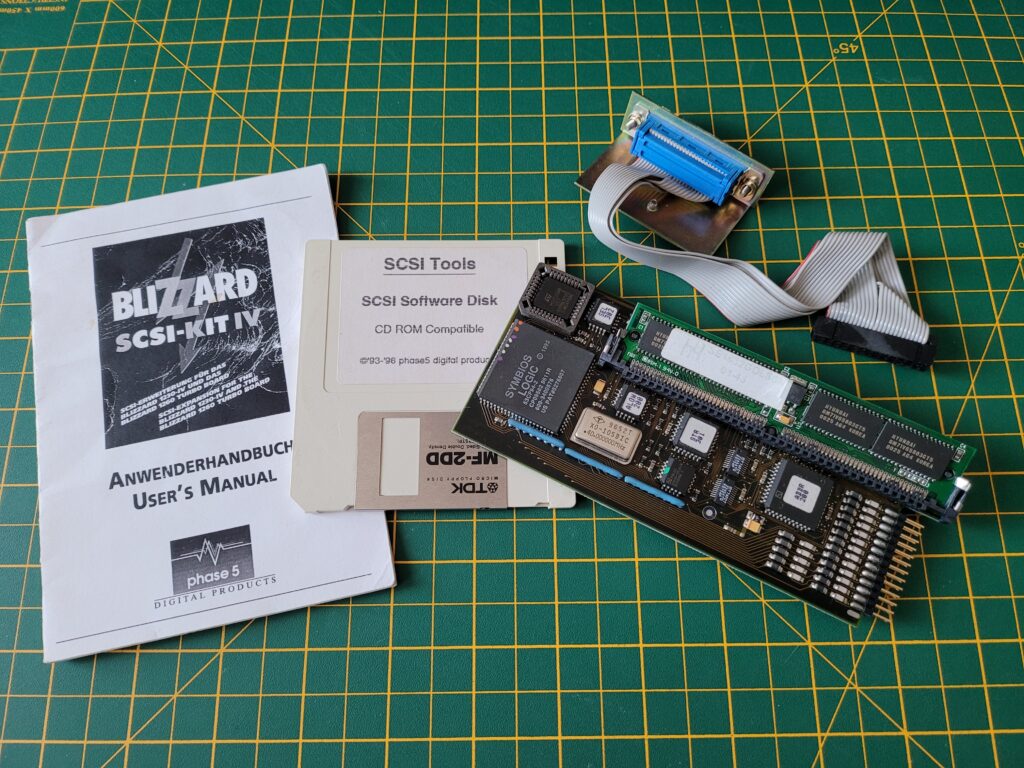
Blizzard SCSI kits are pretty thin on the ground these days but after many months of searching I finally managed to get one. It came complete with the software disk, instruction manual, SCSI breakout port and even a 64MB SIMM!
It’s in beautiful condition and if it wasn’t for the faded text on a couple of the stickers it could probably pass for being brand new.
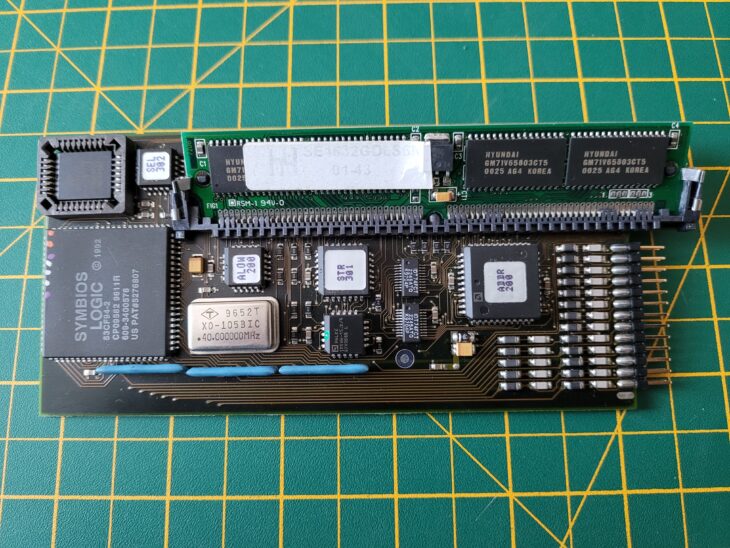
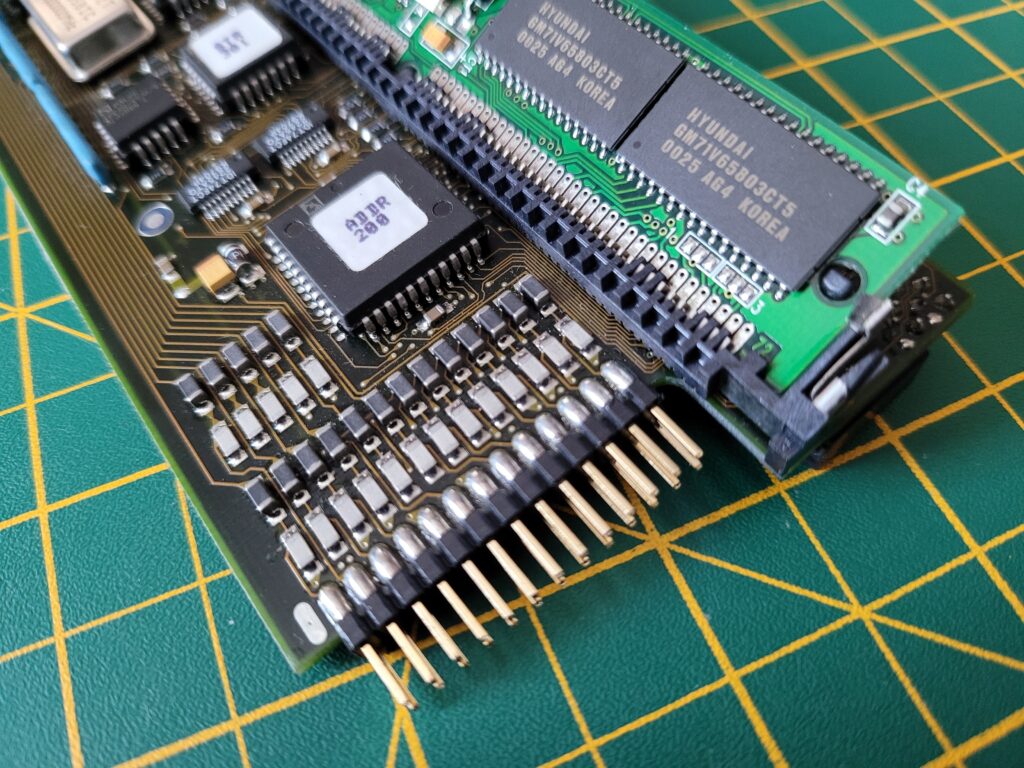
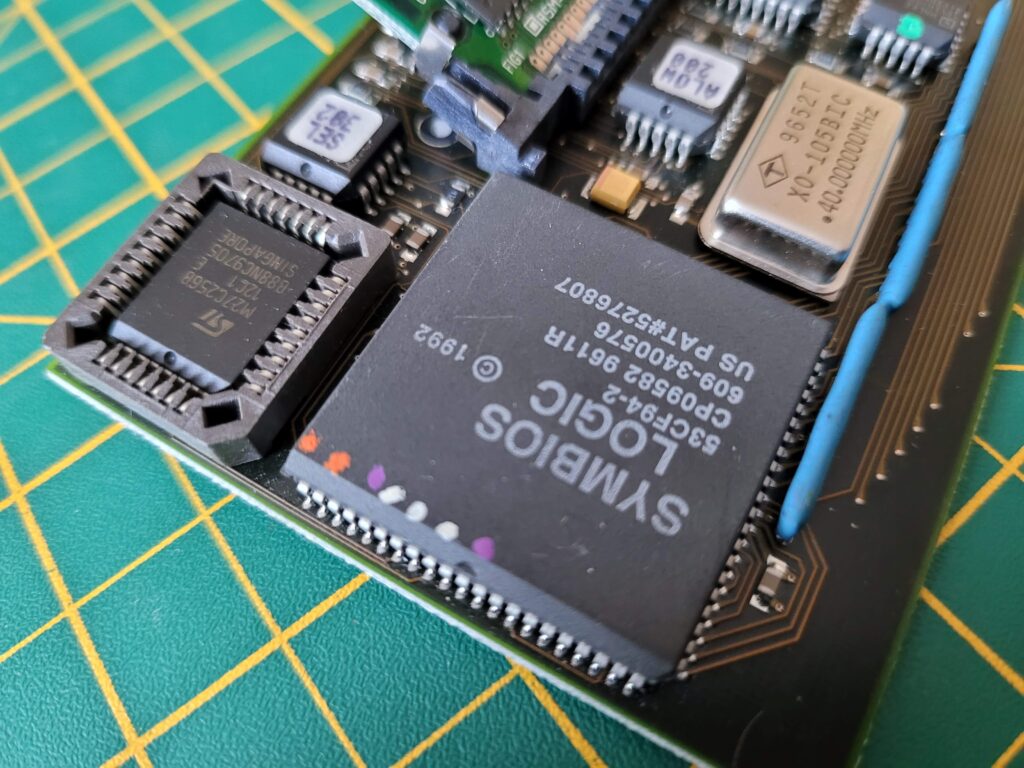
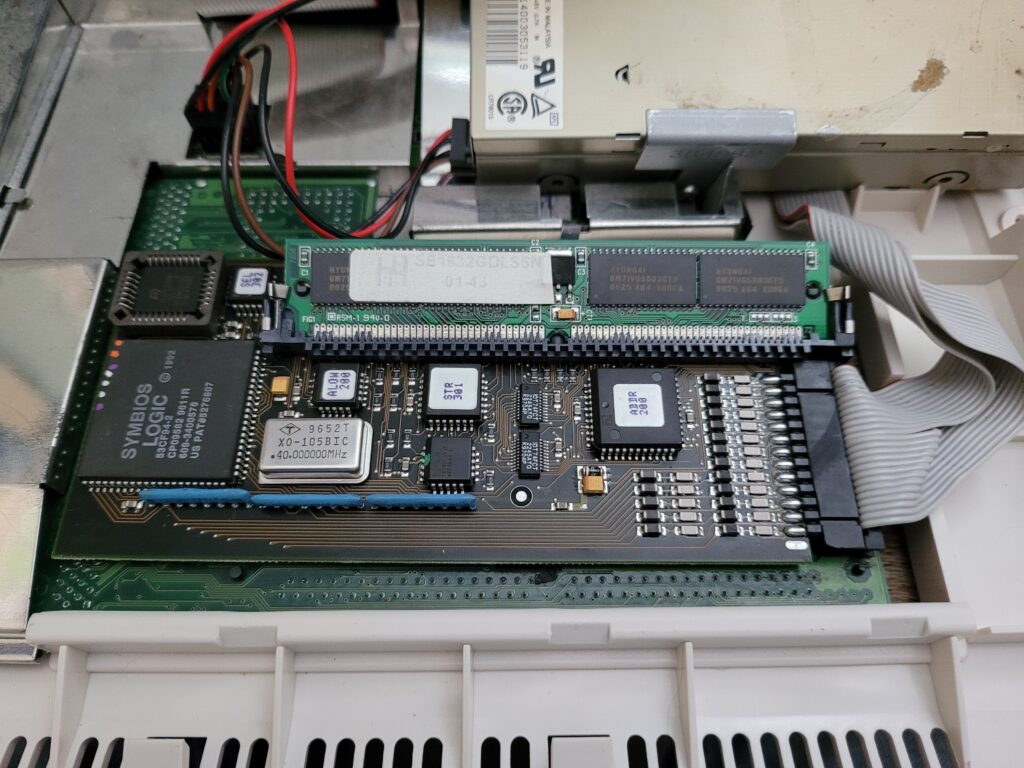
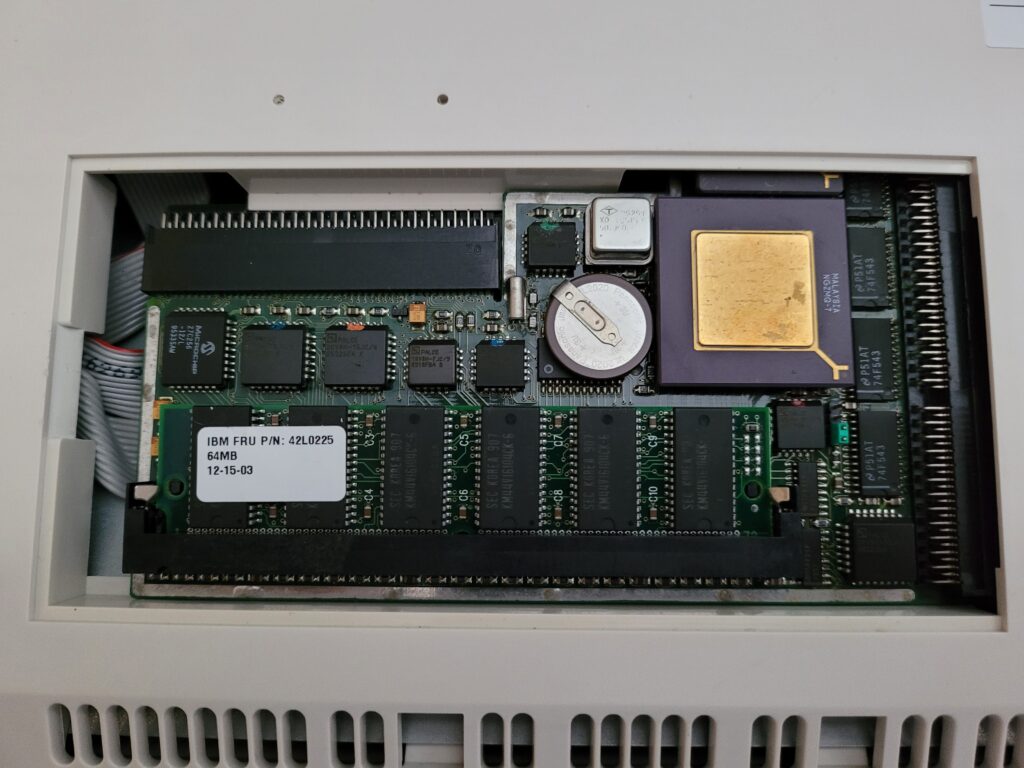
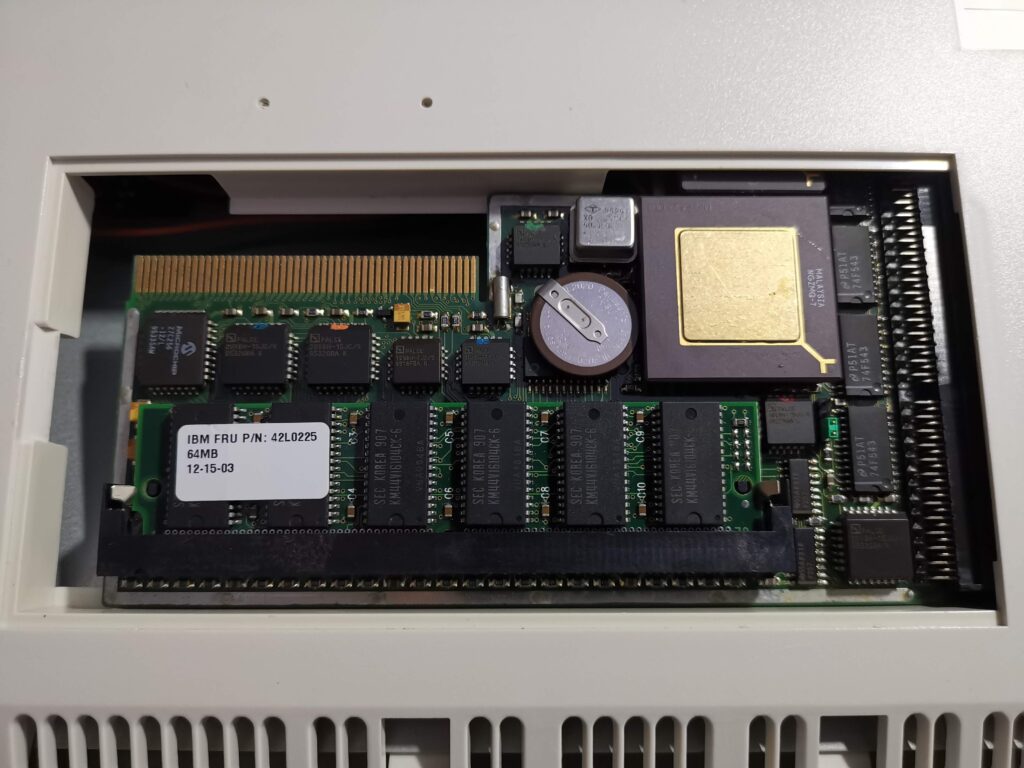
There are three connecters on the board. On the top there’s a 72-pin socket to accept a SIMM of up to 128Mb capacity.
There’s also a 26-pin header for connecting the ribbon cable for the 25 pin female D-SUB SCSI port. Finally on the bottom there’s a 100 pin edge connecter which is used to connect the SCSI card to the 1230 MkIV accelerator card.
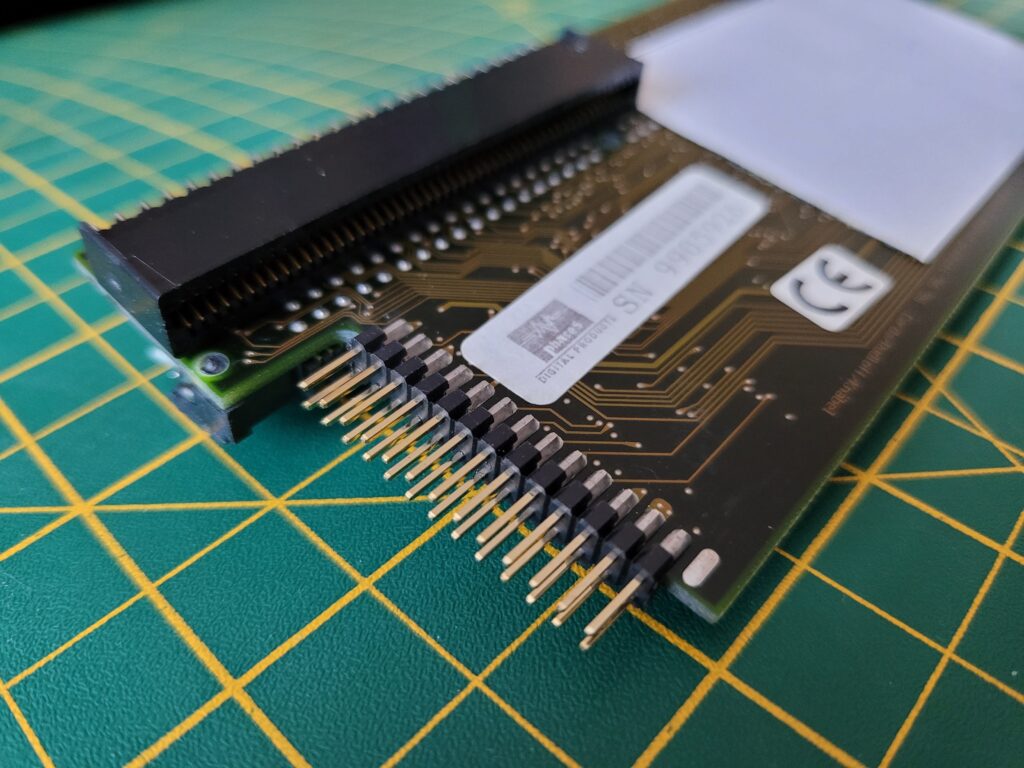
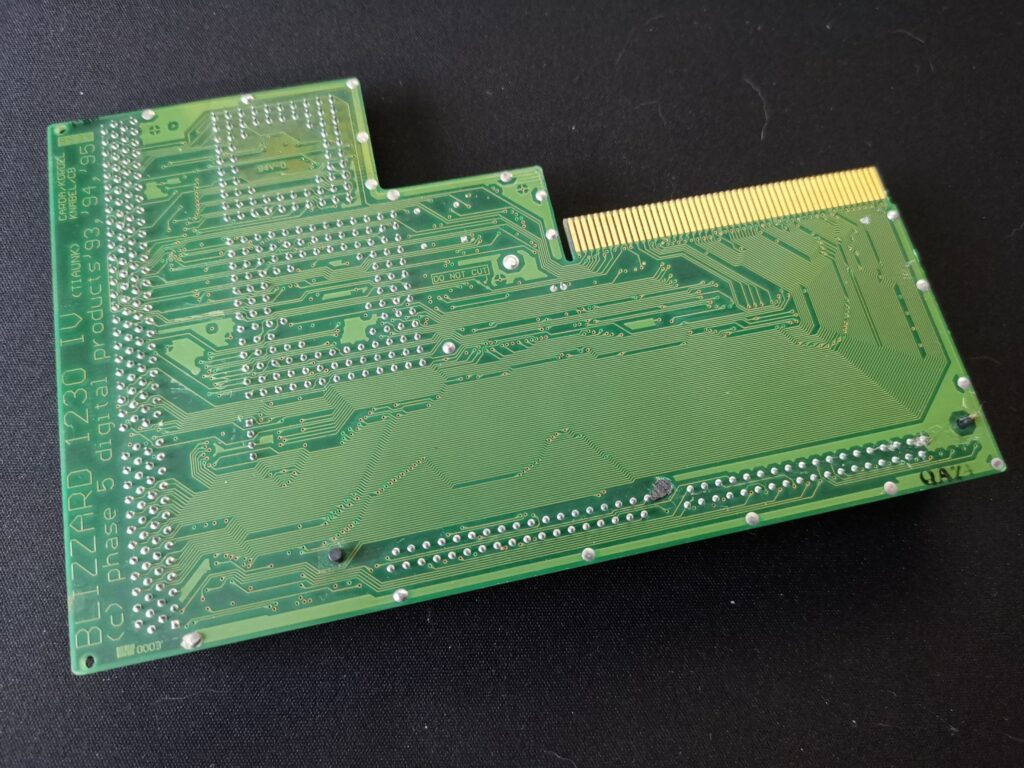
Underneath the board there’s a single 100 pin edge connecter and a white insulating pad to prevent any short circuits when the card is installed.
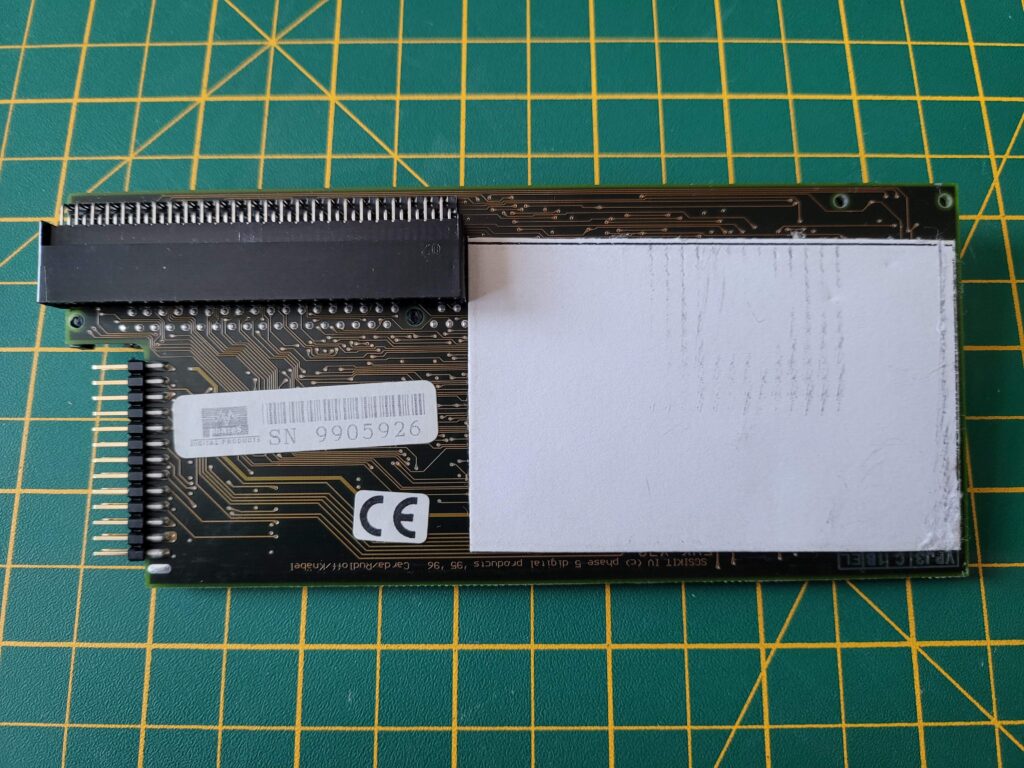
View of the underside of the board. The large white area is insulating material to prevent short-circuits.
Specifications
In the mid 90’s these cards were pretty cutting edge and offered Amiga 1200 owners some impressive features. The manual proudly claims that it will “set new performance standards in its class”.
The headline specifications are listed below:
- Fast SCSI-II DMA Controller for the Blizzard 1230-IV or Blizzard 1260 Turbo Boards.
- Transmission rates up to 7Mb/s asynchronous and up to 10 Mb/s synchronous on the SCSI bus.
- 72-pin standard SIMM socket for memory expansion by up to 128Mb in addition to the memory already installed on the Blizzard Turbo Board. Completely auto-configuring.
- Ability to connect 6 SCSI devices with ID’s between 0 and 7 (the Blizzard SCSI Card itself is device 0).
Fitting the SCSI Connecter Port
Fitting the card is a little more involved than the accelerator was as installing the rear-mounted SCSI port requires removing the floppy drive to gain access to the expansion port.
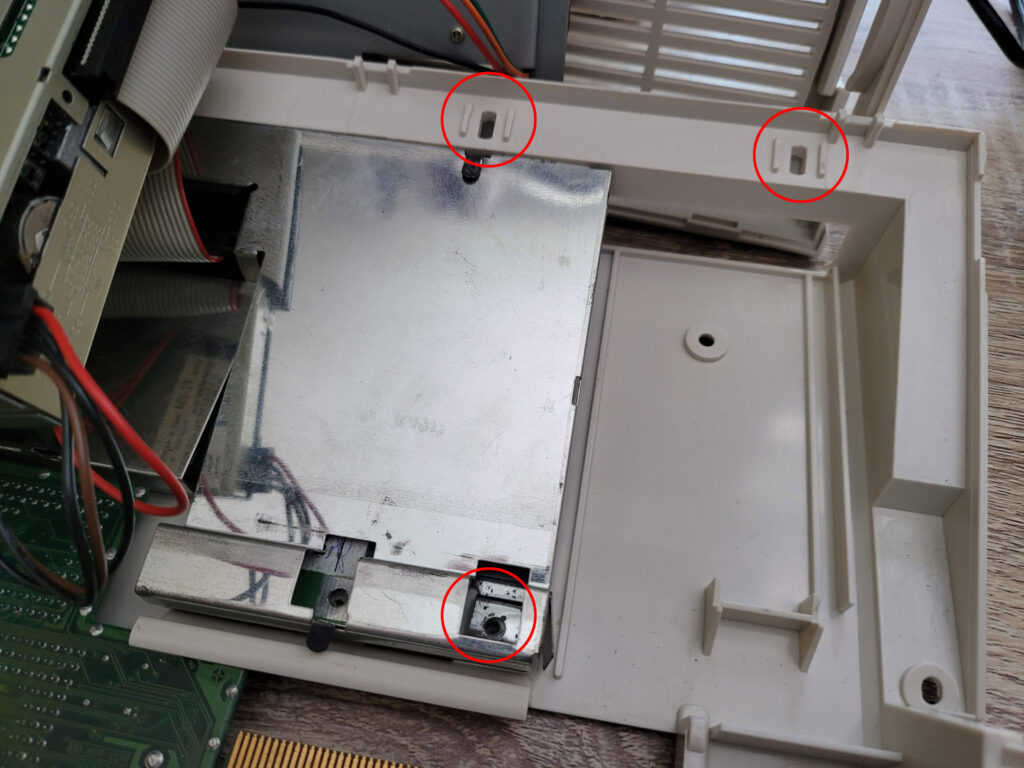
There’s two screws holding the drive in place from the underside of the case, found next to the expansion port. The other screw is located inside the case along the lower edge of the drive just above the trapdoor. Once these have been removed the drive can be safely lifted to one side revealing the expansion port area.
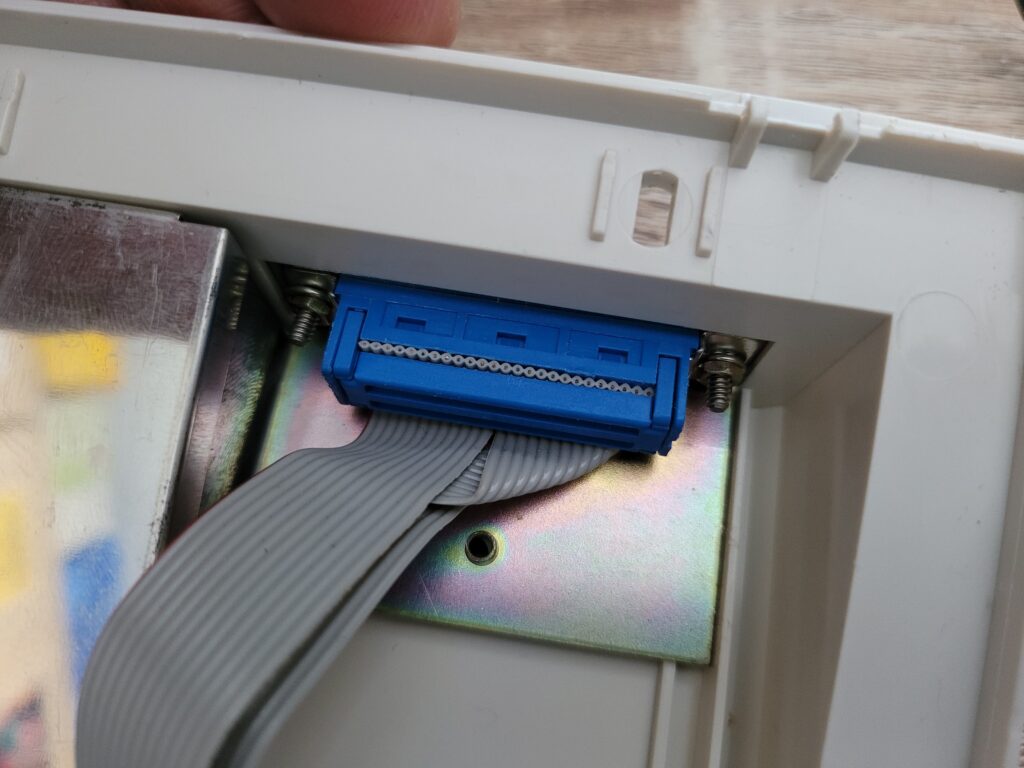
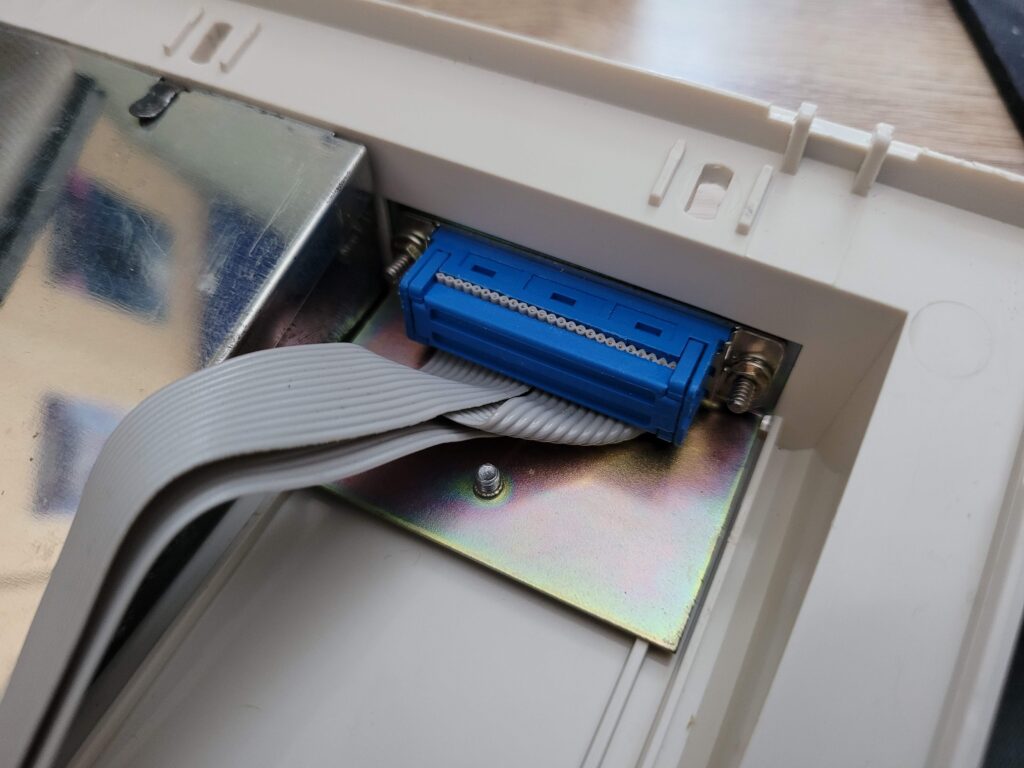
After removing the plastic blanking plate, the SCSI connecter slides into the vacant slot from the rear. If done correctly the hole in the metal plate should align with the hole in the Amiga case perfectly.
The provided screw can then be inserted into the hole from the base of the Amiga and fastened into the threaded hole in the metal plate.
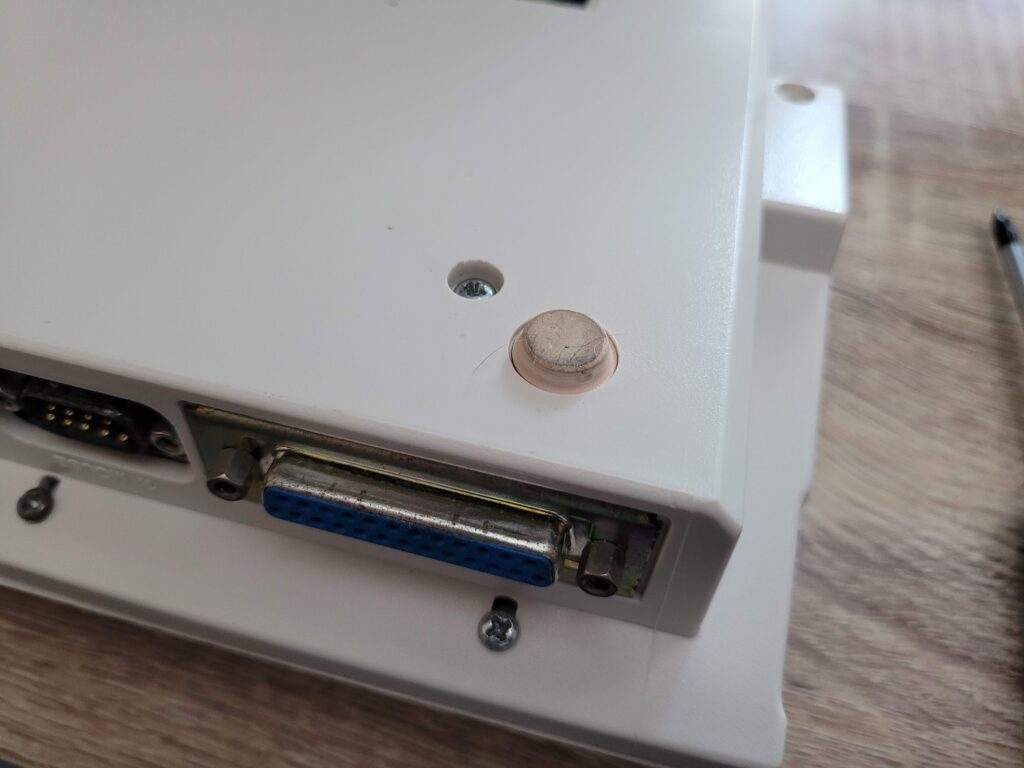
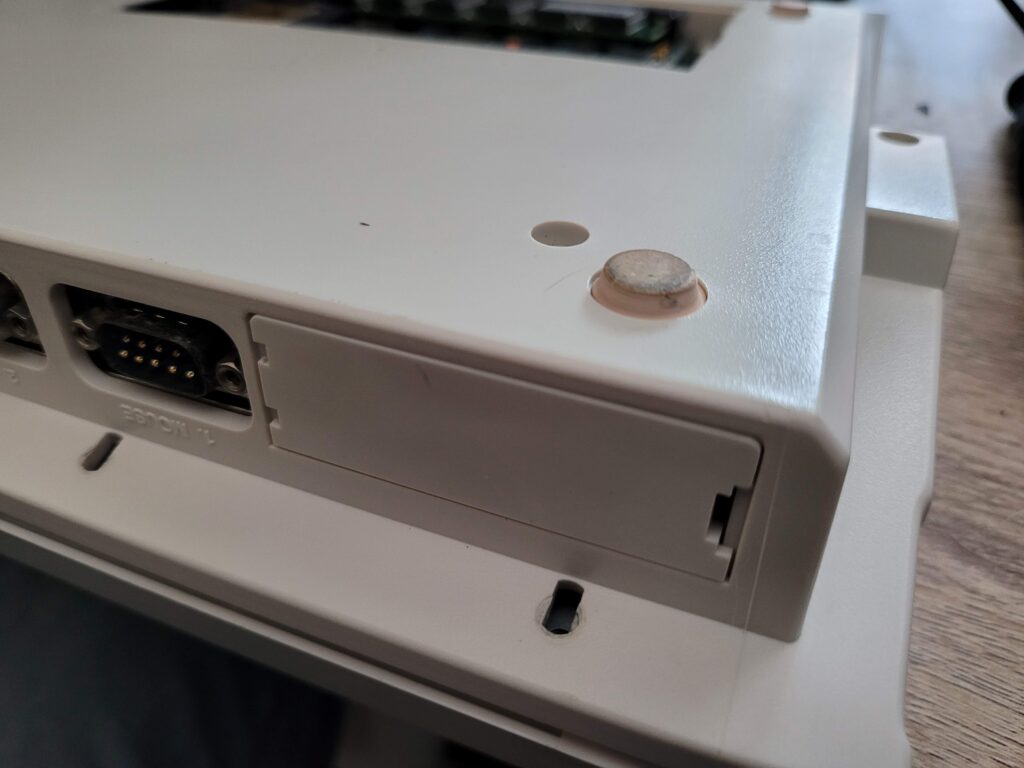
SCSI port fully fitted – you can see the securing screw on the base of the case next to the rubber foot.
This screw is the only thing that holds the port in place whilst inserting and removing SCSI cables so it needs to be securely fastened.
It’s a pretty neat and surprisingly robust solution and looks almost factory fitted.
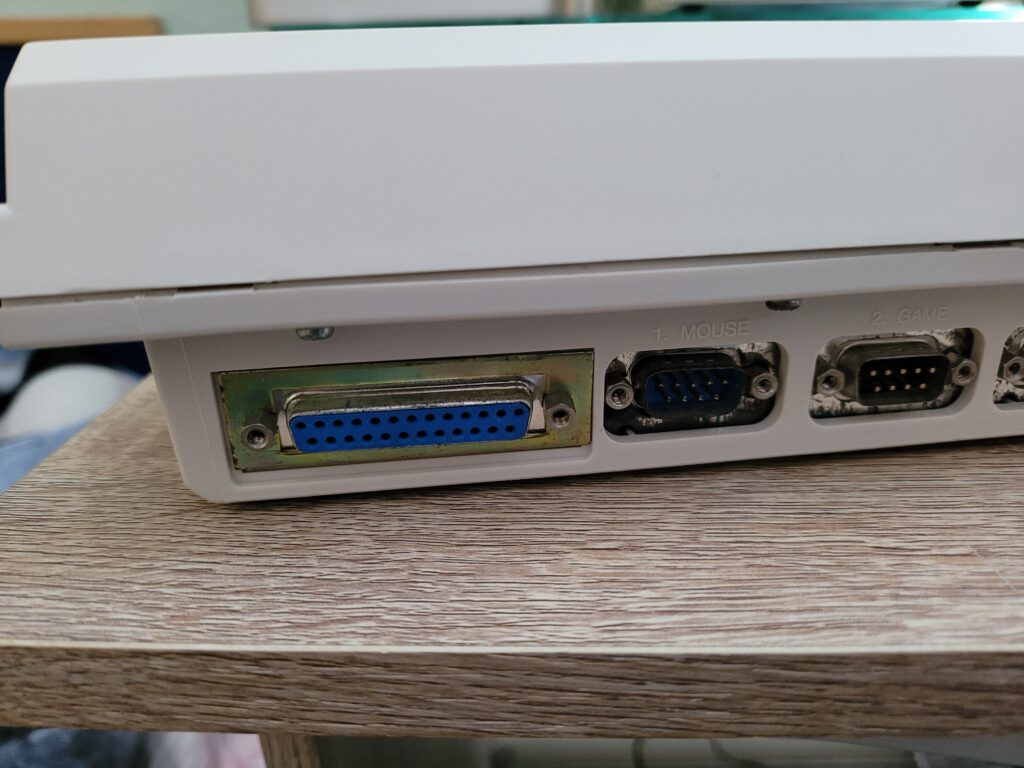
This is how the SCSI port looks once fitted. Also – I hadn’t noticed how corroded my mouse port was until I took this photo!
Fitting the SCSI Card
With the fitment of the SCSI port dealt with it was time for the main event – fitting the SCSI card.
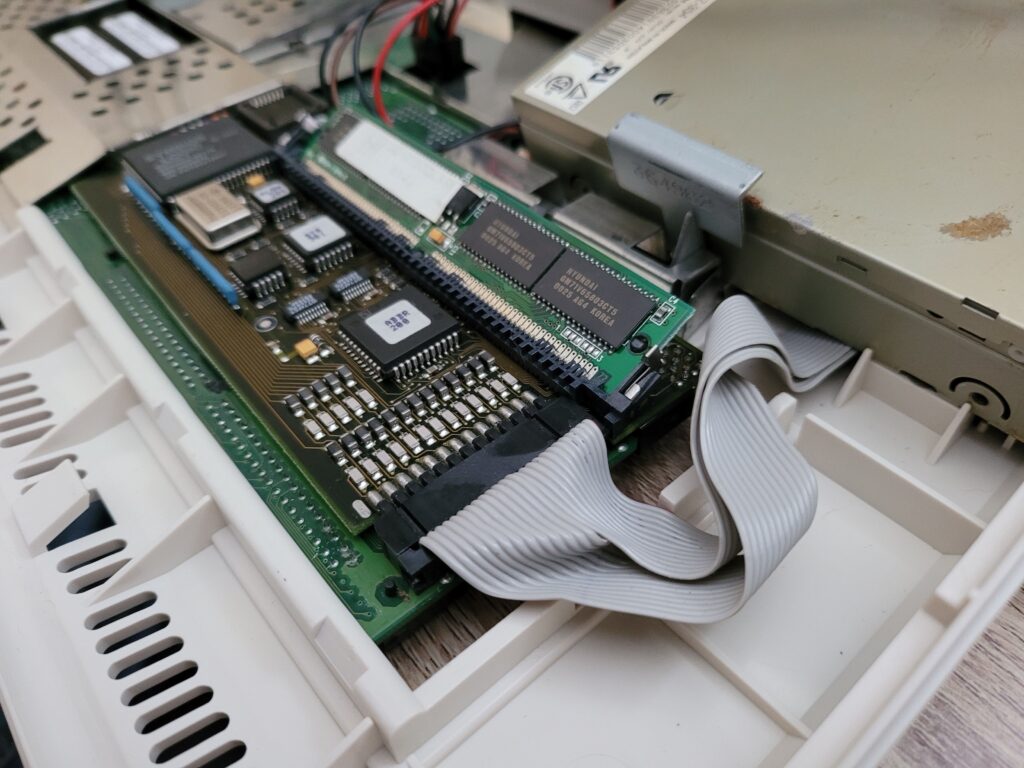
The SCSI card needs to be married to the Accelerator card before it’s fitted into the slot. There simply isn’t enough room inside the case to attach the SCSI card once the accelerator has been installed. I took my time here as there’s only one way the two cards will successfully slot into place and I didn’t want to damage either by trying to force anything.
Once the two cards are correctly aligned the accelerator card (and only the accelerator card!) can be firmly pressed into its socket. Pushing the edge of the SCSI card might damage the edge connecter.
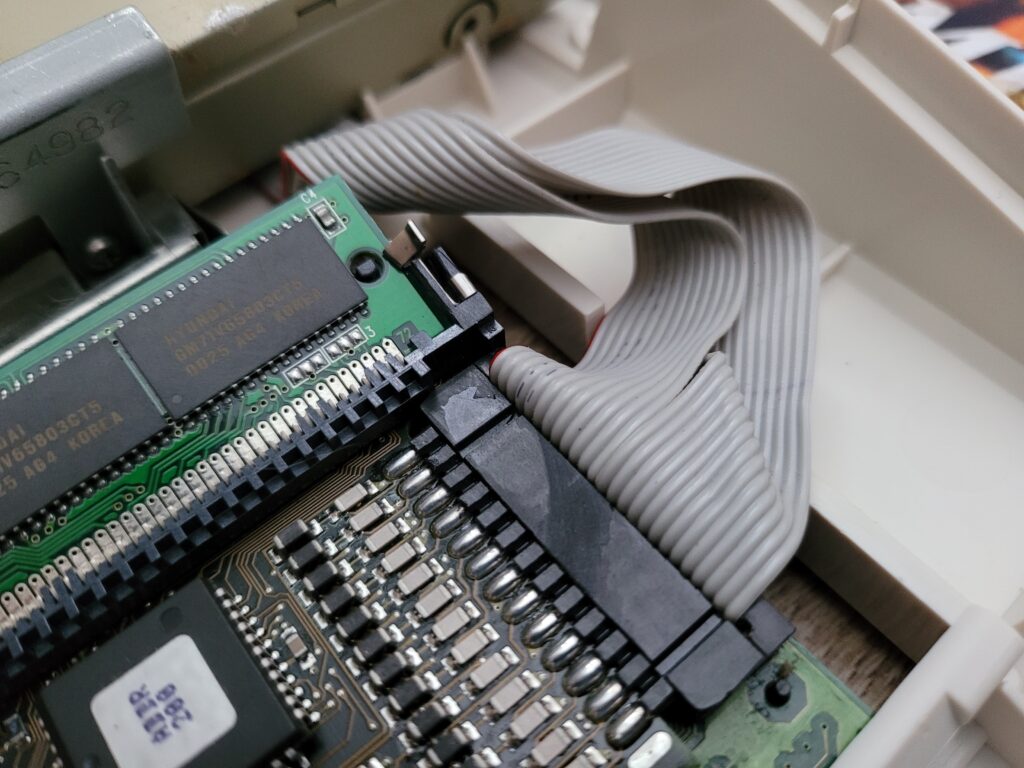
Pin 1 is next to the SIMM socket and the ribbon cable should be attached such that the red edge aligns with it. However in reality the SCSI cable will only fit one way due to how close the pins are to the circuit board.
Testing it all Works!
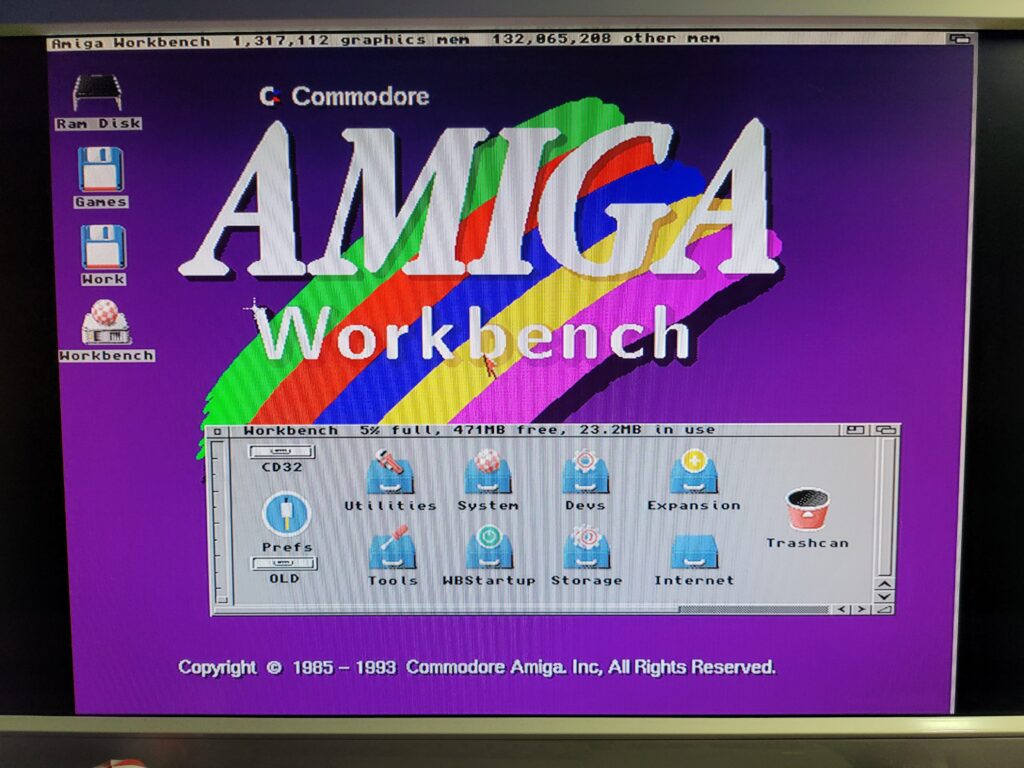
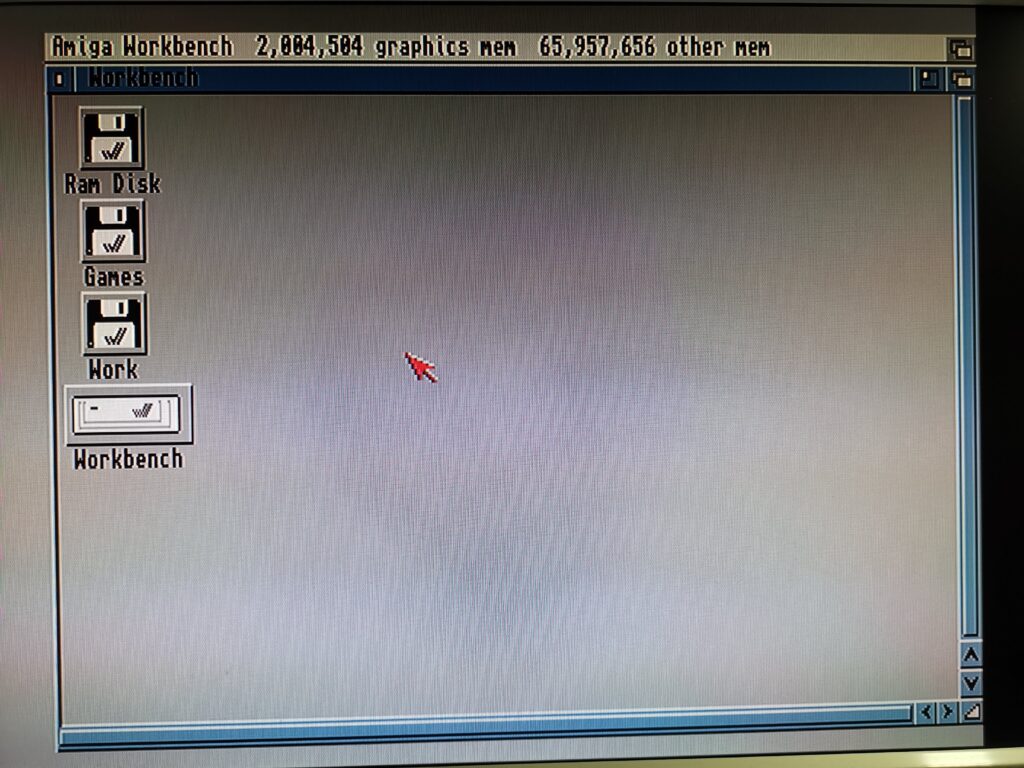
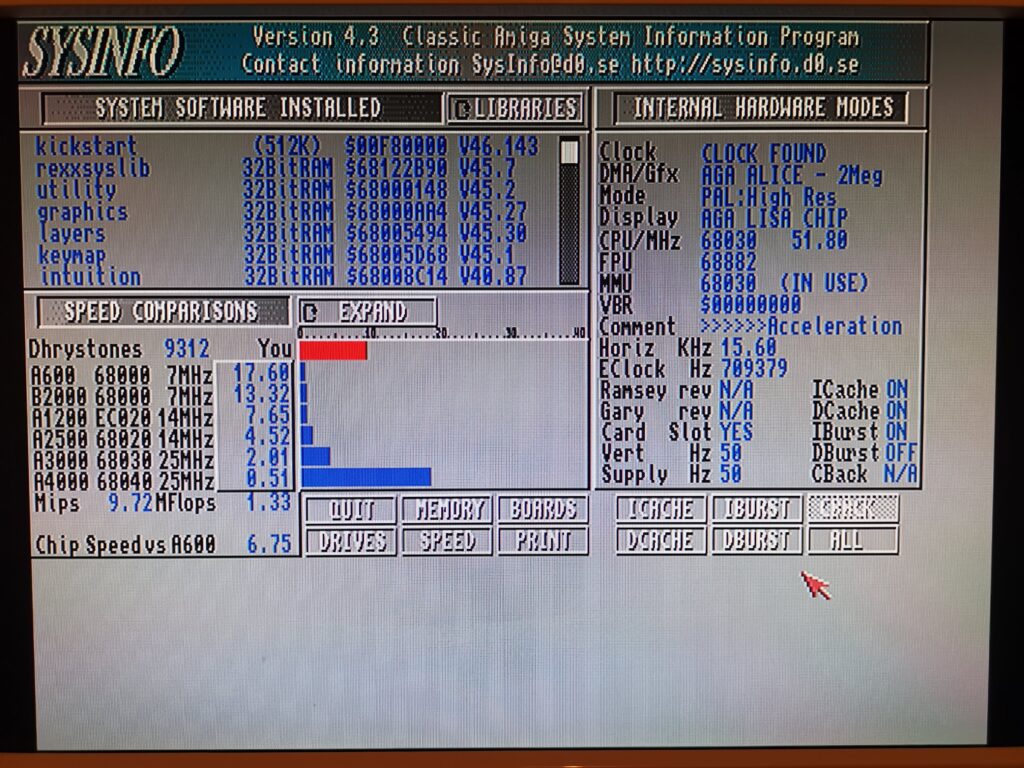
As always with an old upgrade like this I was quite anxious about whether it would actually work. After double-checking that everything was connected correctly I powered on my A1200 and waited. Thankfully a few moments later Workbench appeared and was reporting approximately 128Mb of Fast Ram available. Definitely a positive sign!
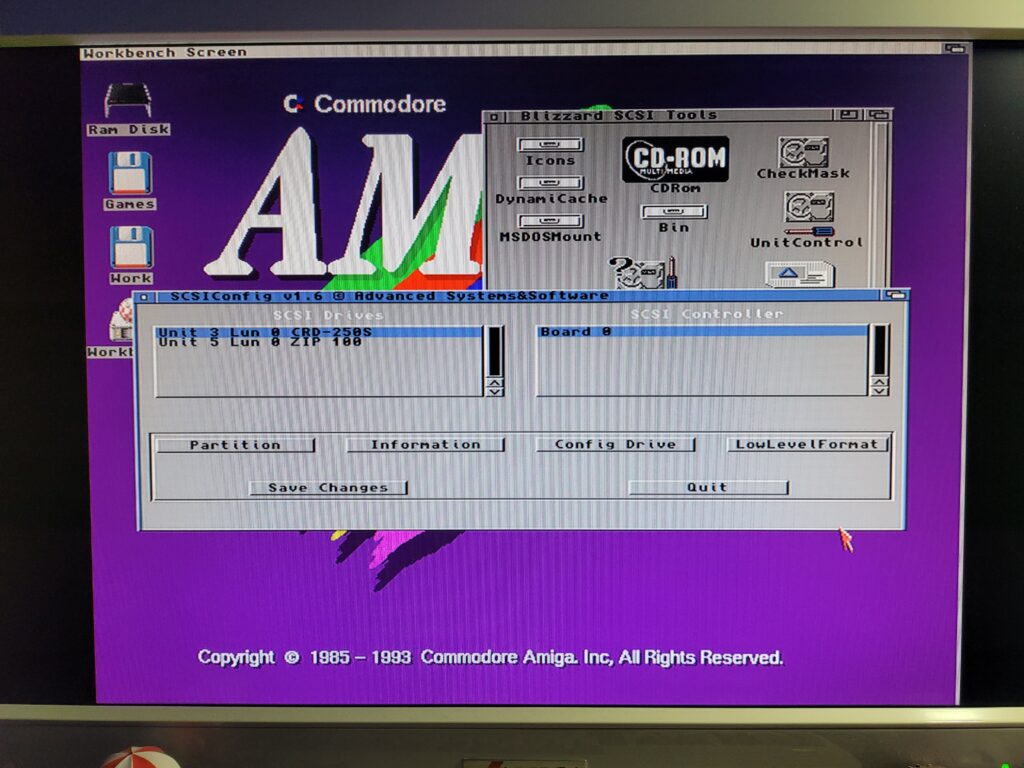
Next I loaded up the SCSI Config software off the Blizzard Tools disk to see if my devices were being recognised. Sure enough both my Zip drive and CDROM appeared as unit 5 and 2 respectively. Happy days!
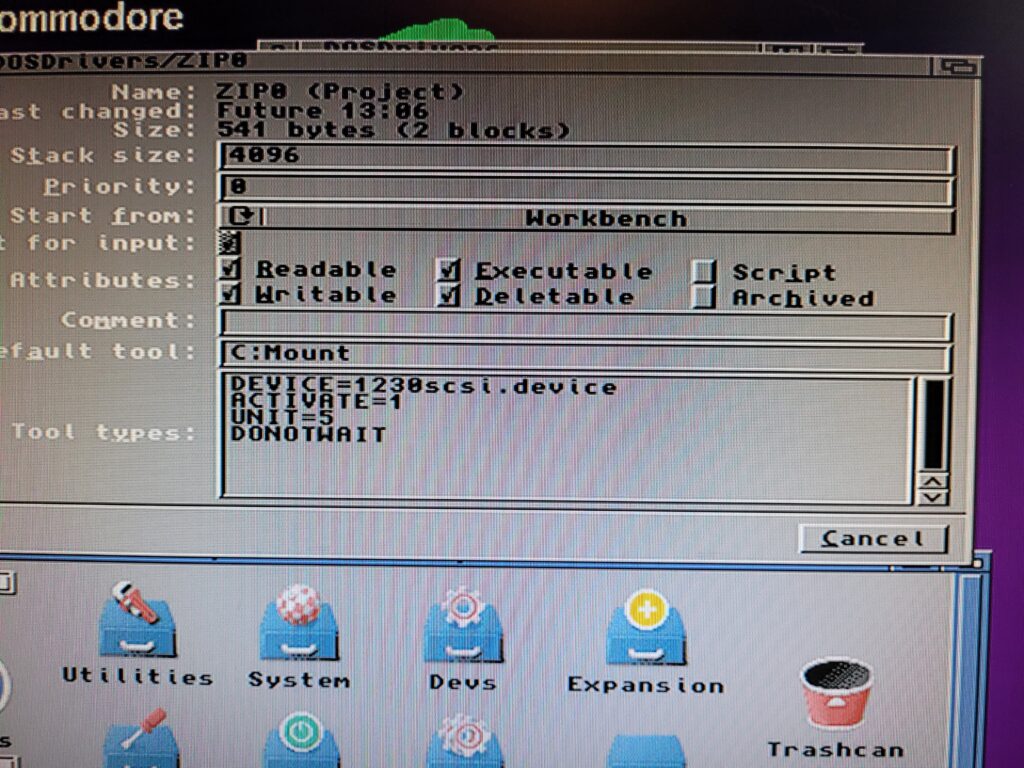
Although my devices were visible to the system, my discs weren’t showing up on Workbench yet. This was because they were still configured to use my Squirrel SCSI hardware. To get them working I edited the ‘tool types’ for my ZIP and CD mountlists in DEVS:DOSDrivers, setting the ‘DEVICE’ to ‘1230scsi.device’ for them both (the name of the Blizzard SCSI host adapter).
A quick CTRL-A-A reboot and everything was working – my Zip drives, CDROM’s and Music CD’s were all recognised correctly.
Closing Thoughts
This has been another great addition to my A1200. Not only do I have all my SCSI peripherals working but now I have an extra 64Mb of Fast RAM to play with. Additionally my PCMCIA port is now left vacant so I’m free to explore the addition of a network card or maybe a card reader.
Is this the end for my Amiga 1200’s trapdoor expansions? For the time being, probably yes. I could replace the 64Mb SIMM fitted in both cards with 128Mb SIMM’s to give me a total of 256Mb. However my A1200 already has way more RAM than I ever had back in the day so not sure if that is really necessary. Mind you, if I see some RAM going cheap I’ll probably go for it.
There’s always the possibility of replacing the 1230 for an 040 or 060 accelerator (or even a PPC one). Unfortunately these expansions are obscenely expensive nowadays so that would be hard to justify. Besides, I think the 68030 is the sweet spot for performance versus compatibility for the Amiga. I never say never though…


