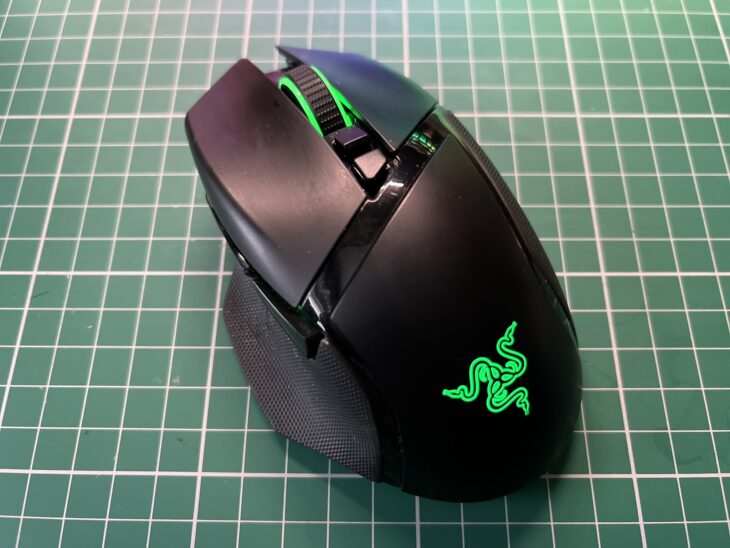
When I am not tinkering around with my old Commodores my ‘daily driver’ computer is a Windows PC and lately the mouse I use with it has been driving me crazy. It’s a wireless Razer Basilisk Ultimate that I bought three years ago and it’s been terrific until recently. Over the past 6 months or so the battery life has deteriorated to the point where it barely lasts an hour before it needs charging again! I made sure the contacts were clean on both the mouse and dock and even charged it with a micro USB cable but nothing worked. Basically the rechargeable battery was completely knackered and so began my mission to replace it!
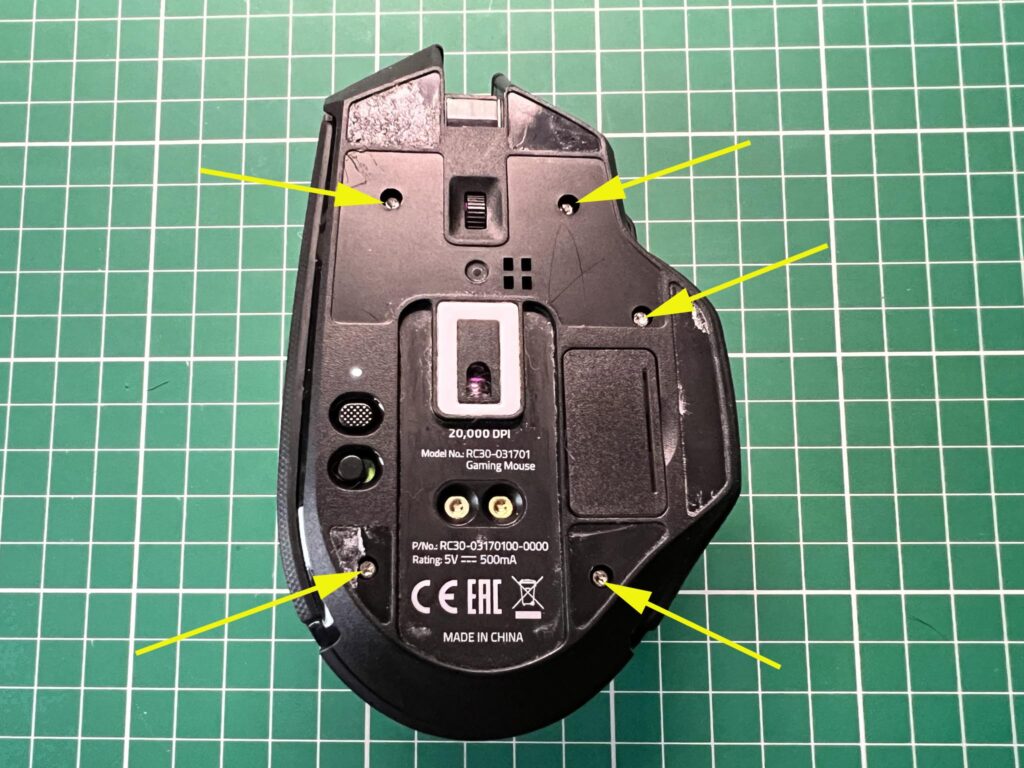
Positions of the 5 screws holding the case together.
The first job was to find where the screws were hiding so I could take the mouse apart. I removed all the glide feet and managed to find two of the screws. The remaining three screws were hidden underneath the serial number/barcode sticker which I also had to remove. The sticker came away quite cleanly with the use of a craft knife to lift up a corner. However the glide pads were really stuck down well so although I got them all off in one piece they were quite tatty afterwards and wouldn’t stick back down properly. They ended up in the bin! The good news if you are looking to do this yourself is that you now know that only the bottom two gliders need removing so if you are careful you might not need to replace them like I did!
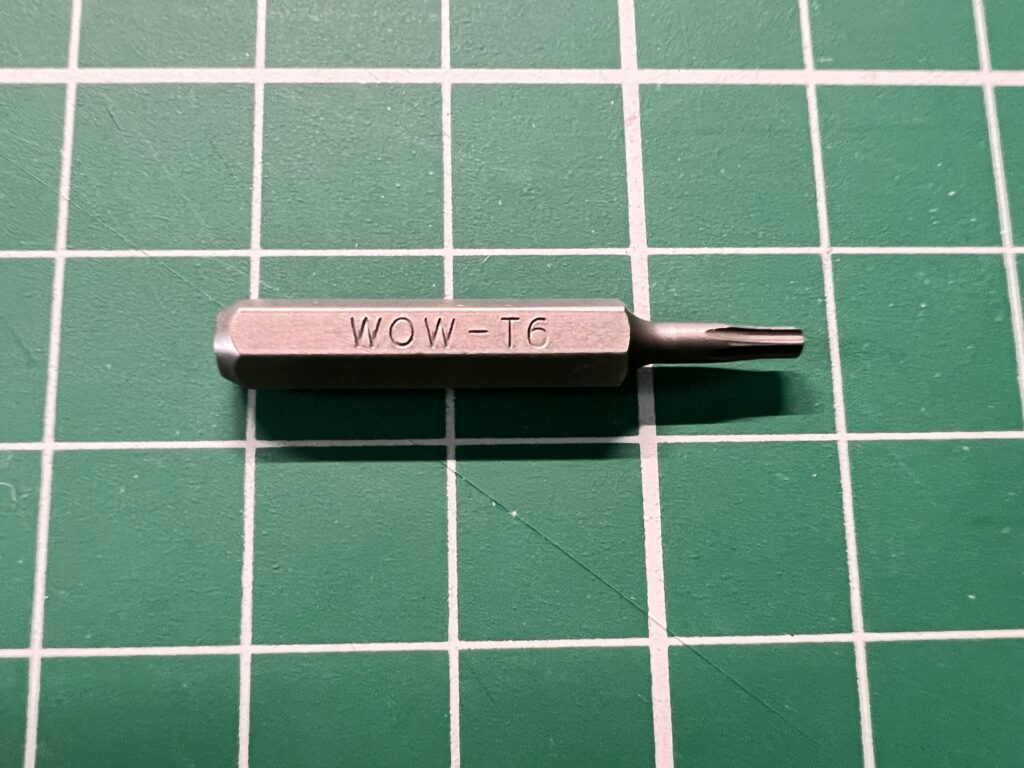
The T-6 bit needed to undo the screws.
The screws were tiny little torx head ones and required the use of a T6 bit to remove them as you can see in the photos above and below.
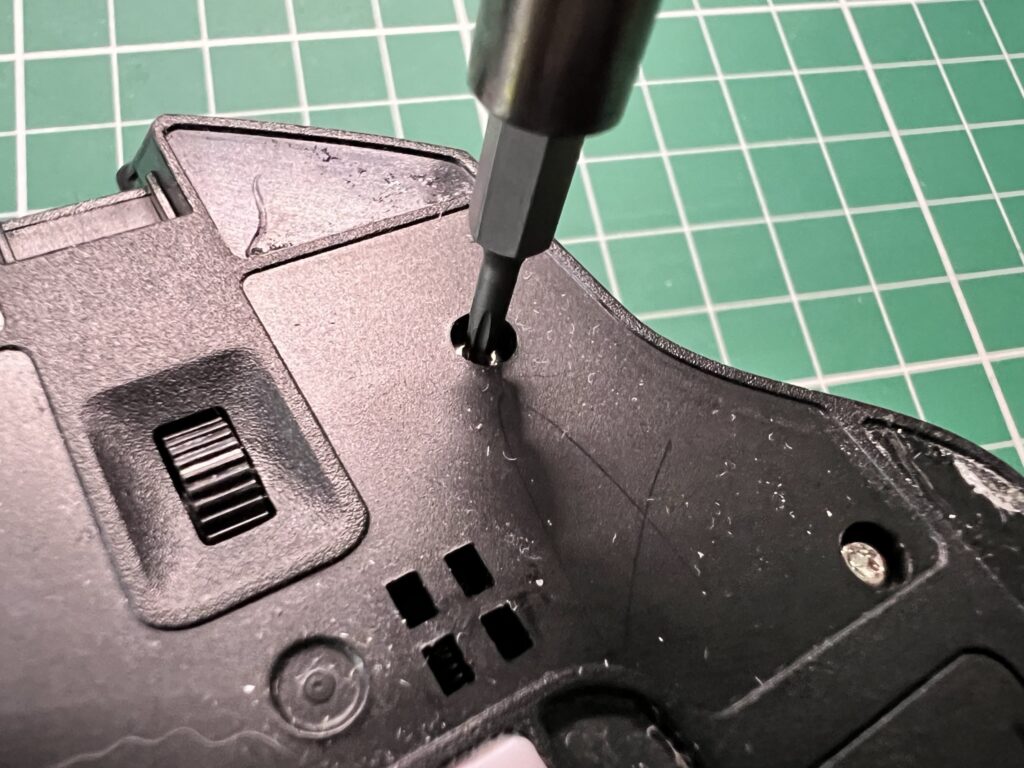
Removing the screws.
With the five screws now removed the top of the mouse shell could be lifted off. There was a short ribbon cable joining the two halves but it was just long enough to not have to bother disconnecting it whilst working on the lower half.
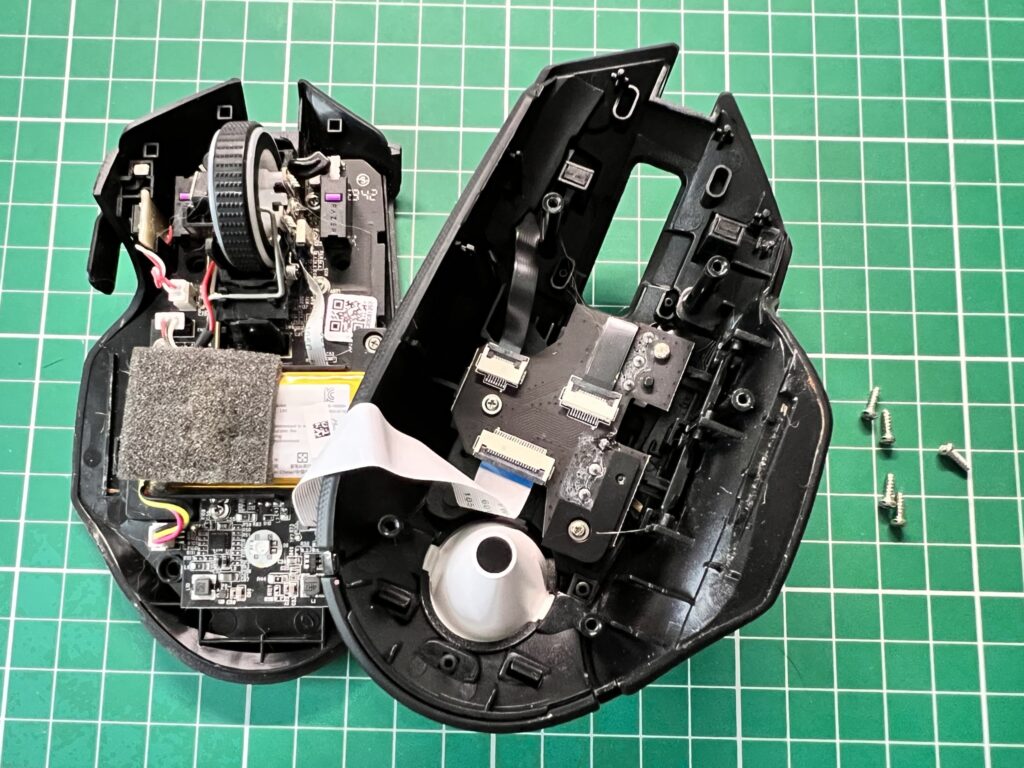
View of the two halves of the case.
The battery was connected to the mouse by means of a short connector with red, yellow and black wires which unplugged easily.
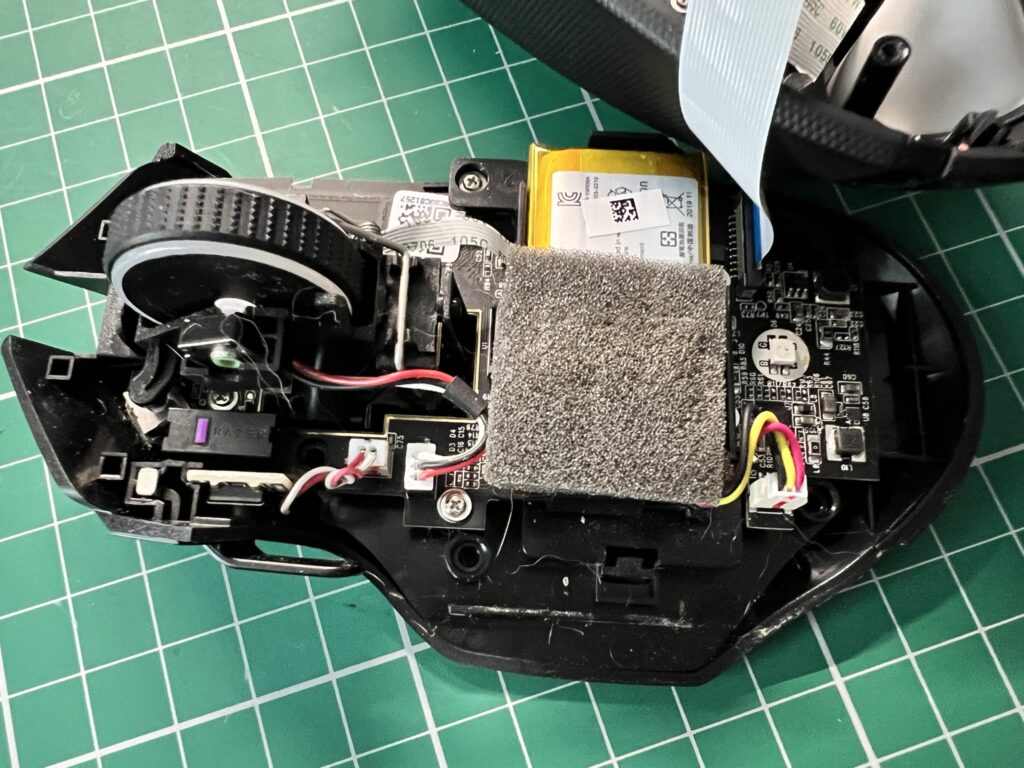
The battery is lurking under this piece of grey foam.
The battery itself was stuck to the mouse chassis but pulled away fairly easily.
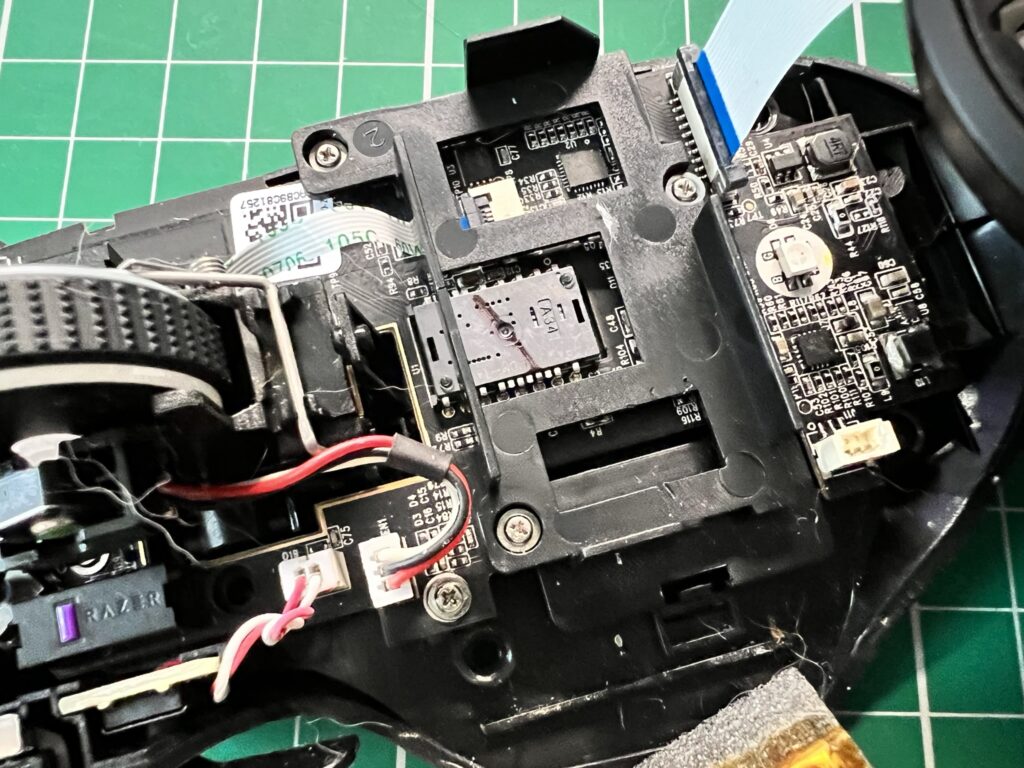
Battery removed.
The top of the battery had a small square of foam attached. I can only assume it was there to help make sure the battery didn’t work its way loose so I opted to keep it and carefully removed it with my craft knife.
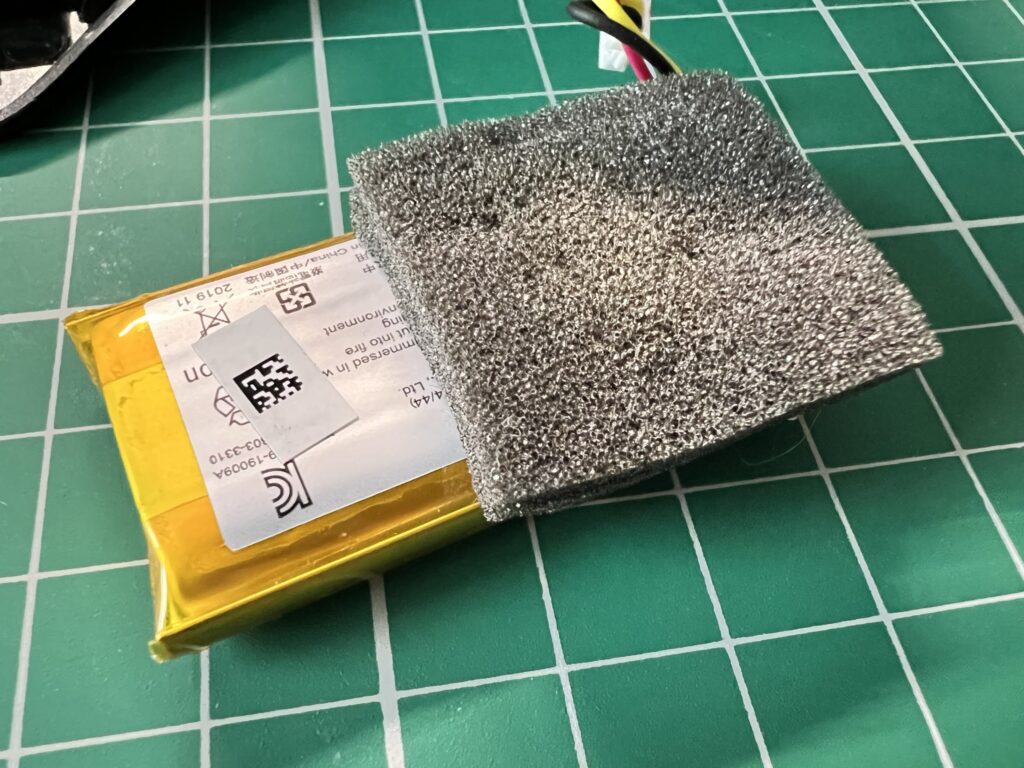
Razer Basilisk Ultimate Battery still covered by the foam.
With the foam removed (mostly in-tact) I could finally read the label to get the exact specs of the battery.
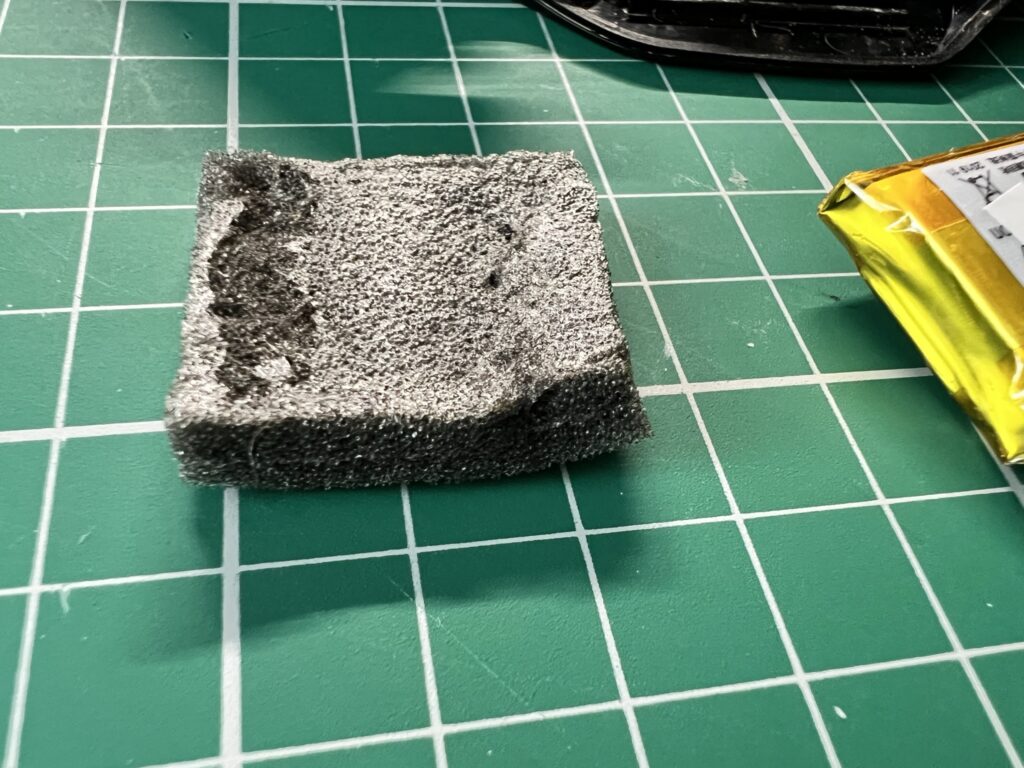
Foam removed in one piece.
Sourcing a New Battery
The battery model number was ‘PL782144’ and the specs stated it was 3.7v, 700mAH and 2.59Wh.
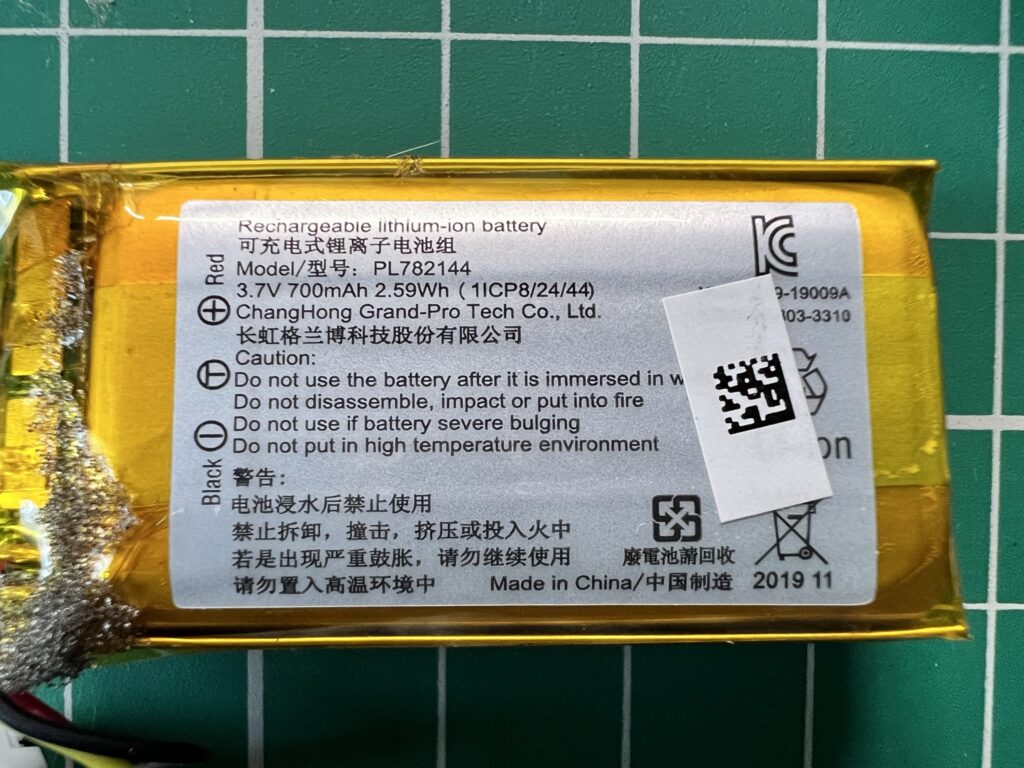
The old battery label.
These specs didn’t help too much initially as I scoured both Amazon, eBay and even AliExpress for a suitable replacement. I found many batteries with the same ratings but they were all the wrong shape or size or only had two wires instead of three. The battery was quite a snug fit inside the mouse so I needed something the same size.

Razer Basilisk Ultimate Battery Listing on eBay.
After a lot of searching around I found a battery that claimed it would fit my mouse and had the right specs, connector and size. The seller was based in China and the delivery time suggested it could take up to two months to arrive but it seemed to be my only option so I went ahead and ordered one. Here’s a link to the one I ordered: Mouse Battery. The link works right now but at some point in the future it may not so just use the details in the screengrab above to search around for an alternative.

Razer Basilisk Ultimate Gliders Listing on eBay.
As I’d also messed up the gliders I found a set of those too here. They were only a few quid including postage from China so well worth it. The picture showed them as being white but they were actually black when I got them. No big deal as I think they look better black anyway. Besides, you never get to see them when the mouse is on your desk anyway!
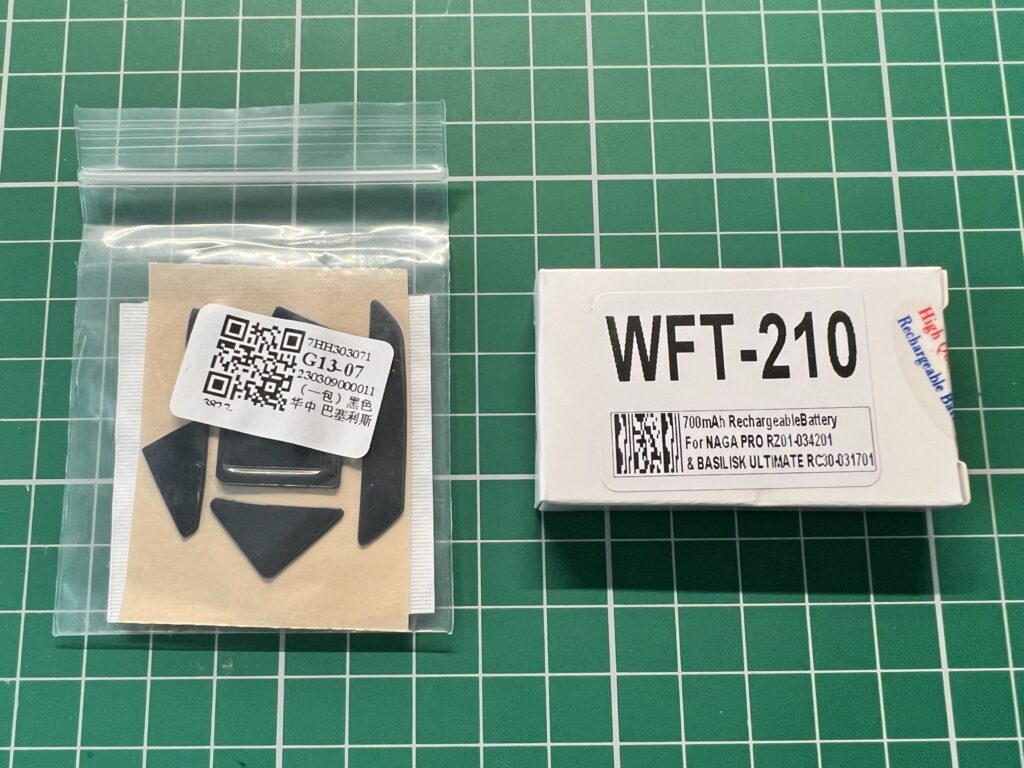
New Gliders and Battery in supplied packaging.
Thankfully both items arrived in a little under three weeks, much sooner than the listings had stated. I guess they quote the worst case scenario so that people don’t complain.
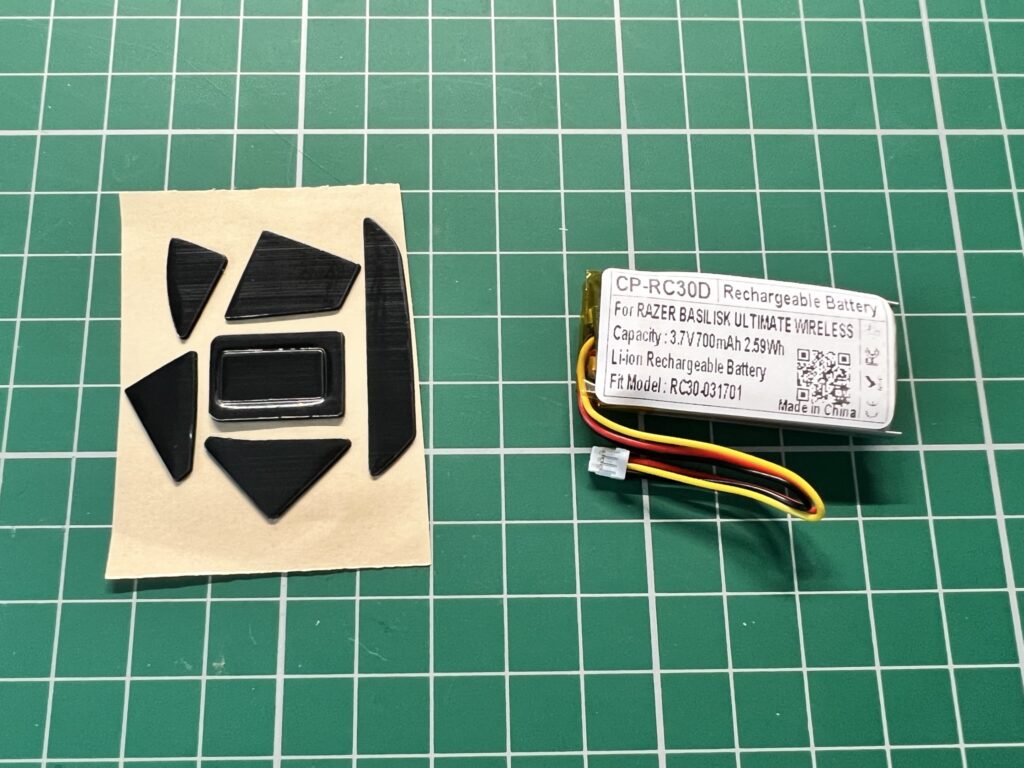
New Gliders and Battery unpacked.
When I placed the battery next to the original they were a pretty good match in terms of size with the new one just a millimetre or two smaller.
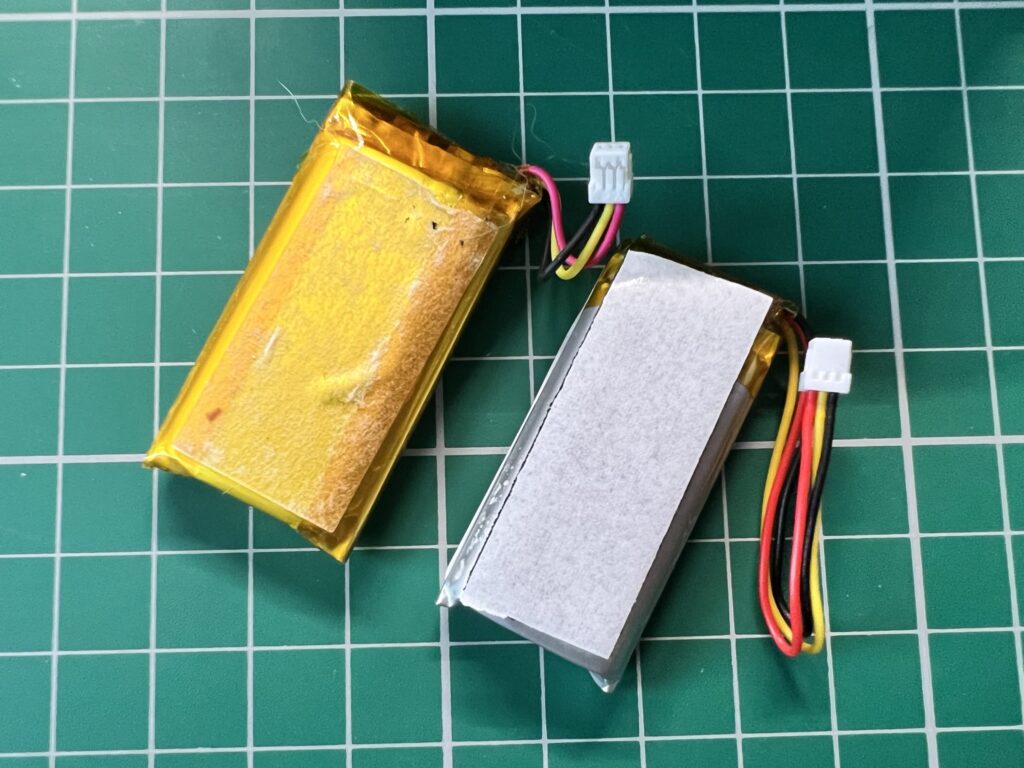
Old battery (left) and new battery (right).
Installing the New Battery
Now that I had everything I needed to fix my Razer Basilisk Ultimate mouse I set about finishing the job.
The first thing to do was peel off the adhesive cover on the new battery ready for it to be stuck into position.
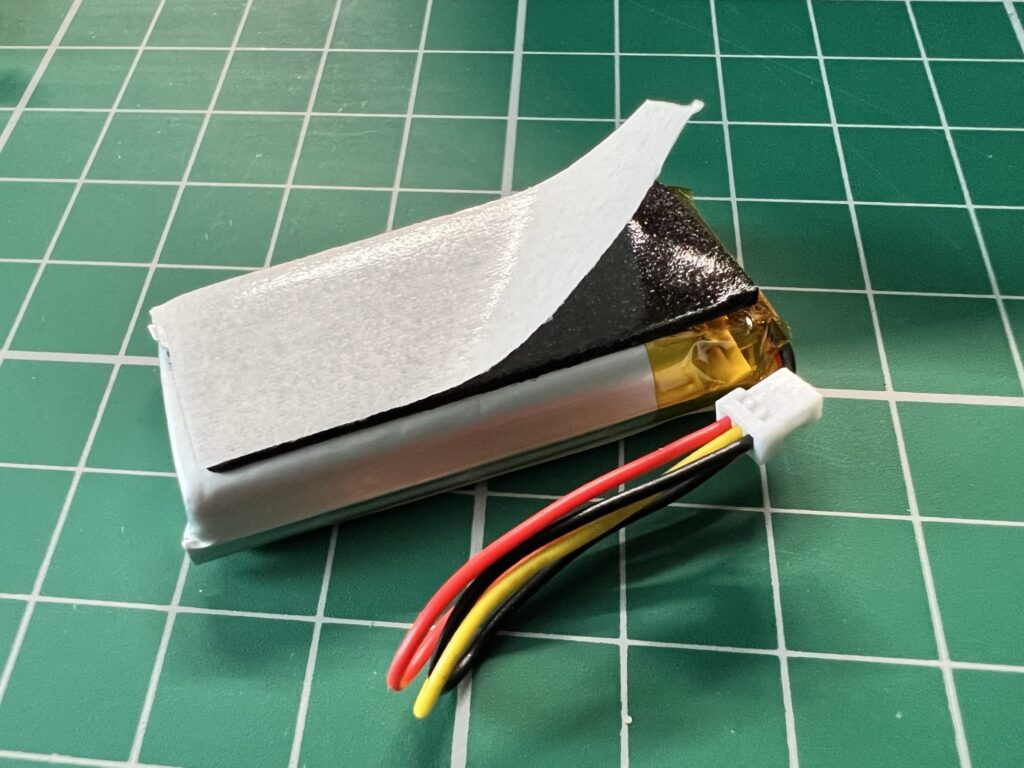
Peeling the tape off the adhesive pad.
I made sure to orient the battery with the cable nearest the socket but as it was quite a bit longer than the original I looped it around a section of the battery holder to keep it from getting into harms way when reassembling the mouse.
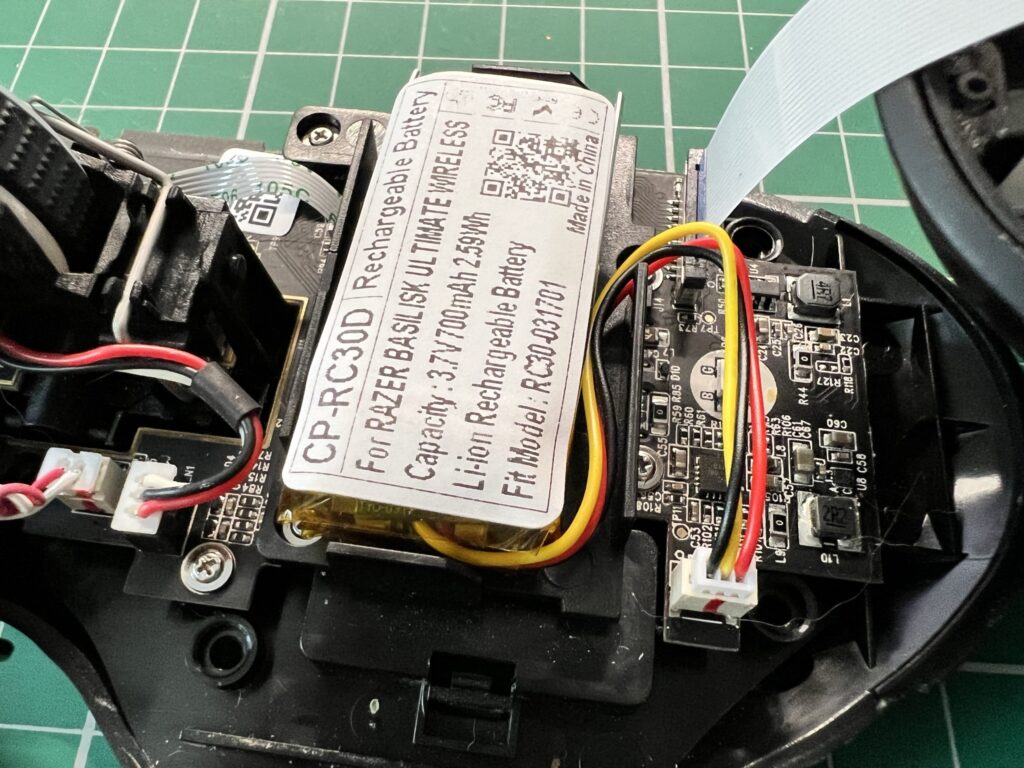
New battery fitted.
Once the battery was fitted and the wire connector plugged back in I re-fitted the foam pad to the battery. It had enough residual stickiness left to just stick right back on. Not entirely sure it was necessary but it was on there before so I put it back,
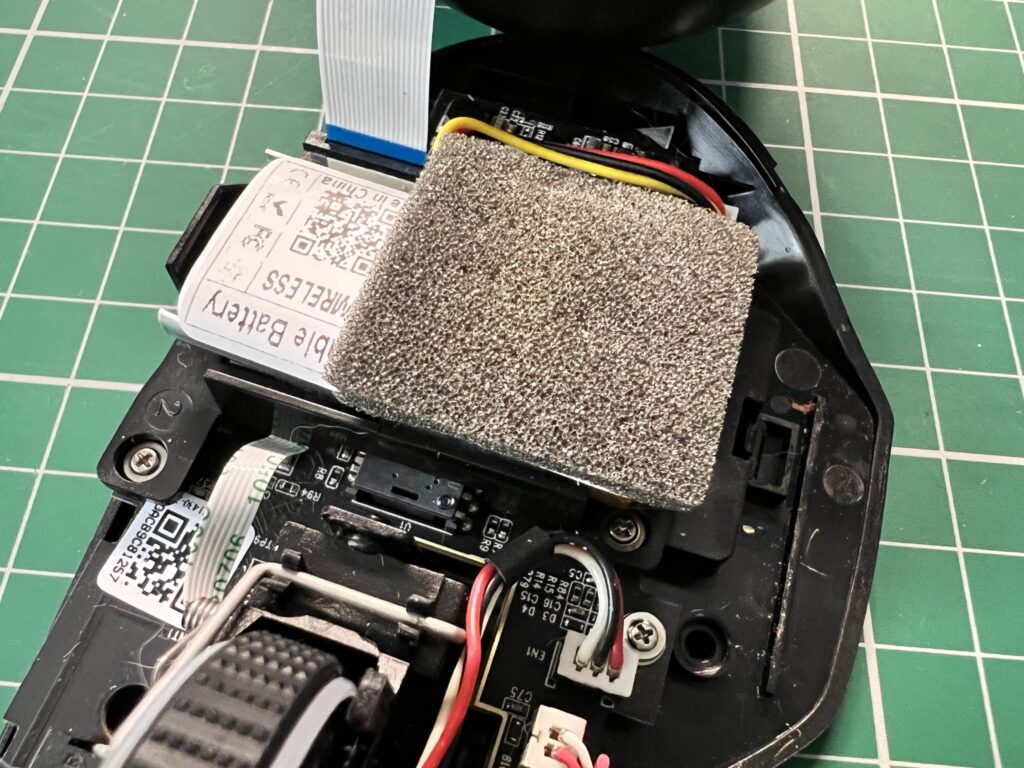
Old piece of foam re-fitted.
With the battery stuck in place, reconnected and foam replaced I put the case back together and turned my attention to the bottom of the case…
Fitting the New Gliders
To fit the new gliders I used a pair of precision tweezers to remove them from the backing sheet and position them on the base of the mouse before pressing them firmly into place. It’s far easier to see where they go when your view isn’t obscured by the end of a finger!
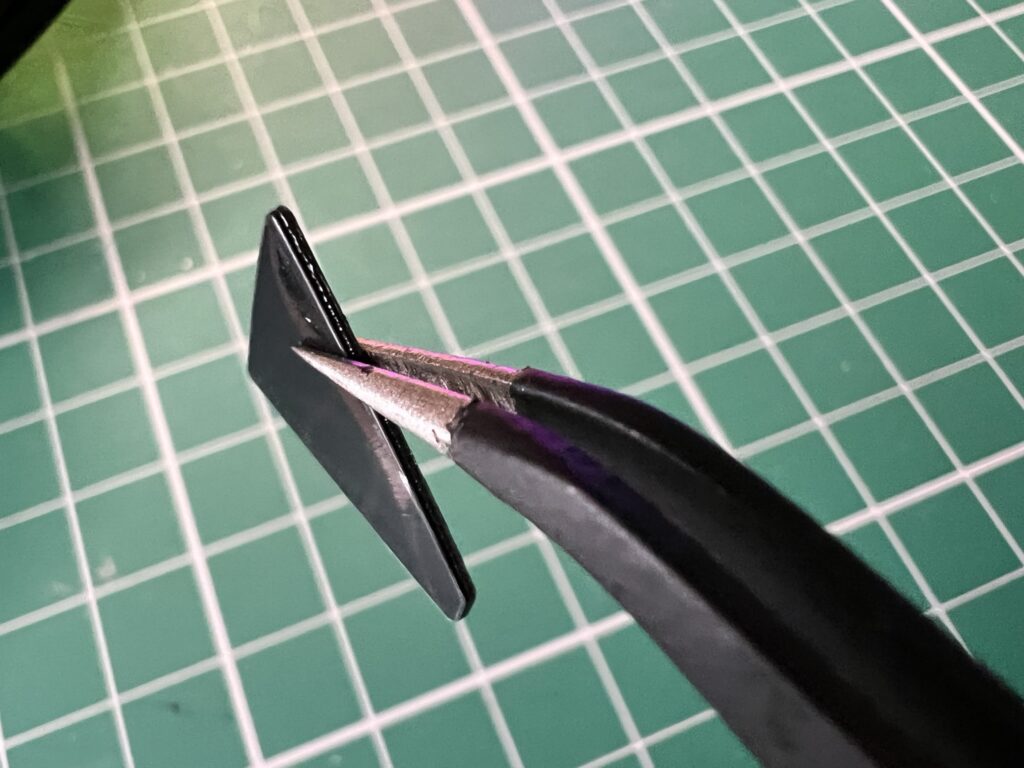
Holding one of the gliders with a pair of tweezers.
The gliders had a thin protective film on them that needed removing after application.
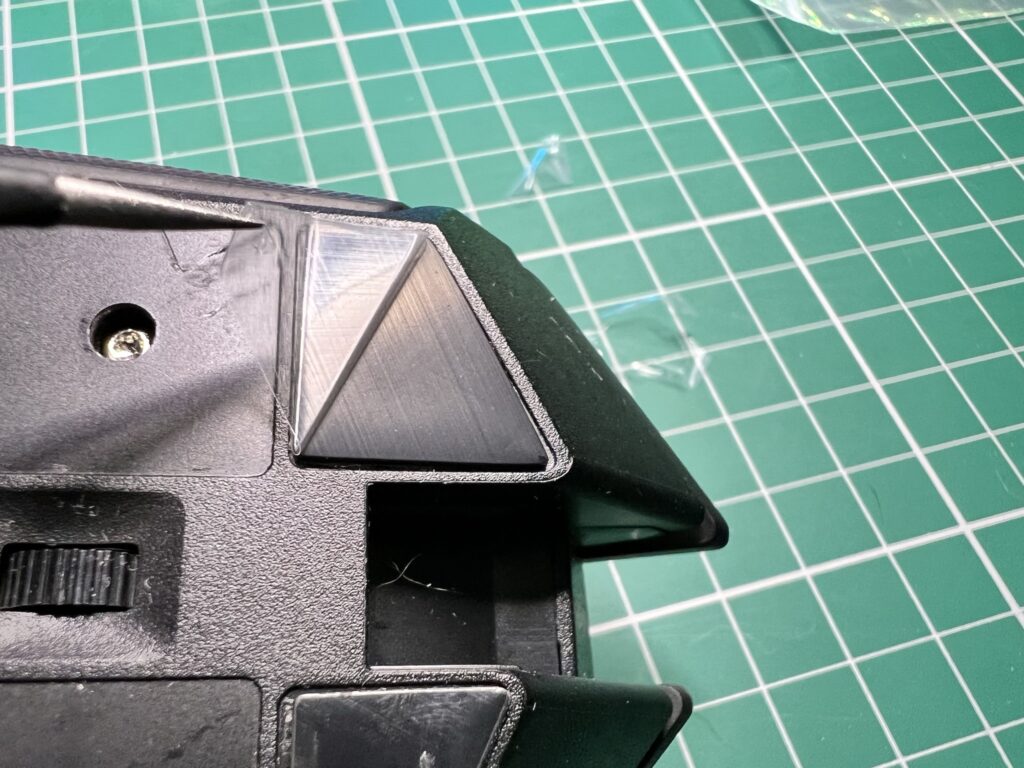
Peeling off the protective film.
I also carefully replaced the barcode sticker and also the square glider around the laser in the middle. I hadn’t removed this but since all the new ones were now black and this was still white it had to go!
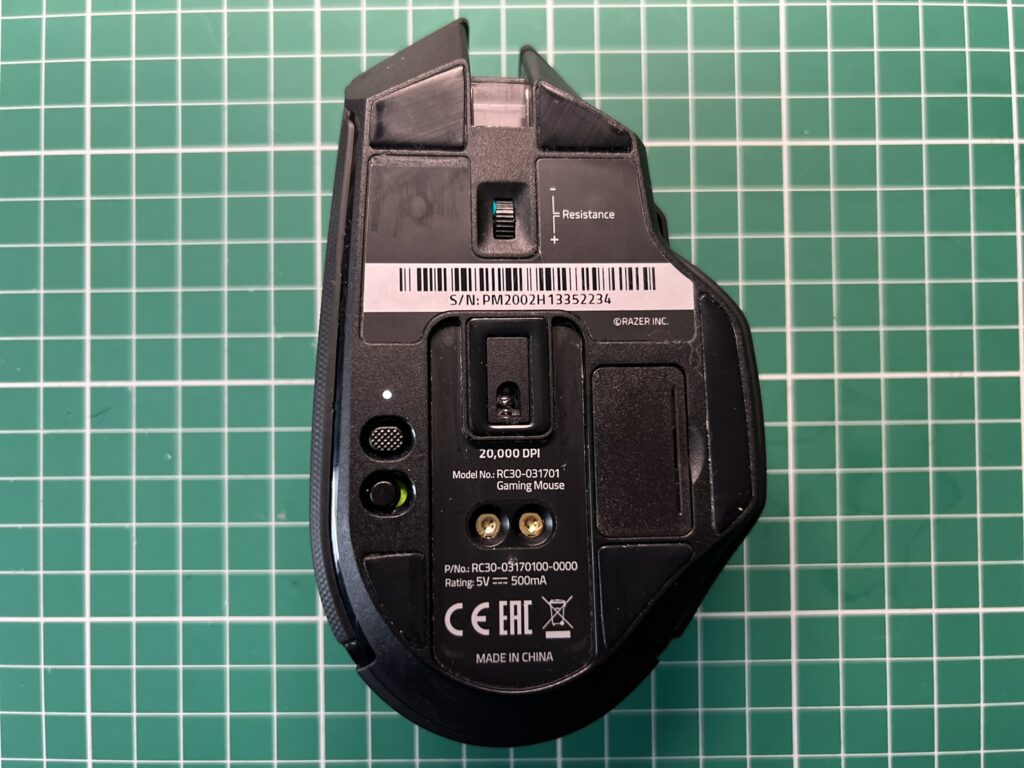
Ta-da! The finished article with all gliders and serial number sticker fitted.
Whilst I was at it I decided to give the charging contacts a quick clean too.
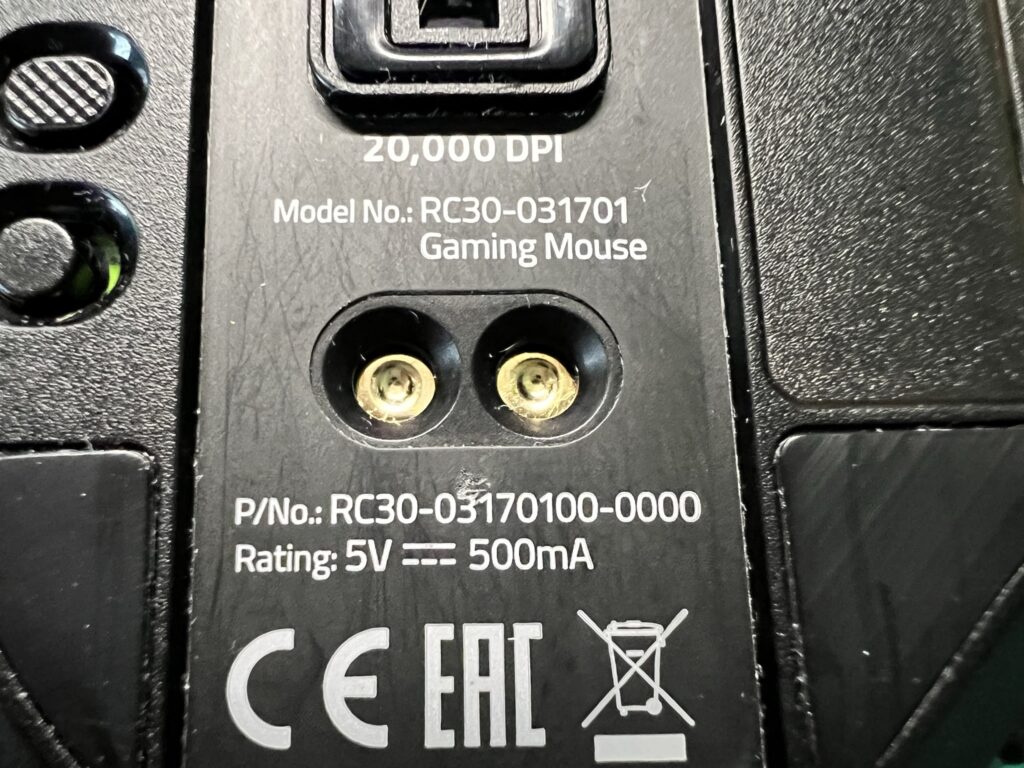
These are the charging contacts that need periodic cleaning.
A quick spin of an isopropyl alcohol soaked cotton bud was all it took to make sure they were nice and clean. I did the same thing with the prongs of the charging dock too for good measure.
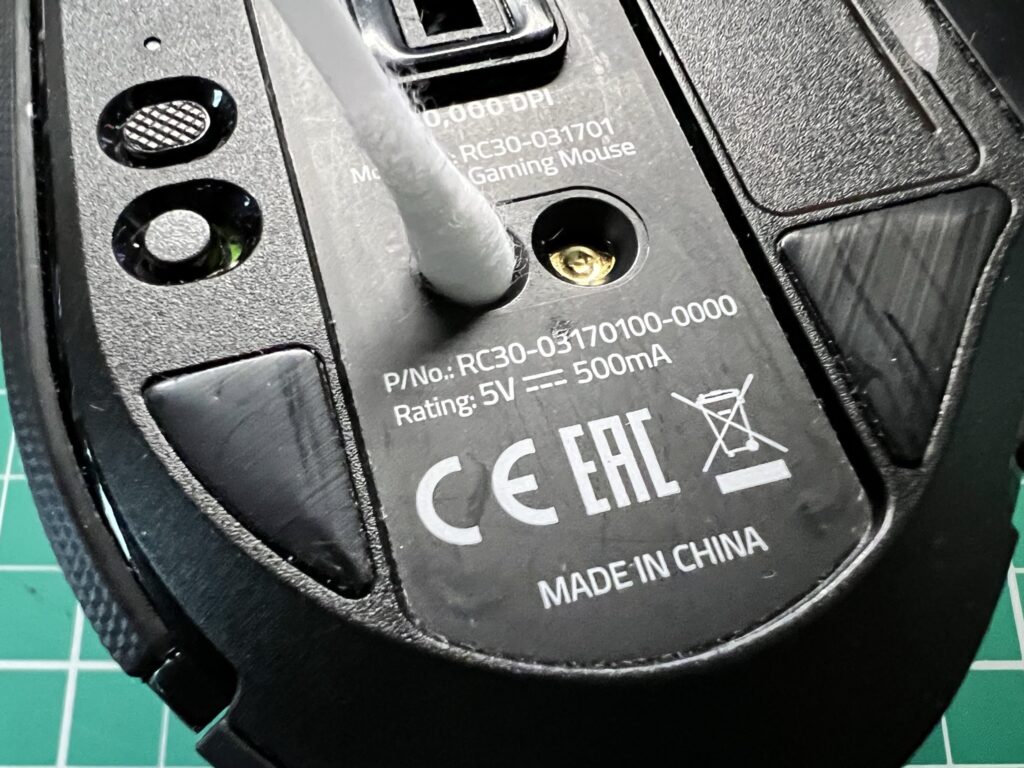
Cleaning the contacts with some Isopropyl Alcohol on a cotton bud.
I then gave the whole mouse a quick wipe down to remove any dirty marks I’d made before taking the photo below and then putting it straight back into active service.
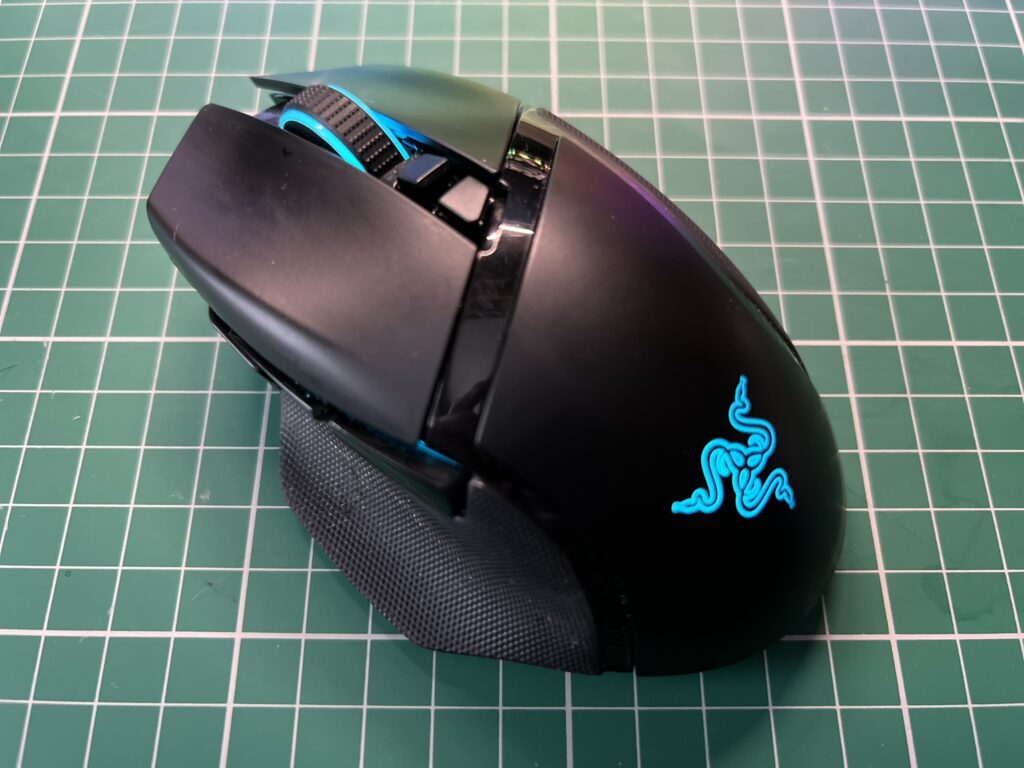
My Razer Basilisk Ultimate Mouse – Restored to its Former Glory!
At the time of writing it’s been three days since I fitted the new battery and my mouse is still going strong on the one and only charge I gave it that first day. The battery replacement has been a resounding success and my Razer Basilisk Ultimate is basically as good as new now. The total cost was £32 for the battery, gliders and postage whilst the repair probably took about 30 minutes. Given that the mouse cost me £150 when new I think that was money and time well spent for another three years of top class service (touch wood).


