
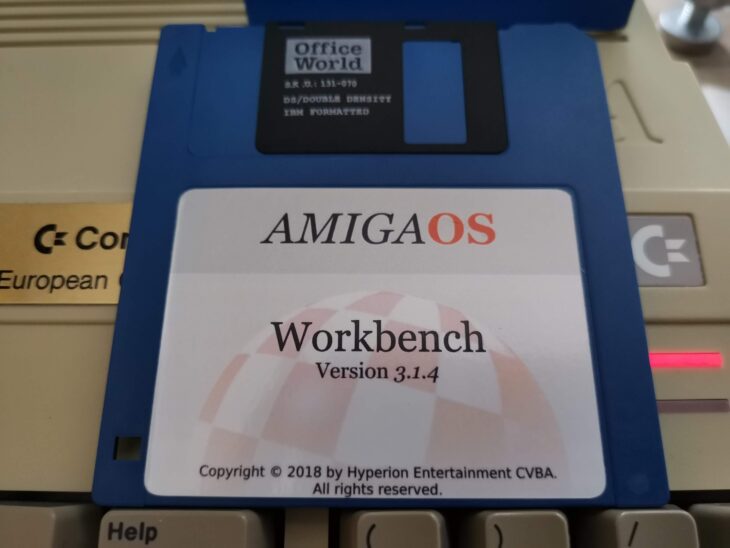
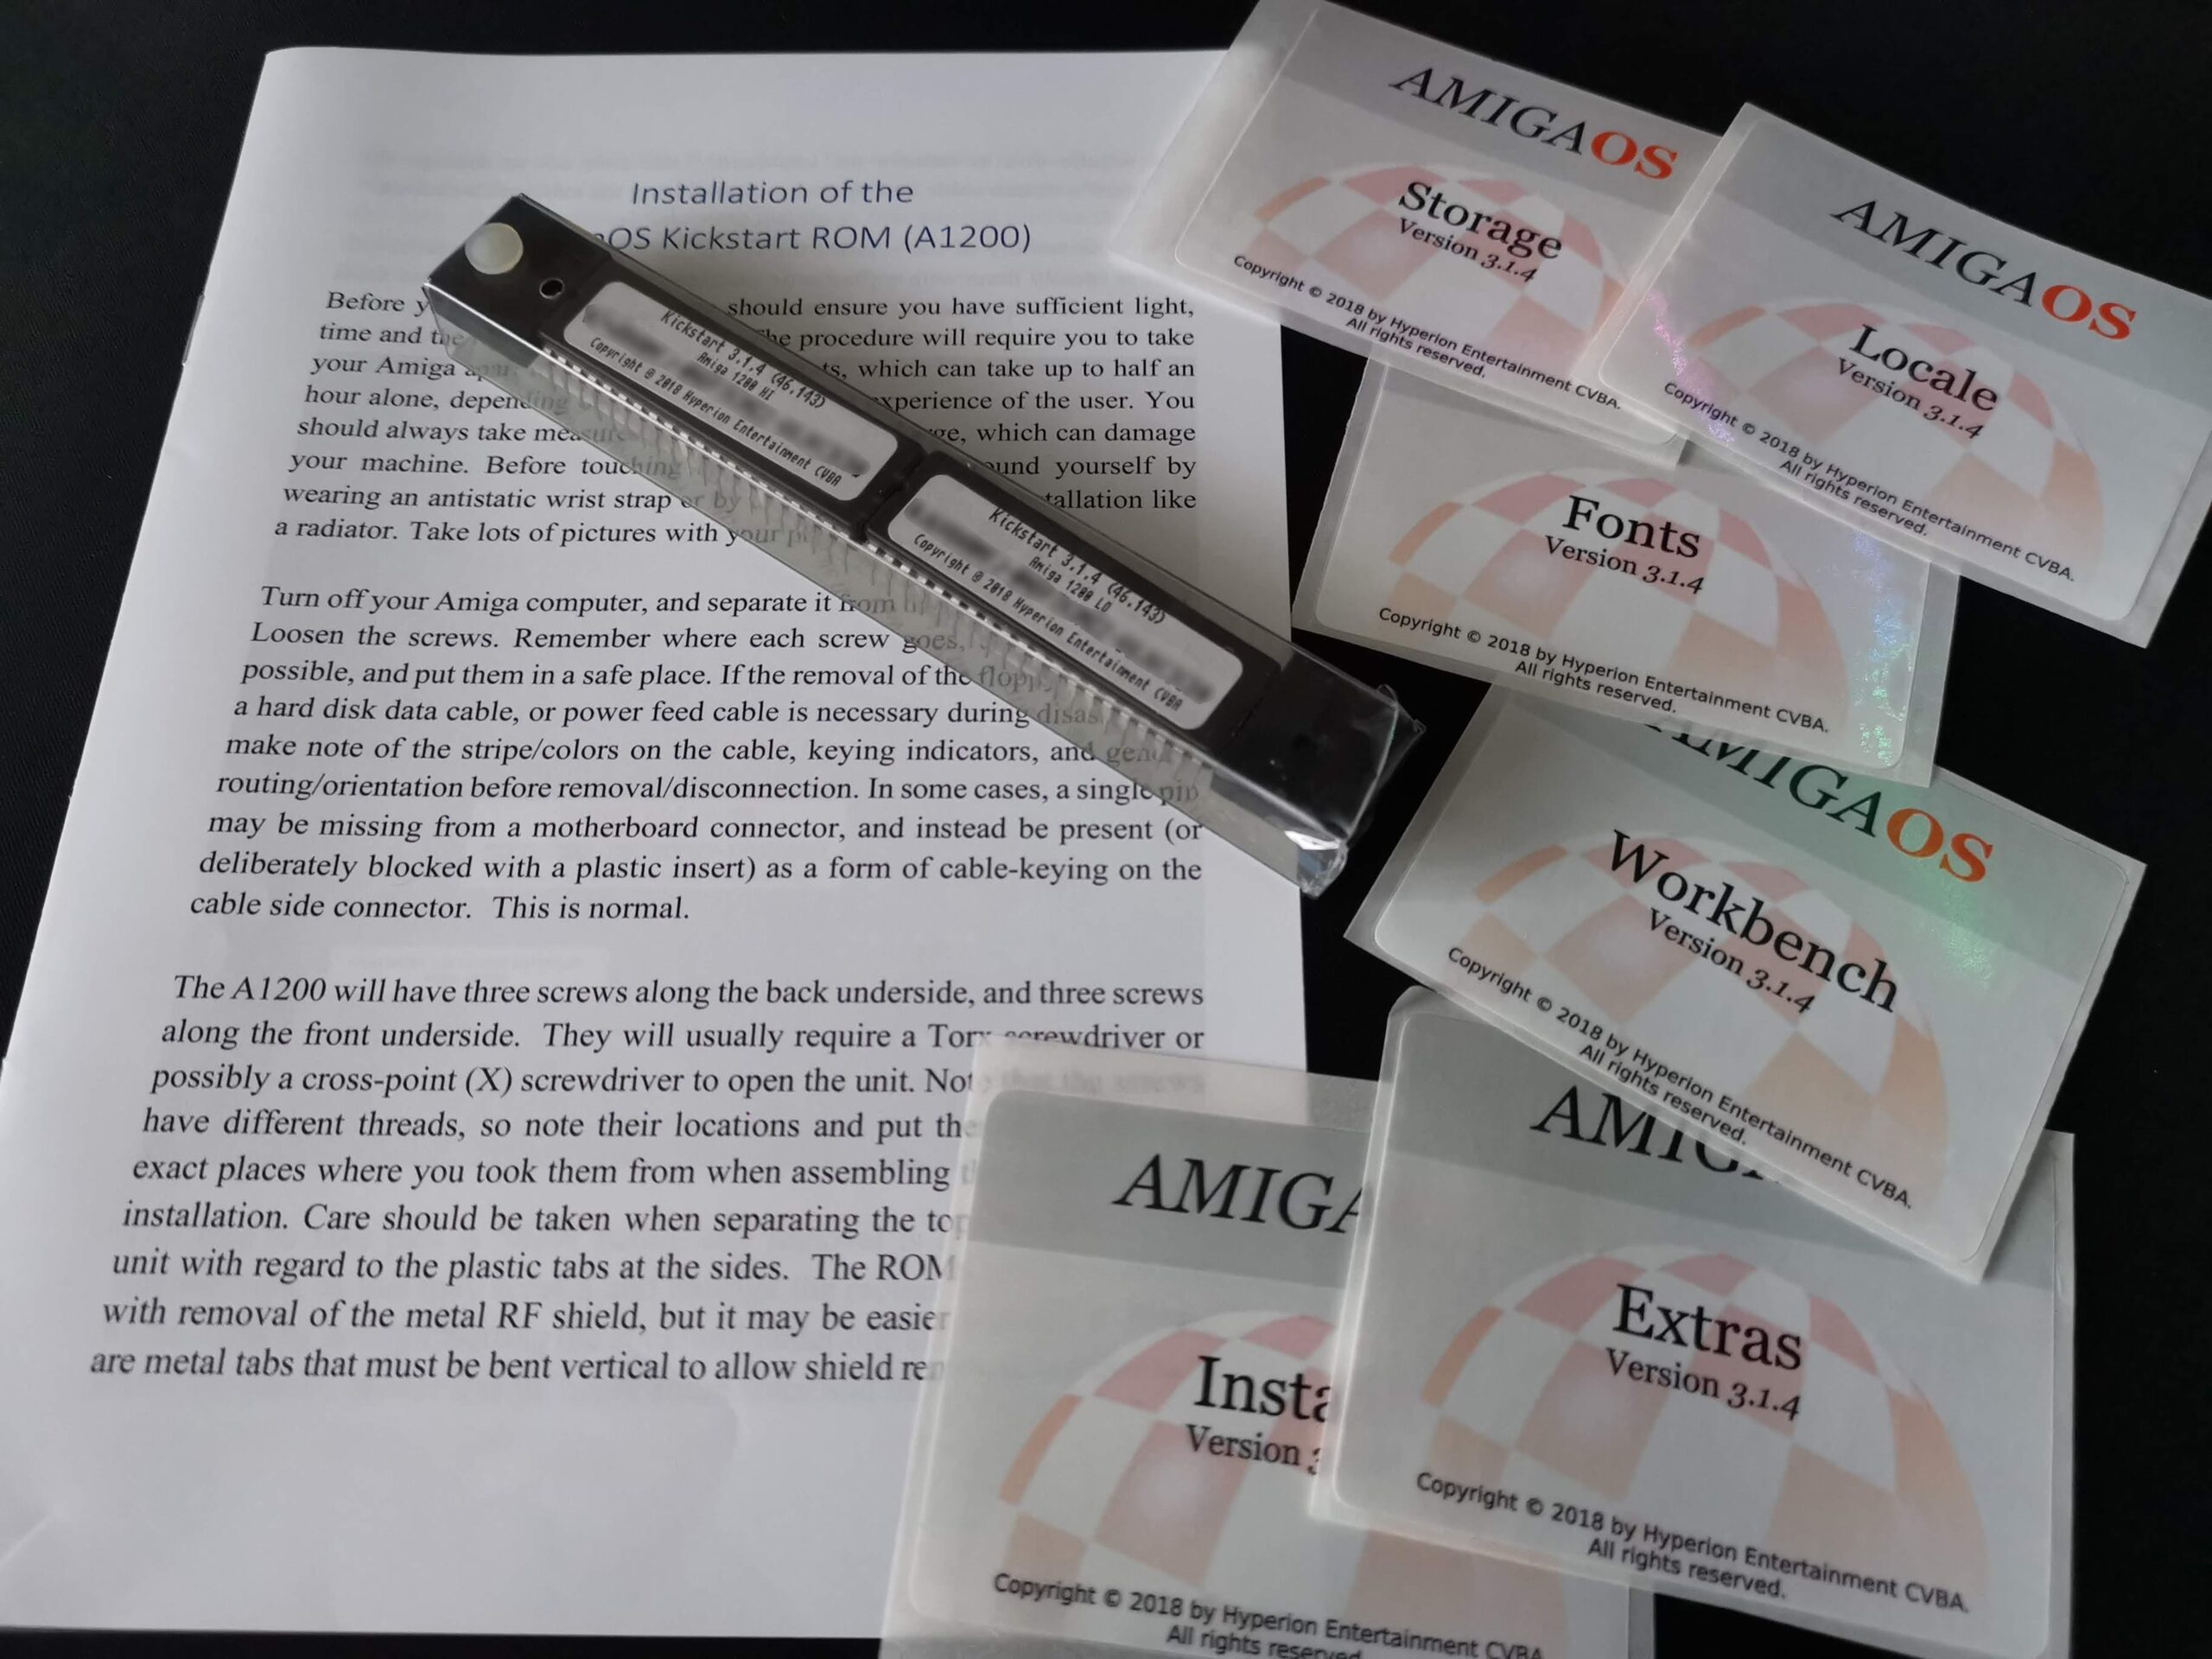
For my ‘new’ Amiga 1200 I decided I wanted to have the latest Workbench running on it so I ordered myself a copy of AmigaOS 3.1.4 from Sordan in Ireland. It arrived a few days later in a small cardboard box and consisted of a ROM Installation Guide, 2 Kickstart chips and a bunch of labels for you to stick to your own Amiga OS 3.1.4 Disks.
This is what you get when you purchase Amiga OS 3.1.4
Registering my Purchase
To actually obtain digital copies of the disks I had to register my serial number (found on the top of the Kickstart ROM’s) on the Hyperion Entertainment website. After doing that I was able to download a bunch of ADF files and a few other things (Wallpapers, Icon packs and documentation mainly) on my PC.

Time to crack open a nice box of 3.5″ Floppies.
It would have been nice to have received the disks in the box but it’s no real hardship creating my own and it cuts down the price quite a lot. I love working with real floppy disks anyway, the tactile feel of them in use and listening to the whirring of the drive as it accesses them*.
*I hate working with grotty, mouldy, faulty old disks that end up giving me nothing but aggravation and a headache.
You don’t see this much any more…
I decided to use my trusty Amiga 500 to create the disks as it has an SD Card reader that makes transferring the files across from my PC a doddle. Once I’d copied the ADF files over I loaded up my favourite ADF software, GoADF and dug out a box of new 3.5″ DS DD floppy disks and set about creating my 6 Workbench disks.
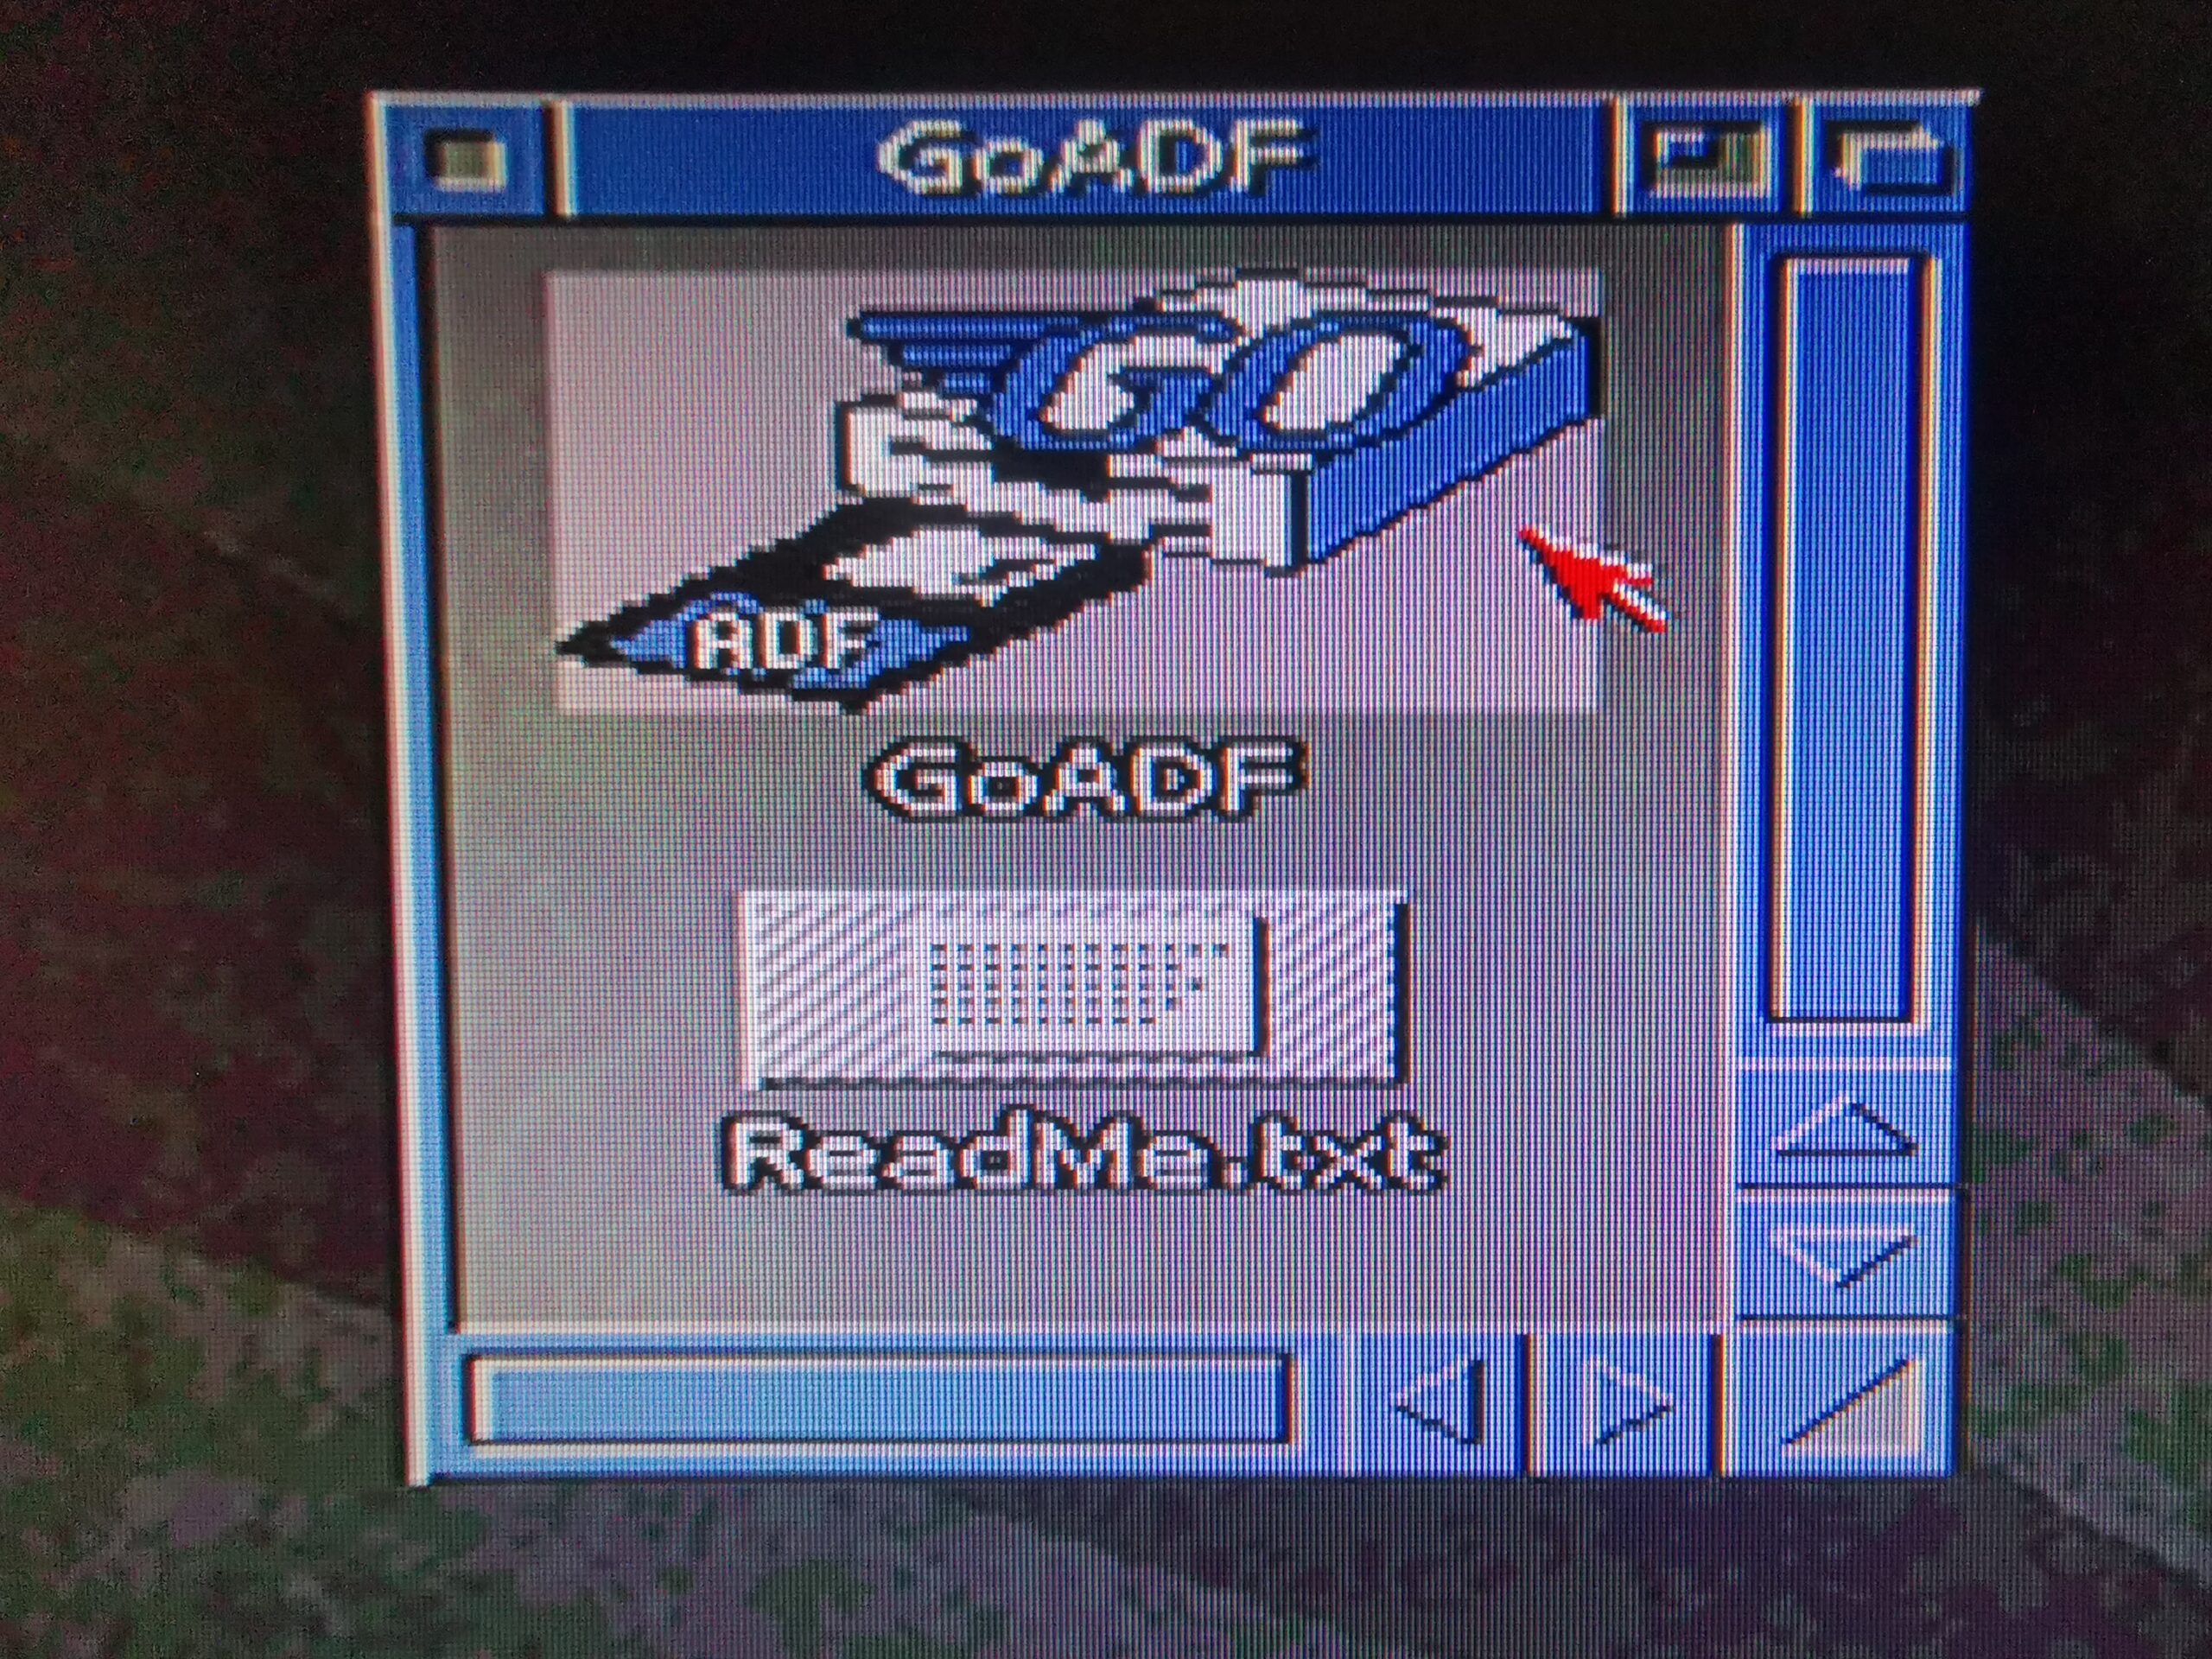
GoADF
Creating the Workbench Disks
I started with the Workbench disk first, selecting it from the list of ADF files provided. Double-clicking the name of the ADF loads the image into the software.
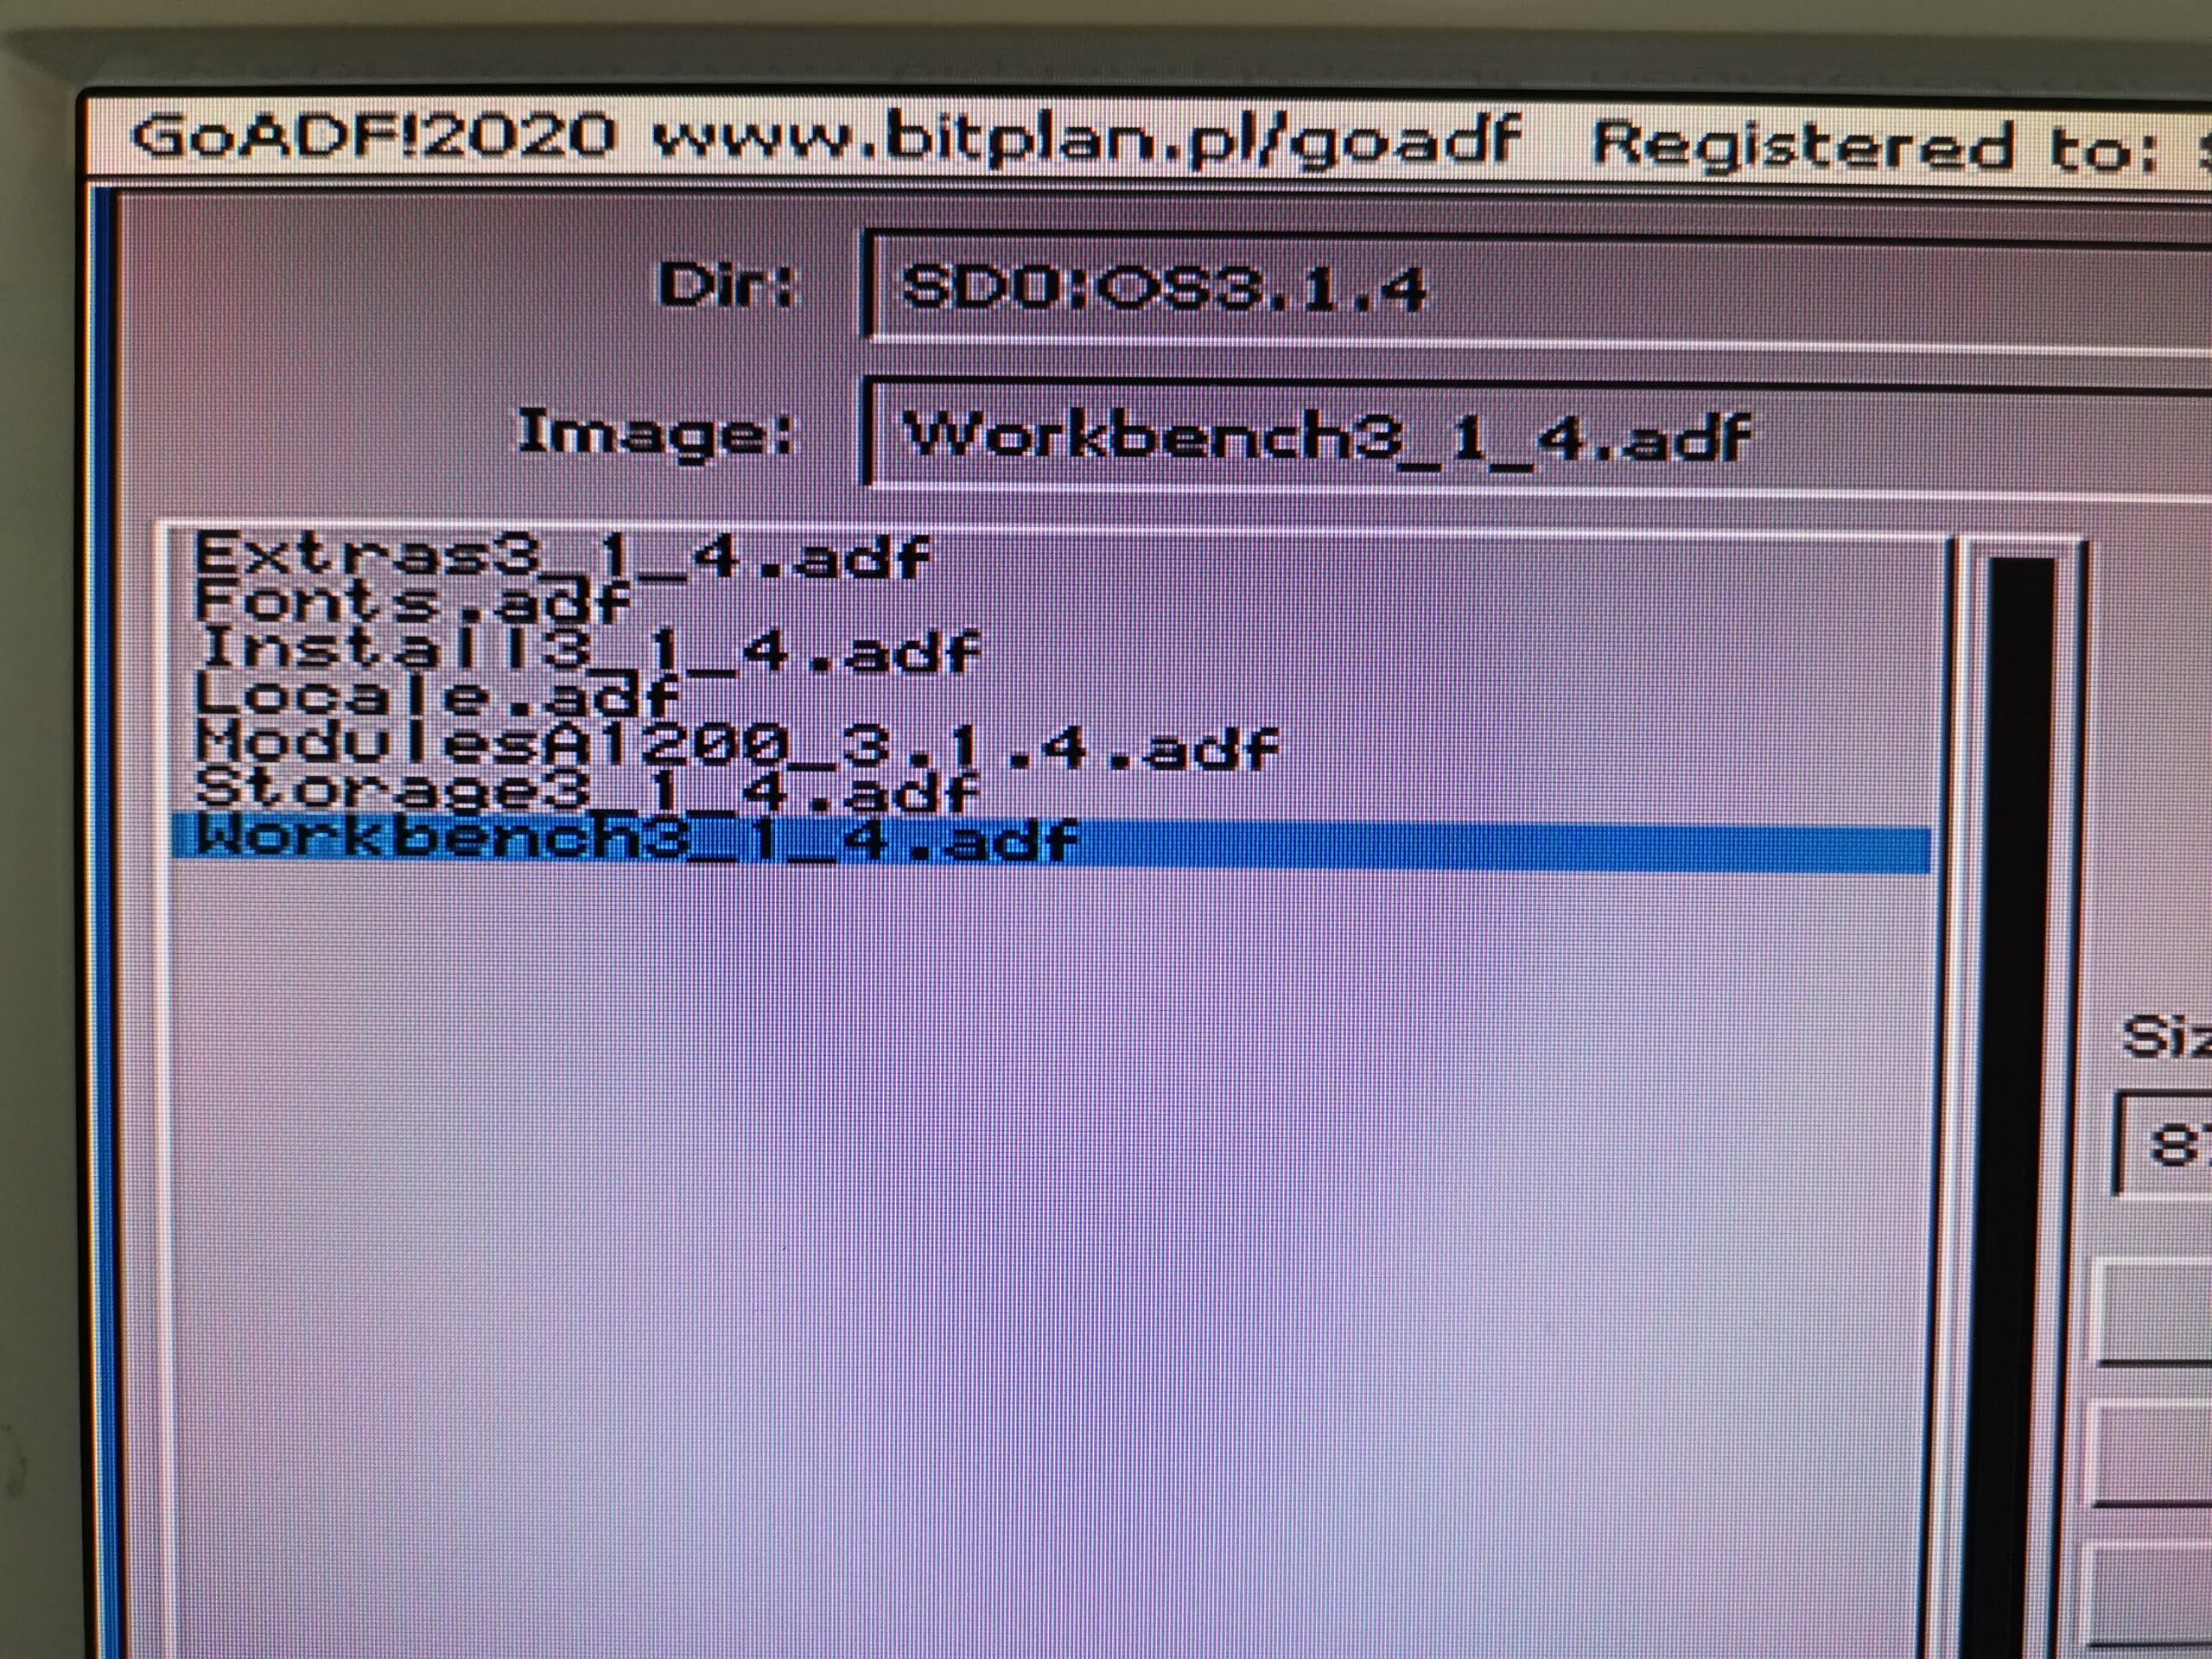
Here we can see all the Amiga OS 3.1.4 Disk images in GoADF.
Alternatively you can click the ‘Load image’ button on the bottom left of the screen.
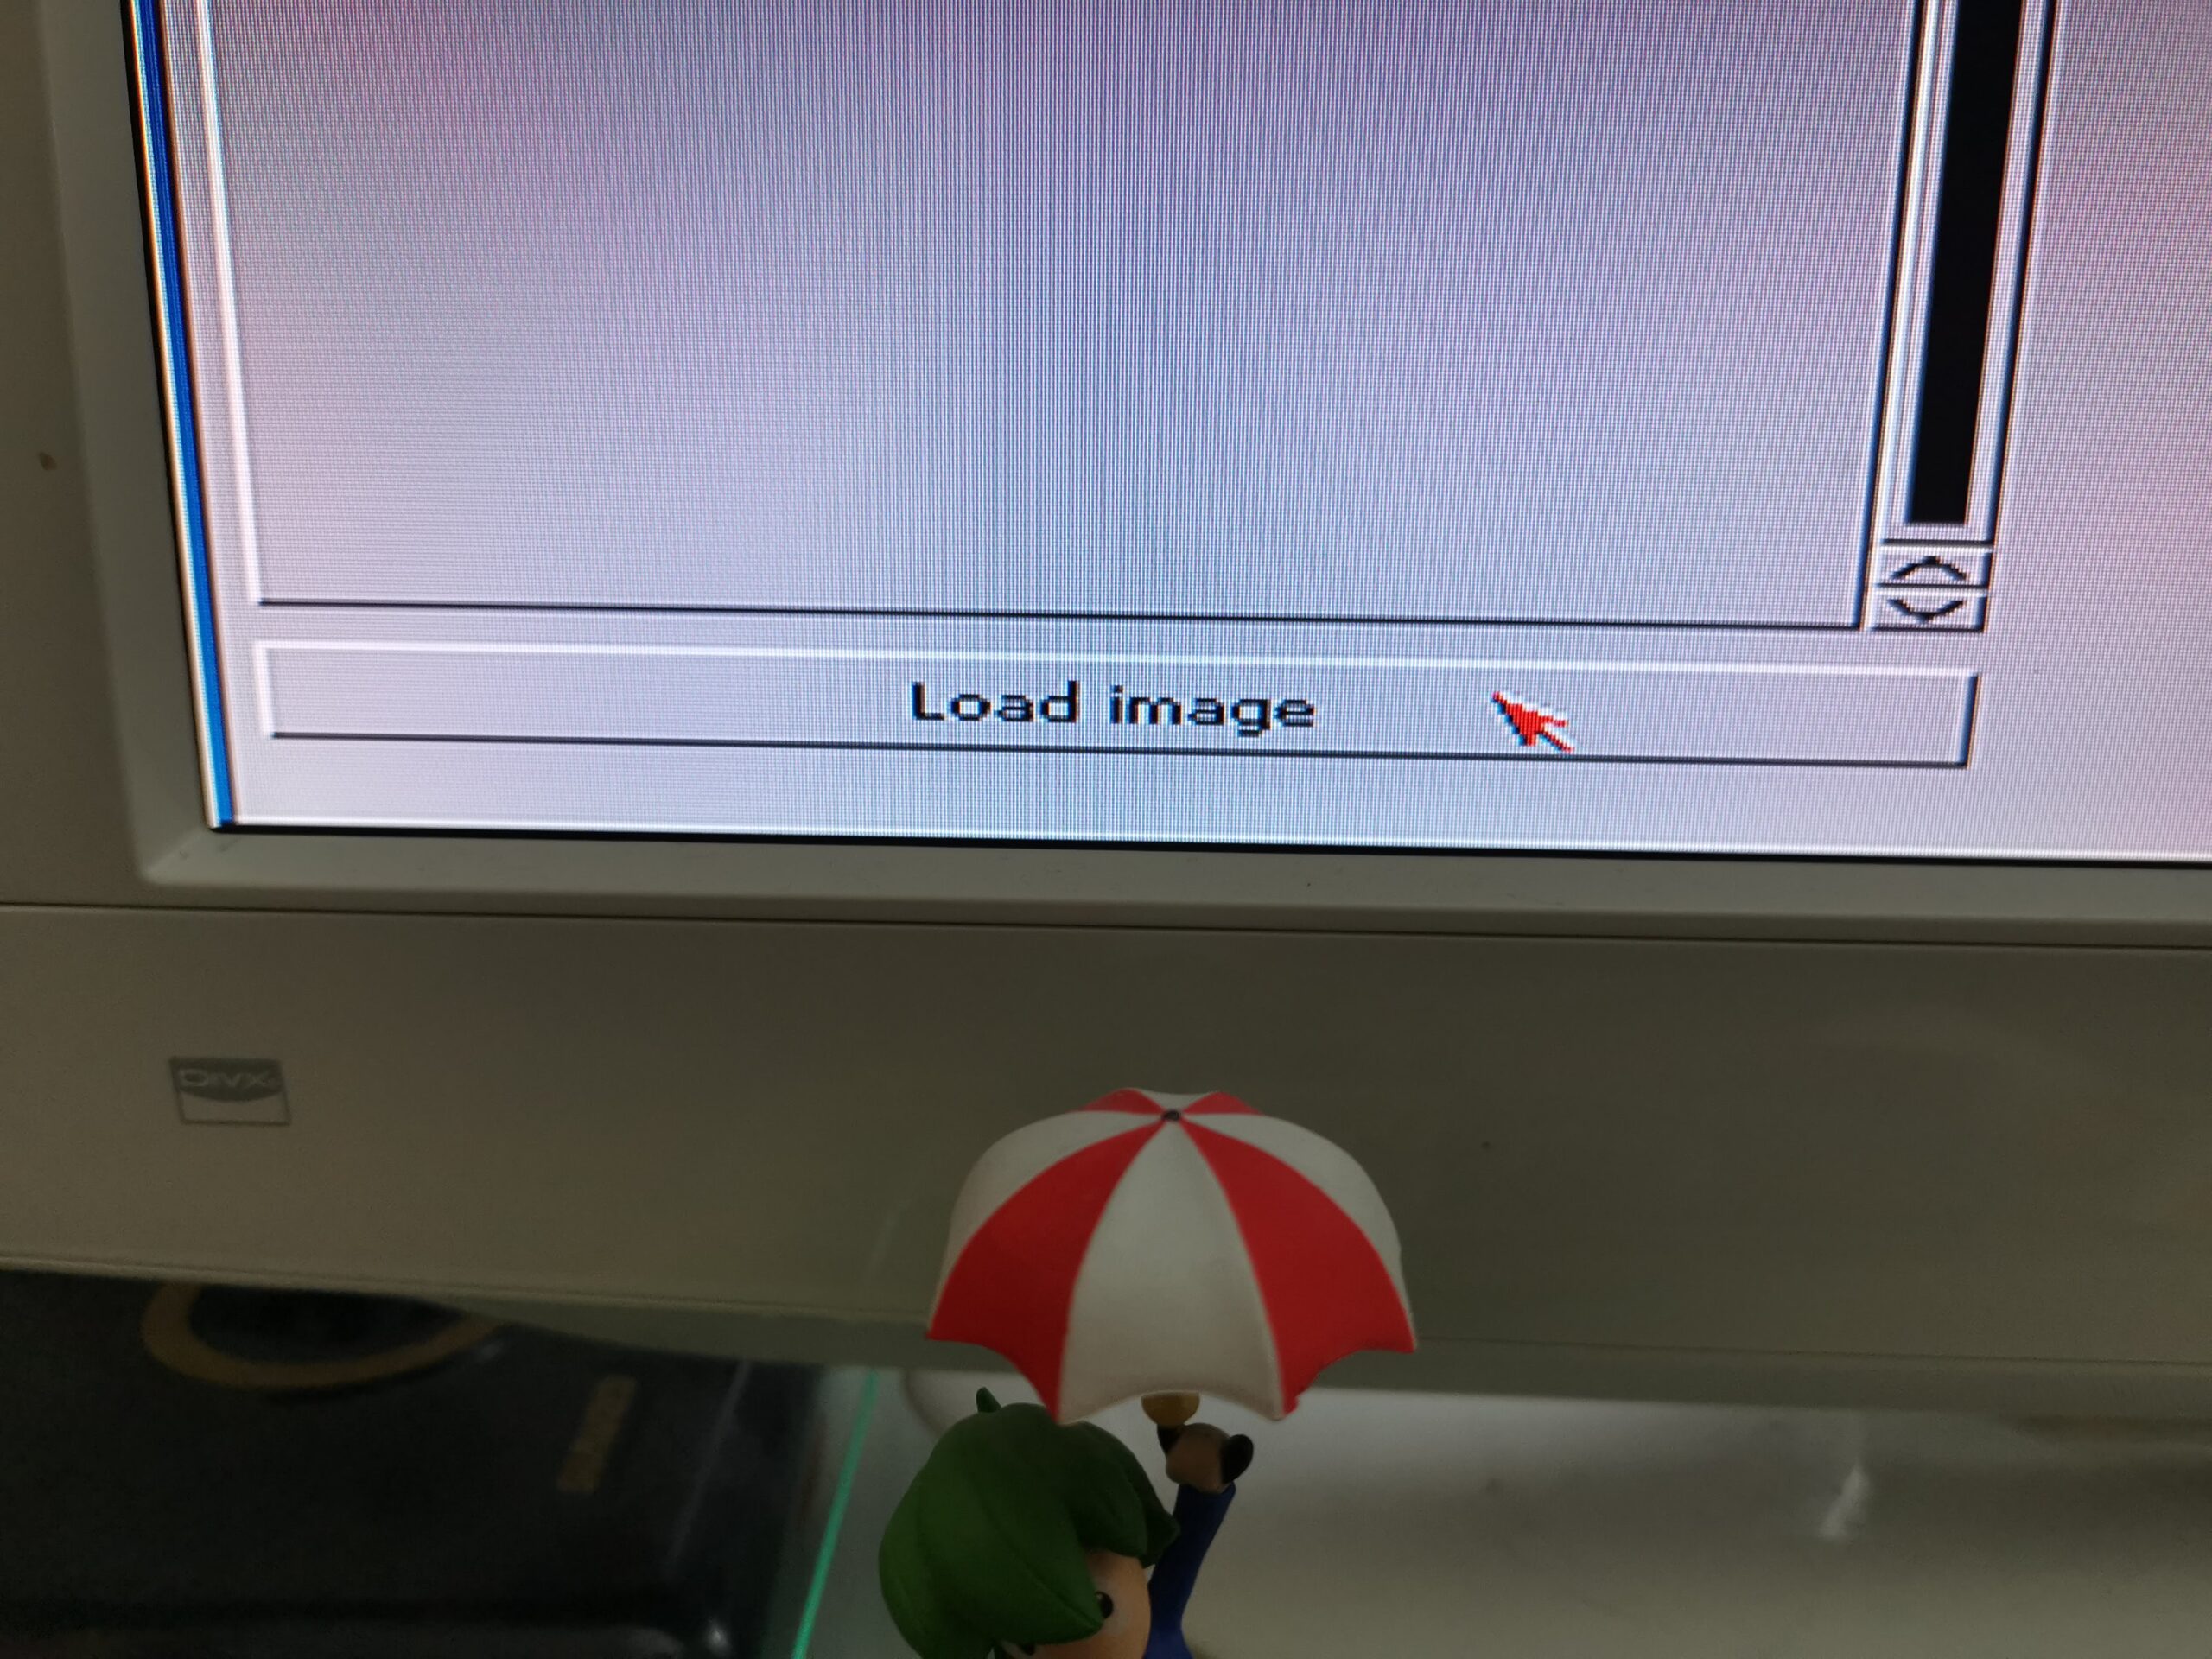
Load (ADF) Image.
As I wanted to create a physical disk from the ADF files I selected ‘Image to disk…’
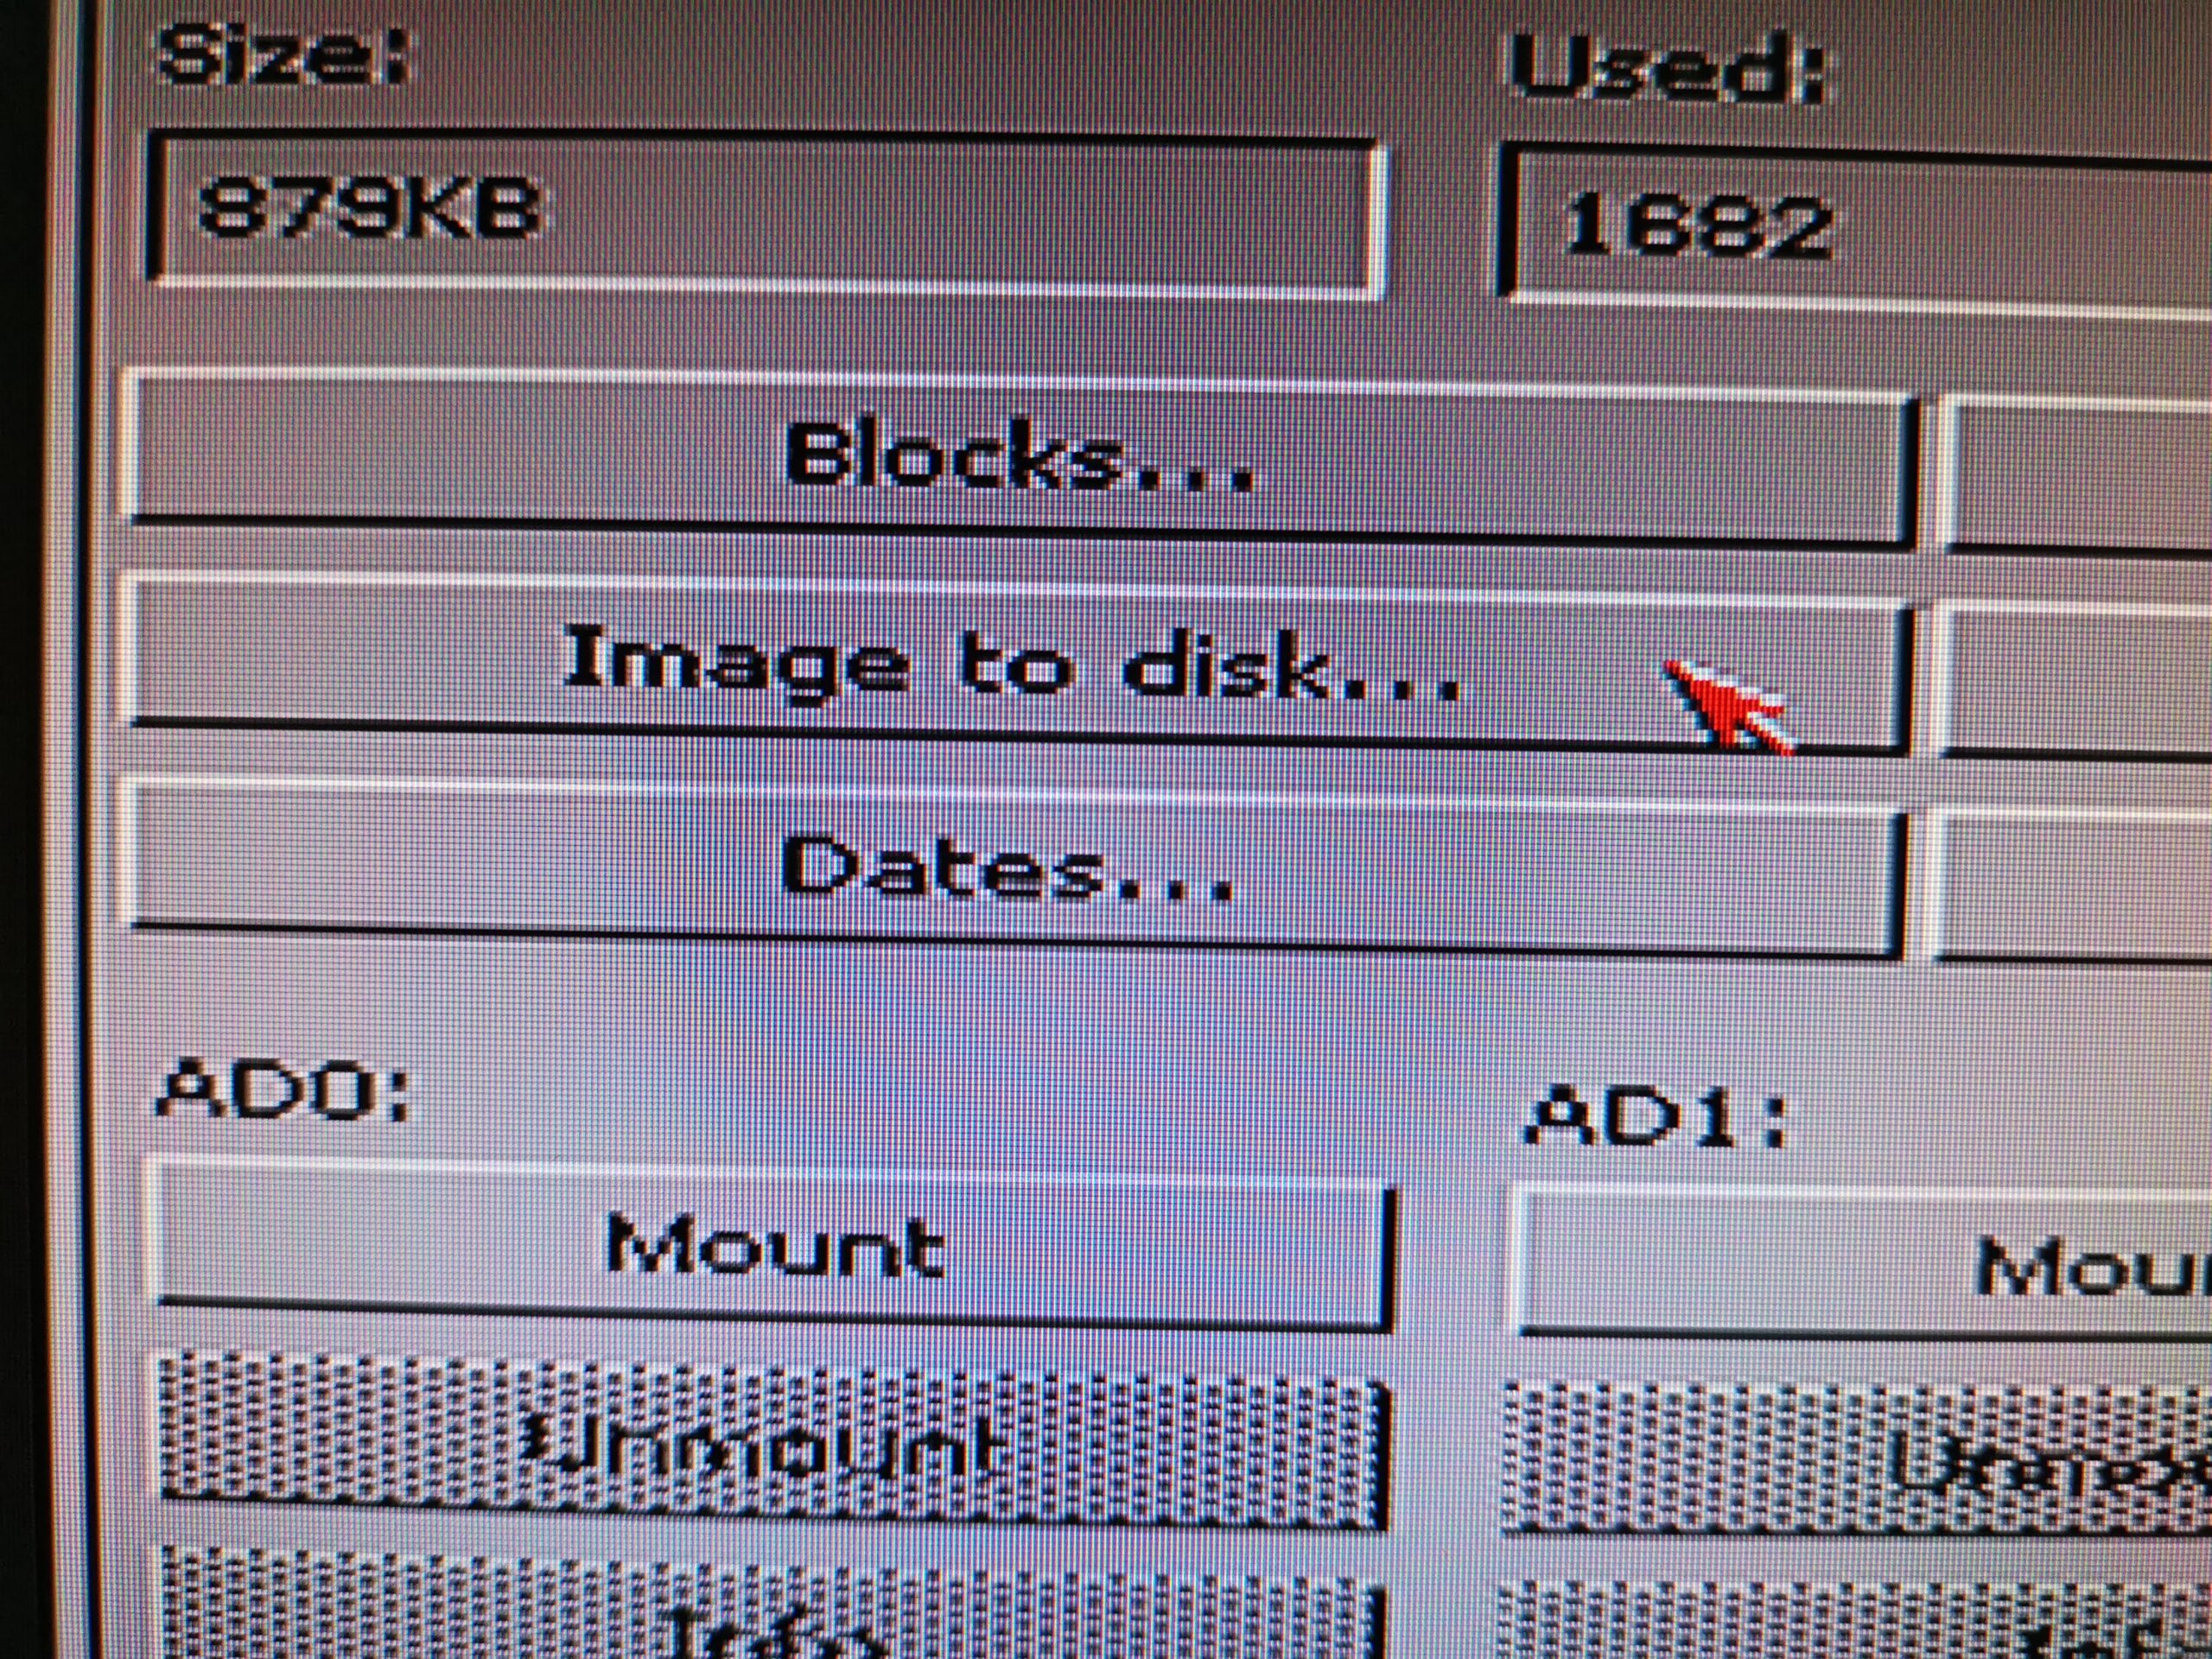
To write ADF images to a real floppy you must select the ‘Image to disk’ option.
Which loads up the disk creation window. Here you can select which drive you want to use and whether you want to format and/or verify the disk.
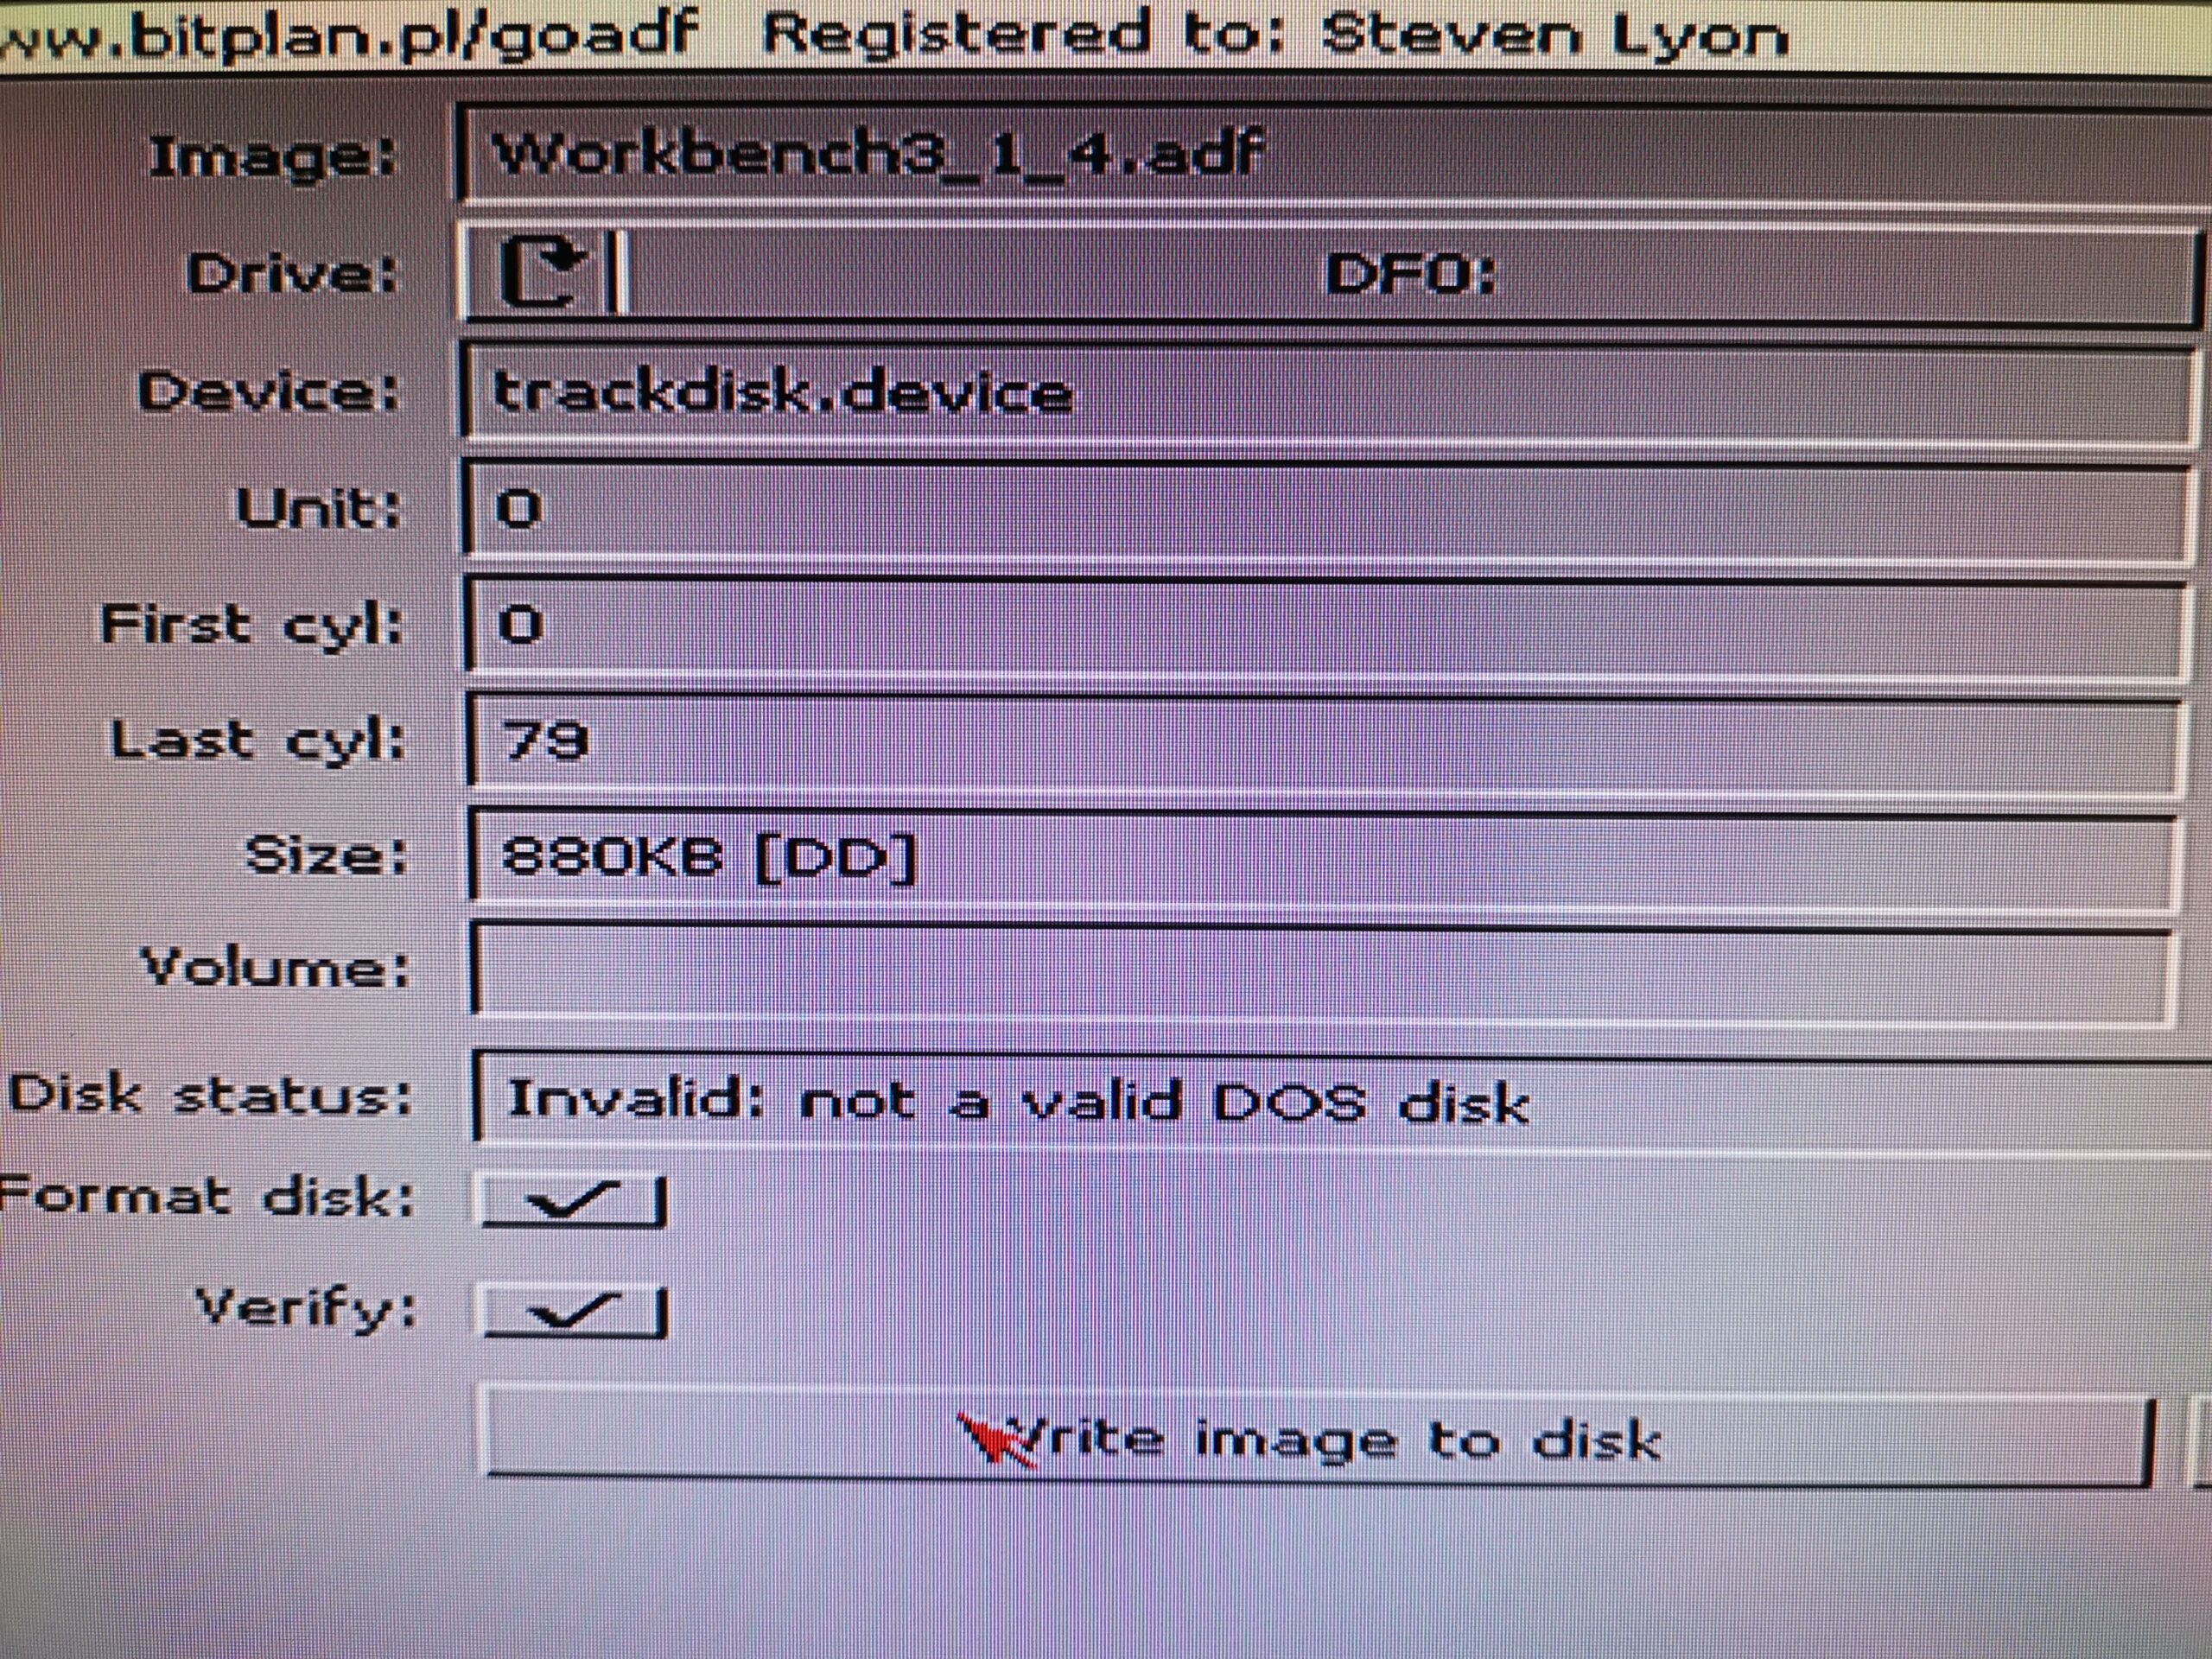
My disks were IBM PC formatted hence the ‘not a valid DOS disk’ warning.
I opted to both format and verify the disk. You simply can’t be too careful when working with floppy disks these days. Most DS/DD floppy disks have to be at least 20 years old by now as new ones haven’t been manufactured in a long time.
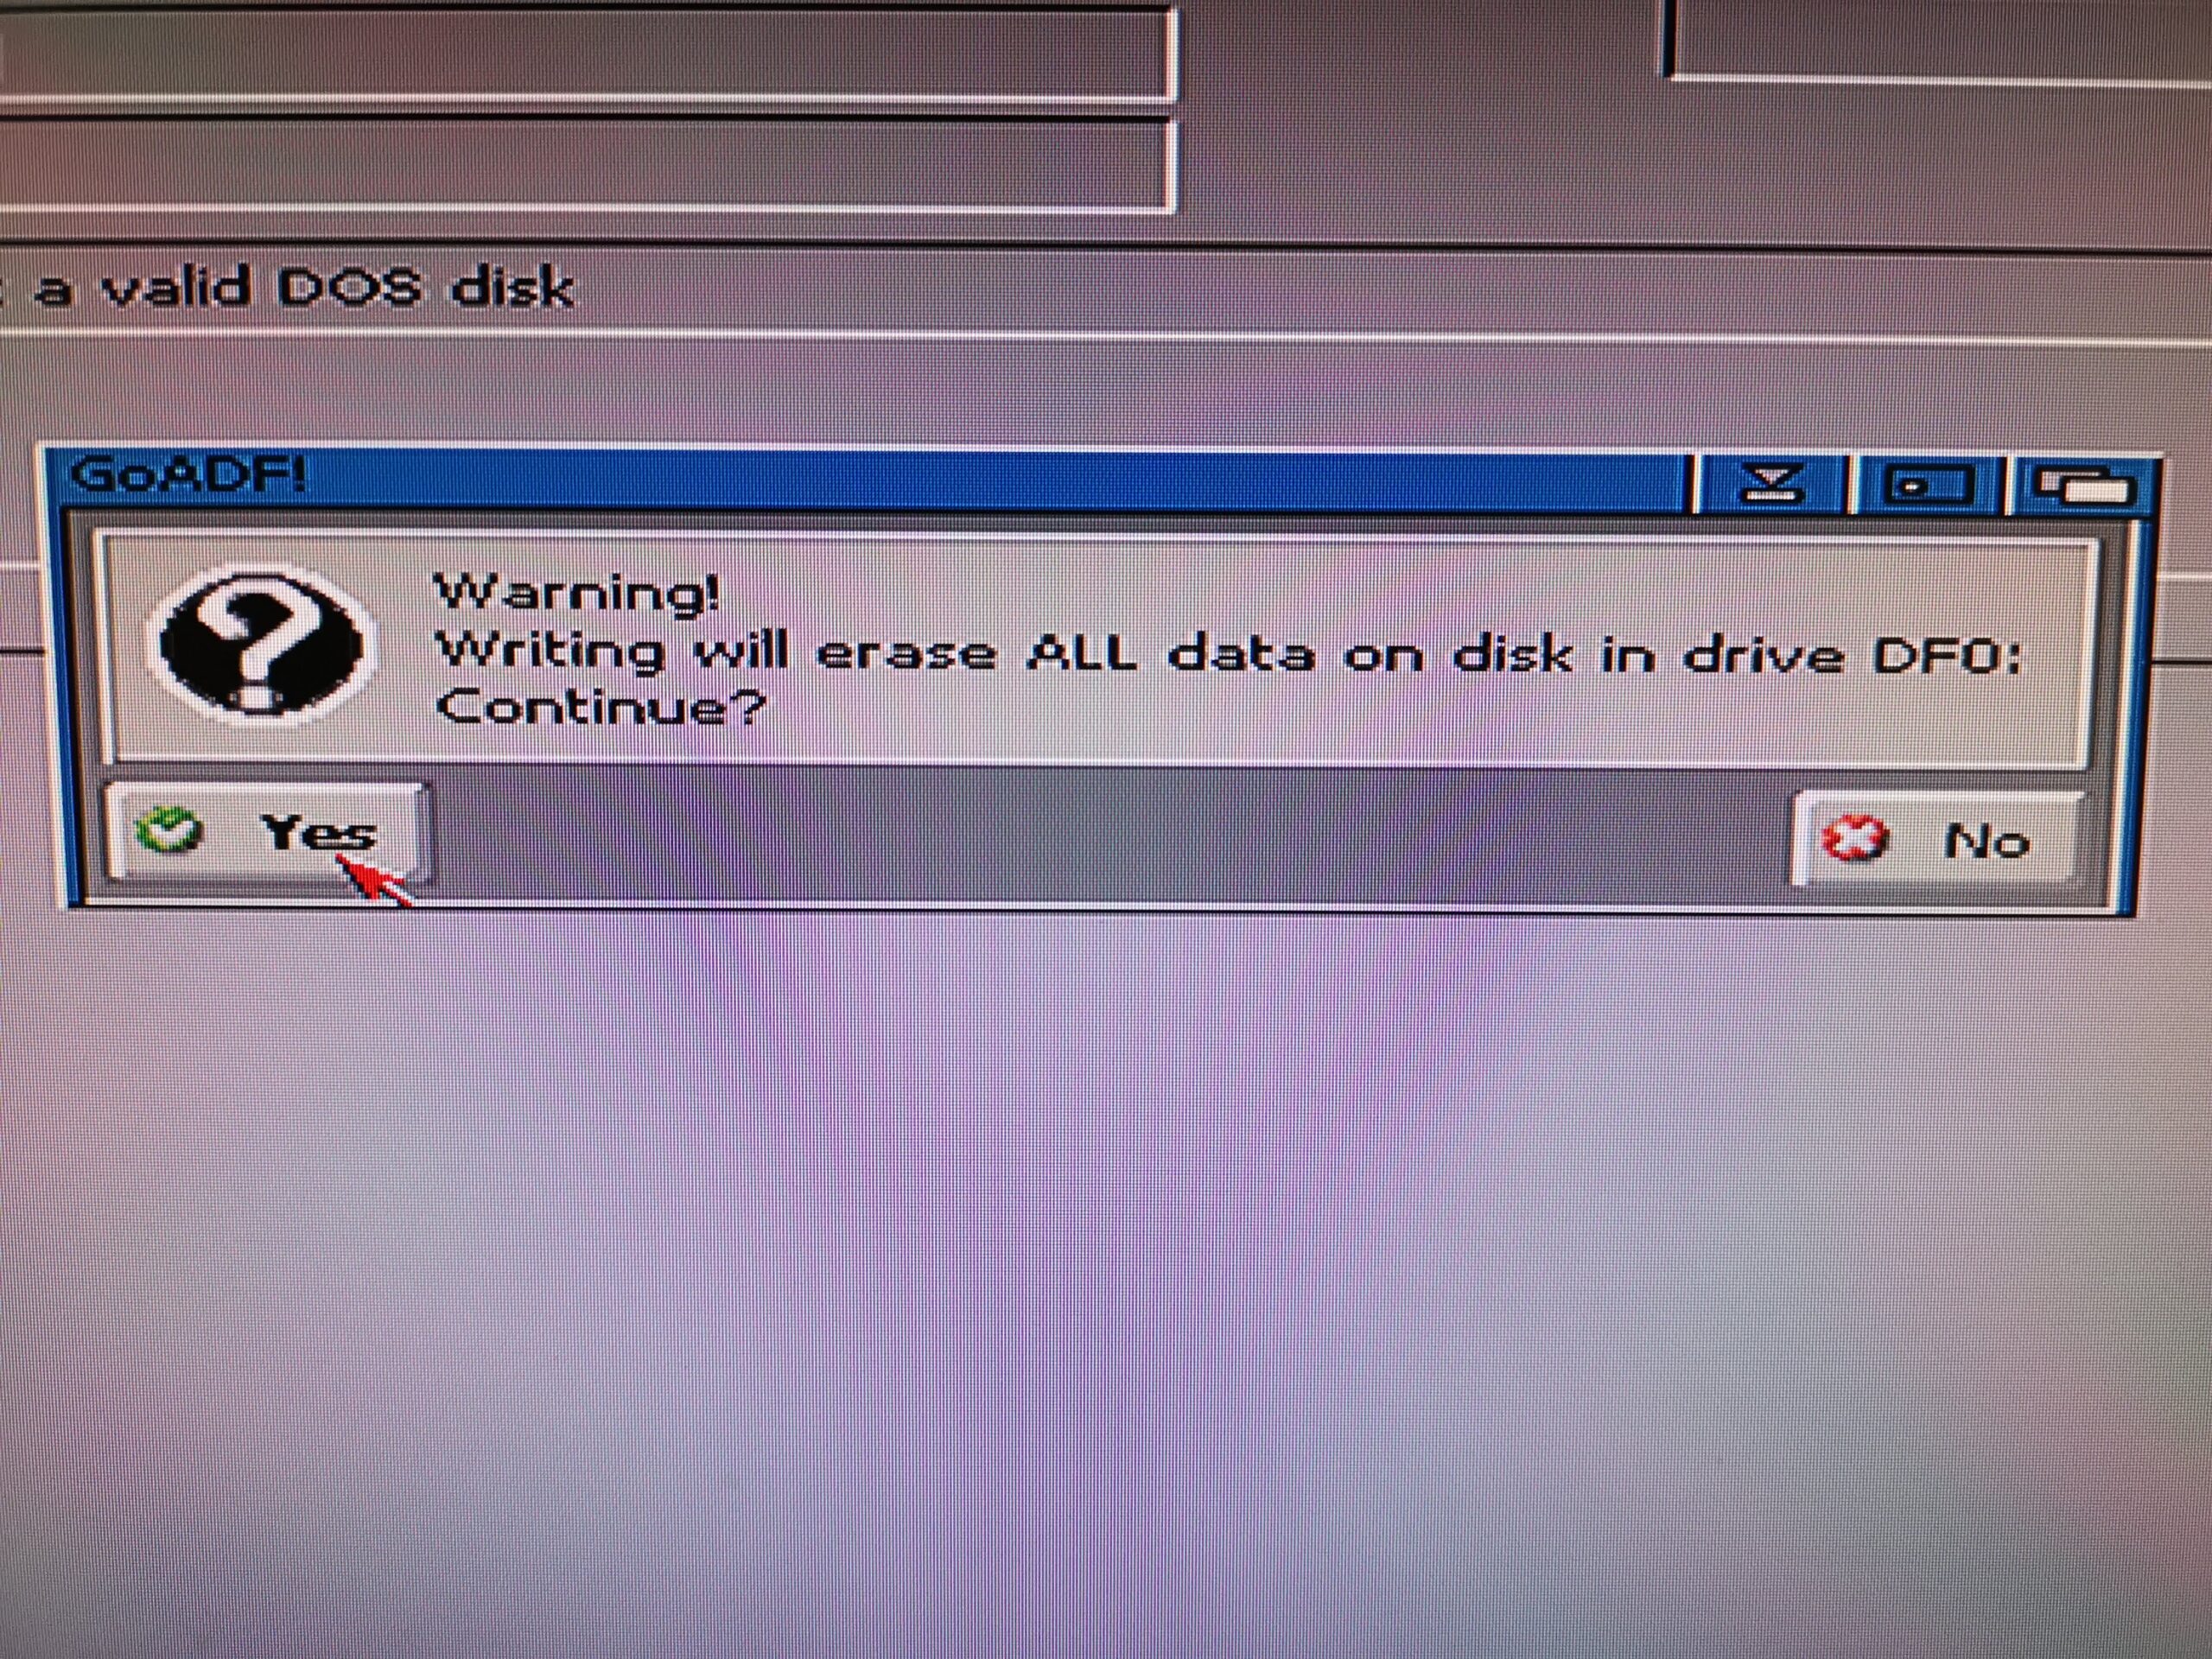
At this point it might be a good time to check that the disk you have inserted really is the one you want to use!
Writing the First Disk
Clicking ‘write image to disk’ brings up the obligatory warning that the disk will be overwritten. Clicking ‘yes’ begins the process which starts off with the disk being formatted.

Formatting the disk…
GoADF features a neat virtual representation of the floppy disk marking each sector white as it’s formatted…
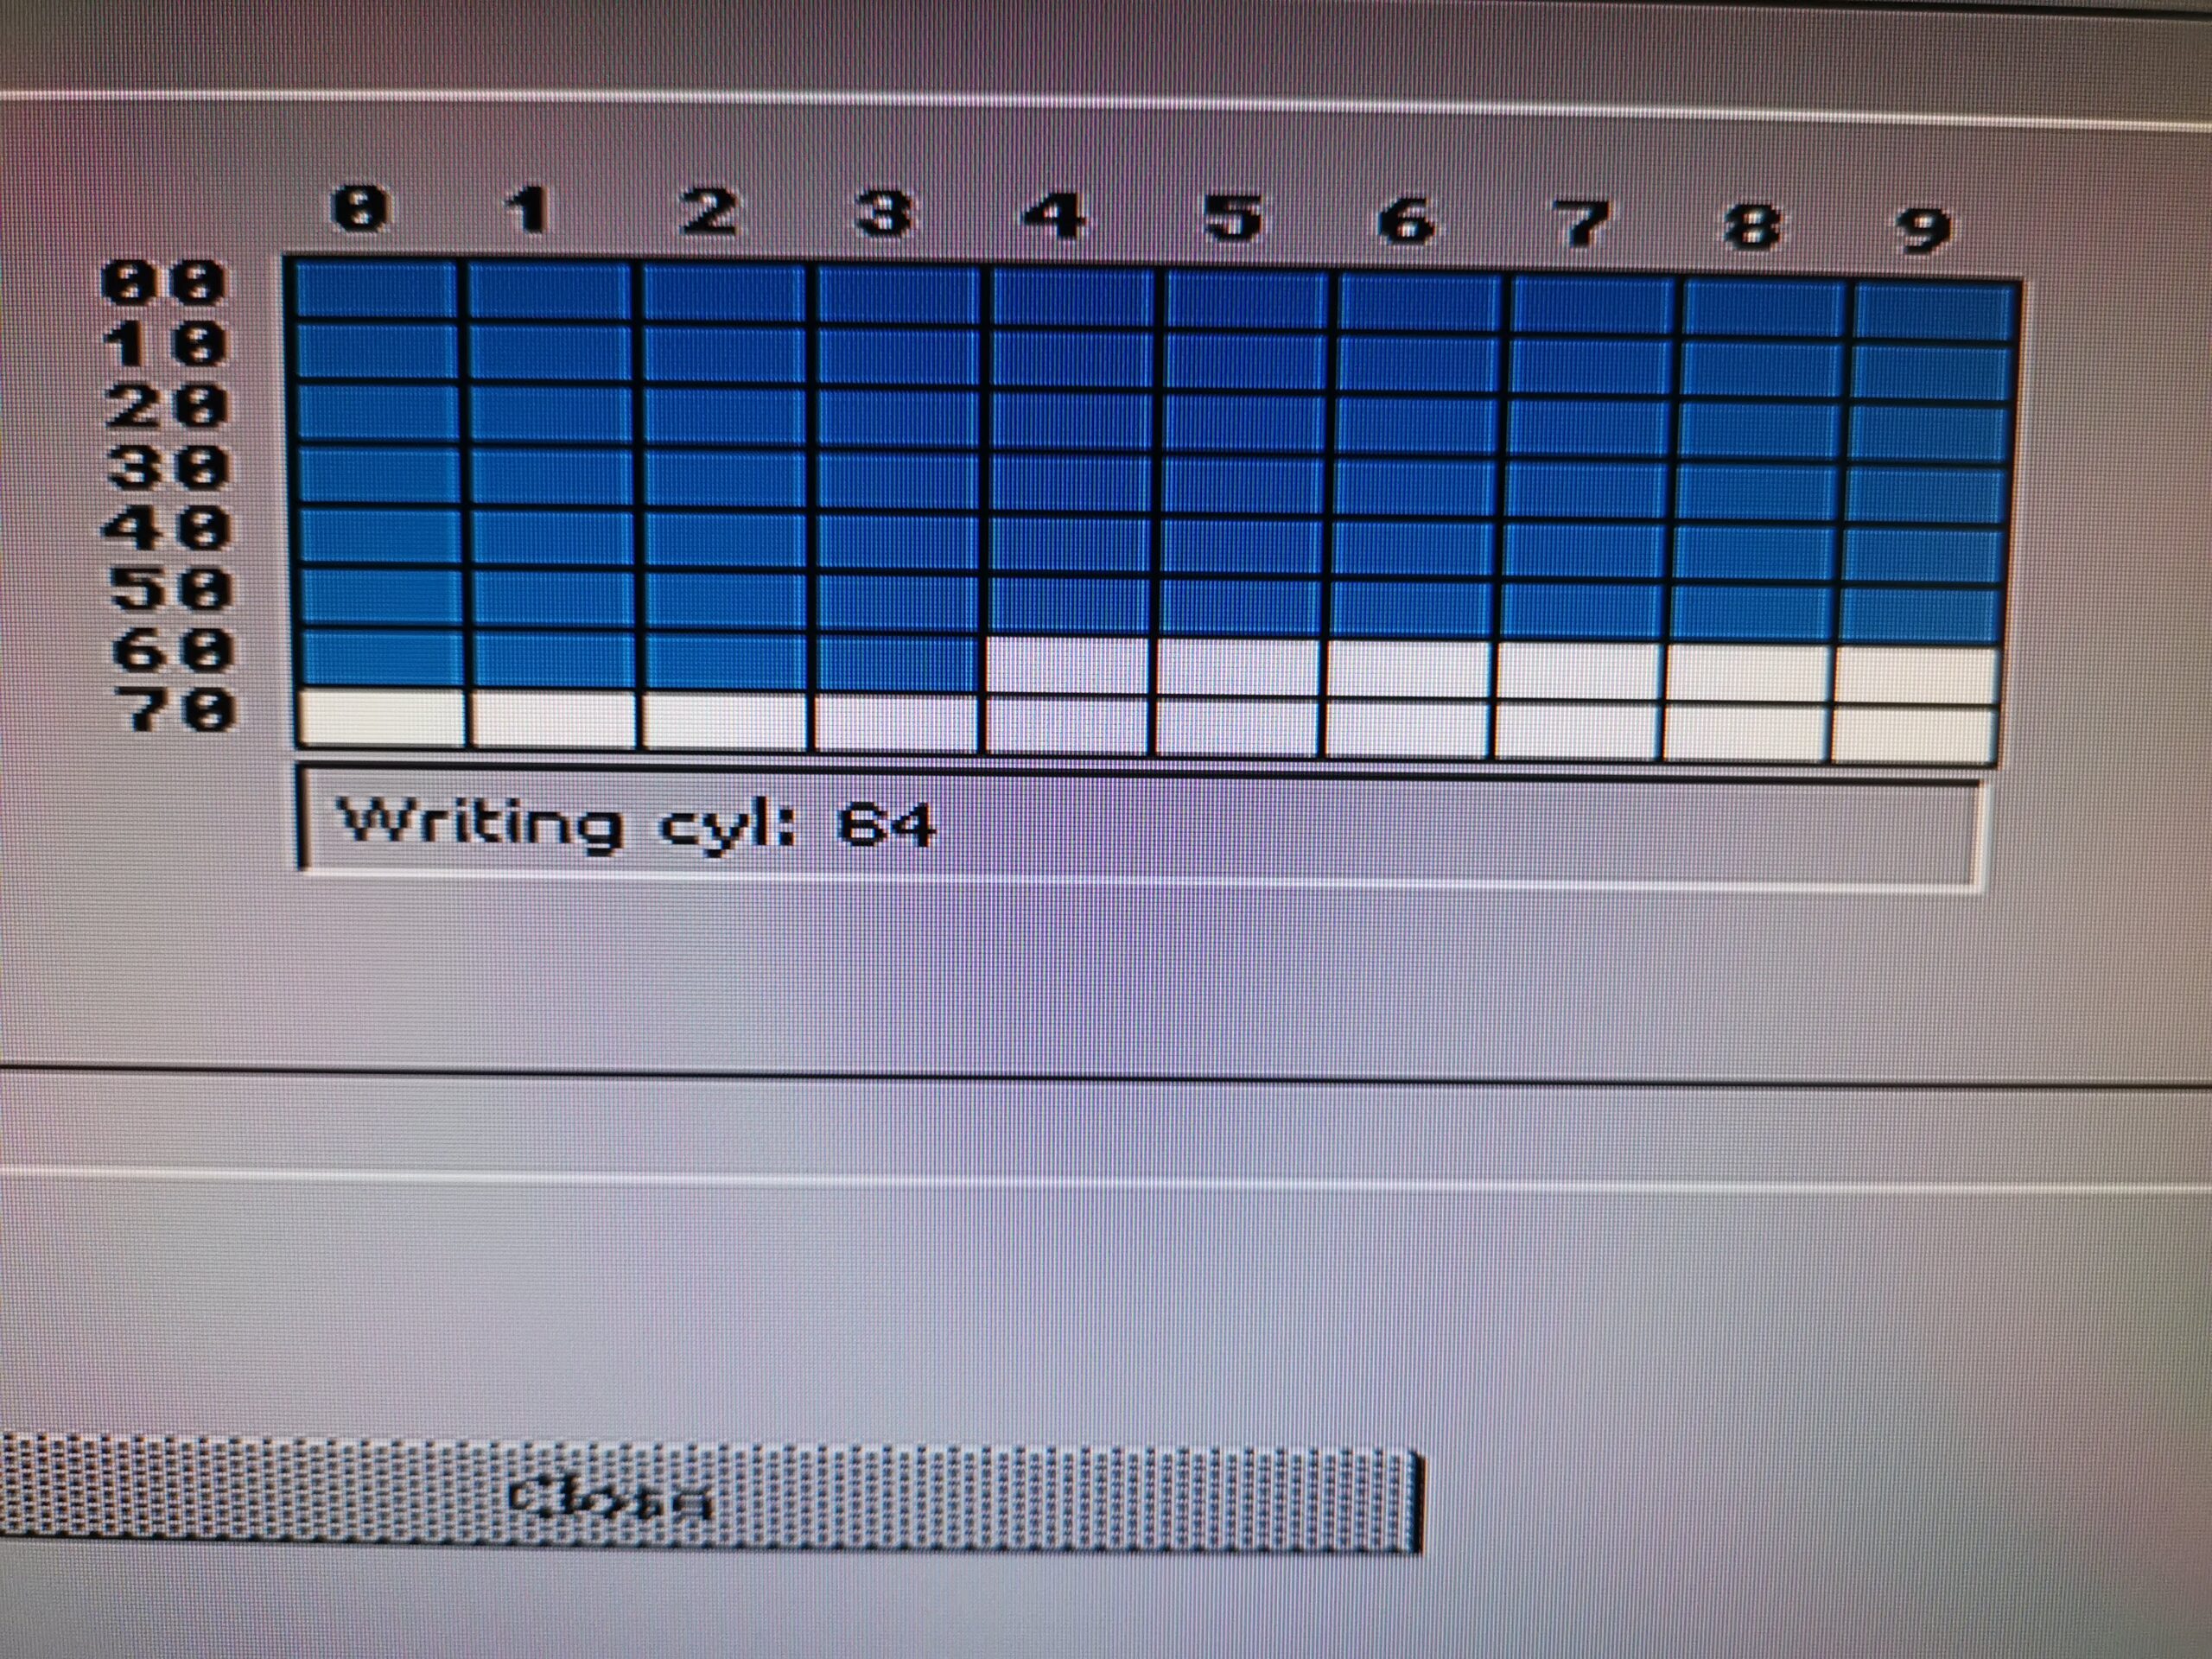
Writing the data to the disk…
Then blue as the data is written to it…

Verifying the disk…
And finally places a small black dot in it after the data has been successfully verified. A couple of minutes later a little box appears to confirm the disk has been created successfully.

Hurrah – one down, five to go!
And here’s the completed disk with it’s snazzy label affixed.

Amiga OS 3.1.4 Workbench Disk.
Now it was just a matter of repeating the process for the other 5 ADF’s to give me a complete set of Workbench disks.
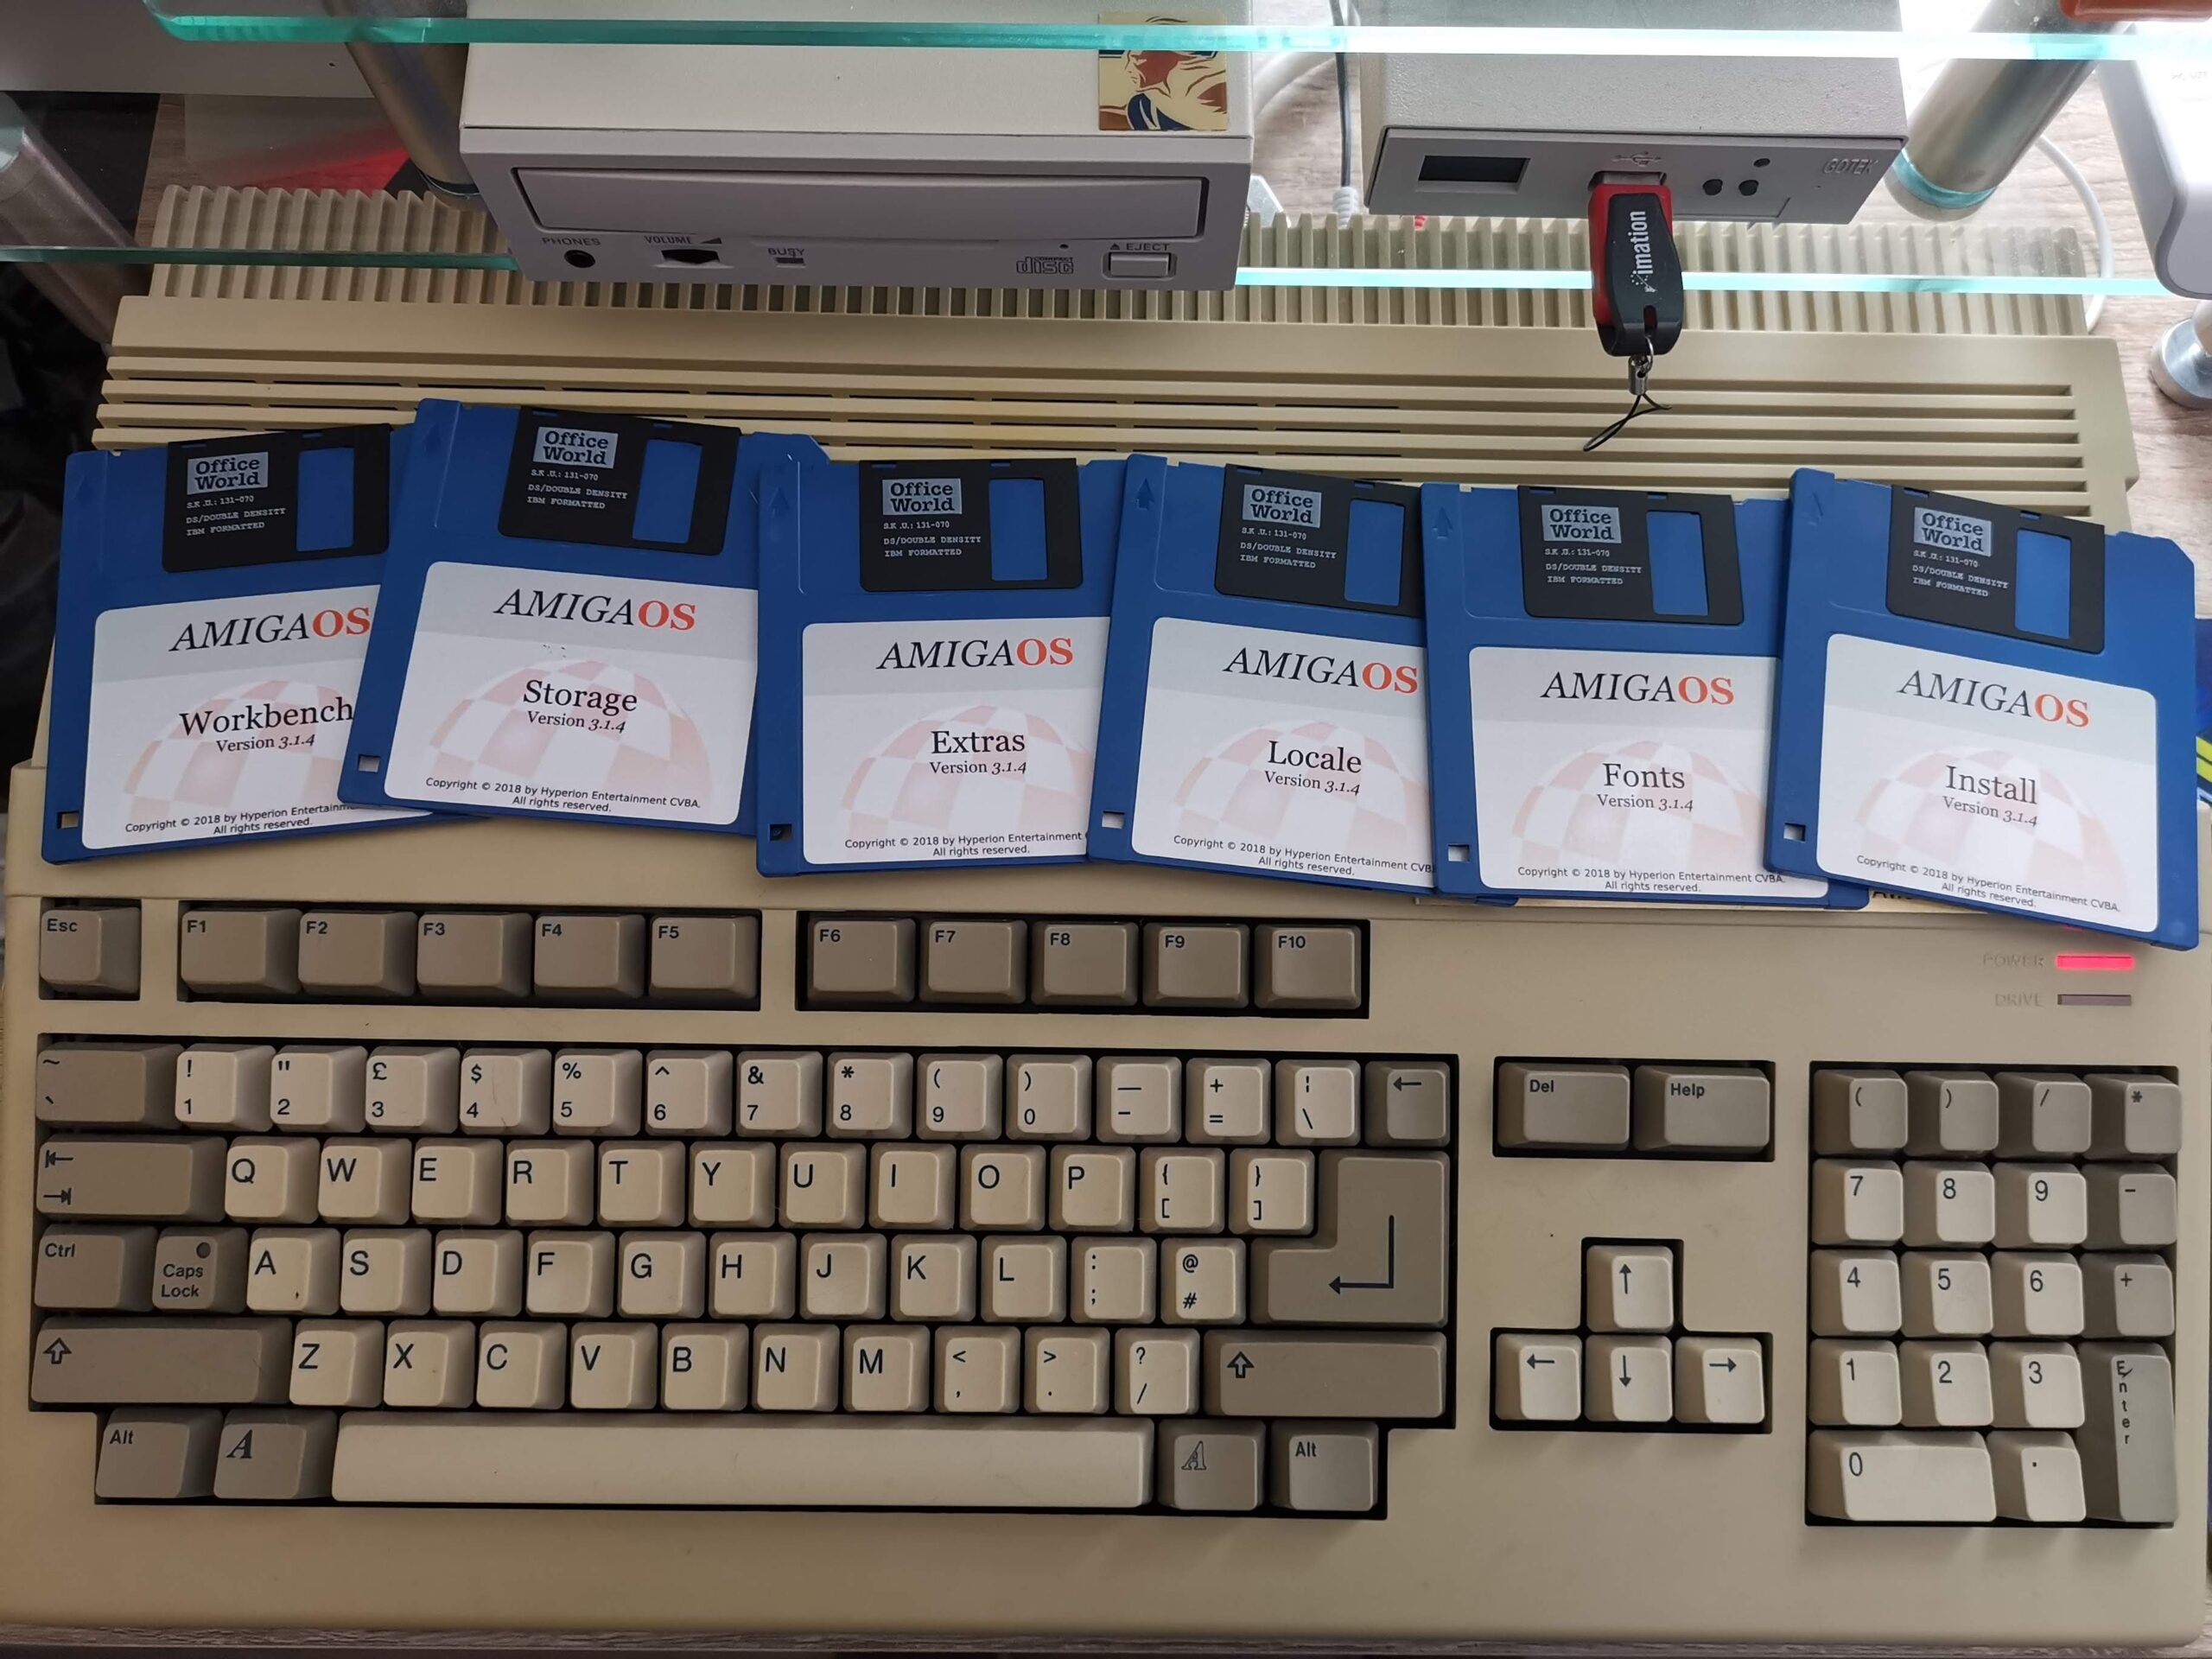
A full set of Workbench 3.1.4 floppy disks!
However there’s a couple of other disks that needed creating – ones that no labels are provided for. The first is the ‘Modules Disk’ and the second is a new ‘3.1.4.1’ update that has recently been released containing the latest Workbench bug-fixes. The update disk was a separate download from the Workbench disks but is provided free for registered users.
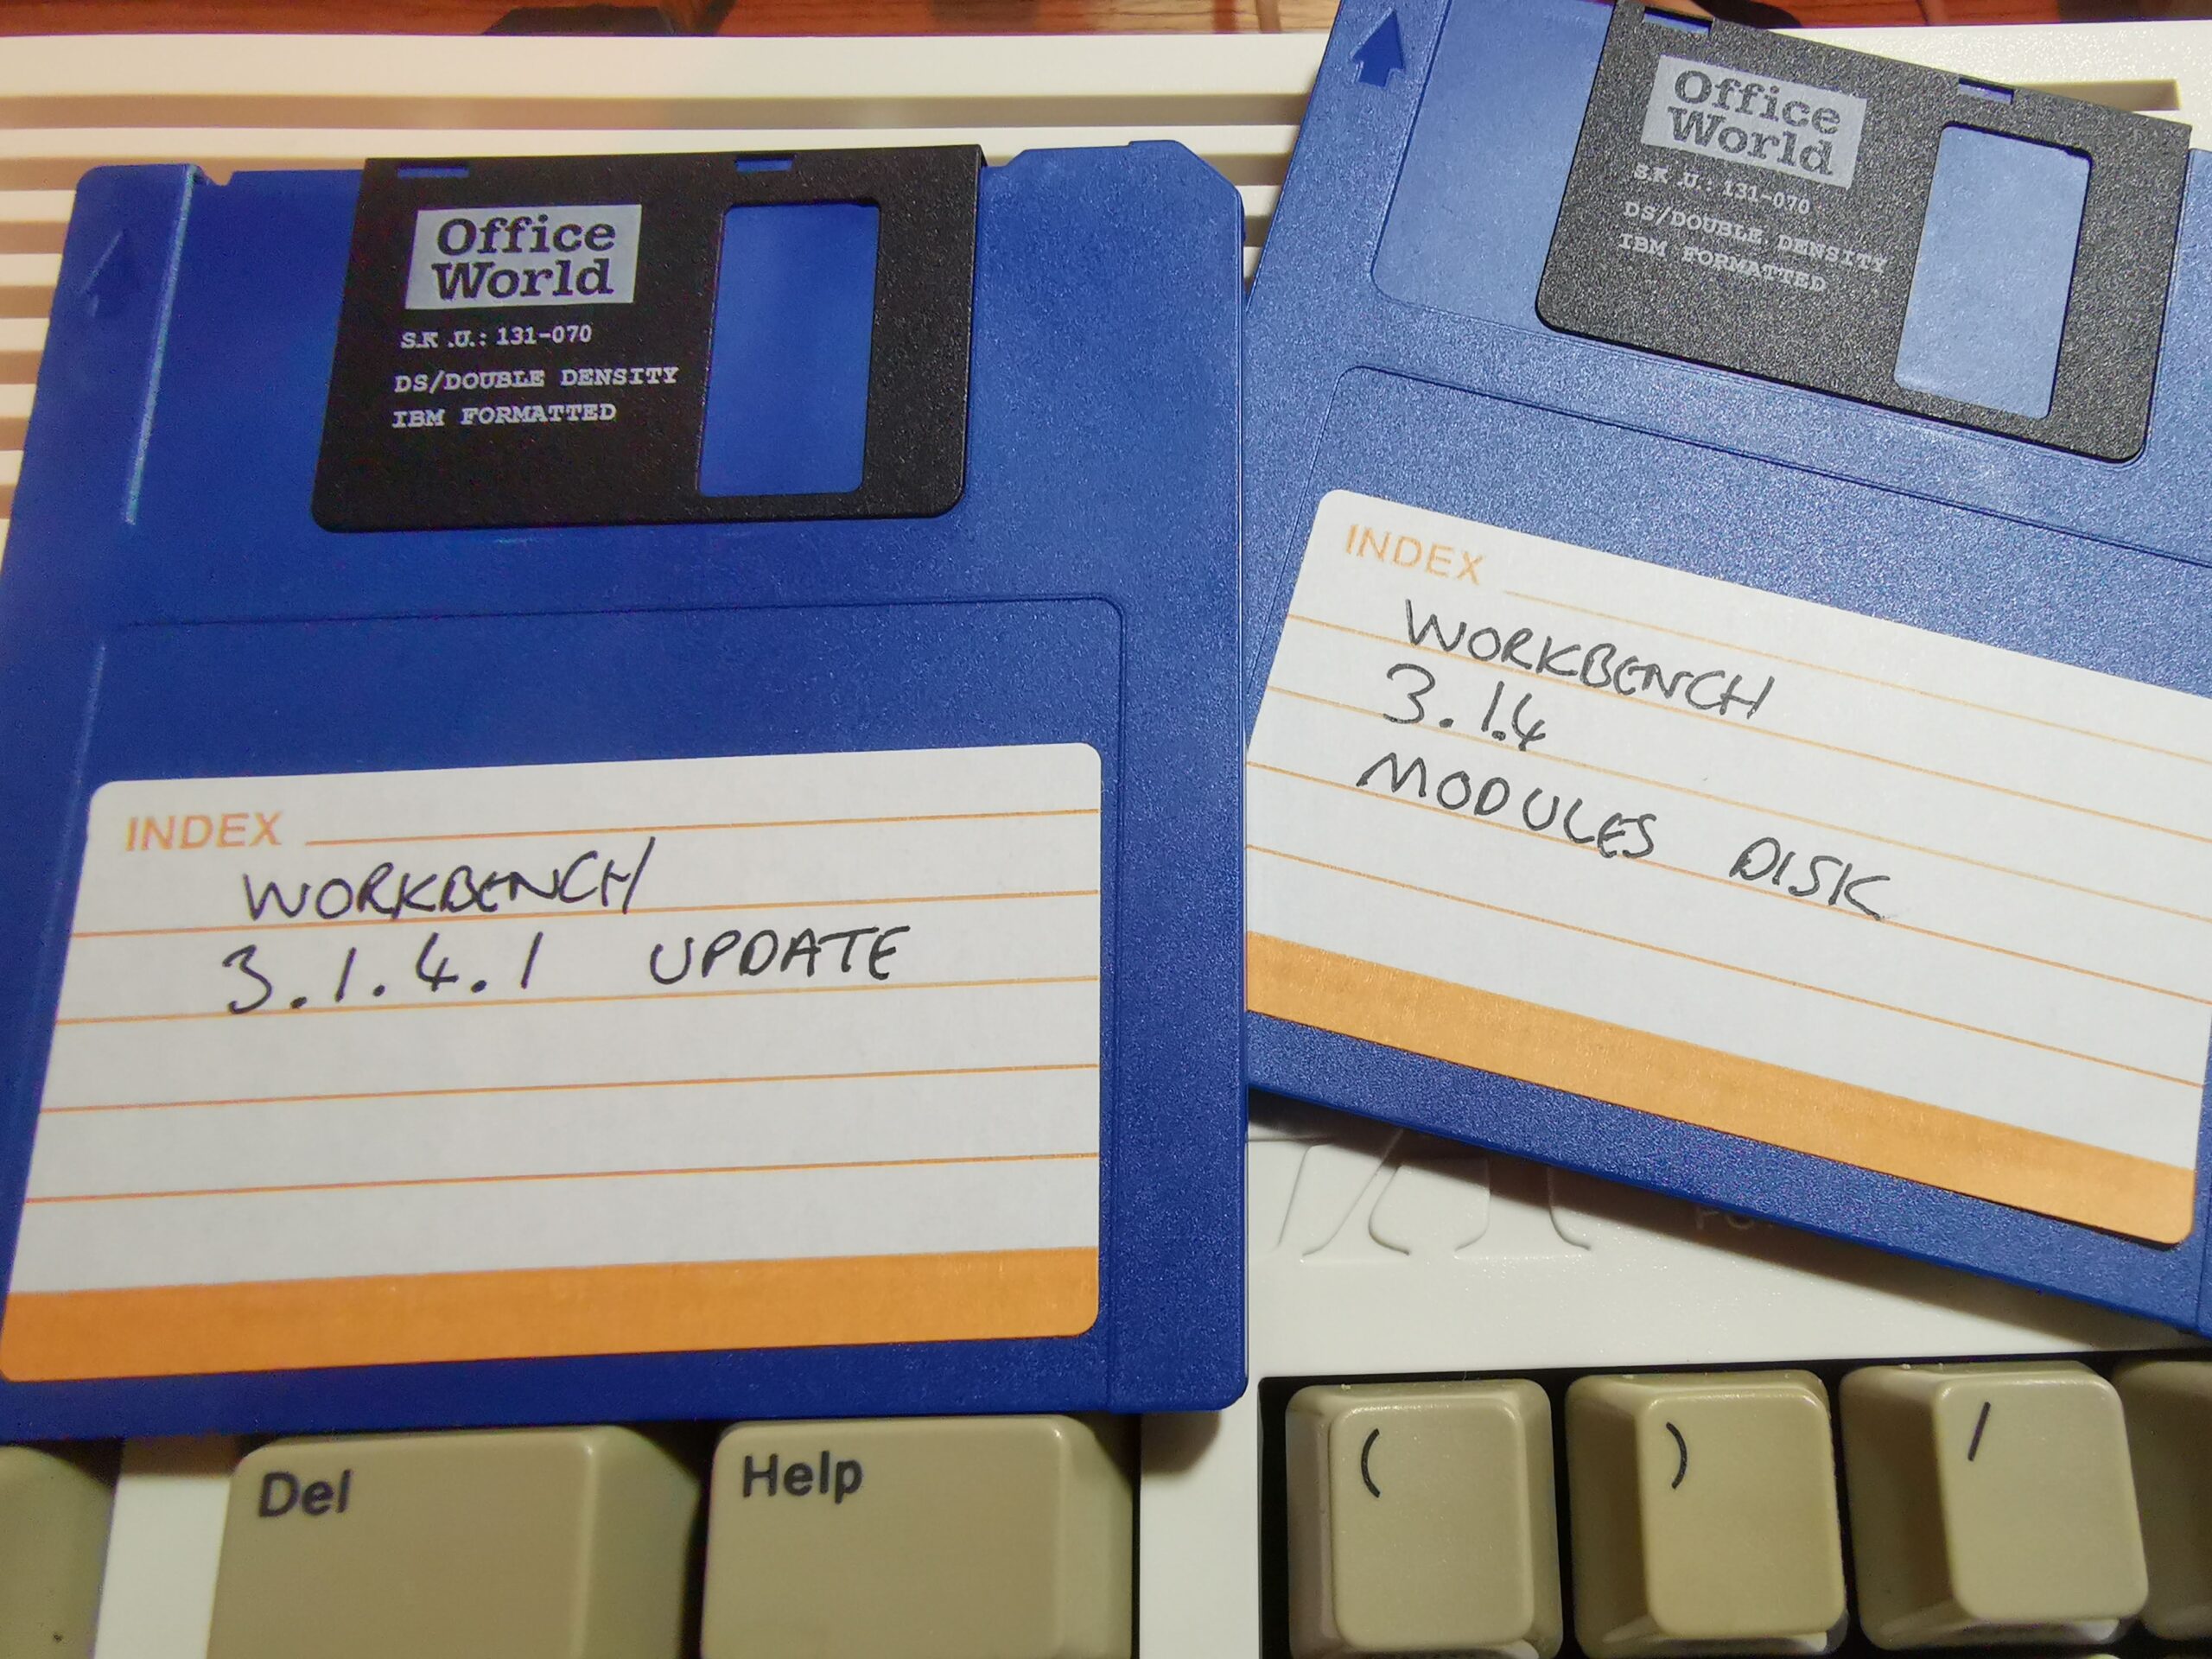
The extra disks needed. Sadly no professionally printed labels for these!
In Part 2 I will cover installing the ROM chips and performing a clean install of Workbench on a new CF/HDD.