Despite the fact that I already own a real A500 an A1200 and a CD32 I still pre-ordered ‘The A500 Mini’ as soon as they were announced, such is my love for these old Commodore machines. I also picked up both ‘The C64 Mini’ and Maxi despite owning a VIC20 and C64 which they both emulate. I suppose even if I never use them much they’re still really cool devices to own and display but the truth is I just can’t resist these (or any) sort of gadgets.
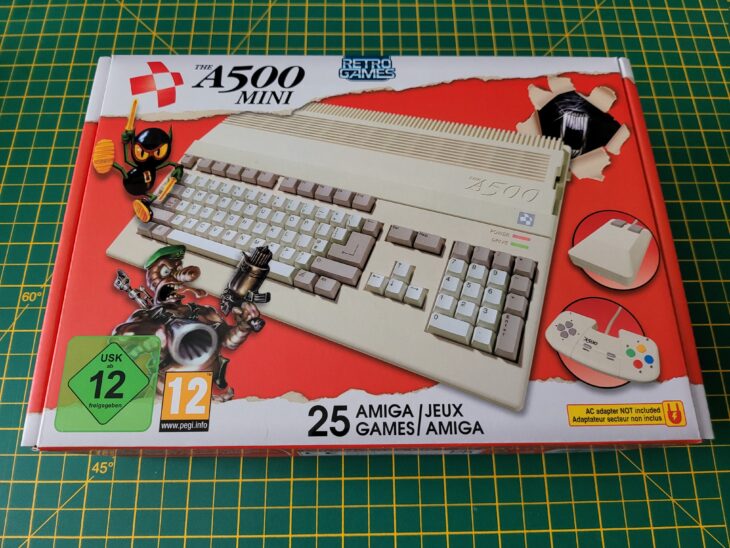
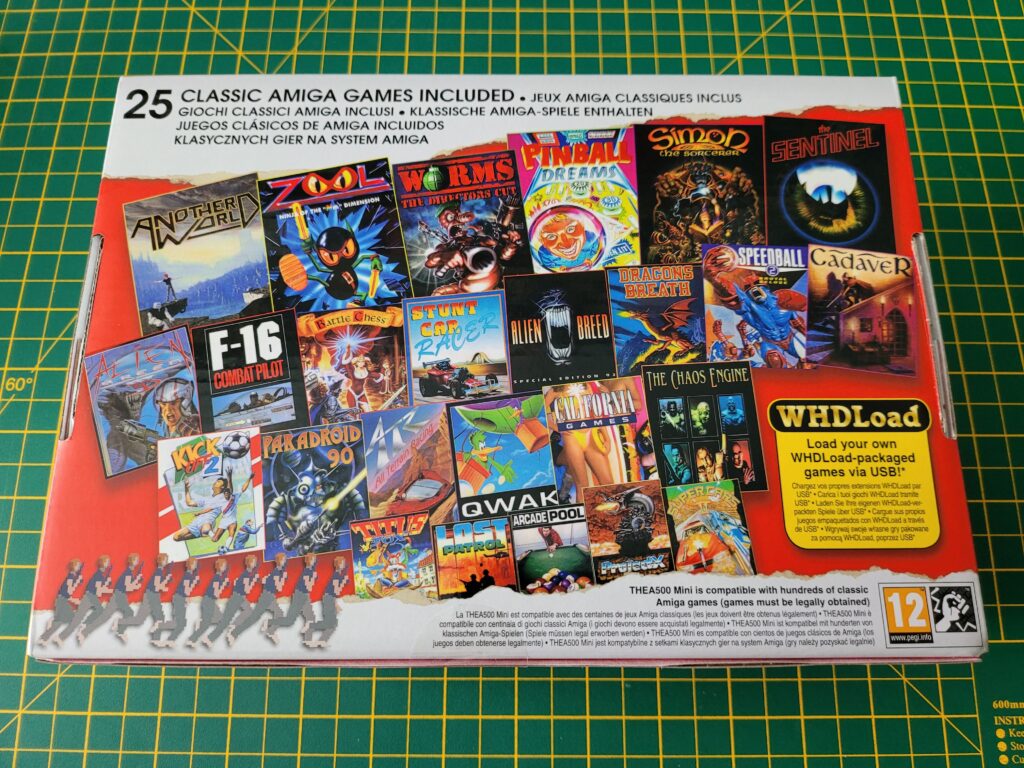
First impressions were terrific. The A500 Mini came in a very attractive and colourful box adorned with pictures of the computer and peripherals on the front and a gallery of the included games on the back. The box was surprisingly heavy too, something I definitely wasn’t expecting.
The A500 Mini comes with the following 25 games pre-loaded:
Alien Breed 3D
Alien Breed: Special Edition’92
Another World
Arcade Pool
ATR: All Terrain Racing
Battle Chess
Cadaver
California Games
The Chaos Engine
Dragons Breath
F-16 Combat Pilot
Kick Off 2
The Lost Patrol
Paradroid 90
Pinball Dreams
Project-X: Special Edition 93
Qwak
The Sentinel
Simon the Sorcerer
Speedball 2: Brutal Deluxe
Stunt Car Racer
Super Cars II
Titus The Fox: To Marrakech And Back
Worms: The Director’s Cut
Zool: Ninja Of The “Nth” Dimension
What’s in the Box?
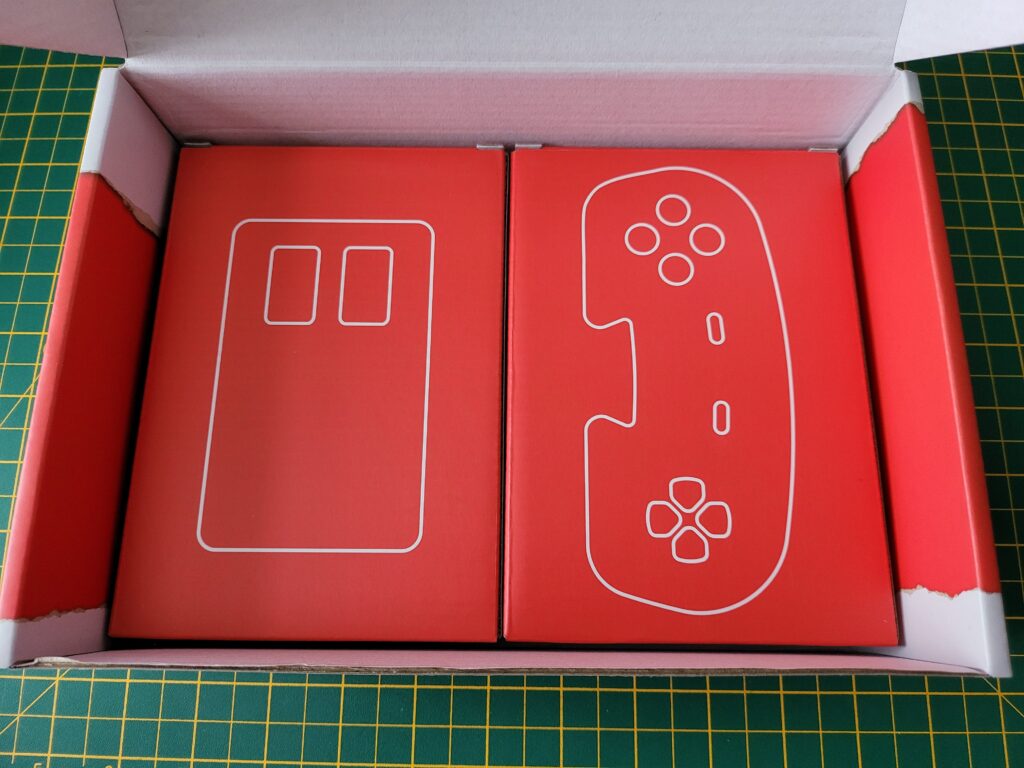
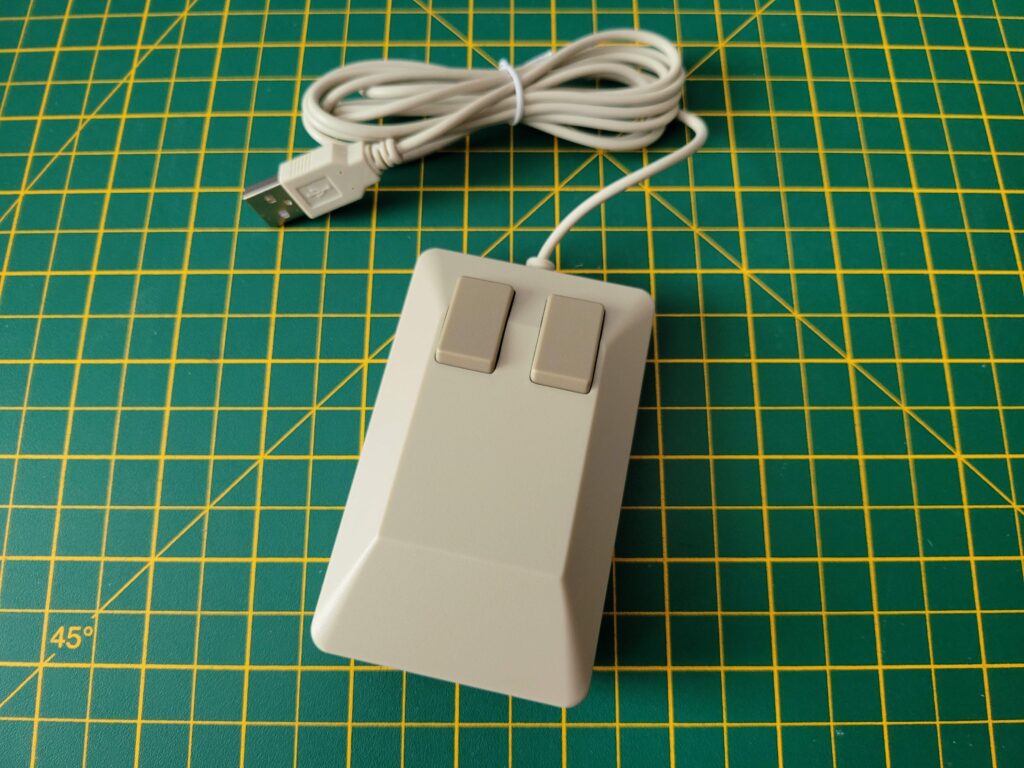
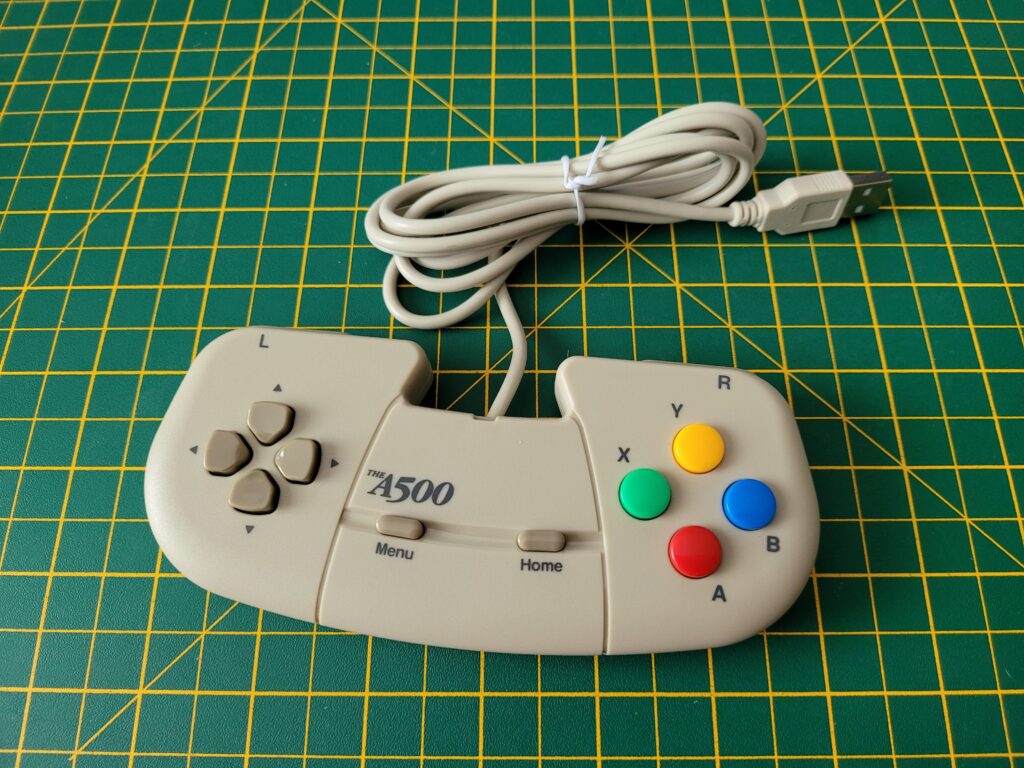
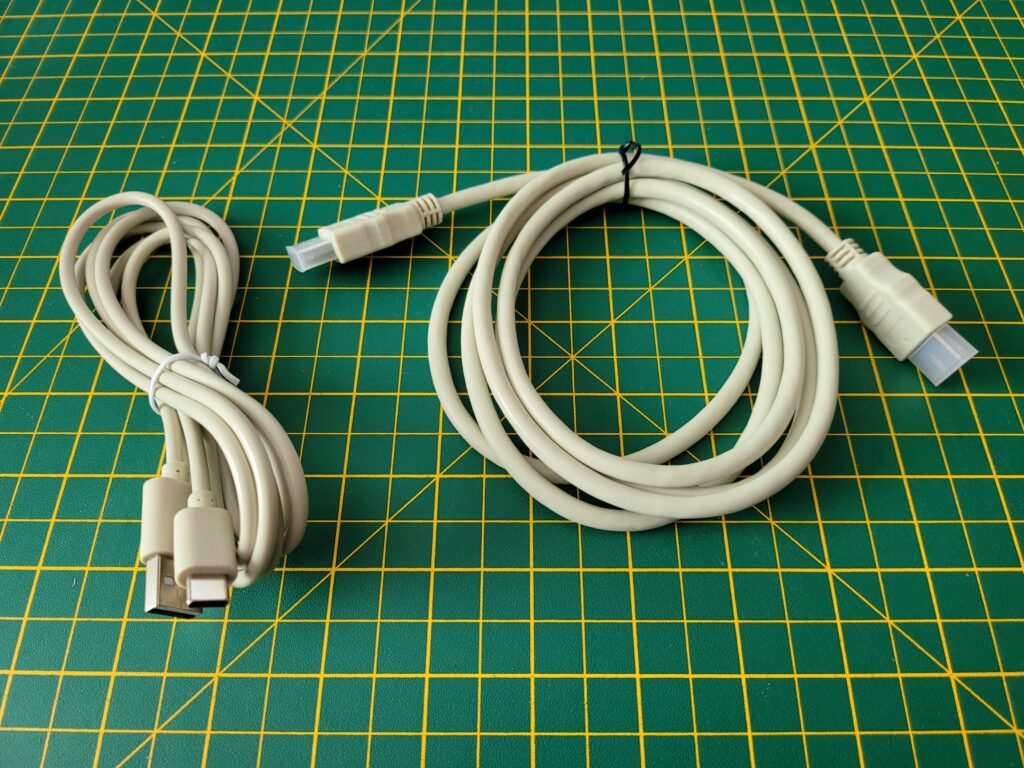
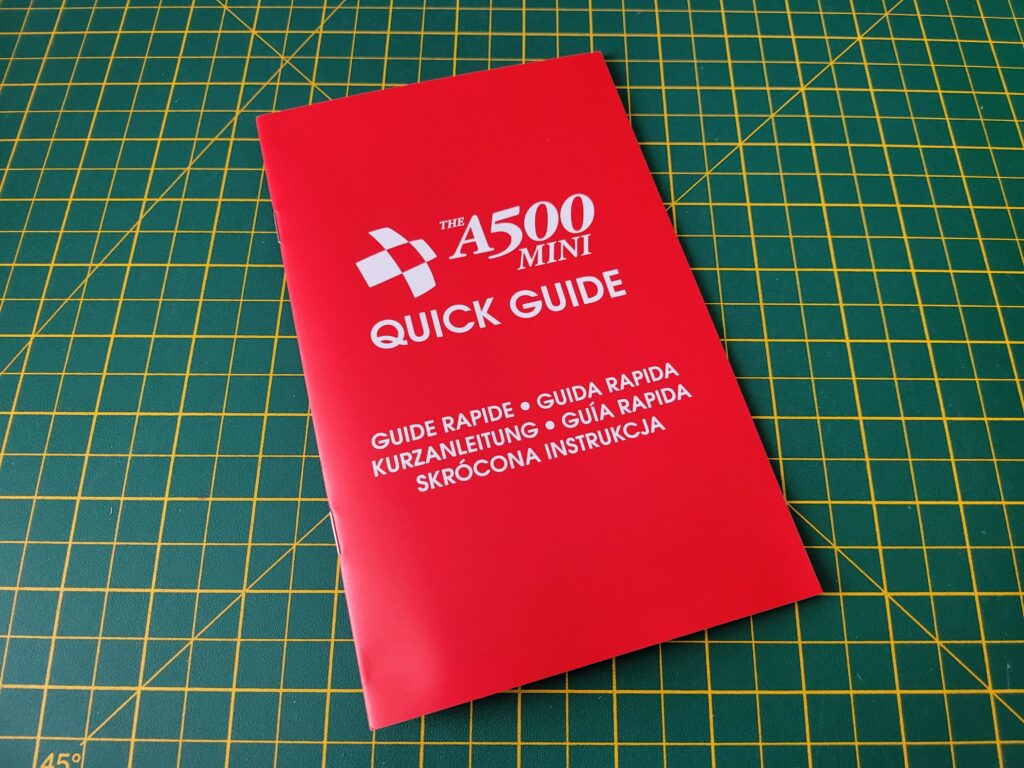
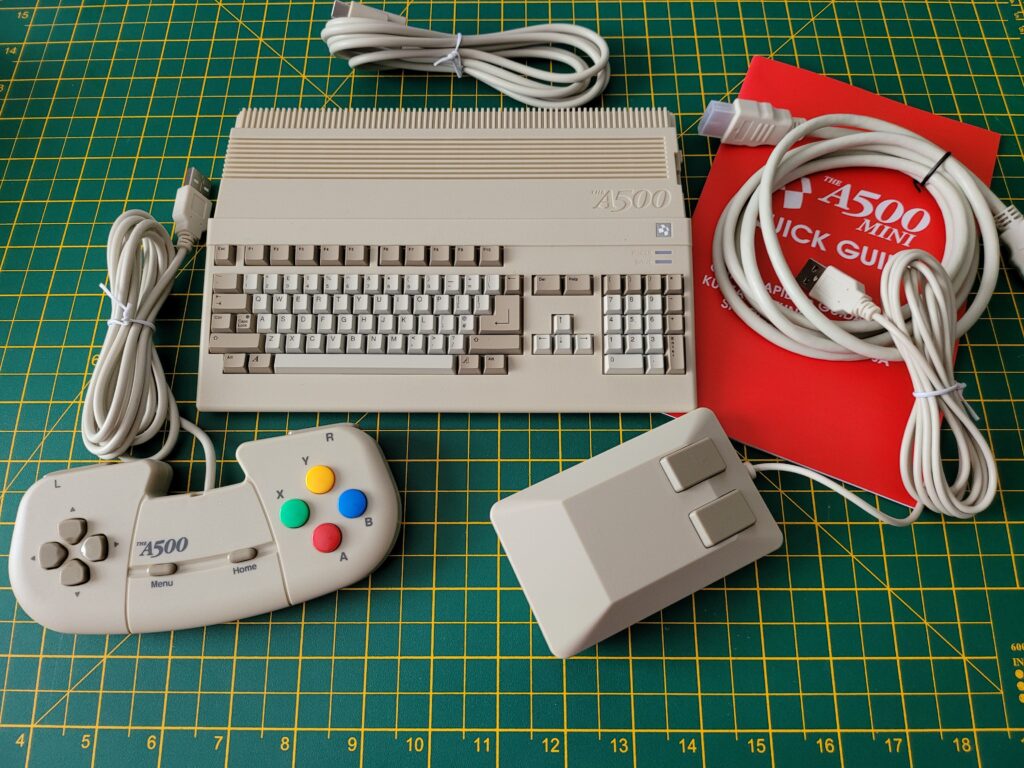
Opening up the box revealed the A500 mini itself, an optical USB Tank mouse, CD32-esque USB controller, quick start guide, HDMI cable and a USB C power cable.
The mouse and controller were tucked away under the A500 Mini inside their own little boxes.
The tank mouse is a perfect, slightly smaller replica of a real Amiga tank mouse.
The design of the gamepad was clearly inspired by the CD32’s controllers.
A suitably beige USB C power cable and HDMI cable are also included. I have to admit it was nice to see the adoption of USB C for the power as most of my modern day kit uses this standard now. You have to provide your own USB power socket but that was to be expected – most of us have plenty of these lying around.
The Quick guide is literally just that. Strip away all the pages devoted to other languages, health and safety gubbins and a list of the package contents and you are left with a meagre 2 pages of instructions. The full 48 page English instruction manual is provided online – here’s the URL given in the quick guide. For a retro product I did find this disappointing and would much rather have had all of this info in a nice spiral bound or hardback manual. Hopefully they release this as an optional extra shortly like they did with the ‘The C64 User Manual‘.
A Closer Look at the A500 Mini
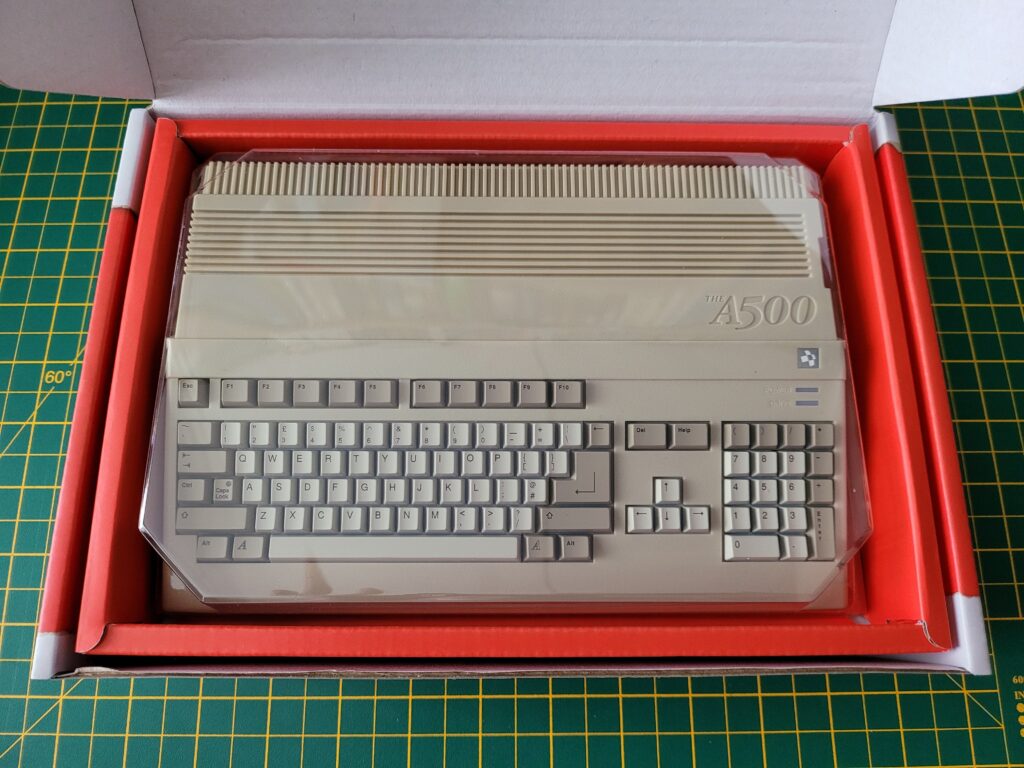
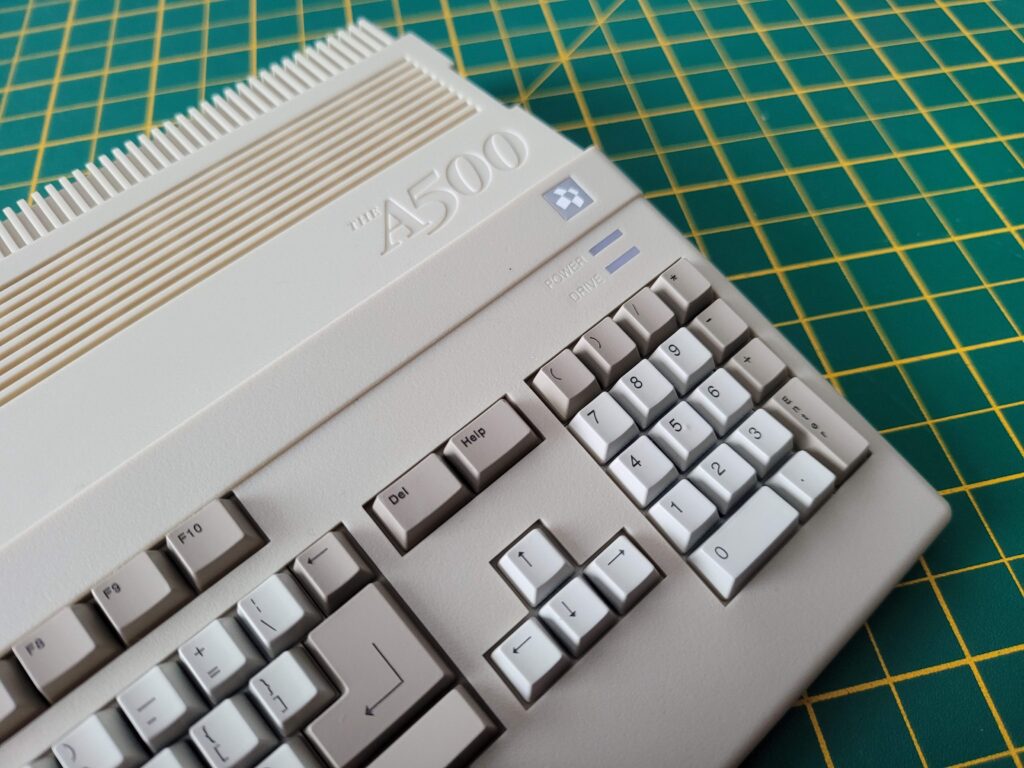
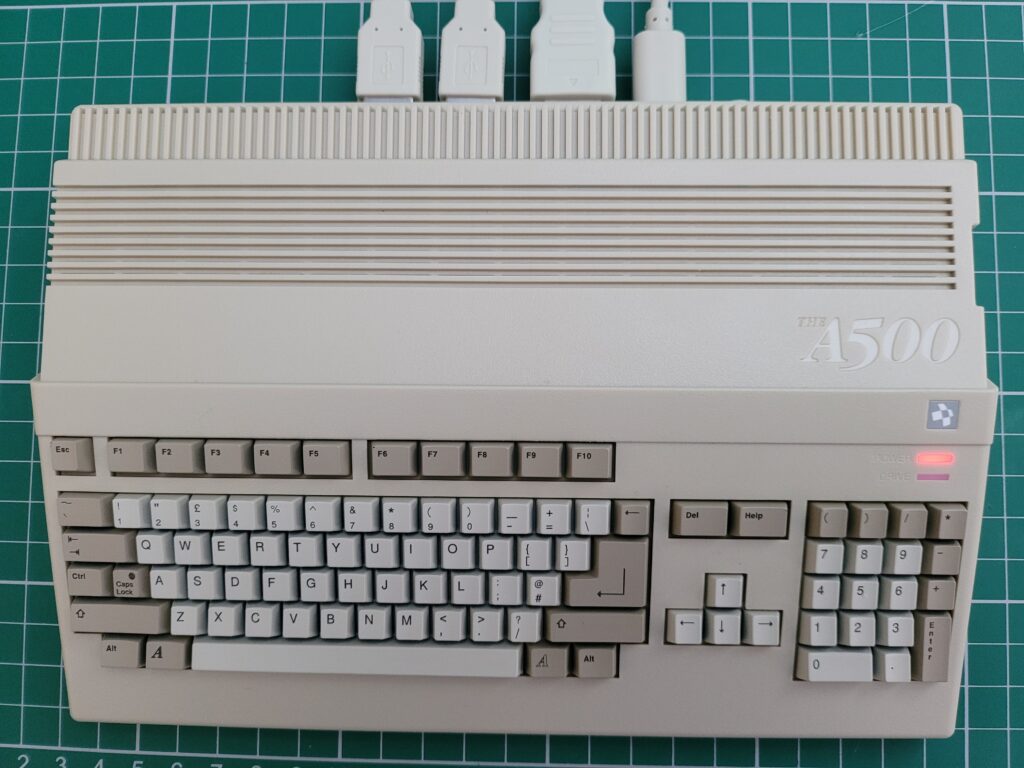
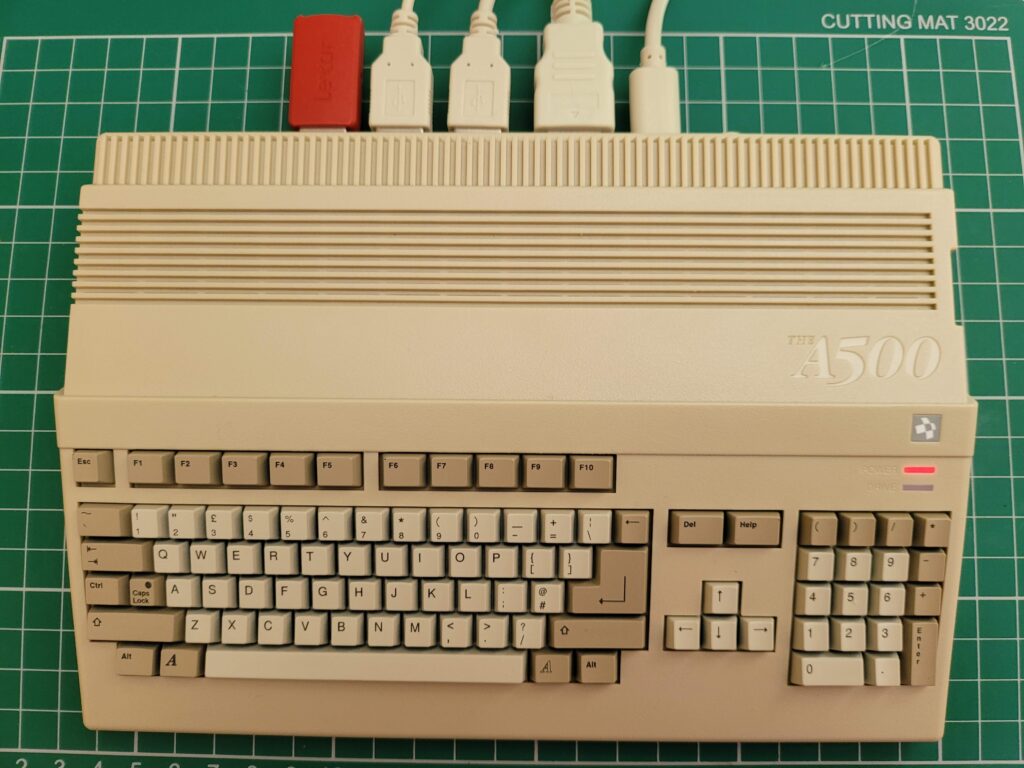
From the photos you could certainly be forgiven for mistaking the A500 Mini for a real A500 especially if you last used one in the 80’s or 90’s. Obviously it doesn’t have the Commodore logo on display but it’s only really when you see the USB ports on the back that you realise something isn’t quite right.
If you try to press any of the keys you will quickly realise something else isn’t right too. Just like with The C64 Mini the keyboard is completely non-functional and just for show. It’s certainly very convincing visually though with each key perfectly formed!
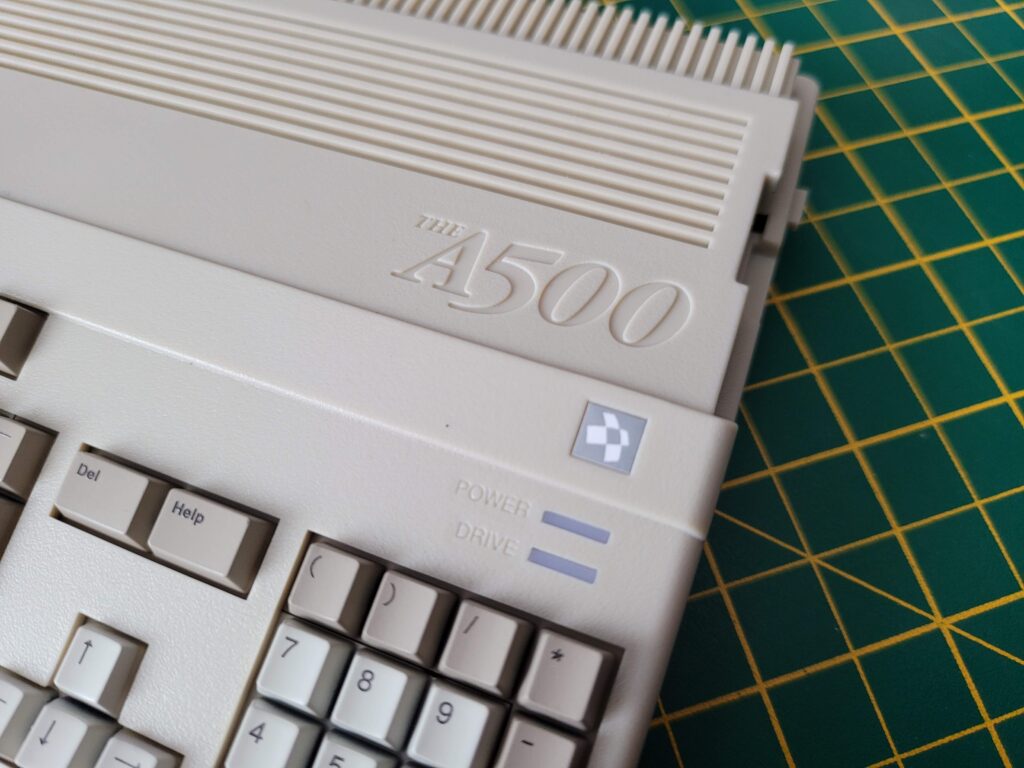
The attention to detail on the case is amazing and really makes me wonder why I’ve been waiting for four years now for my ‘Compatible A500 case’ to be made!
The case displays the wording ‘The A500’ rather than Amiga and their own logo rather than the familiar Commodore ‘Chicken head’ which is obviously for copyright reasons.
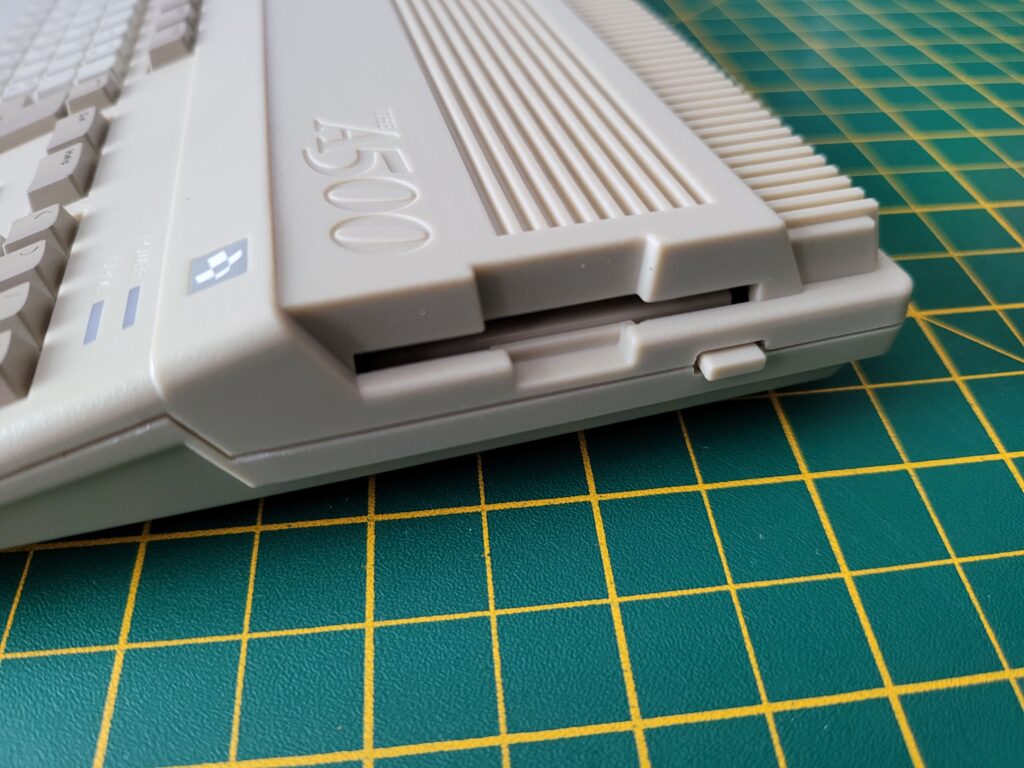
The floppy drive and eject button are very convincing but totally non-functional. Its a real shame they didn’t incorporate an SD card slot for expanding your game library here. At the very least they should have put an extra USB port here so we could insert our USB stick like it was a floppy disk…
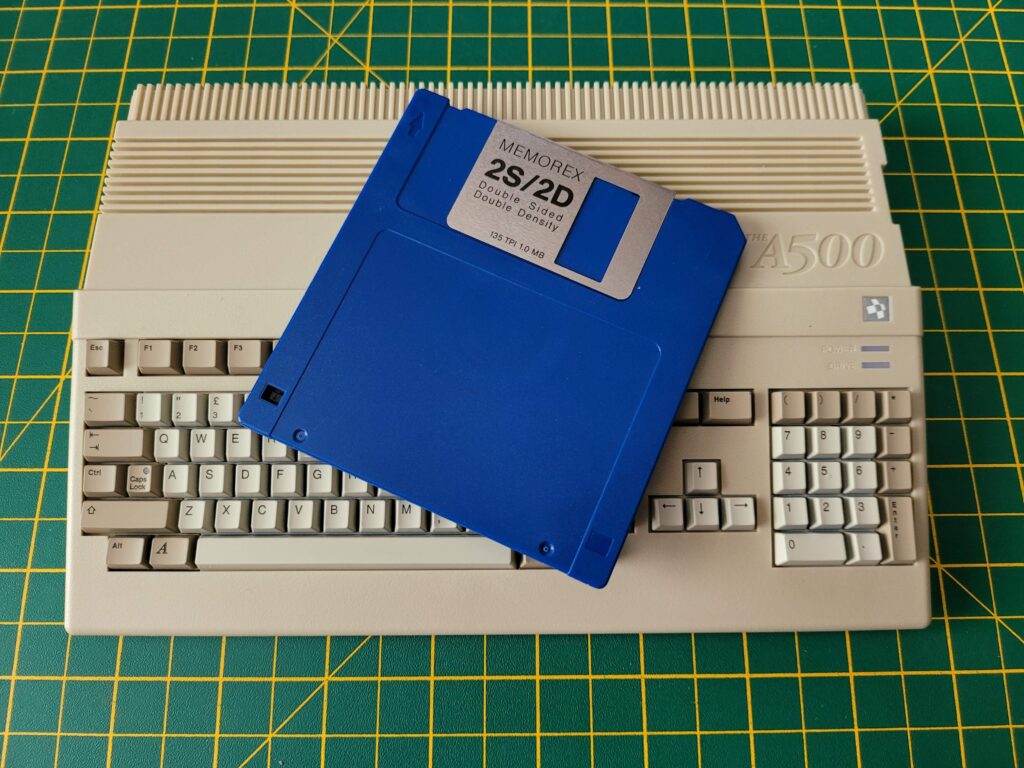
The diminutive scale of The A500 Mini becomes instantly apparent when compared to a 3.5″ floppy disk!
Ports
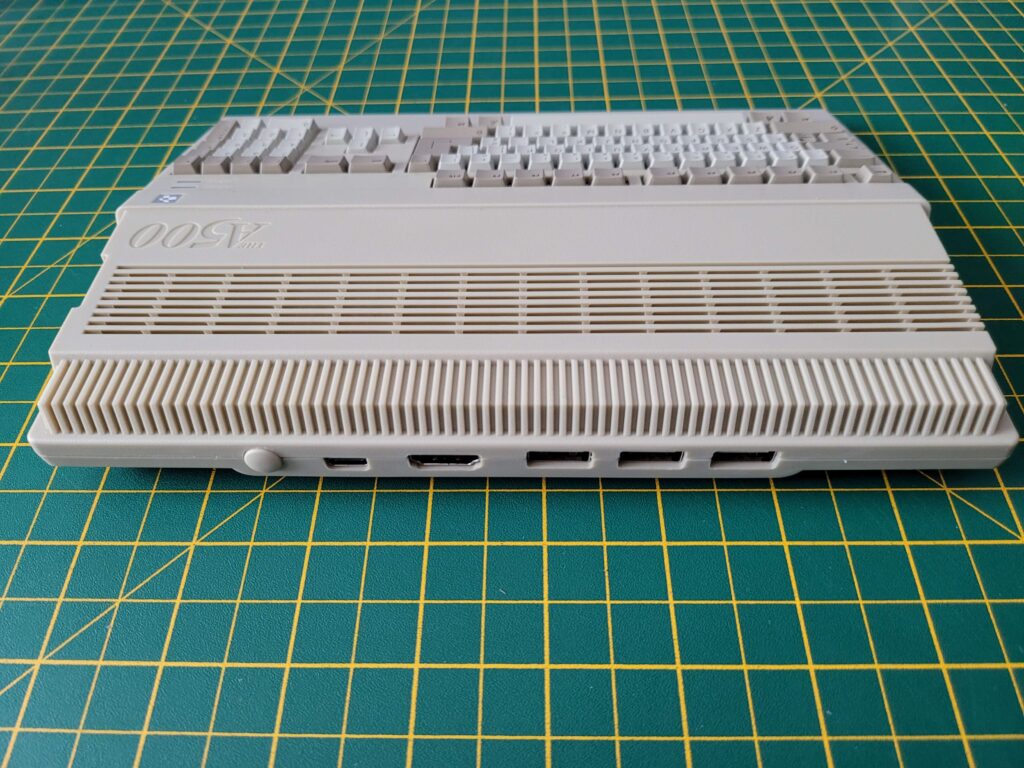
Unlike the original A500 the The A500 Mini come with a very modest selection of ports comprising USB-C for power, a full-size HDMI for video and 3 USB ports for the mouse, controller and memory stick with extra games on. There’s also a power switch included on the back.
I really think there should have been an extra USB port included here for attaching a USB keyboard. If all you are interested in is arcade style games then you’ll be fine. However if simulation games are more your thing (like the Microprose games that needed keyboard overlays) then you are going to need a USB hub to add a keyboard which is going to make for a very messy setup indeed.
Here’s a photo of everything you get inside the box. The relative size of the A500 Mini becomes apparent when it is sat next to the mouse and gamepad.
What’s it like to use?
After plugging all the cables in and pressing the on/off switch the power LED came to life. Surprisingly the drive activity light doesn’t actually operate when loading the UI or any of the included games.
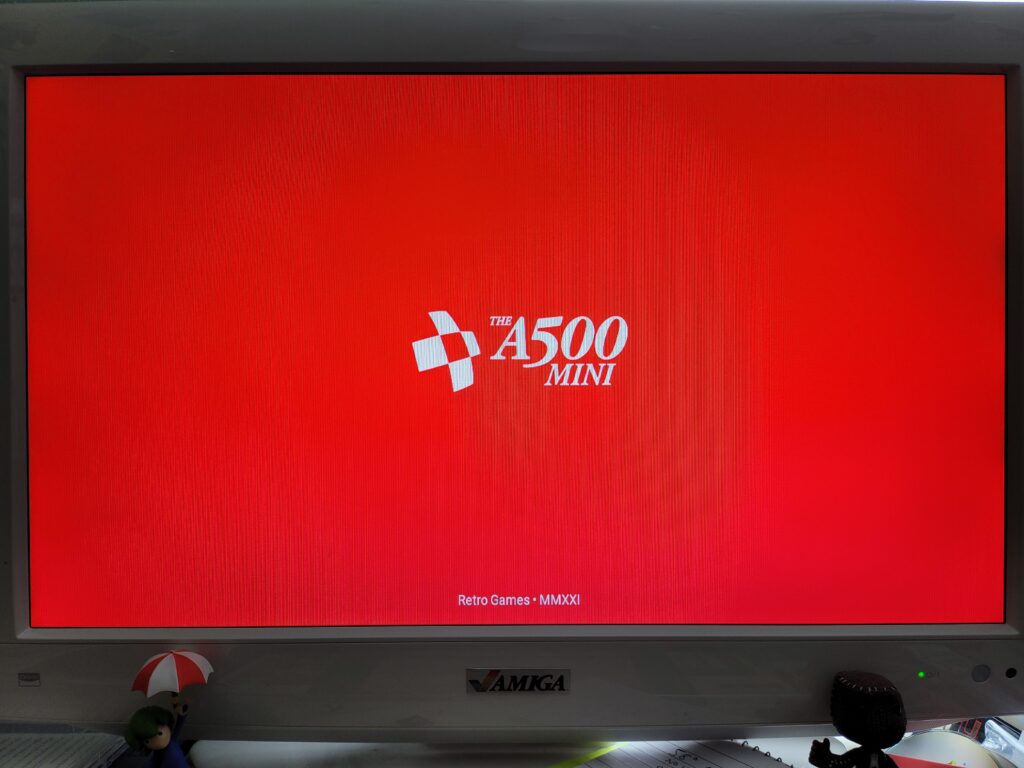
After approximately 8 seconds of staring at a blank TV whilst it booted up a very snazzy red and white A500 Mini splash screen appeared.
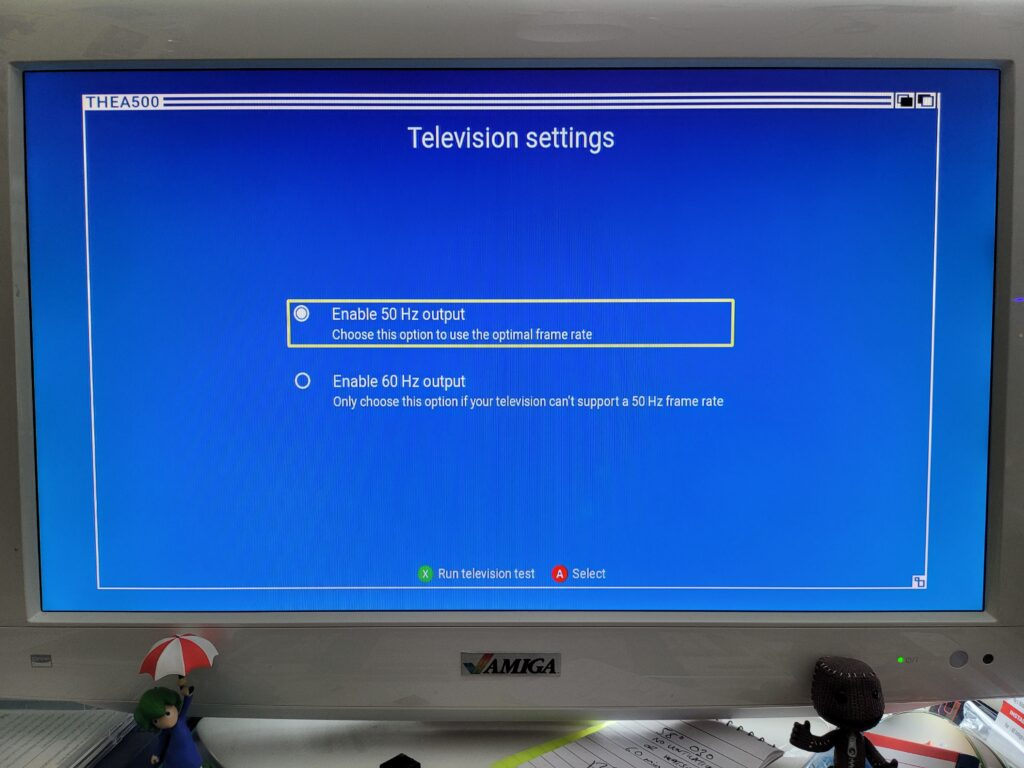
As this was the first time the device had been used a couple of configuration screens popped up allowing me to choose my language and also whether I wanted to use 50Hz or 60Hz.
Naturally being in the UK I chose the superior 50Hz option for the optimal frame rate. 🙂
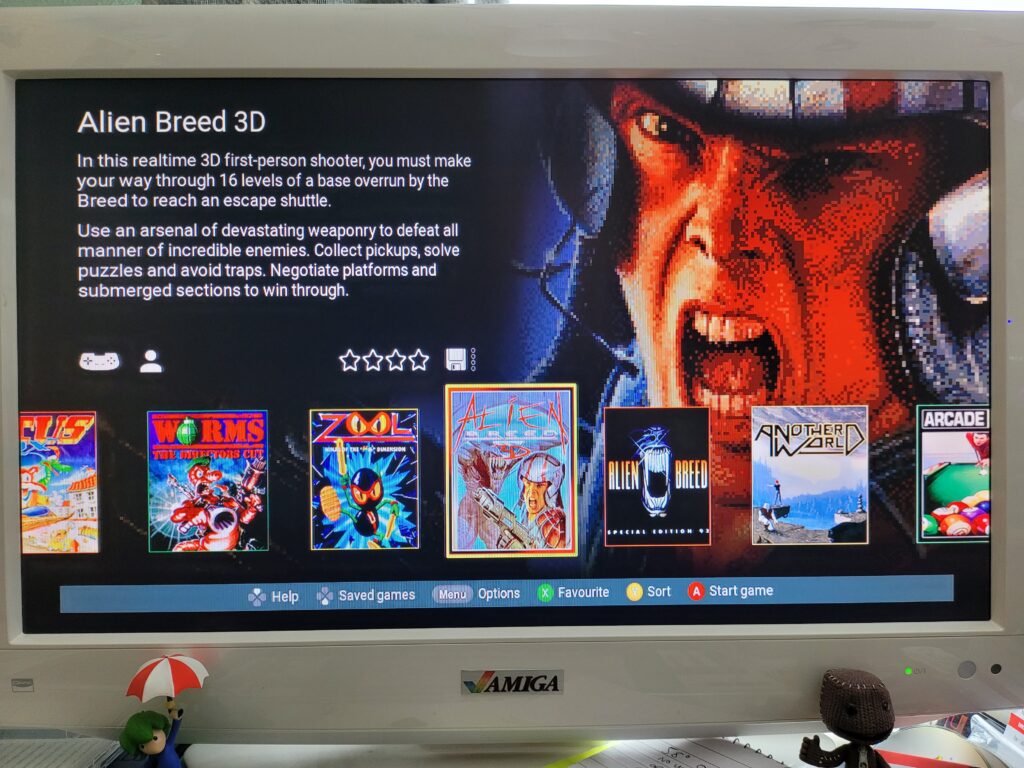
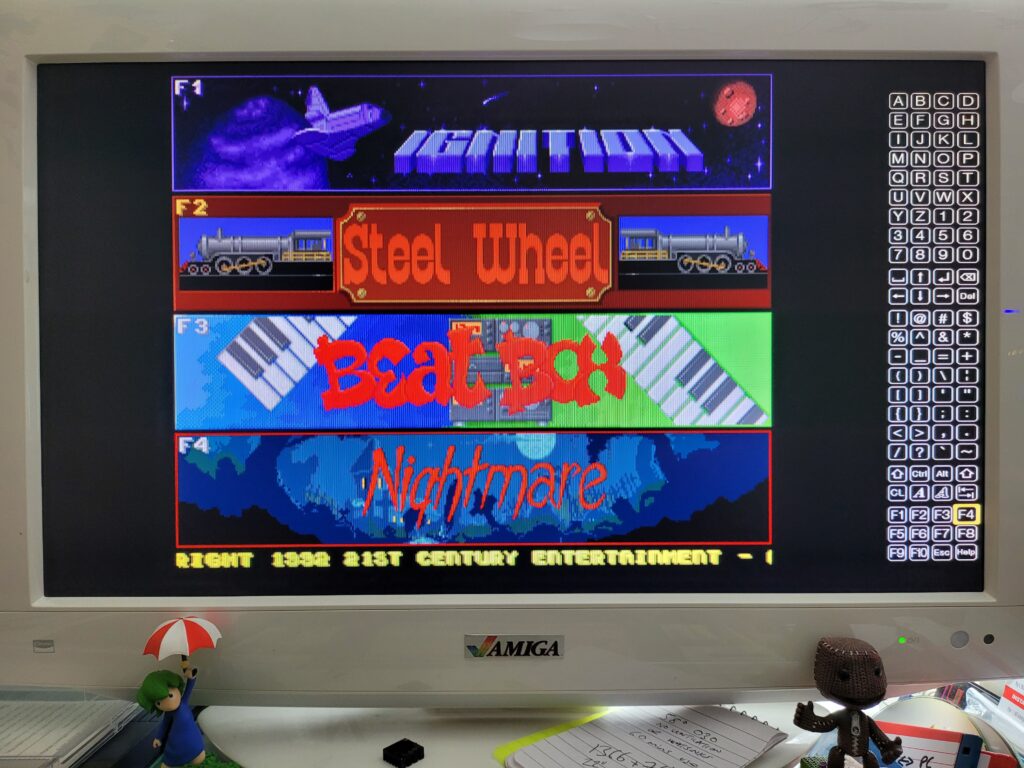
After a quick test to make sure the mode was compatible I was presented with a gorgeous user-interface (UI). The UI features a scrolling carousel of Amiga game box art along with changing graphic montages from each game in the background. Some very relaxing ambient synth music plays softly whilst you navigate the UI too.
There are icons showing whether each game utilises the controller and/or mouse and how many players it supports. Each game can have a user star rating too, from 1 to four stars. As the carousel allows you to change the sort order between Author, Genre, Year, Publisher and Favourite this affords you the option of having the games displayed by order of preference should you want it.
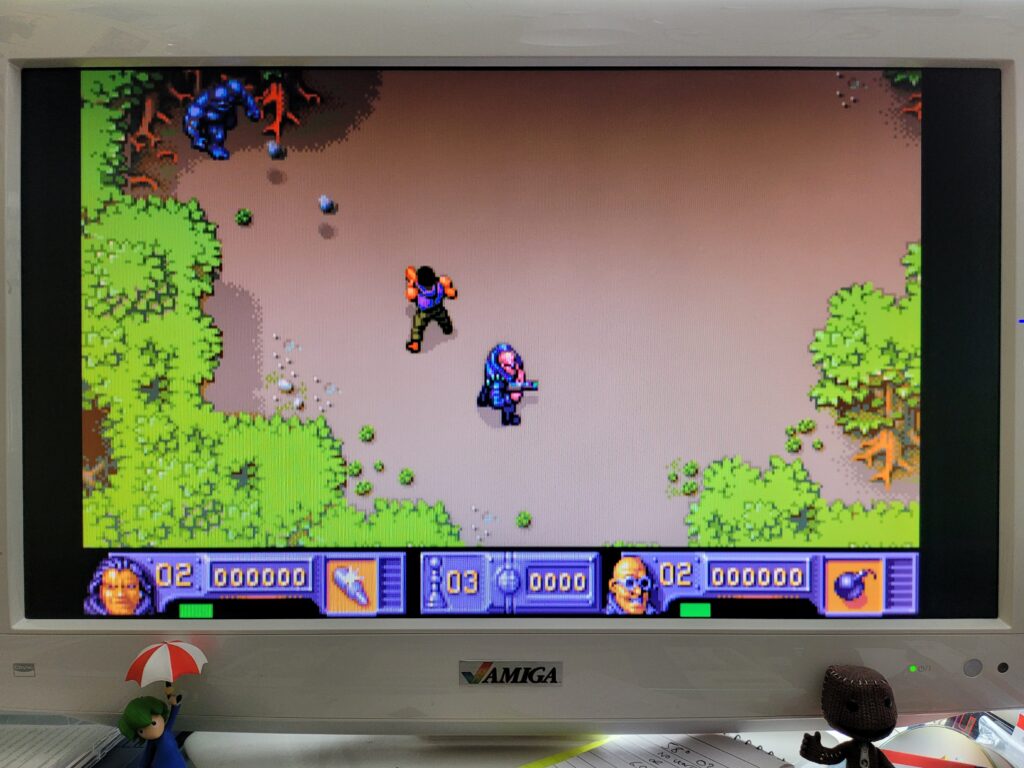
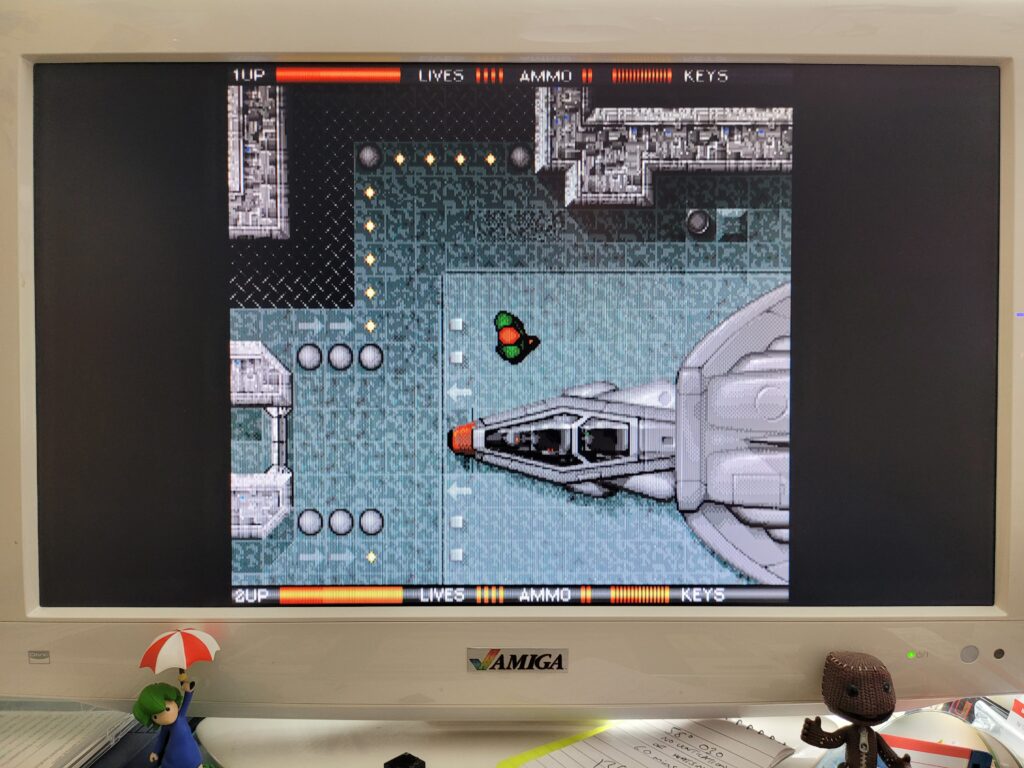
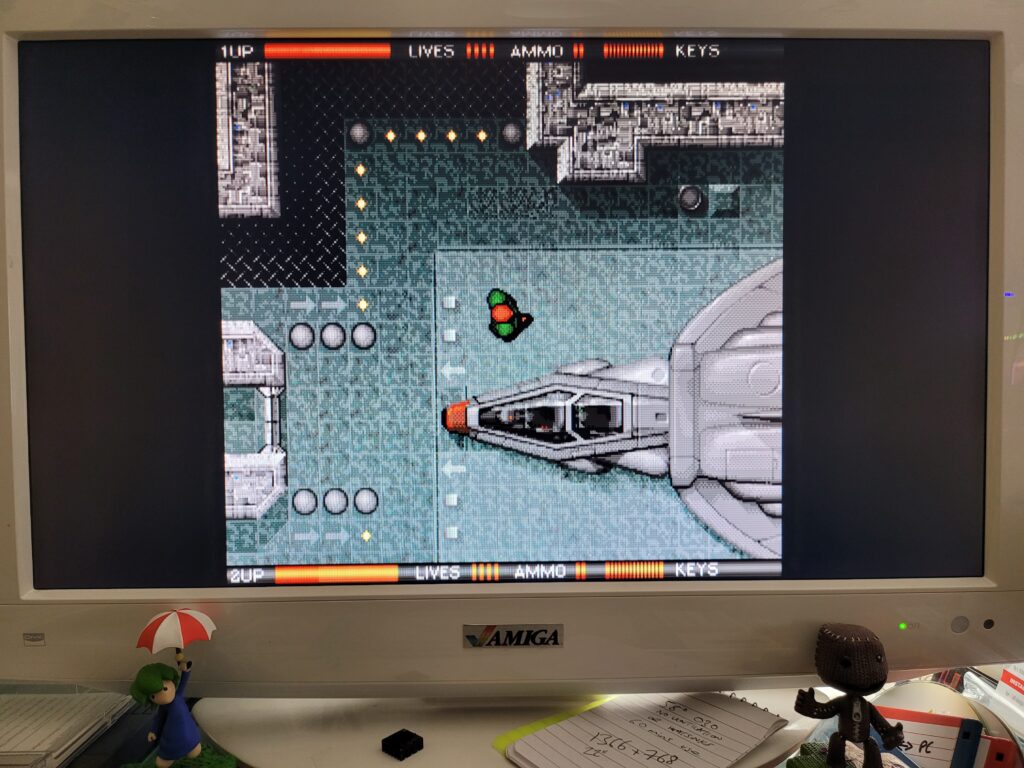
Over the course of an afternoon I had a lot of fun trying out all of the pre-installed games on The A500 Mini and they all ran perfectly. I didn’t do any side by side comparisons but nothing gave me pause for concern and I was very impressed with just how slick everything was. Games loaded in seconds – there’s no simulated loading times here.
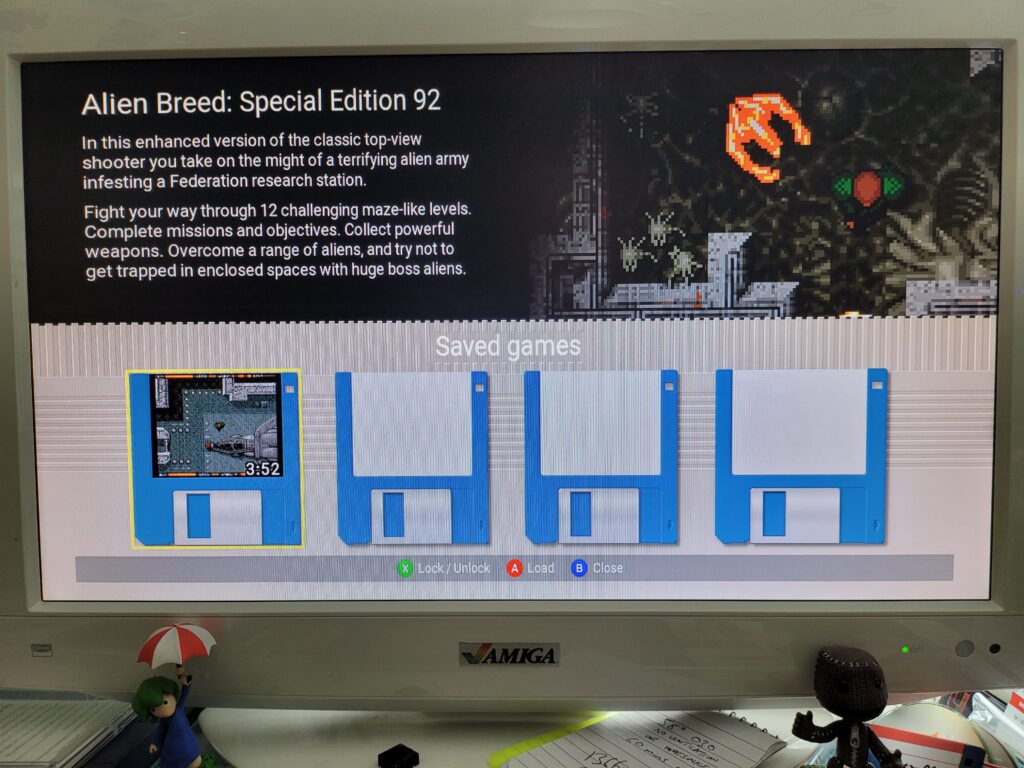
There are plenty of quality of life features too. For example each game supports up to 4 ‘save states’ allowing you to instantly save your progress at any point in any game. It even includes a ‘disk label’ incorporating a screen capture of exactly what you were doing at the moment you created the save state to help you recognise it in future! I think these are a great feature and who knows – in 30 years time someone might be using using a PS5 mini console and using save-states to brute force through a boss encounter in Elden Ring…
Some of the included games need rudimentary keyboard support in order to work. Pinball Dreams is a good example, requiring the use of the function keys to select which level you want to play. The handy virtual keyboard (invoked by tapping the menu button) worked like a charm here. However for games that require frequent keyboard inputs or text adventures like The Pawn you would definitely need to use a USB keyboard.
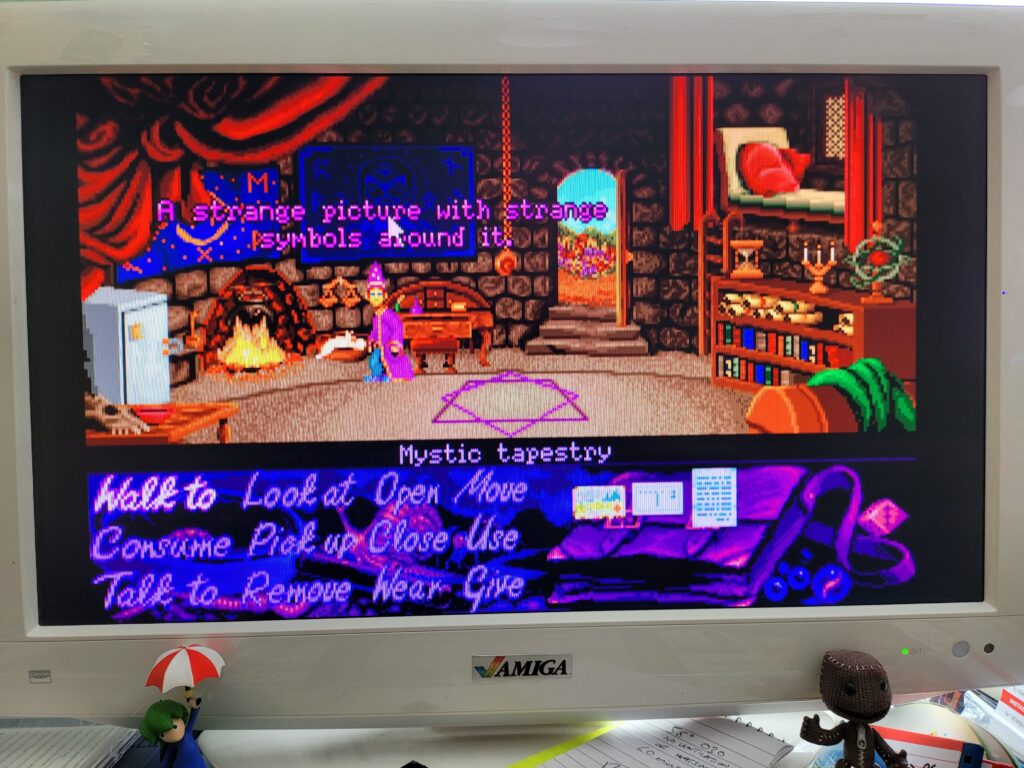
Happily the tank mouse is a pleasure to use in the games that support it, in Simon the Sorcerer for example. I should point out that the main UI doesn’t support it at all though – you must use the controller to navigate around that.
Unlike the original A500 mouse this new one incorporates a modern optical sensor under the hood and is all the better for it. I’m not really nostalgic about the old ball mice – they were a pain and required constant cleaning. Even when new they were not as accurate in use as a cheap optical mouse is now. I’ve been using optical mice with all my Amiga machines for years which should speak volumes.
Tweaking the settings
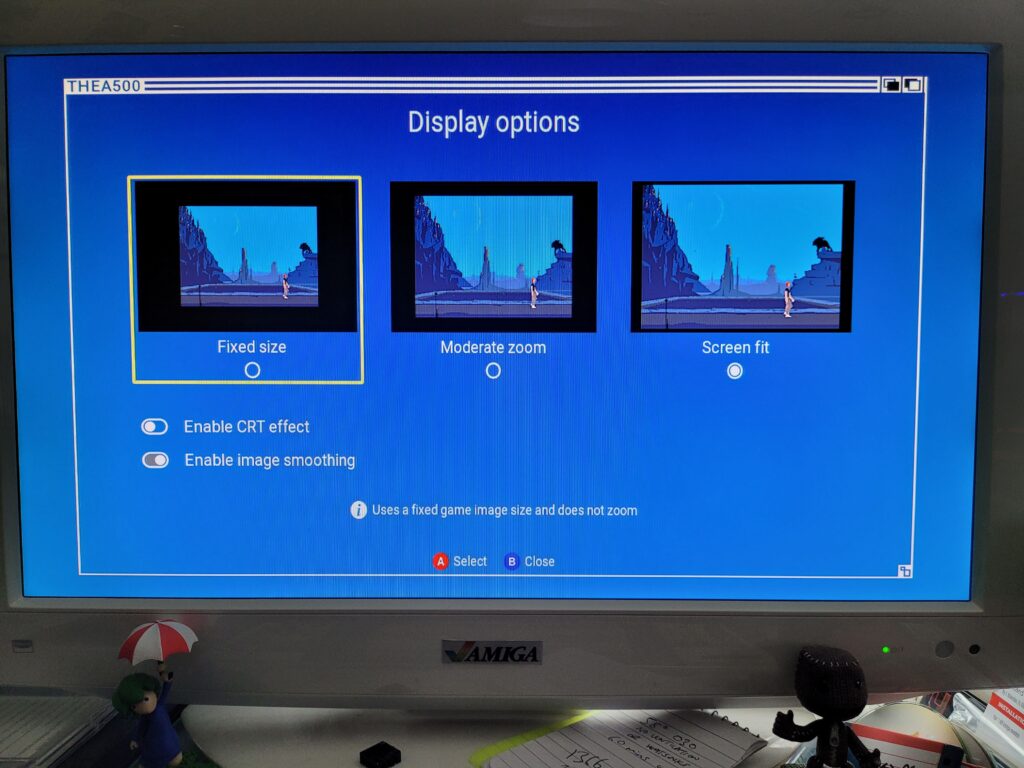
So the included games all work like a charm – but there’s still room for improvement. There’s a bunch of options you can mess around with to alter each game to your personal preference. The settings screens all feature a Workbench 1.3 Window effect which is a nice nod to the past and another example of the thought that has gone into this product.
The Display Options screen allows you to select the zoom size of the screen. Some games are displayed as small 4:3 windows so you can use these settings to make the screen fit your display better. There’s also a CRT effect filter that adds scanlines to the image to make it appear as if its displayed on an old CRT monitor.
The effect is subtle but quite effective which you can hopefully see on the two screenshots. Above is a screenshot taken without the CRT filter and below with it turned on.
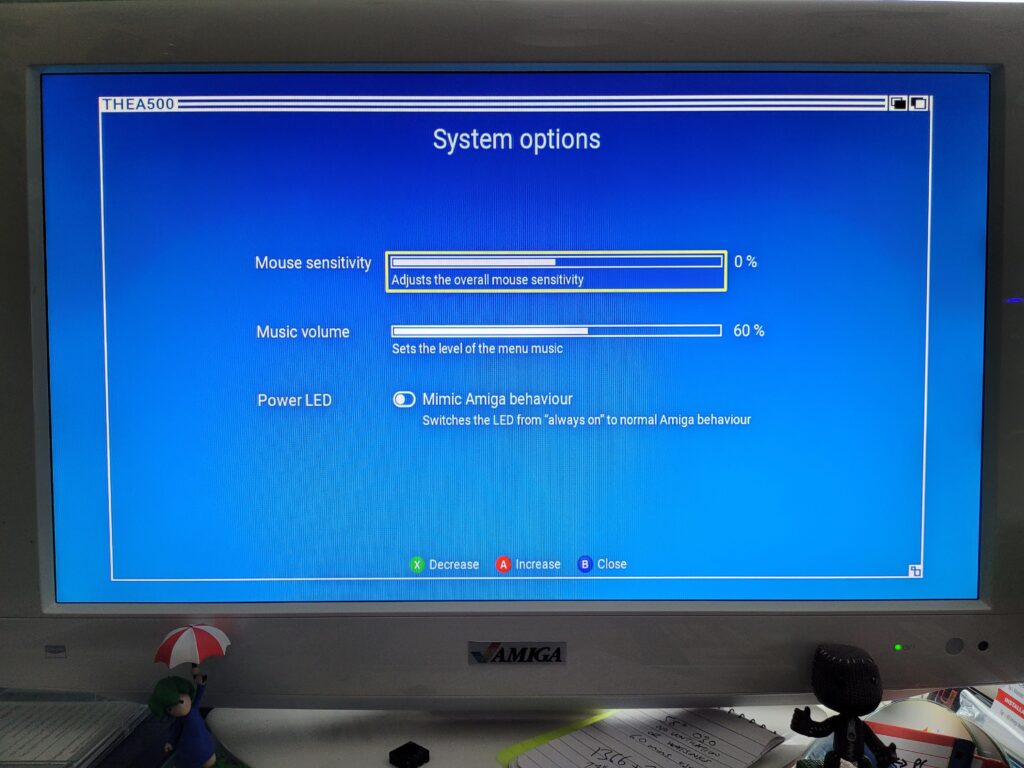
The System Options screen allows you to adjust the mouse sensitivity, music volume and Power LED behaviour. The ‘mimic Amiga behaviour’ option just made the LED act weird when loading WHDLoad games (it would keep turning off) so I left this option disabled.
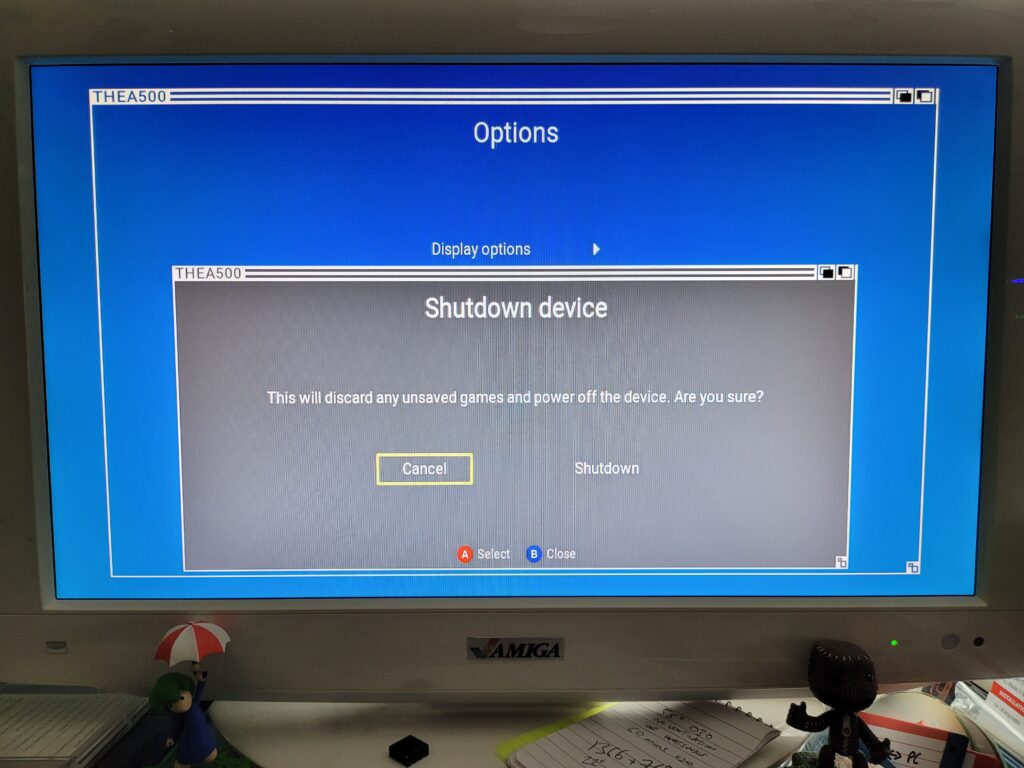
The Shutdown Device option allows a safe way to shutdown the A500 Mini and will probably be my go-to method for powering it off. If I invest a lot of time into a game and save my progress I don’t want to come back and find it’s been corrupted due to me pulling out the plug!
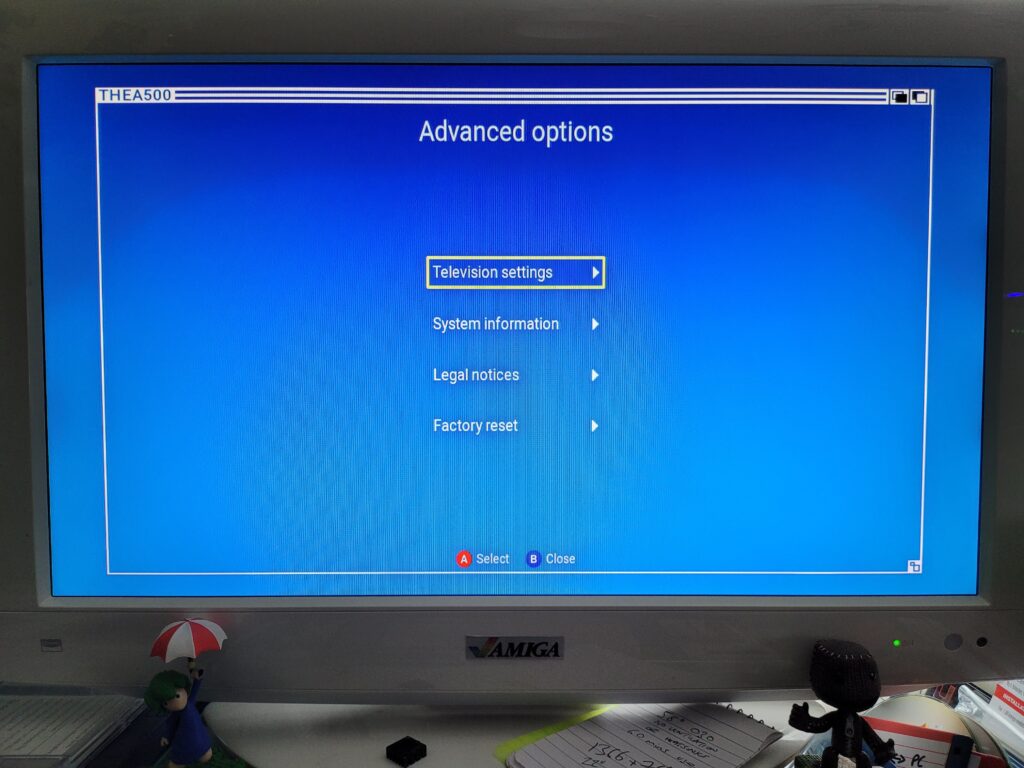
There’s also an ‘Advanced Options’ screen which is home to some less frequently needed settings. Here you can re-visit the 50/60Hz mode options, tweak whether a game should utilise the ‘border’ section of the screen, access System info, creator credits and also perform a factory reset.
Loading Your Own Games
One of the advertised features of the console is being able to play your own selection of games on the device. However this isn’t explained at all in the Quick Guide, for this info you need to head online to their website: THEA500 Mini support (retrogames.biz)
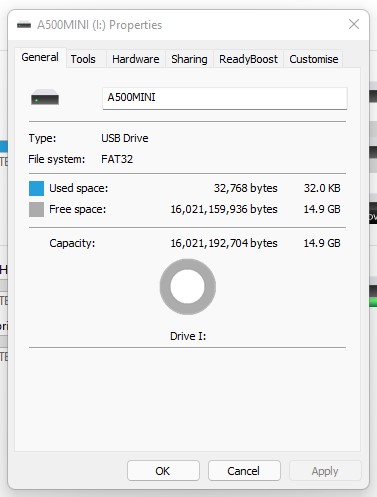
In a nutshell these are the requirements for getting your own games onto The A500 Mini.
- A USB stick formatted using FAT32.
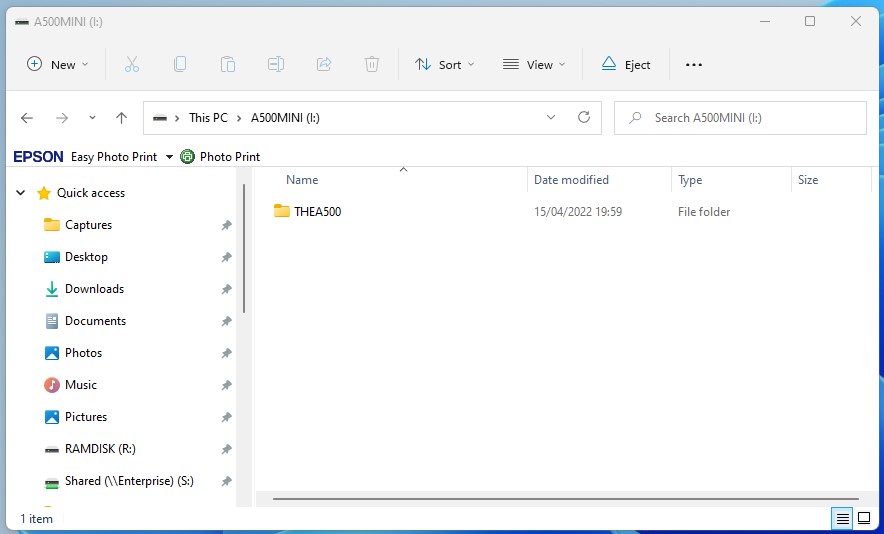
- The USB stick must have ‘THEA500 WHDLoad Package’ installed on it.
- The WHDLoad programs all have to be LHA files.
- The WHDLoad programs must be a complete archive of the program and
not just the program’s WHDLoad installer.
Once you’ve downloaded the ‘THEA500 WHDLoad Package v1.0.1 ‘ you simply unzip it to the ROOT of your USB stick. It should look like the screenshot below if you’ve done it correctly.
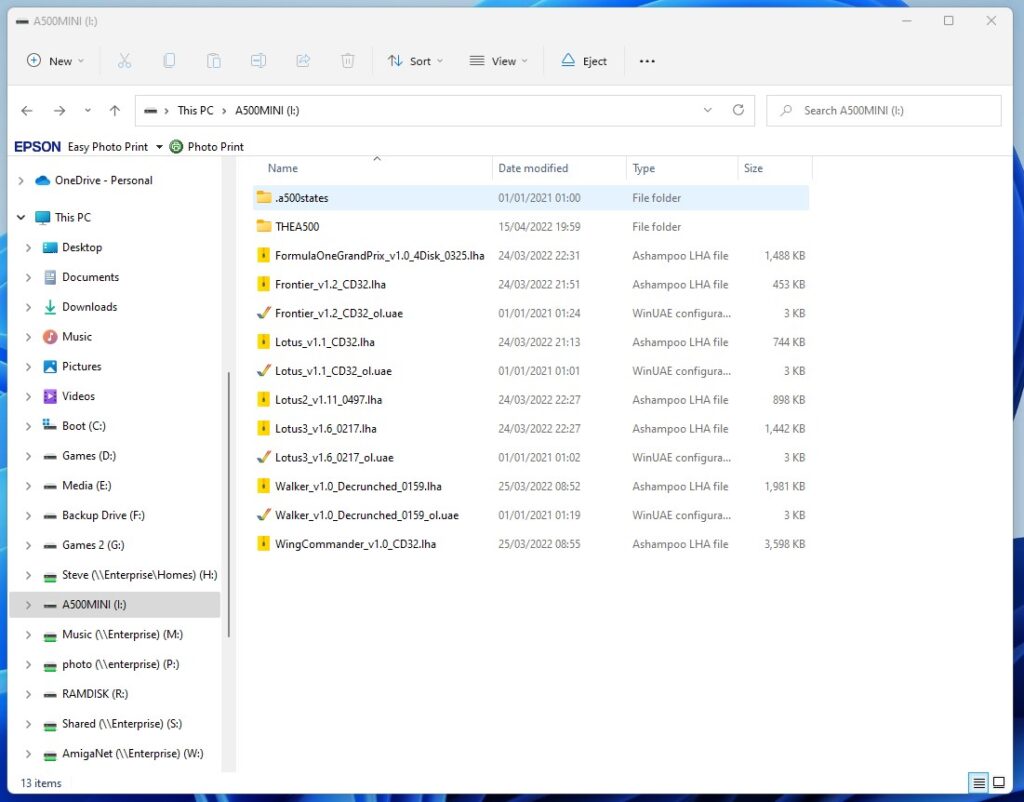
Games are simply copied into the root of the USB stick as well, or if you have a lot then you can also organise them into directories too. All the games must be in LHA format. I put a handful of games on my stick and it looked like the screenshot below. Note the ‘states’ directory and the various .uae files. These were all created by the A500 Mini itself and contain the save states and configuration options for my custom games. Don’t delete these files!
The USB stick plugs into the spare USB port at the rear of the A500 Mini – assuming you aren’t using a USB keyboard of course.
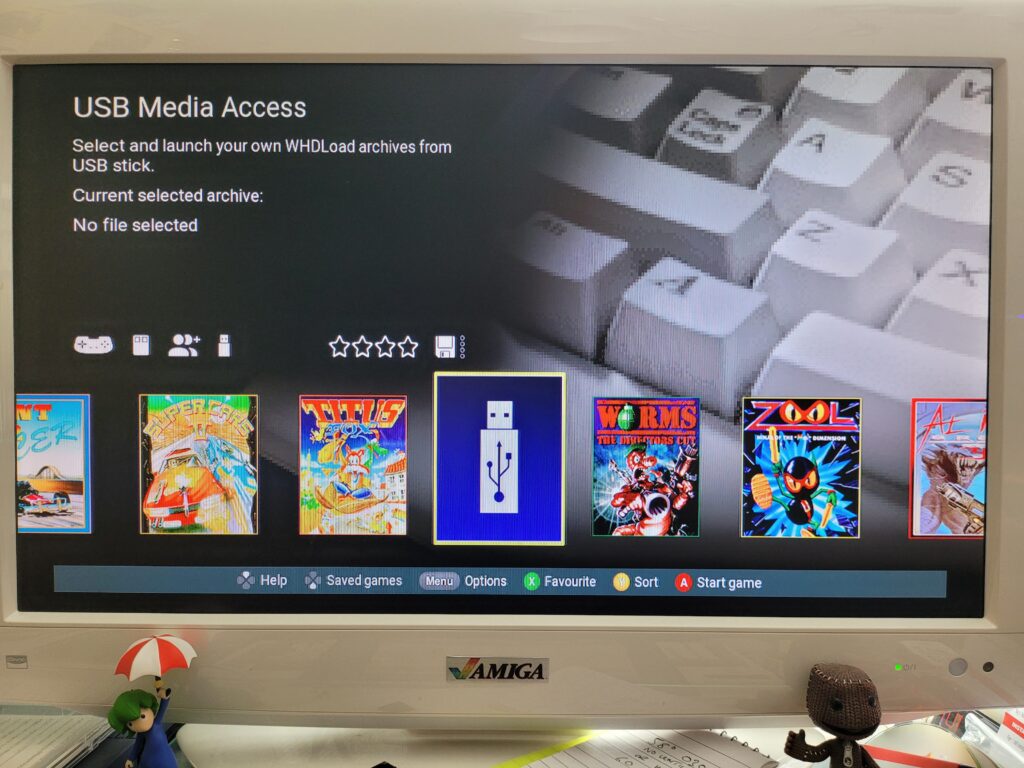
If it has been setup correctly then a USB Stick icon should appear on the carousel as shown in the photo below.
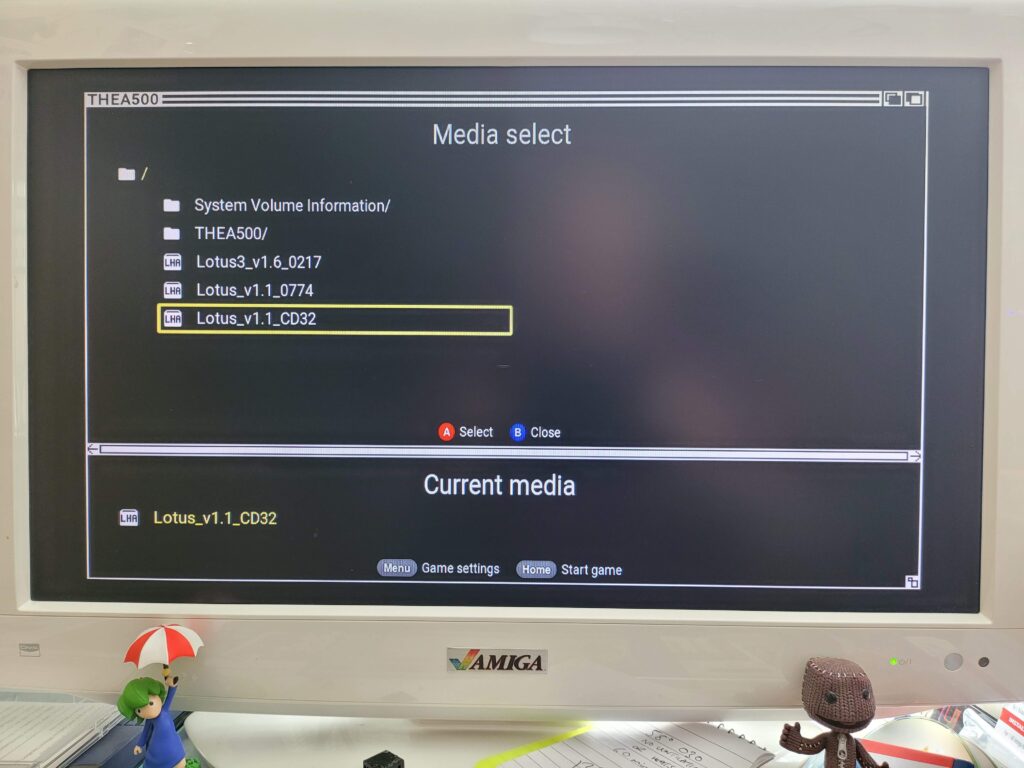
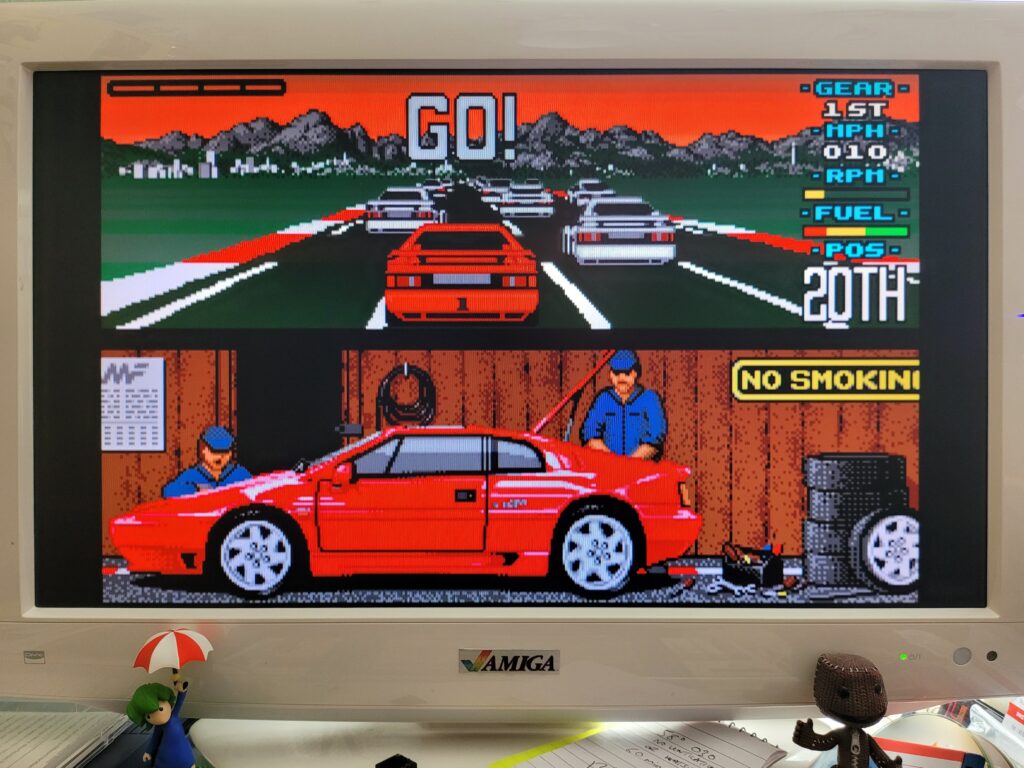
Clicking ‘Start Game’ will then bring up the contents of the stick. In my example below I had put a few Lotus games on my USB stick to experiment with.
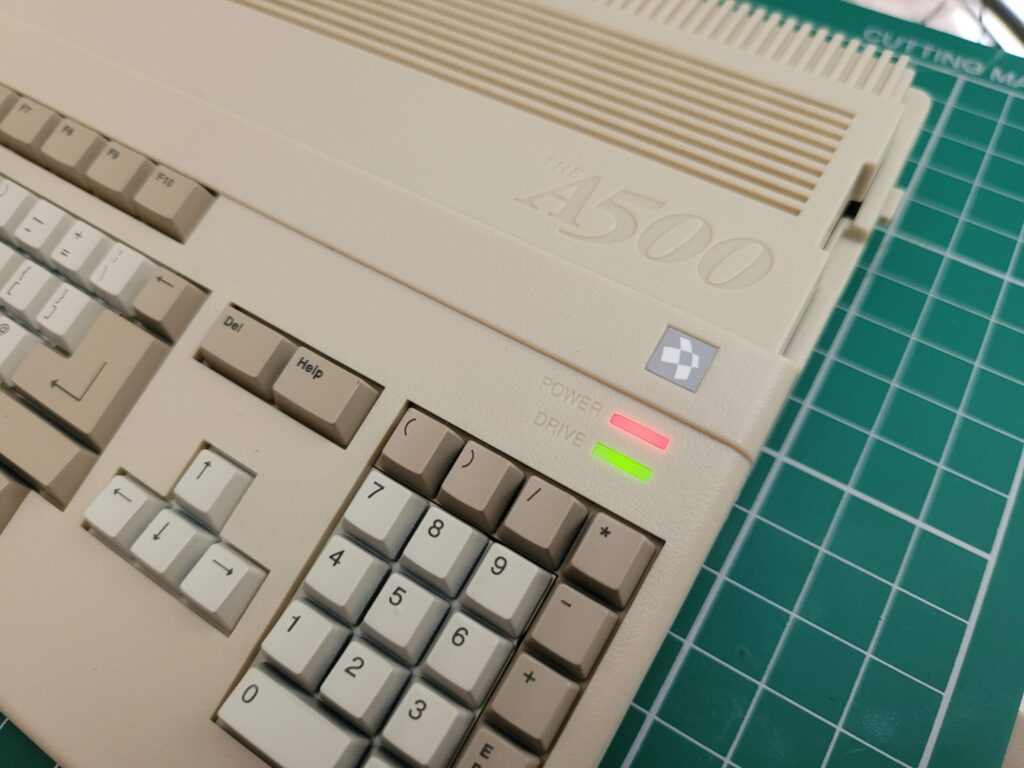
When loading the games the drive activity LED finally sprang into life!
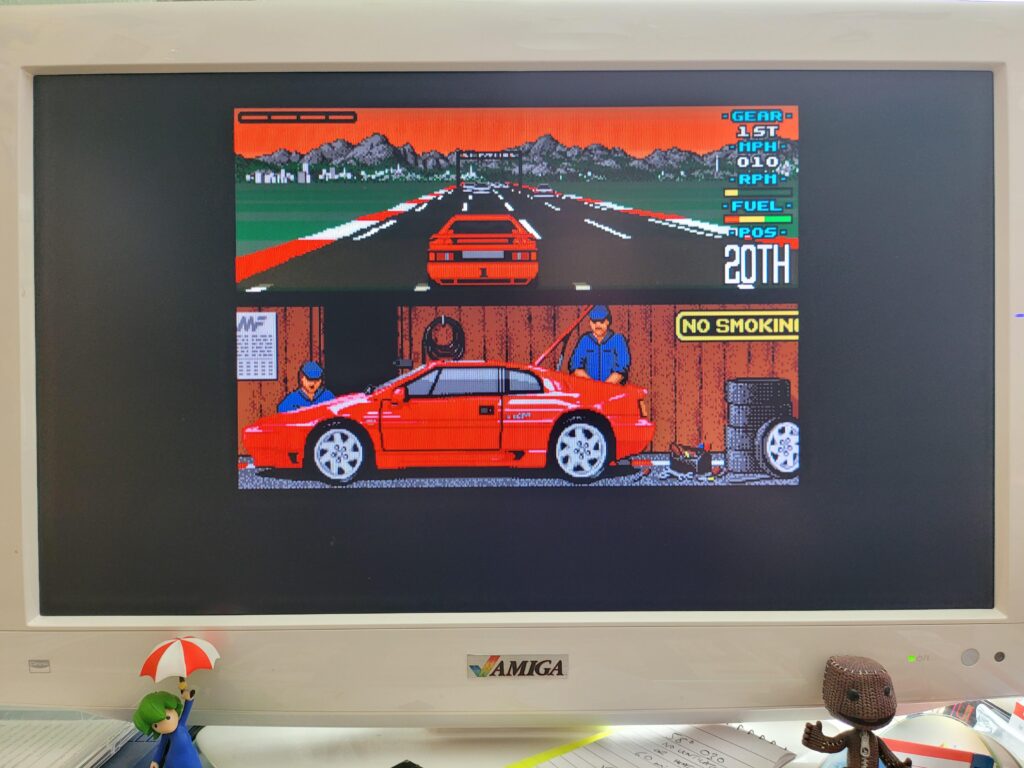
Lotus 1 loaded up and played just fine, but it was only using a fraction of the available screen space…
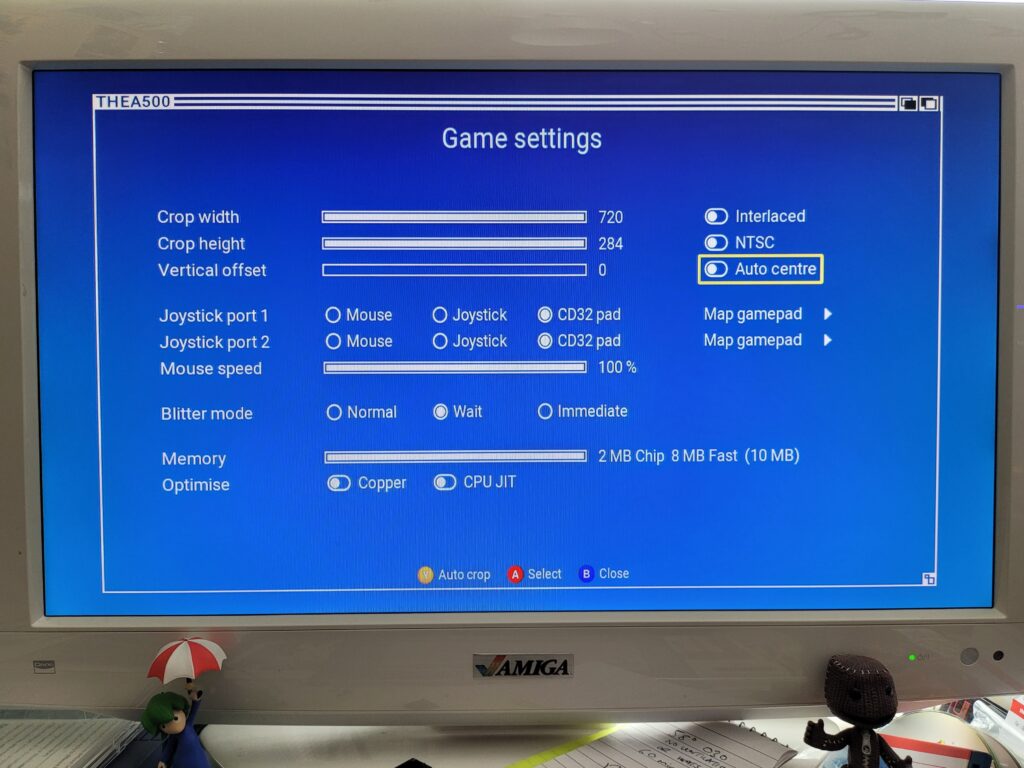
The Game Settings screen offers numerous tools to tweak how the game runs, including how it appears on screen.
By using a combination of auto-centre and auto-crop I was able to achieve the result in the next photo which was infinitely better. These settings are remembered for each custom game too which means once you’ve only got to configure things the way you like then the one time.
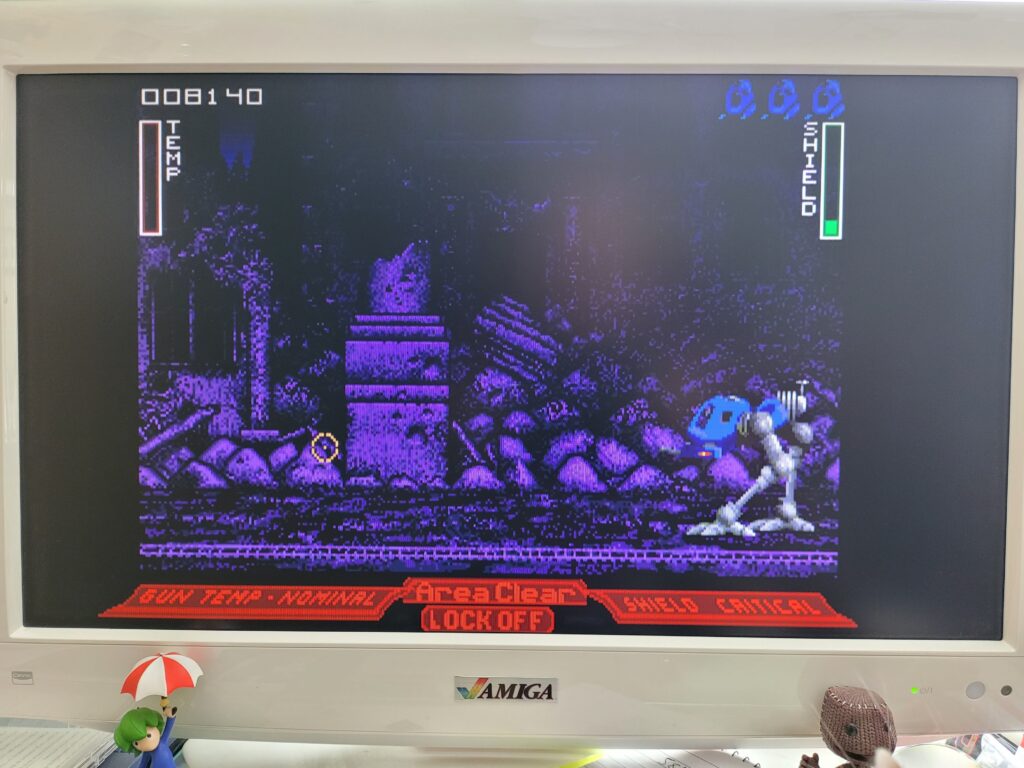
Mouse support is disabled by default which I discovered when I loaded up Walker for a quick blast. This was easily solved by going into the Game Settings screen and enabling the Mouse on Joystick Port 1. I also had to adjust the sensitivity as it seemed way over-sensitive to me. Once I’d sorted those two things it played perfectly.
I’m not sure exactly how powerful the A500 mini is but it’s definitely much faster than a stock Amiga 500 that’s for sure. Here’s a video of it running the intro from Frontier Elite 2. Anyone who has seen this running on a stock A500 will know that it really struggles to keep up the framerate during most of this 3D animated sequence. The A500 Mini on the other hand makes it seem effortless.
Wing Commander also ran super smooth too which I remember being another game that really needed a decent CPU to shine. It actually runs better on the A500 Mini than it does on my TerribleFire 330 equipped CD32 which has a 50Mhz 68030 CPU.
ADF Support
You may have noticed that I’ve made no mention of loading ADF disk images so far and that’s because they are simply not supported. I have to say that this is a huge disappointment for me personally as I’ve purchased a lot of modern day Amiga games and many of them only came in ADF format. I’ve also converted many of my old original physical game disks into ADF images and I’m unable to use any of them. Furthermore I have no idea how to create WHDLoad versions of any of my games so I am faced with either not being able to play these games on the A500 Mini or having to search around to see if anyone else has created WHDLoad versions of them. I really hope Retro Games Ltd. add this feature in a firmware update soon as it really limits the devices appeal at the moment for me personally.
Verdict
The A500 Mini is a beautifully designed and executed piece of kit and it seems evident to me that the guys who created it are passionate Amiga fans. The UI is beautiful and I love the slick implementation of save-states and simple to configure options to tweak my gameplay experience. The mouse and controller both look the part and work really well. Most importantly of all, the games appear to run great on the device and at an improved frame-rate too, for games that support it. The lack of a decent printed manual is a bit disappointing but hardly a deal-breaker. The lack of ADF support on the other hand is a bit more troubling and quite a let-down for me personally. If using ADF images is important to you too then maybe hold off until Retro Games Ltd. announce they’re going to add support for them. For anyone else thinking of taking the plunge though, just get one – you won’t regret it.


