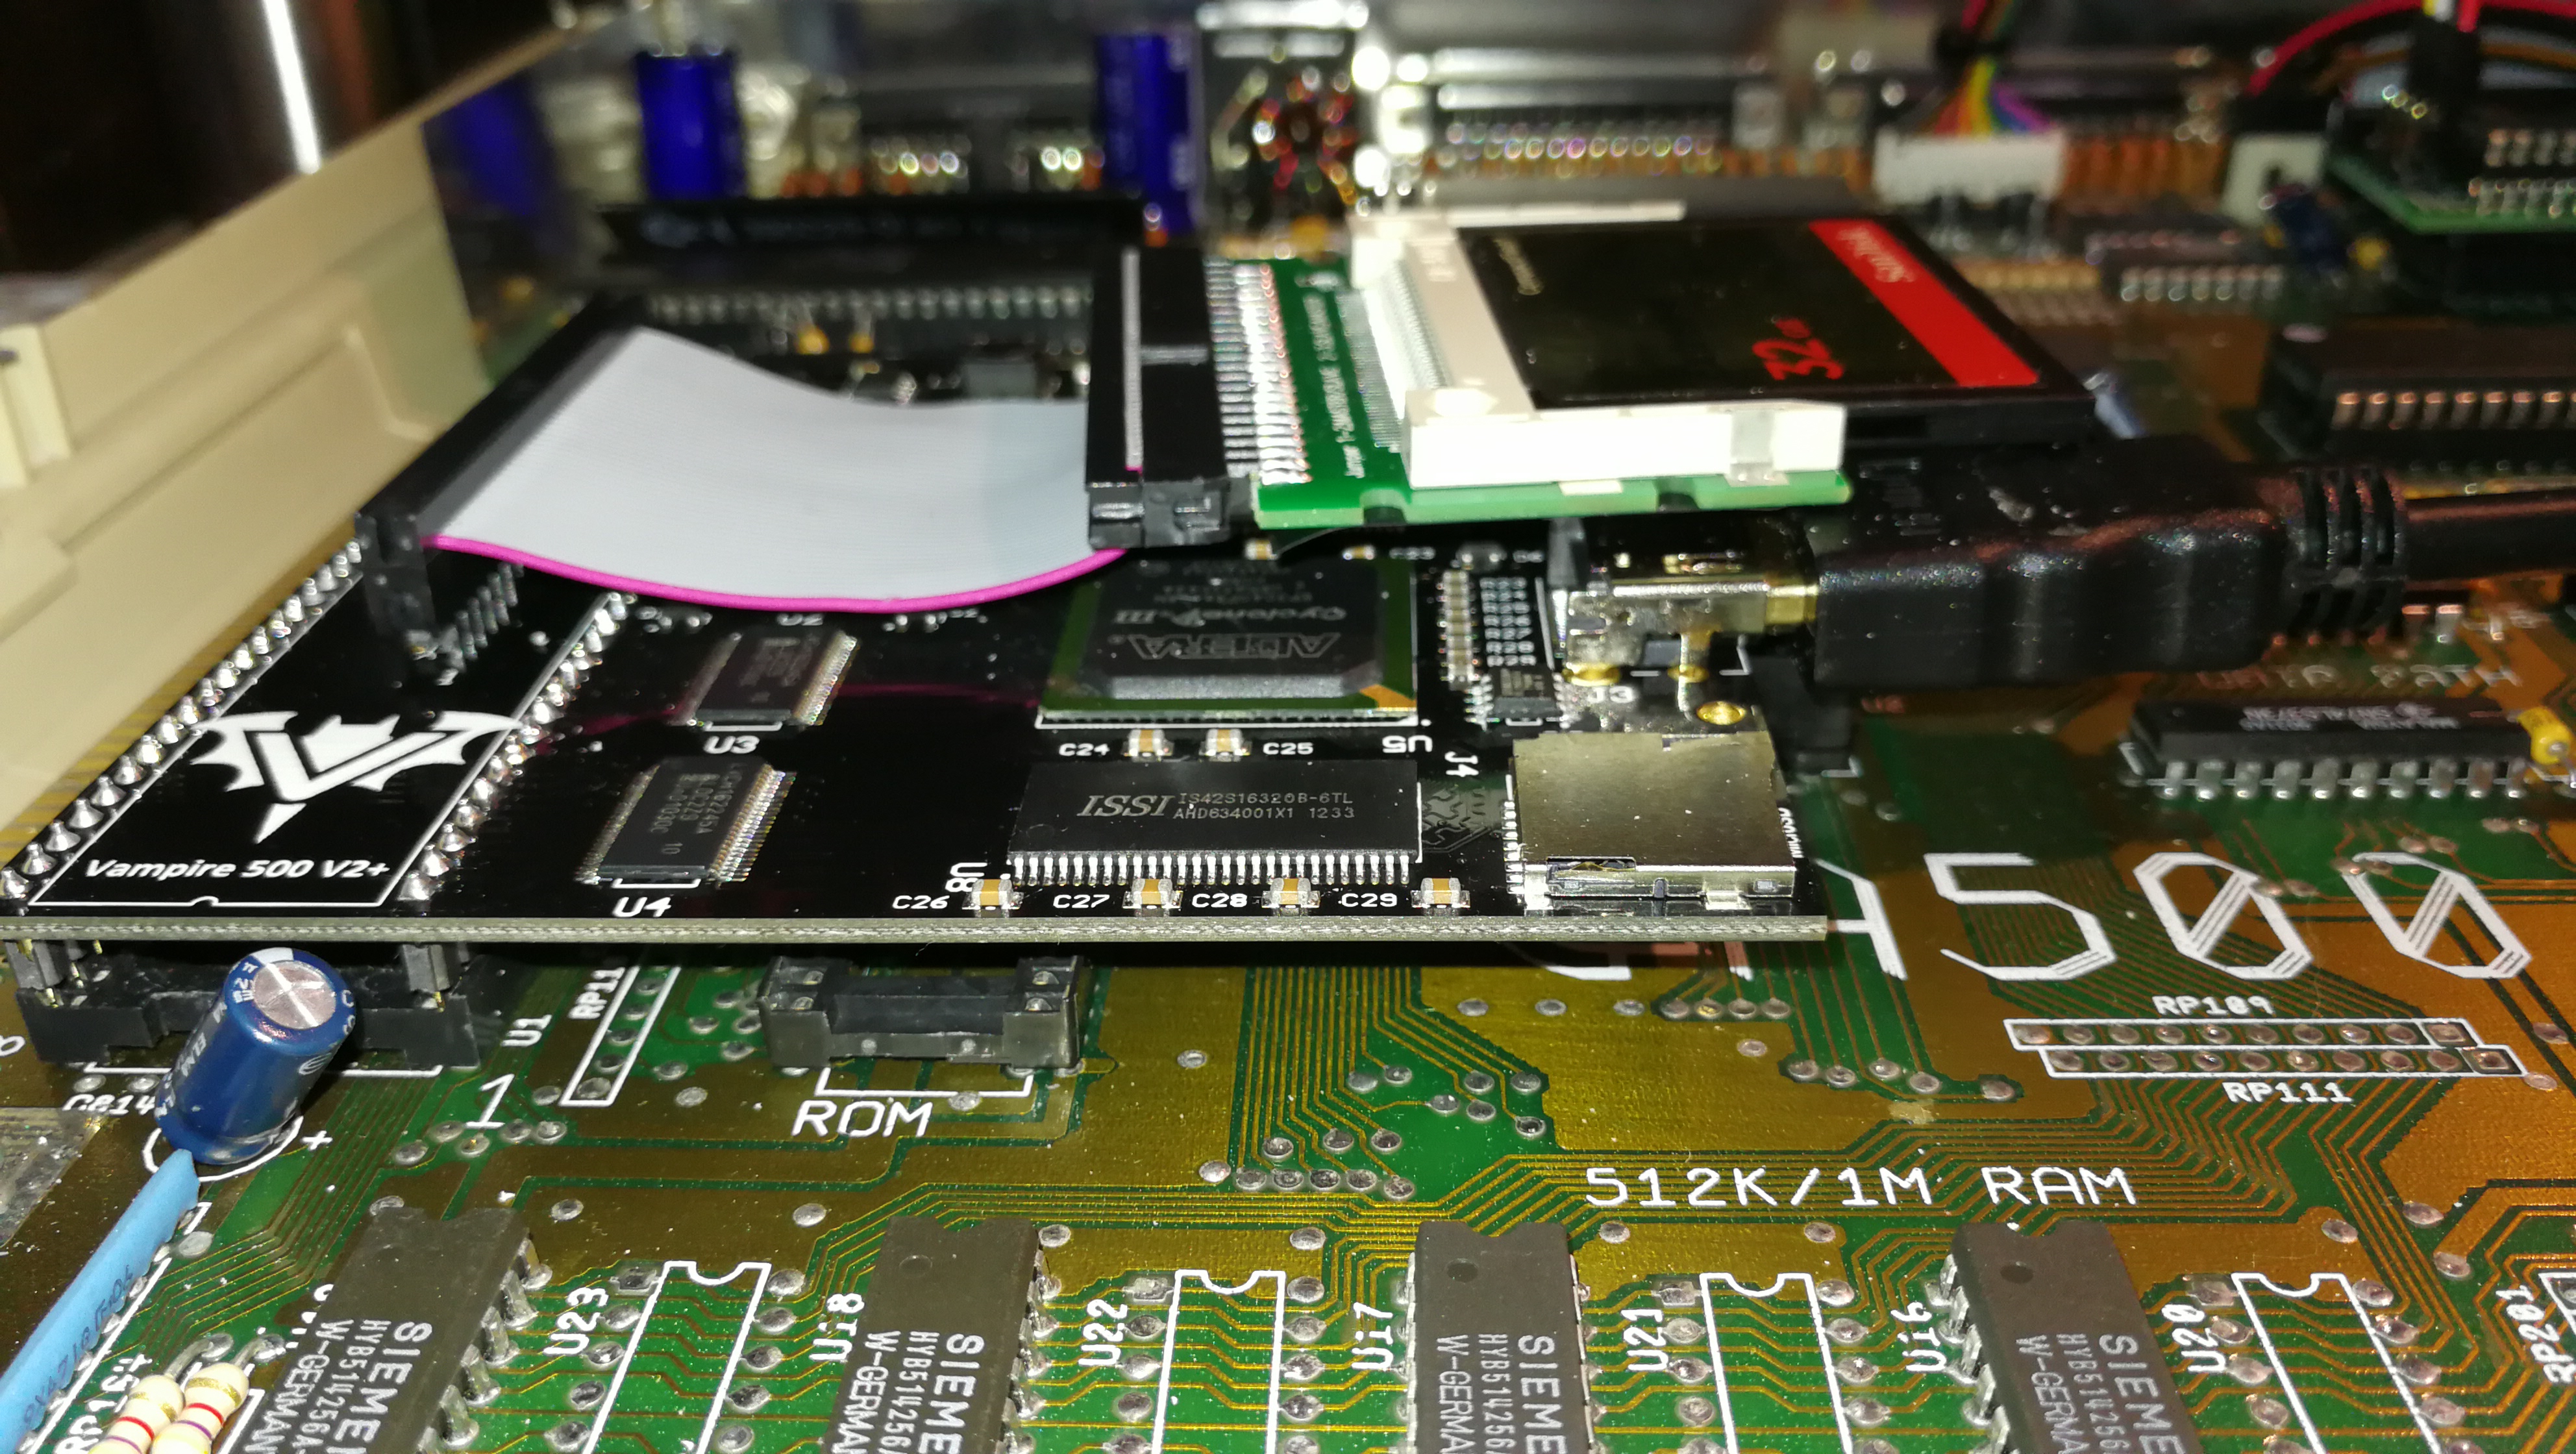
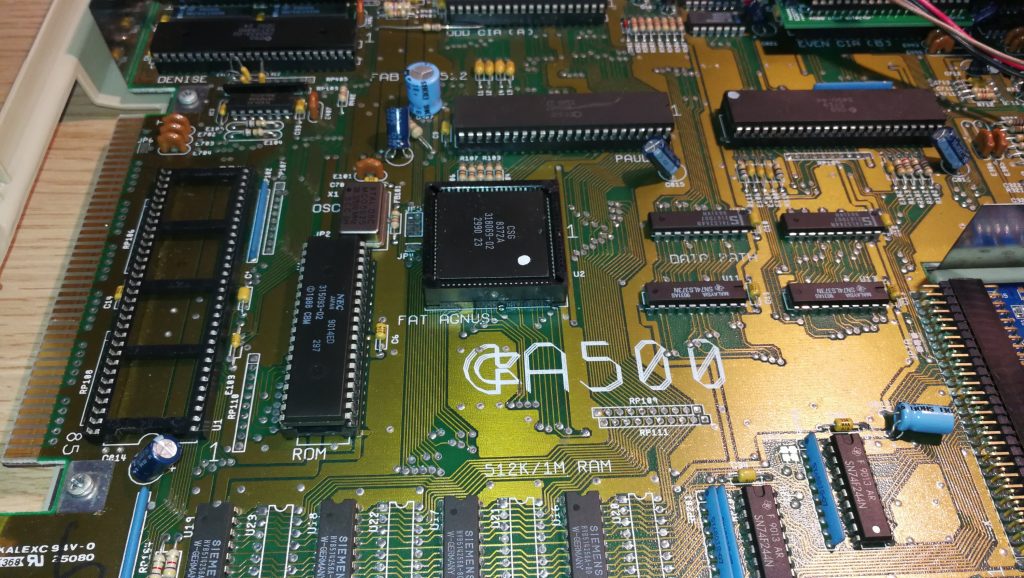
With the arrival of the weekend it was the perfect time to give my A500 the Vampire V500 V2 treatment!
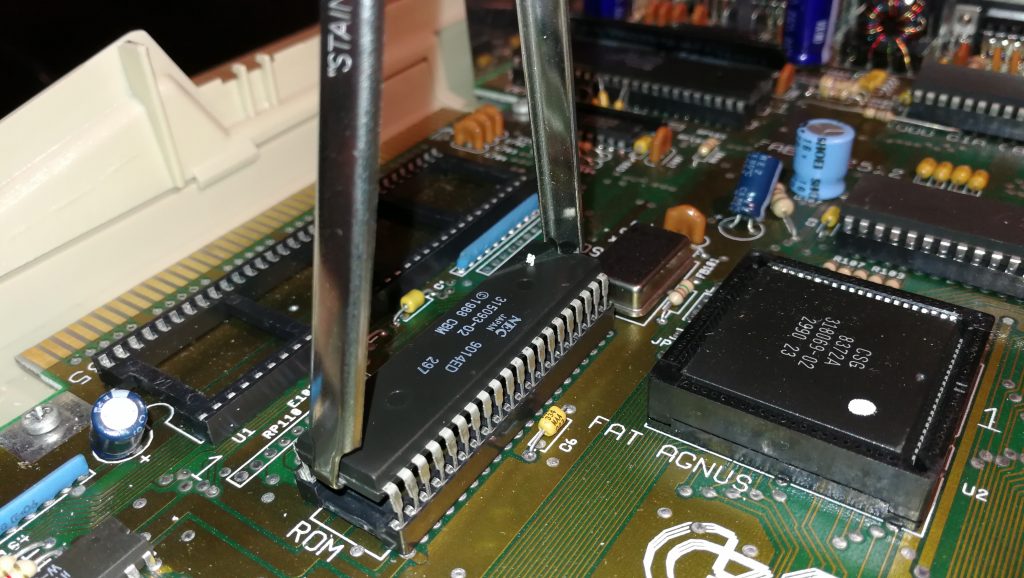
Getting started – removing chips
First off I needed to remove the original Motorola 68000 CPU and the Kickstart chip.
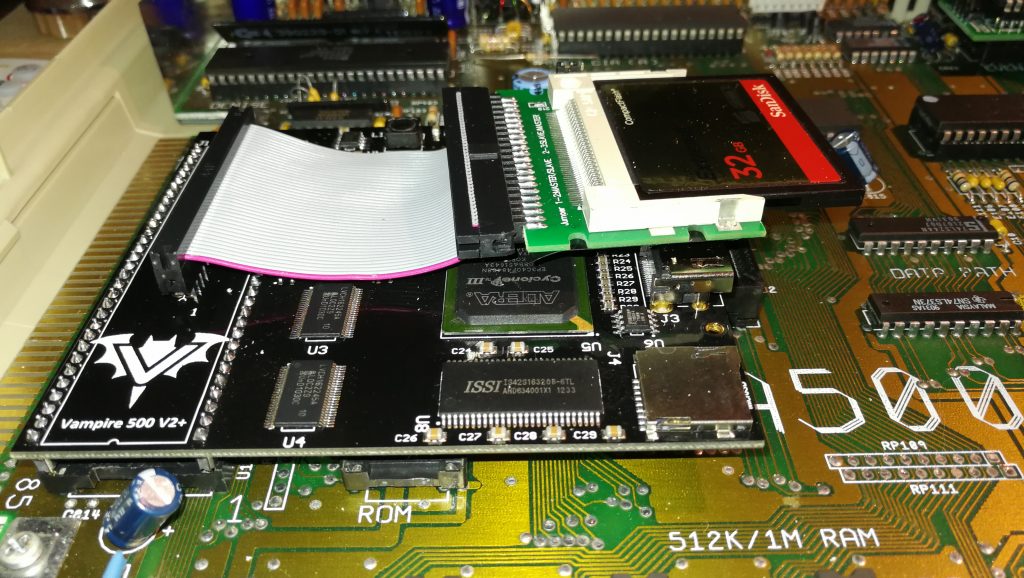
Installing the card
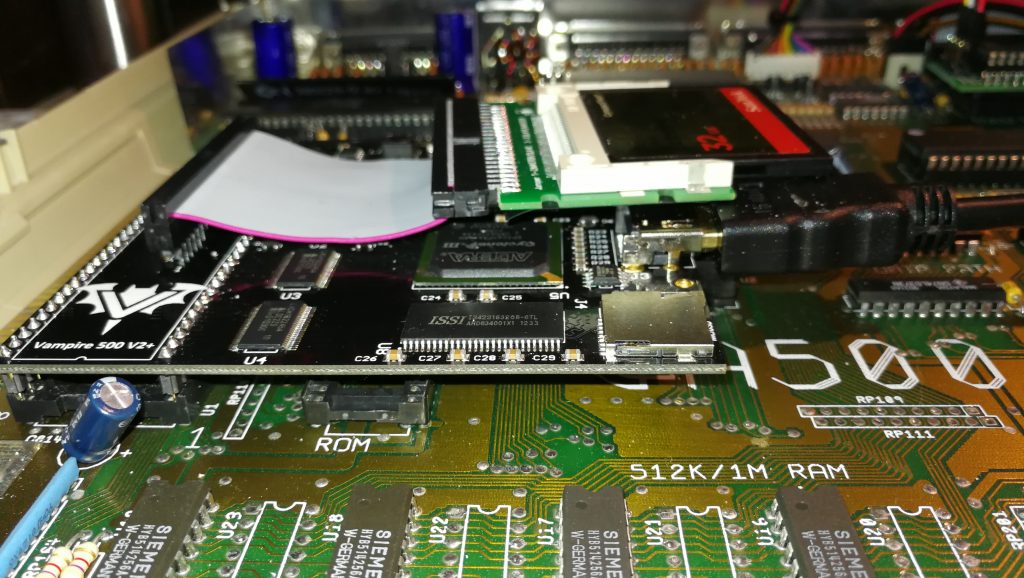
The next step involved carefully inserting the Vampire board connector pins into the empty CPU socket. This actually took a hell of a lot more force than I thought it would. I’ll admit I was scared of damaging the CPU socket or the motherboard itself with the amount of pressure I had to exert. Anyway it eventually slotted in all the way and no harm was done. Please do make sure you remove both the CPU AND the Kickstart chip though – this wasn’t mentioned in my instructions (but they’ve been updated since I got mine to mention this). If you don’t remove the Kickstart chip then the Vampire board won’t sit flat and the CPU connections may be unreliable. Thanks to Igor Majstorovic for taking the time out to let me know about this!
Cables & CF Card setup
The next step was to hook up an HDMI cable to the socket on the board and fit a Compact Flash ‘hard drive’ to the Vampire’s 44 pin IDE header. I opted for a 32Gb CF card as this is the size of the Apollo OS (Coffin) image. (This is a pre-configured Workbench 3.9 system that you can download and use with your Vampirised A500.
Imaging the card was simply a matter of downloading the Apollo OS image from here and using Win32 Disk Imager in Windows 10 to write that image to my Compact Flash card.
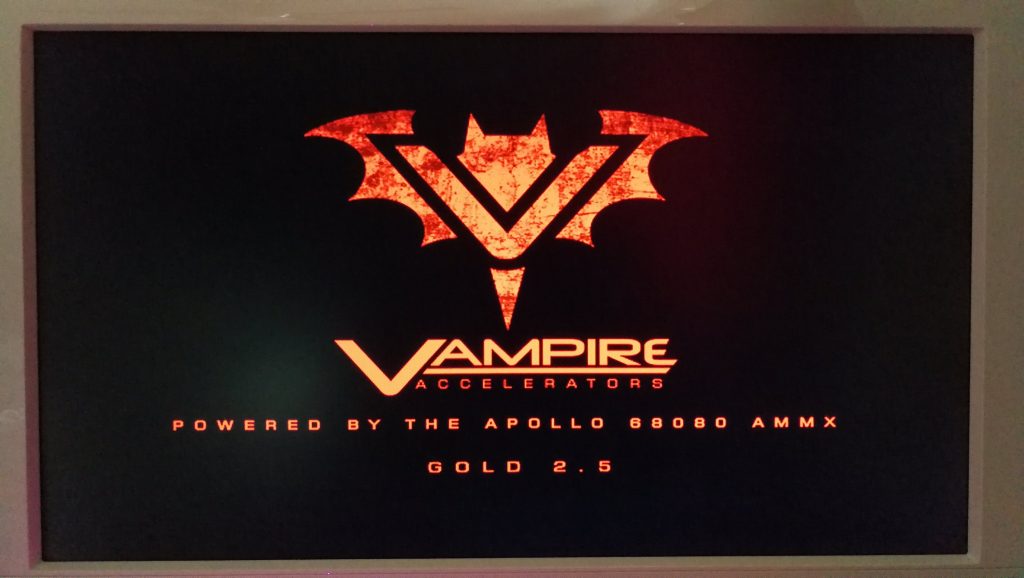
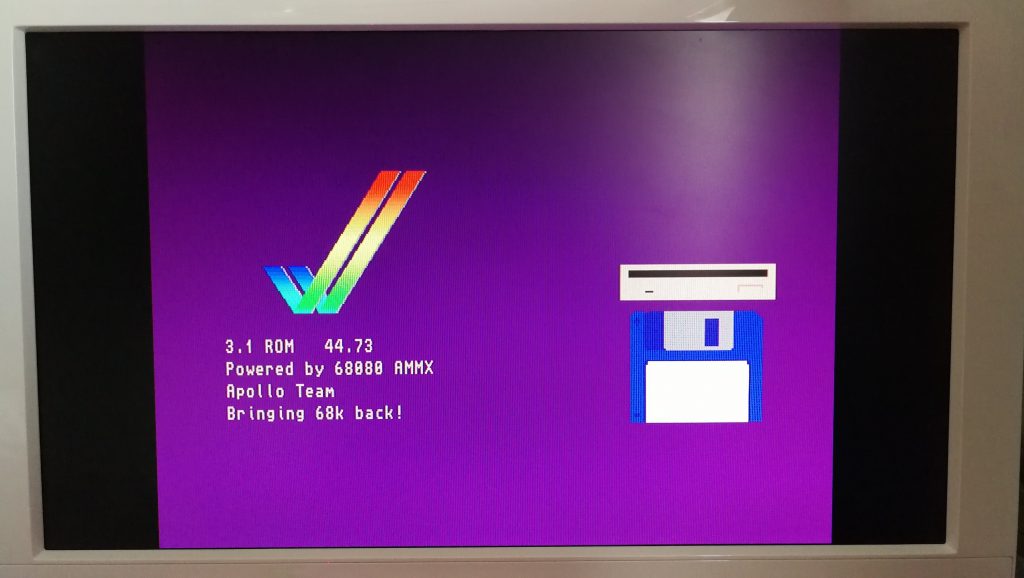
For once in my life everything went as it should and when I powered up my Amiga 500 it worked! As Hannibal would say; ‘I love it when a plan comes together!’ I was greeted with a really cool Vampire logo boot screen after which the Workbench loaded just a few seconds later.
Discover more from Lyonsden Blog
Subscribe to get the latest posts sent to your email.


