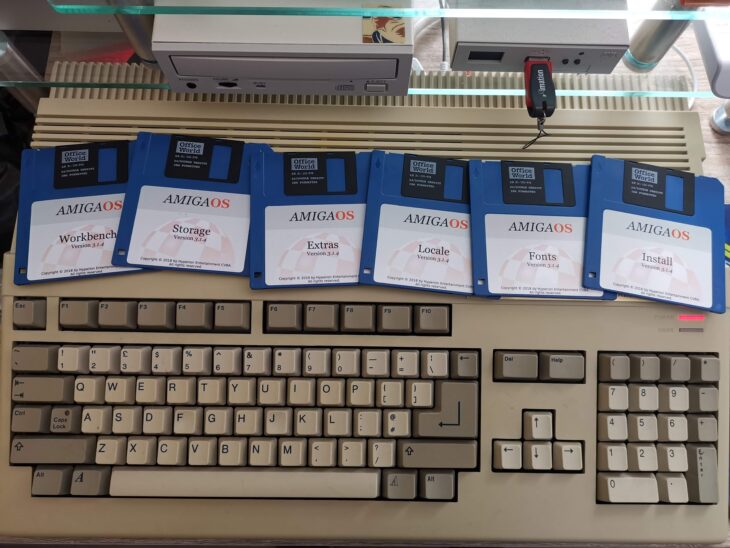
Having created the physical floppy disks in Part 1, installed the 8GB CF card and ROMs in Part 2 and partitioned the CF card in Part 3 it is now time to look at installing Workbench 3.1.4.
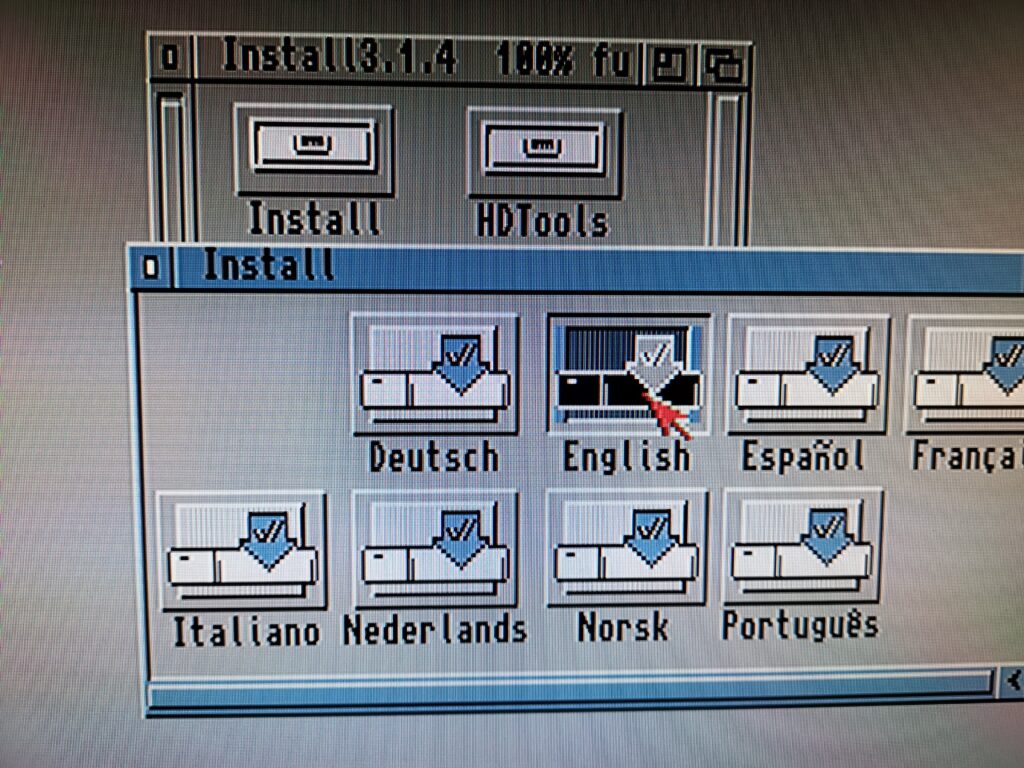
The first thing to do is boot up the Amiga using the 3.1.4 ‘Install’ disk. Once the desktop has loaded open the Install disk and look inside the ‘Install’ directory. There will be a bunch of different language installers so run the one that you need, which for me was the English one.
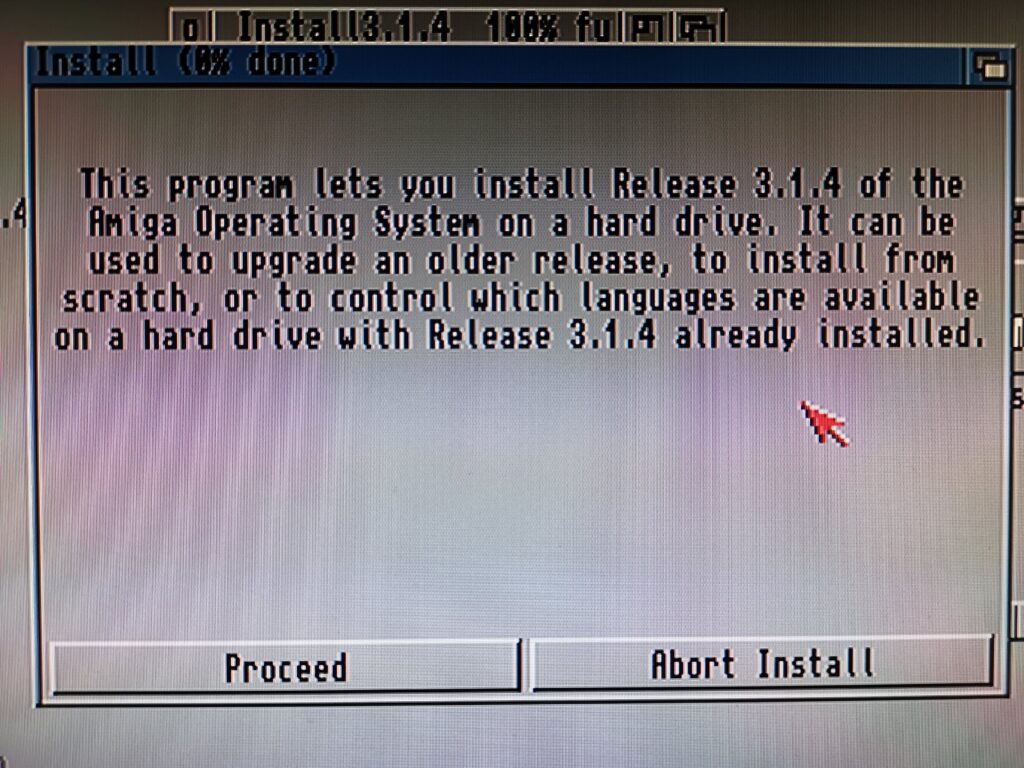
This will load up the Installer and give you a little introduction about what it will do. Click ‘Proceed’ to begin.
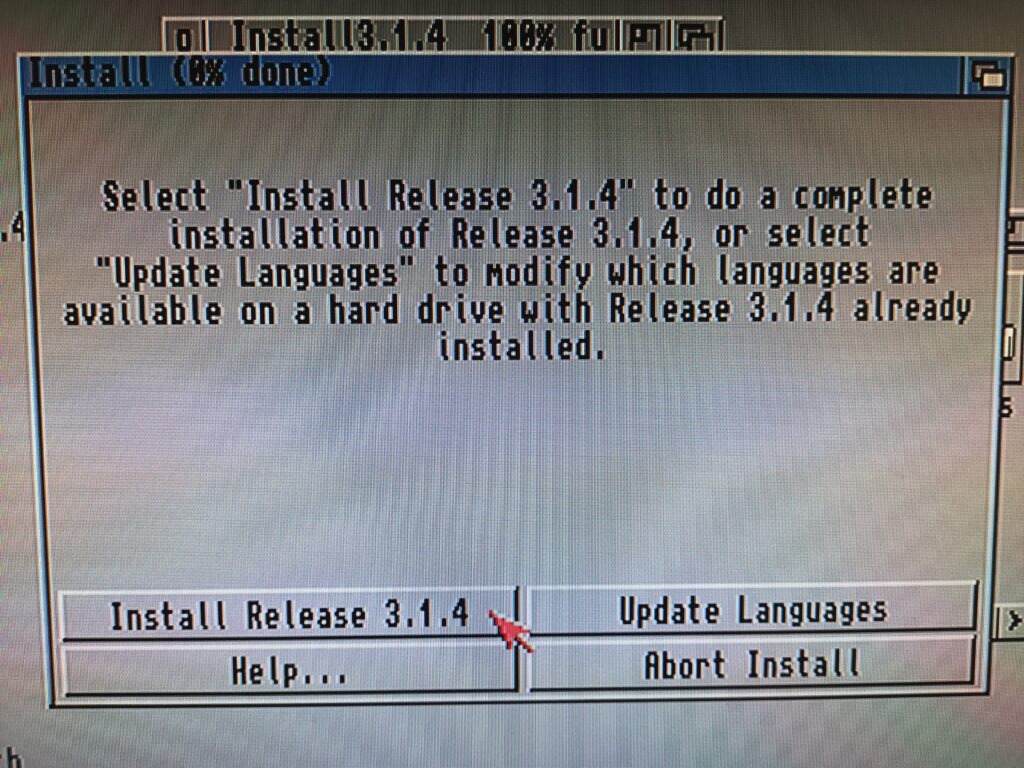
Now you will be presented with another window that will allow you to add additional languages to an existing install. As this is a clean install just click on ‘Install Release 3.1.4’.
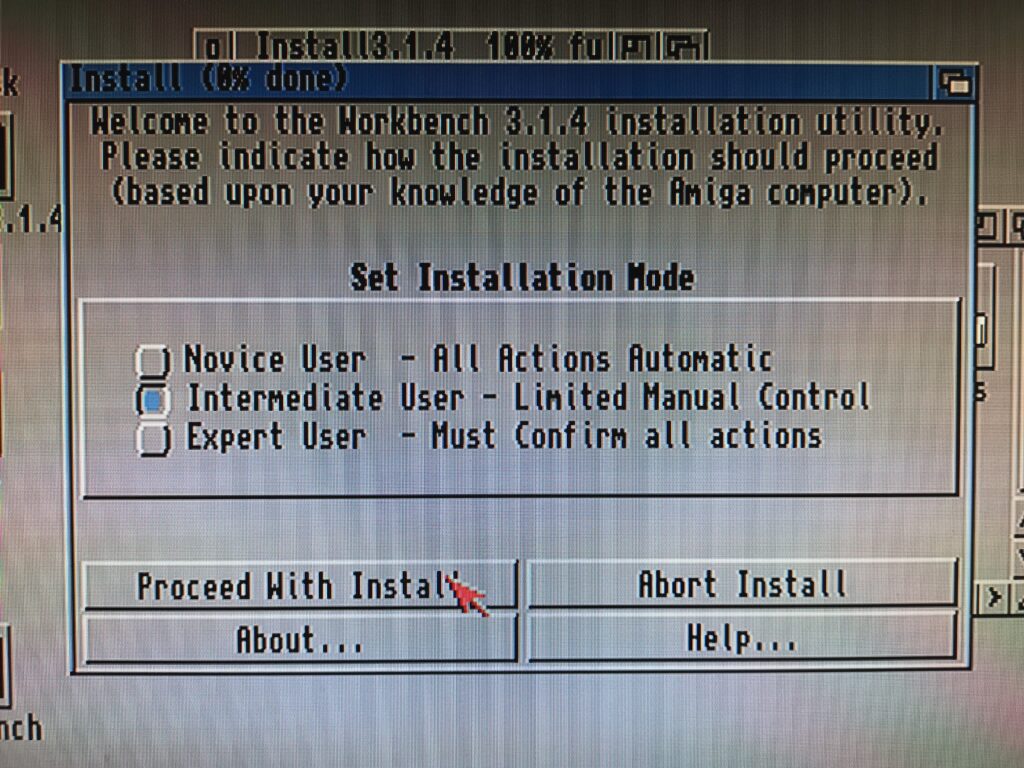
Next you need to choose the installation mode – I chose Intermediate.
Installation Mode?
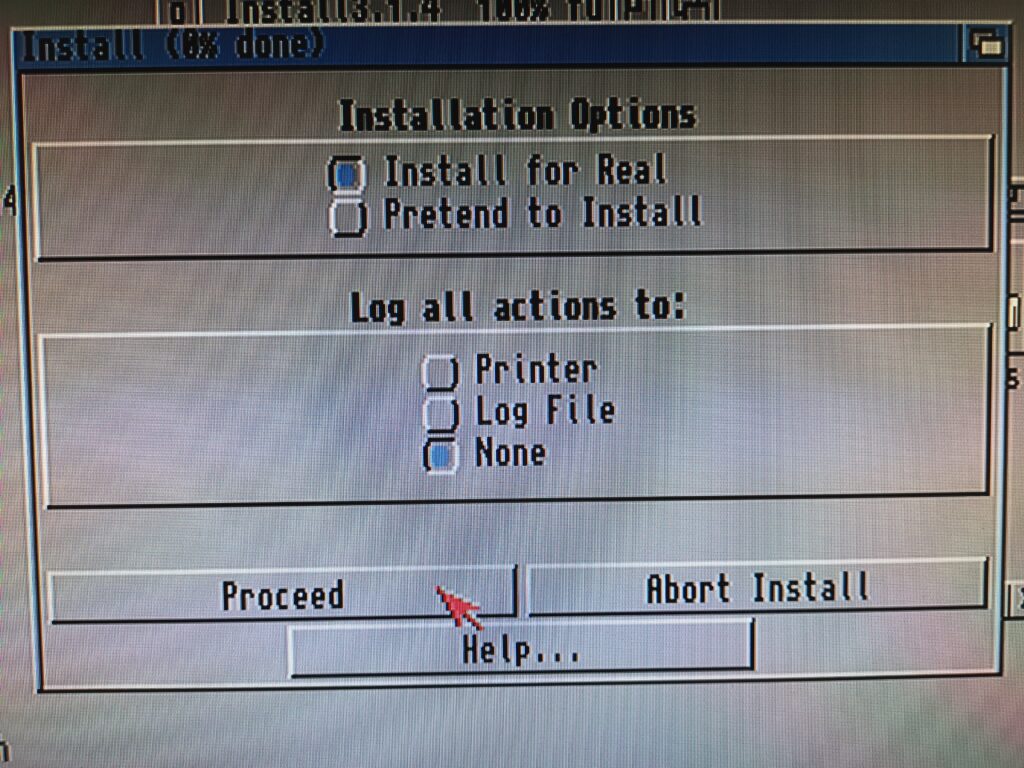
After selecting either Novice, Intermediate or Export User and then ‘Proceed with Install’ you are presented with the Installation Options screen. Here you can choose to ‘Install for Real’ or ‘Pretend to Install’. I believe this could well be unique to the Amiga? I certainly don’t recall ever having the option to do a pretend install on any other system. It can be useful to perform a pretend install on occasions as it lets you discover any potential issues and gives you a chance to fix them before committing to the actual install. However as this is a clean install we’re going to select ‘Install for Real’ and then boldly hit that ‘Proceed’ button.
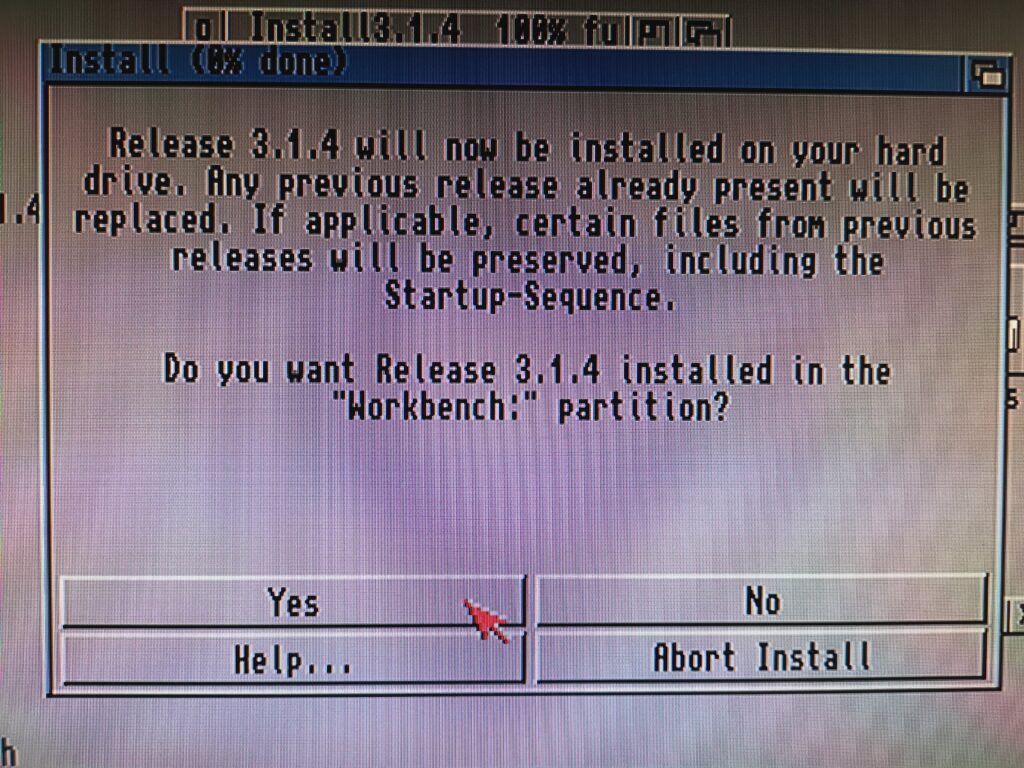
You should see a brief message about ‘Release 3.1.4’ being installed on the Workbench partition. This is because it has detected it is the first bootable partition – if you gave yours a different name back in Part 3 then it will be shown here.
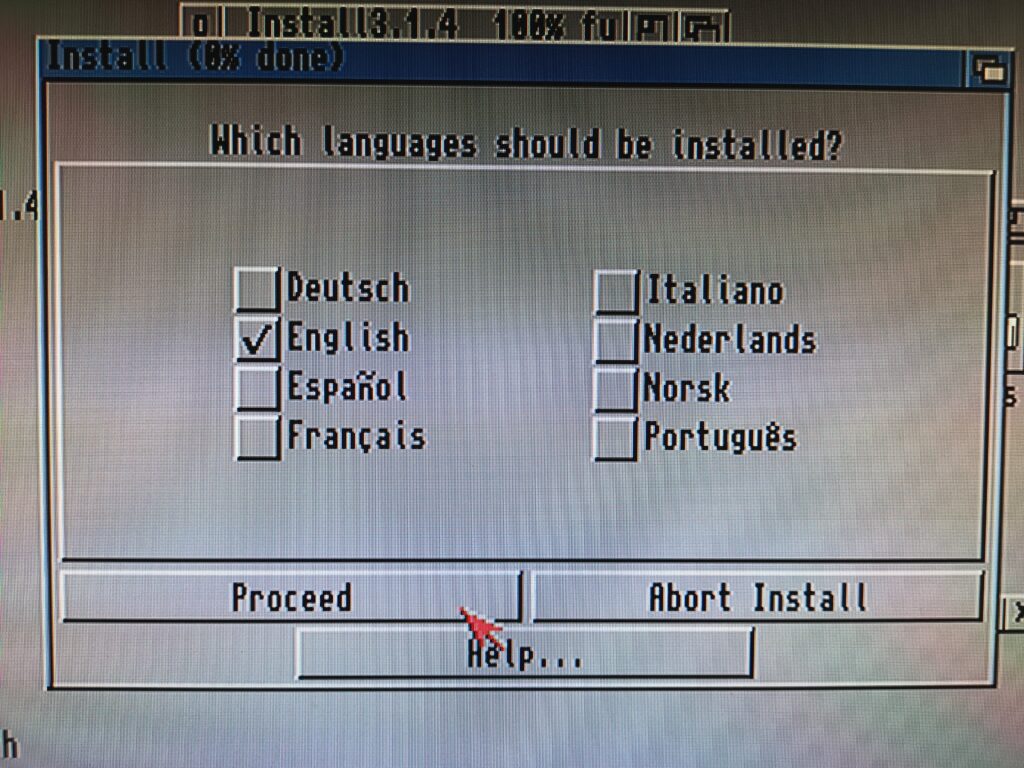
Click the ‘Yes’ button to begin the installation and then choose which language(s) you want installing on the next screen. For my install I just wanted English so just left that option ticked.
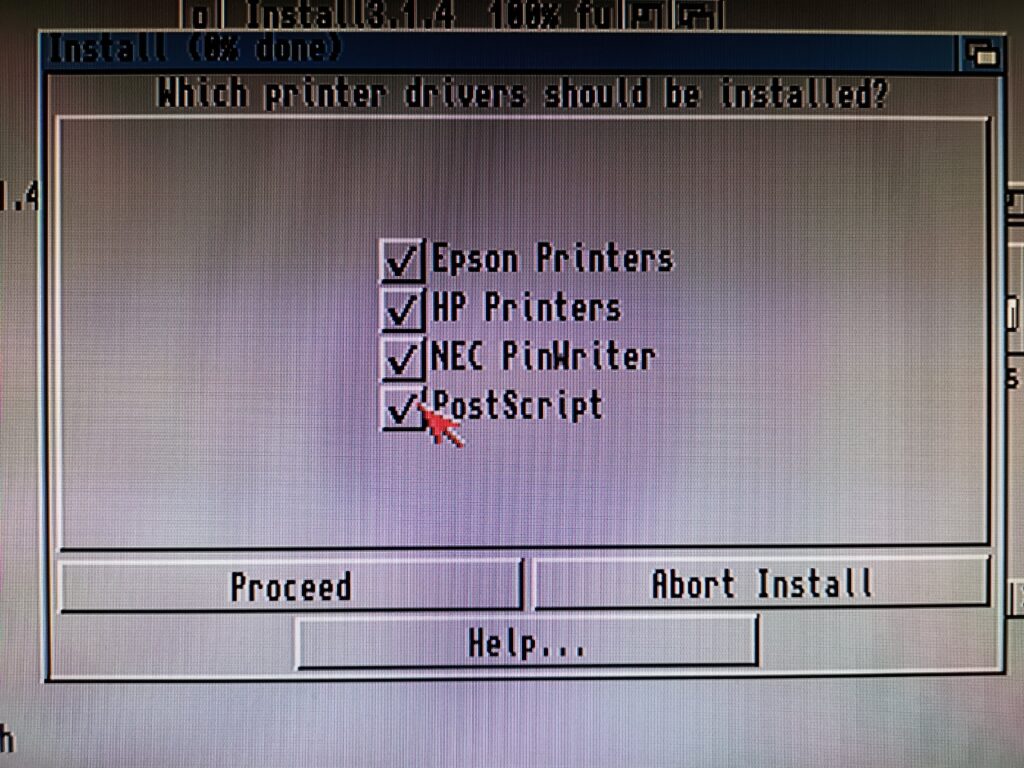
Next you need to select what printer drivers you want. I selected them all because space is not an issue and you never know what you might want to hook up to your Amiga in the future.
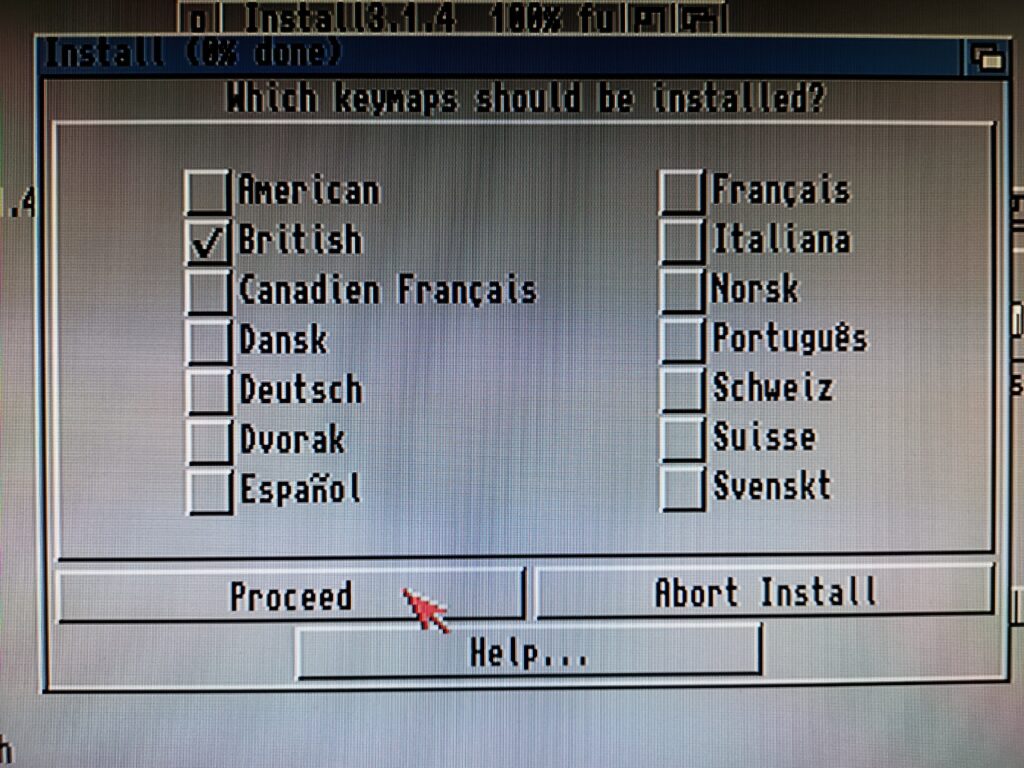
Another decision needs to be made on the next screen about which keymaps are required. Or in other words what language setting do you want for your keyboard. In my case as I live in the UK I chose a British layout before clicking ‘Proceed’.
Let the Disk swapping commence!
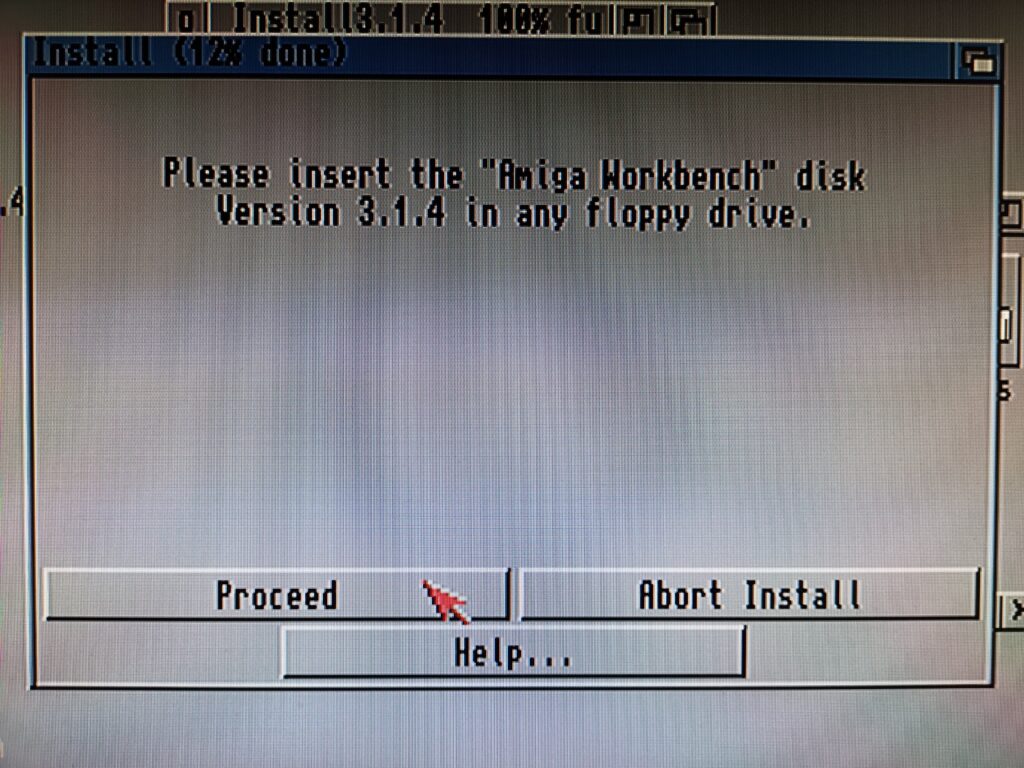
After a few moments you will be asked to insert the Workbench disk. There should be no need to click proceed, your Amiga should detect the presence of the swapped disk and continue automatically.
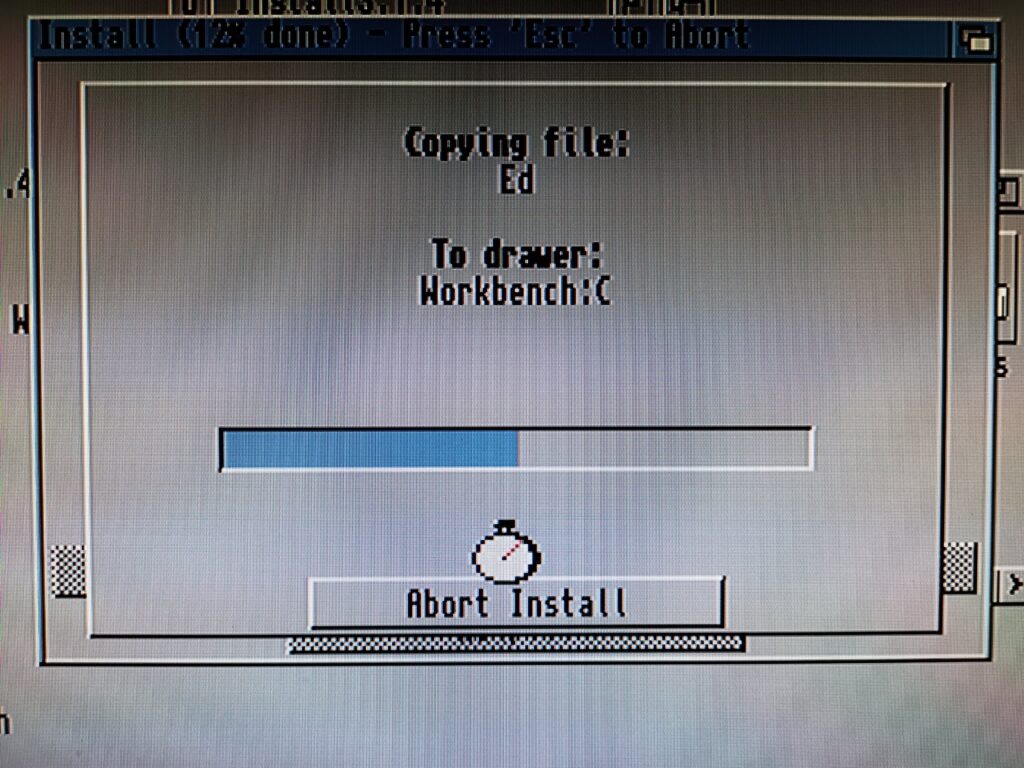
A bunch of files will be copied across to your new System drive.
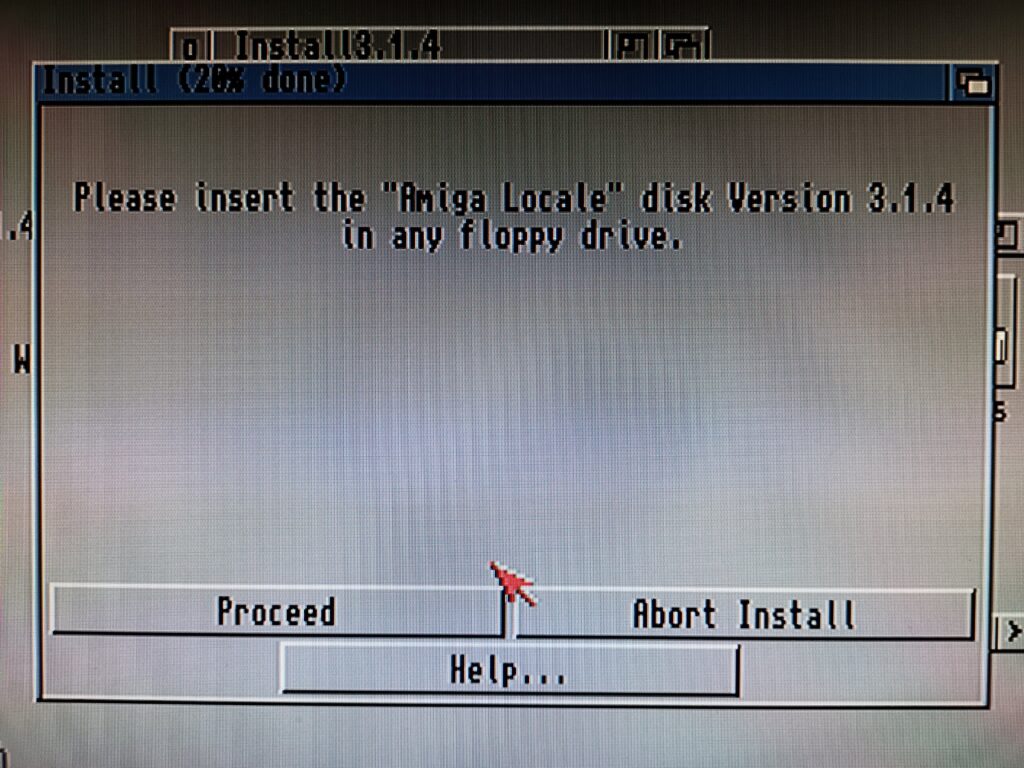
And then you will be asked to insert the Locale disk.
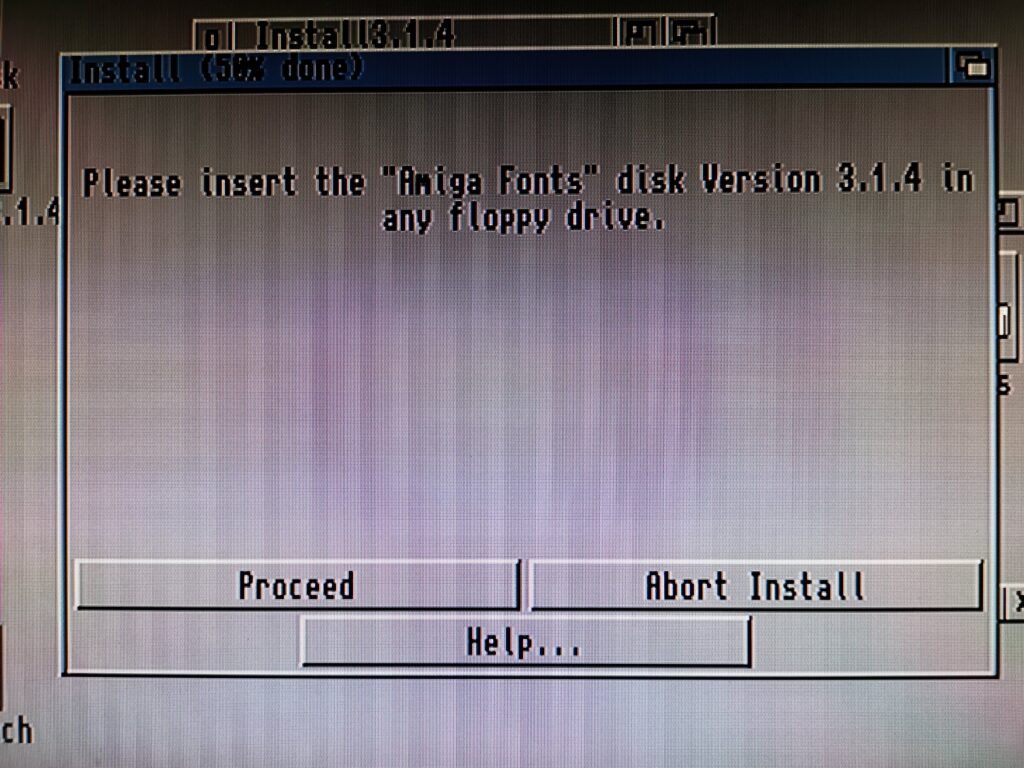
Which will copy more files across… before asking for the next disk – Fonts.
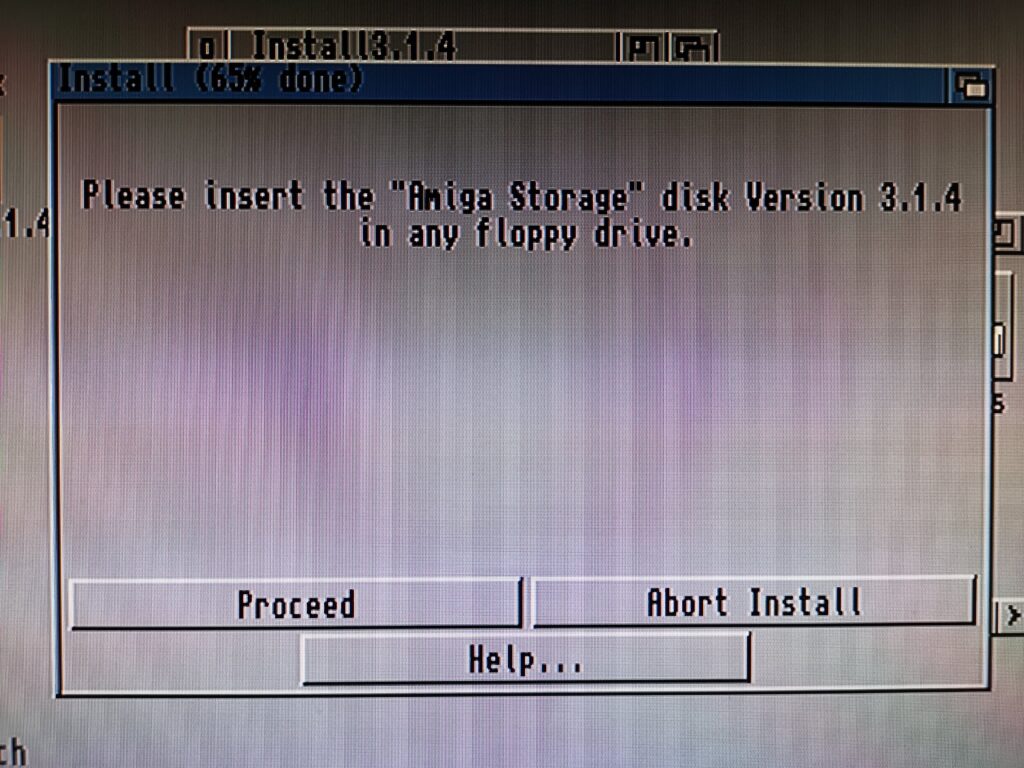
Then the Storage disk…
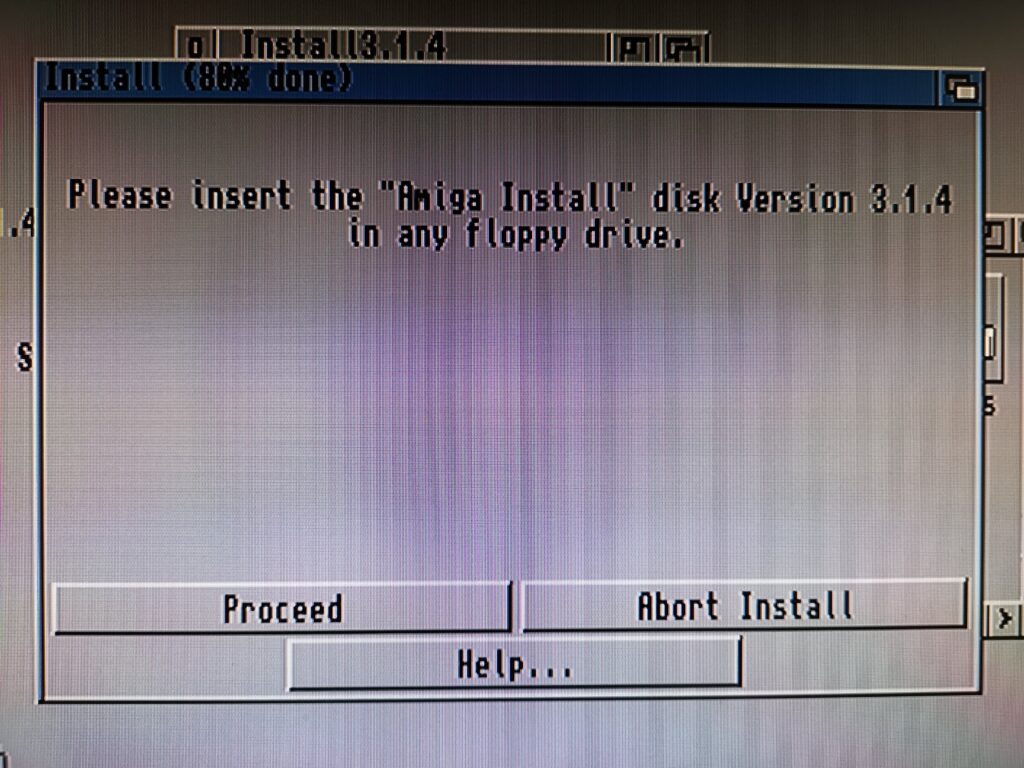
And then finally it will ask you to re-insert the Install disk.
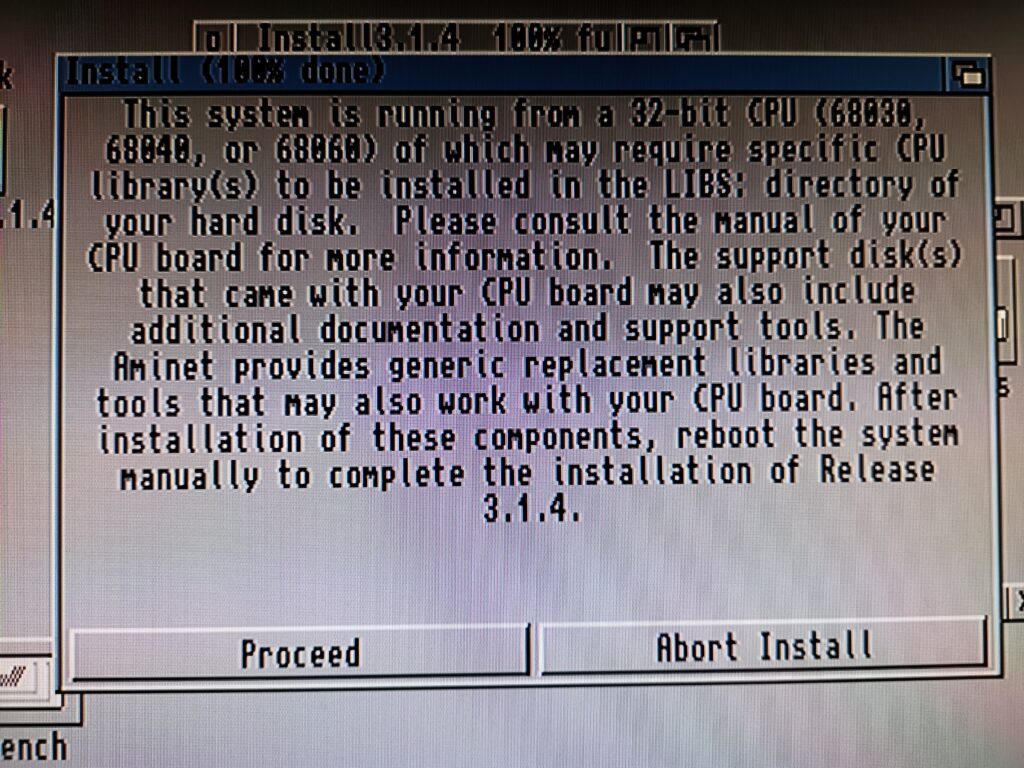
Now at this point I was faced with the following warning as I had an accelerator installed with a 68030 CPU. I was able to click ‘Proceed’ and carry on but a version of this warning would pop up every single time I booted up my Amiga until I sorted it. Click here and then head down to the bottom of the page for information on how to resolve this issue.
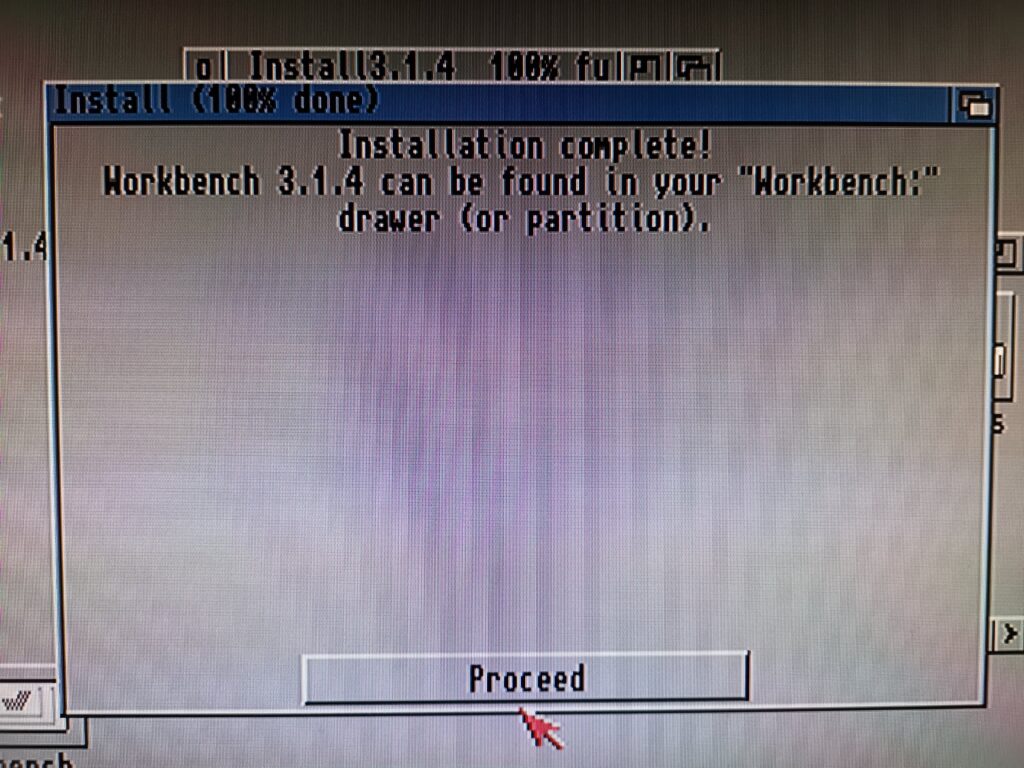
And that should be your Worbench 3.1.4 install complete!
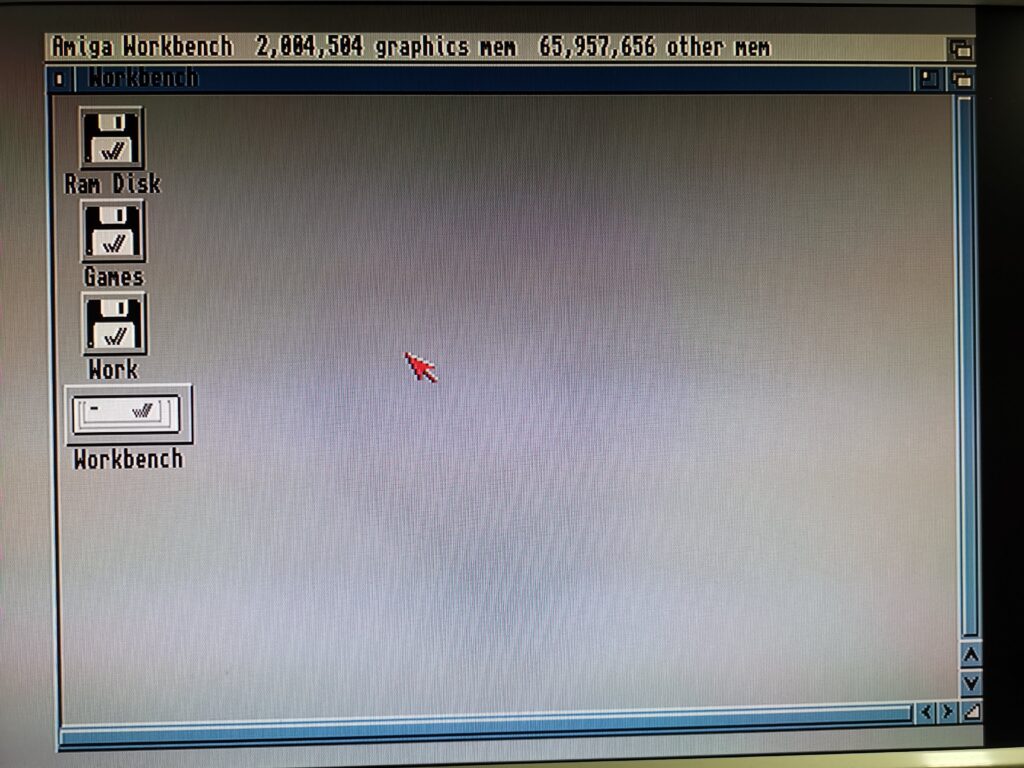
Remove the floppy disk from your Amigas drive and reboot it. If all has gone to plan your Amiga should silently boot into Workbench 3.1.4 looking a lot like the photo below with all your partitions visible on the desktop.
And that concludes Part 4 of my Amiga OS 3.1.4 installation guide – Installing Workbench.
Now we could leave it here, after all we now have a fully operational installation of Workbench 3.1.4 on our Amiga. However there are a few more things we can do to tweak and improve the install and I will cover these in Part 5.
Discover more from Lyonsden Blog
Subscribe to get the latest posts sent to your email.


