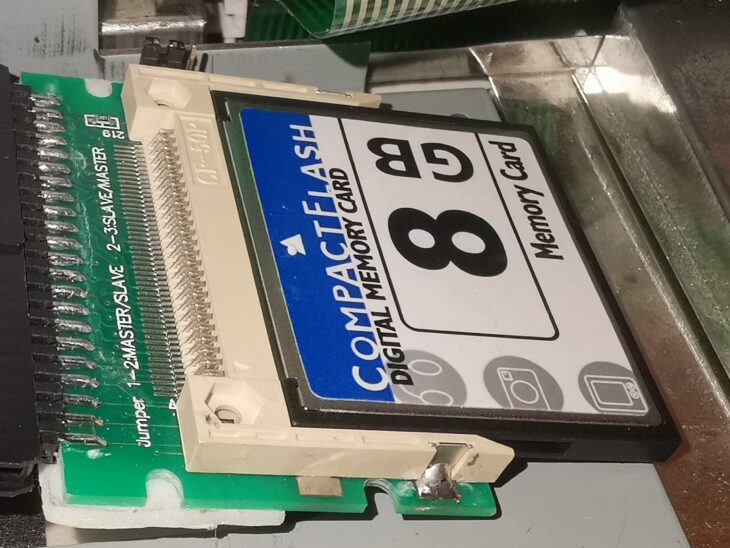
Having created the physical floppy disks in Part 1 and installed the 8GB CF card and ROMs in Part 2 it is now time to set about partitioning and formatting the compact flash card so we can install Workbench 3.1.4 on it (in Part 4).
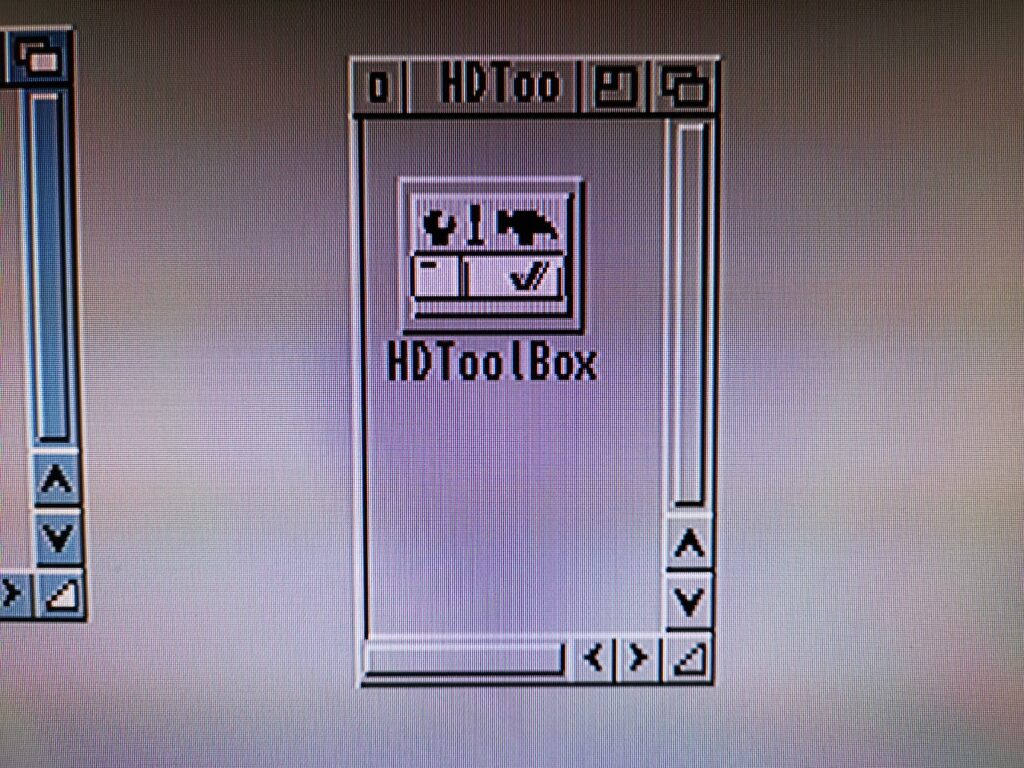
To start the process of partitioning a compact flash card I booted my Amiga off the 3.1.4 Install disk. Once it booted I ran the HDToolBox program found inside the ‘HDTools’ directory.
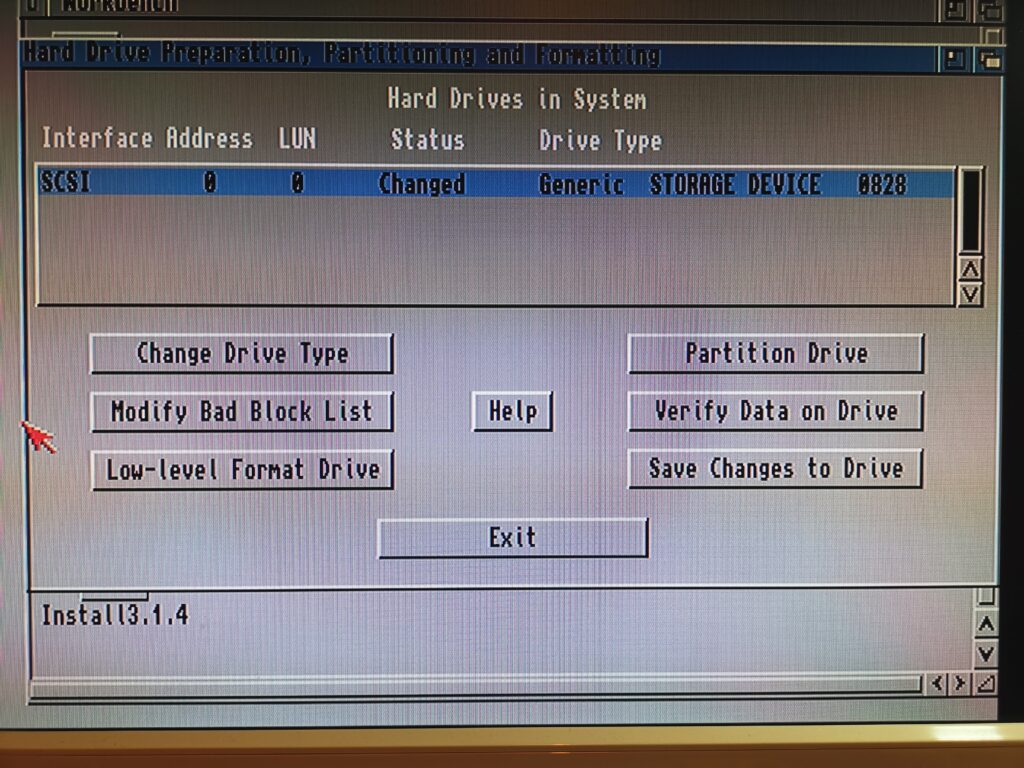
This brings up the window below where you can see all of your installed hard drives. Mine is listed as a SCSI unit which is normal as this is how the Amiga sees the internal IDE controller.
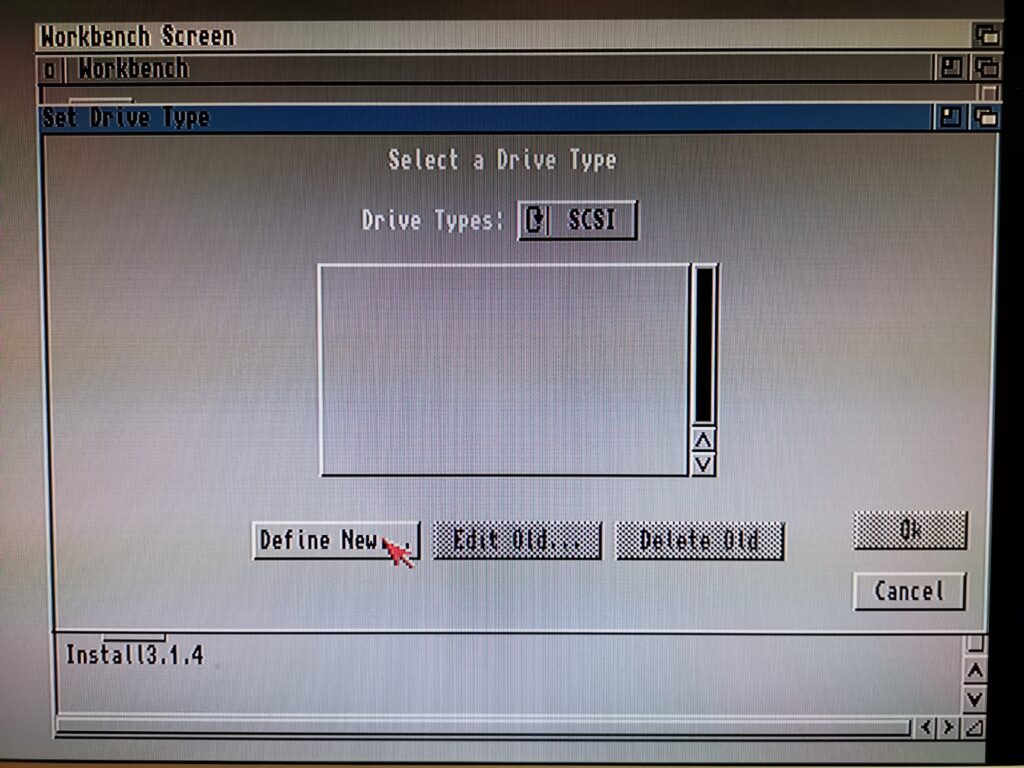
Clicking on ‘Change Drive Type’ brings up the window below. As this is a new CF card there is nothing on it yet so you must click on ‘Define New’.
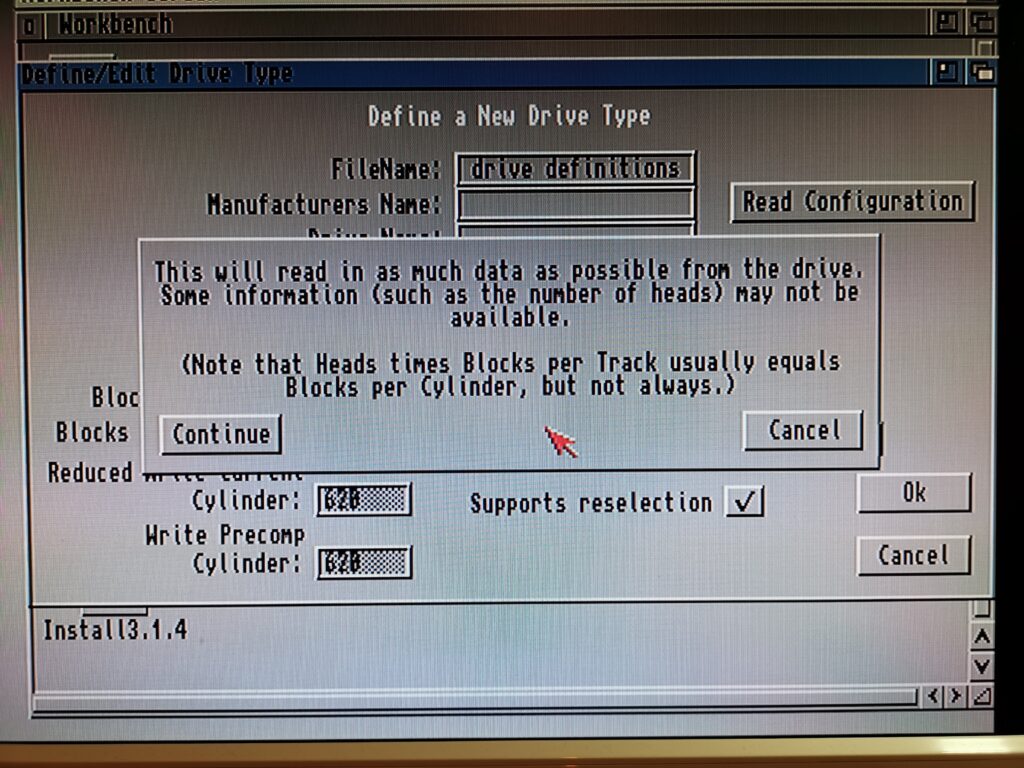
Which brings up the the ‘Define a New Drive Type’ screen. You need to click ‘Read Configuration’ at this point which will bring up another message. Simply click ‘continue’ to move on here.
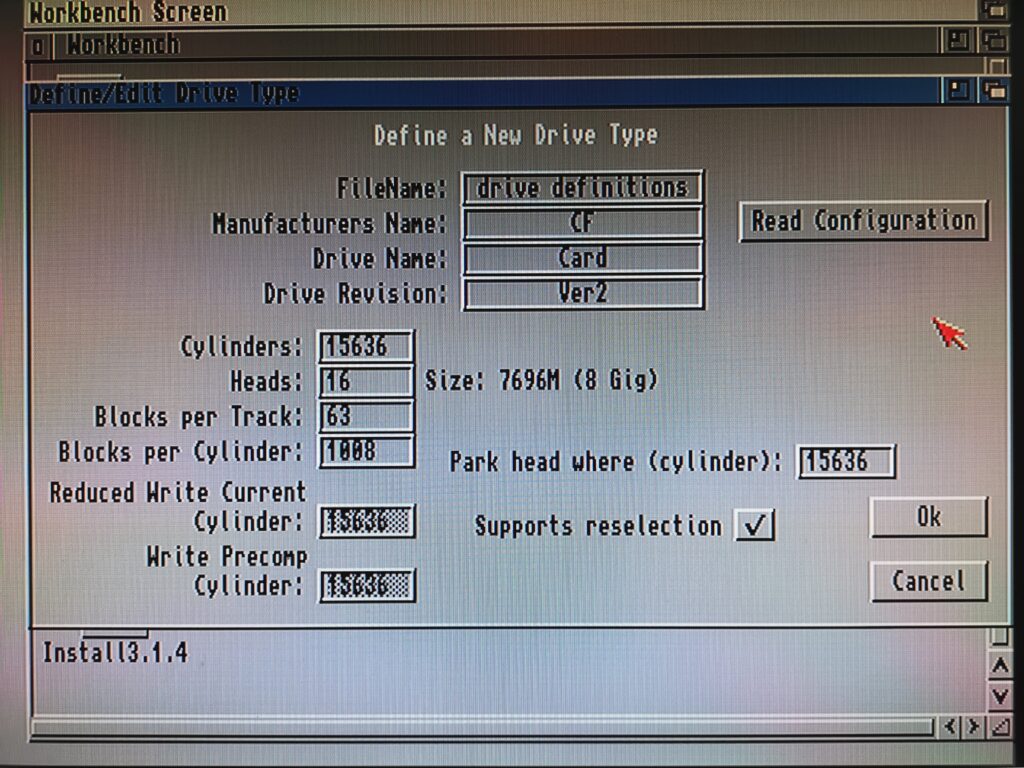
The software will then take a moment to scan the CF and identify the size and parameters needed to access it. After the scan has completed it will display this info in the window as seen below.
Now you can simply click ‘OK’ to get back to the ‘Drive Type’ window and then click ‘OK’ once more. At this point you will be warned ‘Are you sure you want to change the drive type for the current drive?’ Clicking ‘Continue’ will return you to the main HDToolBox screen once more.
Now that HDToolbox knows the ins and outs of our CF card it is time to partition it into drives. Of course we could just make it one big 8Gb partition, after all Amiga OS 3.1.4 now natively supports large drives. However I always like to split mine into at least 2 partitions to keep things organised.
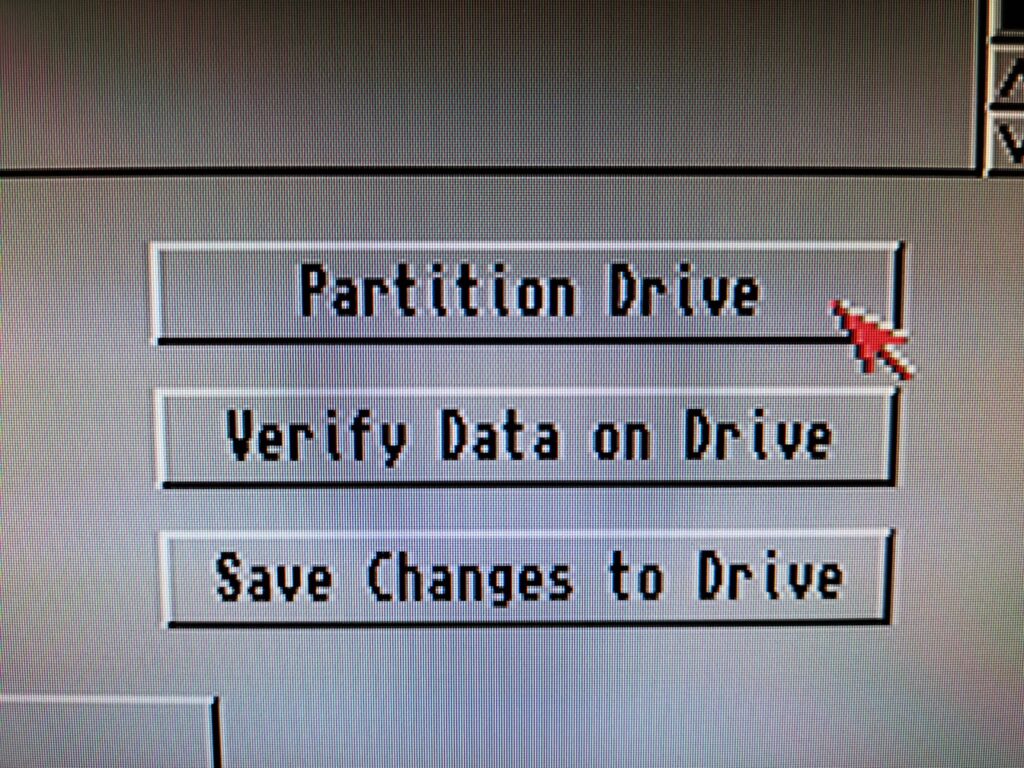
To start this process click on ‘Partition Drive’.
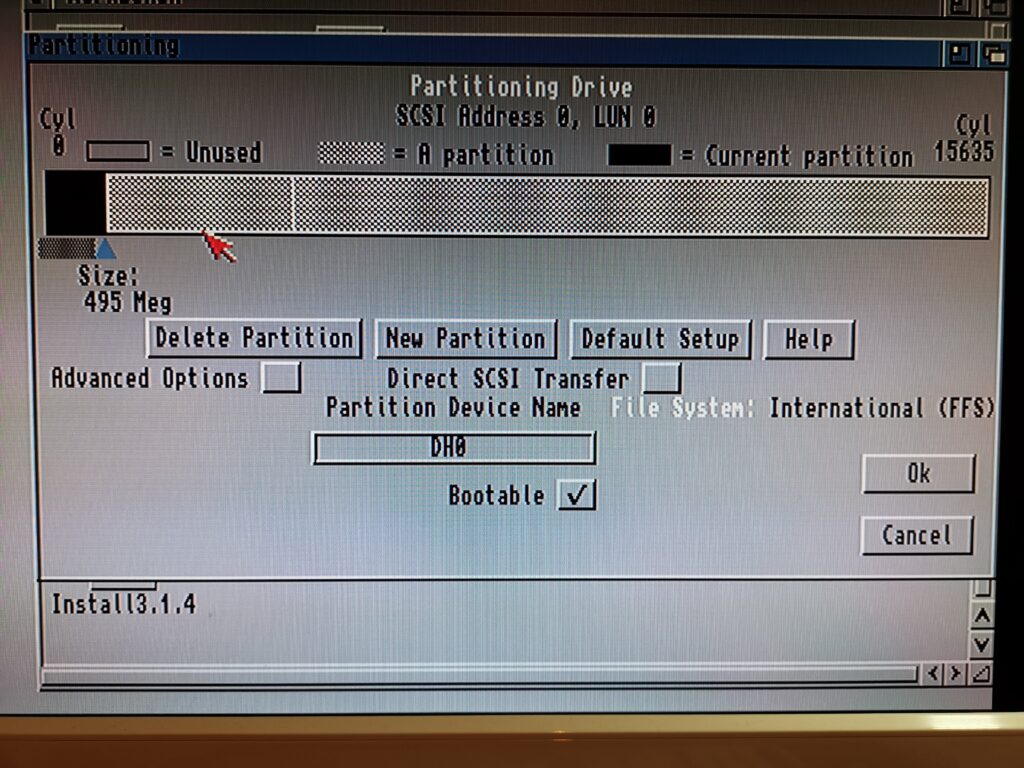
Which should bring up the partitioning window as shown below.
I chose to make my first partition 500MB, this will be my System/Workbench drive. To select the size you simply drag the little triangle pointer and slide it along the bar. It’s virtually impossible to size a partition exactly so just get it as close as you can.
You need to give the partition a name – I called it DH0. I also ticked the box to make it bootable as this is the first partition and will be the one the Amiga will boot off.
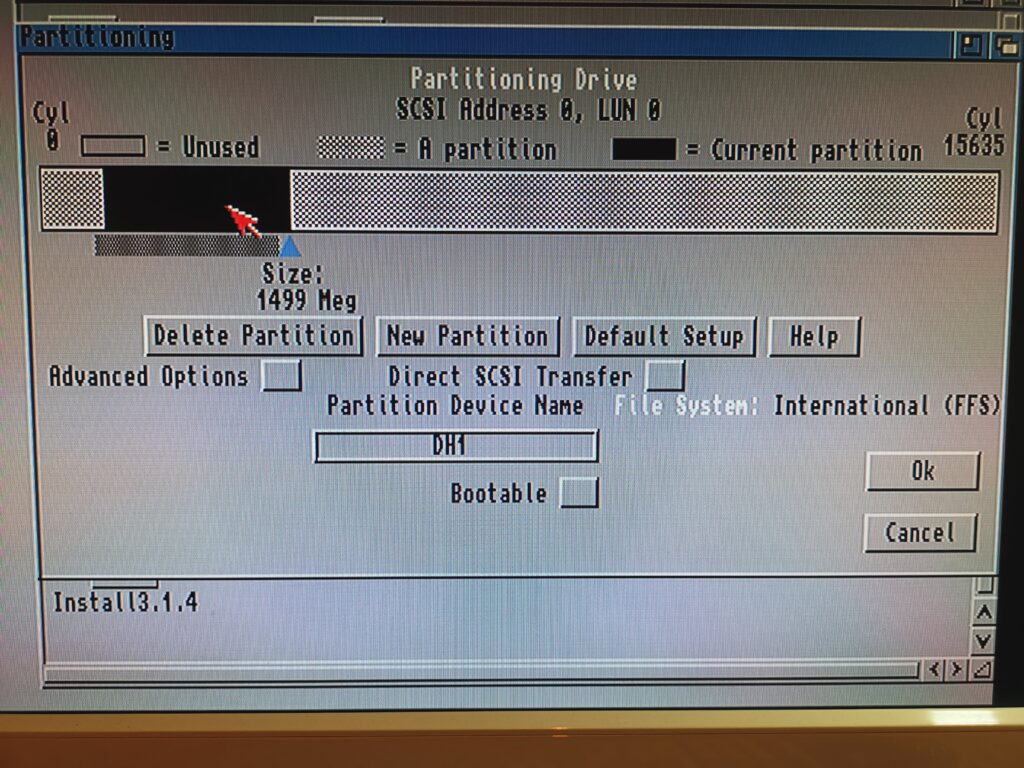
To create another partition you click ‘New Partition’. Don’t be tempted to click the ‘OK’ button until you have finished creating all your partitions. For my second partition I called it DH1 and made the size approximately 1.5GB. I will be using this to install applications and save documents to. I will probably keep a small selection of music on this drive too.
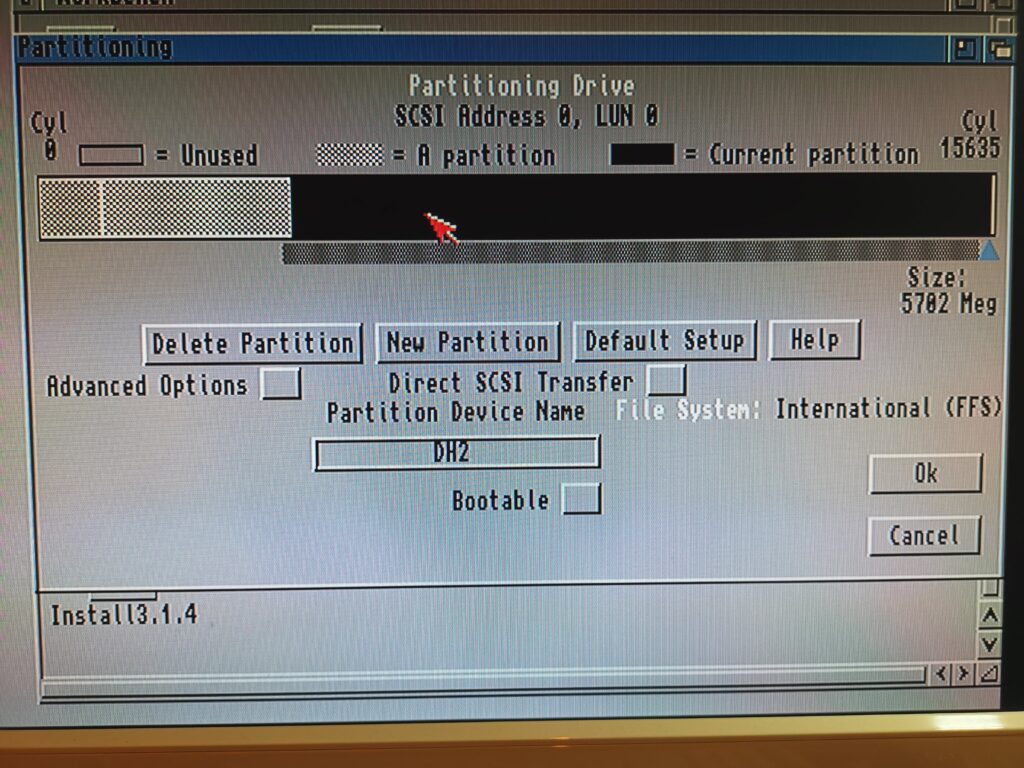
I left my biggest partition for last so it could use all of the remaining space on the card. This worked out at a little less than 6GB in total. I called this partition DH2 and this will be where I install WHDLoad games.
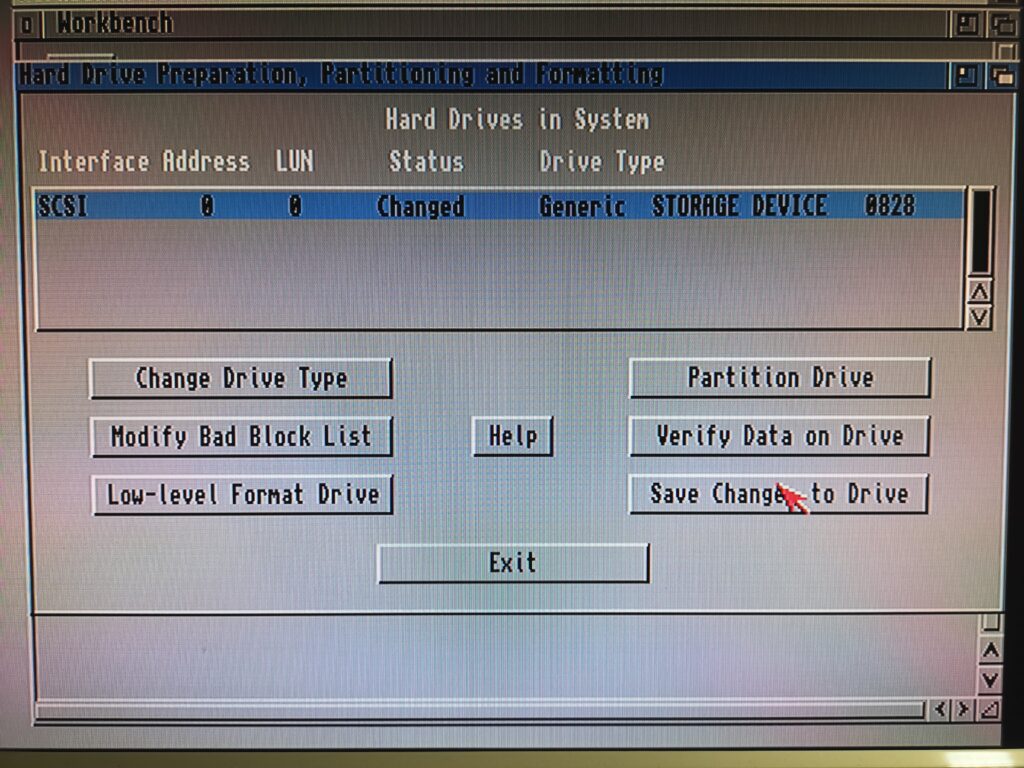
You can click each of your partitions in the bar to check their details. Once you are happy that they are all exactly the way you want them to be, hit ‘OK’. You should then be back to the main HDToolbox window.
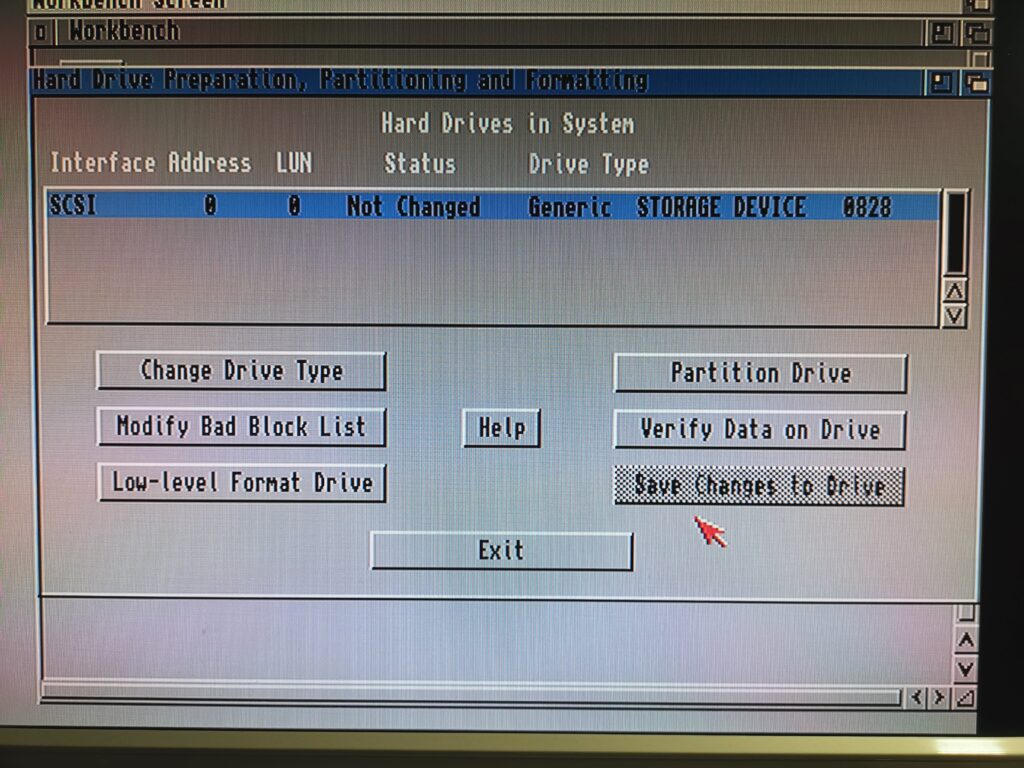
You must now click ‘Save Changes to Drive’ for all the settings you have configured up to this point to be written to the disk (CF card). The window should then change to look like this:
Congratulations! Your new Amiga drive has now been prepped and partitioned! The final step is to format the partitions. To do this you need to reboot the Amiga whilst leaving the Install disk in the drive so it can boot off it.
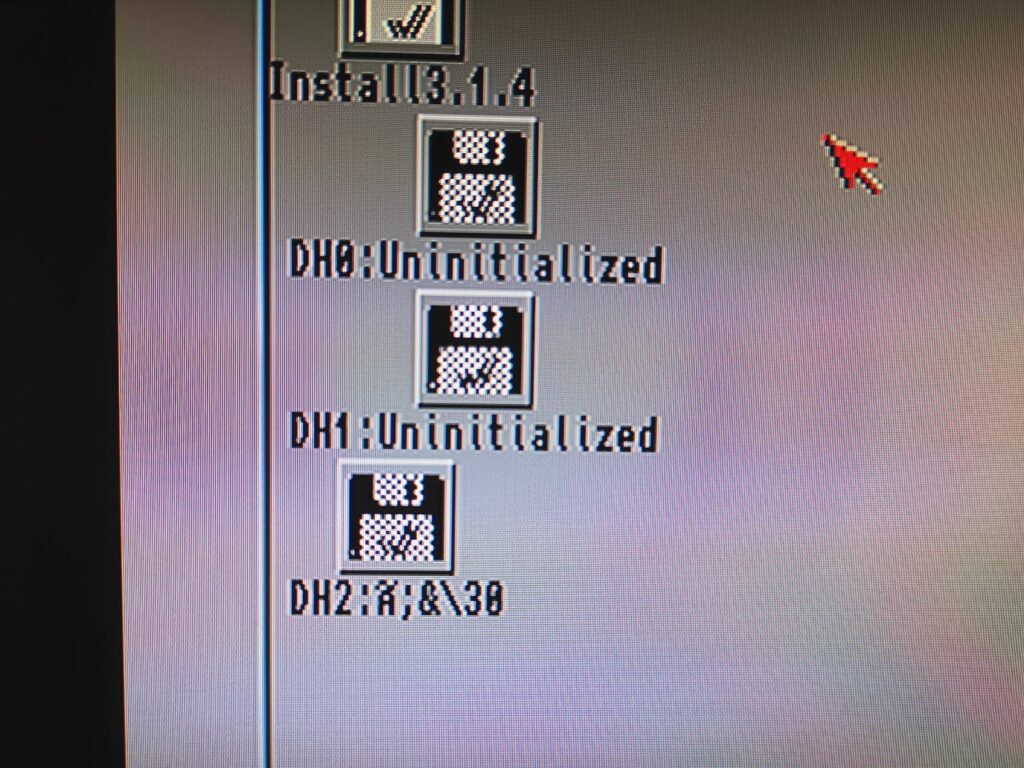
When your Amiga has finished rebooting you should see a screen similar to the one above. You will notice that the partitions show either as ‘Uninitialized’ or just as a weird name (or both in my case).
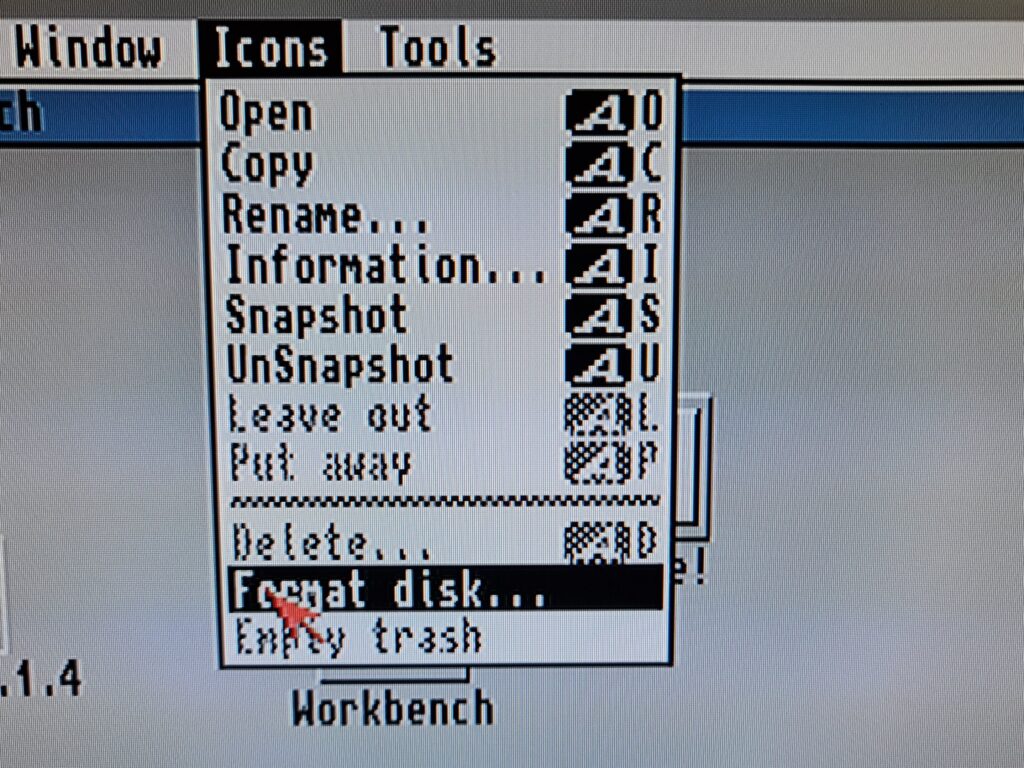
They now need to be formatted so that the Amiga can actually use them. To format a partition you just click on its icon and then select ‘Format Disk’ from the ‘Icons’ menu.
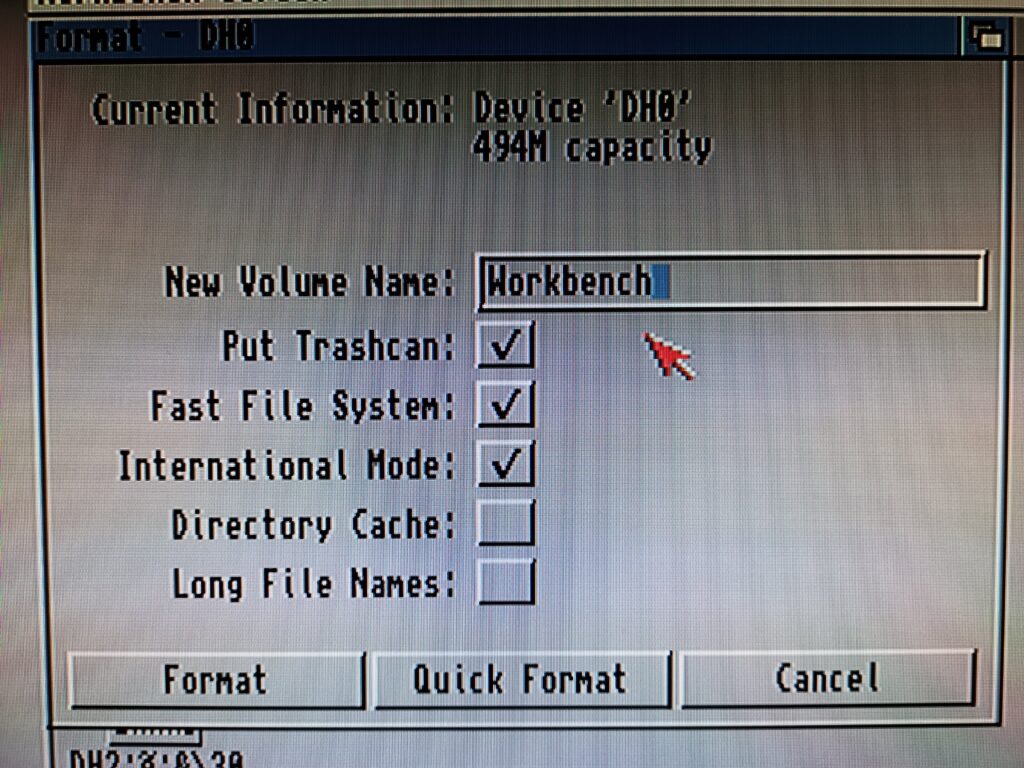
In the above example I called my DH0 partition ‘Workbench’ but you can call yours whatever you like. If you are interested in the new long file names feature of 3.1.4 now would be a good time to select that tick box.
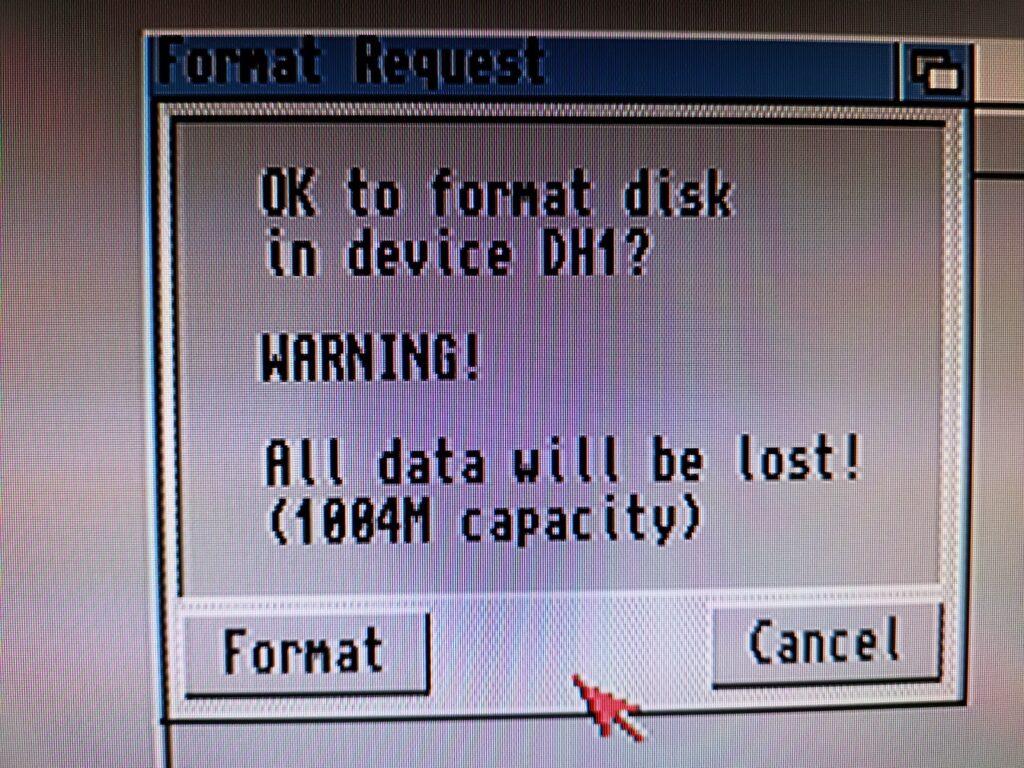
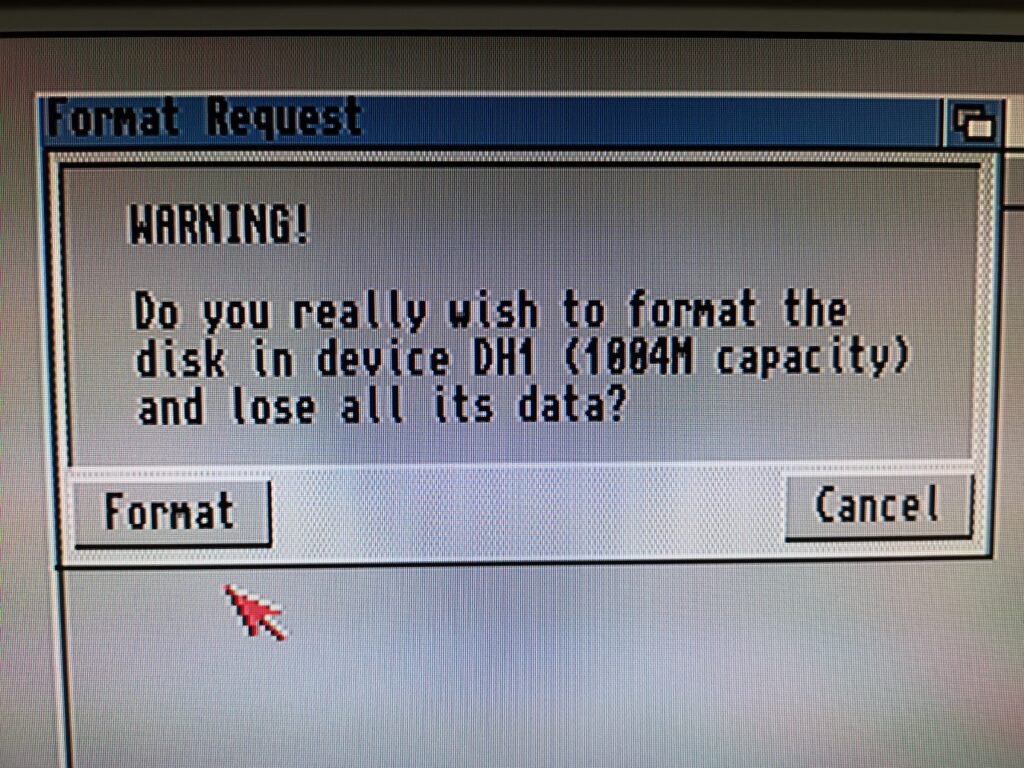
Make sure you select ‘Quick Format’ or you’ll be waiting a very, very long time for the format to finish. You will get a couple of scary warnings that give you an opportunity to back out if you’ve accidentally selected the wrong disk to format.
Click ‘Format’ in response to both of the warning messages to seal the deal. A few seconds later a drive on your newly partitioned and formatted compact flash card should appear on the workbench screen. Now simply repeat this process for each partition you created earlier.
And that concludes Part 3 of my Amiga OS 3.1.4 installation guide – Partitioning a Compact Flash Card.
I must admit I had originally intended to include the Workbench install in this part too but decided against it as I thought this post was long enough already. Therefore I will be covering the installation of Workbench in Part 4 shortly.
Discover more from Lyonsden Blog
Subscribe to get the latest posts sent to your email.


