Installing an Amiga TCP/IP Stack
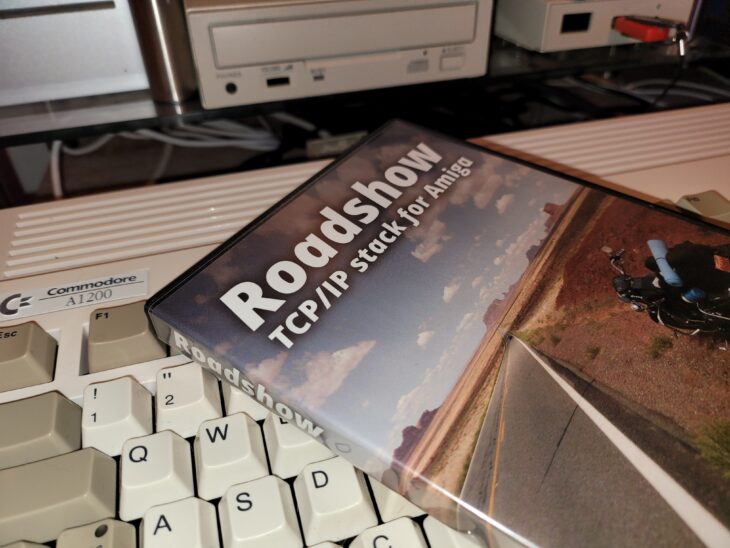
By the end of Part 1 we’d installed a network card and ancillary software but still couldn’t do anything useful. This is because Amiga OS doesn’t have any sort of networking features built into it. For that we need to add an Amiga TCP/IP Stack. There are a few different options available to Amiga users in this area such as Genesis, Miami(DX), Easynet and maybe a couple of others. I chose to go with Roadshow. It’s probably the fastest TCP/IP stack around and still in active development. Version 1.14 was released in September 2020.
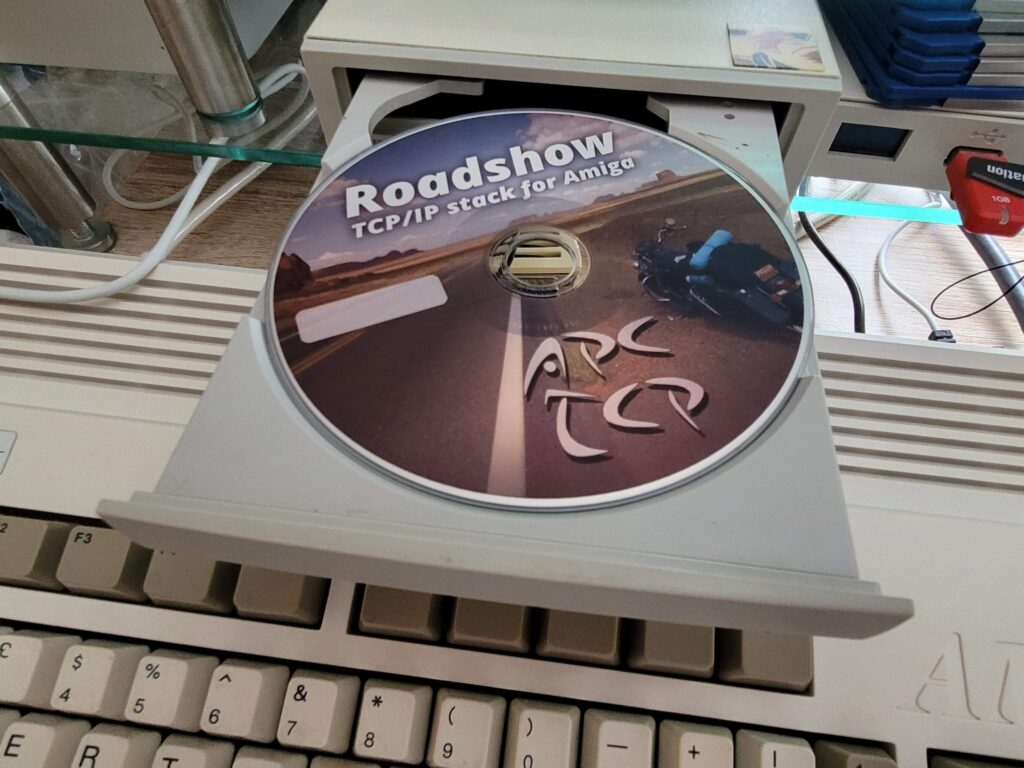
I bought a physical copy of the software on CD but it can be downloaded too and burned onto a CD (it’s too big to go on a floppy). A free demo is available if you just want to try it out… it’s fully featured but times out after 30 mins.
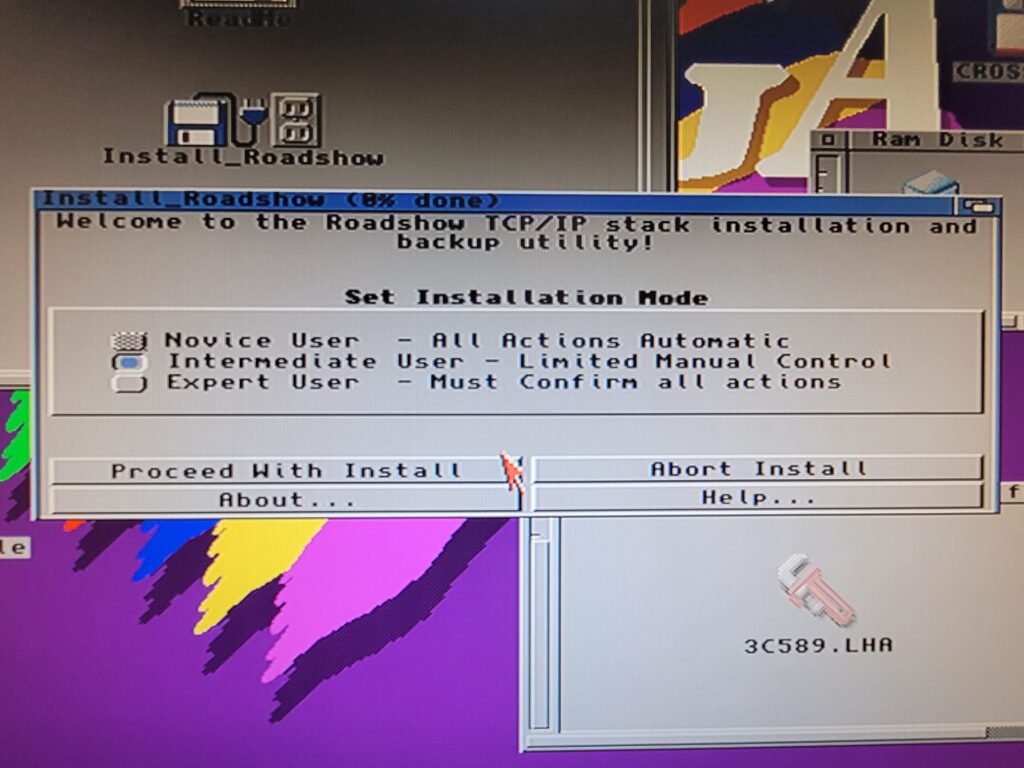
After running the installer I opted for the ‘Intermediate User’ and clicked ‘Proceed with install’.
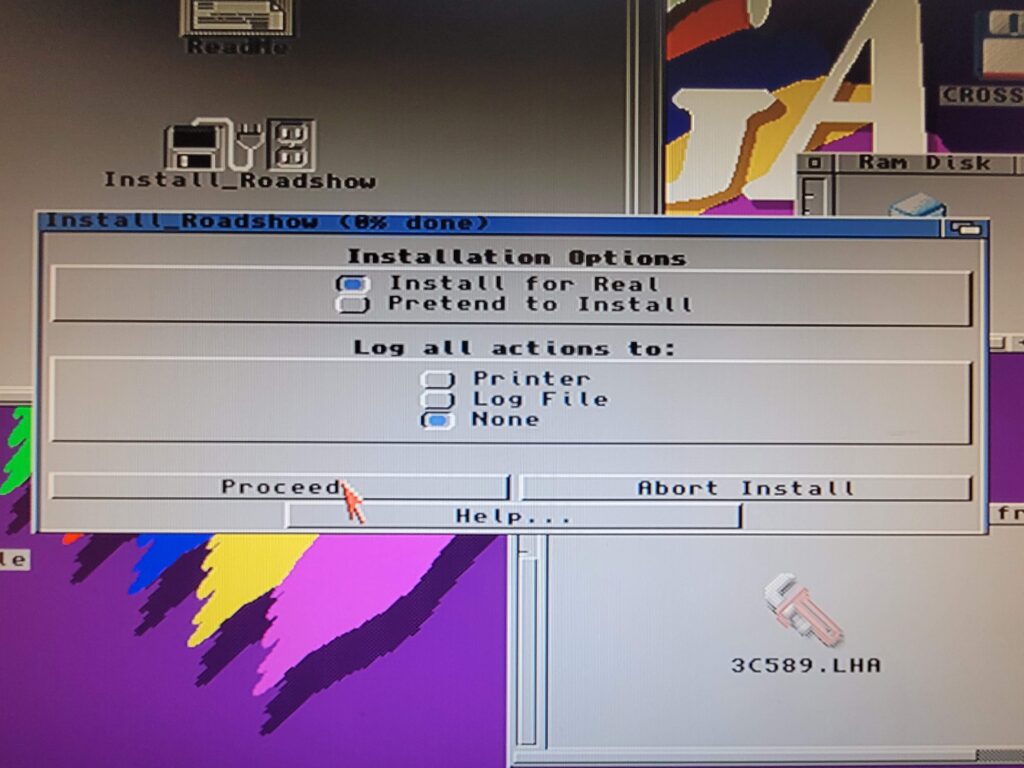
I left the next choice as ‘Install for Real’. The ‘Pretend’ option is just there in case you want to perform a dry run.
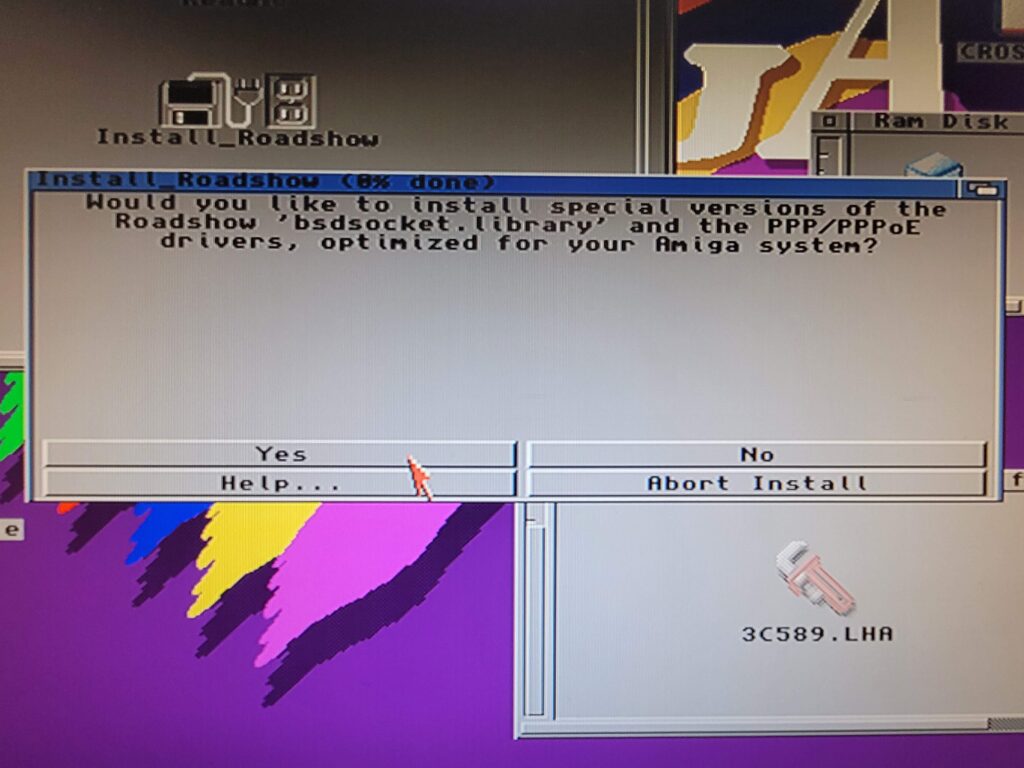
The next choice is an important one. It asks whether it should install a special version of bdsocket.library and drivers. As I’m running this on an A1200 with a 68030 CPU I answered ‘yes’. The answer would still be yes even on a stock A1200 as that has a 68020. Of course if you were doing this on an unaccelerated A600 then the answer would be ‘no’.
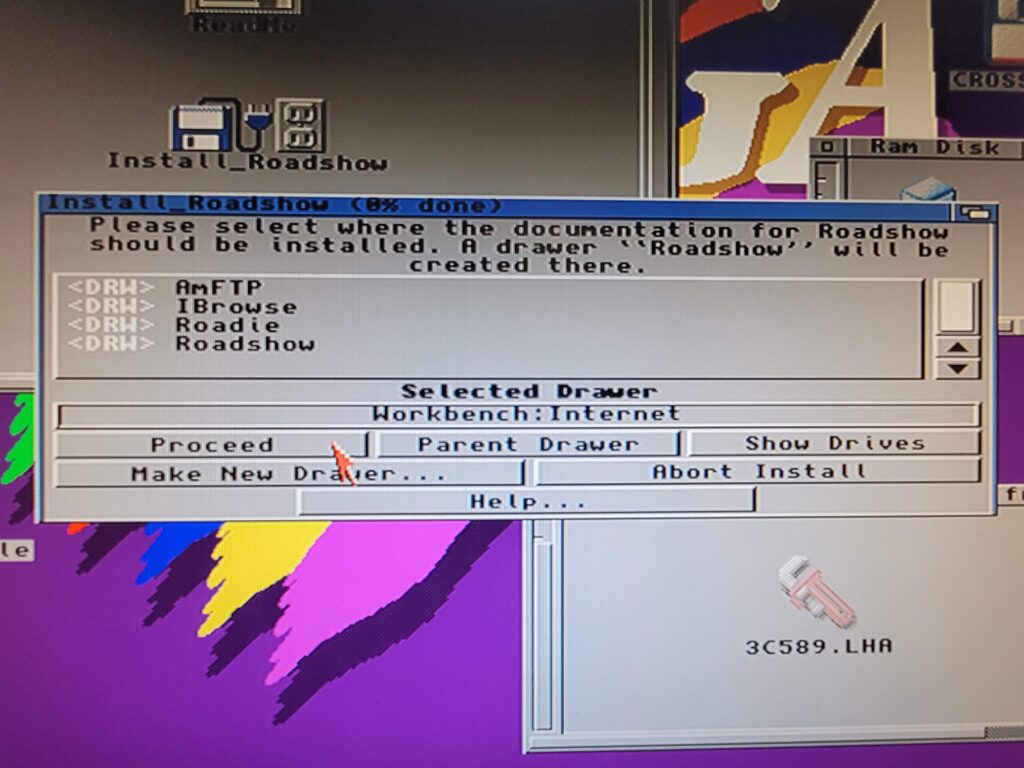
Next the Installer asks where to install everything. This can be anywhere really but I created a directory called ‘Internet’ on my Workbench partition so I could keep everything tidy and logical. To create a directory just use the ‘Make New Drawer’ button.
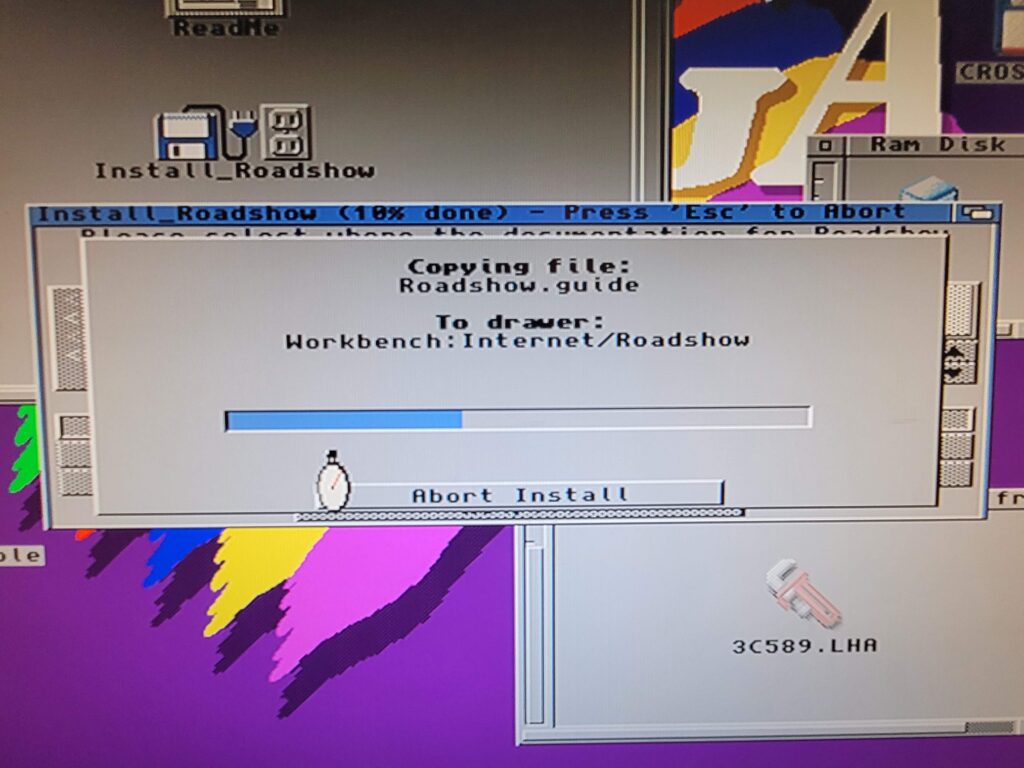
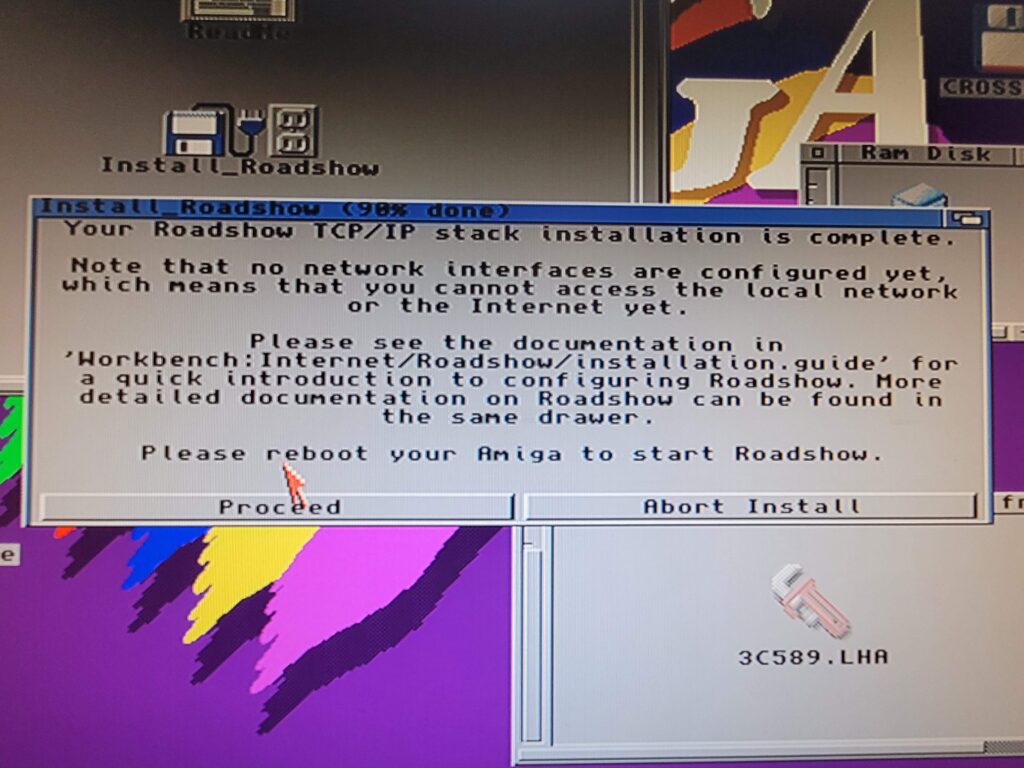
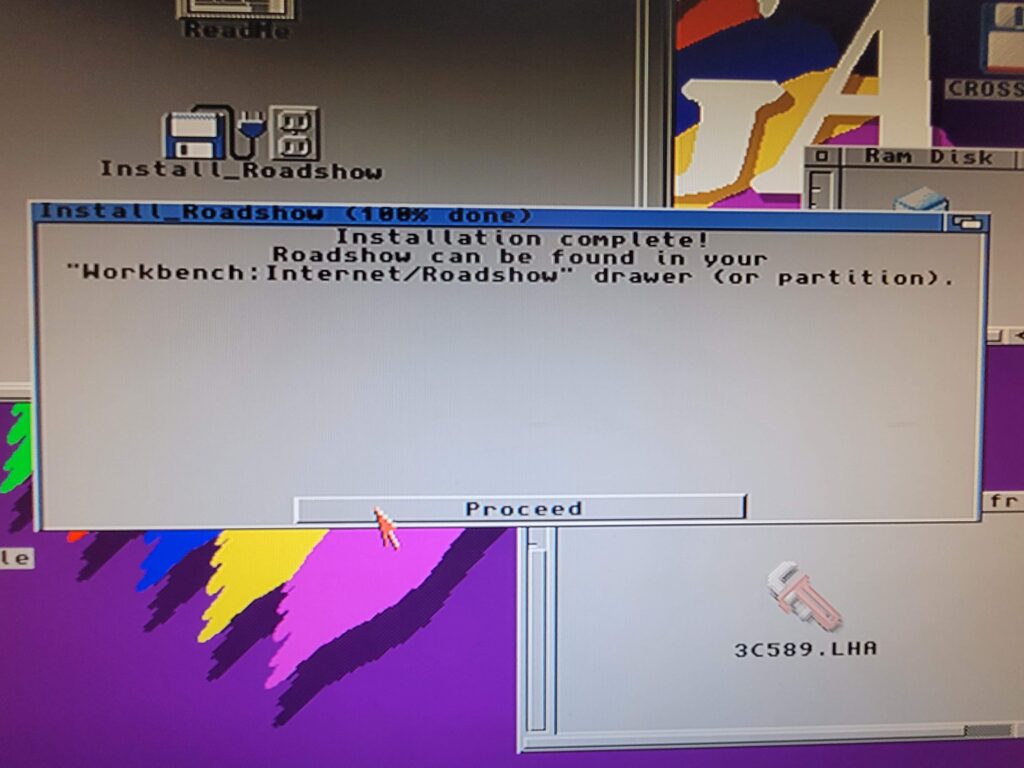
At this point a whole bunch of files were copied over. After a short while the penultimate ‘installation is complete’ message appeared.
Clicking ‘proceed’ brought up the final ‘100%’ complete window.
Manual Changes
With the automatic installation part now complete we need to finish things by hand. We need to have a configuration file that tells Roadshow which network card it should use to connect to our network and just how it should go about getting an IP.
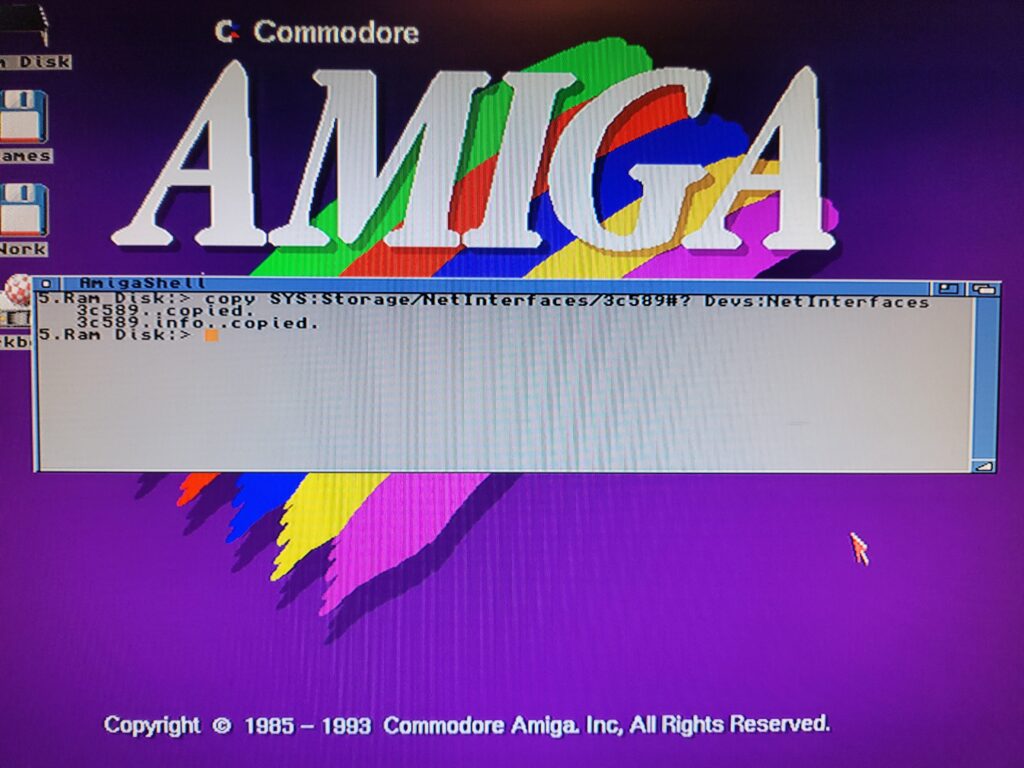
Helpfully the installer put several template configuration files for many popular network devices in the SYS:Storage/NetInterfaces directory. The file we need for our 3Com card is called 3c589 and it needs to be copied into Devs:NetInterfaces. To do this we enter the following command into a Shell window:
Copy SYS:Storage/NetInterfaces/3c589#? Devs:NetInterfaces
The ‘#?’ is a wildcard which instructs the Amiga to copy all files that start with ‘3c589’ across. We need to specify this to ensure that the corresponding 3c589.INFO file gets copied over as well.
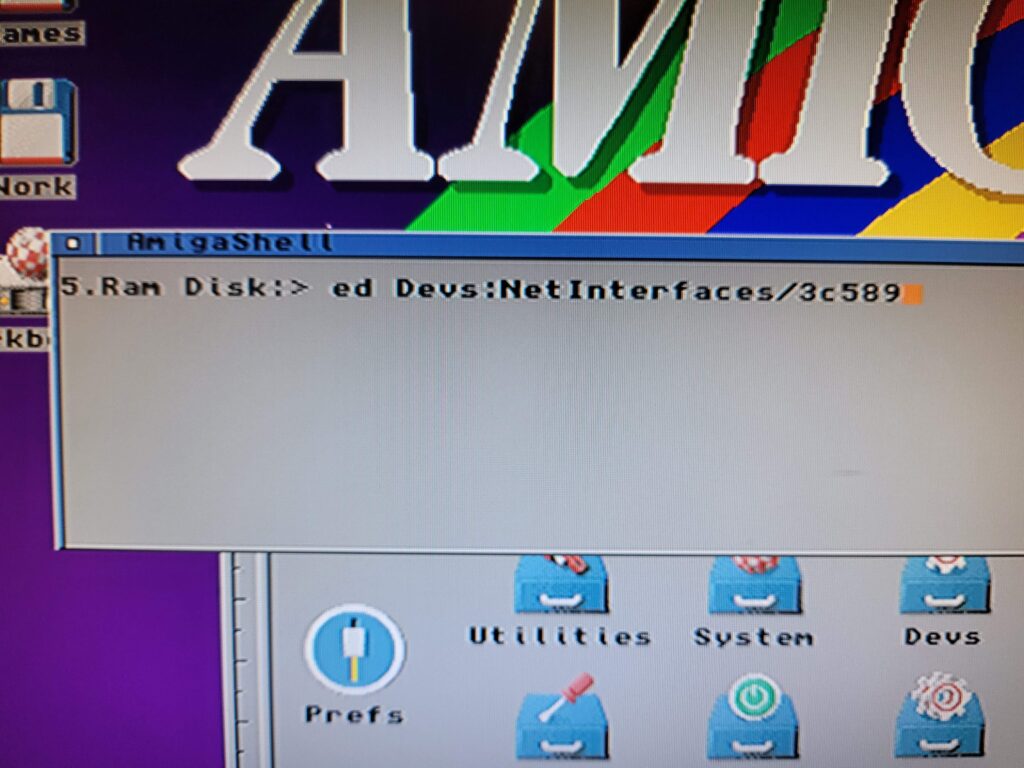
Once the file has been copied to its new home we need to edit it. Type in the following to use the Shell’s built in editor to make the necessary amendments:
ed: Devs:NetInterfaces/3c589
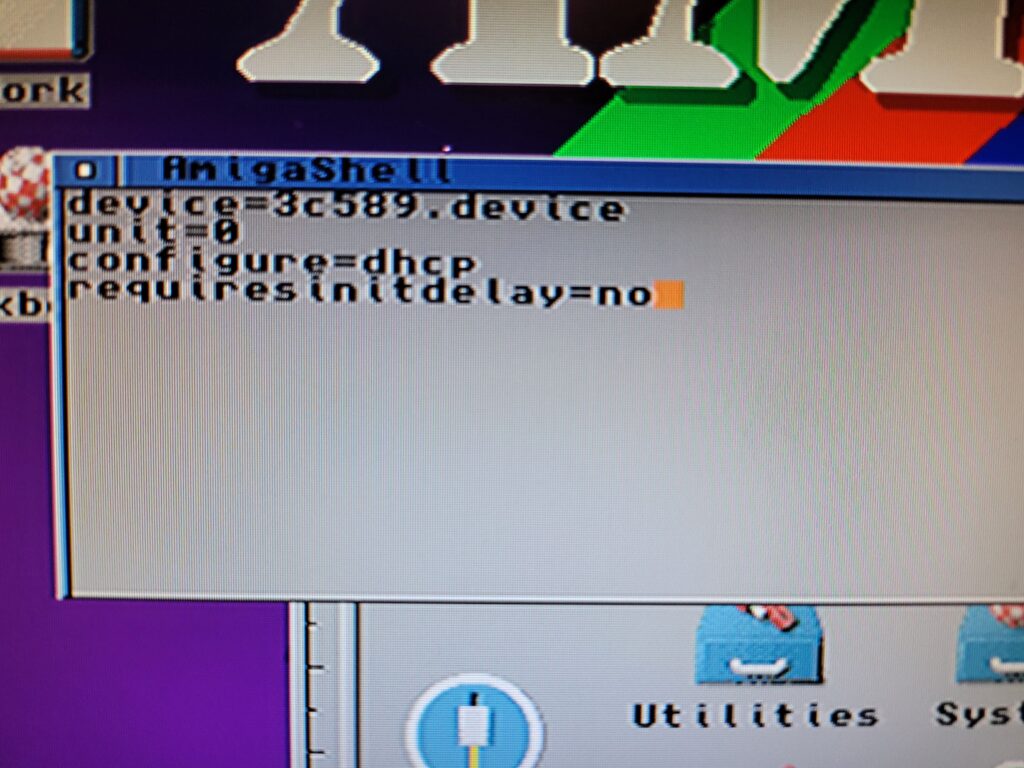
The screenshot below shows the entries that need to be made. The file contains a lot of unnecessary commands and comments designed to explain what everything does. All we actually need though is the following 4 lines of code.
device=3c589.device
unit=0
configure=dhcp
requiresinitdelay=no
To save the file press ESC, then x then press return. Alternatively select ‘Save and exit’ from the Project menu.
This configures Roadshow to connect via the 3Com card and obtain an IP address over DHCP (i.e. automatically).
Testing
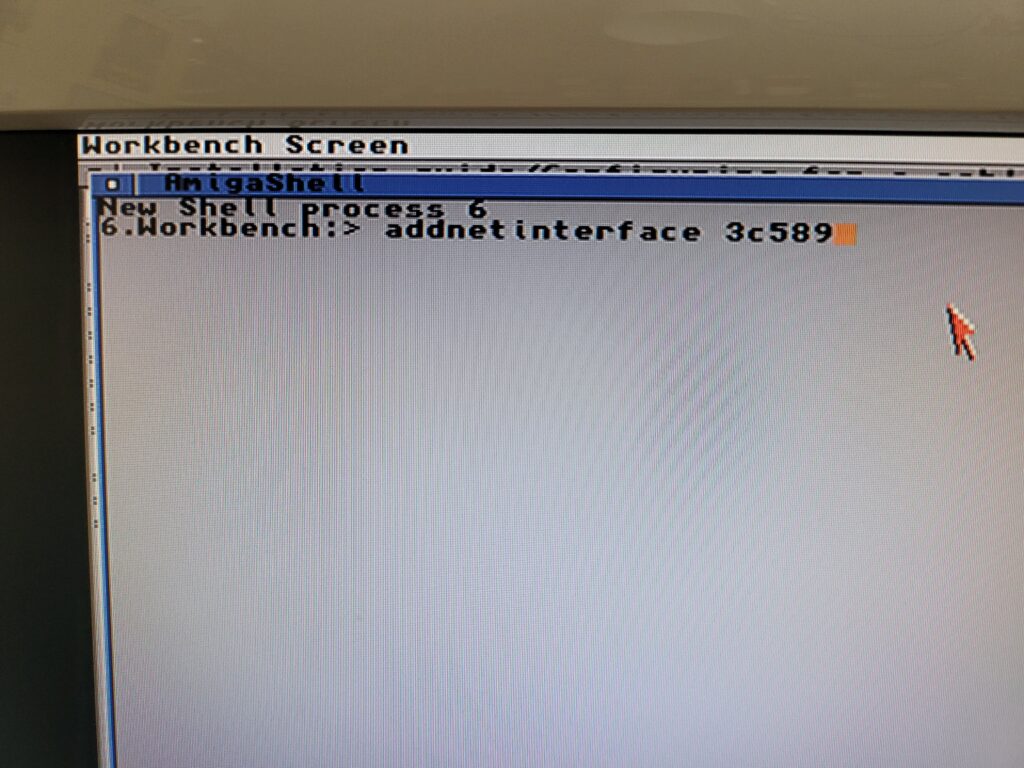
With the changes saved to the file it’s possible to check everything is working by typing the following command into the Shell.
addnetinterface 3c589
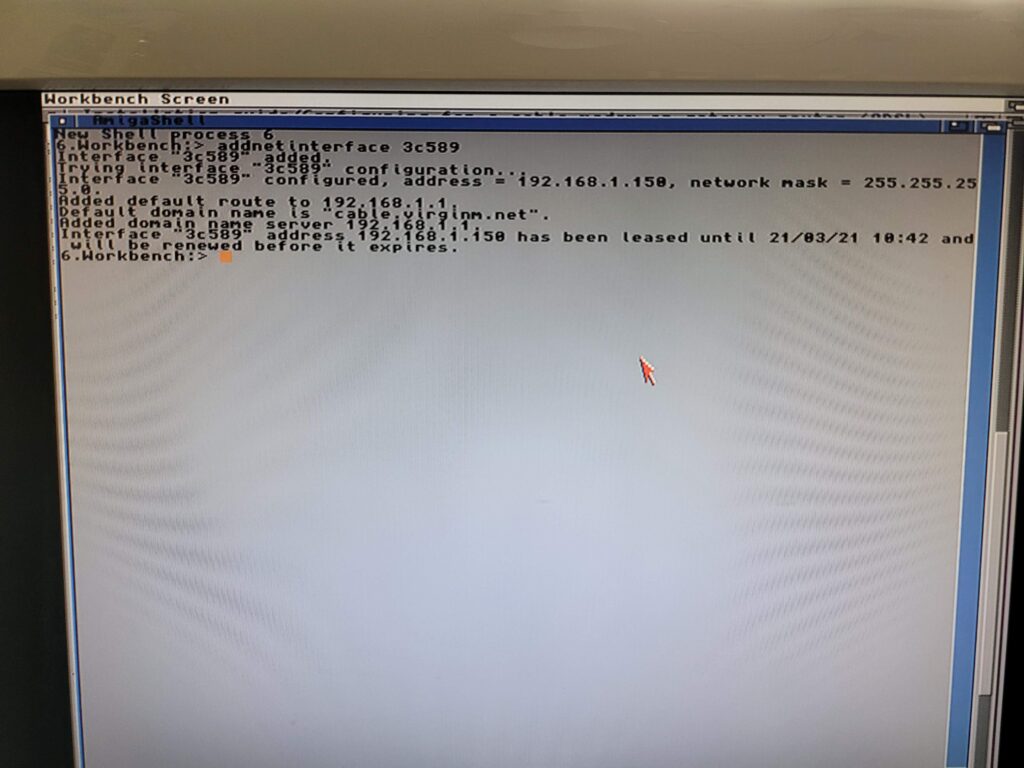
All being well this should add the network configuration, connect to your router and acquire an IP address. Happily this worked first time for me when I tried it and brought up the screen below.
With that little test being successful the Amiga Roadshow TCP/IP Stack install is now complete. Every time the Amiga is turned on it will automatically connect to the internet. It does this behind the scenes so you won’t even be aware of it.
A Couple of Additions
Because of the lack of a visual interface for Roadshow I recommend a couple of other small programs (Netmon and Roadie) to provide a bit of feedback and convenience.
These programs are available from Aminet here:
Both programs require no installation, just extract the archives to a folder somewhere on your Amiga and run them from there. I opted to put them into the ‘Internet’ folder that I created during the Roadshow install.
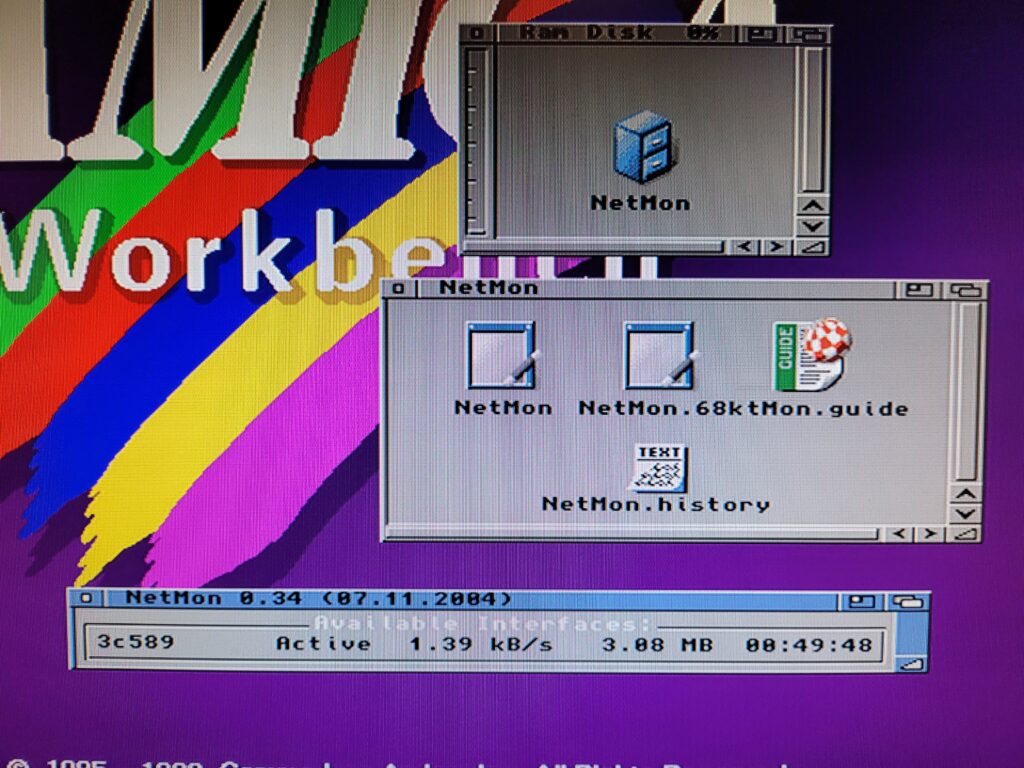
Netmon displays a little toolbar on the desktop containing info about download speed, total traffic and time connected.
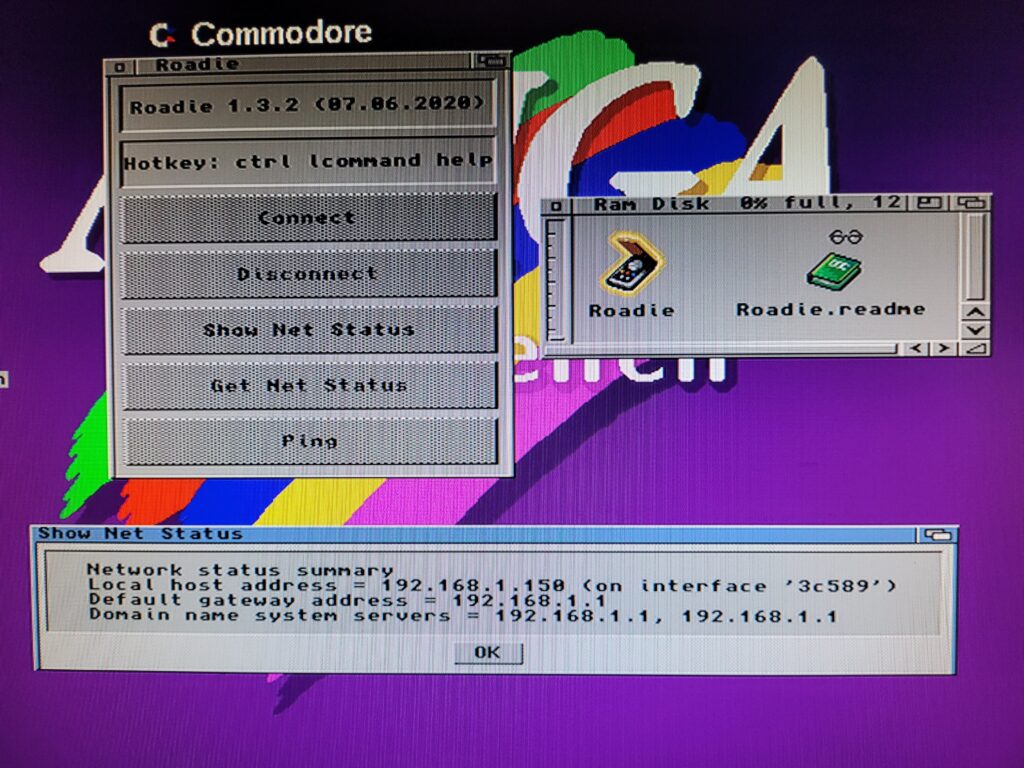
Roadie provides a GUI for connecting and disconnecting to and from your network. It also provides information about your current connection such as IP address and DNS servers etc.
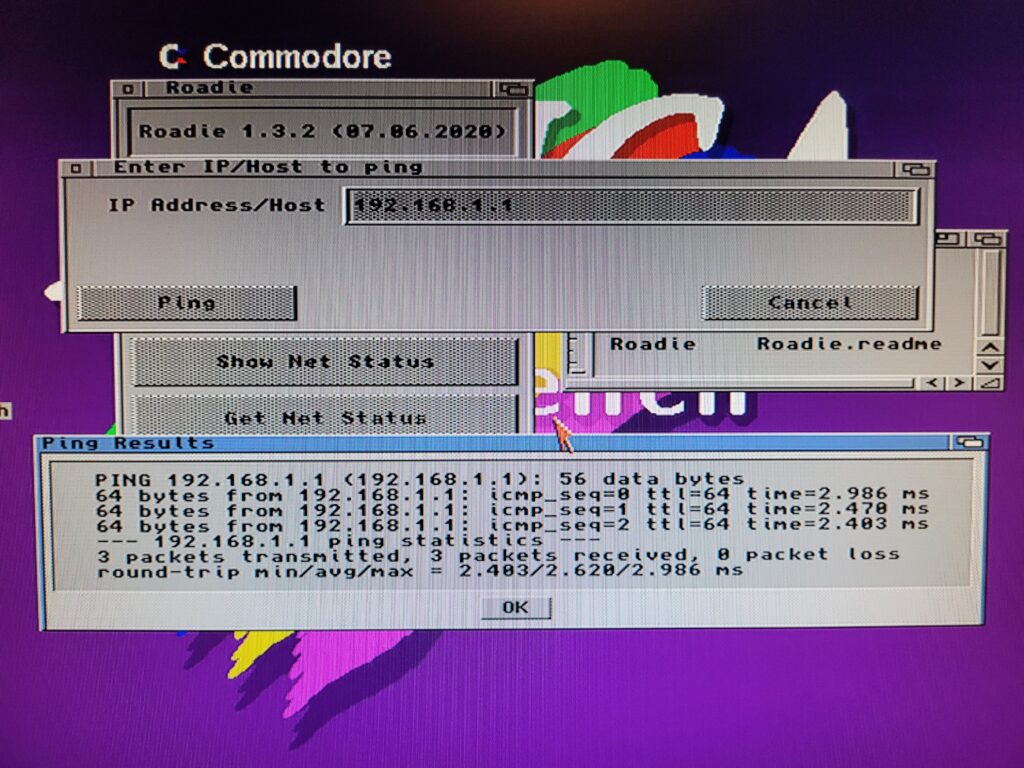
It also offers quick access to the PING command which comes in very useful for troubleshooting. Of course all these commands are available from a command line within the Shell but it’s very convenient to have them accessible via a GUI.
So now we have our Amiga A1200 with a working network card, configured TCP/IP stack and successfully connected to our network with a few extra tools to make life easier. In Part 3 I will look at installing a modern web browser capable of accessing https websites so we can finally do something on the Internet!
Discover more from Lyonsden Blog
Subscribe to get the latest posts sent to your email.


I could see this being benefitial as a replacement for larger PCMACIA CF data transfers but will e.g. Directory Opus be able to map a network drive so it is possible to download from there instead?
Good question… I set out just to get my Amiga online so I could surf and download files from Aminet directly, check my email and maybe just maybe access DropBox. Mapping a network drive or having some sort of network file sharing is something I will definitely be looking at shortly in a future Part 5 perhaps!
This is a great amiga roadshow guide – but after having successfully gotten roadshow installed (via some trickery) onto my A500 running the latest Pistorm – i corrupted the HDF for pistorm, had to re image the SD, and … re install roadshow, etc.
Roadshow.lha is copied over from the PI0: (pistorm) drive to either ram: or a dh0: temp folder, and then i extract it *locally* on the amiga (to avoid any linux/pc unarchiver issues).
Problem is…the installer has a line error (in the 400’s) and no matter what i do, it won’t install….
Amiga makes everything…harder!
Really nice write up! 👍 Still, there’s room for (minor) improvement:
1: “Drawers”, not “folders”
2: Proper screenshots, not photos (SGrab comes to mind)
3: Honorable mentioning of AmiTCP 3.0b2
4: No topaz 8, please
Slava Ukraini! 🇪🇺 ❤️ 🇺🇦
Haha I do struggle to remember to use the Amiga term ‘Drawers’ these days. Working in the IT industry my whole life has conditioned me to calling them directories/folders now.