One of the things I’ve always loved about the Amiga is it’s expansion possibilities. There was always some upgrade or gizmo you could add that would let you do something new, or do something faster. The TerribleFire 330 is touted as being able to do both of these things and then some. Naturally, as soon as I spotted it on AmiBay I wanted one…
What is it?
The TerribleFire 330 is an expansion for the Amiga CD32 that adds many new features to the console. It’s attached by means of a ‘Riser’ card to the expansion port which itself offers some benefits to the user. Here’s a quick run-down of the extra features it offers:
- 68030 CPU over-clocked to 50Mhz
- 64MB Fast Ram
- IDE Interface
- RGB Video Port (on the riser)
- PS/2 Keyboard port (on the riser)
In a nutshell, it converts your CD32 into a souped up Amiga 1200 with built-in CD-ROM drive.
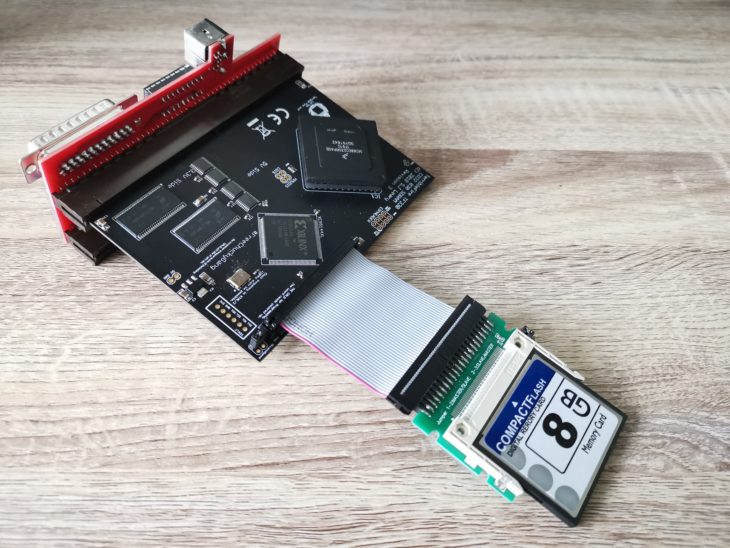
A Closer Look at the TF330
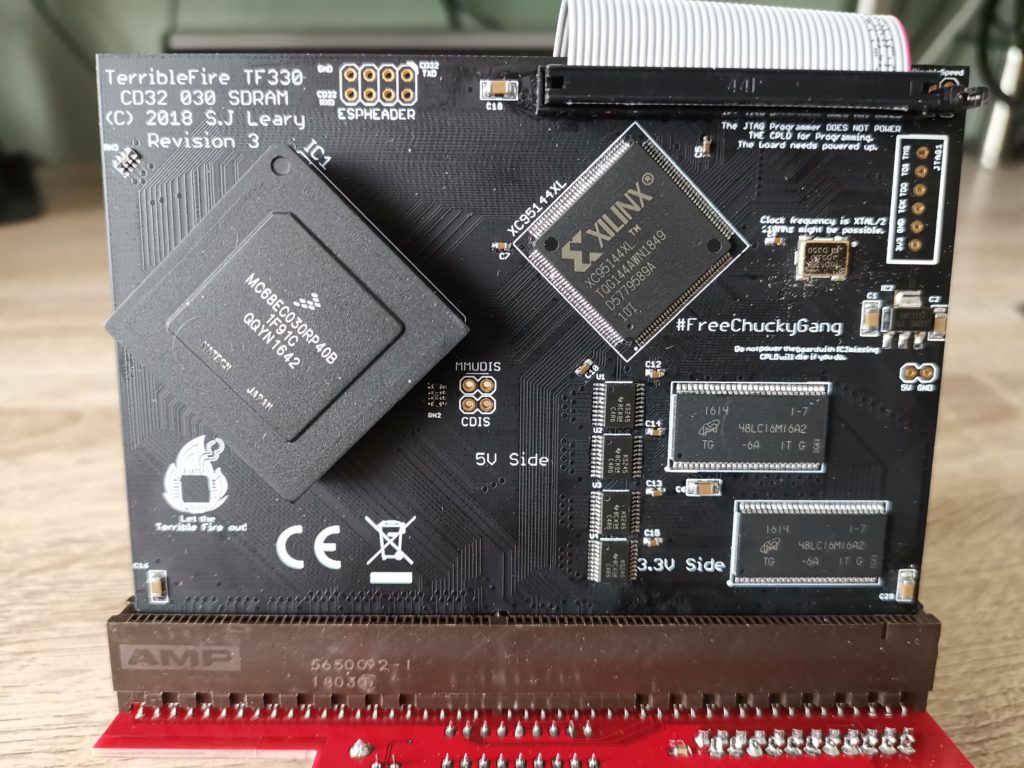
Here’s a close-up of the top of the board. CPU on the left, IDE connector top right.
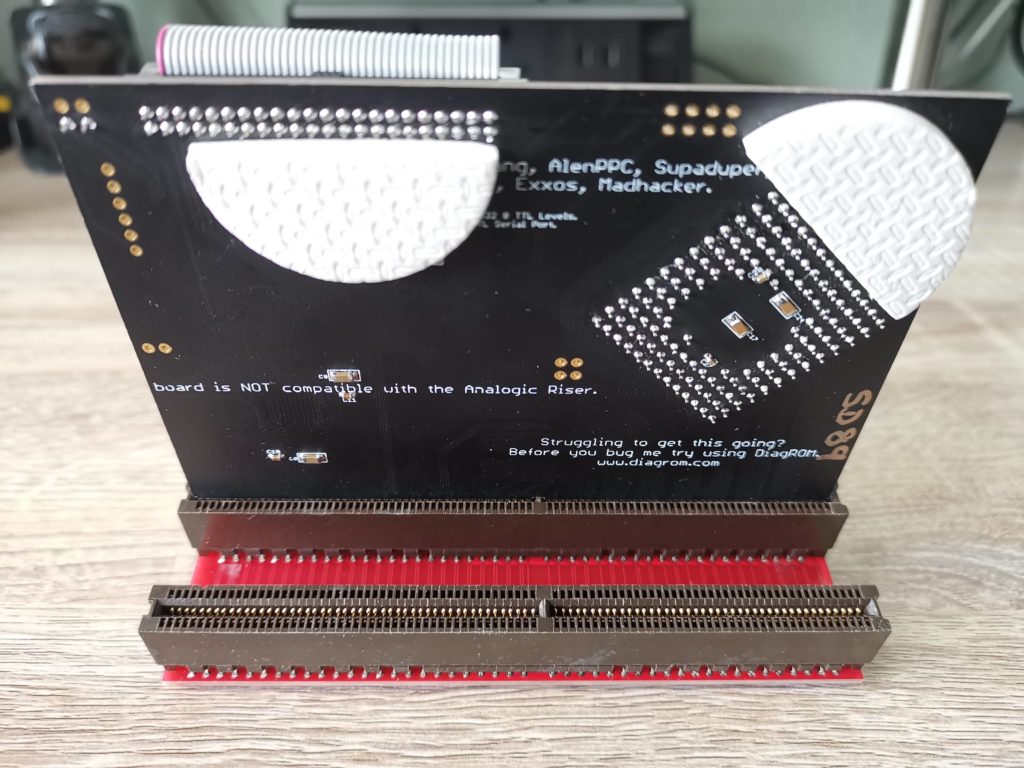
Here’s a view of the underside of the board. Foam pads are present to prevent the exposed solder pads from touching the metal shielding cover inside the CD32 when inserted.
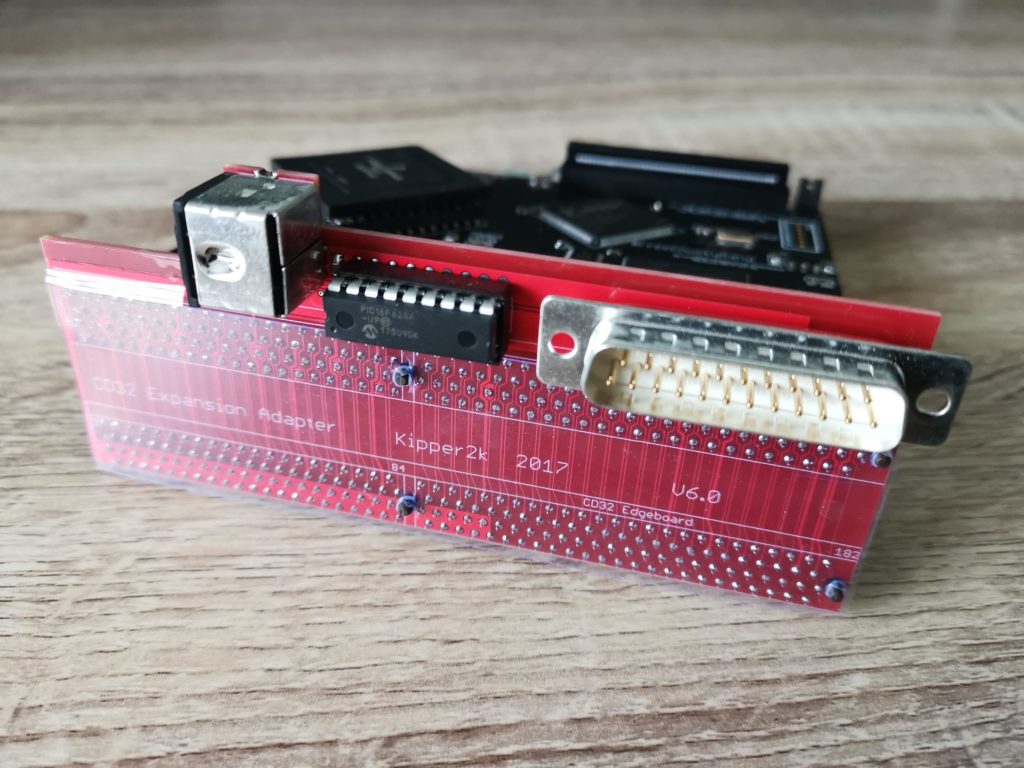
Here’s a view of the riser board.

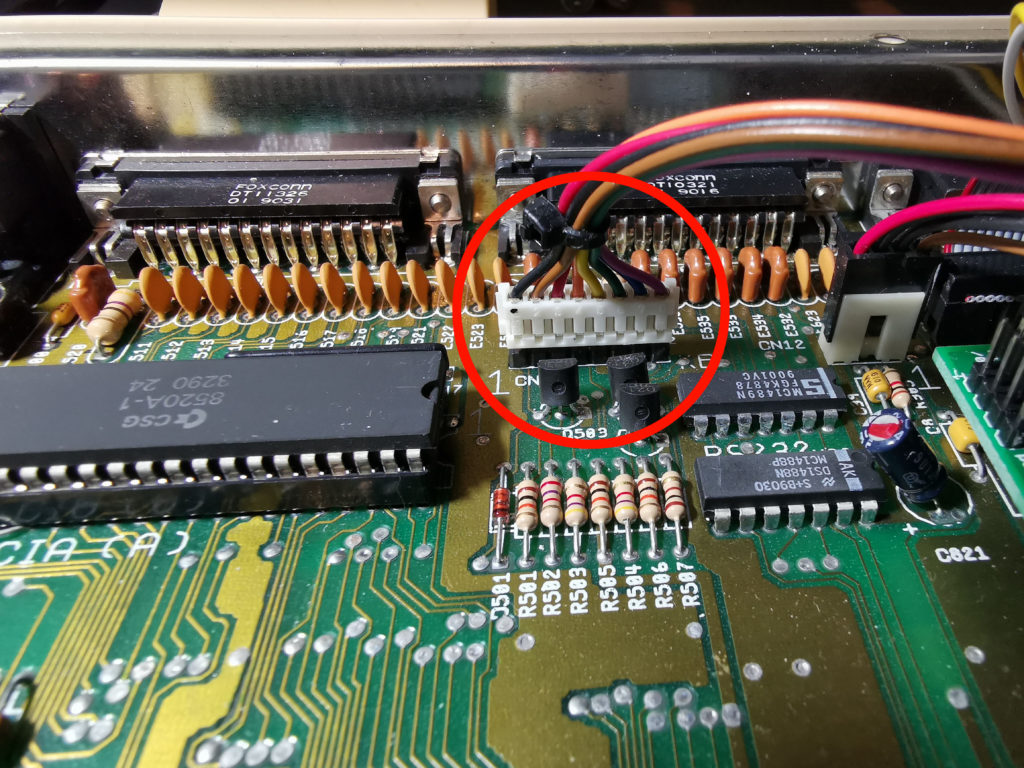
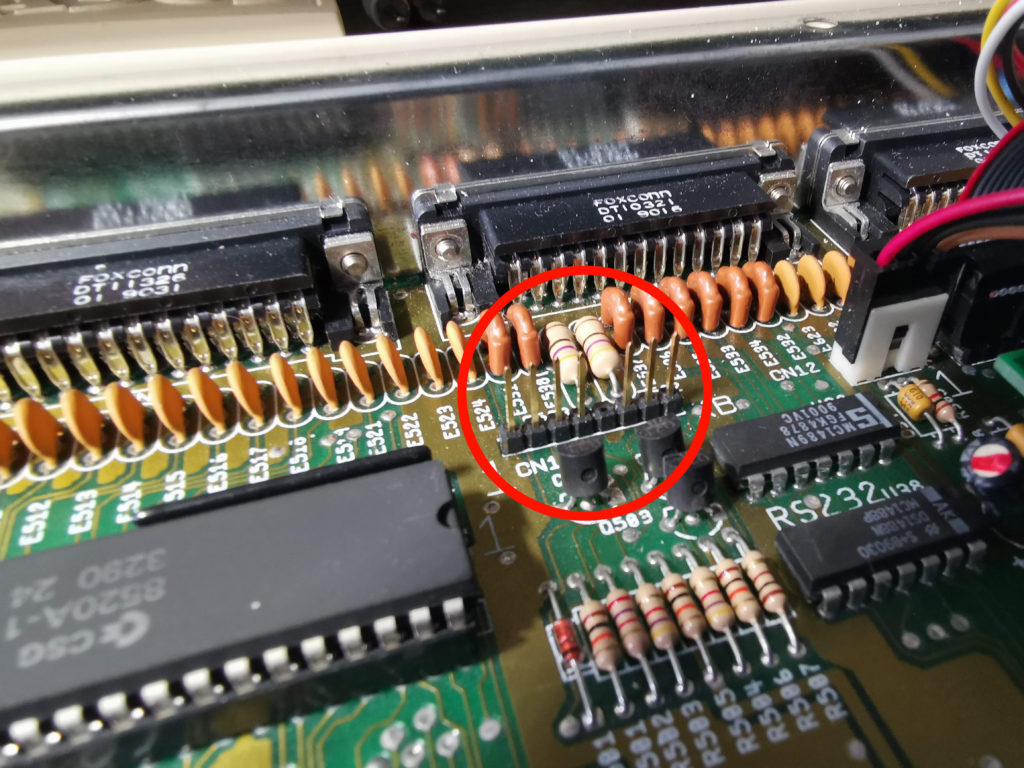
The is a straight-on view of the riser board. The male DB25 port on the right is for hooking up an RGB video cable for vastly improved picture quality. The PIC chip in the center provides a means of converting the inputs from a PS/2 PC keyboard into key presses that will the Amiga will recognise.
A better view of the PS/2 port.
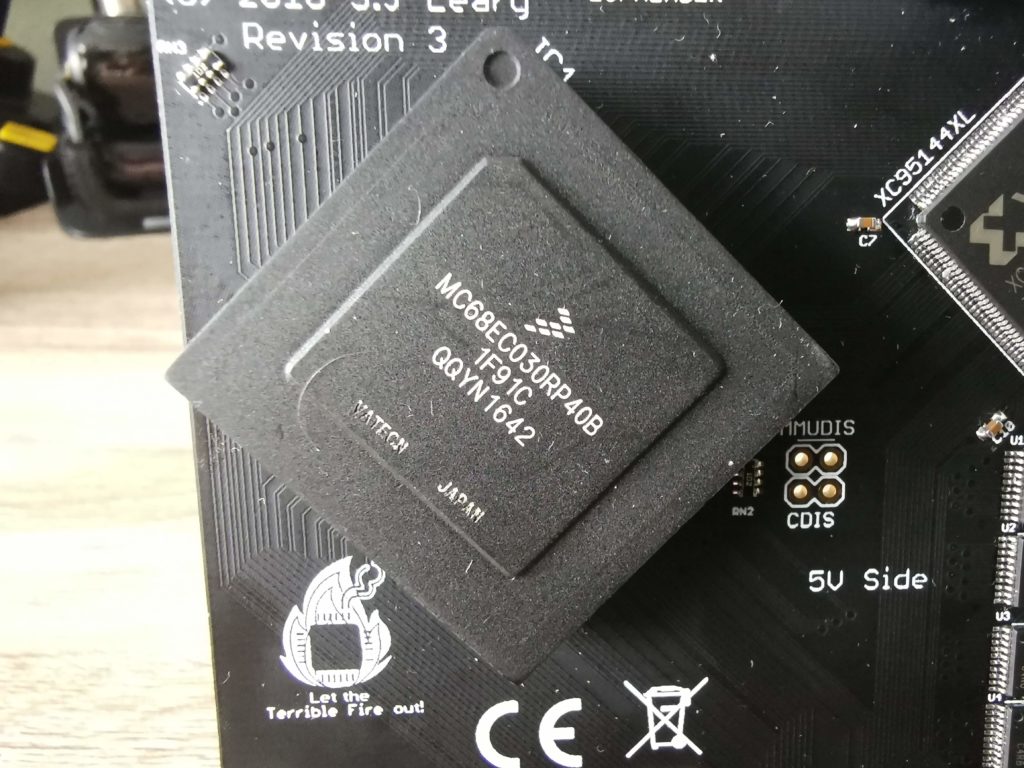
Close-up of the 68030 CPU. As you may notice it’s officially rated at 40Mhz. On the TF330 board it has been overclocked to run at 50Mhz.
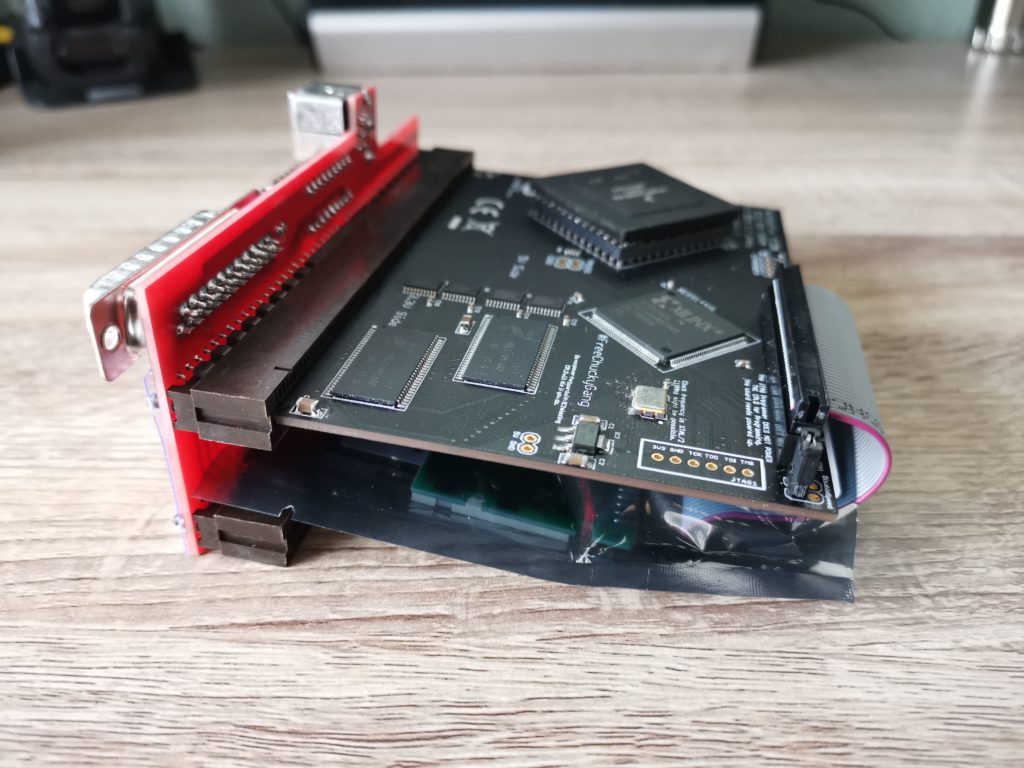
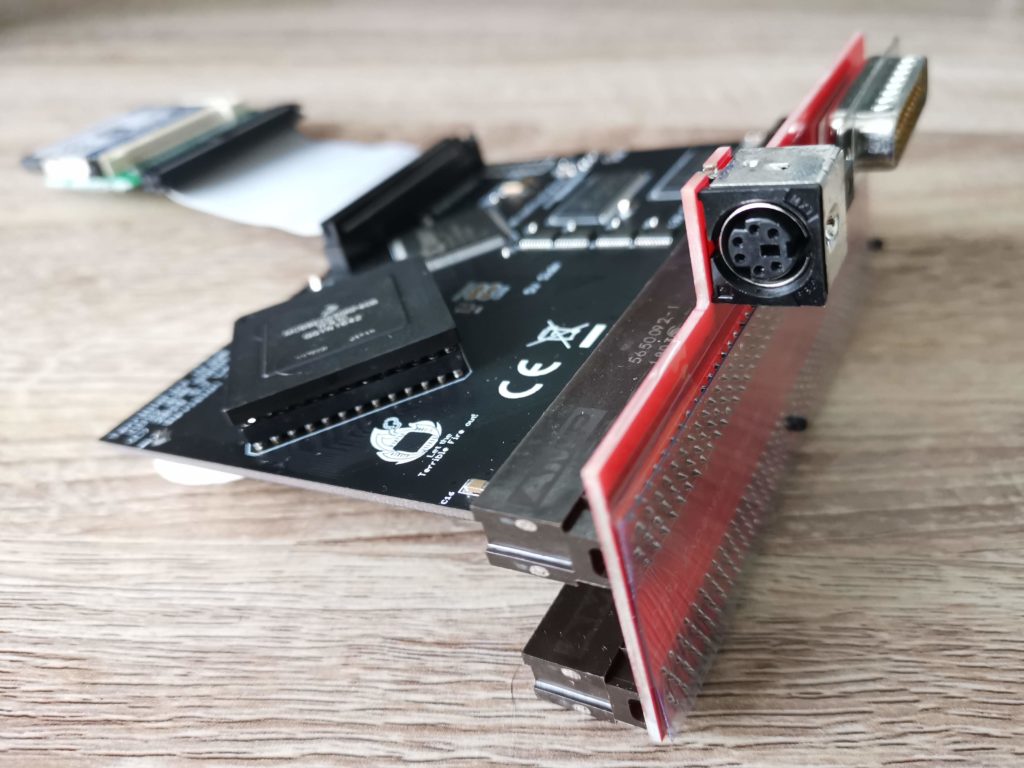
Side view of the TF330 – note how the CF card can be tucked underneath.
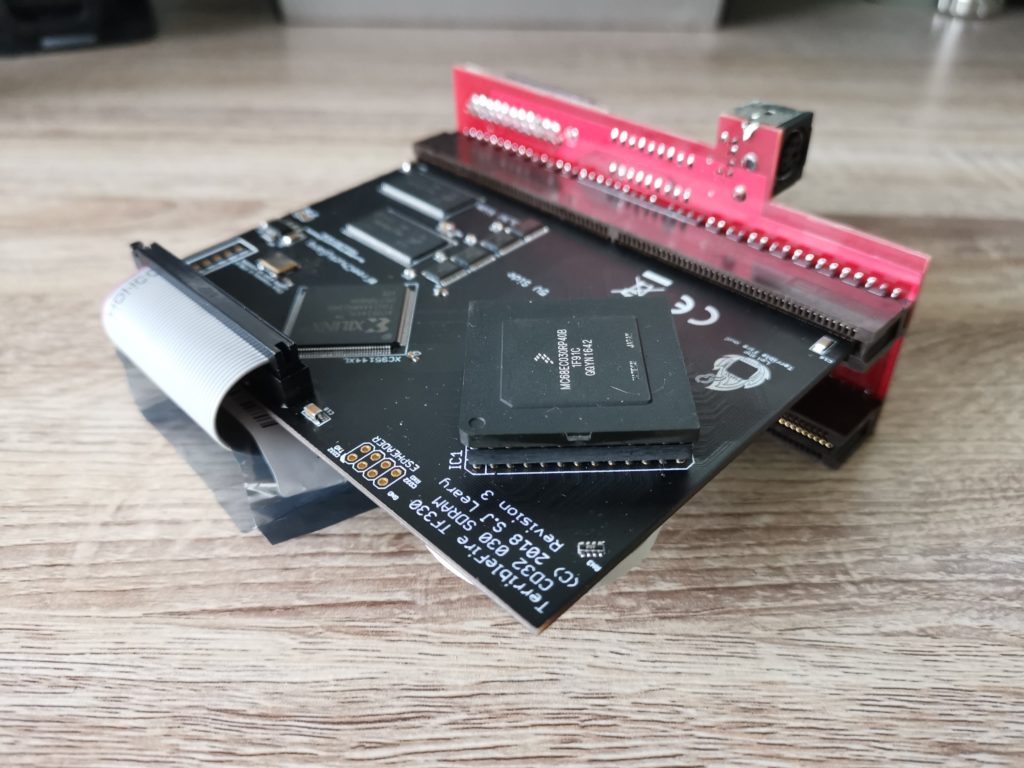
Another view of the TerribleFire 330 card.
Installing the TerribleFire 330
Installation is pretty straightforward and involves removing the plastic expansion cover on the back of the CD32 console. There’s only one phillips screw to remove. Both the screw and the cover can be safely stashed away at this point as they won’t be getting used again.
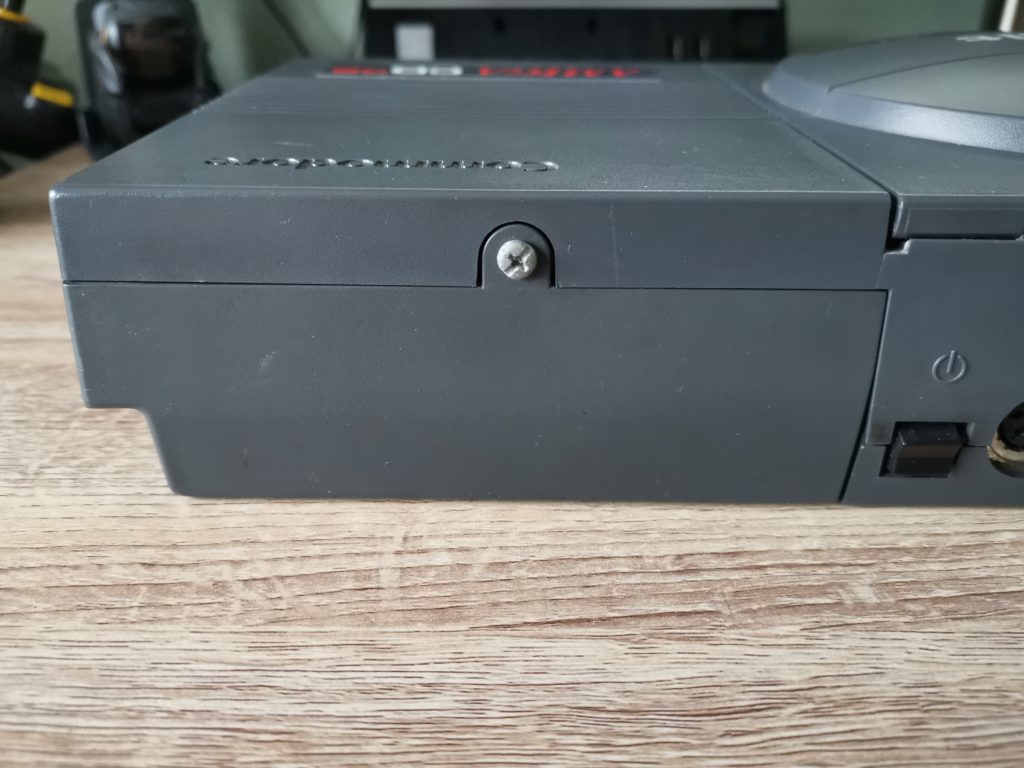
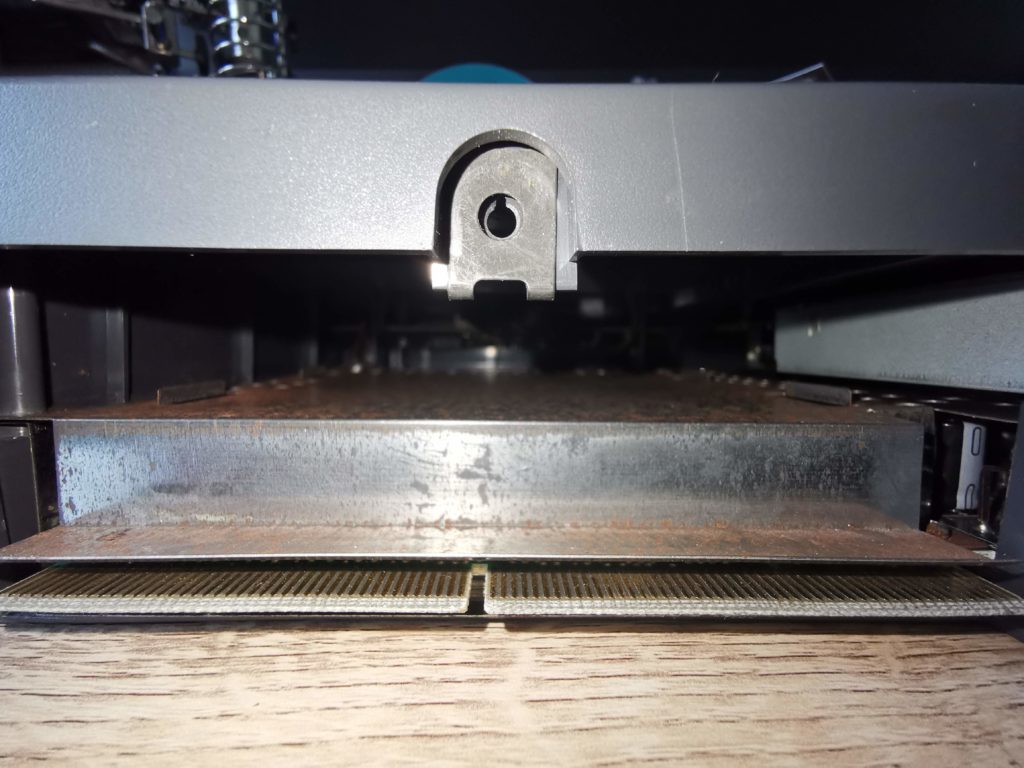
This is the CD32 expansion bay where the TerribleFire card will be installed.
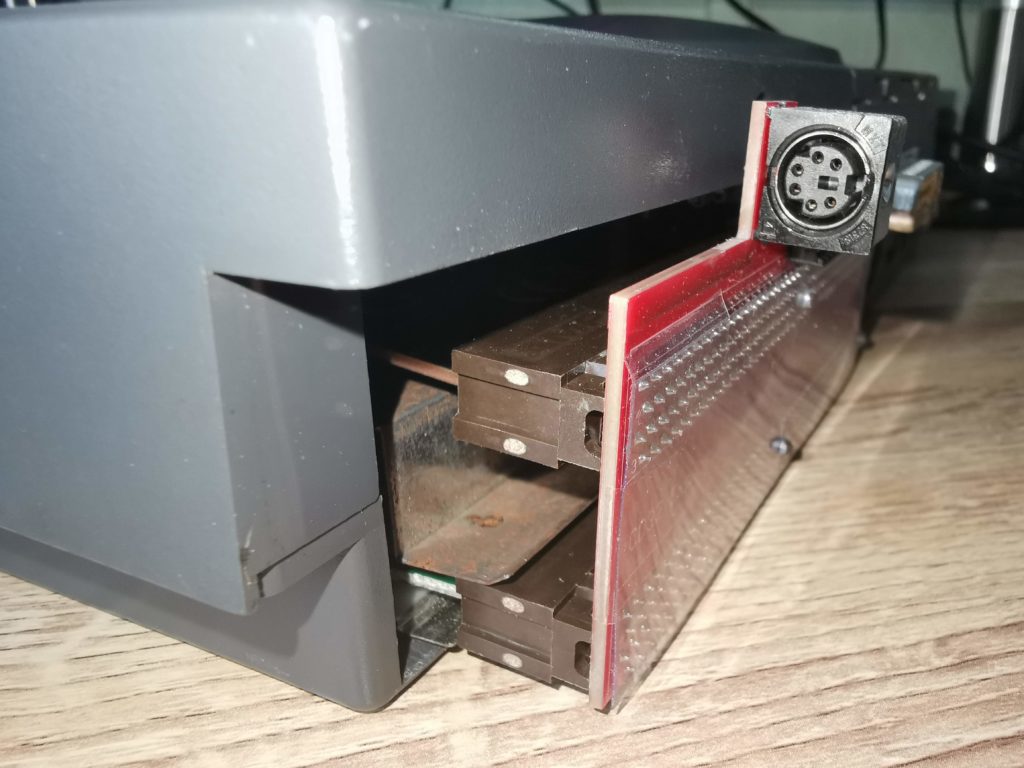
With the cover removed you can clearly see a big empty space left above the shielding. This expansion bay was original intended to allow the use of the official Commodore CD32 Full Motion Video Module.

Here’s a view of the expansion bay with the cover removed. The edge connector can be seen at the bottom of the image. The TerribleFire 330 card will occupy that empty space above the shielding.
You can simply install the TF330 as it comes but I found a nice little 3D printed clip to hold the IDE cable and CF card in place on eBay. With this fitted the card is securely held underneath the main TF330 board out of harms way. Not an essential purchase but as I store my CD32 vertically I thought it was a worthwhile extra to prevent things moving around.
This slideshow requires JavaScript.
Installing the TerribleFire 330
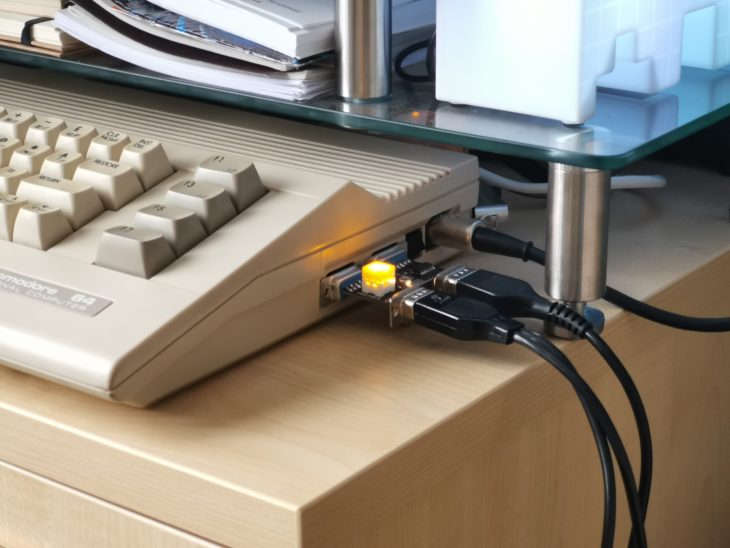
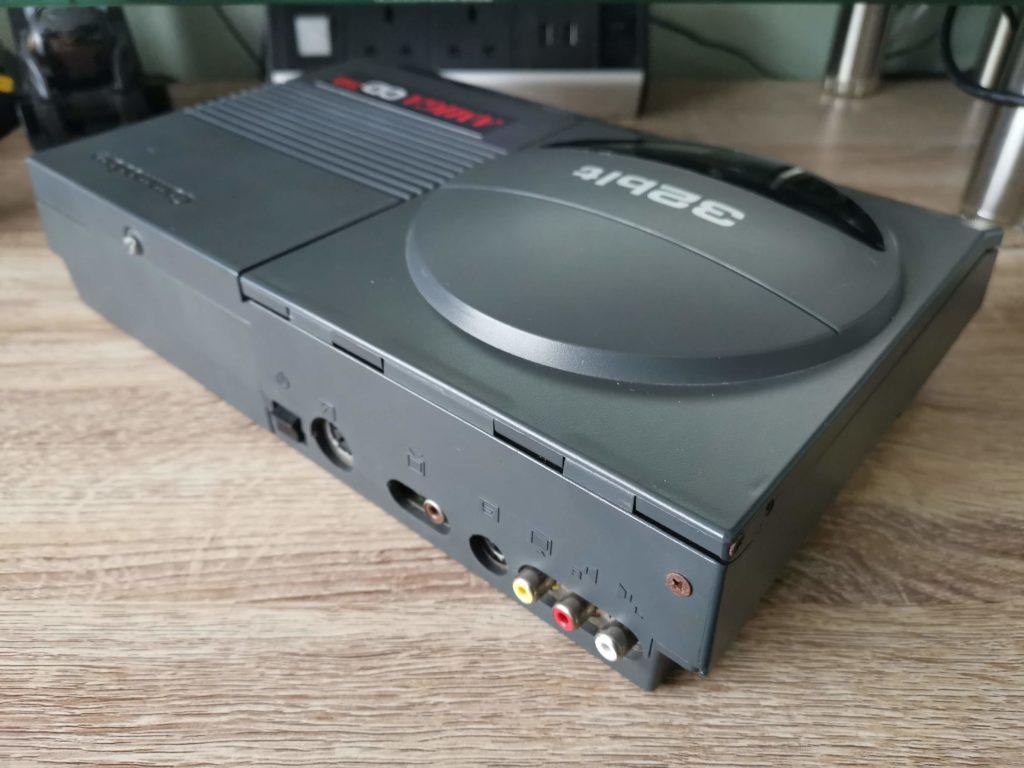
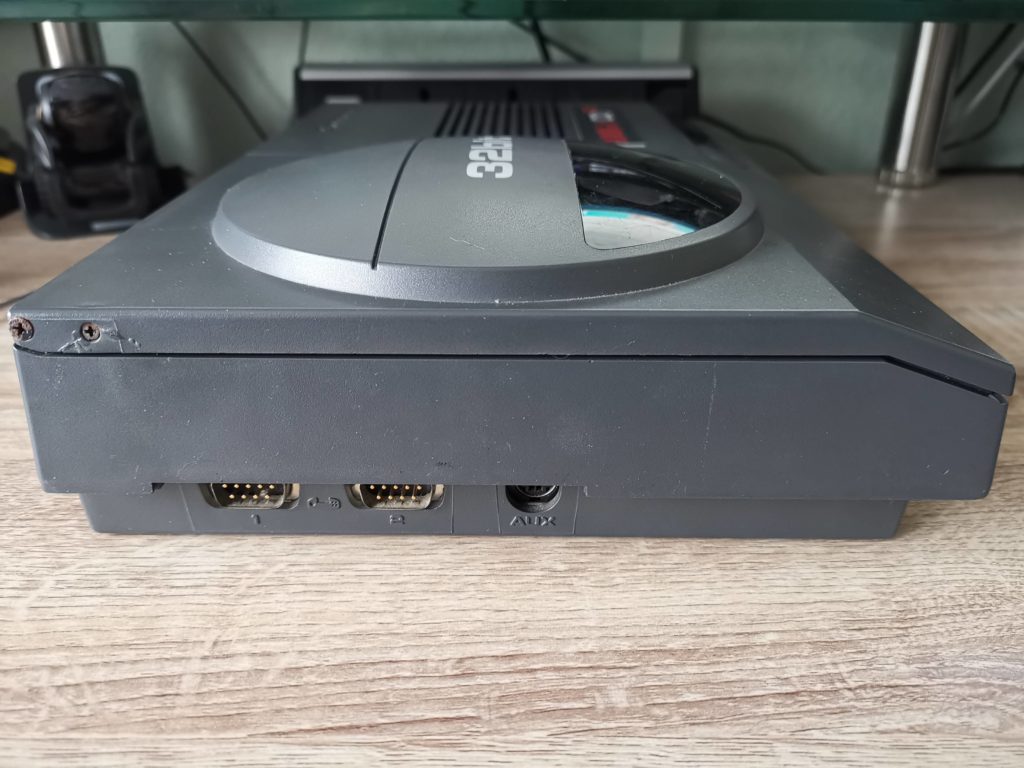
Here are some photos of the TF330 after I installed it. It does protrude from the back of the console somewhat and it certainly ain’t ‘pretty’ but I’m more than happy to overlook this given the features it offers.
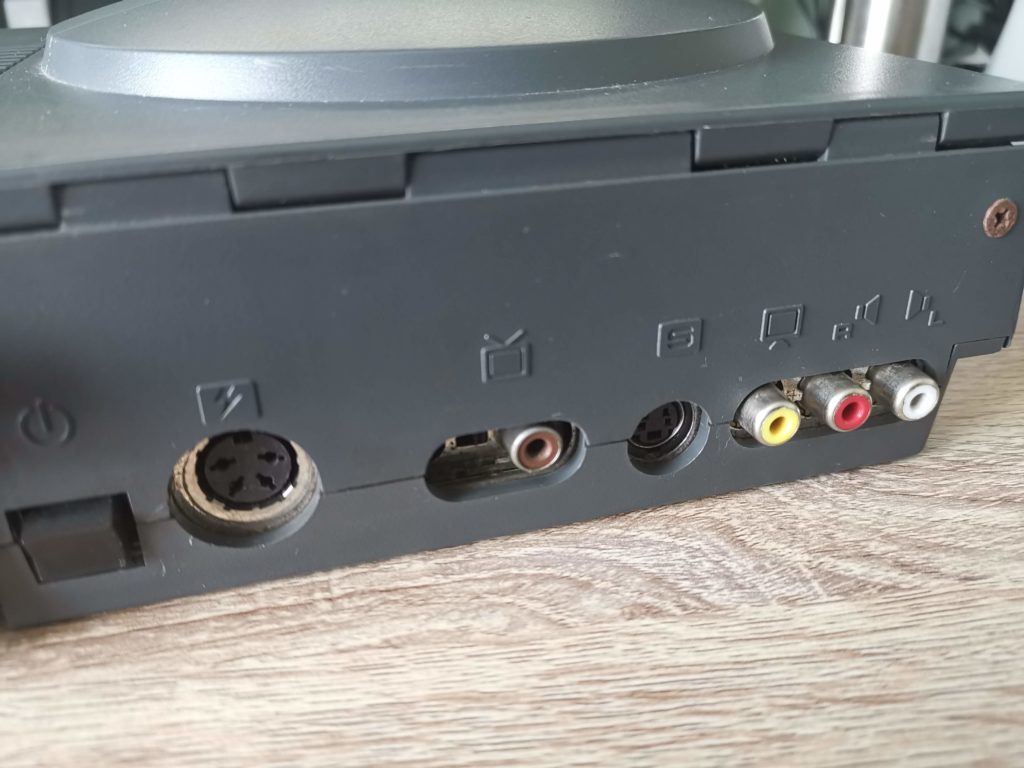
TF330 fully installed – you can clearly see that it protrudes about 1″ from the back of the console to the edge of the PS/2 port.
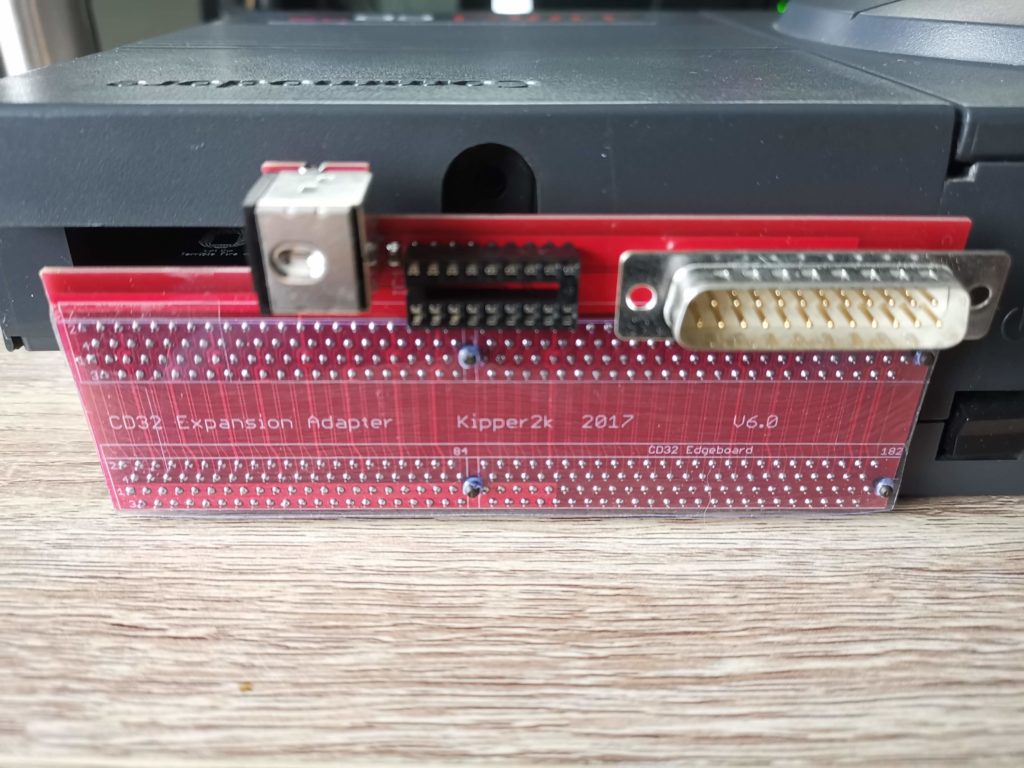
The transparent plastic stuck over the circuit board protects it from being shorted out accidentally. The PIC chip is missing for reasons that I will explain later…
Booting up for the first time
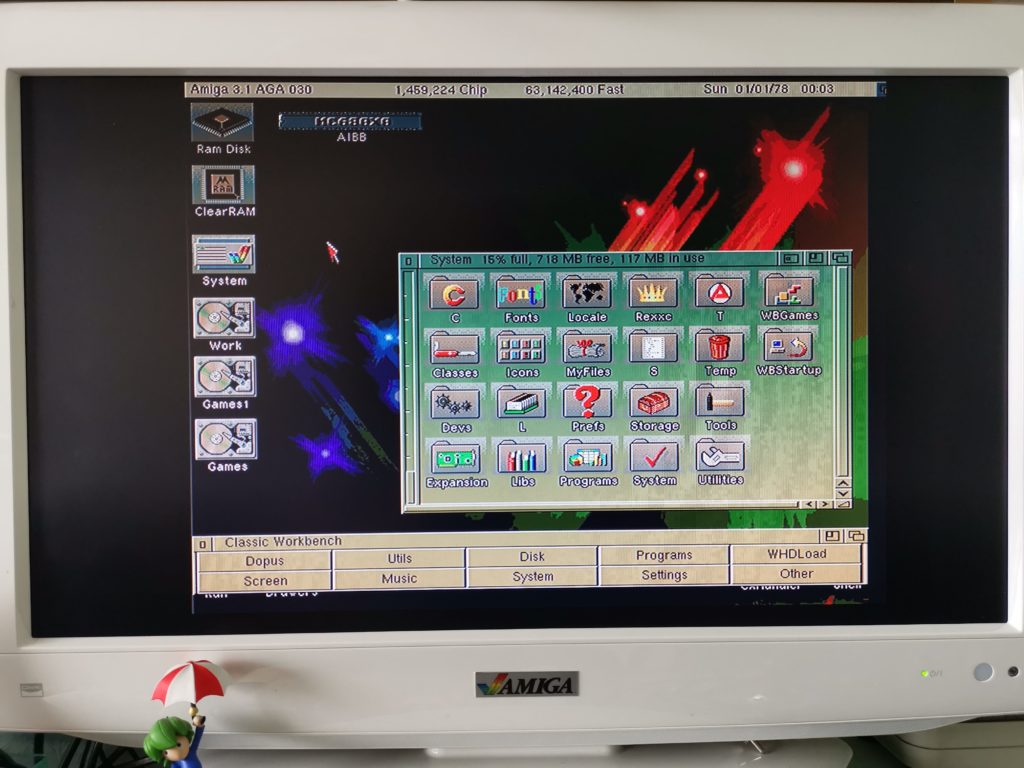
My TerribleFire 330 came with a pre-installed copy of Workbench on an 8GB Compact Flash card. To boot into Workbench all you need to do is turn on the CD32 without a disc inside it. After a few seconds the CD activity light starts to flicker away and then up pops the workbench screen.
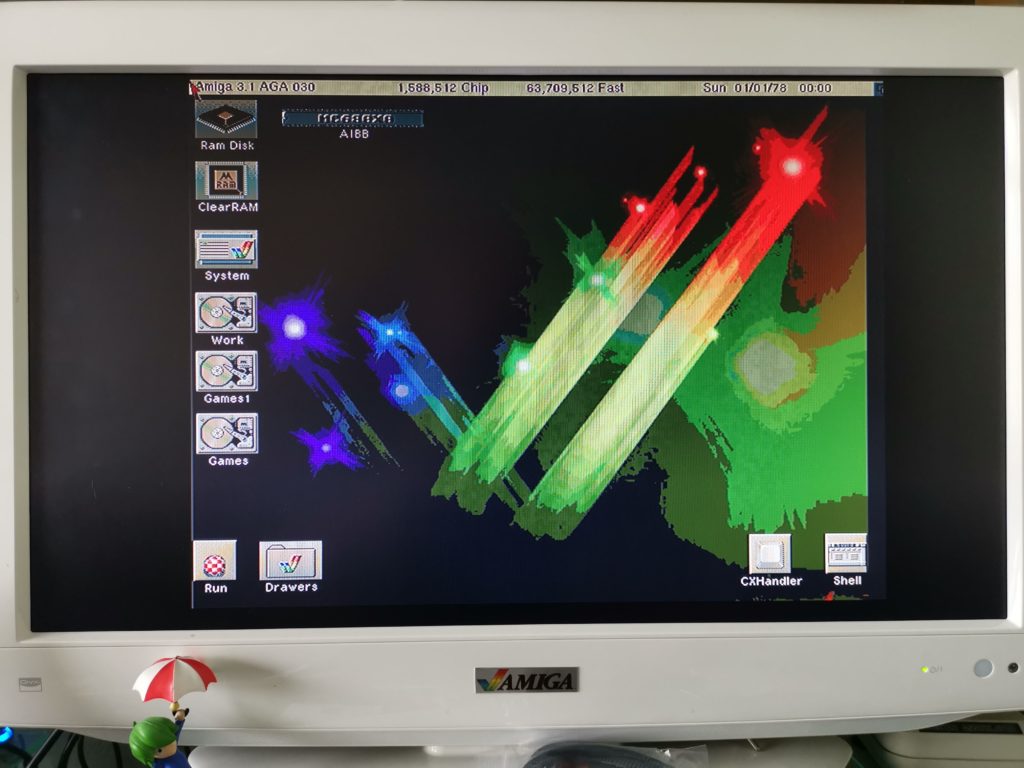
You can see the 68030 CPU recognised along with the extra 64MB of RAM on the title bar of the screen.
As with any accelerator upgrade for the Amiga I couldn’t resist loading up Sysinfo to see how my pimped out CD32 fared against other systems in the Amiga range. I was not disappointed, it ranked between the Amiga 3000 and 4000 which is impressive. It’s almost twice as fast as a stock A3000 which has a 25Mhz 030 processor.
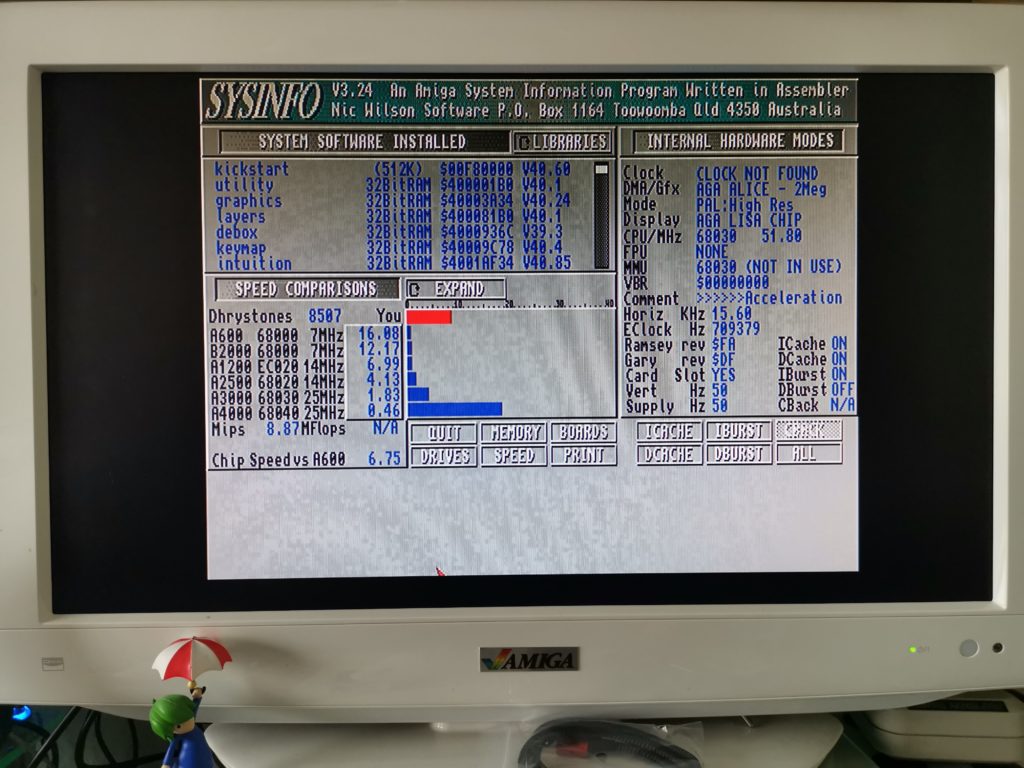
SYSINFO: Nearly half as fast as an Amiga 4000…
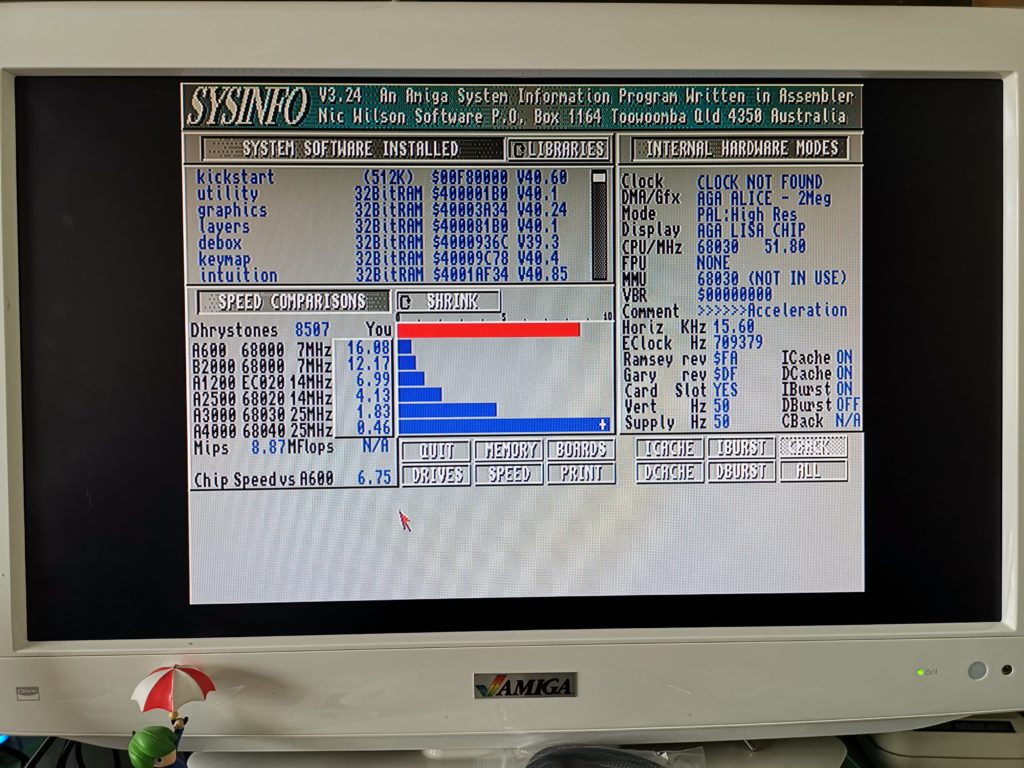
SYSINFO: Zoomed in view.
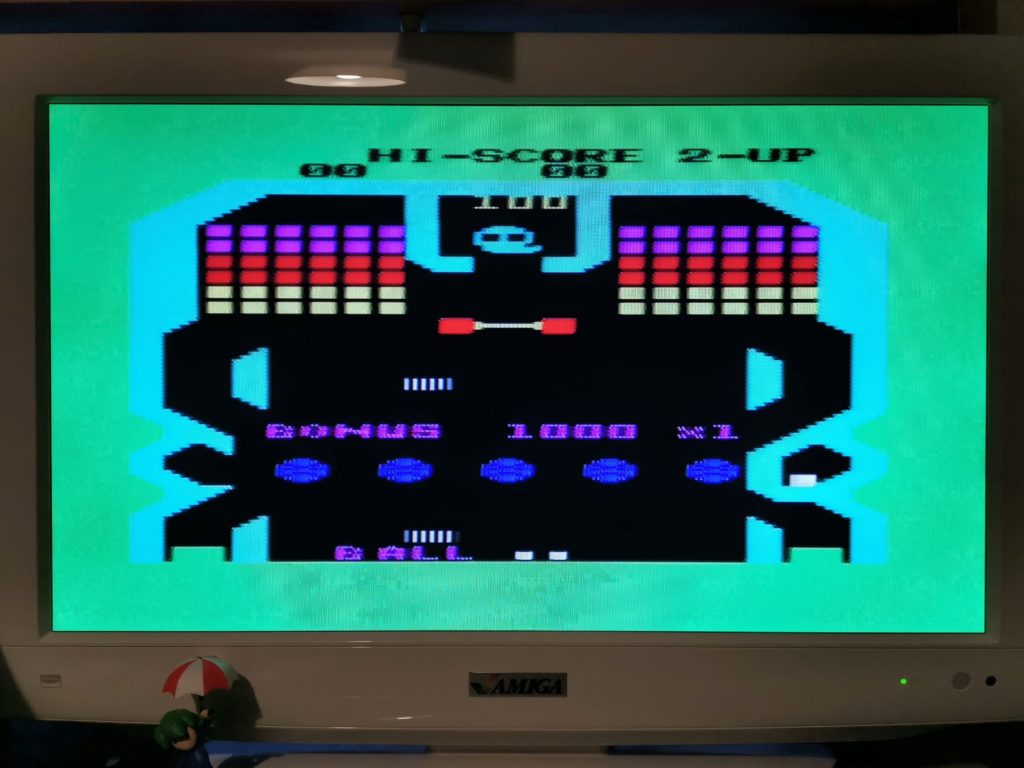
And of course with the ability to run Workbench off an installed CF card comes the option of using WHDLoad! My card came pre-installed with hundreds, if not thousands of games all ready to play with a few clicks of a mouse. The CD32 already has the required 2Mb chip RAM and with the TF330 it also has plenty of Fast RAM now too. Throw in a PS/2 keyboard and you can also exit games cleanly back to Workbench and play games like Star Crusader that require one.
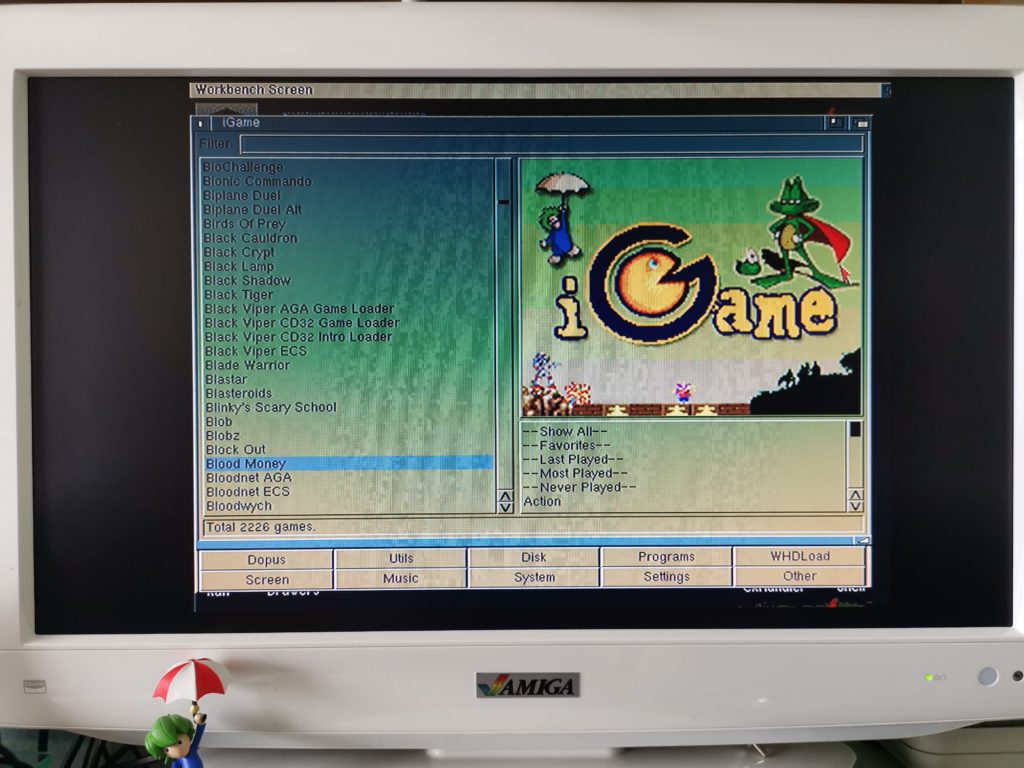
TerribleFire 330 lets you use WHDLoad on the CD32.
Compatibility
I’ve now tested all the games I own and listed the results on my CD32 Game Compatibility page.
The board was described as having a ‘disable jumper’. Removing it is supposed to make it invisible to the CD32 so it can boot up as normal. However in my testing this simply doesn’t work, in fact removing the jumper prevented my console from booting up at all. I contacted the seller on AmiBay who said there’s still a bug with this and that it would hopefully be fixed in a future firmware update. If that ever happens I’ll update this article.
As things stand right now I can either remove the board if I come across an incompatible CD32 game or see if there’s an alternative version on the internet that has been patched to work. Alternatively I can also try the WHDLoad version.
RGB Video Functionality
The RGB port works exactly as described and offers a beautifully crisp, vibrant display with a regular Amiga RGB SCART cable. Much better than the composite I was having to use previously. Whether or not I was using Workbench or playing a game off CD this worked flawlessly.
A beautifully crisp display thanks to the TerribleFire 330’s RGB video output.
PS/2 Keyboard Functionality
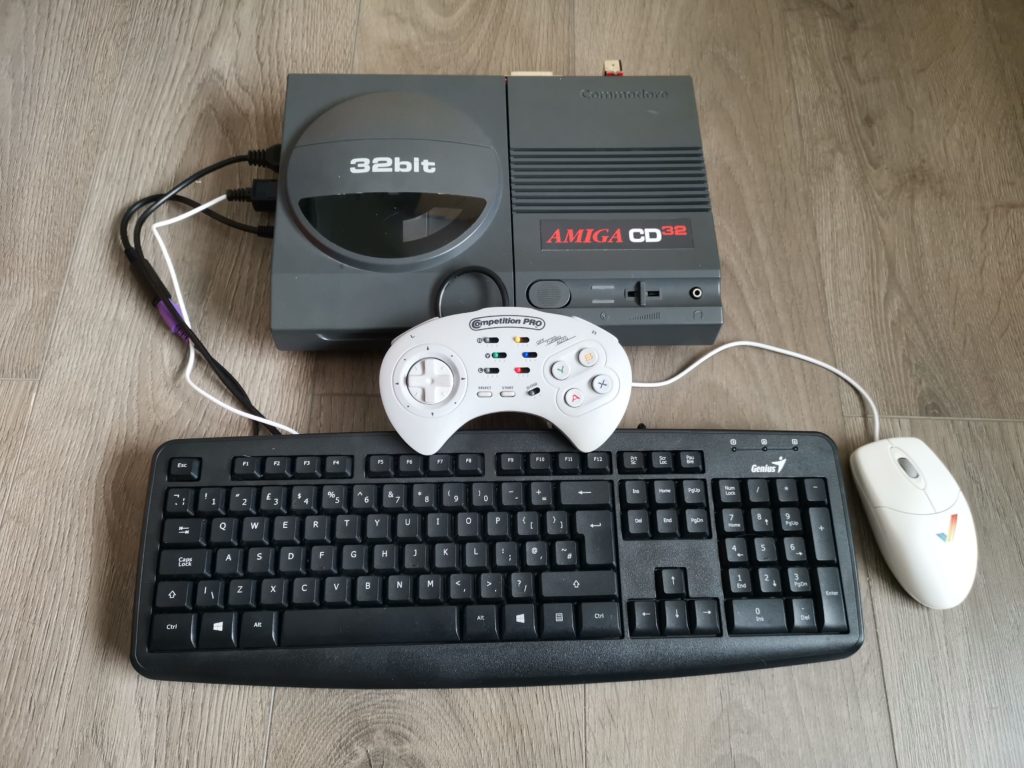
Unfortunately I can’t say the same for the PS/2 port. The whole point of this is to allow people to use cheap PC PS/2 keyboards with the CD32 instead of super scarce Amiga ones. However I tried three different brands of PS/2 keyboard and only one of those worked… for about 10 minutes. No matter what I tried I couldn’t get that keyboard to work reliably. It turns out that the PS/2 keyboard compatibility is very poor with the riser card. People report greater success with really old keyboards rather than currently available ones. I was advised by the seller to get a CD32 AUX to PS/2 adapter.
This slideshow requires JavaScript.
I chose one of these on eBay for about £18. The seller was really helpful and even offered to refund me if the adapter turned out not to work. Thankfully that wasn’t necessary as it worked perfectly with my cheap Genius PS/2 keyboard that I picked up off Amazon. There’s some clever electronics hidden inside the adapter that converts stuff like the two ‘Windows’ keys into ‘Amiga’ ones so you can still do a soft-reset. It works really well and I highly recommend getting one, even if you don’t get a TerribleFire!
This slideshow requires JavaScript.
Actually there was one other issue that I had to solve before I was in PS/2 keyboard nirvana. The keyboard initially behaved like a key was stuck down. There is a conflict between the PIC chip on the Kipper 2K riser and the PS/2 Aux adapter. Simply removing the PIC chip solved this problem completely with no negative effects.
Here’s the PS/2 keyboard I’m using with my CD32, it’s just a cheap one I picked up off Amazon but it does the job and isn’t a bad match for the dark grey colour of the console either.
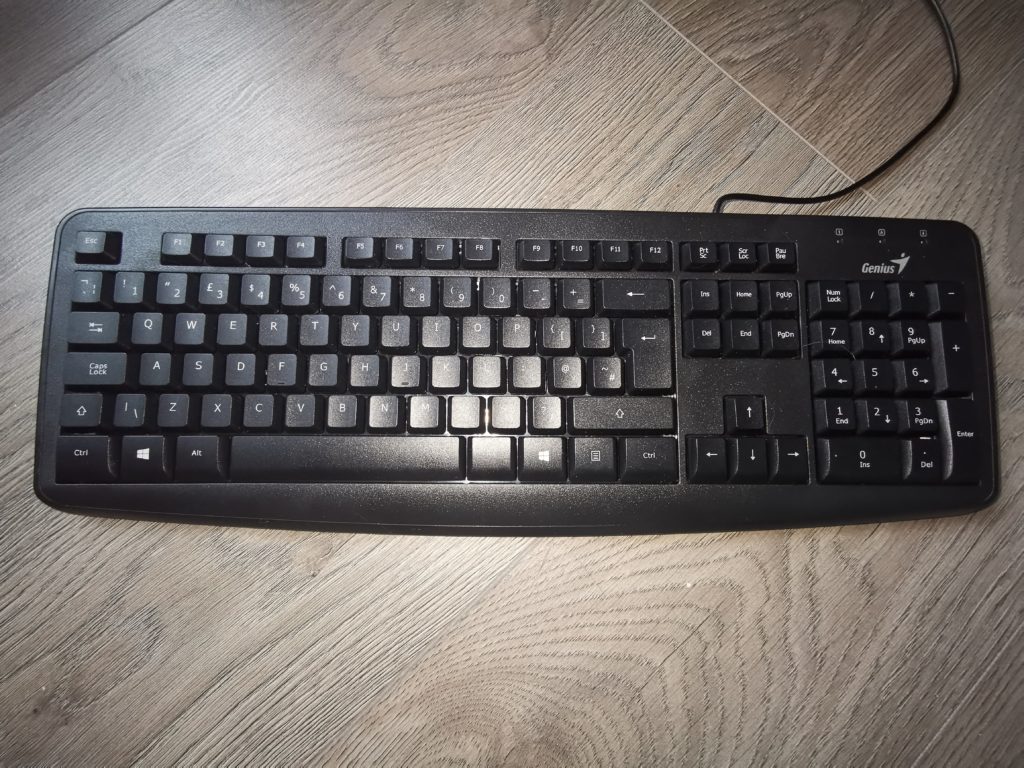
CD32 PS/2 Compatible Keyboard
Conclusion
I can’t deny it’s shame the built-in PS/2 keyboard option doesn’t work as well as it could and that I can’t disable the board without removing it. However these small niggles don’t stop the TerribleFire 330 from being a beast of an expansion for the money. You’d be hard pressed to find anything else offering as much bang for your buck.
With the TerribleFire 330 installed my CD32 has become the ultimate Amiga gaming machine. It can play CD32 and CDTV titles and thanks to WHDLoad it can now play pretty much any other Amiga title as well. In fact with mouse and keyboard attached it can even be used for productivity stuff just like an A1200, only with a built in CD-ROM drive!
The extra grunt of the 50Mhz 030 also helps it run games like Alien Breed 3D, Frontier Elite 2 and Wing Commander at their very best. The addition of the RGB video port makes everything look its very best too! Bottom line, if you have a CD32 then the TerribleFire 330 is an essential upgrade for it.
With the TF330 my CD32 has become the ultimate Amiga gaming machine.