Vegetables Deluxe is a sequel of sorts to the Vegetables game that was released on itch.io early last year by Mike Richmond. It’s a ‘match 3’ type of game similar to Bejewelled or Candy Crush, a genre I don’t think even existed back in the 80’s. Thanks to this game that’s no longer the case and you can now enjoy this genre on both a C64 and Amiga (see end of post).
Physical Presentation
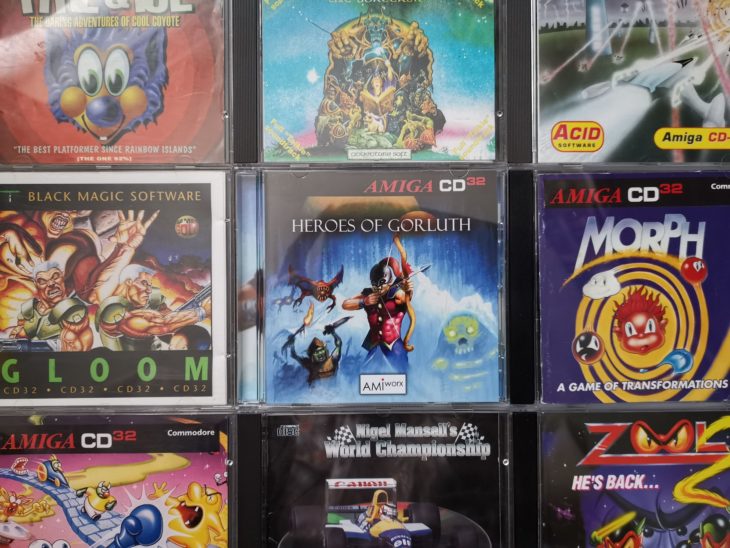
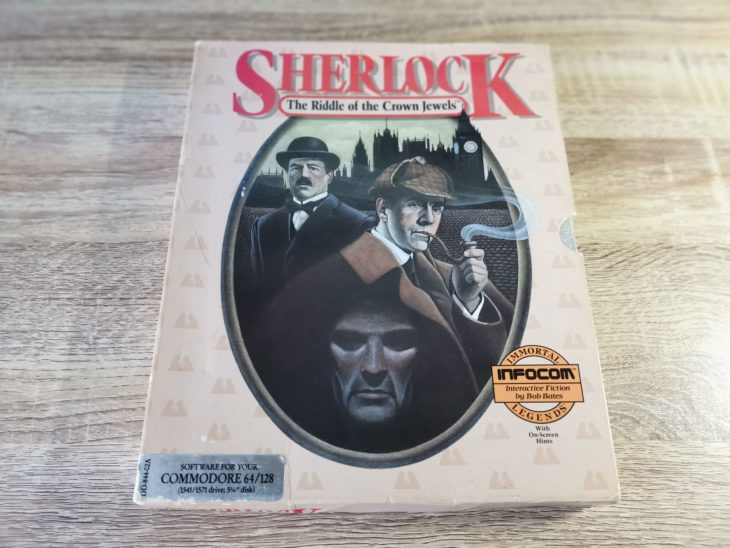
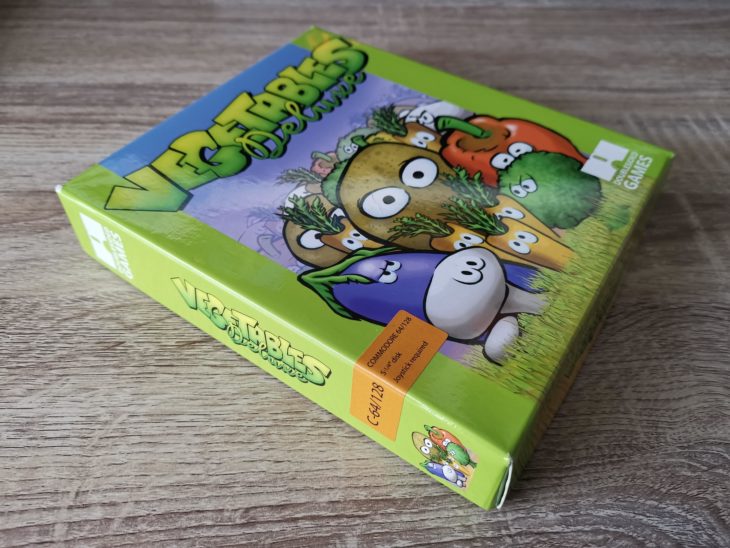
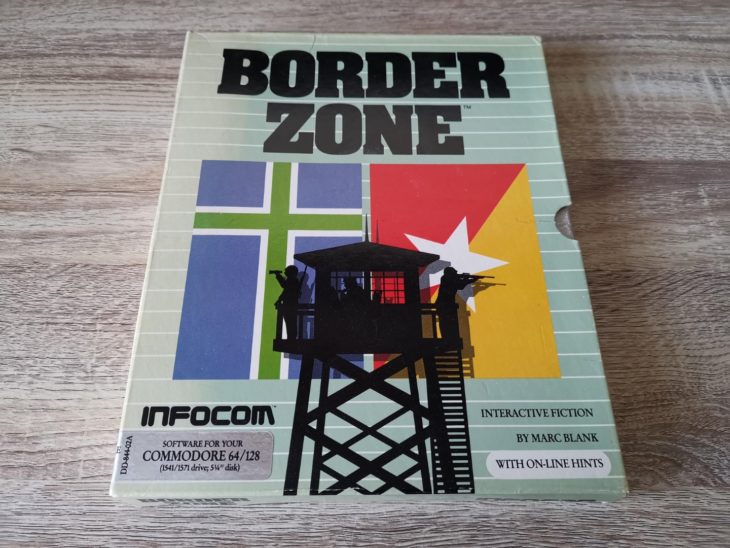
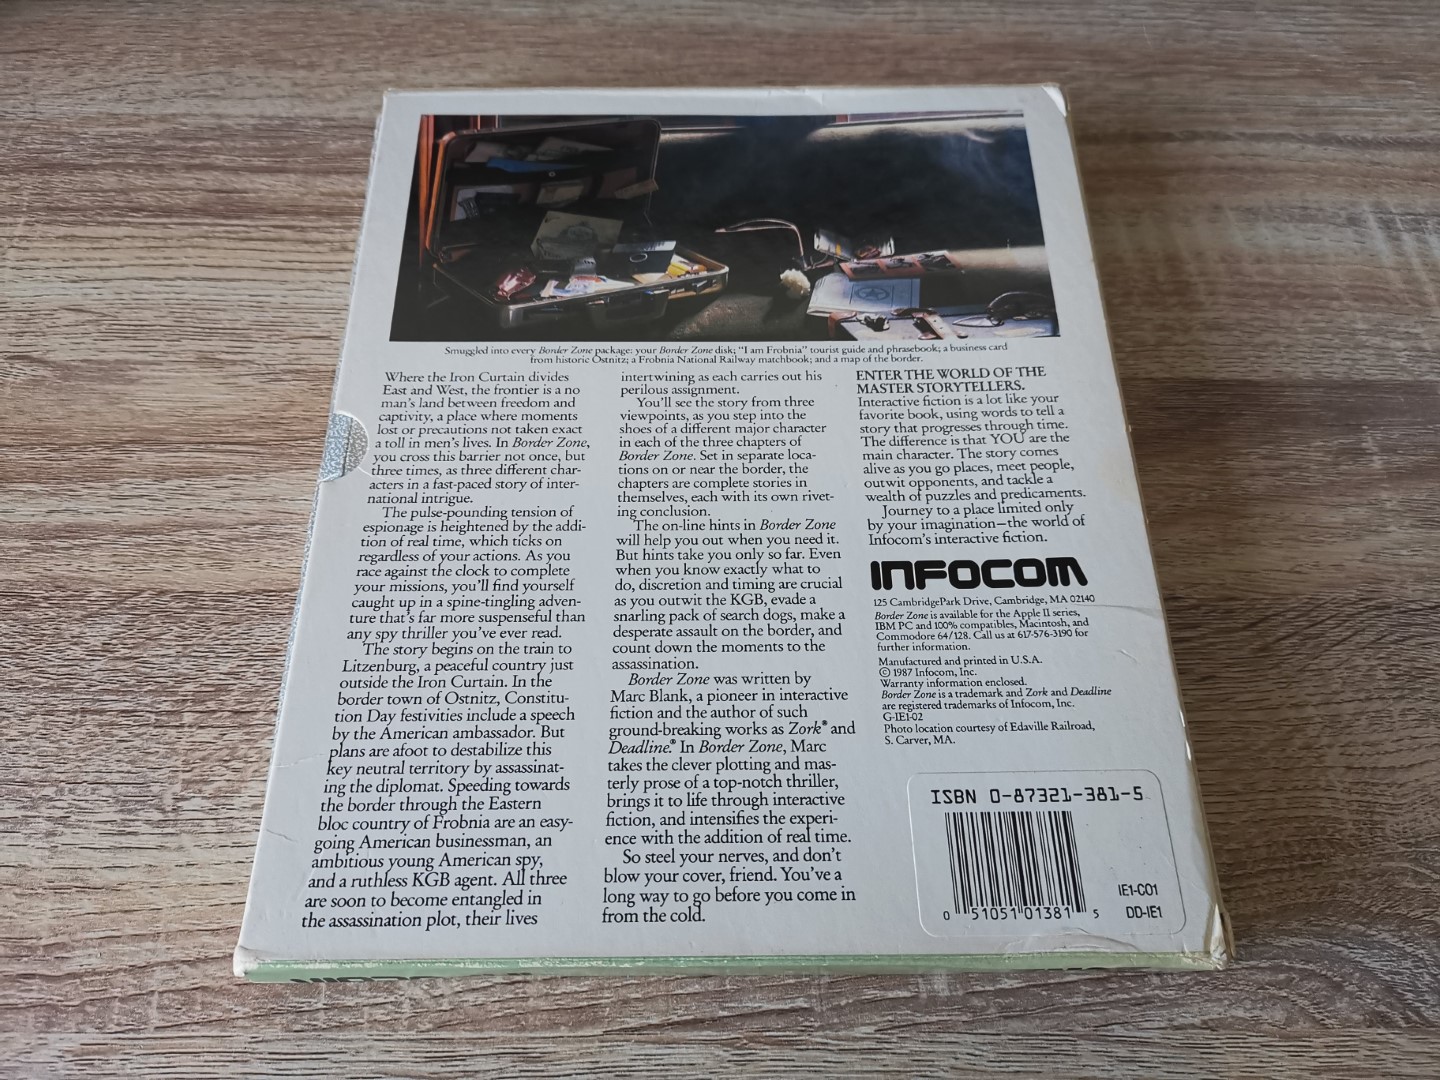
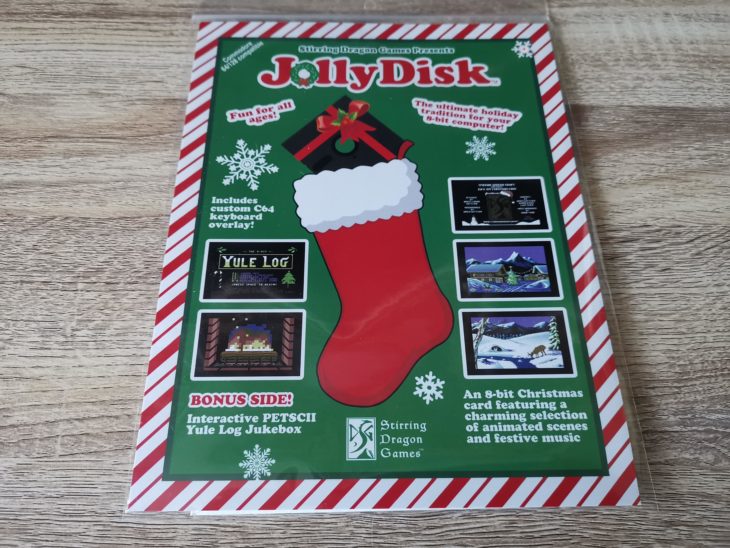
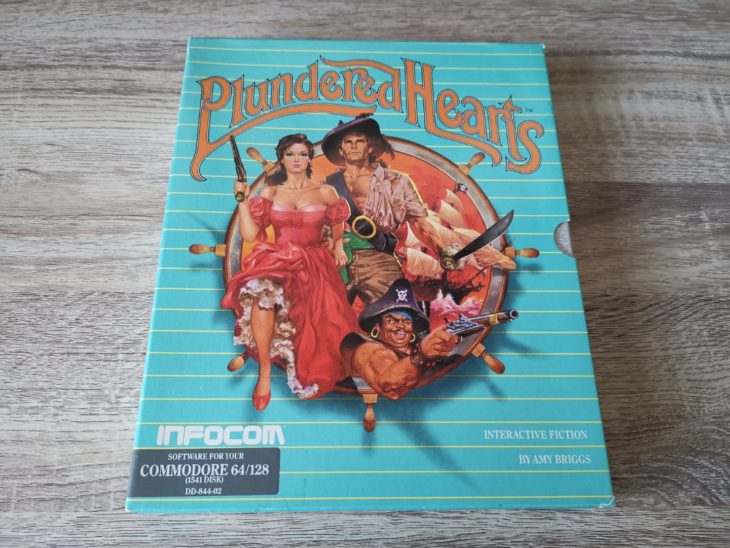
The game is presented in a vibrantly coloured glossy green box with some great artwork on the front. The back of the box includes some nice clear screenshots of the game in action along with a description of what it’s all about.
This slideshow requires JavaScript.
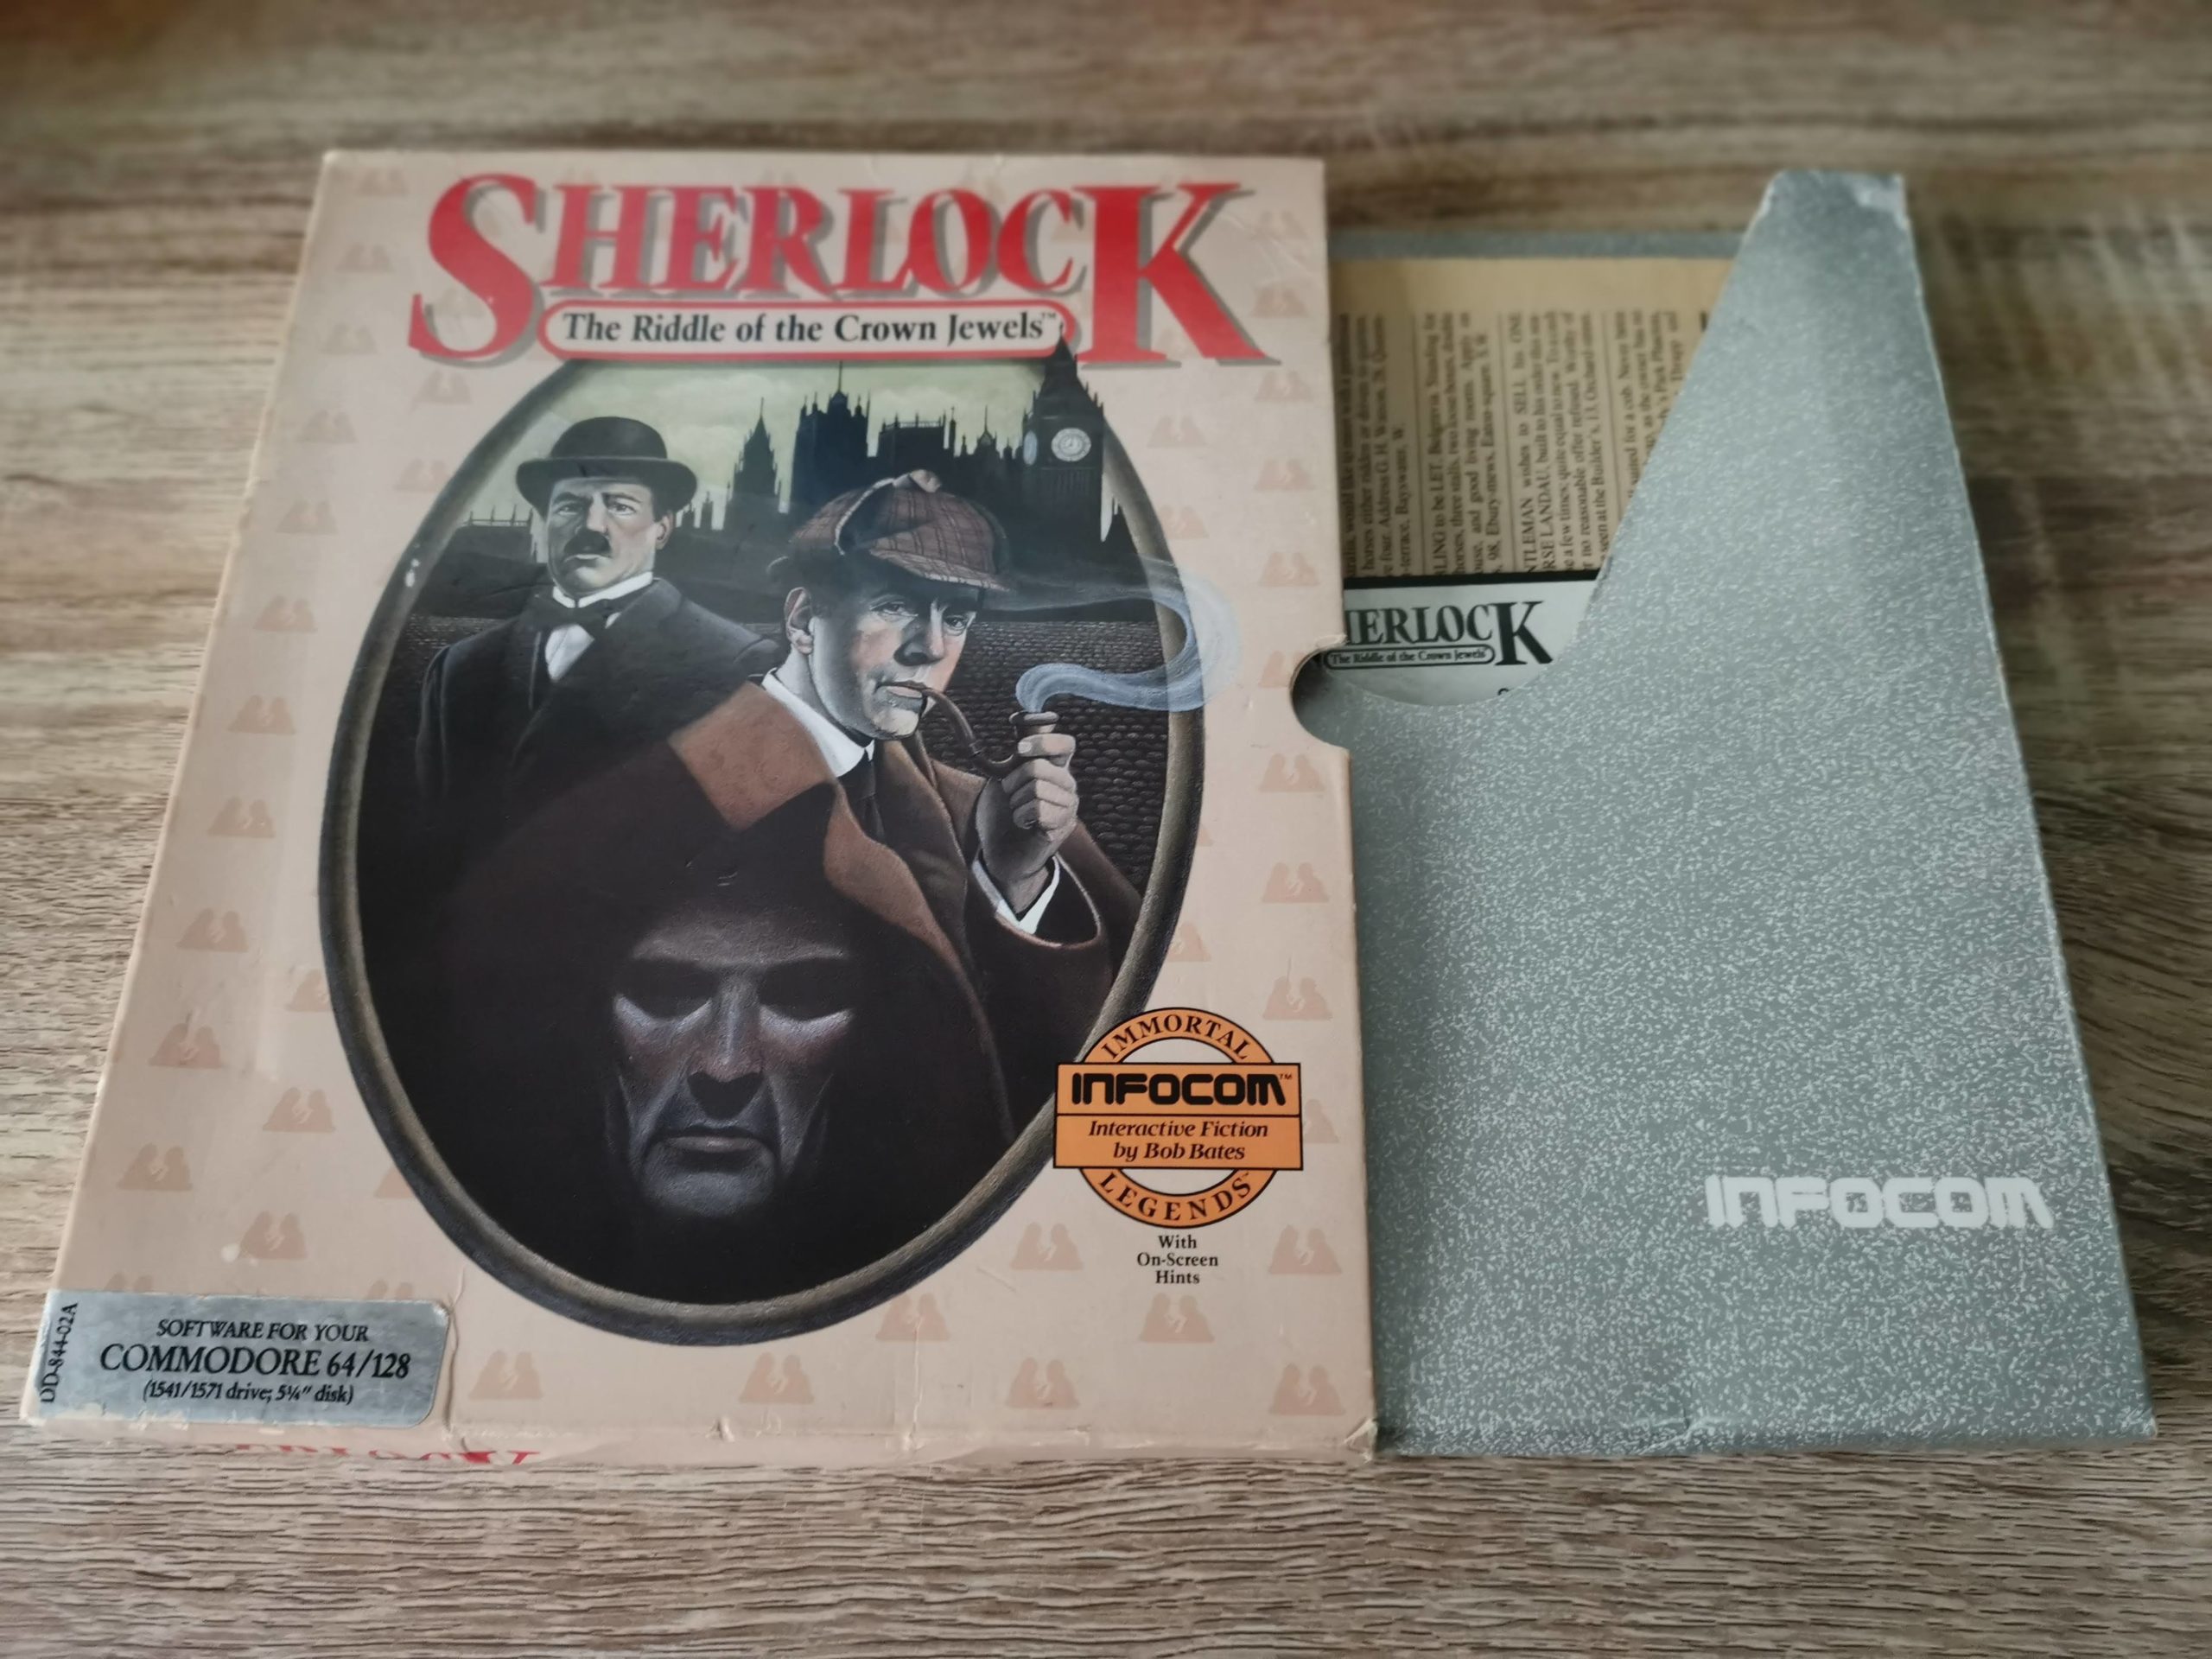
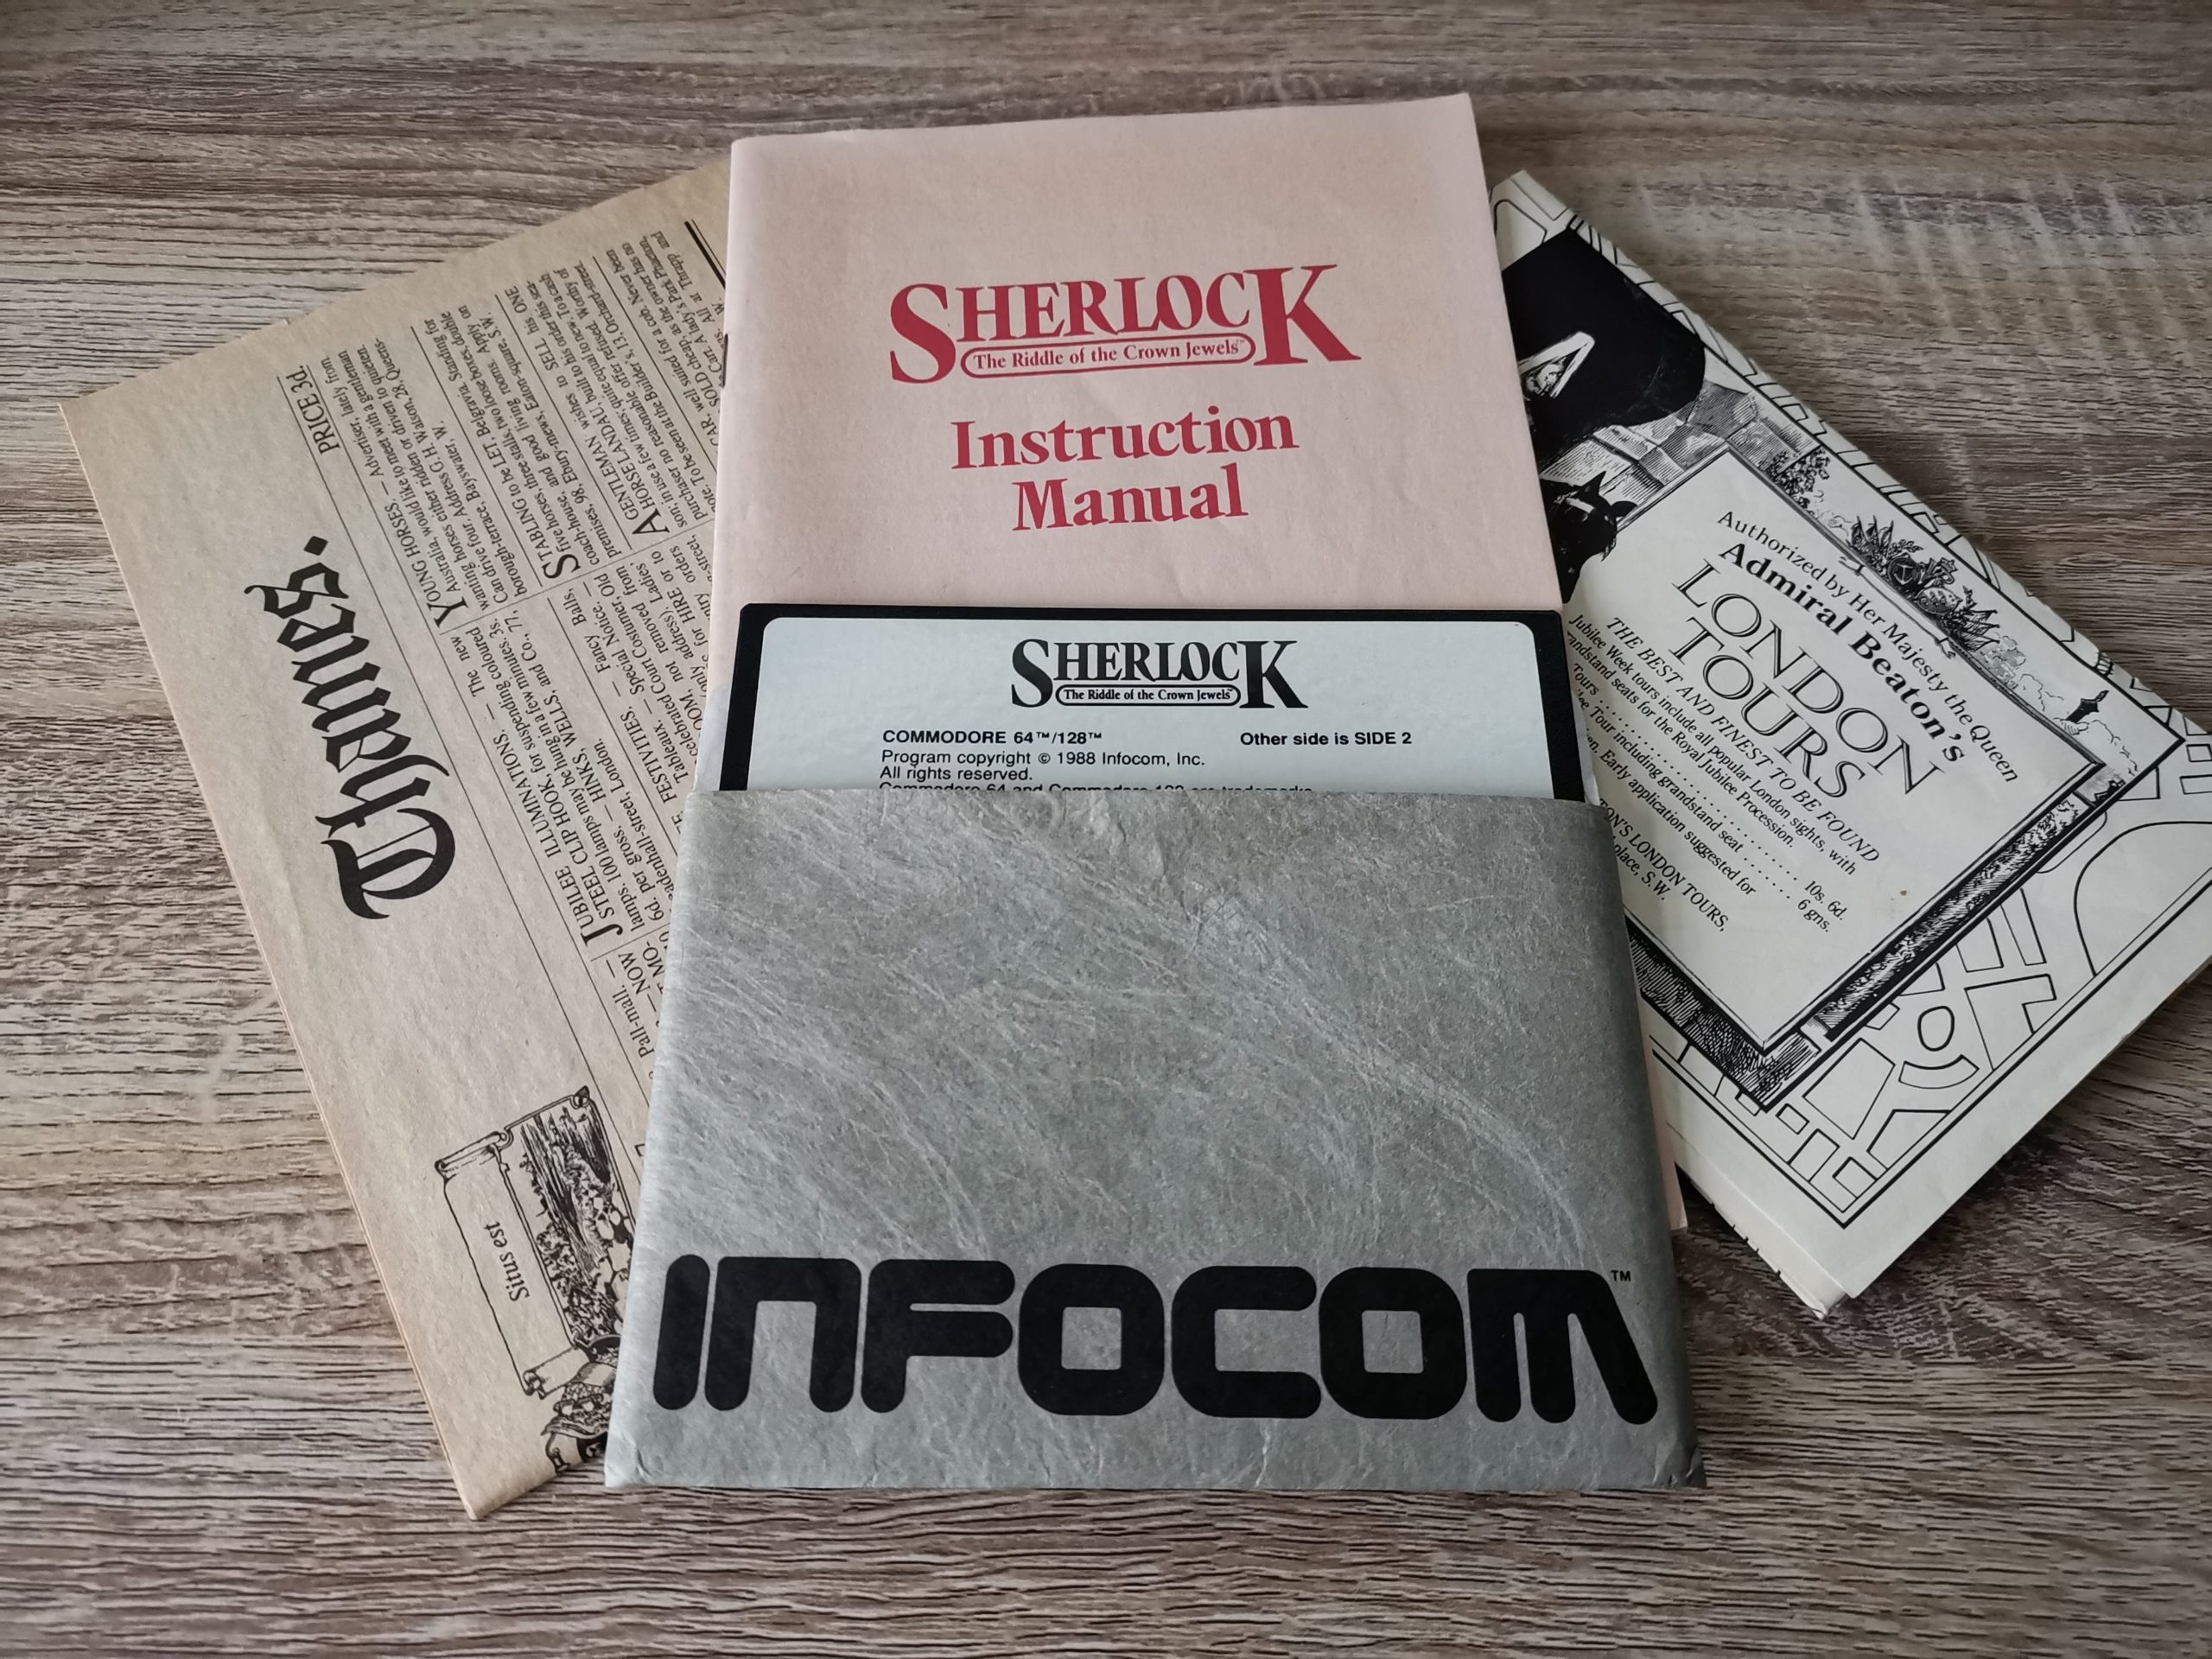
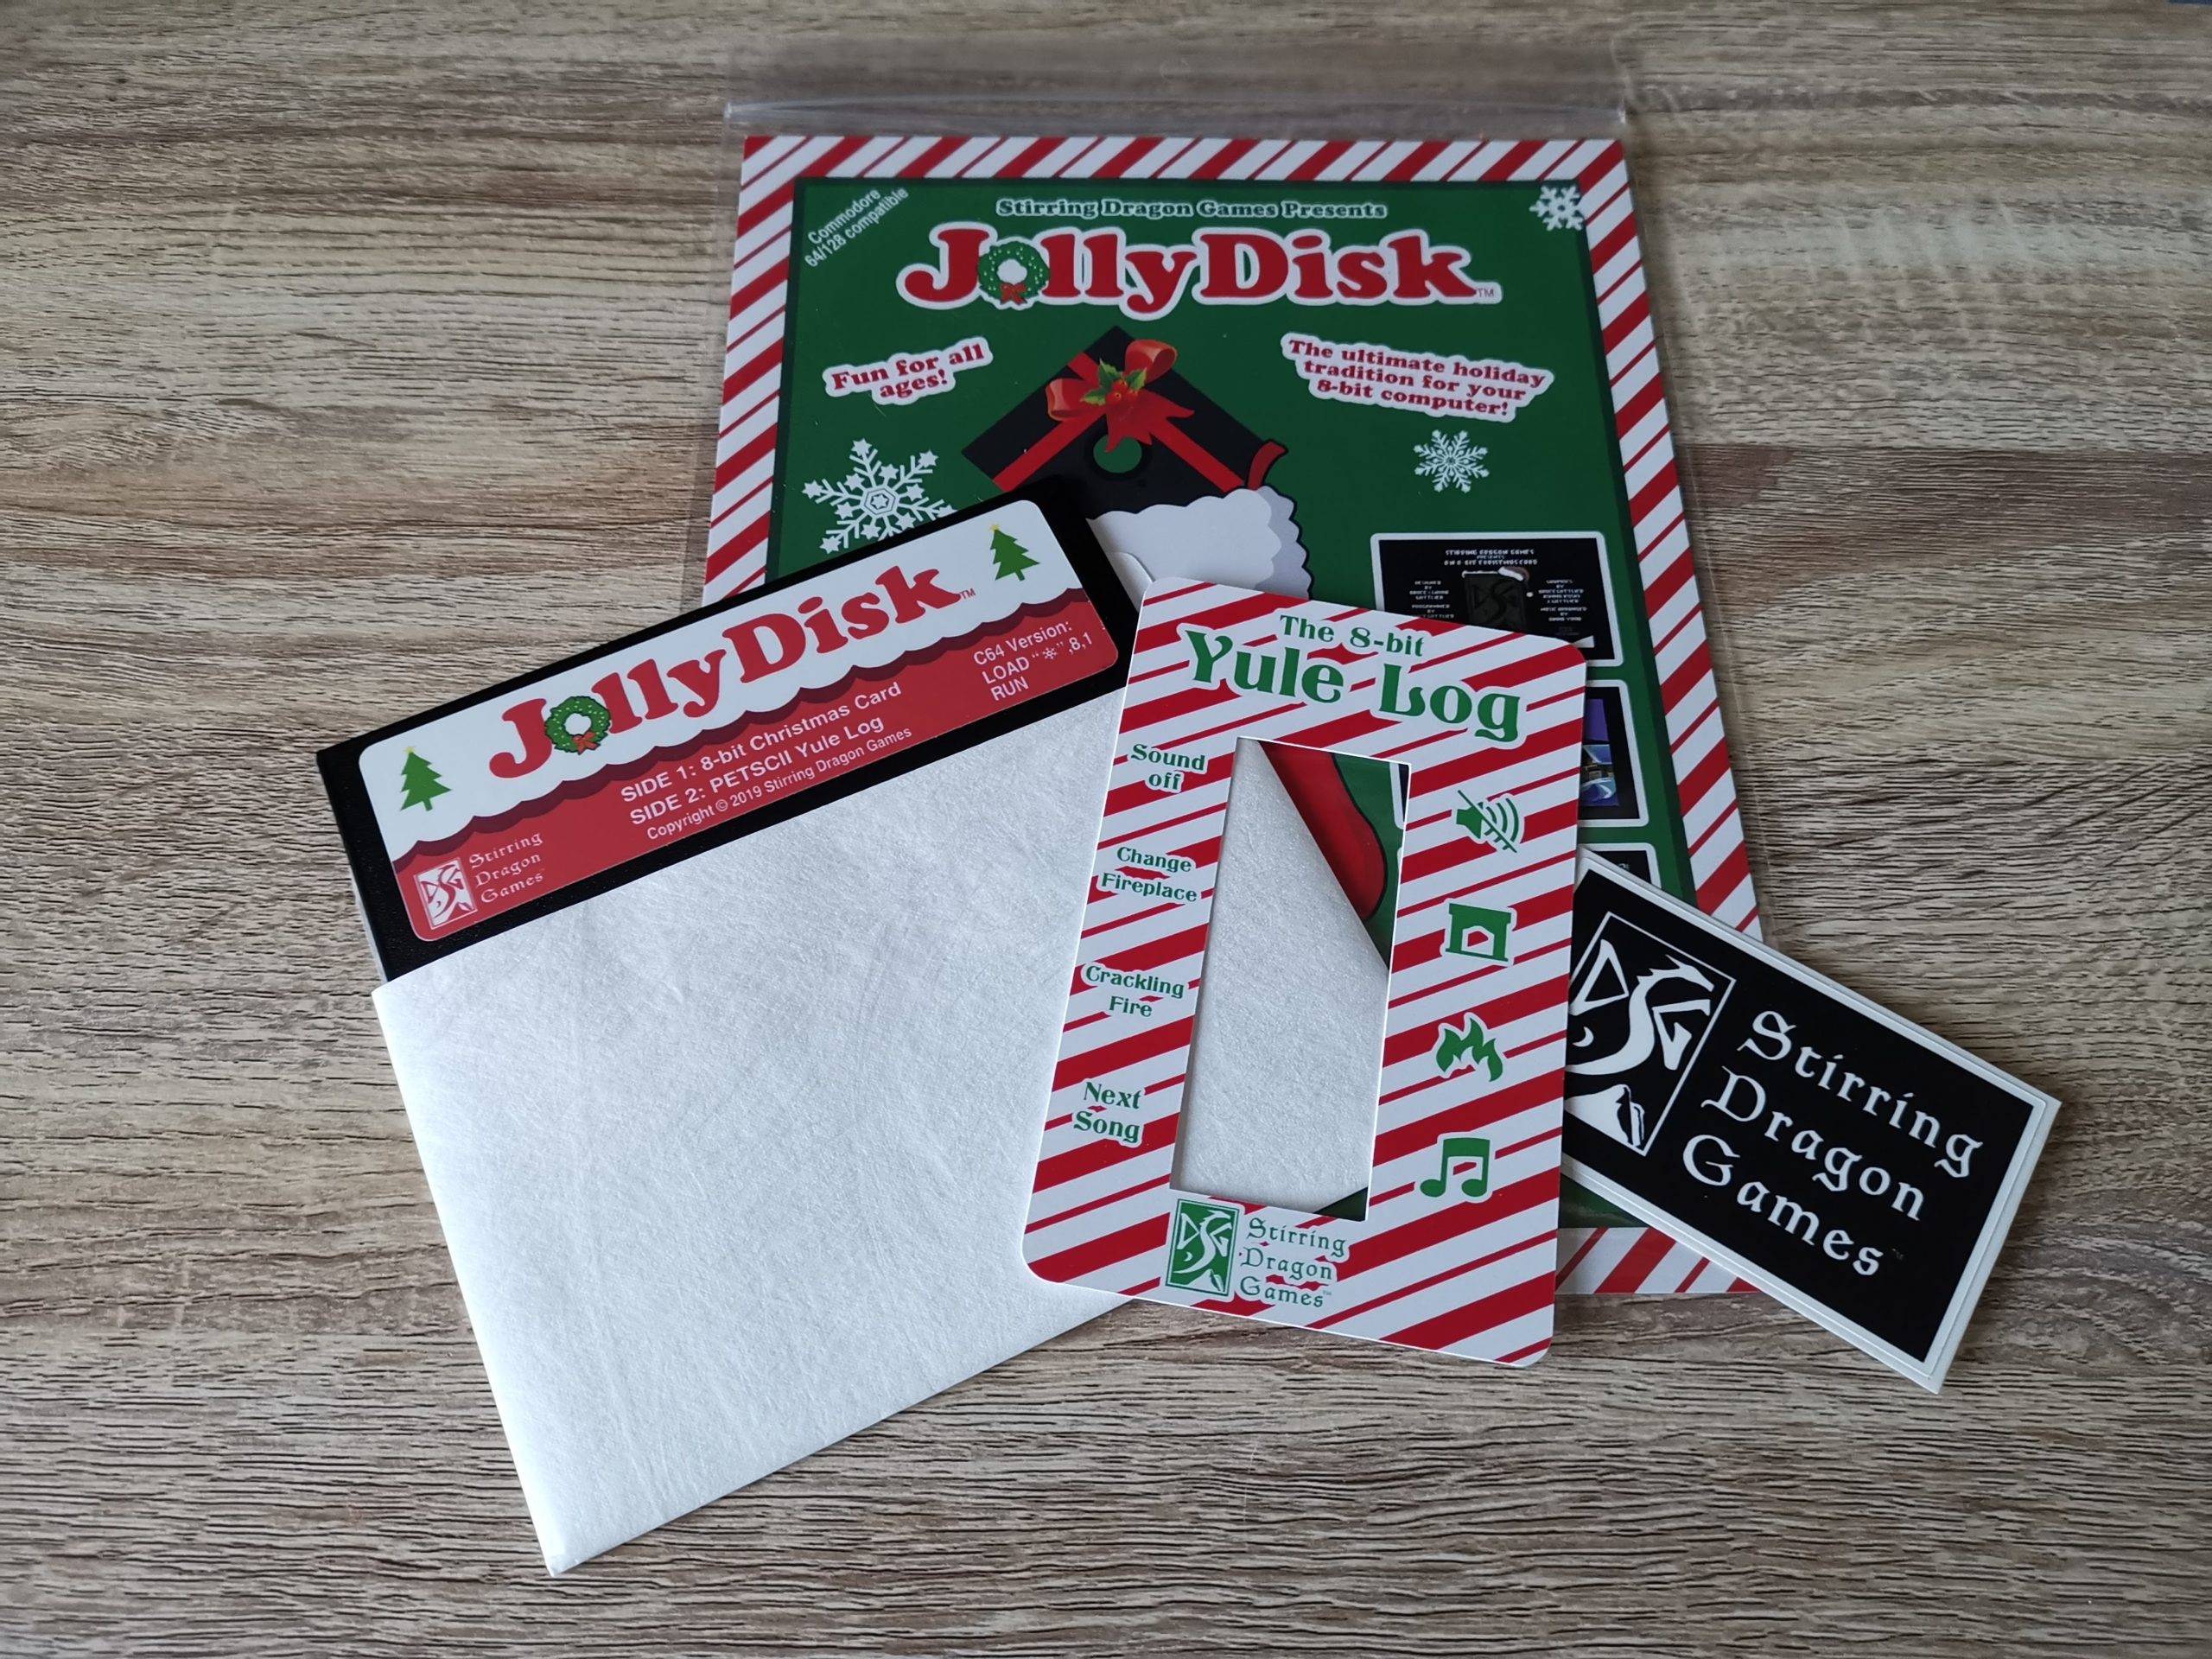
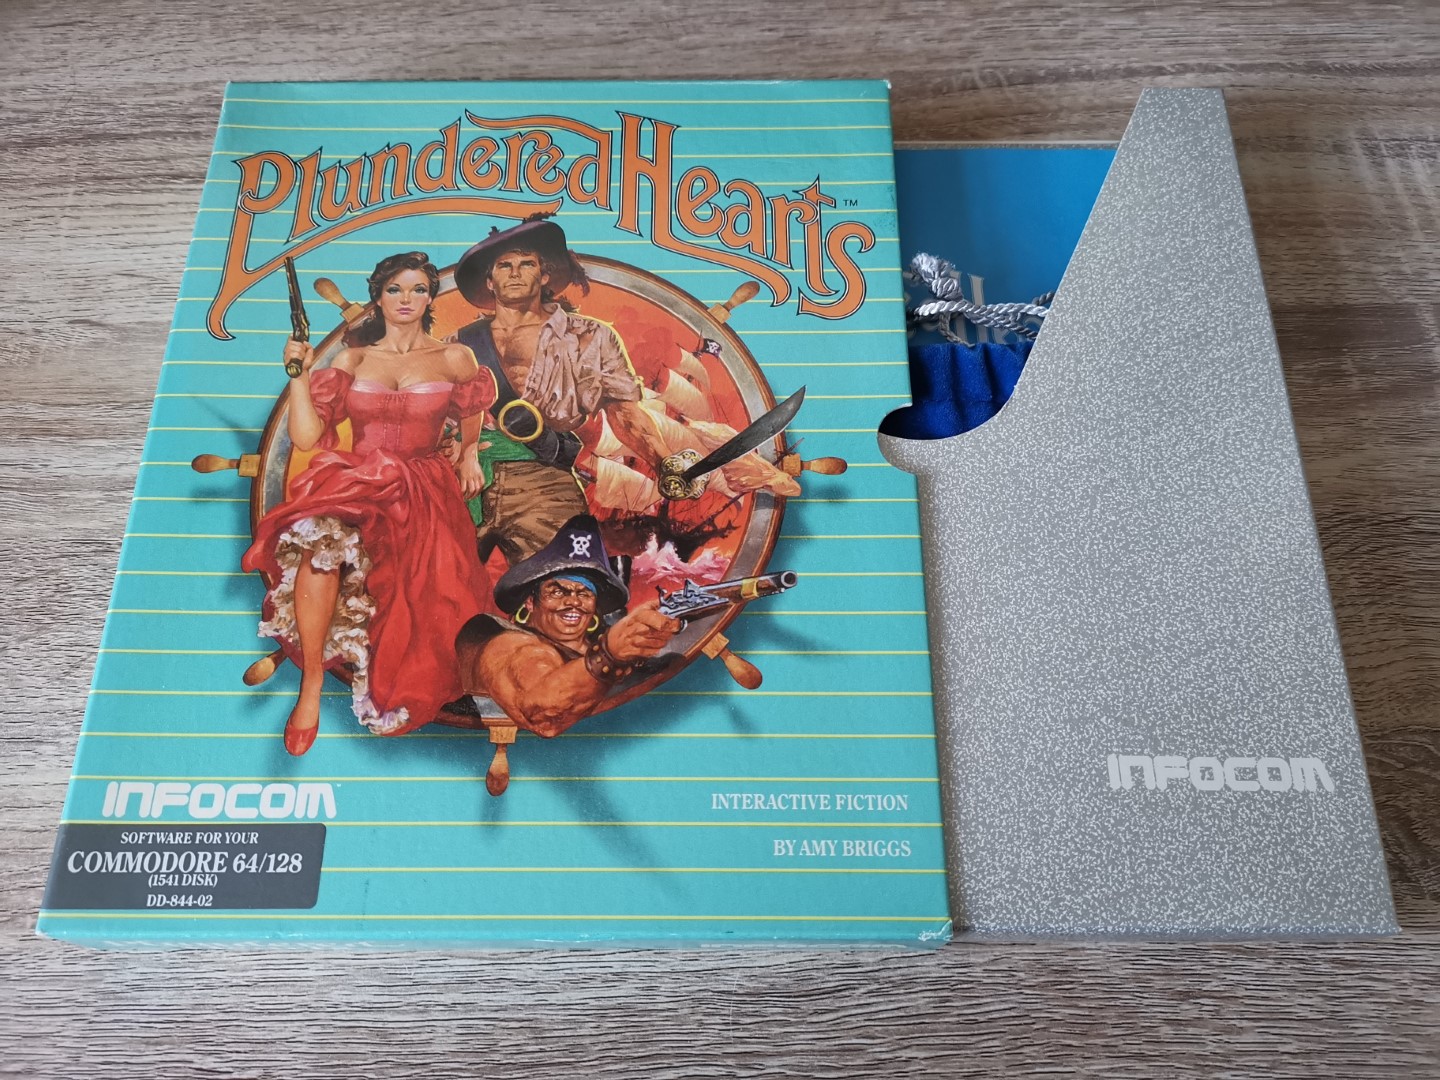
Opening up the box reveals an instruction manual and the game on a 5.25″ floppy disk with a snazzy matching label.
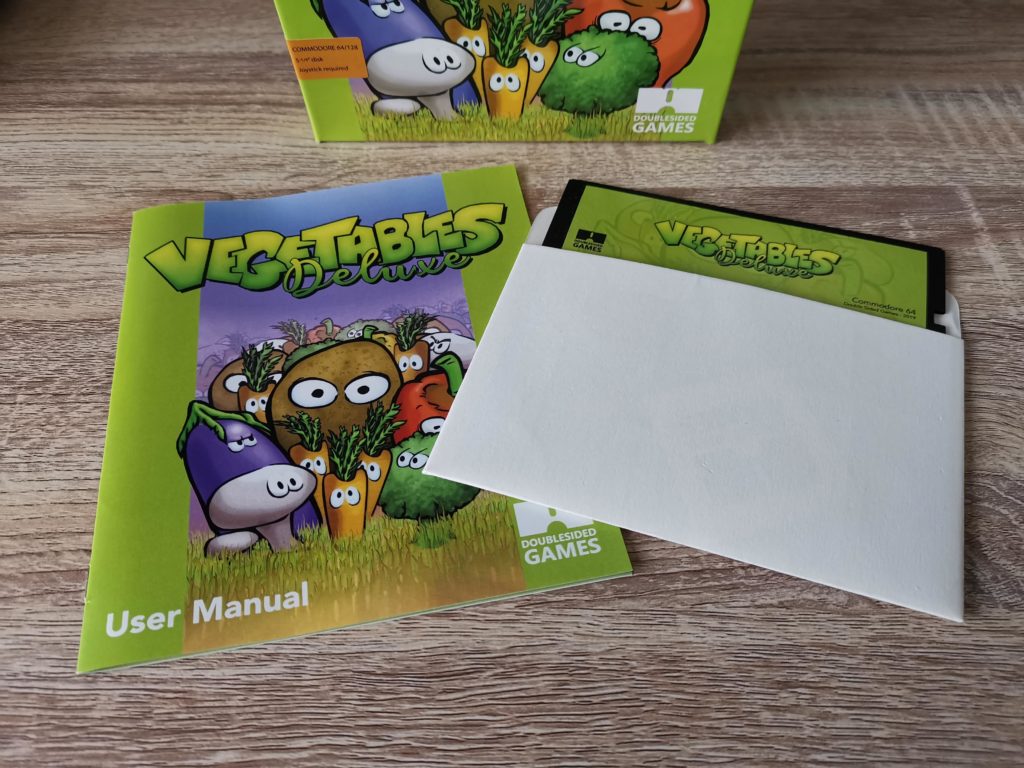
Vegetables Deluxe manual and Game on a 5,25″ disk
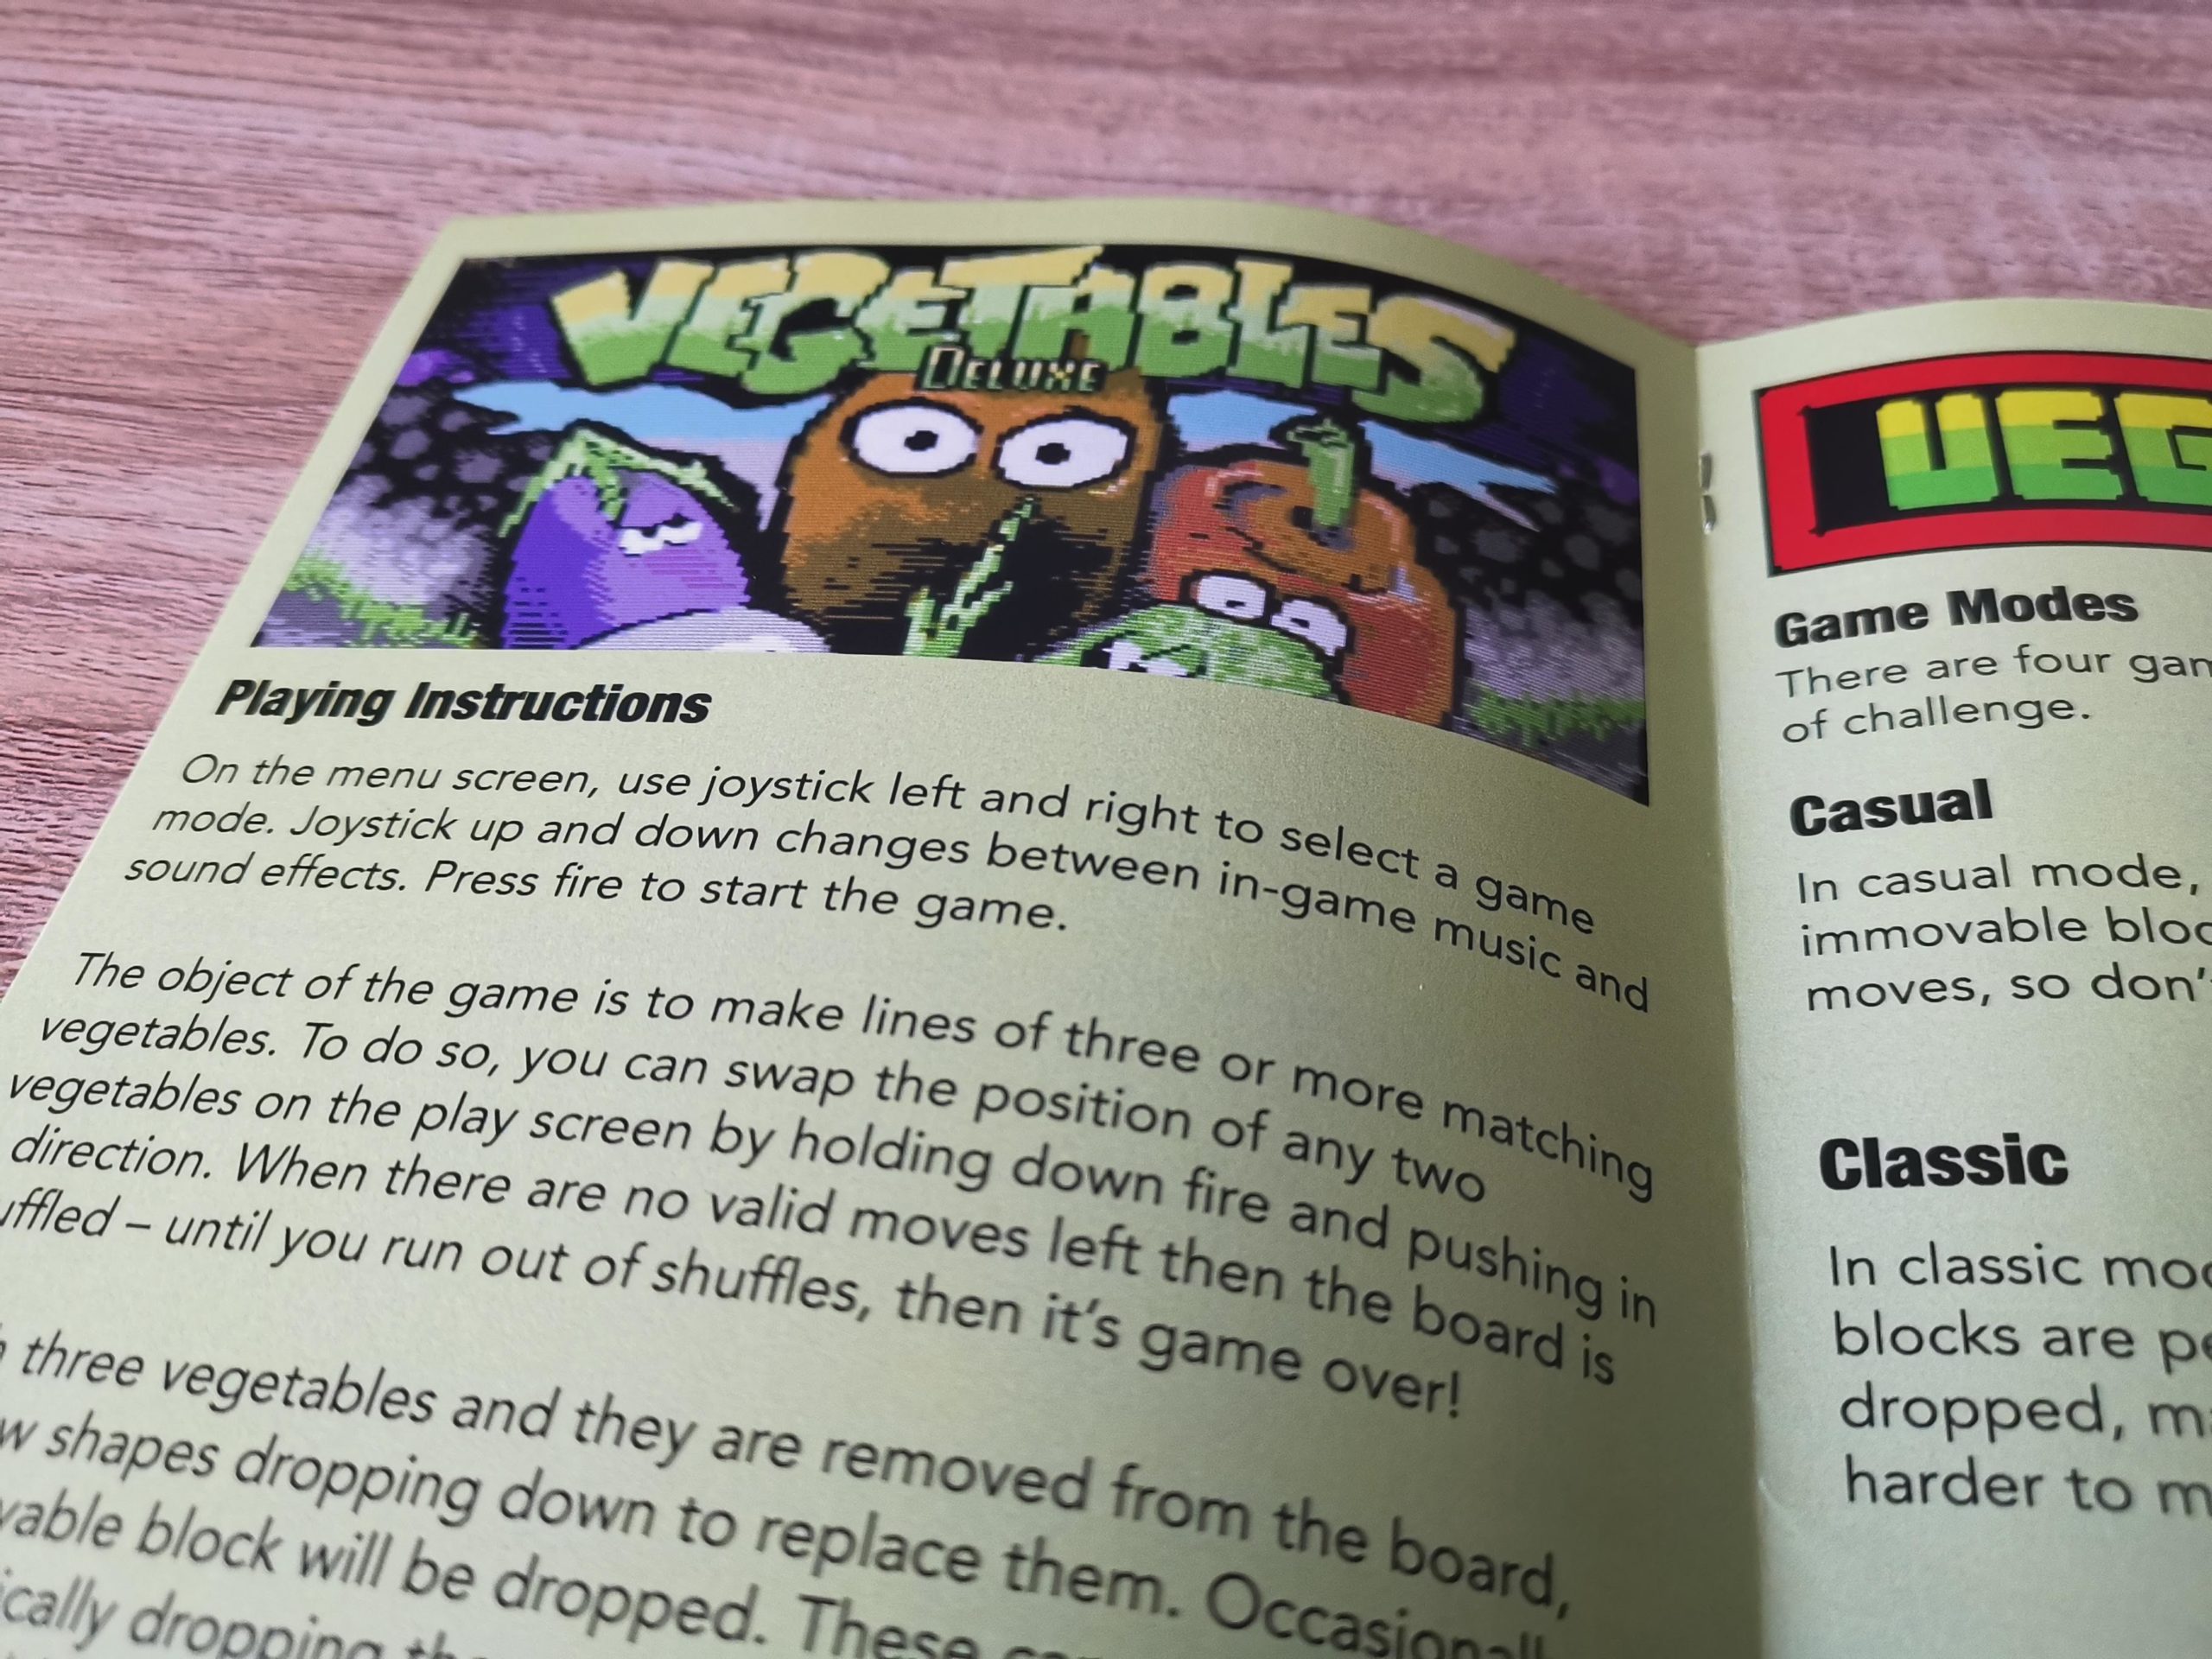
The instruction manual is nicely illustrated and in full colour throughout. It clearly explains how to play the game and describes the four different game modes on offer.

Vegetables Deluxe manual
Loading up the Game
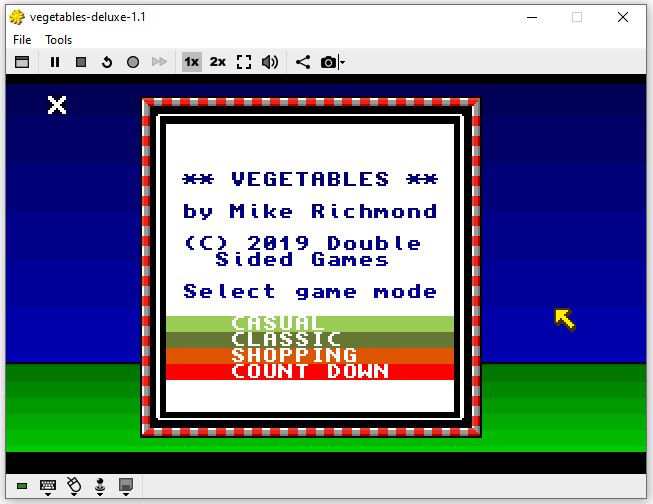
Upon loading the game you are presented with a lovely title screen complete with music. Pressing the fire button on your joystick starts a game straight away. I did find this a little odd as you’d normally expect to choose the game mode first.
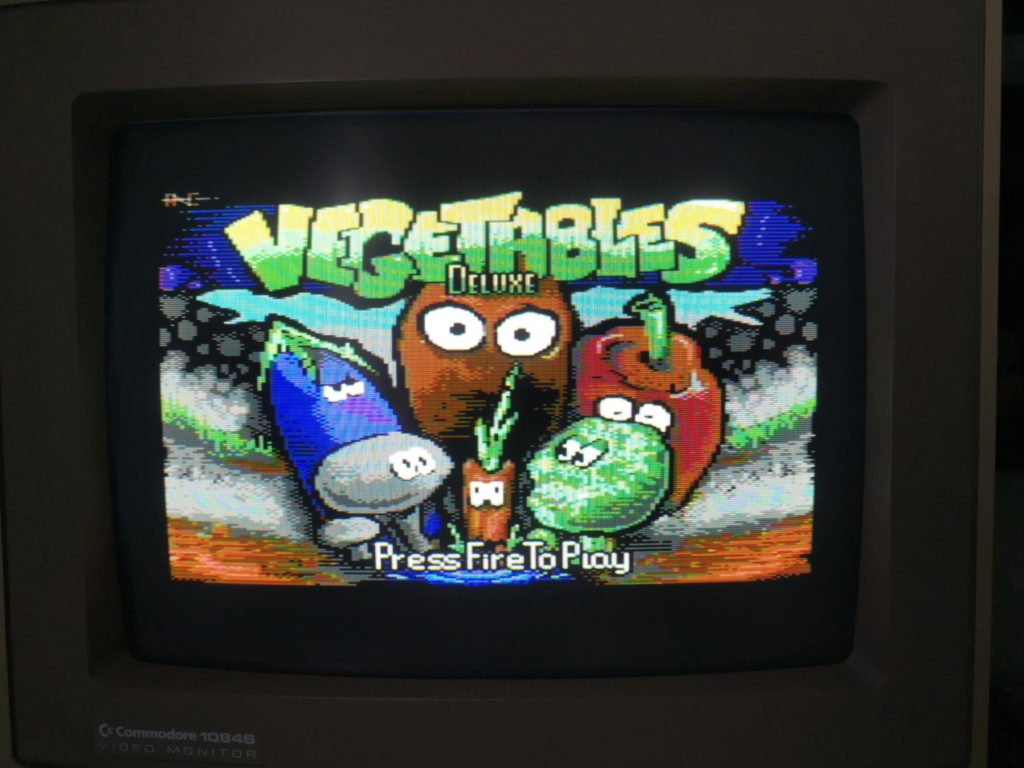
Vegetables Deluxe title screen
To actually get to the menu screen you need to pause the game by pressing ‘P’ on the keyboard and then press ‘Q’.
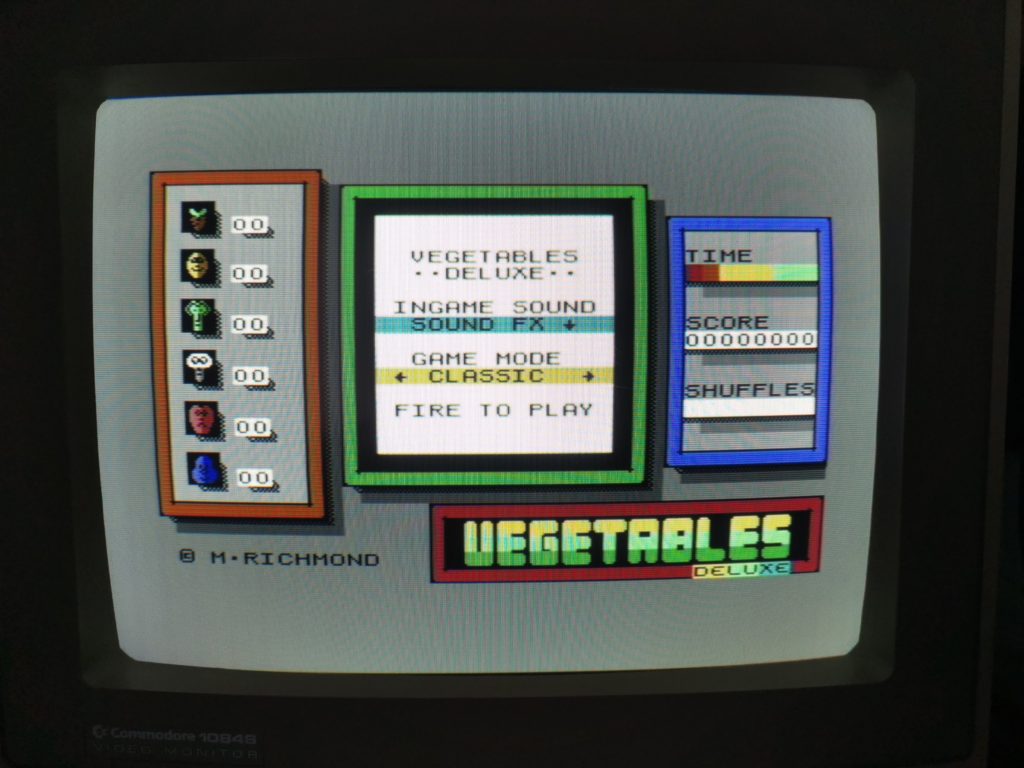
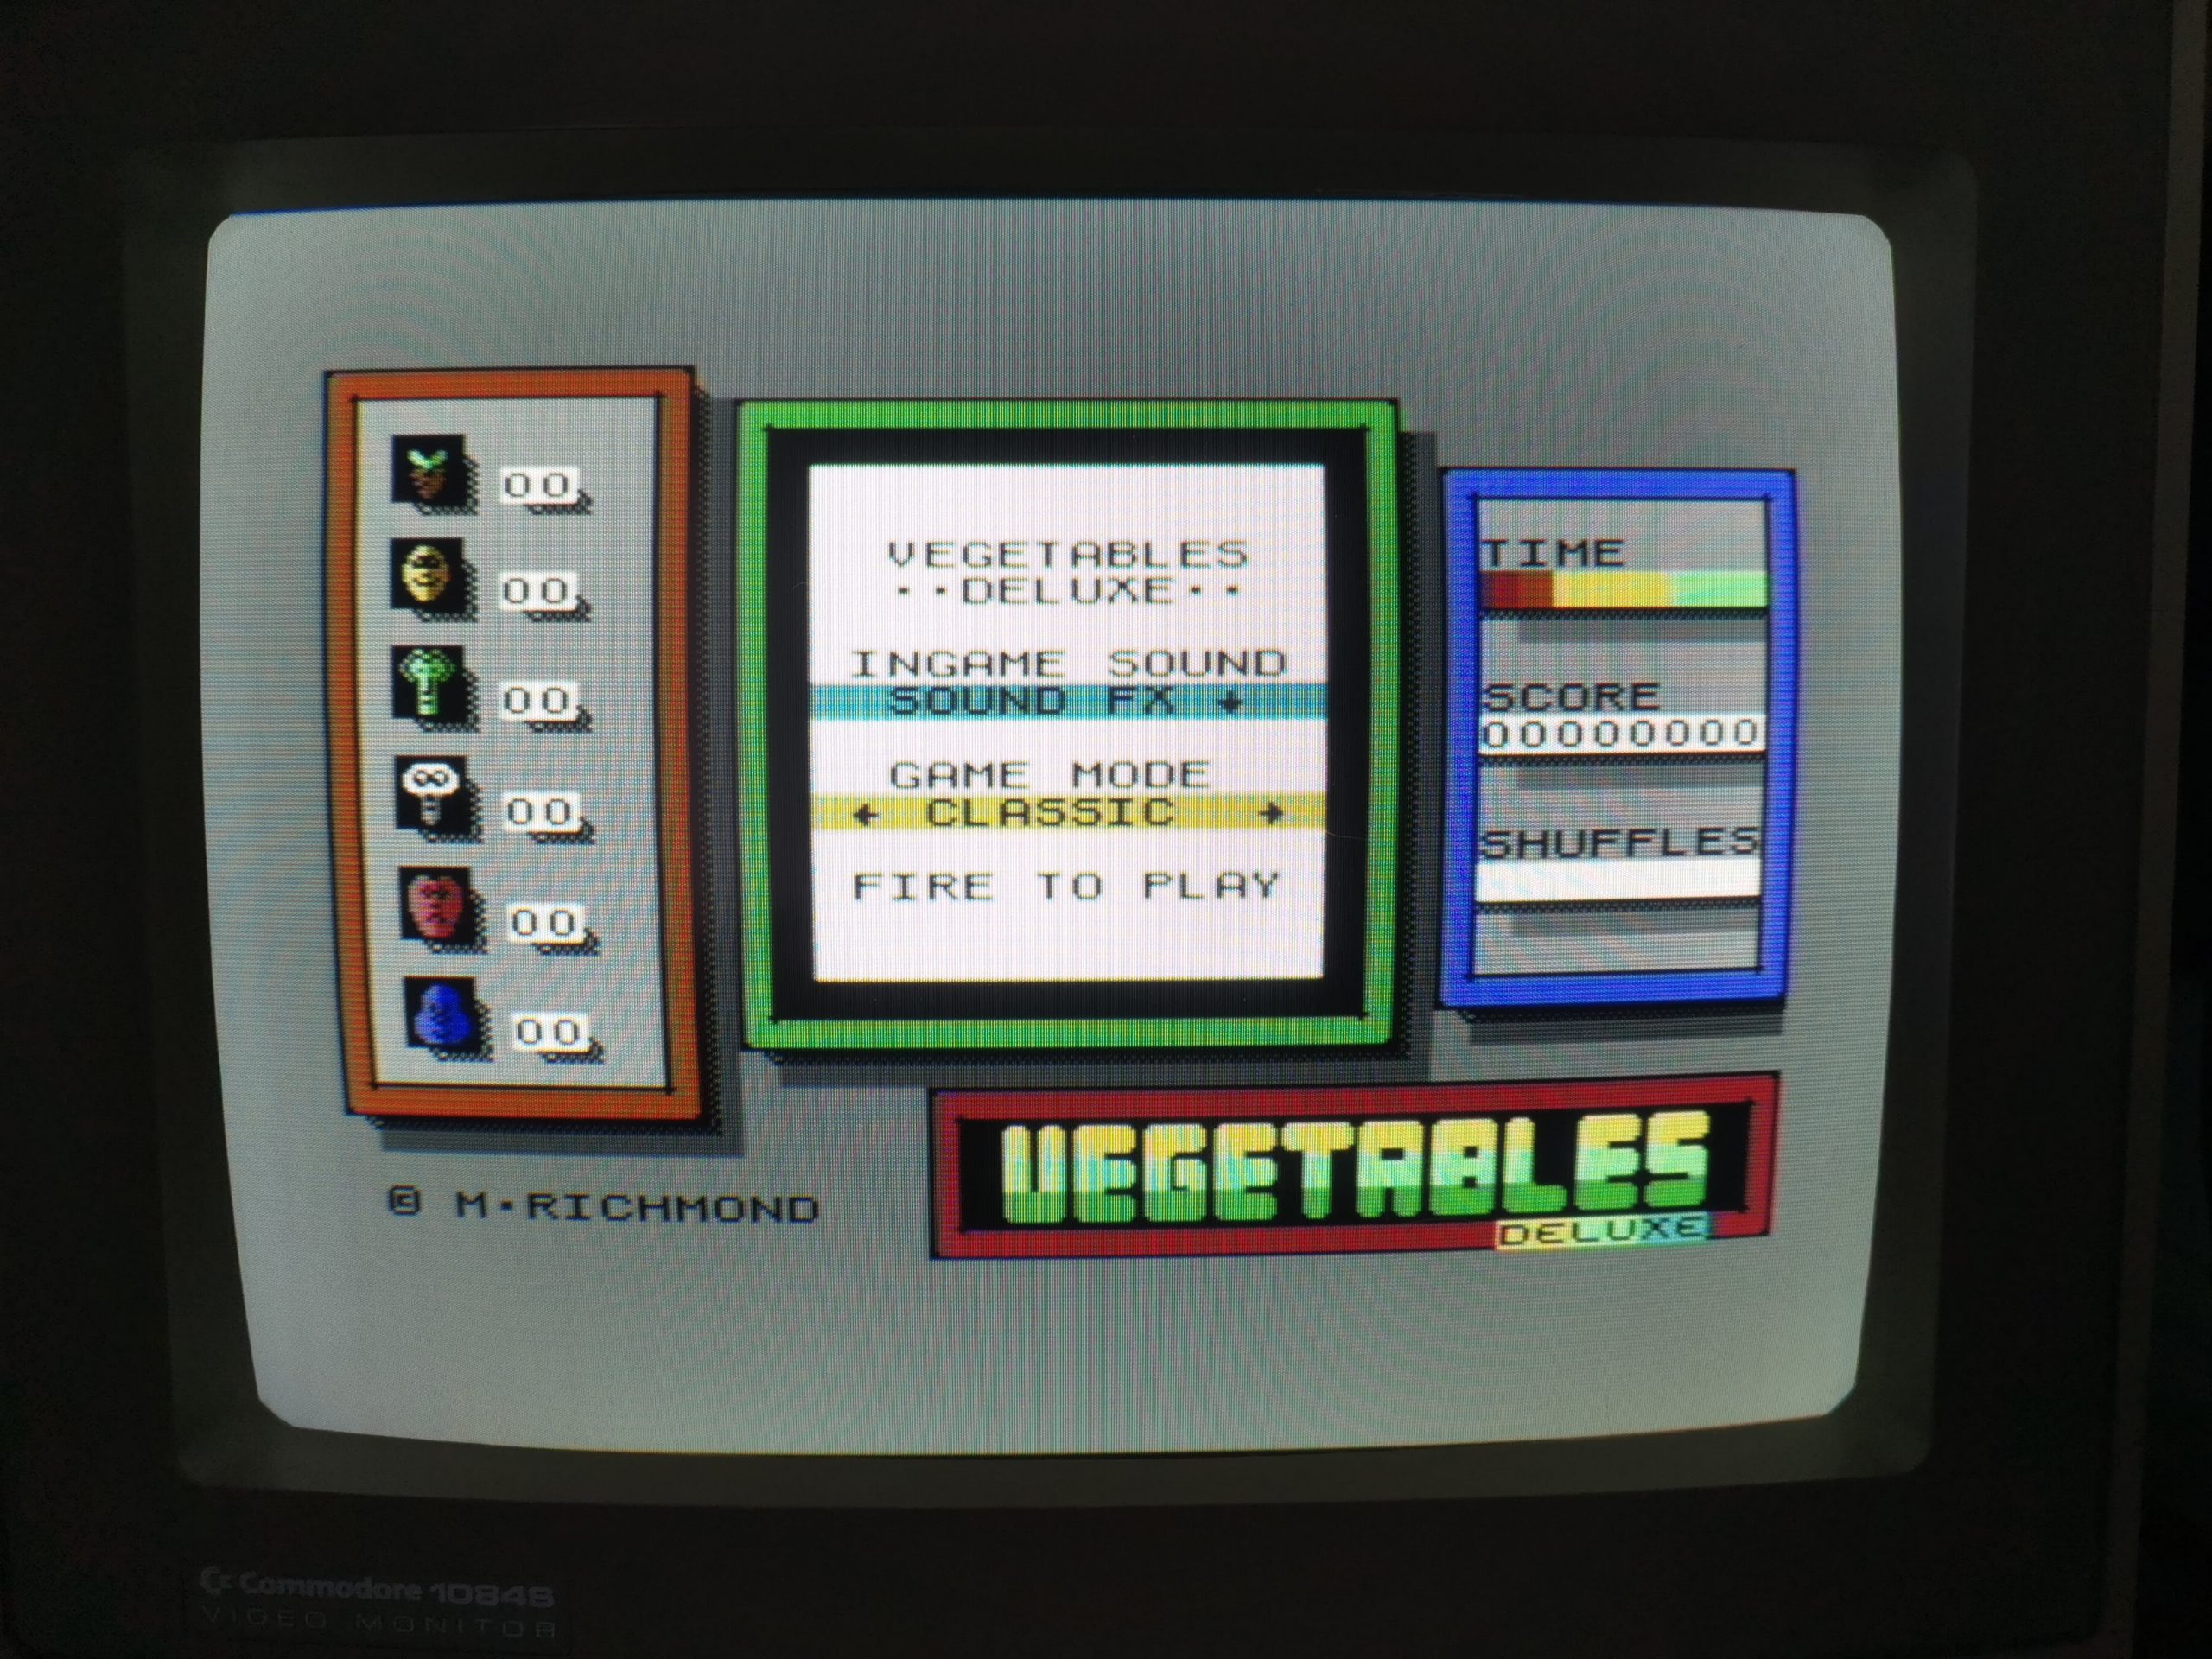
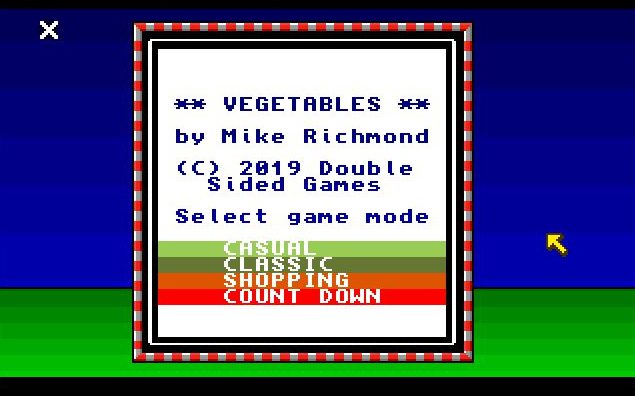
Vegetables Deluxe menu screen
From the menu screen you can choose whether to have music or just sound effects whilst playing. You can also select from one of four different gameplay modes (more about these later).
The Game
I’m sure most people are aware of what a ‘match 3’ game is but just in case… Basically you have a grid full of randomly coloured objects, or in this case vegetables. You must match 3 or more of the same coloured vegetables either vertically or horizontally to remove them from the screen and earn points. You do this by moving the little selection box around with a joystick, holding the fire button and then moving the stick in a direction. When a group of vegetables disappear, the ones above fall down and new ones randomly appear from the top to take their place. If you run out of matches the game will use one of your available ‘shuffles’ to randomly rearrange the vegetables on the screen so you can carry on. However, if you no longer have any shuffles remaining then the game will end.

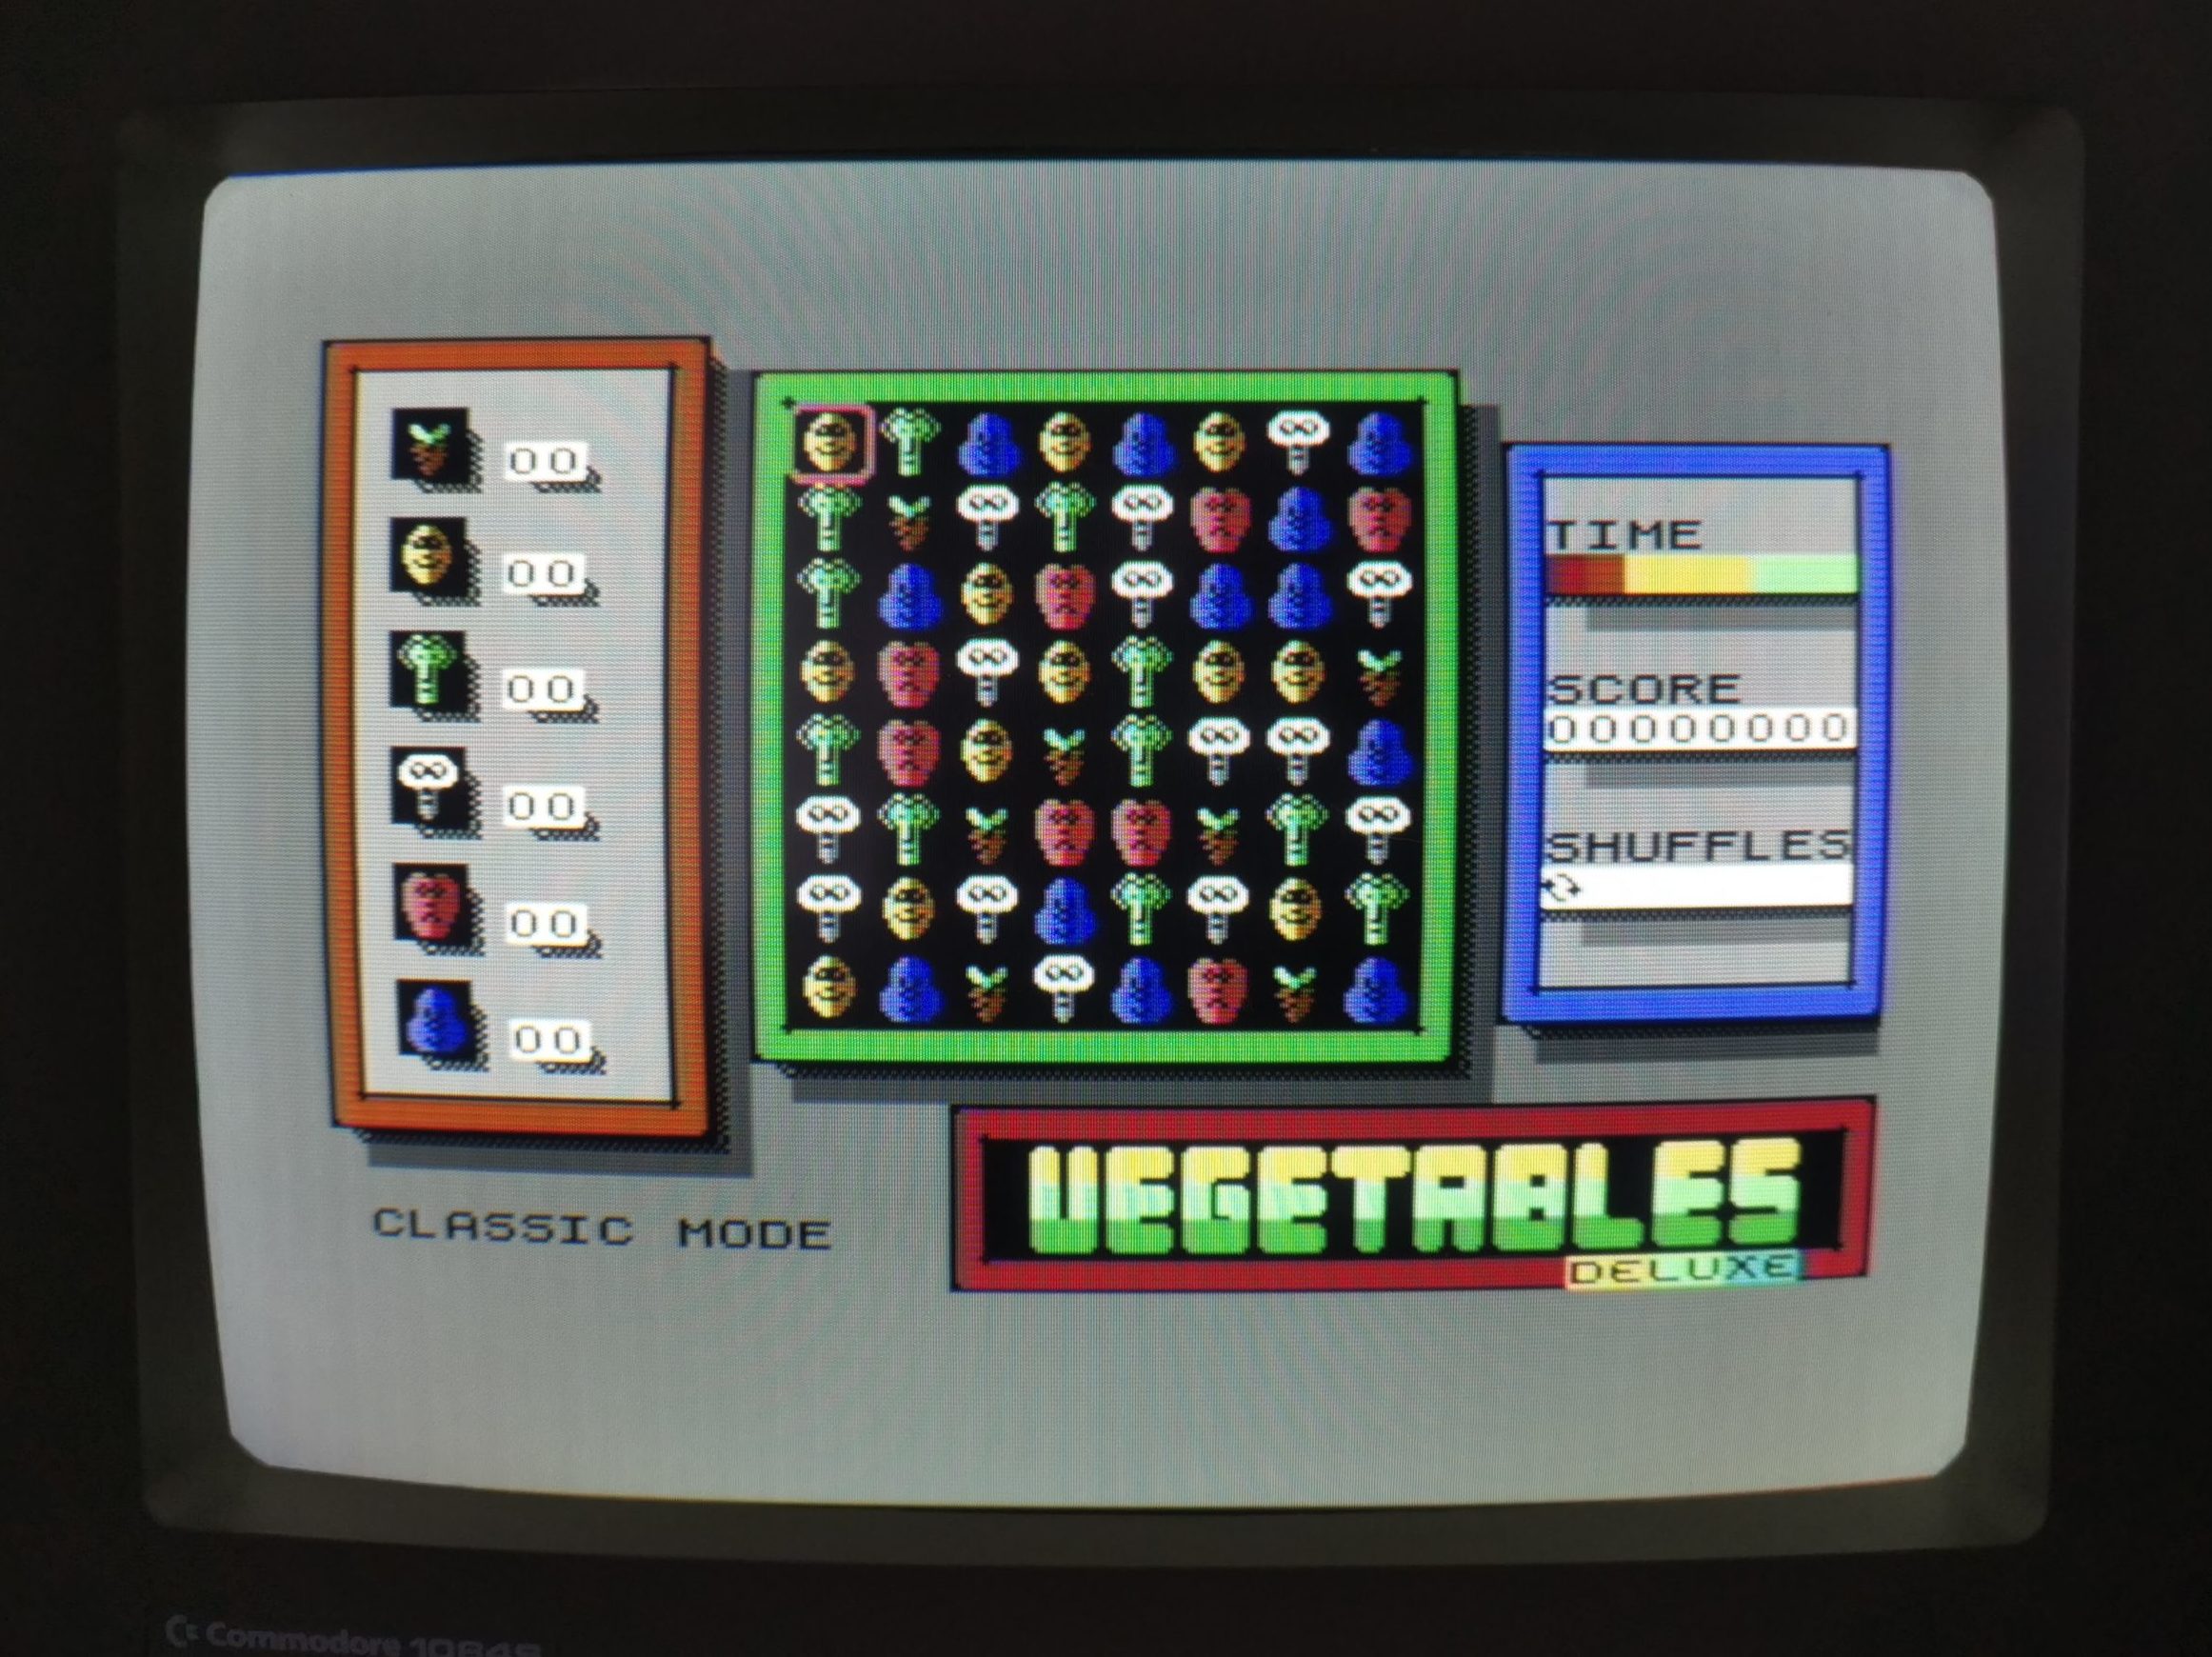
Vegetables Deluxe ‘Classic’ mode
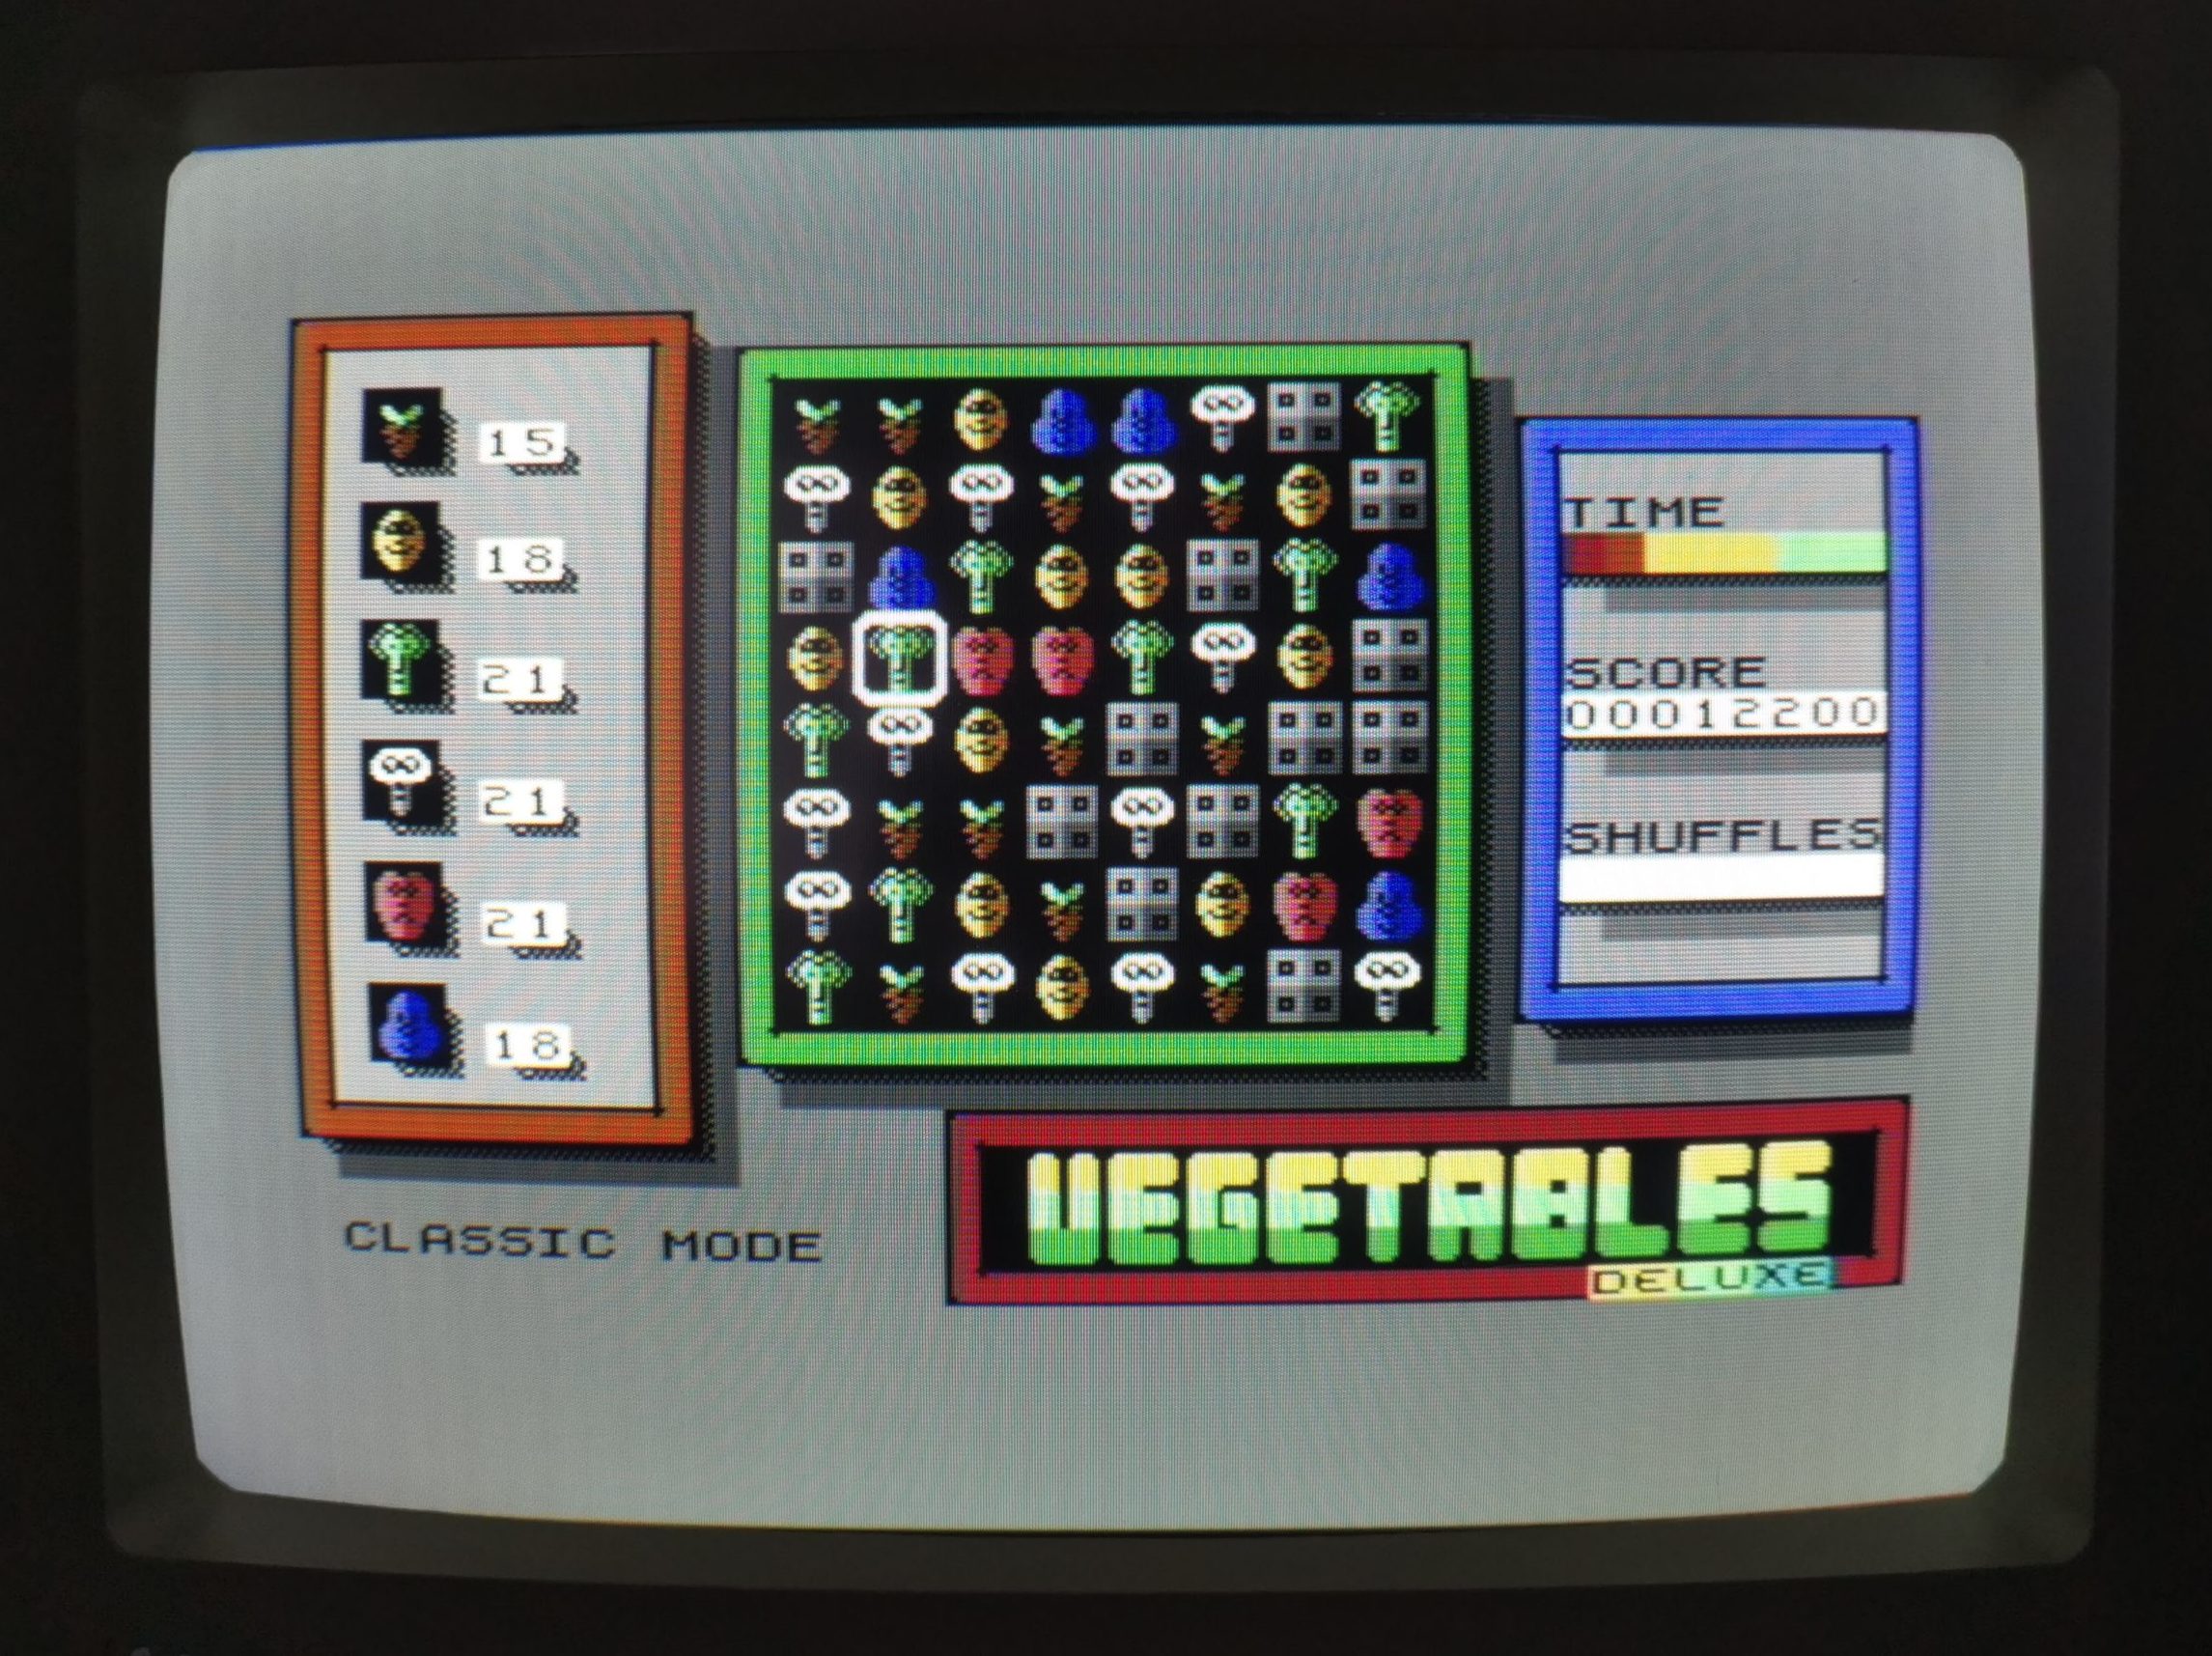
To mix things up occasionally an immovable block will appear that impedes your progress. You can also match more than three vegetables for extra bonuses. Matching 4 in a row will cause an entire row to be removed and this is a great way to clear those immovable blocks. Matching 5 in a row will cause every matching vegetable on the screen to removed and will earn you an extra shuffle.

Watch out for the grey immovable blocks, let too many accumulate and you’ll run out of moves!
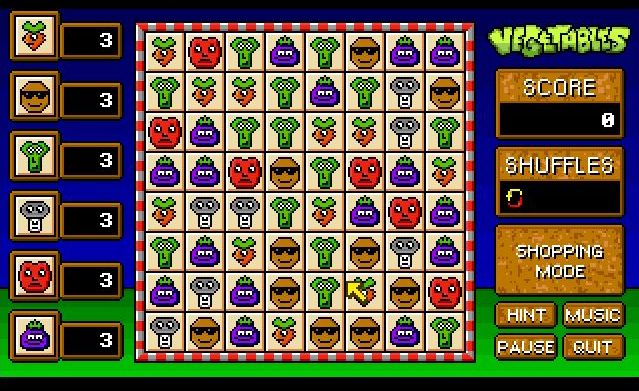
The screen is broken up into 3 main sections. On the left there is a kind of shopping list which either tells you how many of each vegetable you need to collect, or how many you have collected so far. (More on this later). The centre of the screen is where all the action takes place whilst on the right is where the timer, score and number of shuffles are located.
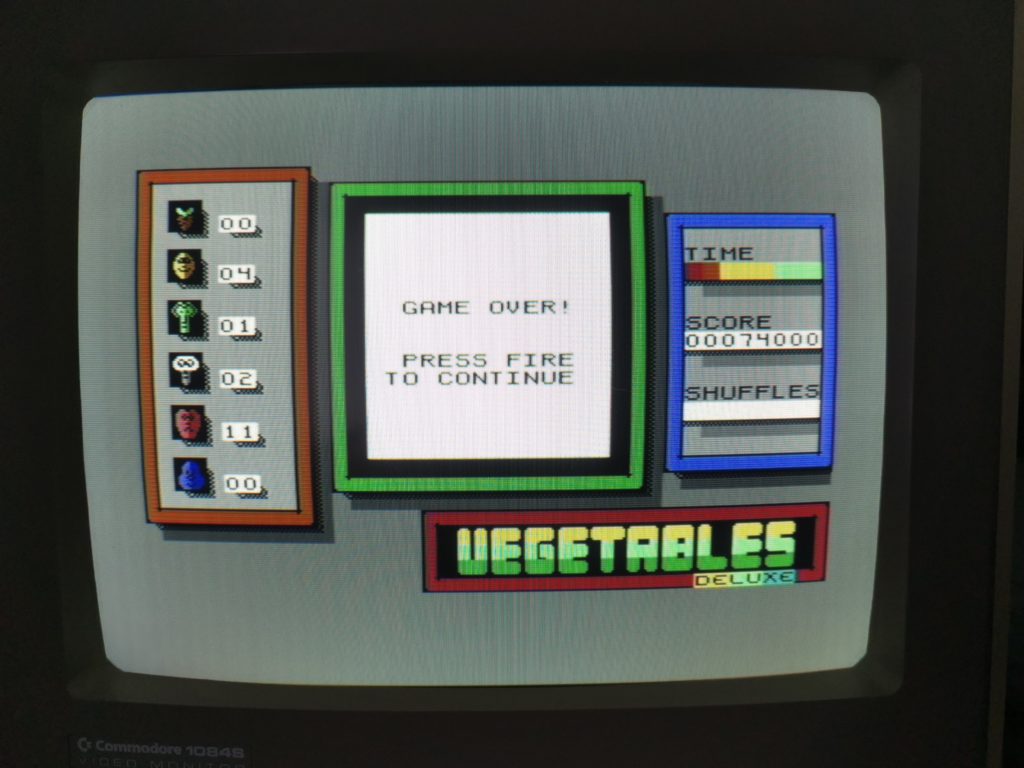
Game Over! (This was my ‘shopping’ High Score)
Game Modes
There are 4 different modes, each catering towards a different play style.
Casual is for those that want a relaxing experience that keeps the ‘unmovable blocks’ to a minimum. The instructions reckon it’s still possible to reach a game over state in this mode. However during my time playing the game I found this to be more like an endless mode as I kept racking up extra shuffles.
Classic is the default play mode and has you battling to reach a high score whilst dealing with plenty of immovable blocks.
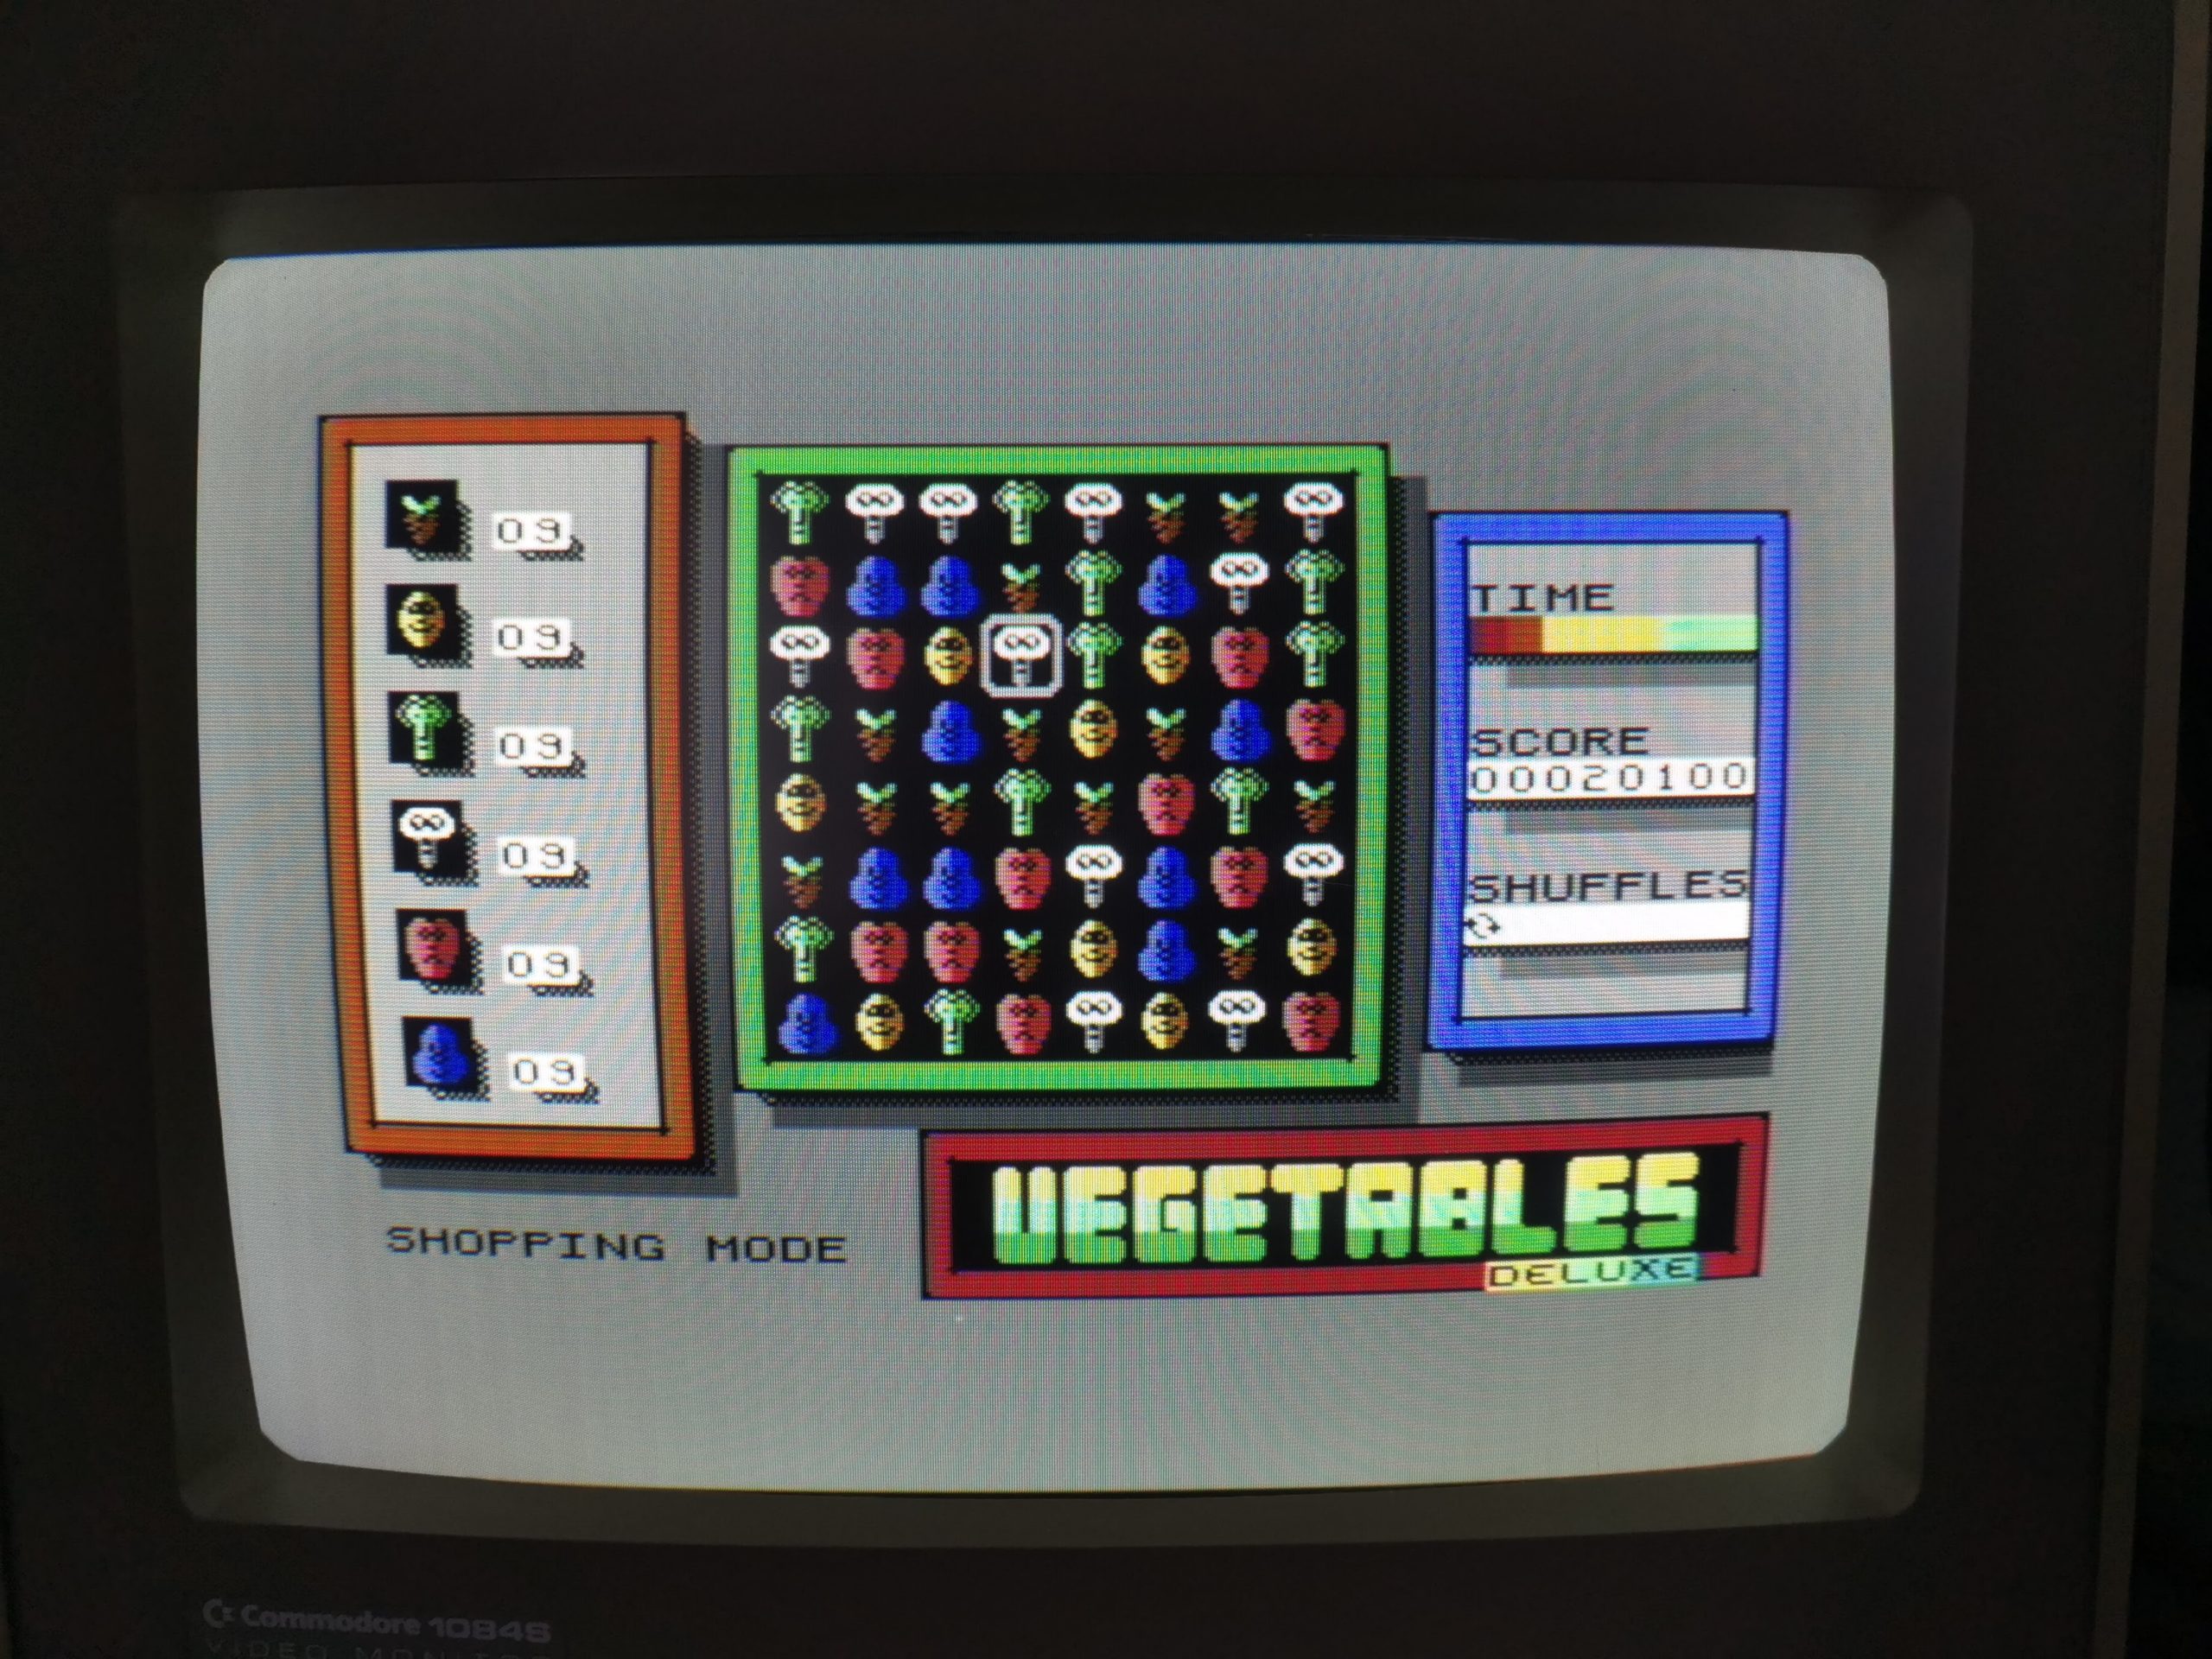
Shopping has you collecting the vegetables shown on the shopping list. If you manage to collect them all then you complete that level and move onto the next with a bigger shopping list.

Shopping mode has you collecting items off the list on the left
Countdown is the hardest mode and has a sliding countdown timer (the coloured bar on the right). This gives you just a few seconds to make a match or you lose a shuffle.
During play if you are struggling to find a match the game will briefly highlight a potential (though not necessarily the best) move you can make. This is a great feature and is one commonly found on modern variants of the game. It’s no use in Countdown mode though, for that you really need to be on the ball!
When you are not playing in shopping mode, the list on the left works the other way round. It actually keeps a tally of what you’ve collected, up to a point anyway. You see the counters only go up to 99 and then reset back to 0. It’s not a big deal and in Casual mode where you could potentially be collecting a mountain of vegetables, entirely understandable.
My thoughts on the game
I tried all the game modes but found the ‘shopping’ mode the most fun. It gives you something extra to work on besides just matching vegetables. I didn’t really enjoy ‘countdown’ mode as the timer destroyed the relaxation side of things. Games started in casual mode simply lasted too long. Without a save option I was never able to actually finish one. I guess people playing it on an emulator or C64 Mini would have the option of using save states but that doesn’t fly on the real thing. Leaving my ageing C64 on until I can come back to finish a game certainly isn’t an option either!
For a game that is all about reaching and beating a high score I was disappointed that there was no way to save a high score to disk. Many C64 games offer this facility now and it’s a shame that Vegetables Deluxe hasn’t followed suit. Of course it’s not the end of the world by any means. You can write your score down (proper old-school style) or snap a pic of the screen with a smartphone. Hopefully one day this feature might be included in an updated version of the game.
The game looks terrific though and all the better for utilising high resolution mode. The vegetables are clearly defined and very colourful and the overall aesthetic is very pleasing to the eye. If you choose to play with sound effects then you won’t hear much at all, just the odd ‘plink’ when you make a match. The music however is brilliant and if you enjoy SID tunes then this is definitely the way to play. I’ve played this game for hours and never tired of listening to the soundtrack so top marks for that.
This is a terrific little puzzle game for the Commodore 64. It looks great, sounds fantastic and is a lot of fun to play. I have no reservations at all in recommending it to anyone looking for a casual gaming experience. It’s published by Double-Sided Games in Canada on cartridge, floppy disk or digital download. There is now also a cassette tape version available from Psytronik in the UK.
Standard vs Deluxe Comparison
I mentioned at the start that this is an updated version of the game. Below you can see a few comparison pics between this and the earlier version. There’s a number of marked improvements over the original game. These include the addition of in-game music and three extra gameplay modes. The Deluxe version also takes advantage of the Commodore 64’s high-res capability to deliver much crisper graphics than you get with the chunkier colour mode used in the original. It actually reminds me a little of a Spectrum game in terms of presentation, especially the font used.
This slideshow requires JavaScript.
This slideshow requires JavaScript.
Amiga Version
Included as a bonus at no extra charge is a complete Amiga port of the game as well! This takes the form of a digital ADF disk image that you can either use in an emulator or on a real Amiga via a GOTEK drive. (I think this bonus is exclusive to the Double-Sided Games release).
Amiga Title Screen
It’s the exact same game with the same choice of game modes, optional music and so on. The music is terrific but I personally prefer the C64 tune. The title screen is also infinitely better on the C64 version with the Amiga’s being text only.
Amiga Vegetables Deluxe game screen
A big benefit of the Amiga version is mouse support which feels like the natural way to play a game like this. It also benefits from the higher resolution and larger colour palette to create a more striking display. Both games are brilliant but I think the C64 version is better in the music department whilst the mouse support gives the Amiga version the edge in gameplay. If the C64 version supported the NEOS or 1351 mouse then that would make it a clear winner for me!
Even though the Amiga version is classed as a bonus addition to the C64 game I would still recommend this to Amiga only gamers as it’s a great game on either system.