As a fully certified computer nerd I spent an inordinate amount of time in my teenage years typing away on my VIC20 and C64 entering BASIC programs from books and magazines. I found the process fascinating, witnessing a program gradually taking shape before my eyes. Sometimes I would ‘run’ the program before it was even finished just to glimpse the title screen or see how it was looking.
A couple of my favourite magazines (for listings) at the time were ‘Commodore Horizons’ and ‘Your Computer‘. YC was packed with new listings for all manner of 8-bit machines every month and it always had several for the C64. I would think nothing of spending hours painstakingly transcribing reams of code into my computer and probably another few more ‘debugging’ the code to fix all the mistakes! It was a fun, occasionally frustrating but always rewarding experience. It was also very educational. Typing in other peoples code helped me learn how to program myself. I used to experiment a lot, changing their code to make the program do something different. Eventually I went on to get a few of my own programs published in magazines and ultimately it’s what got me into a lifelong career in computers.
Typing in a listing!
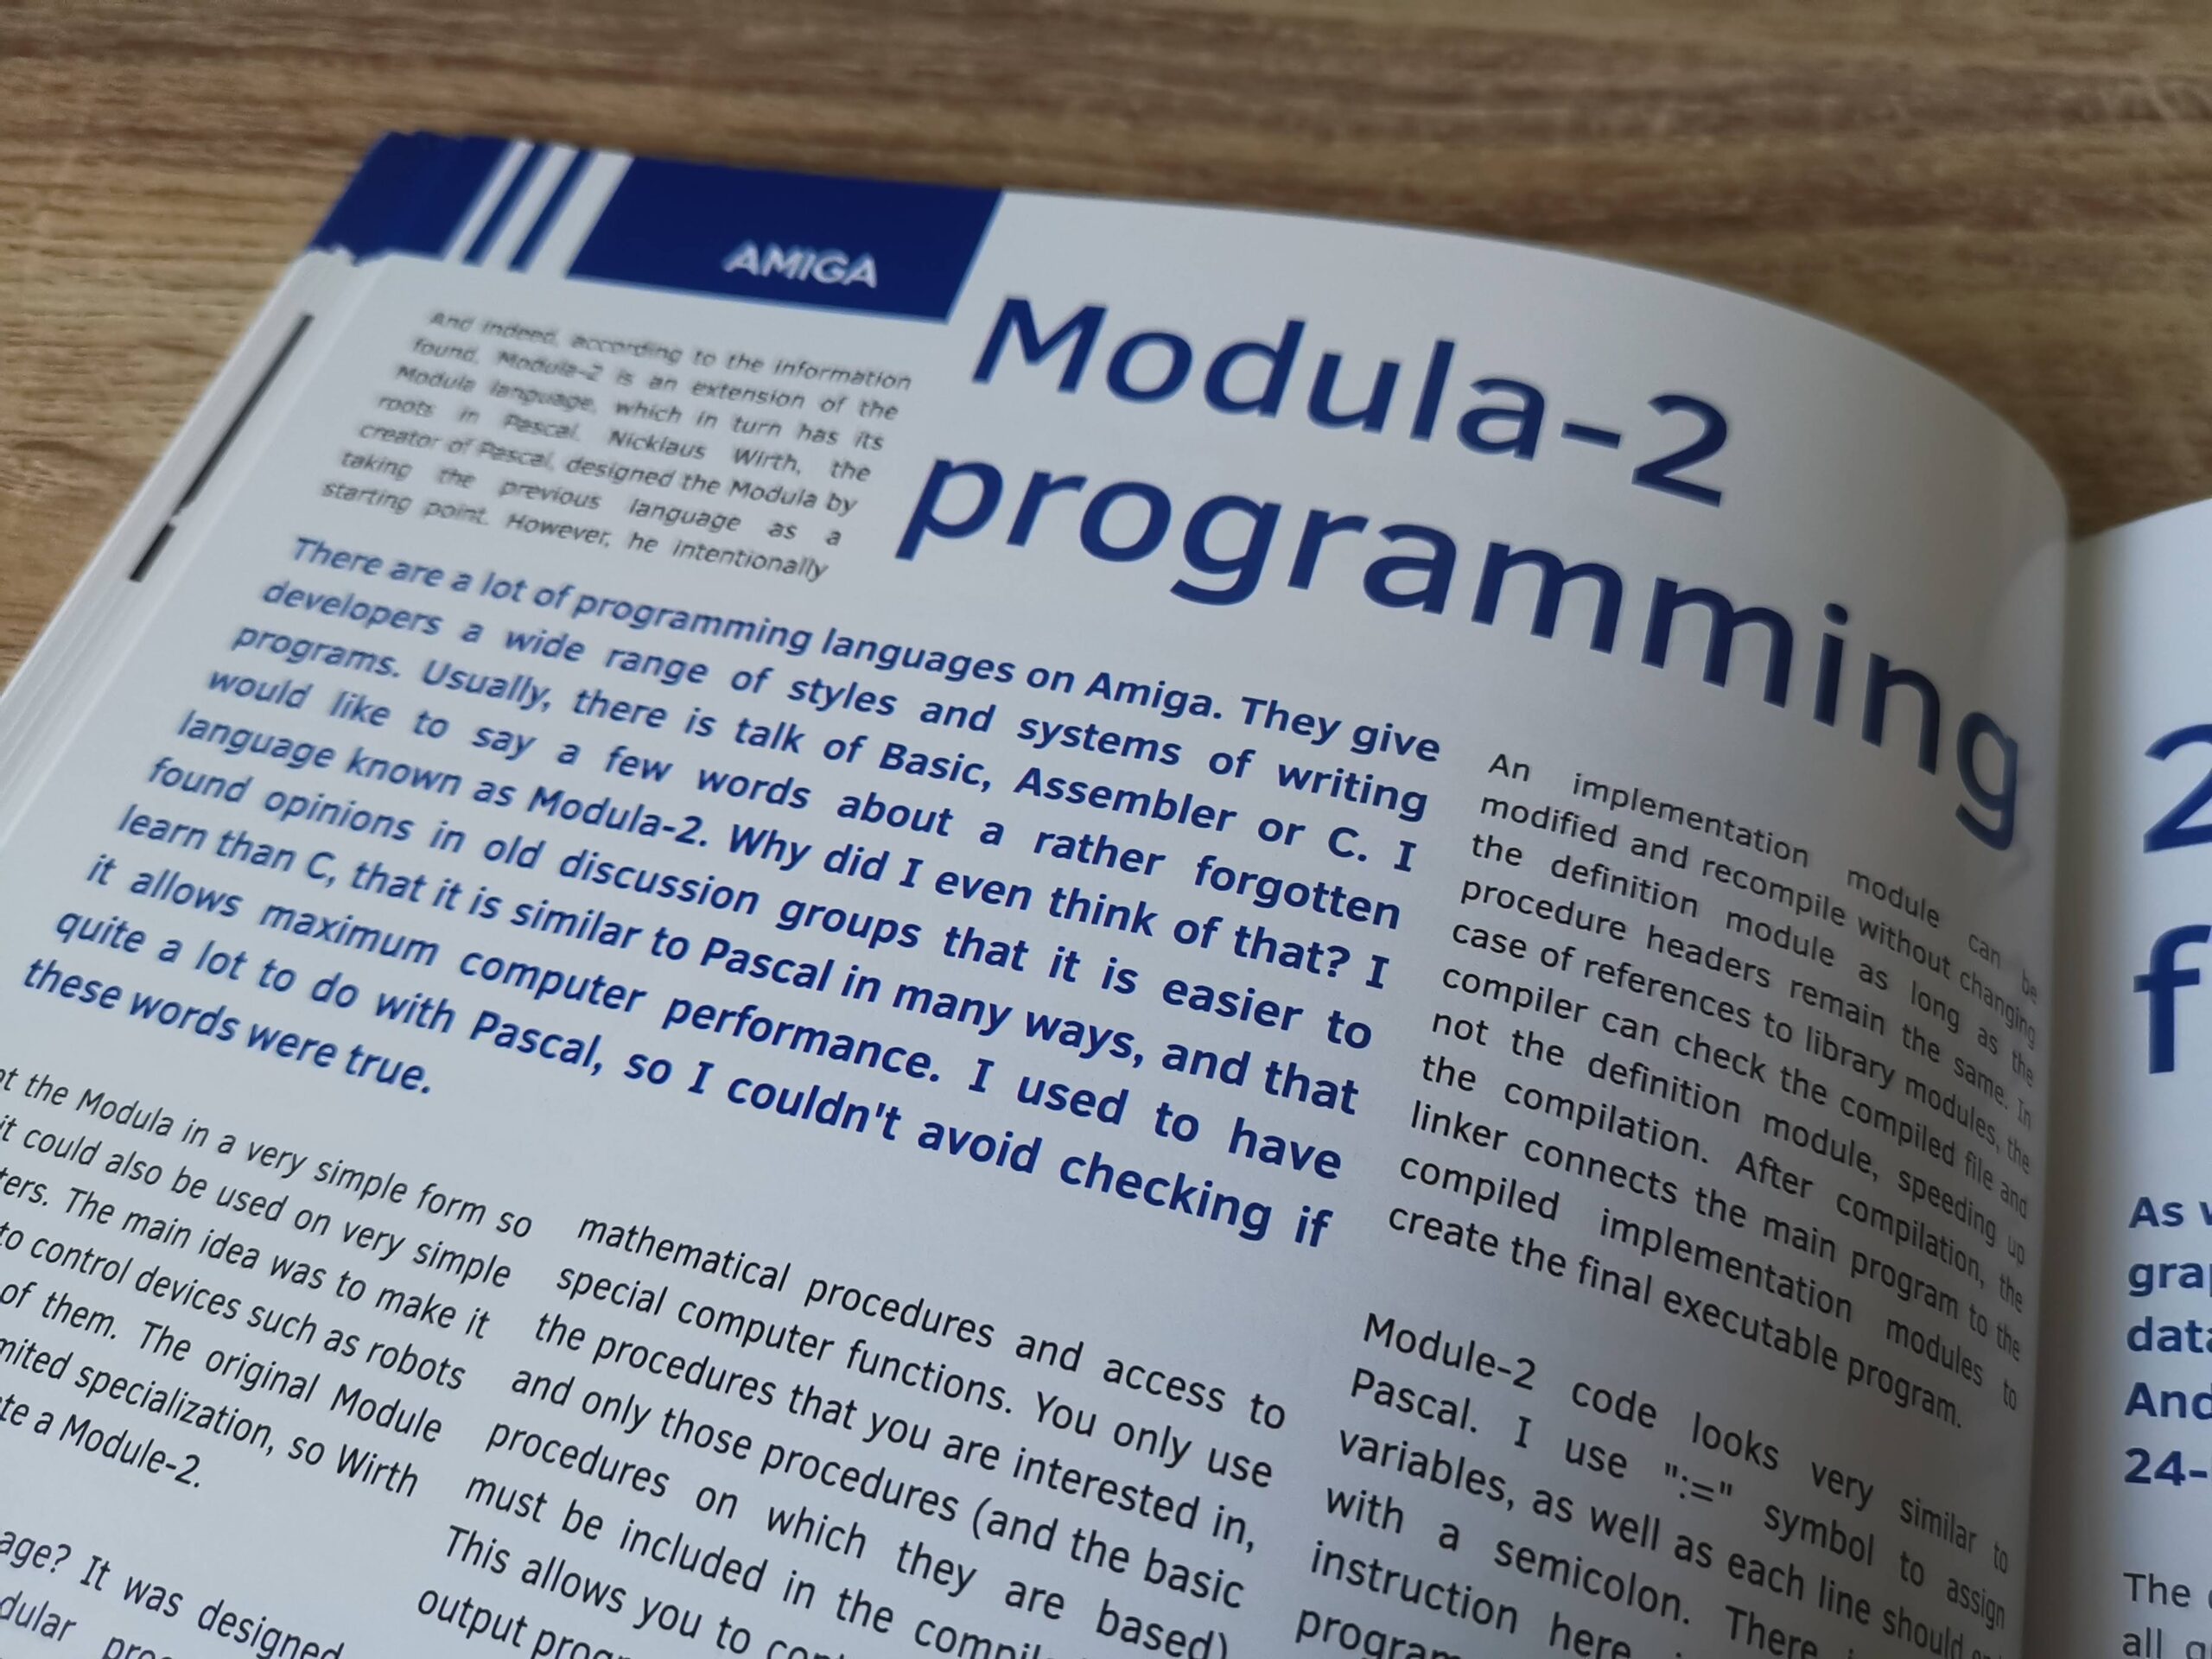
Why the trip down memory lane? Well because it’s now 2021 and I’ve just spent several evenings typing in a brand new game into my Commodore 64! The game in question is a version of the every popular Klondike solitaire card game written by Roman Werner.
A snippet of the Klondike Solitaire PDF.
It’s available to download in PDF format (it is a type-in listing after all) from his itch.io page.
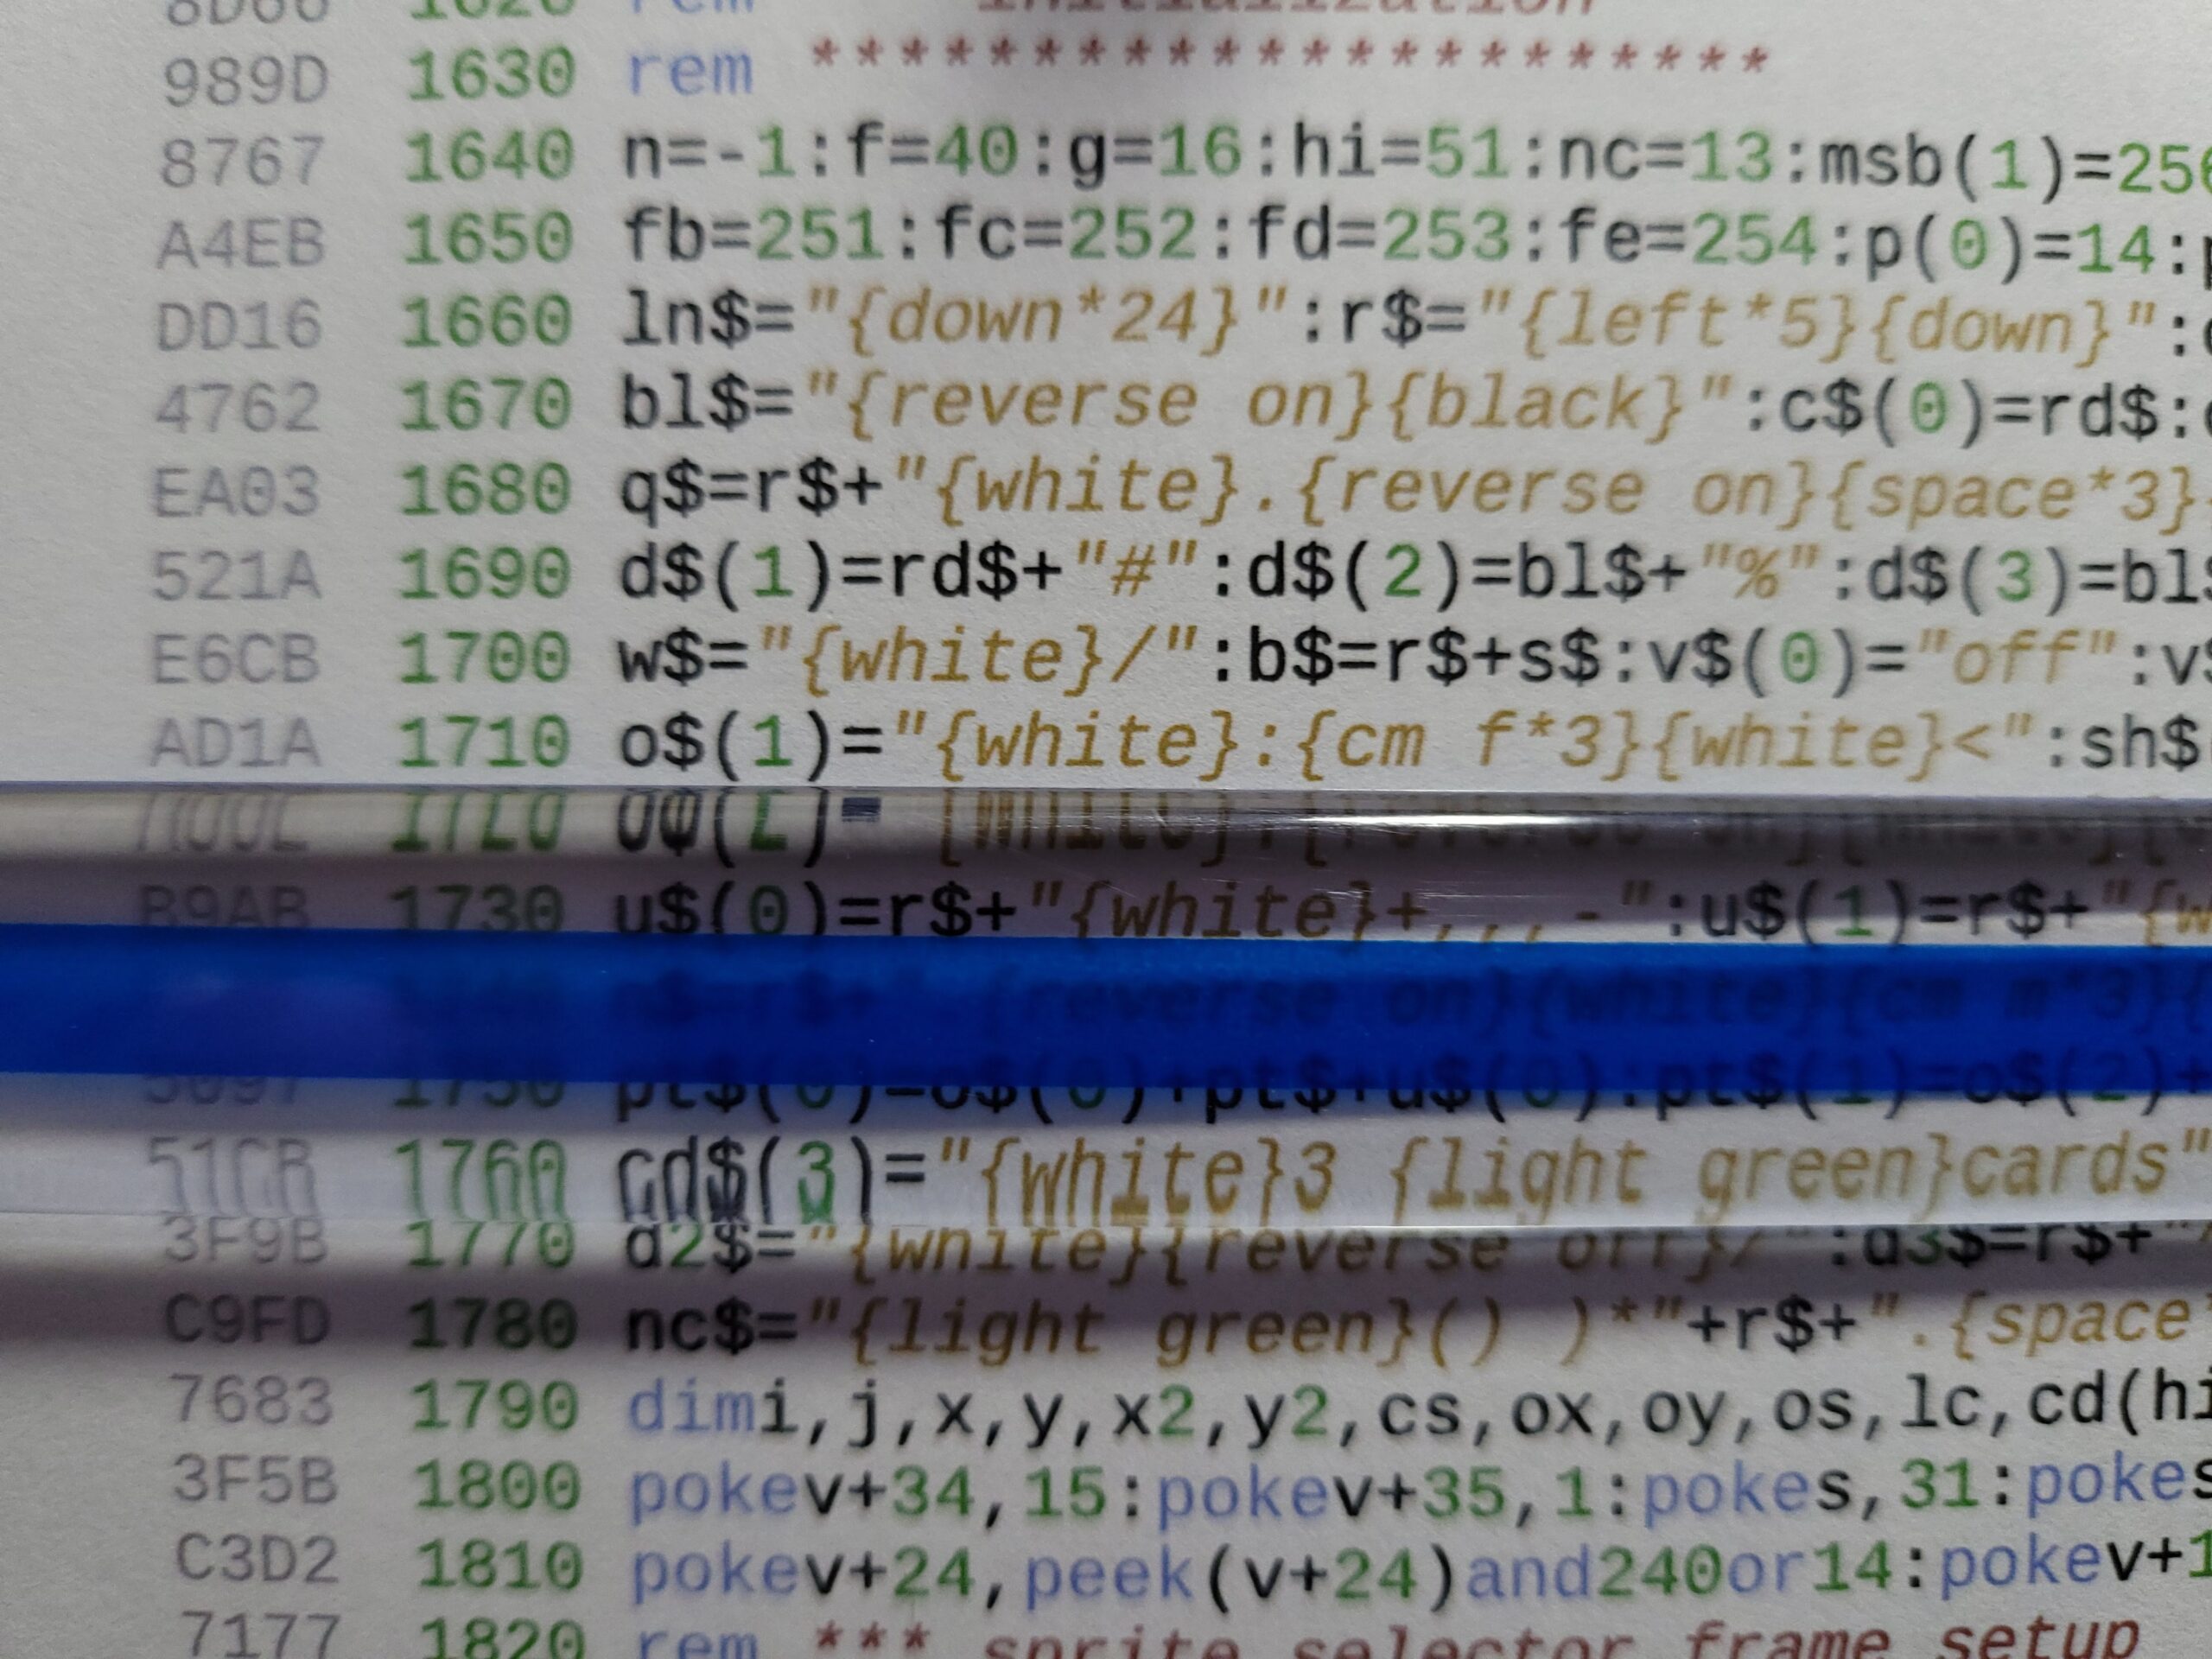
This is how the listing is presented. The colour coding helps makes things easier to follow. Note the 4 digit hex code in grey at the start of each line. This is the checksum code.
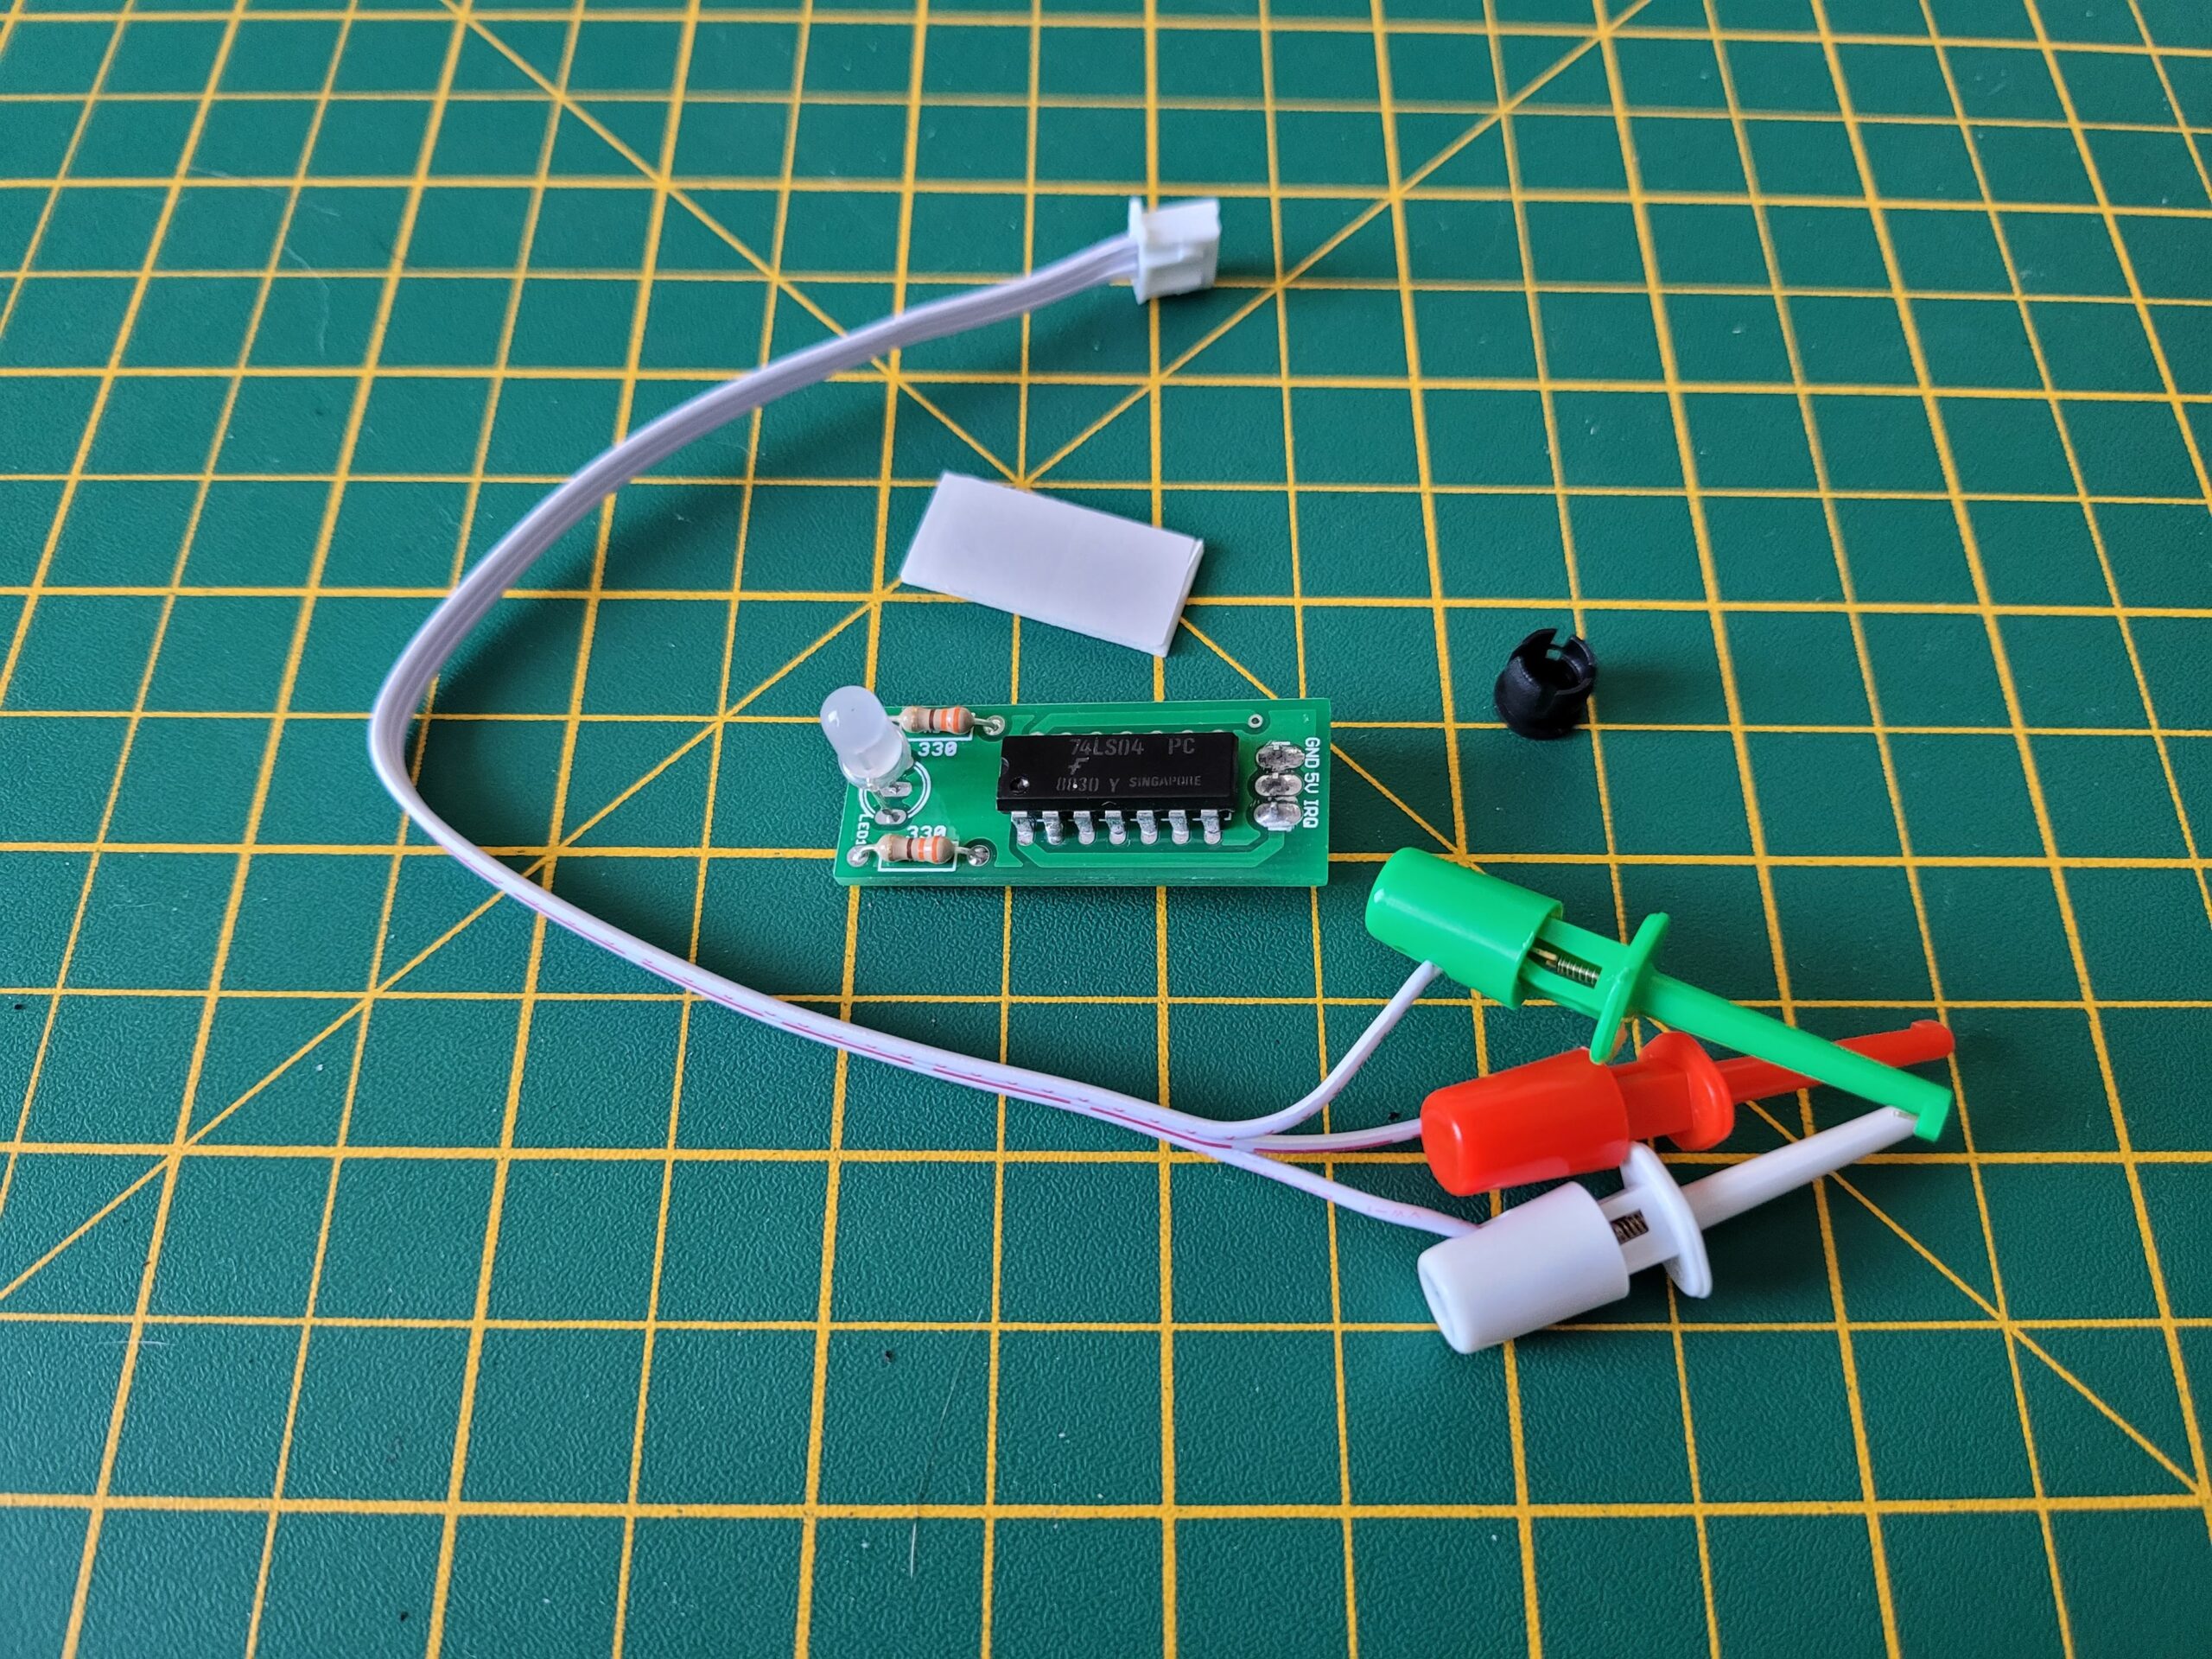
What made the idea of typing in his listing all the more appealing was the fact that he has utilised a new checksum tool when creating the listing. The way it works is this; each line of code in the listing is given a checksum number. Every time you type in a line of code the tool examines it and generates a code so that you can check it matches. If it doesn’t then you know you’ve made a mistake and can correct it straight away. That way, when you reach the end of the program it should run first time without issue.
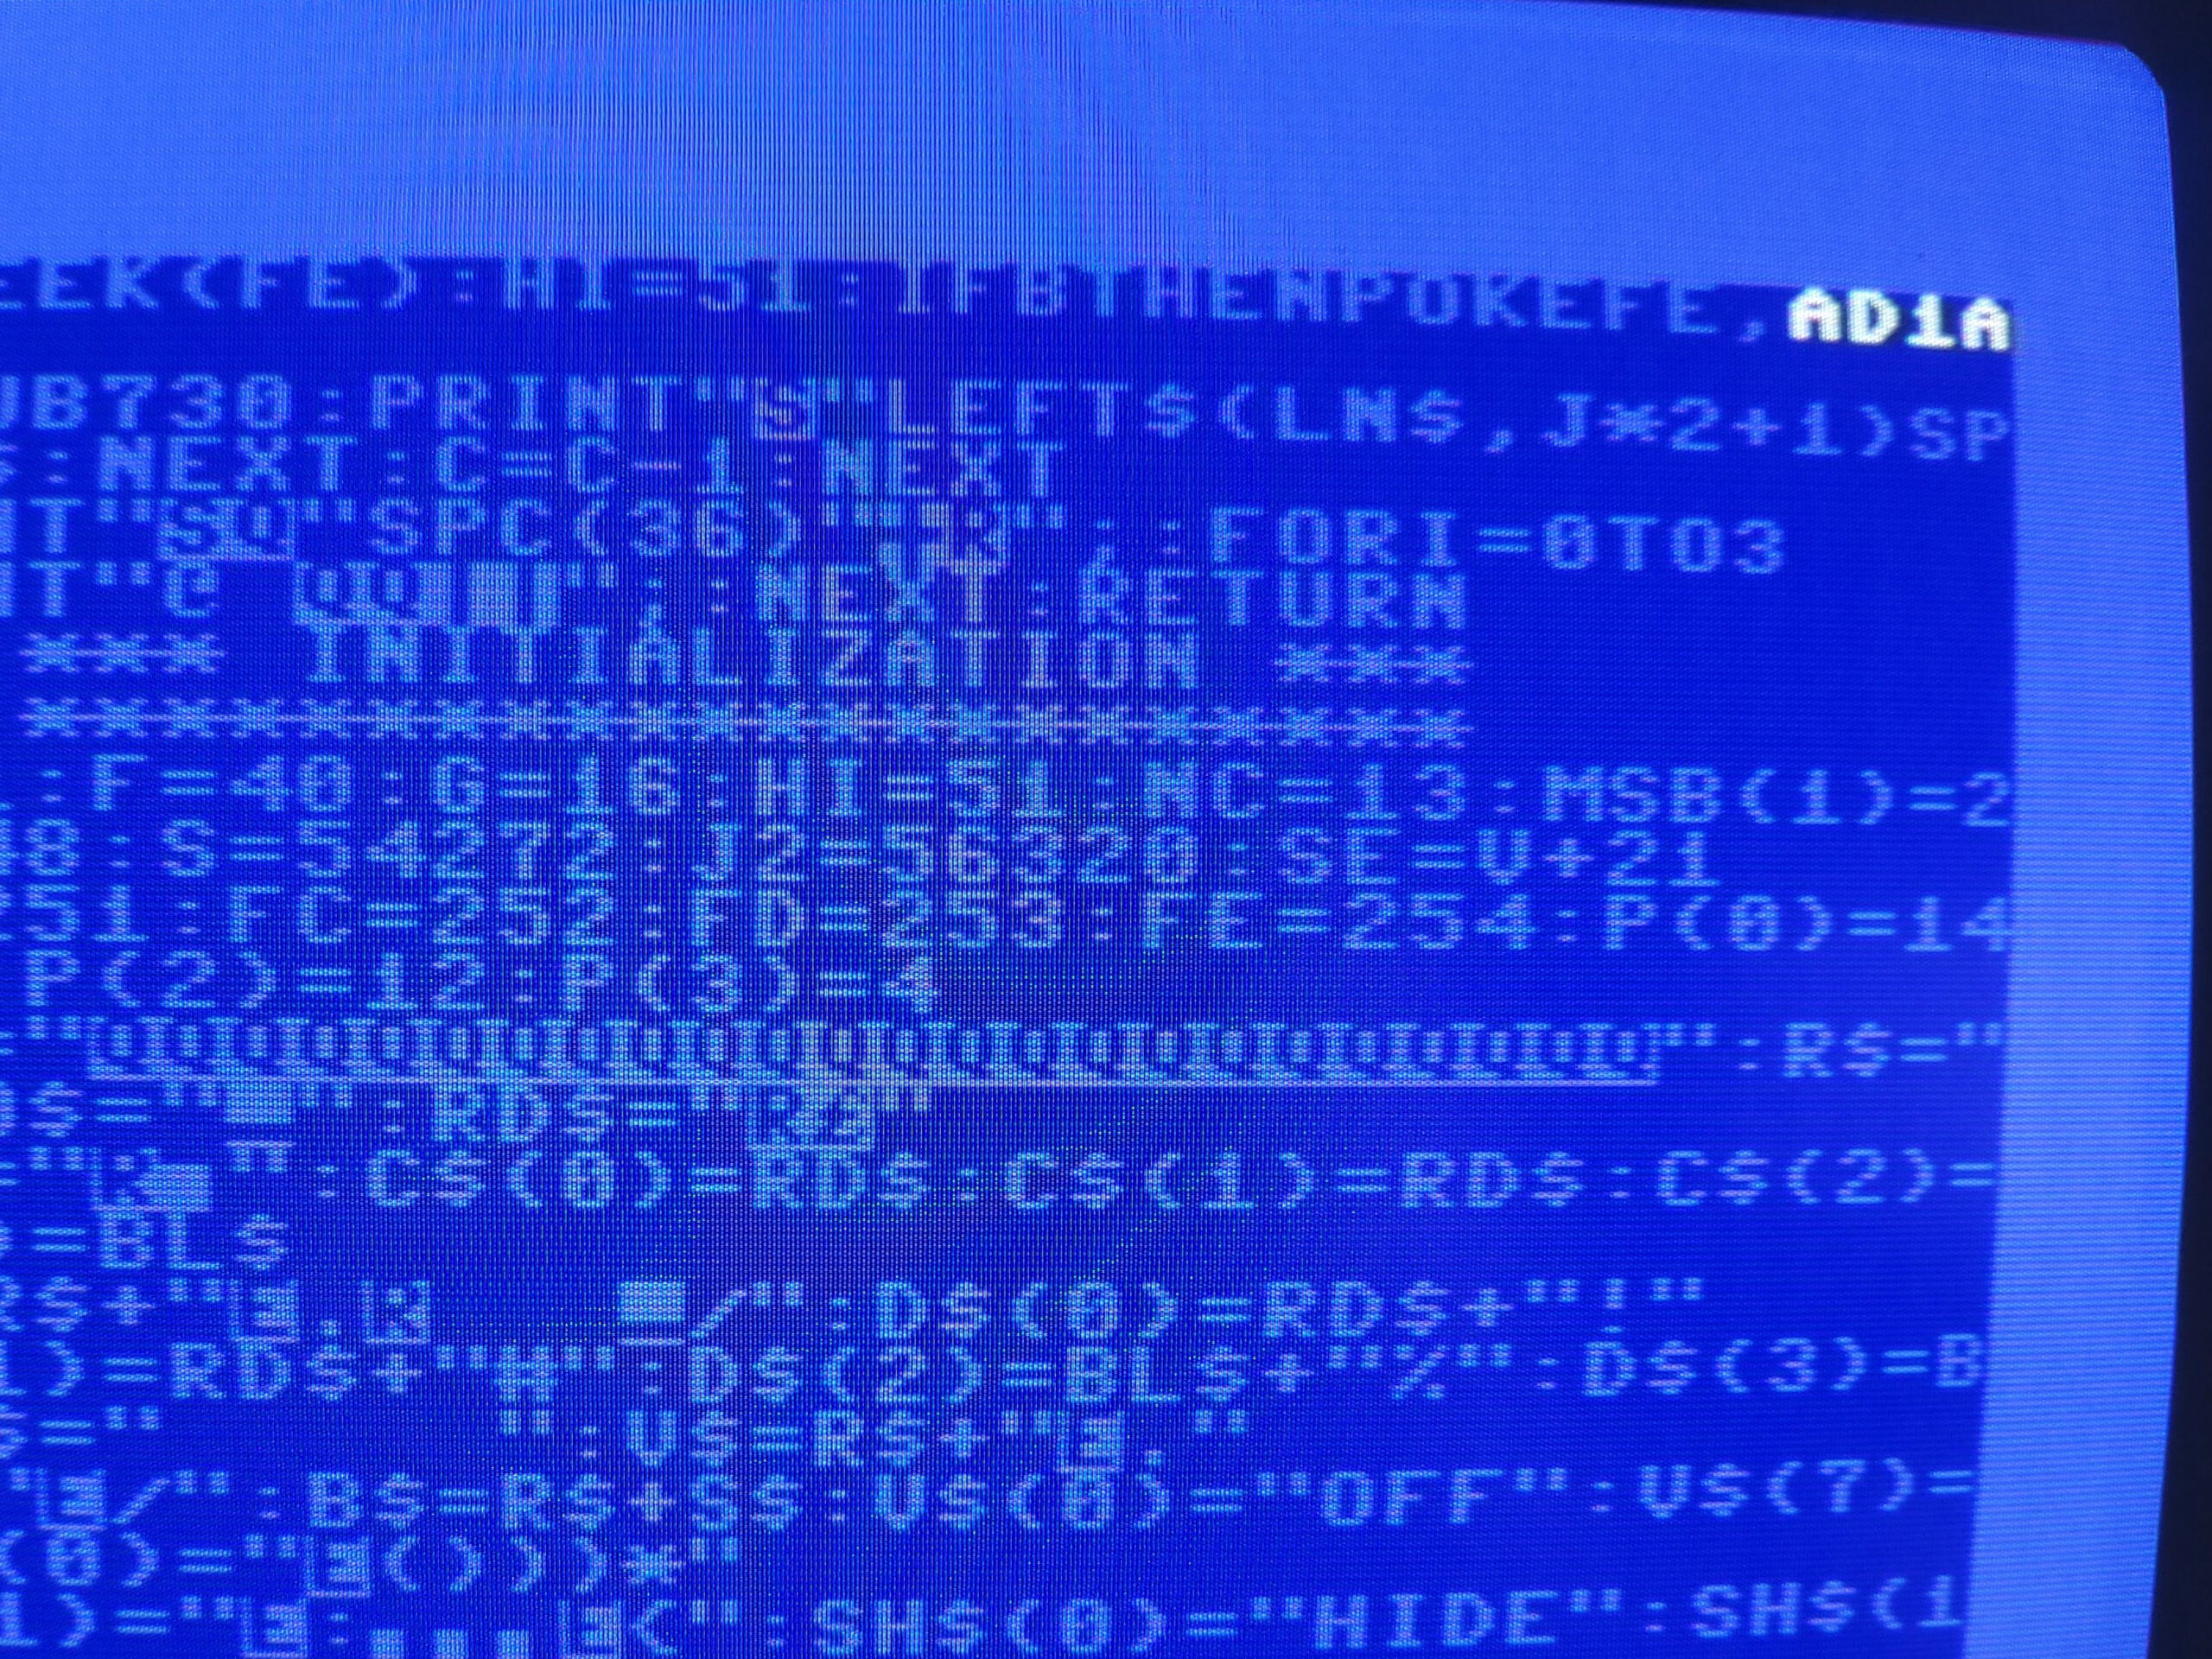
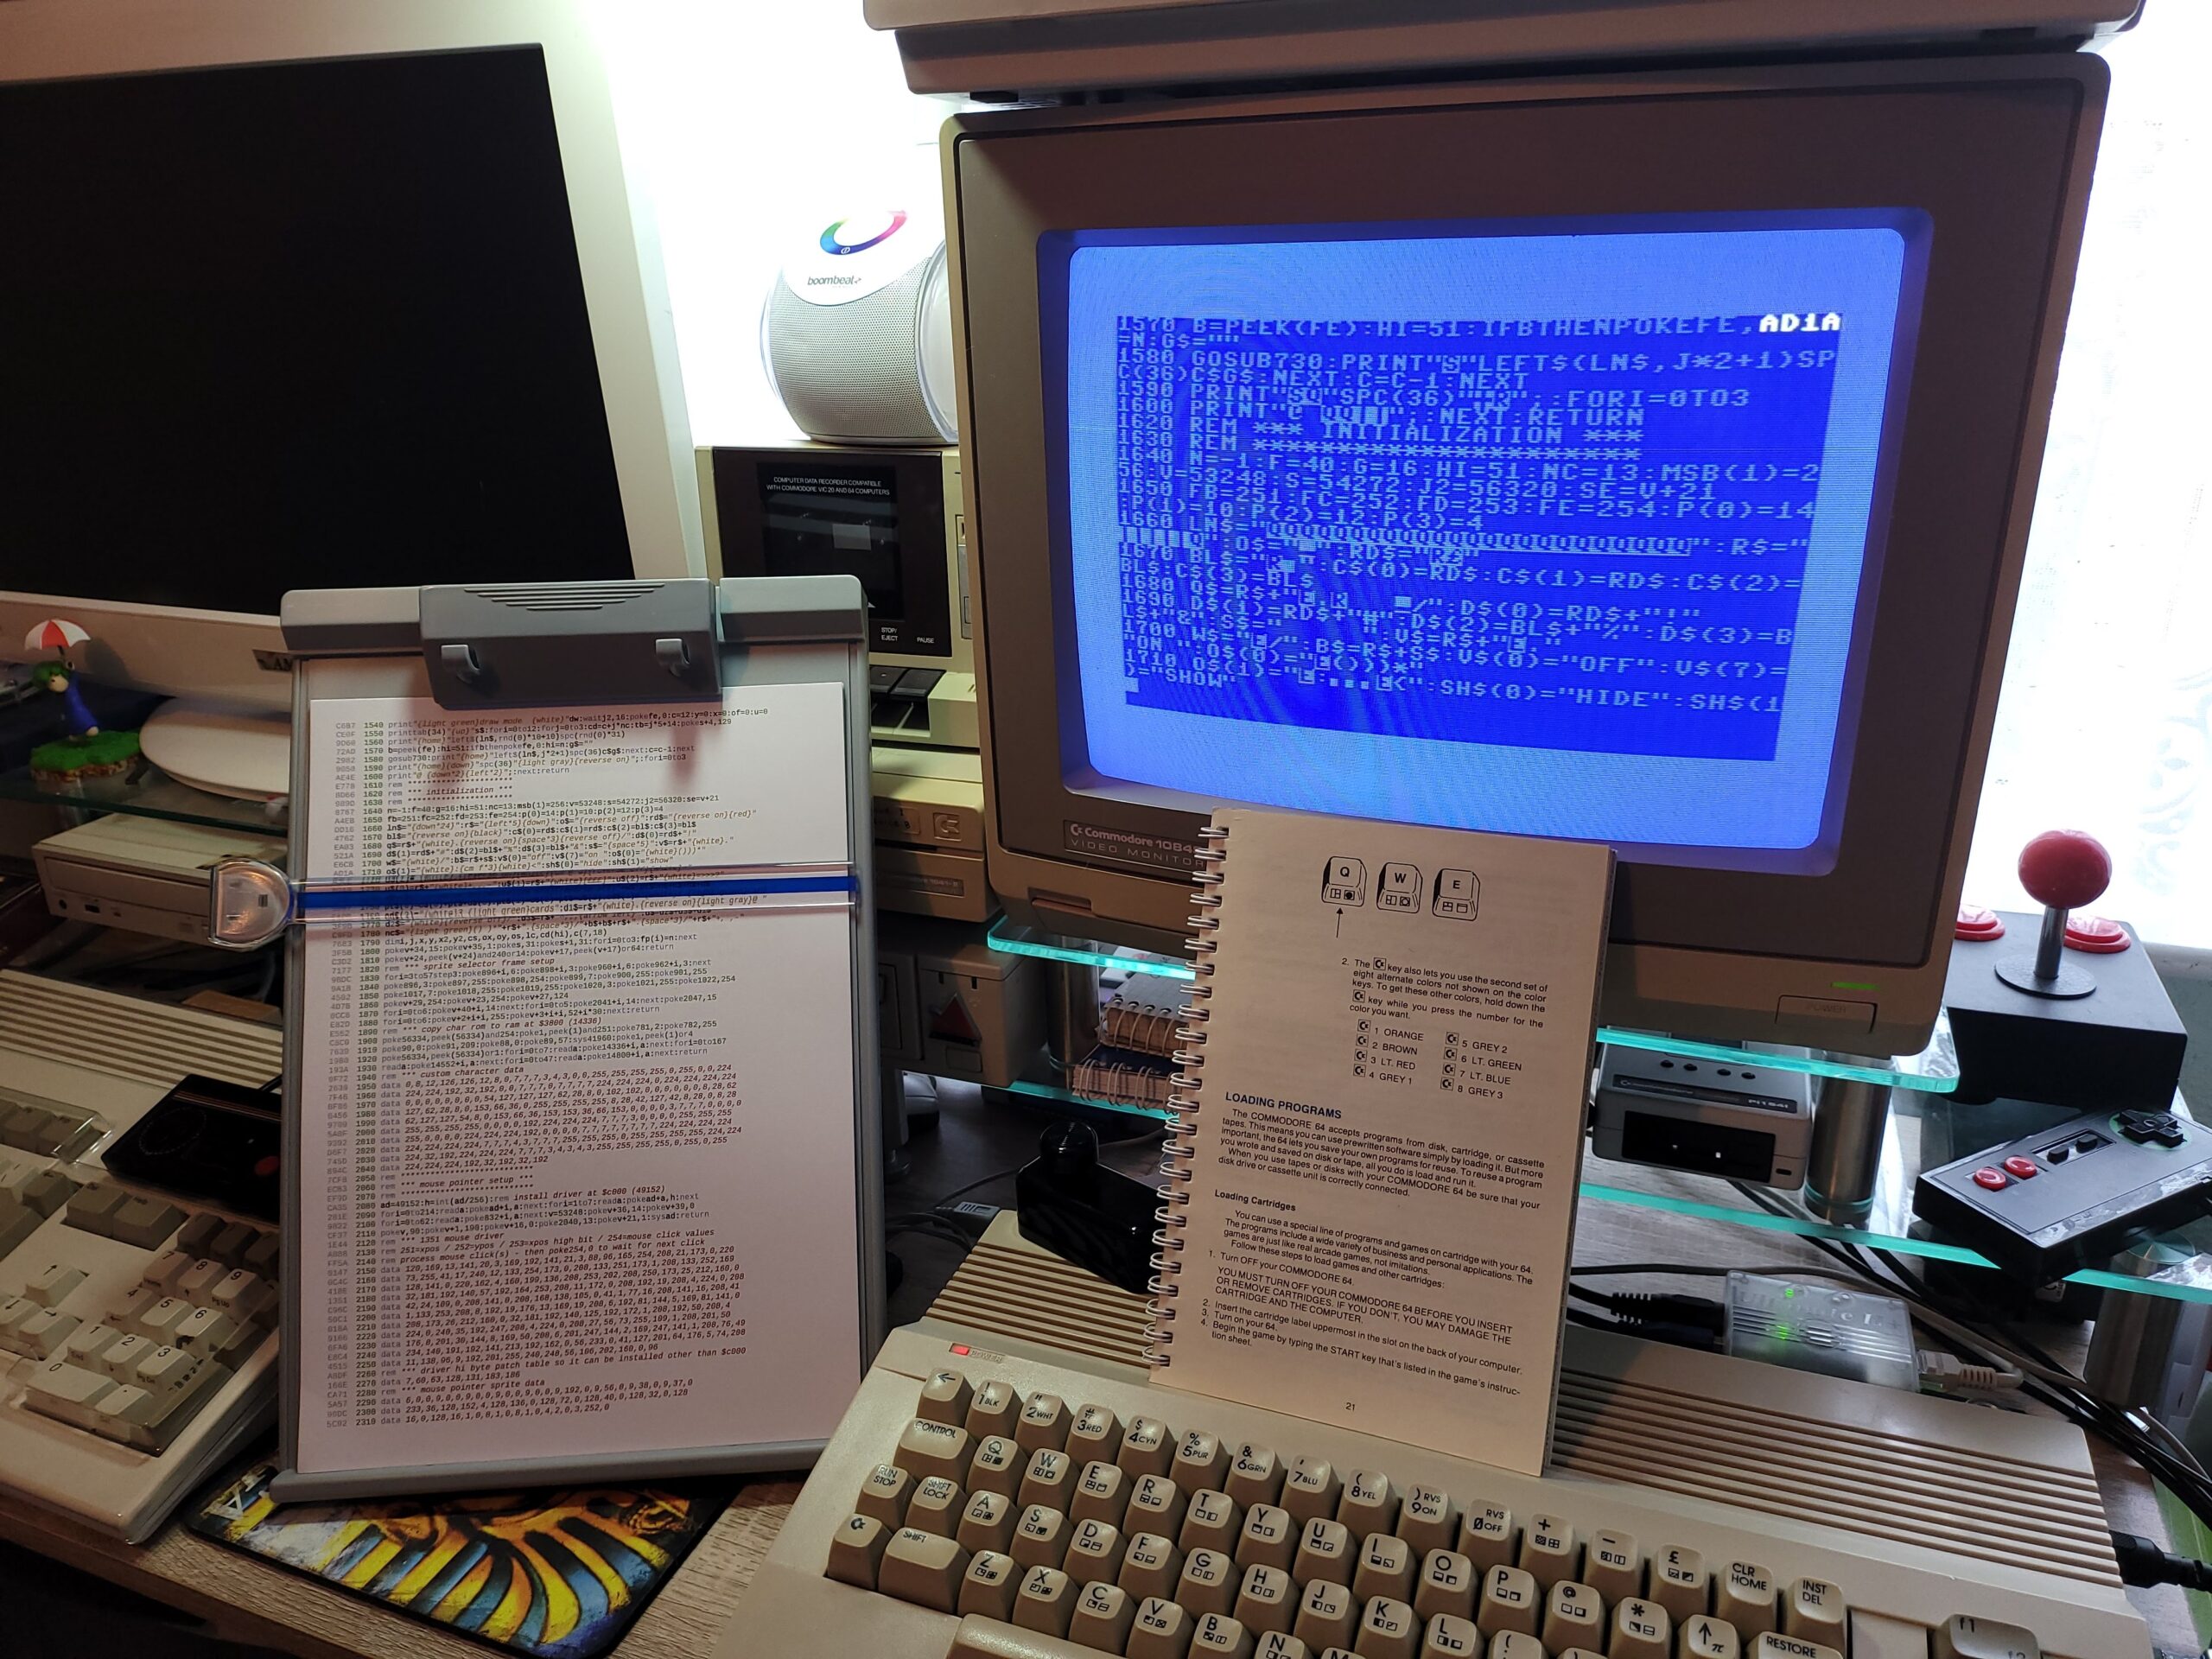
The checksum code in white appears after entering each line of code. If the checksum on the screen matches the one in the listing you are good to go. If not then it’s time to check where you’ve gone wrong!
Obviously I had to type in the small checksum tool program initially and get that working but it only took about 15 minutes. The checksum system was fantastic in use. Inevitably I did make several errors along the way but I was able to correct them immediately and move on. It was certainly far better to know I’d made a mistake straight away than try to fix multiple errors within hundreds of lines of code later on. Occasionally it did lead to some prolonged head-scratching as I tried to figure out what I’d entered wrong though!
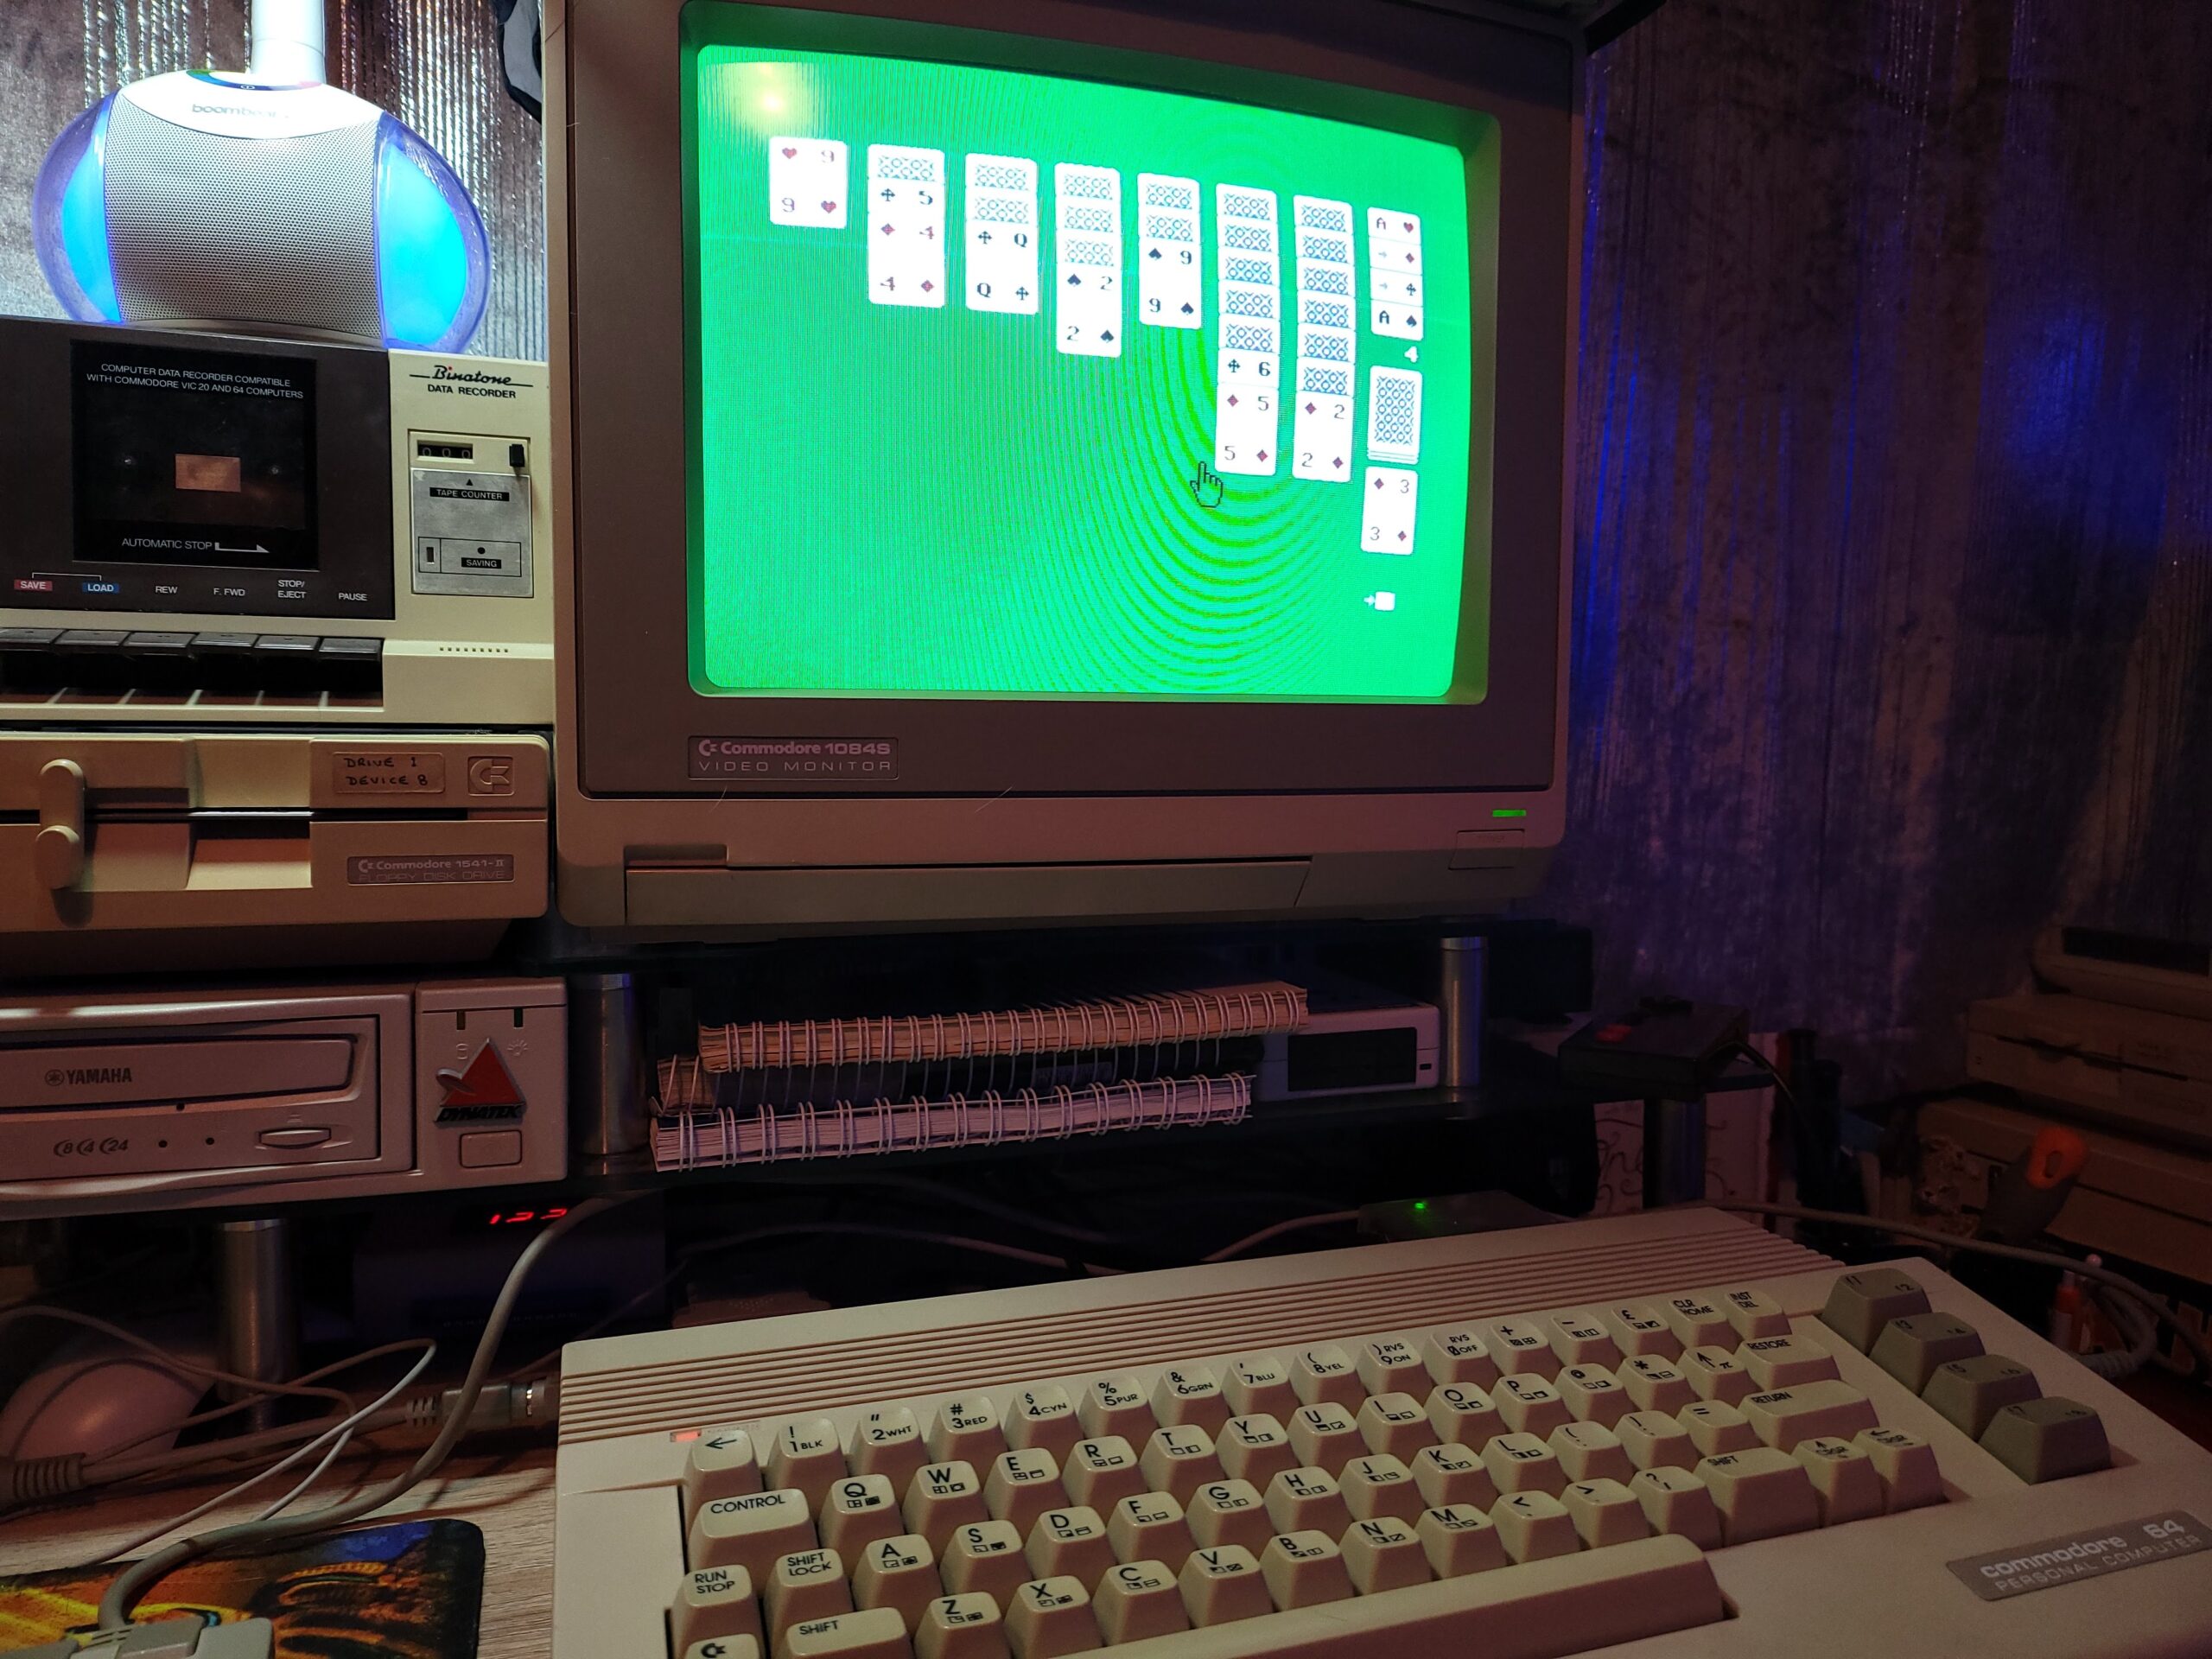
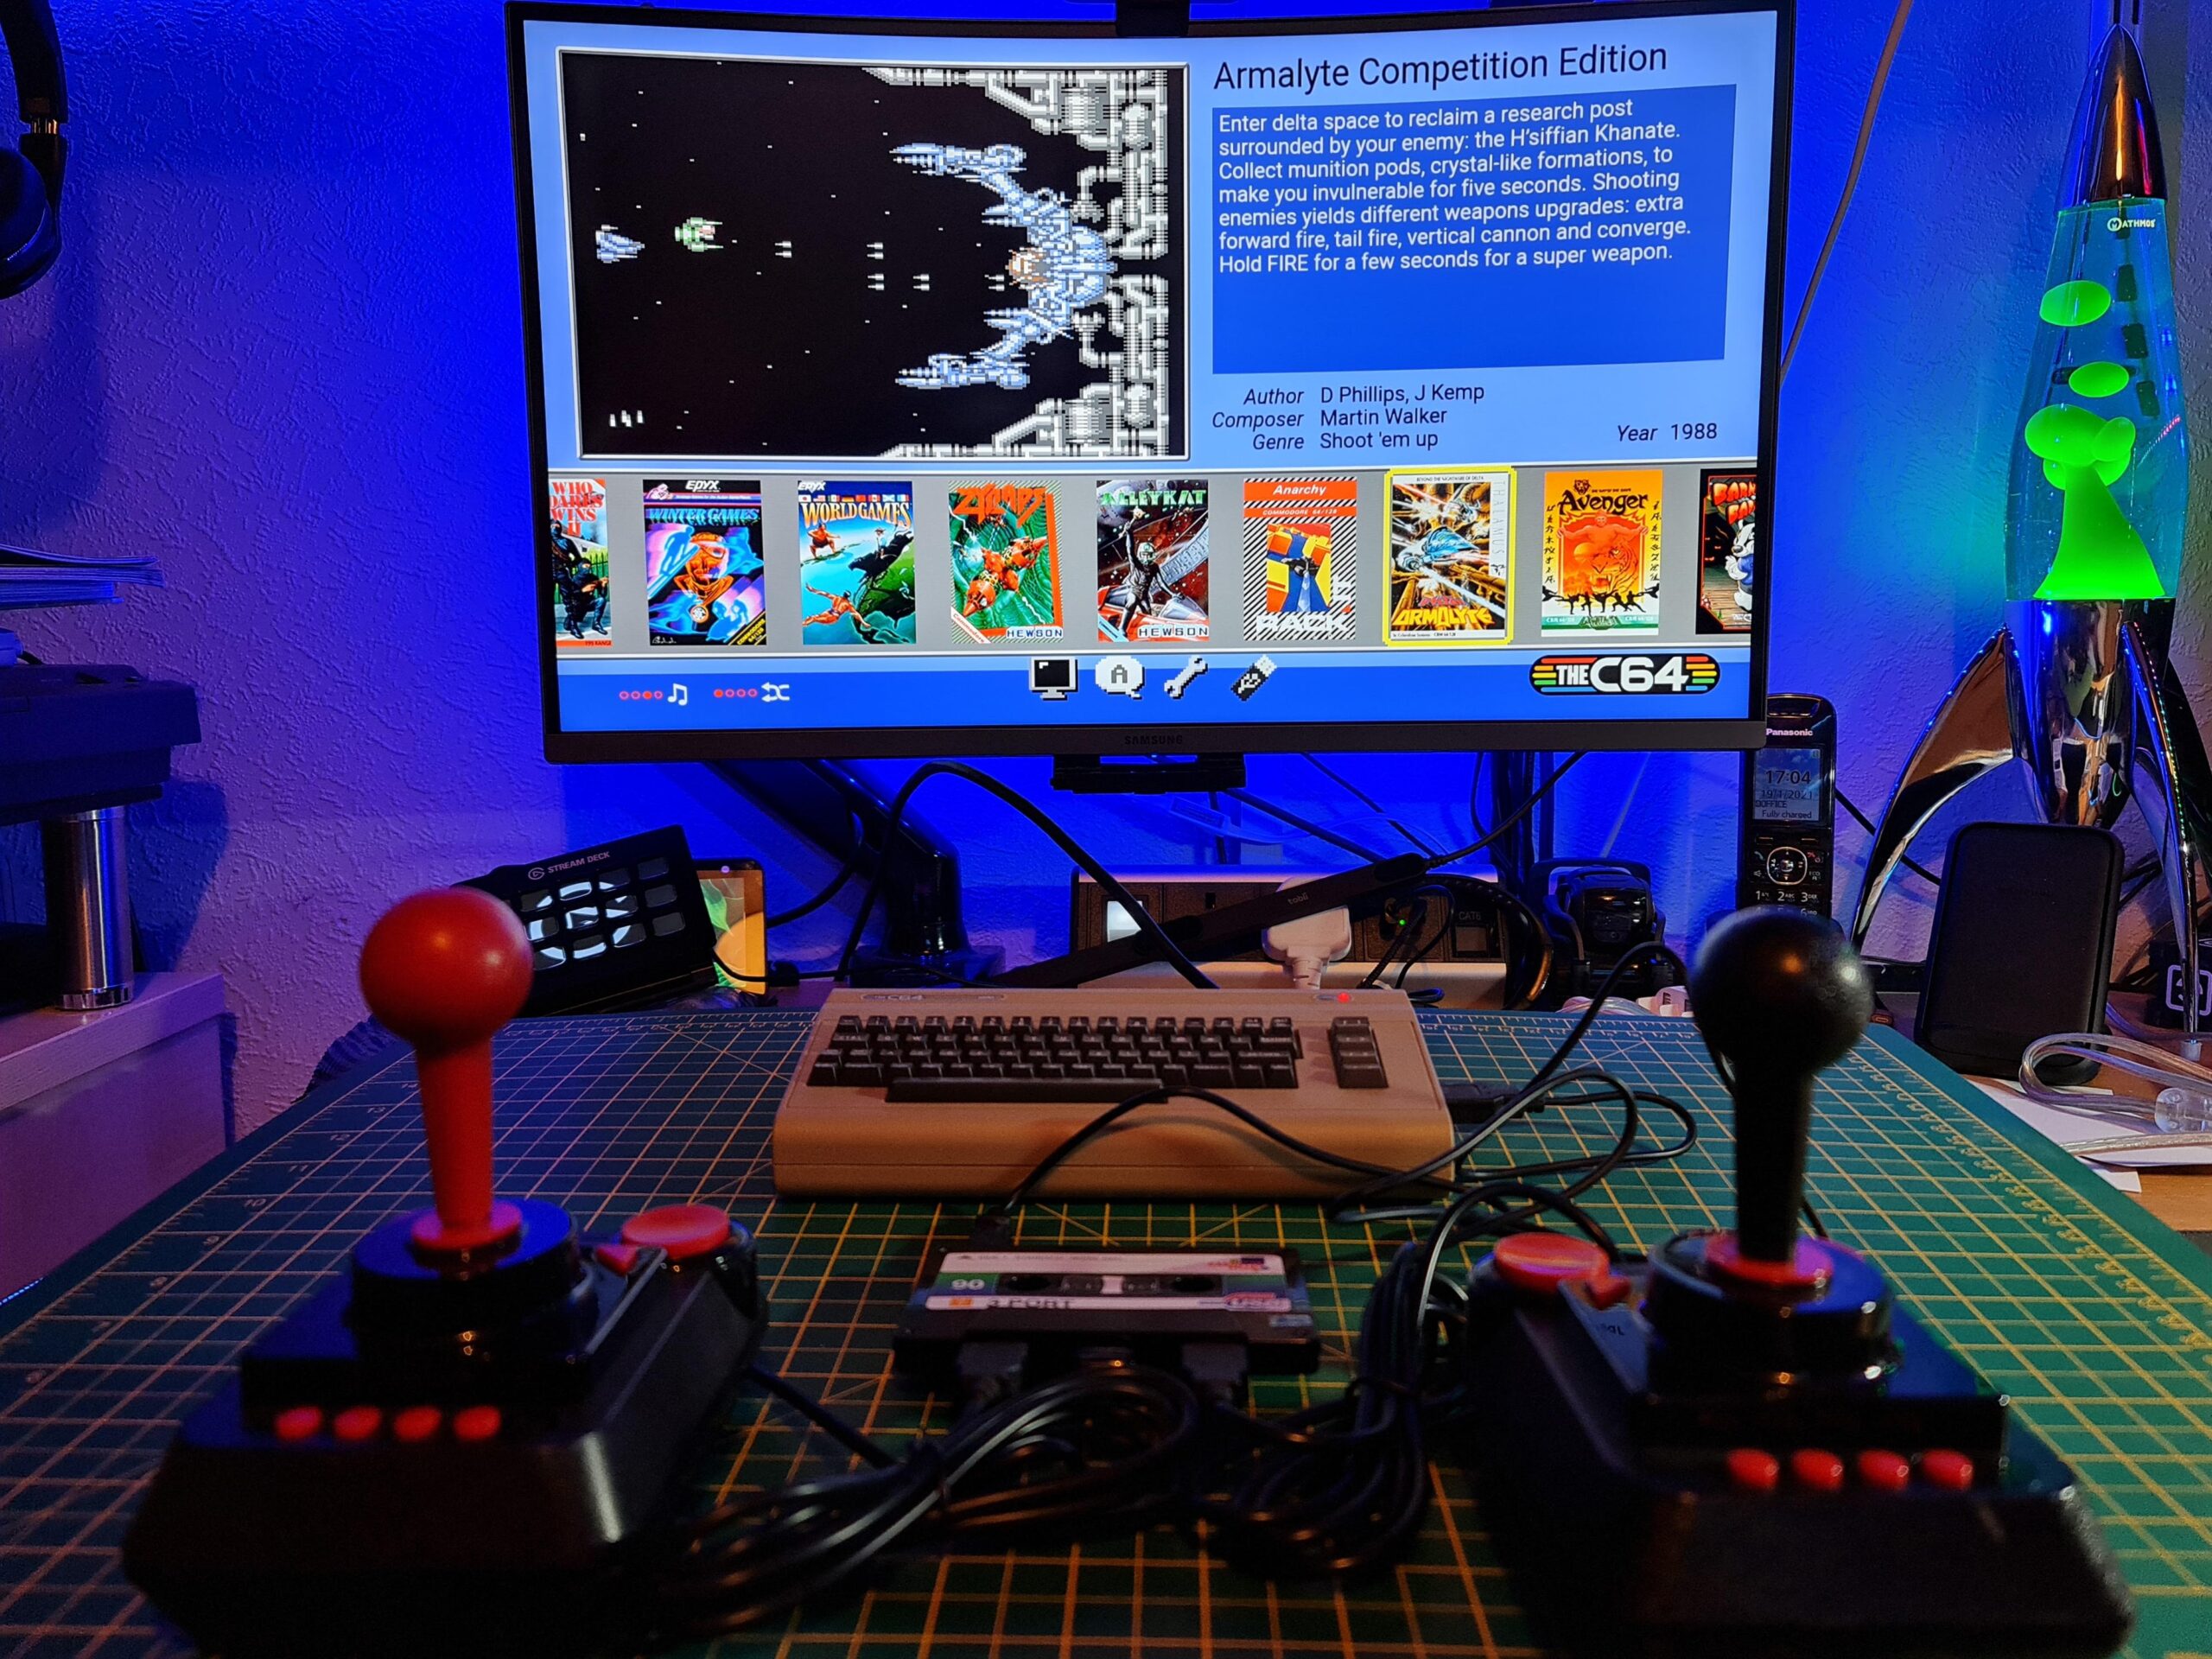
Playing the completed game.
I did struggle a little at first – it’s been nearly 40 years since I’ve had to deal with the C64’s weird and wonder special symbols and some of them took me a while to figure out! The fact that ‘Light grey’ is accessed by holding down the C= key and pressing 8 for example had long since faded from memory.
The entire listing took me around 5-6 hours to complete from start to finish and that included ‘debugging’ time. If I had to do it again I’d be much faster now I’m familiar with most of the PETSCII characters once more.
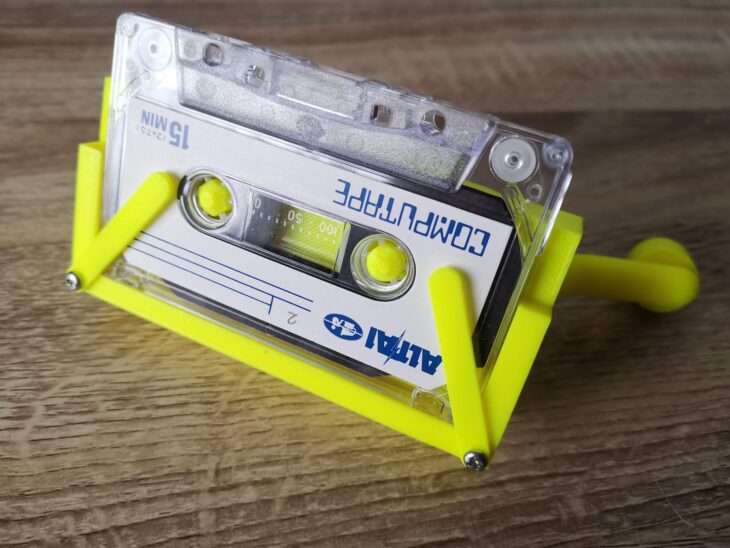
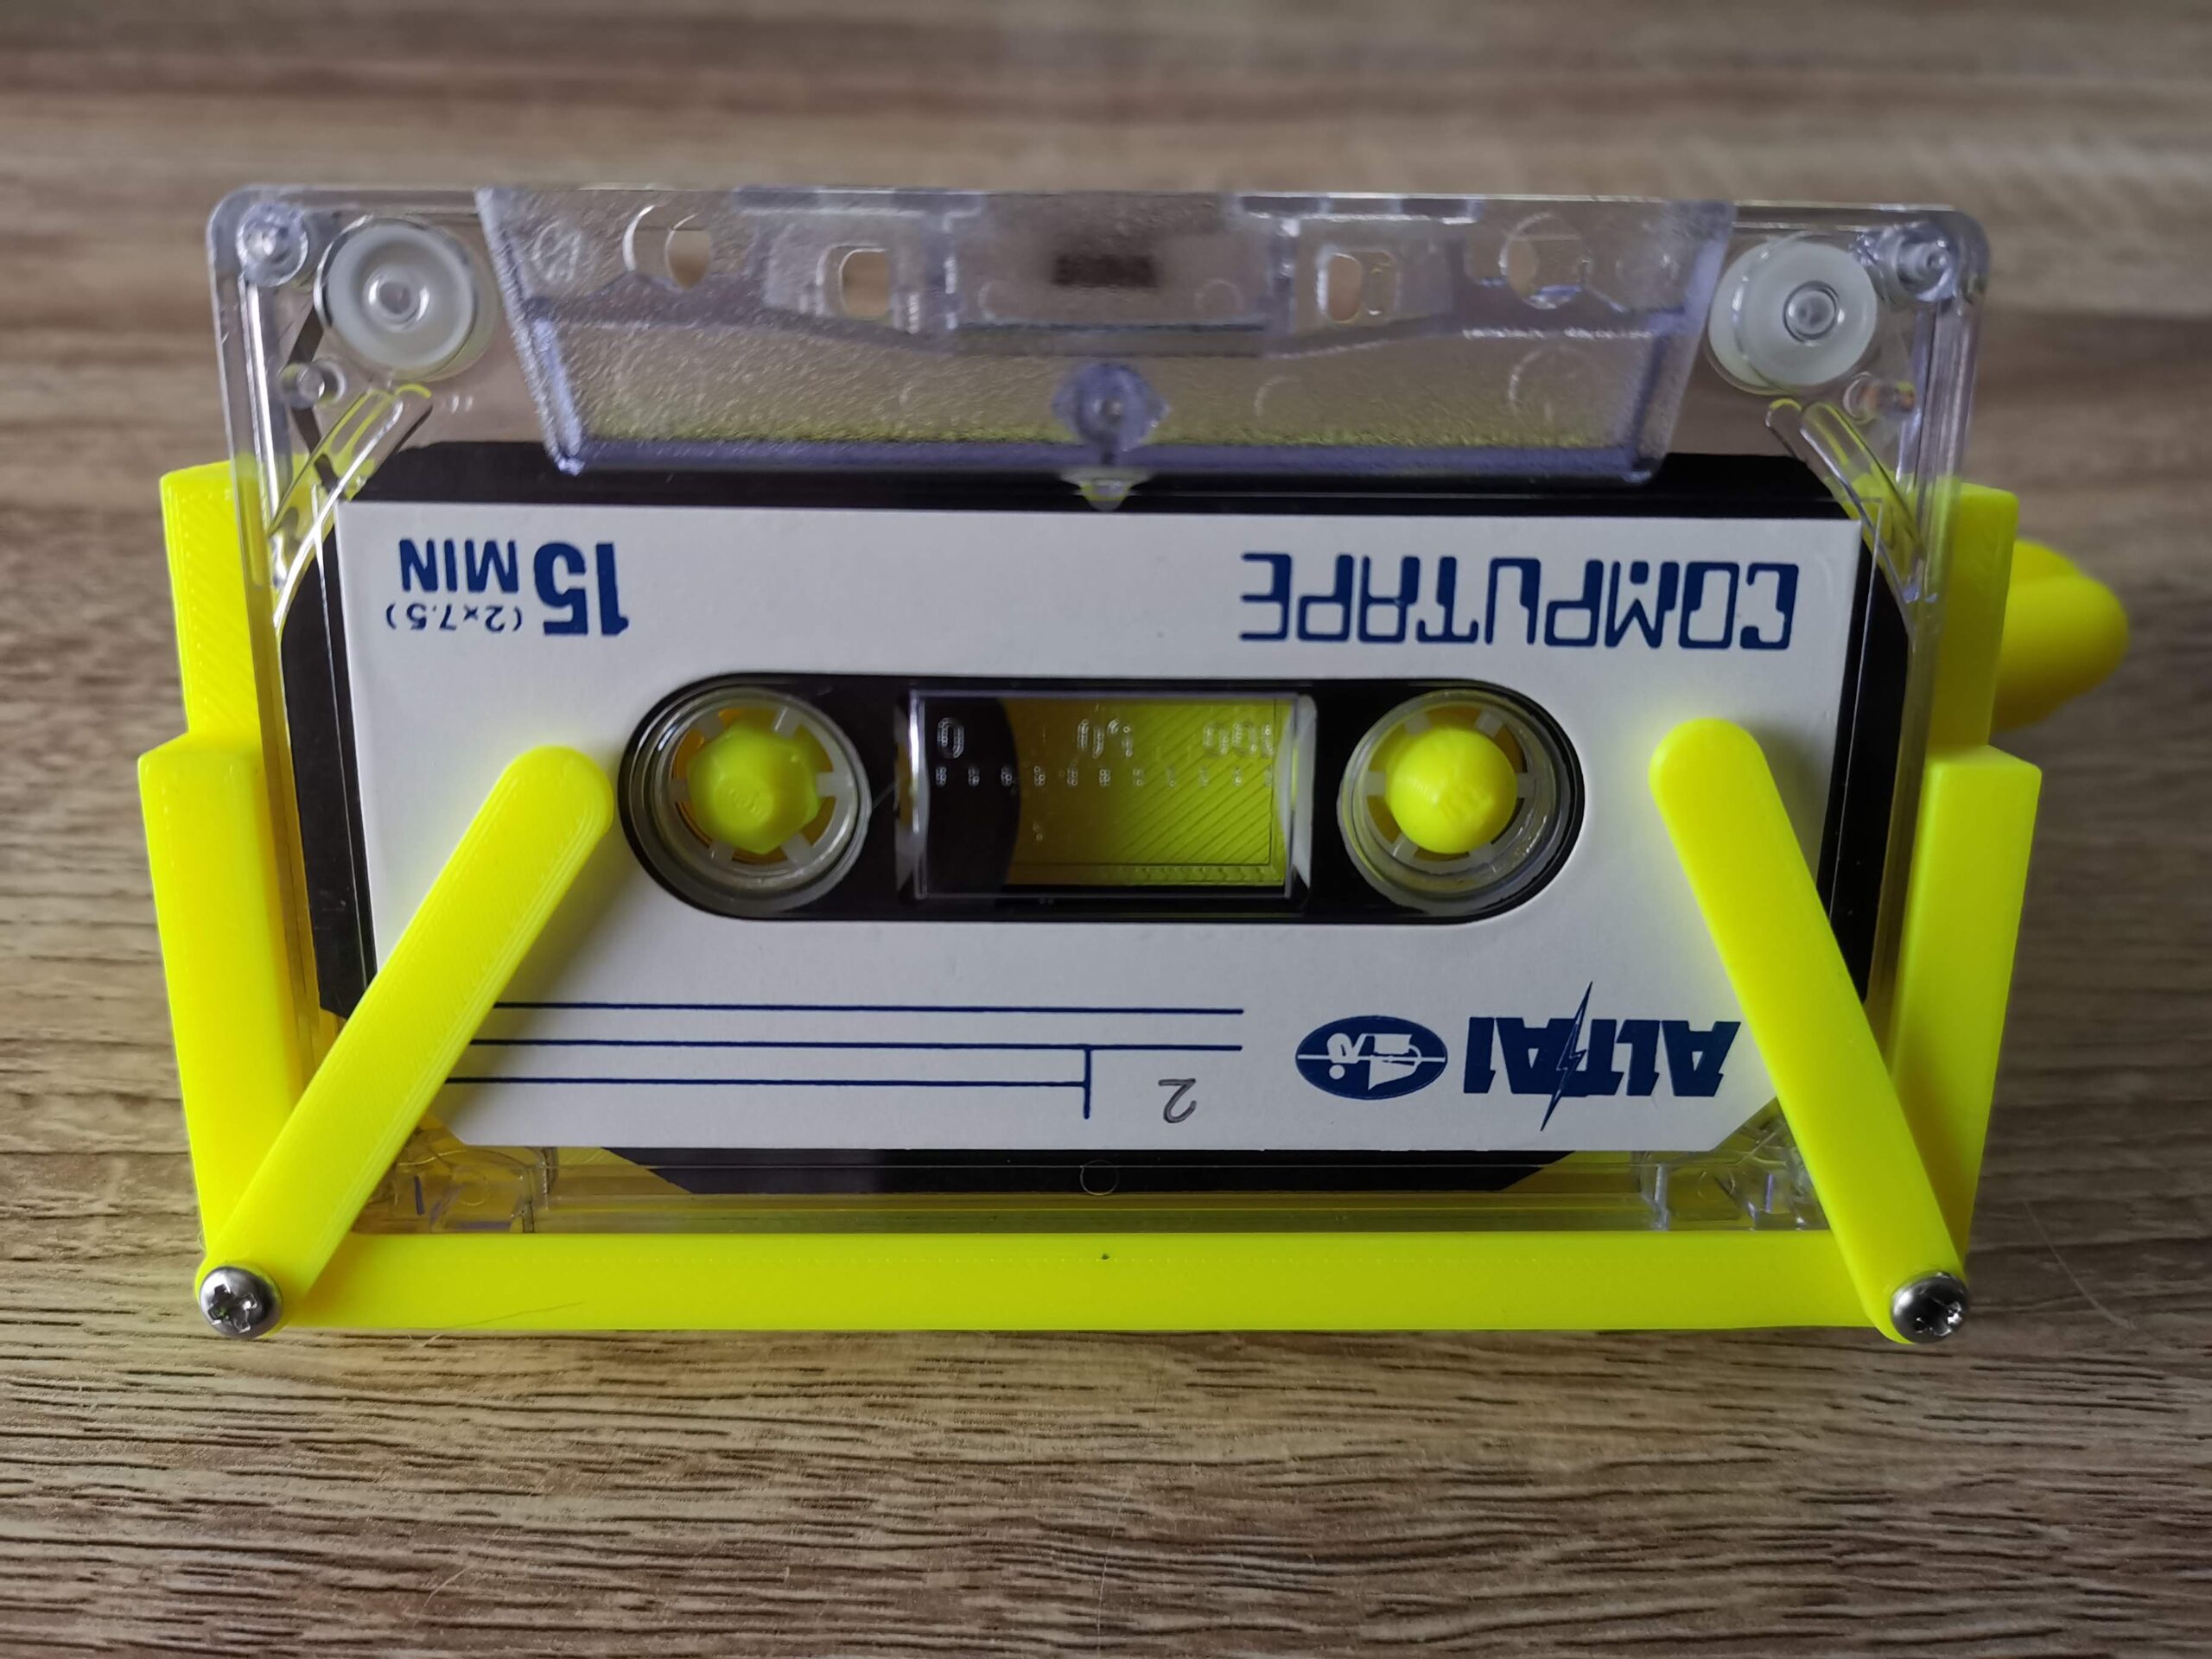
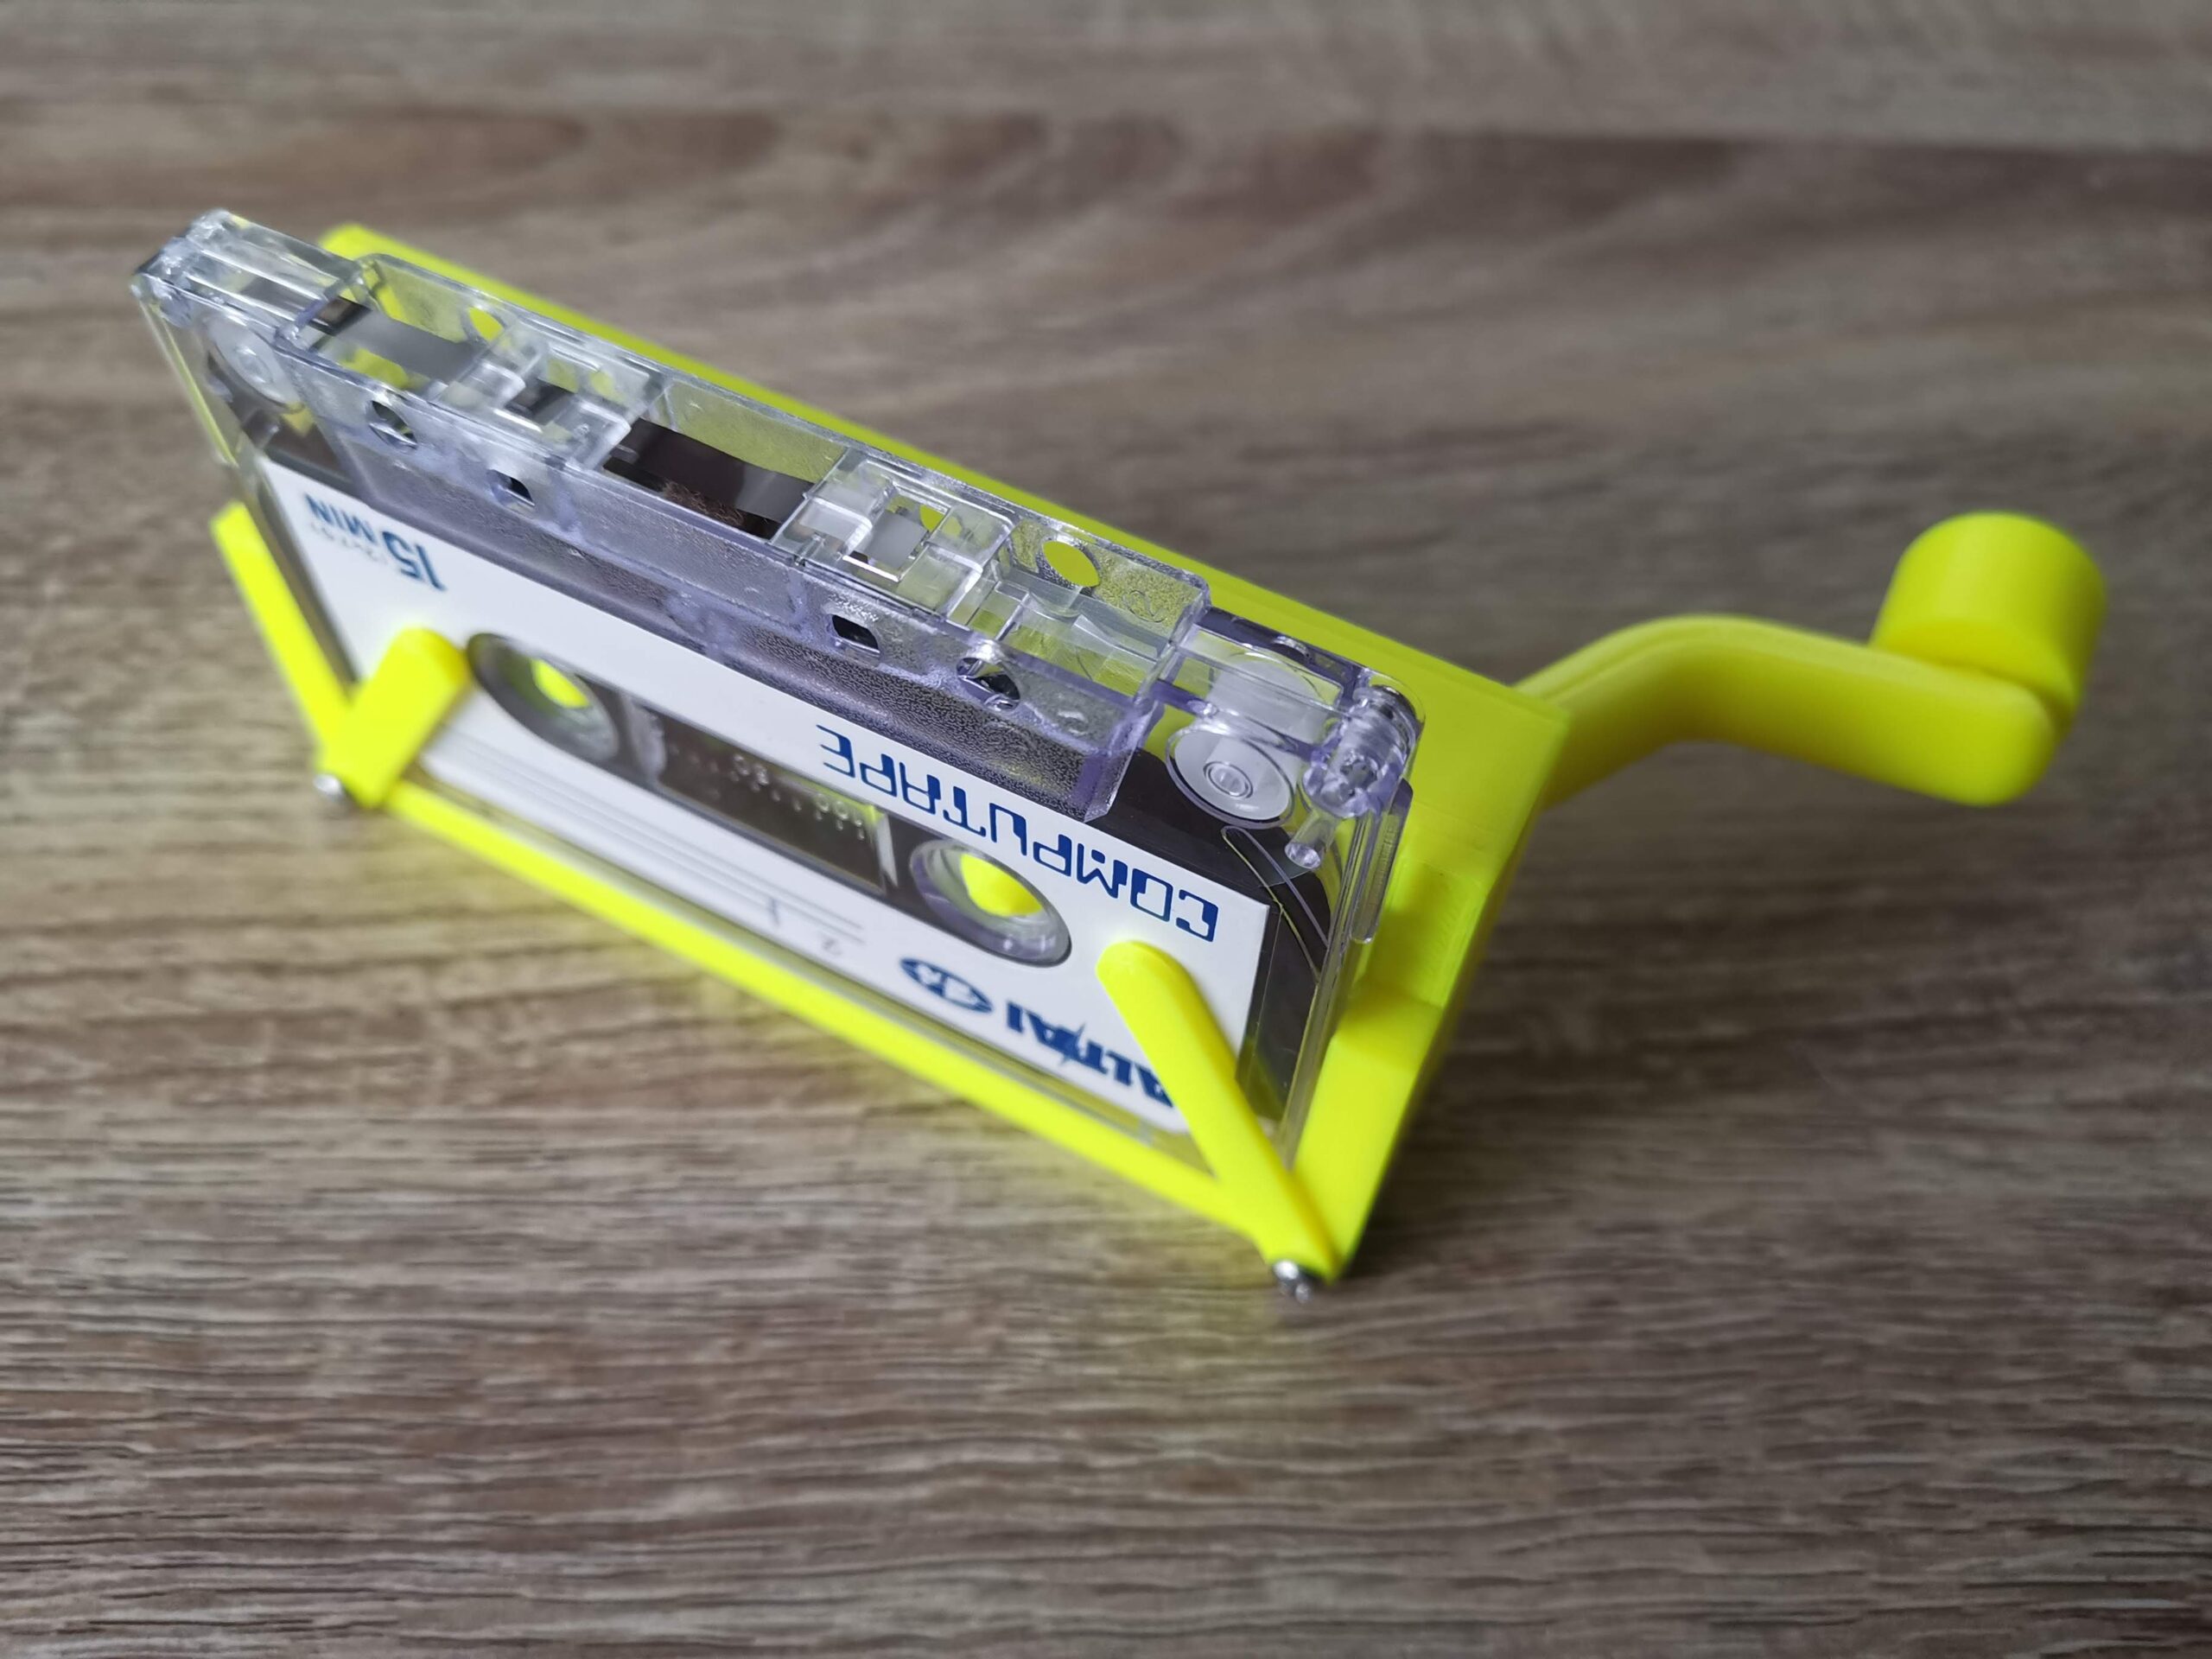
I still found it a very enjoyable experience, even though I now have to deal with wearing varifocal glasses. I was quite surprised to discover that you can still purchase copy holders so I picked one up to help keep the listing and the screen the same distance from my eyes which helped a lot.
The Game
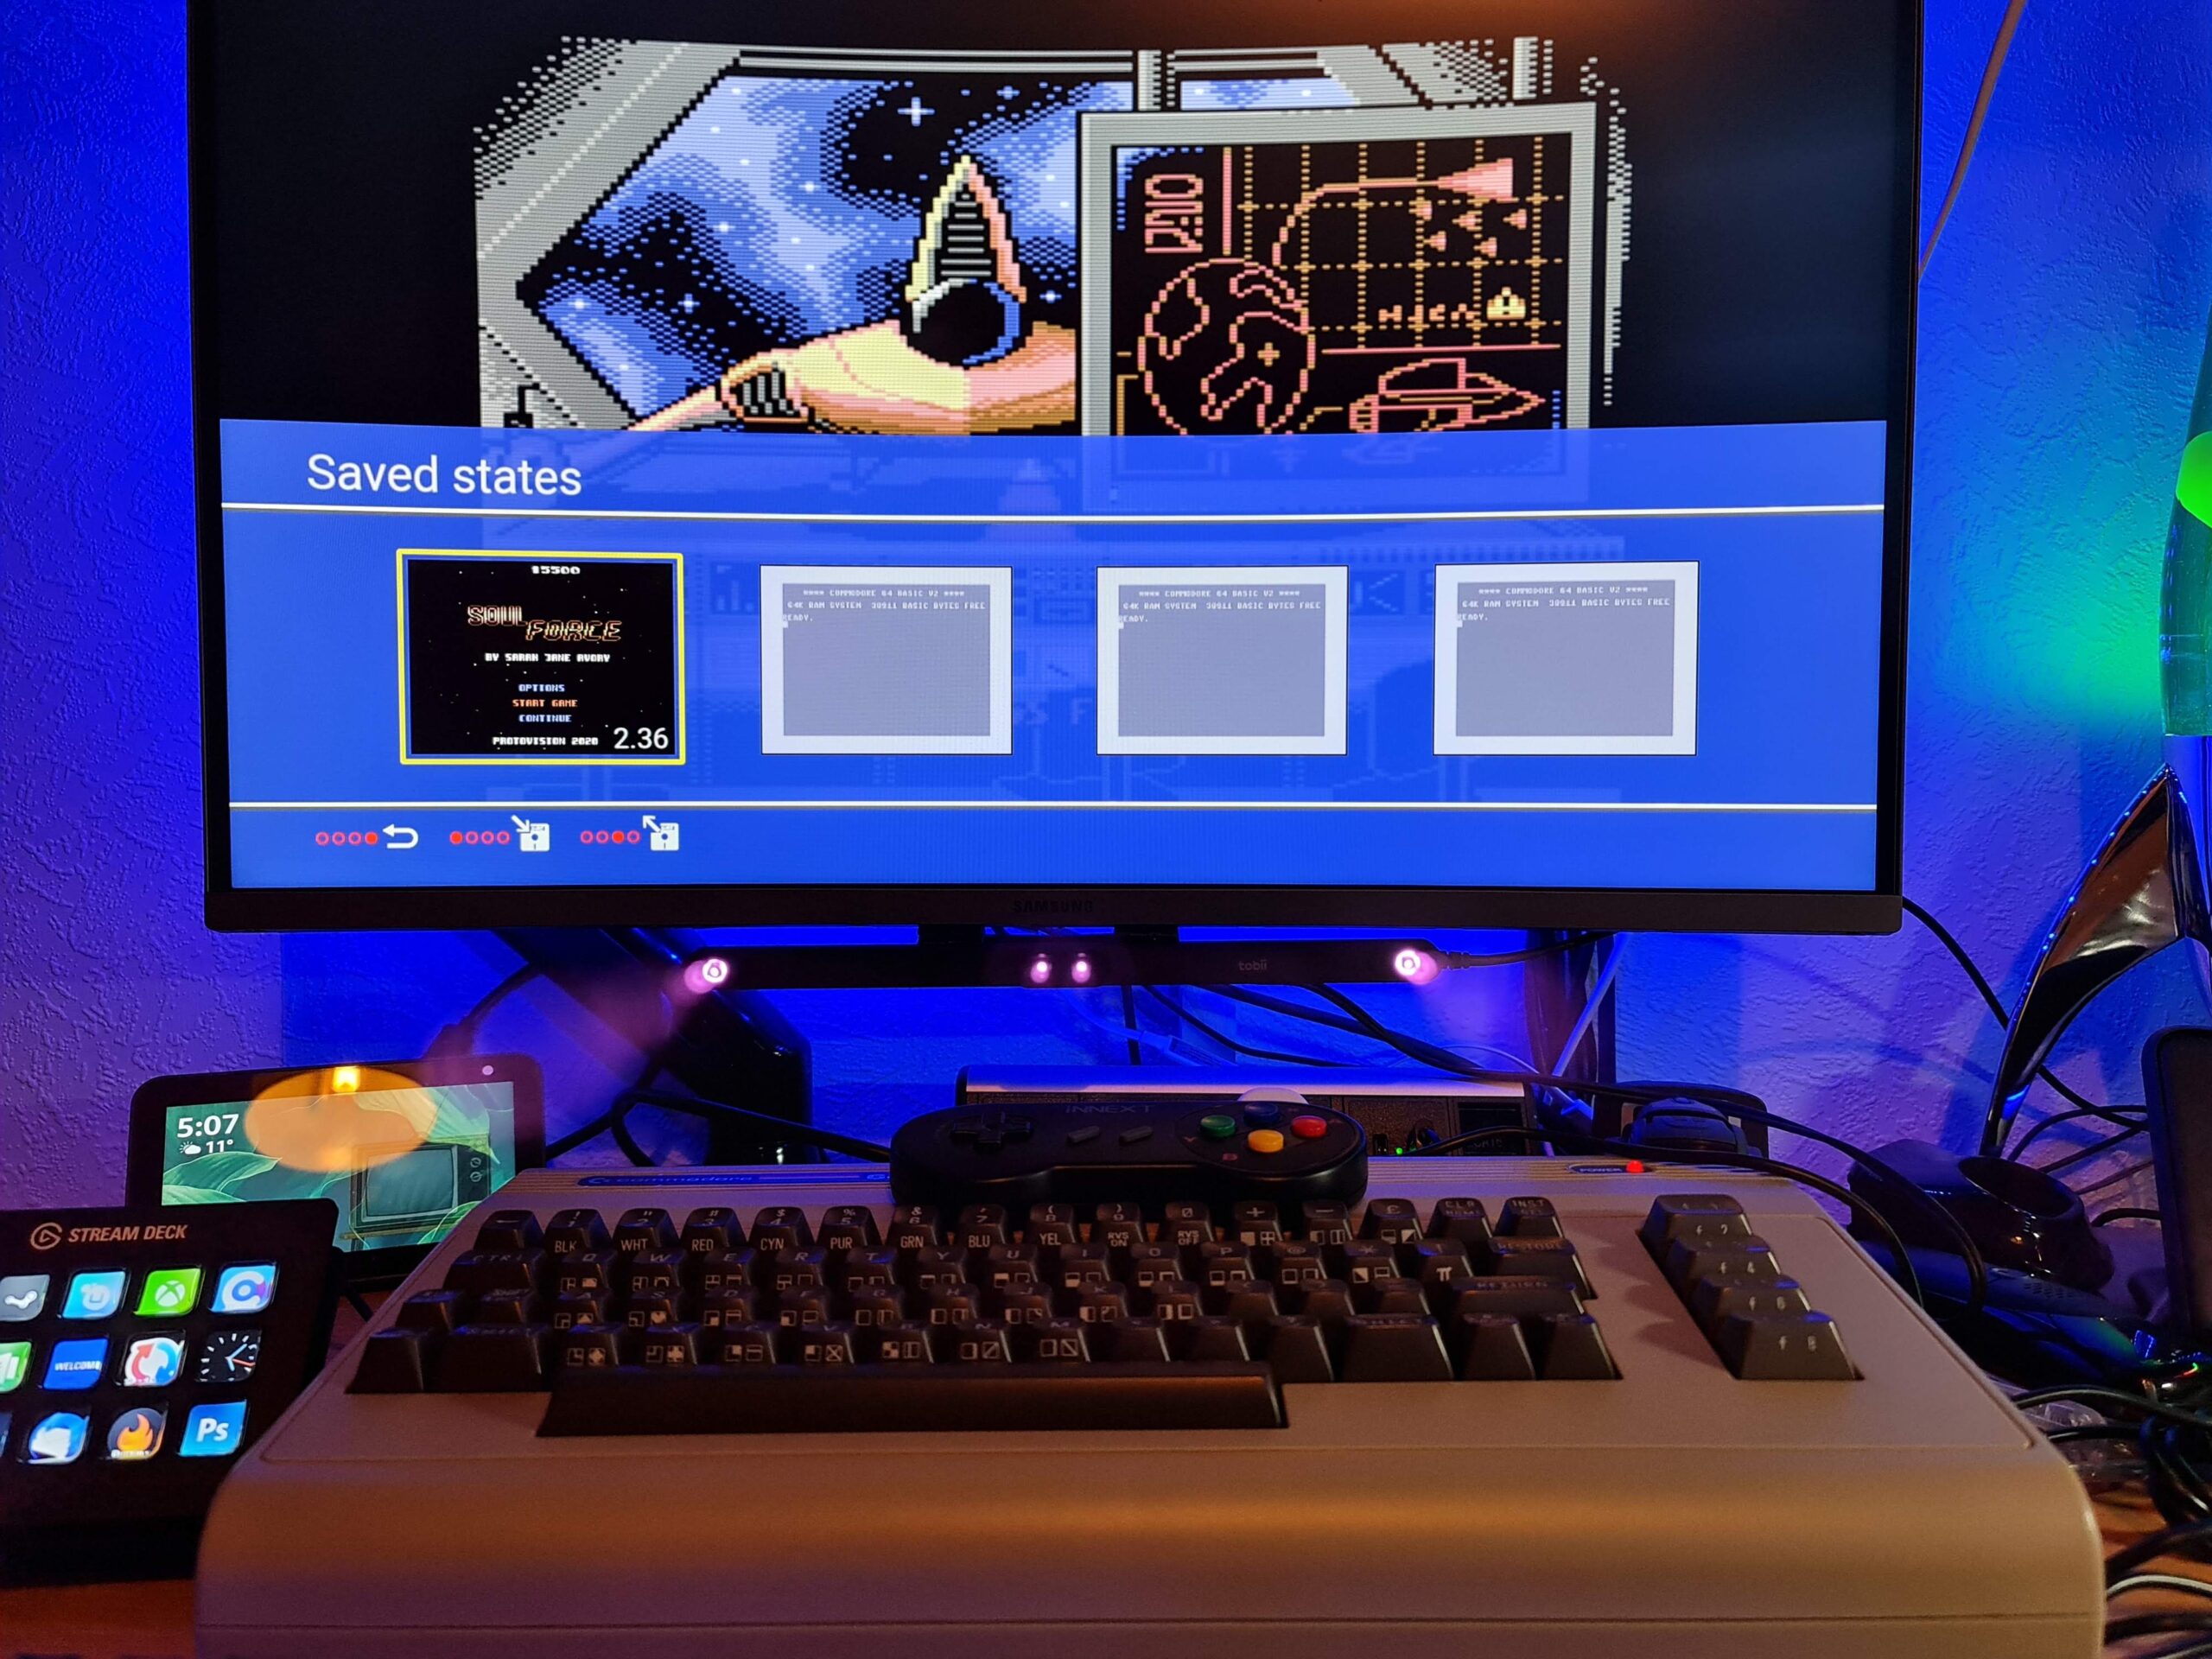
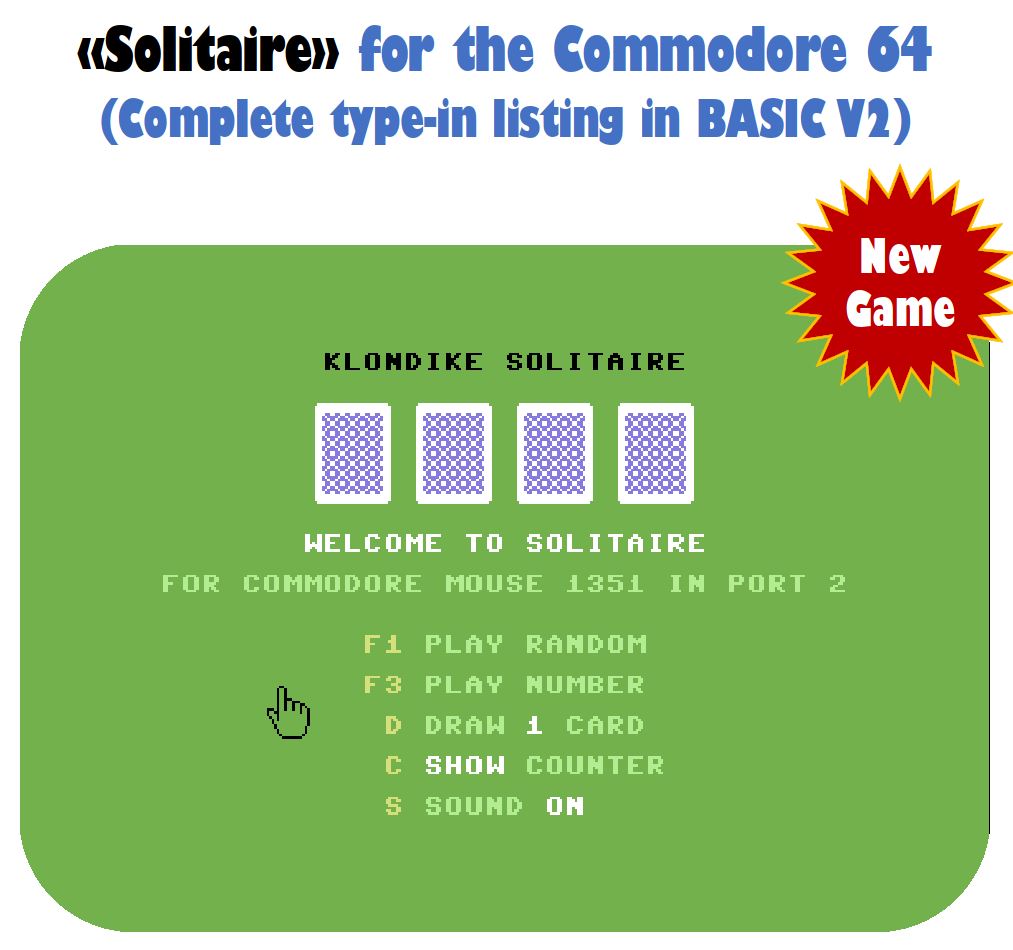
For probably the first time in my life ever the program ran successfully first time! A testament to the success of that Checksum tool for sure. I was greeted with an attractive title screen that includes some options for customising the game.
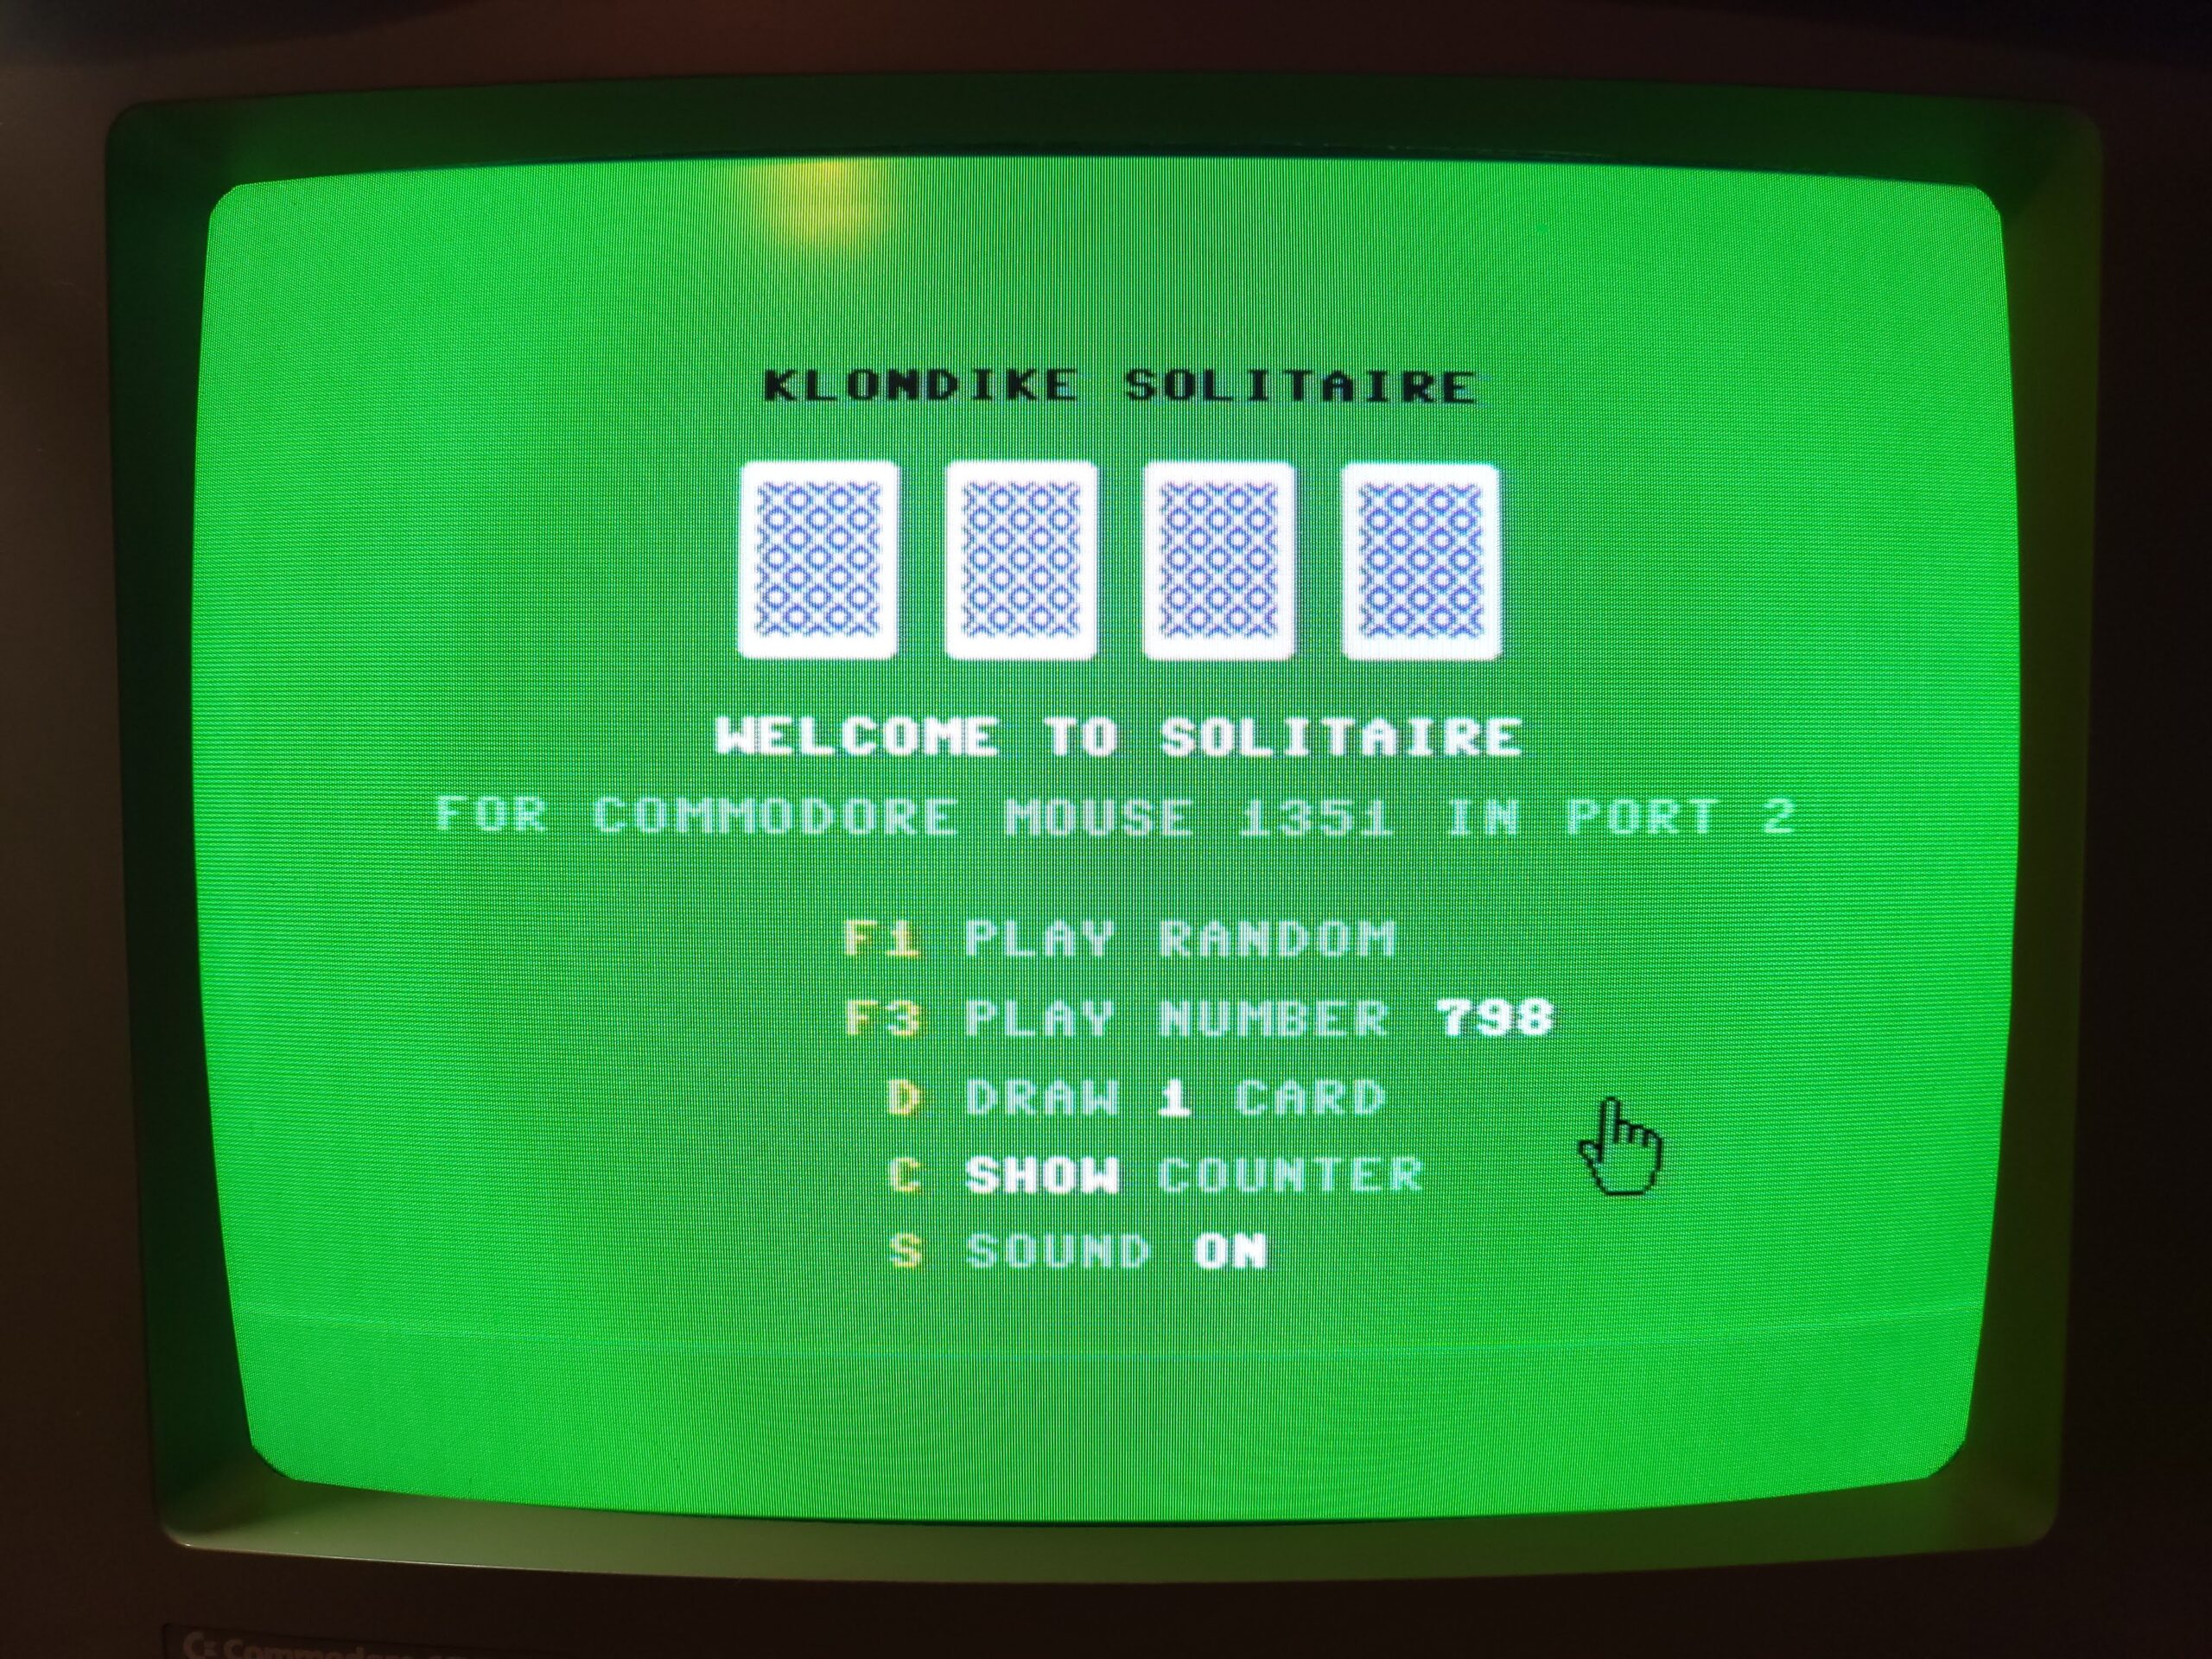
Title Screen.
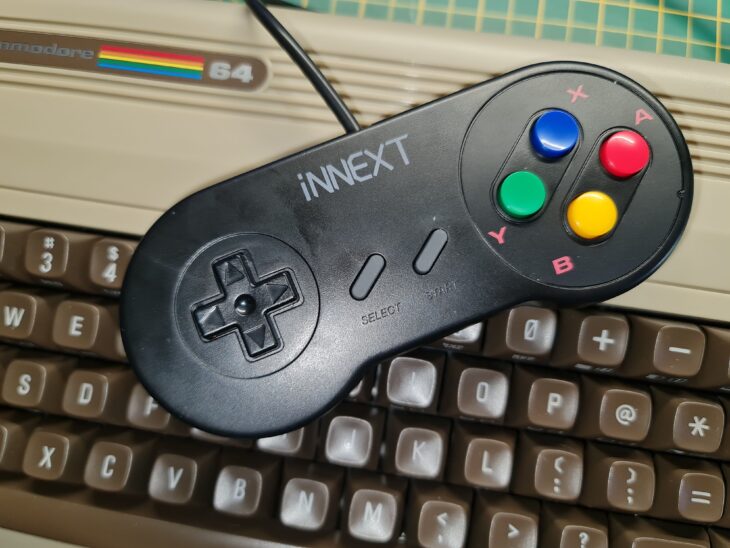
Considering the game is written in BASIC it looks great and plays really well. It utilises the Commodore 1351 mouse which just feels like the natural way to play a game like this. There’s some extra code provided to add joystick support too should you wish to have it. The mouse pointer utilises a sprite in the form of a hand which looks really slick in operation.

Using one of the alternate coloured decks.
The game plays exactly as you would expect a game of solitaire to play. By utilising mouse input it ‘feels’ like a much more modern game during play.
You can opt to play drawing 3 cards from the deck or just 1. Right-clicking on a card sends it to the appropriate foundation pile. You can also select a group of cards to move from one column to another.
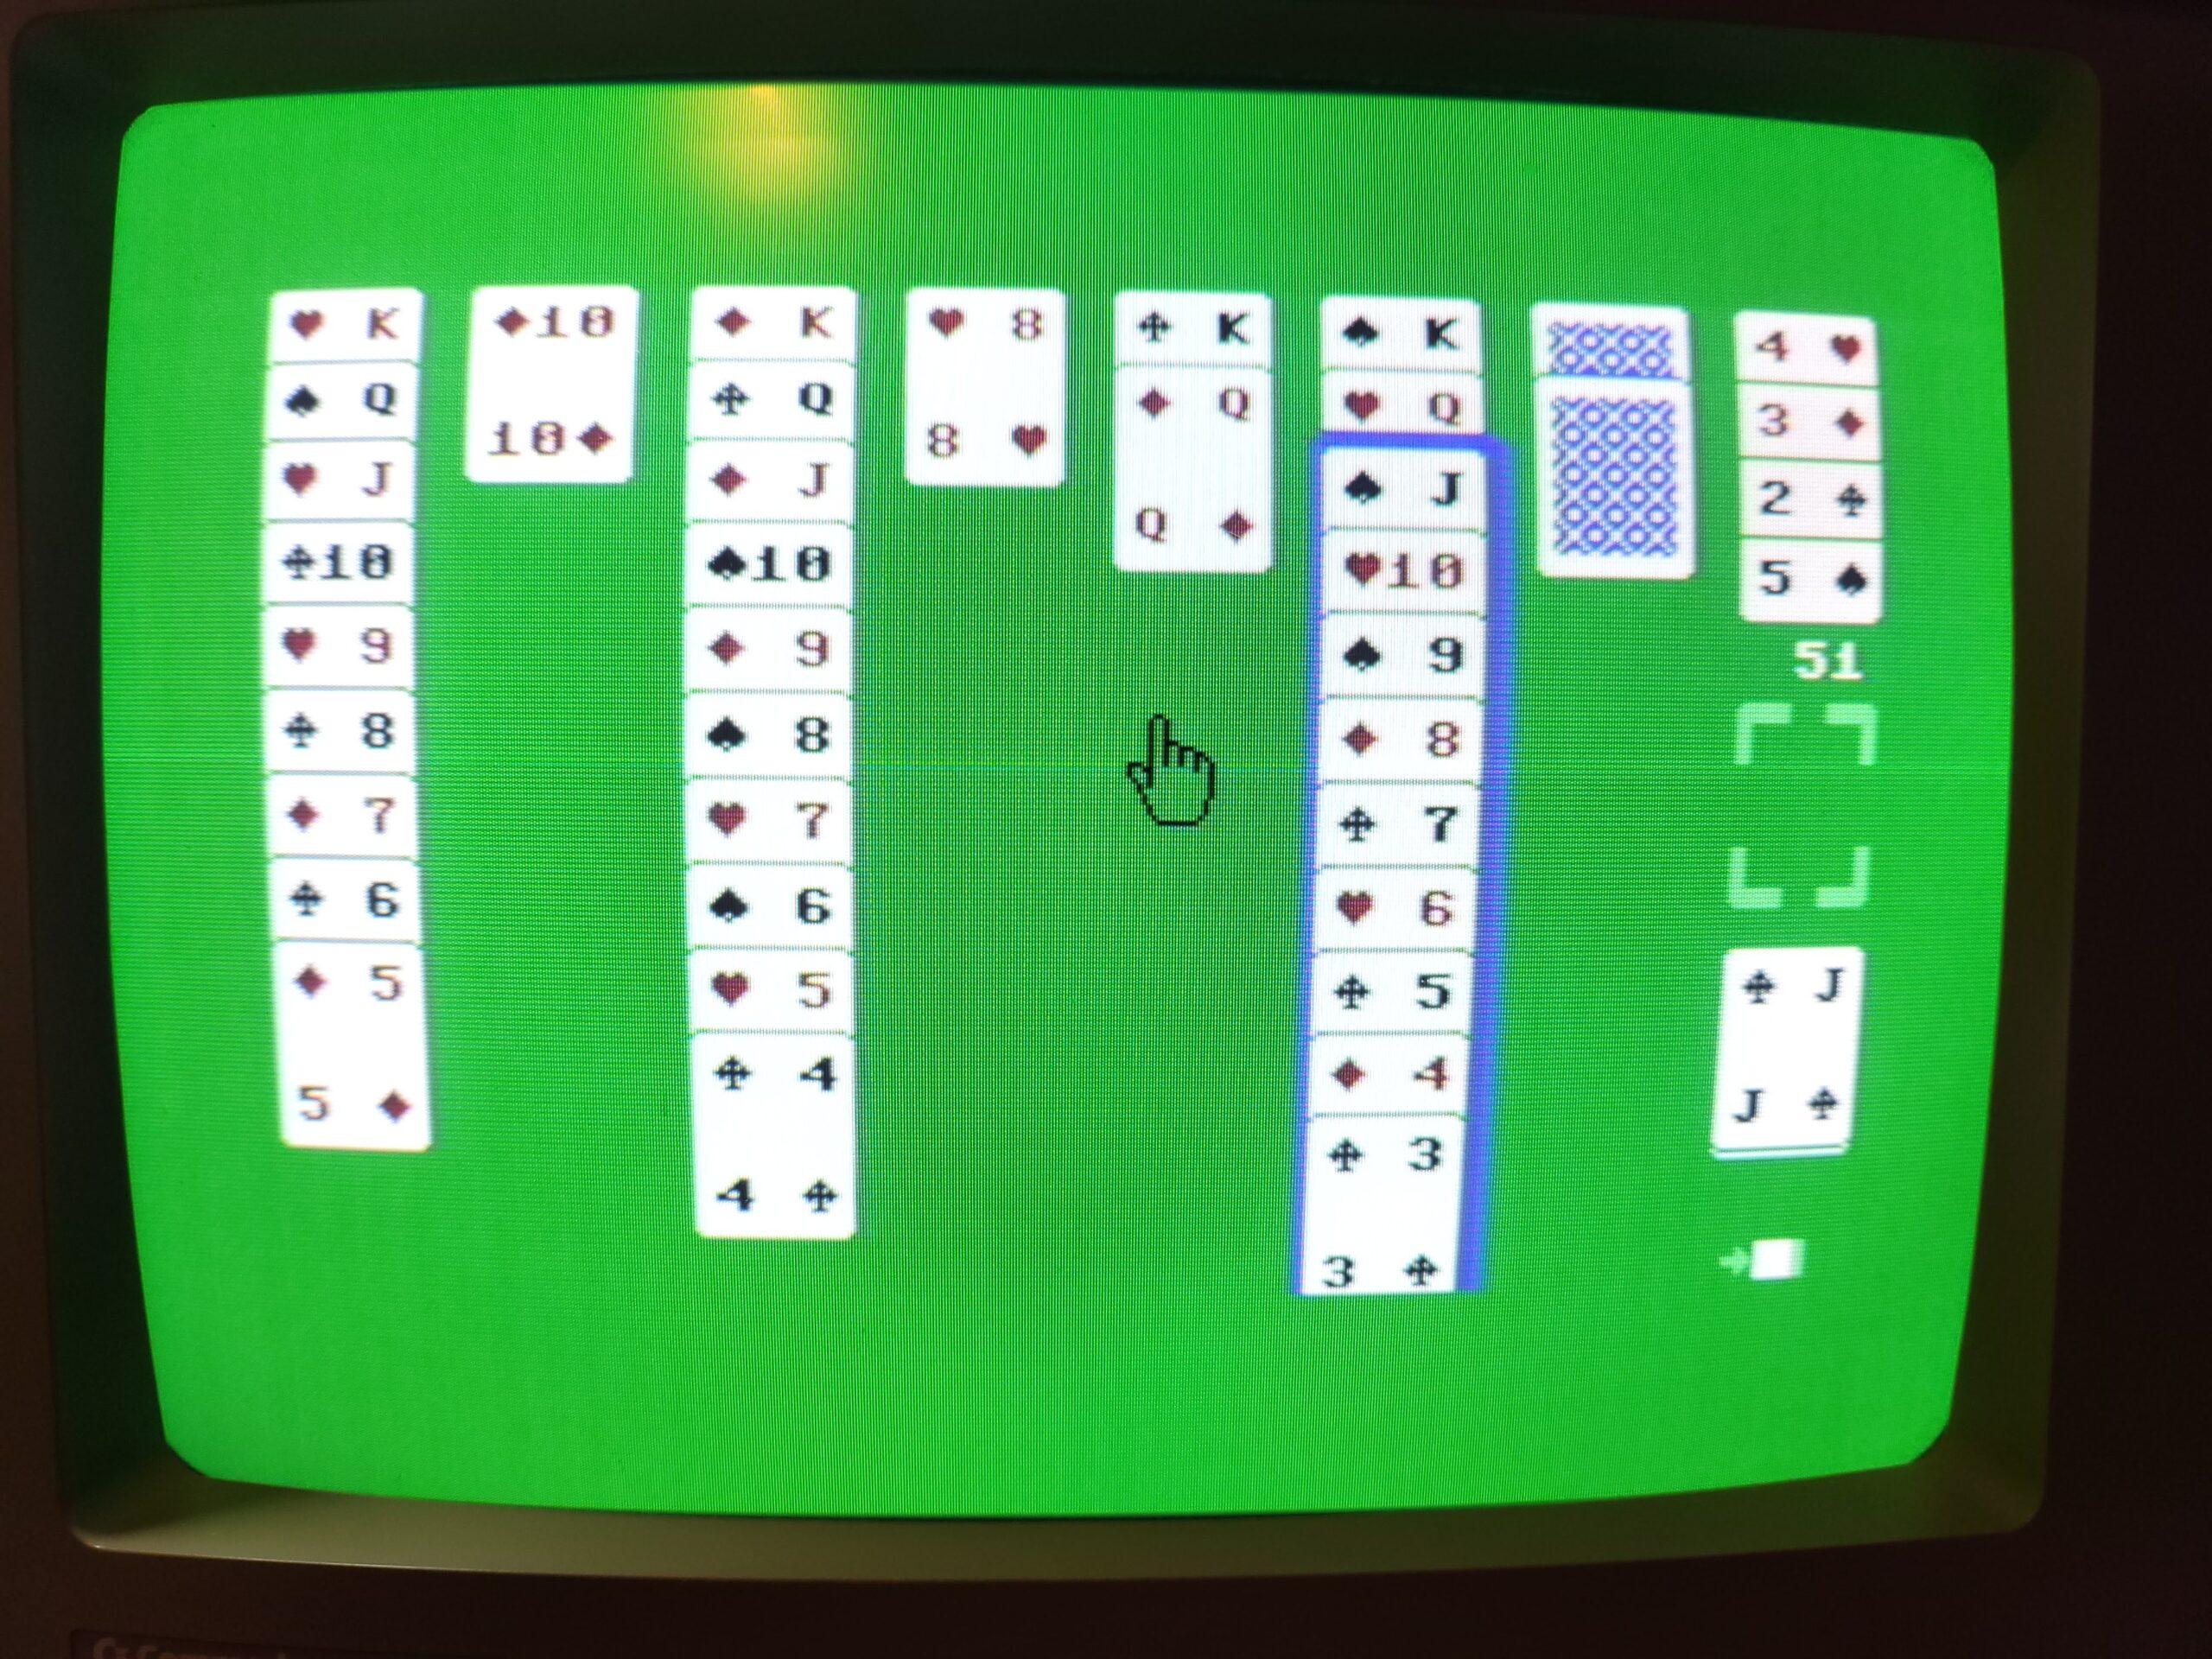
You can select a group of cards just like you would expect to move across to another column.
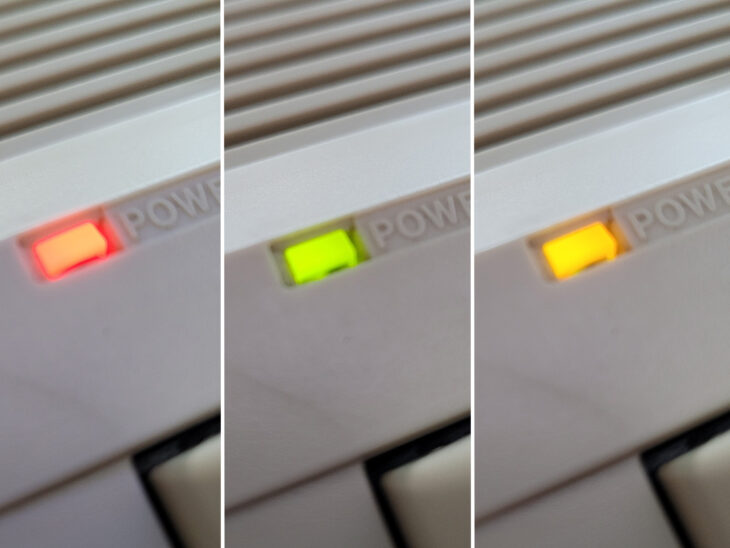
The card backs can also be changed to one of 4 different colour choices (red, grey, purple and blue) simply right-clicking the top card on the deck. Limited but effective sound effects are used to represent both the shuffling of the deck and card movements during the game. There’s even an animated ‘win’ screen at the end.

The ‘win’ screen complete with animation. Game tracks the time played and number of moves you have made which is a nice touch.
SuperCPU
The game runs really well as I said but it is a little on the slow side when first setting up the cards on the screen or if you move a large stack of cards from one column to another. I’m only talking about a few seconds and it certainly doesn’t ruin the game, but it did encourage me to dust off my Turbo Chameleon V2 and test out the SuperCPU functionality.
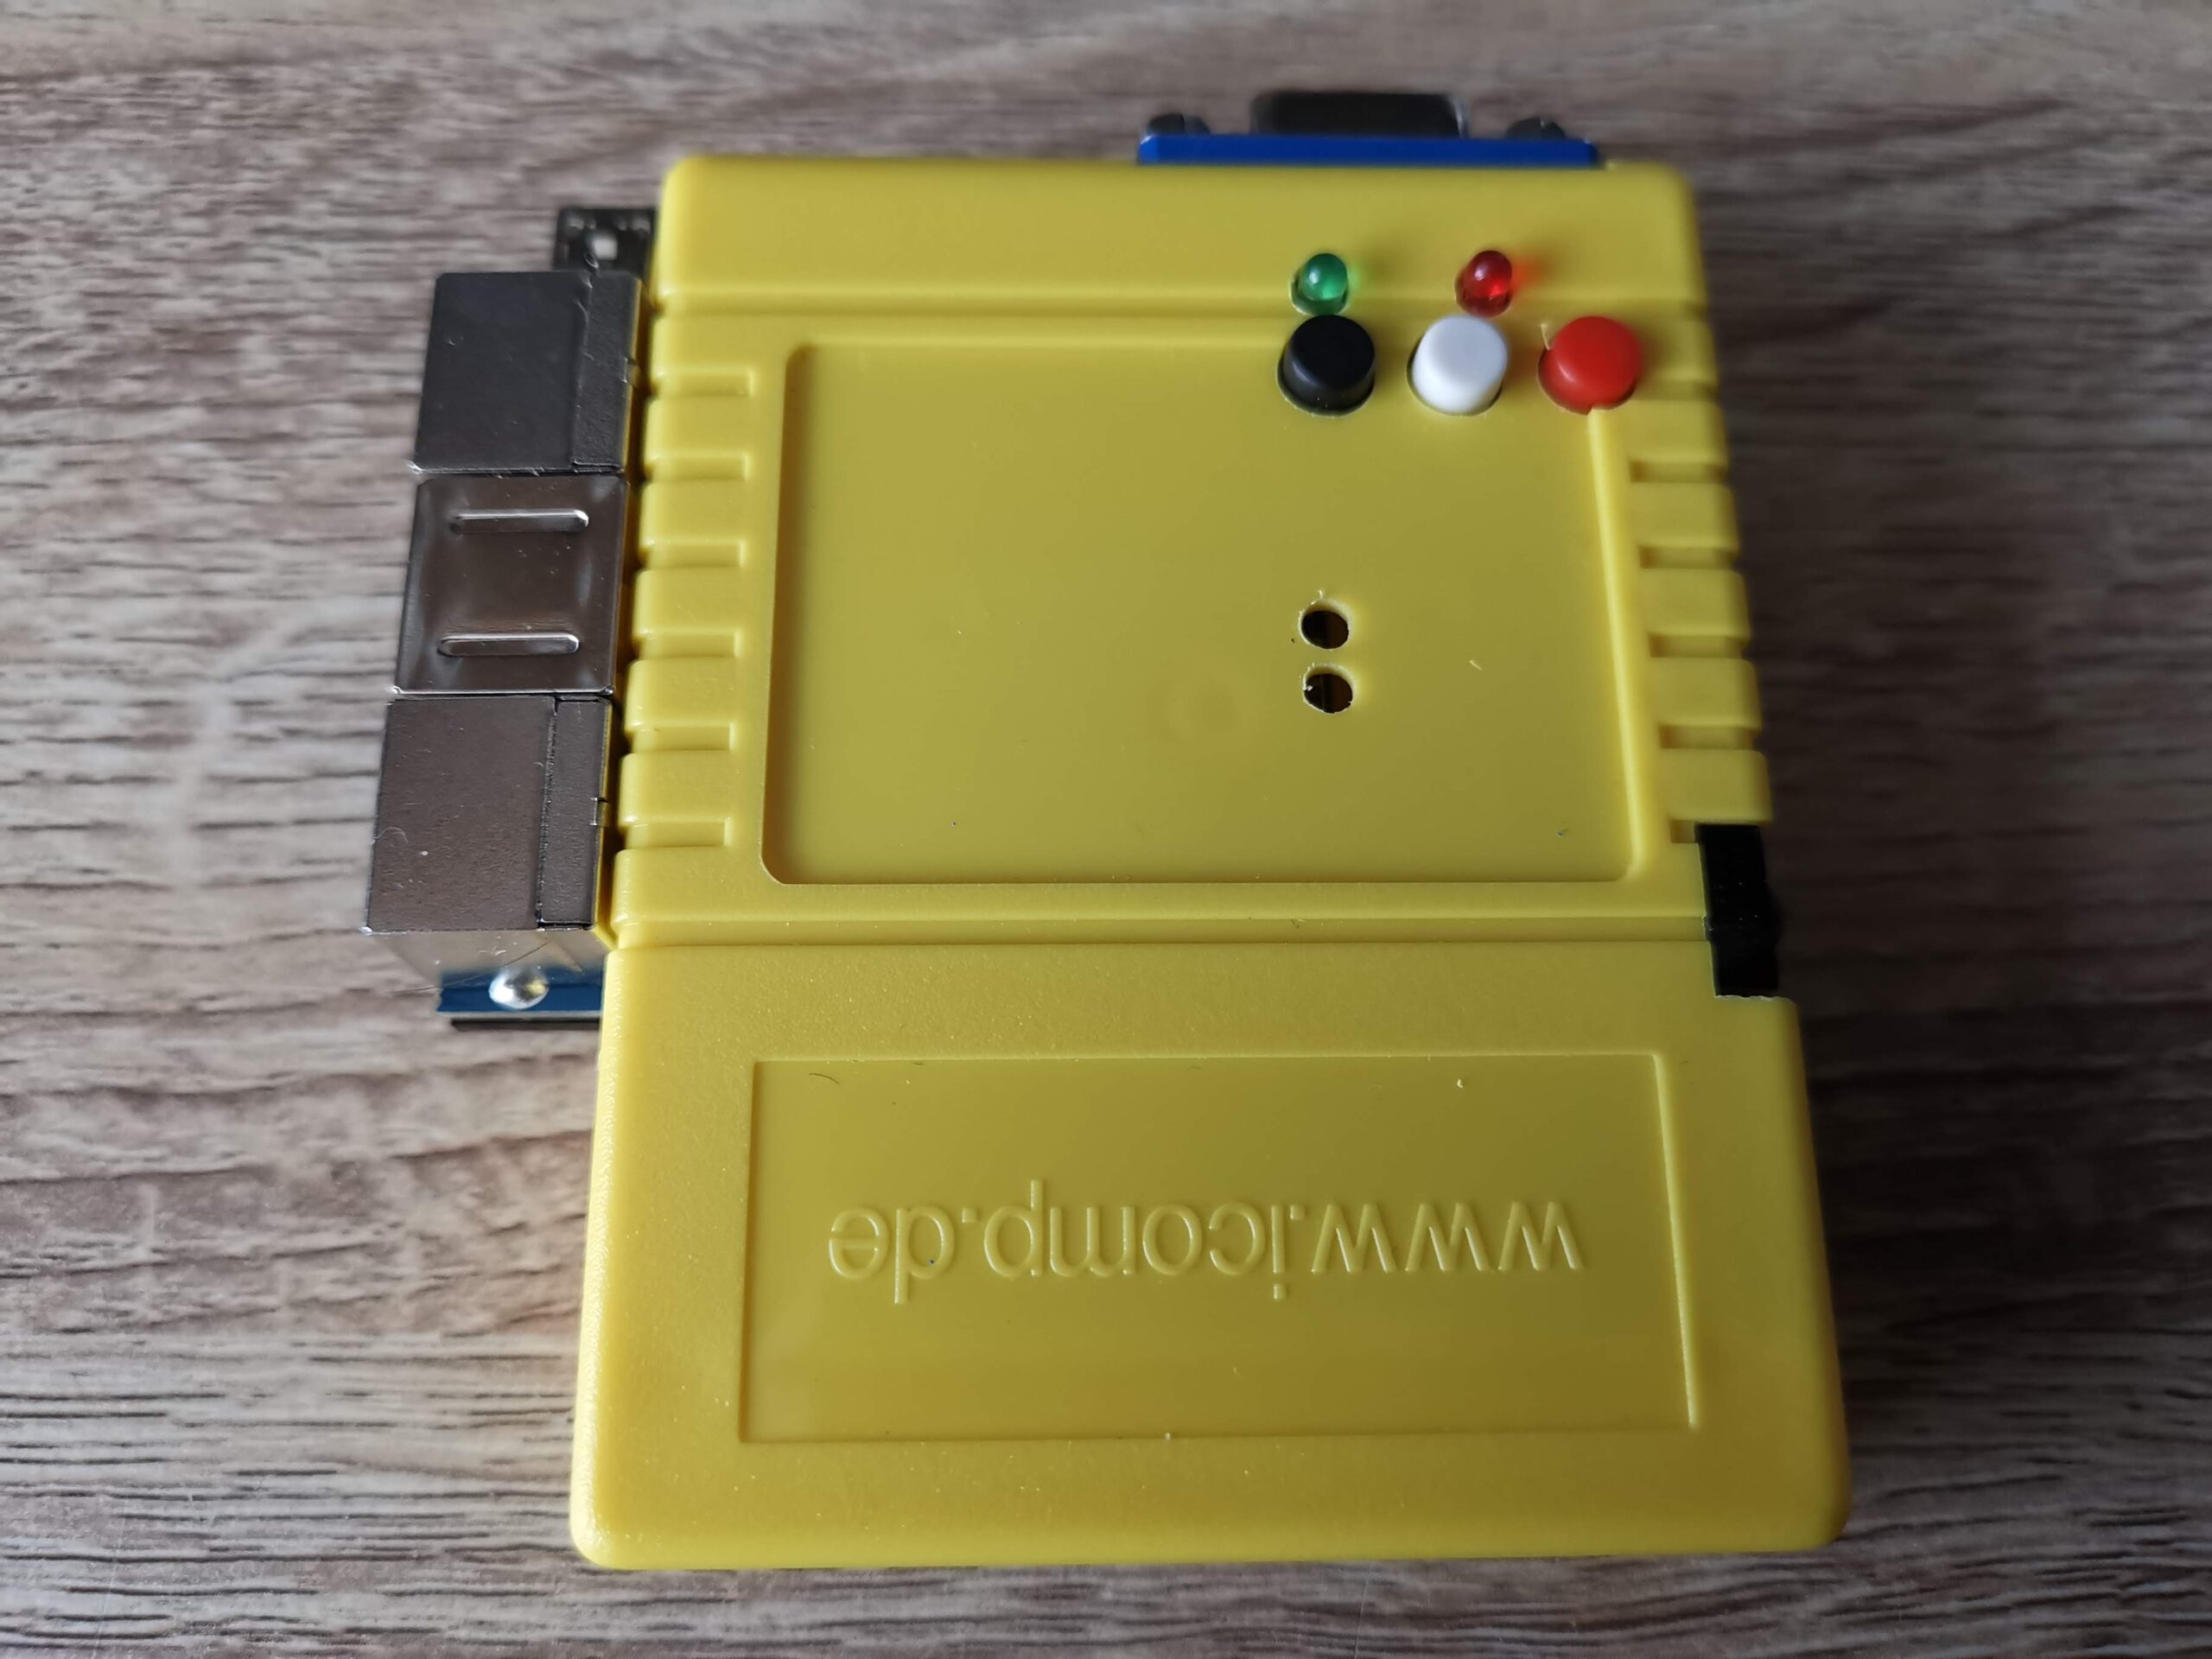
My Turbo Chameleon cart.
I tried it set to various speeds to see how it would affect the game. After some experimentation I found 3Mhz to be the sweet spot. Any faster and the mouse pointer started jittering all over the screen. 3Mhz gives the game a real boost to the point where the cards appear at the speed you’d expect. Any faster and you lose the impression that the cards are actually being dealt anyway and thus some if its charm.
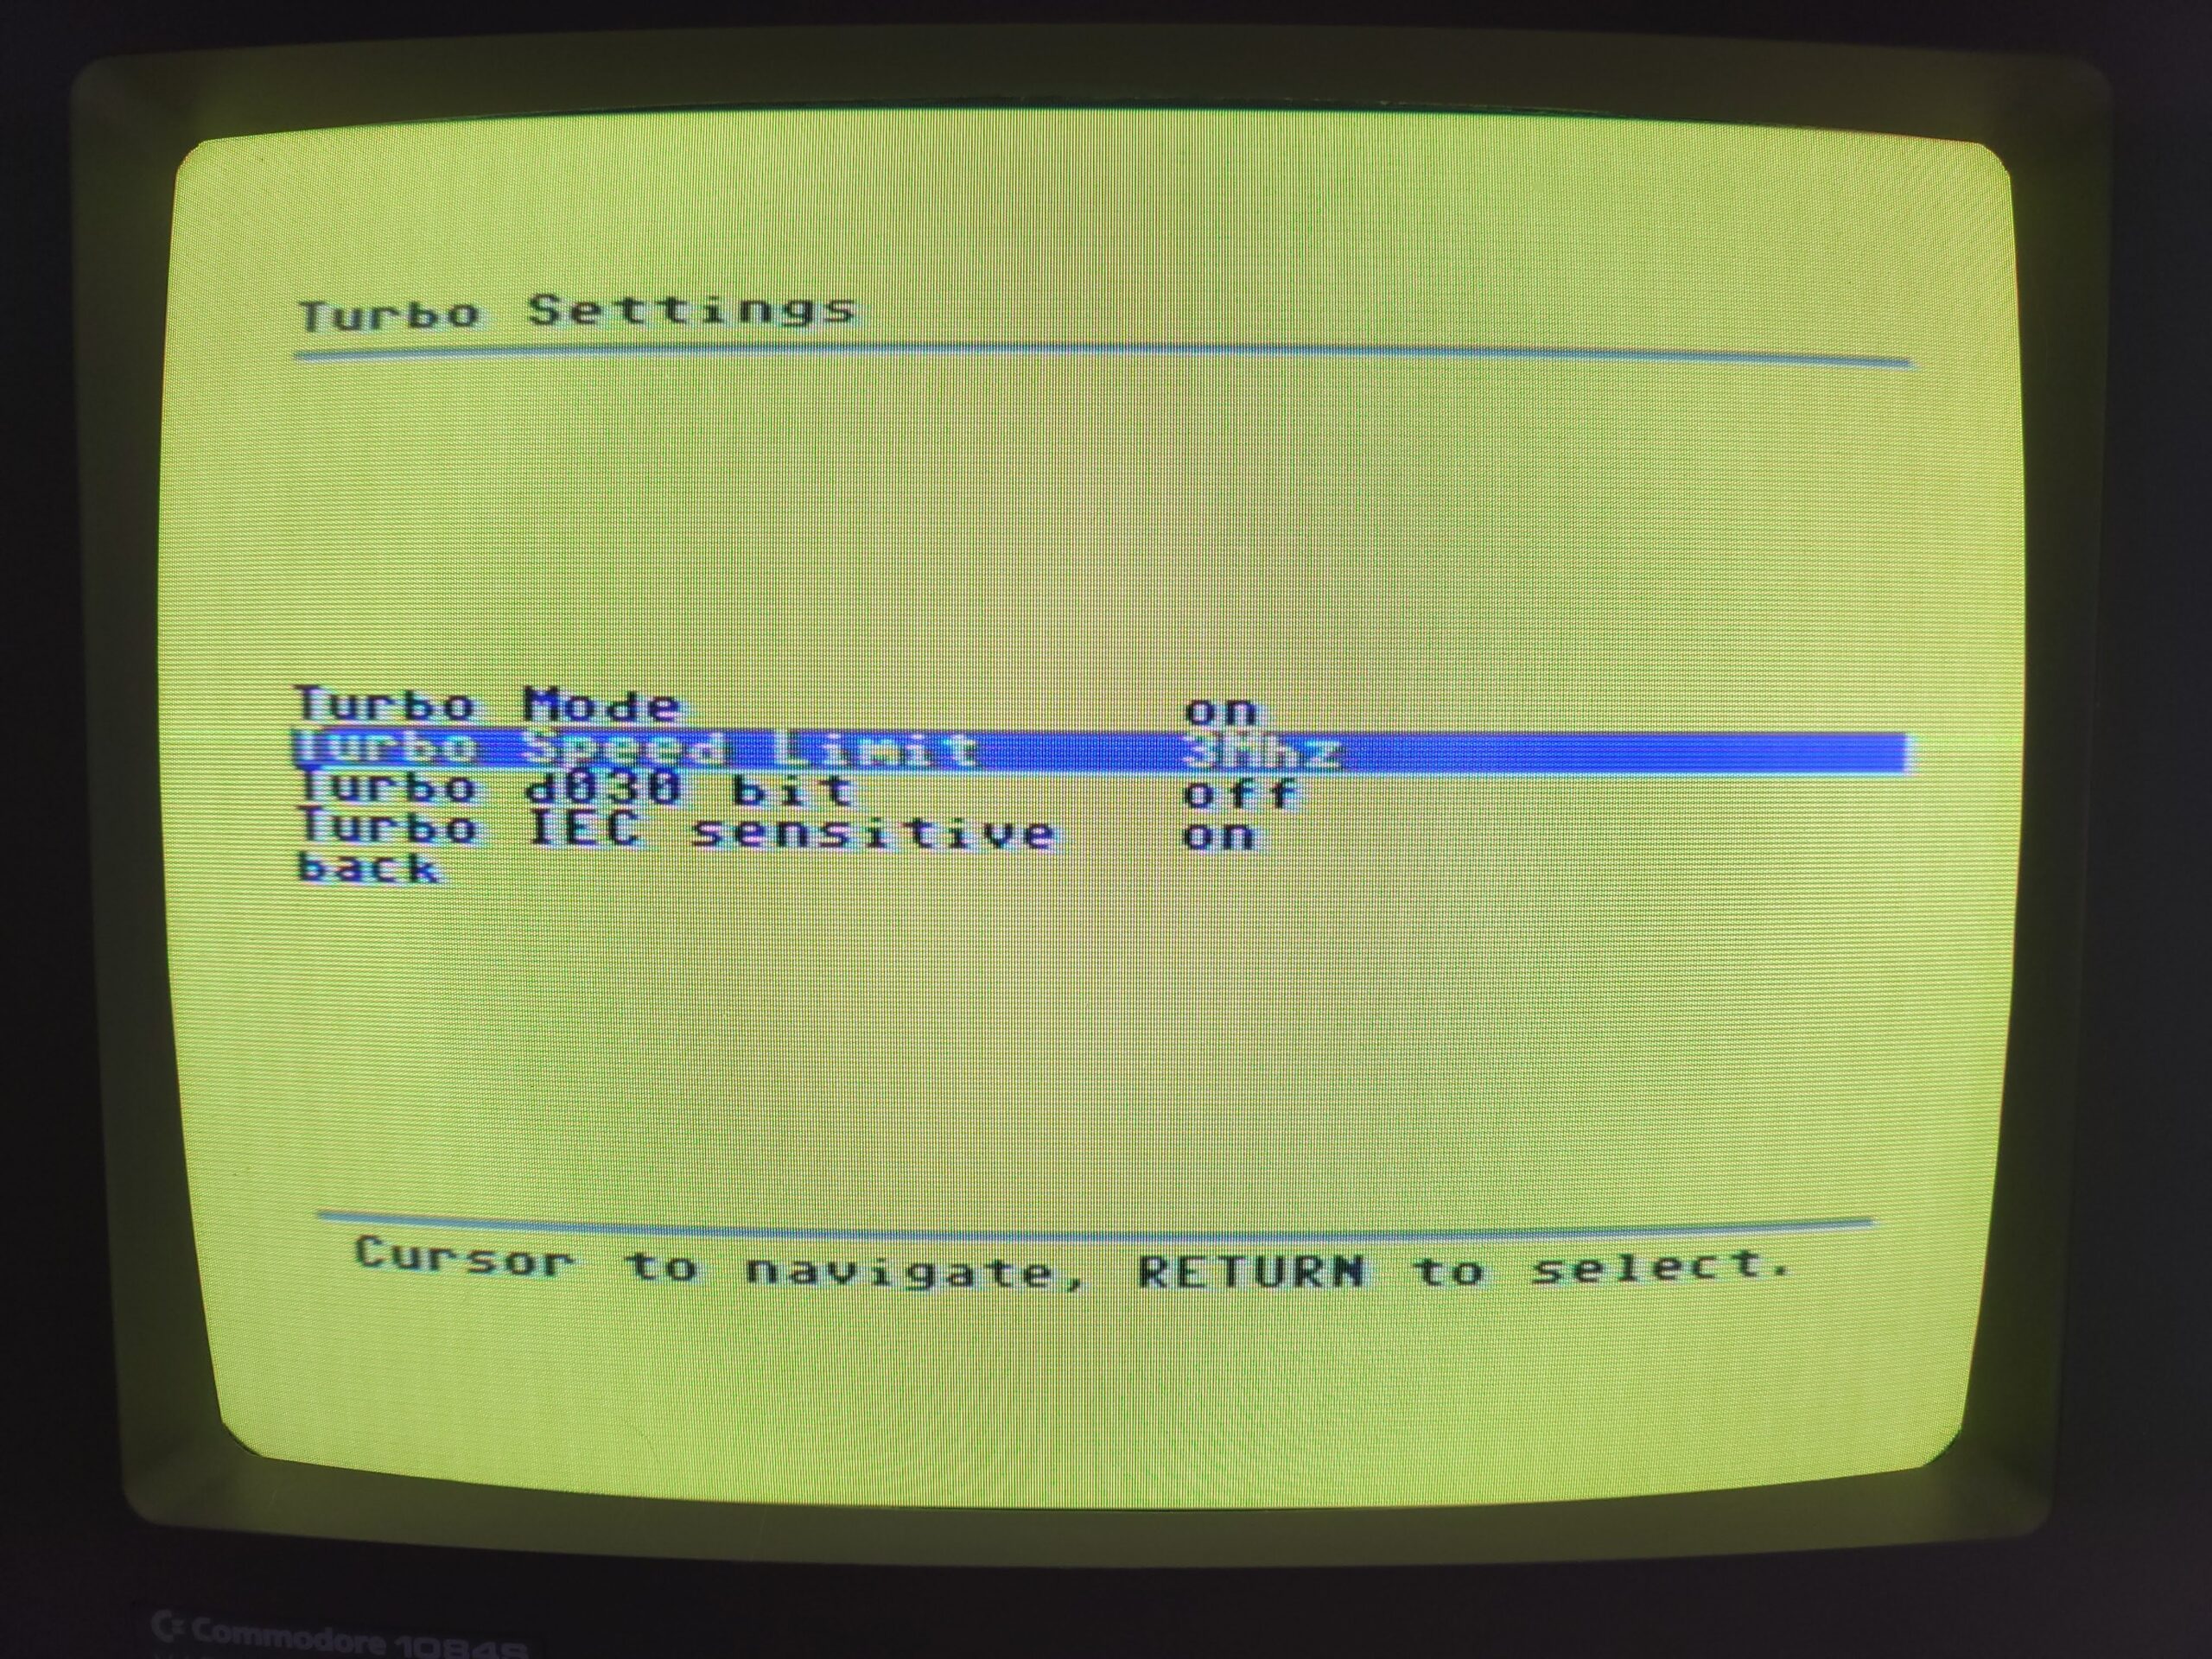
Setting the CPU speed to 3Mhz.
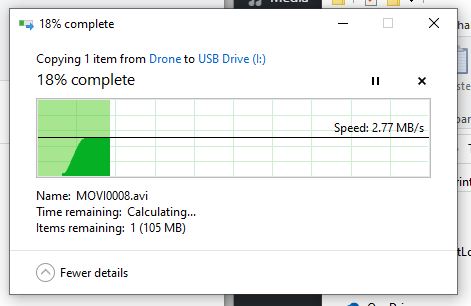
You can see the difference the improved CPU speed makes in the video below. The quality is pretty ropey as my camera lacks the ability to fine tune the shutter speed which is necessary to match the CRT’s refresh rate but it serves its purpose.
The video starts off with the cards being laid out at normal speed. Then you can see me going into my Turbo Chameleon settings and enabling ‘Turbo Mode’ with the speed set to 3Mhz (which is 3x faster than a standard C64). Now that the CPU is running at 3Mhz I demonstrate the cards being laid out again, but noticeably faster this time. This is definitely my preferred way of playing the game now.