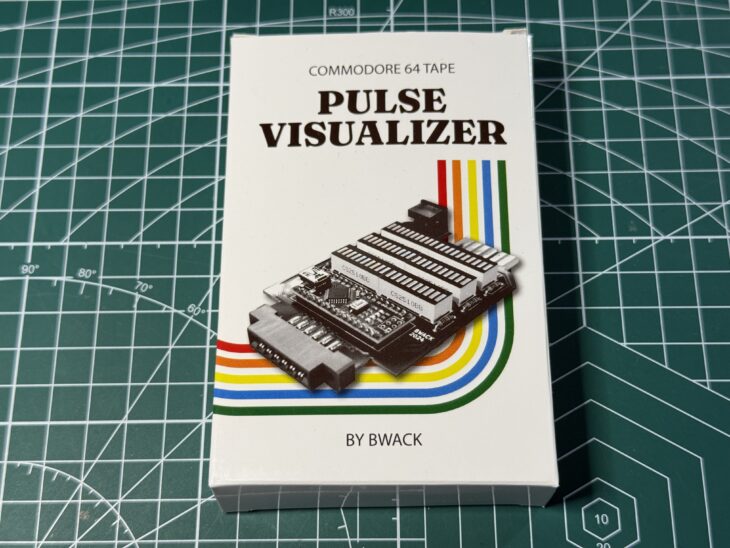
This cool looking Gizmo is the ‘C64 Tape Pulse Visualizer’ and is the creation of a guy who goes by the handle of @BWACK on the internet and has been manufactured and supplied by the good folks over at Shareware Plus.
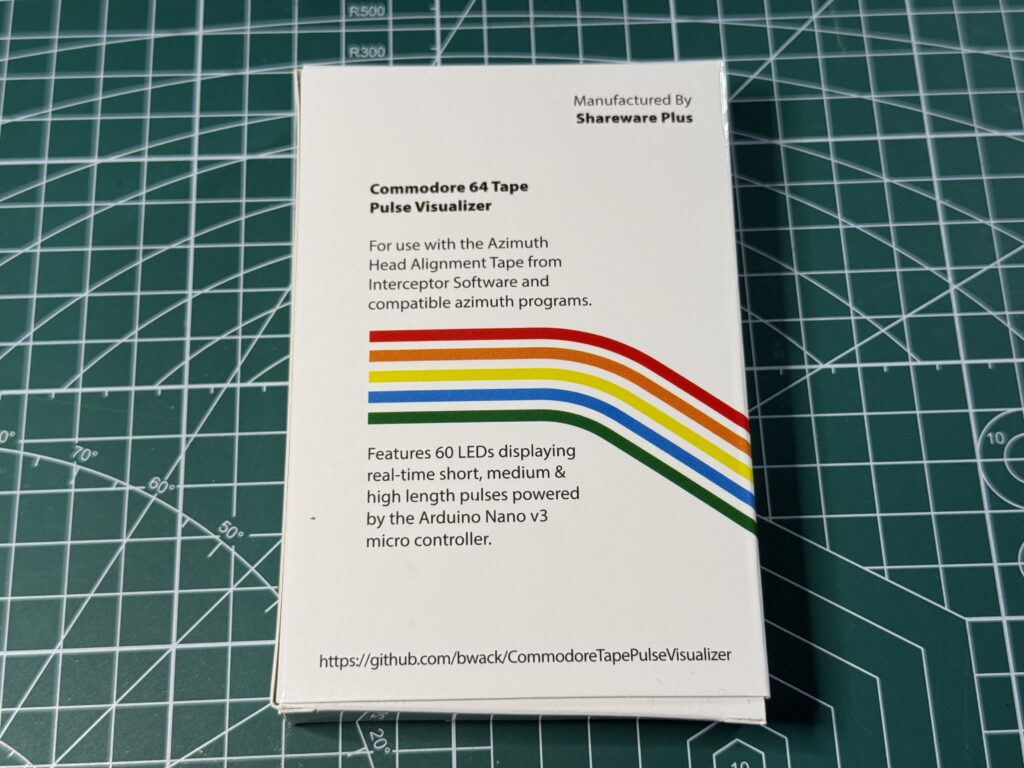
Back of the box.
Inside the cartridge sized box you get the visualizer itself along with a card that gives a little info about the device along with a link to @BWACK’s github page.
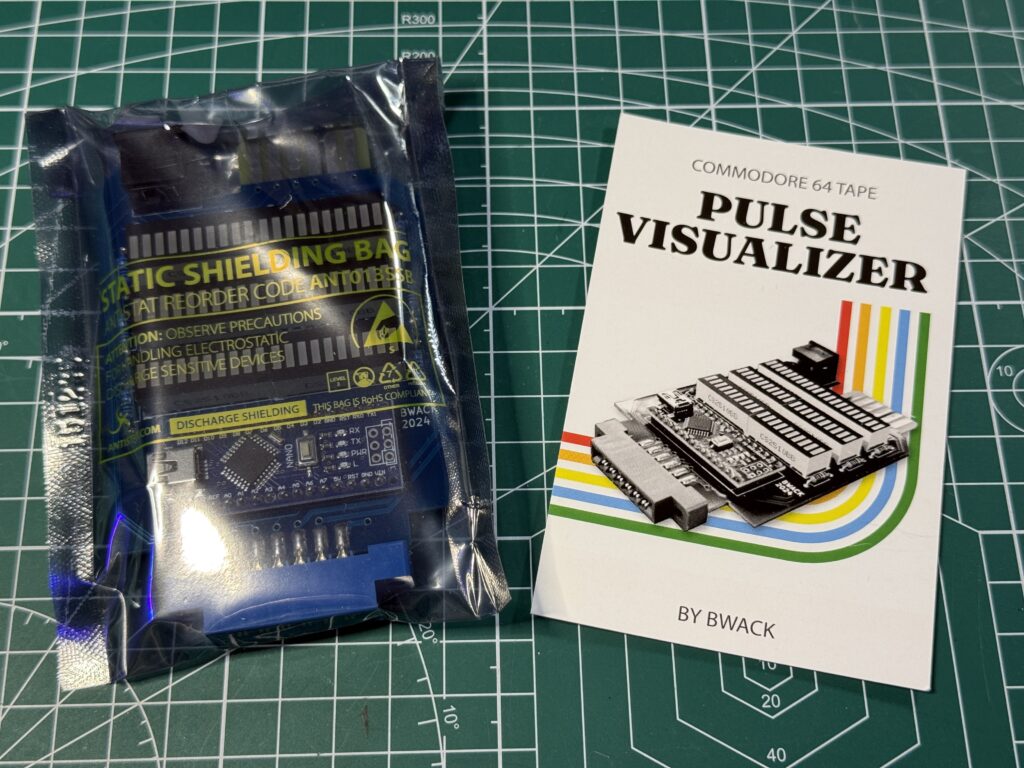
C64 Tape Pulse Visualizer – What’s included.
The device comprises six 10 segment ‘light bar graph’ LED display modules, each with an accompanying resistor, an Arduino Nano v3 and finally the pass through connectors for your datasette.
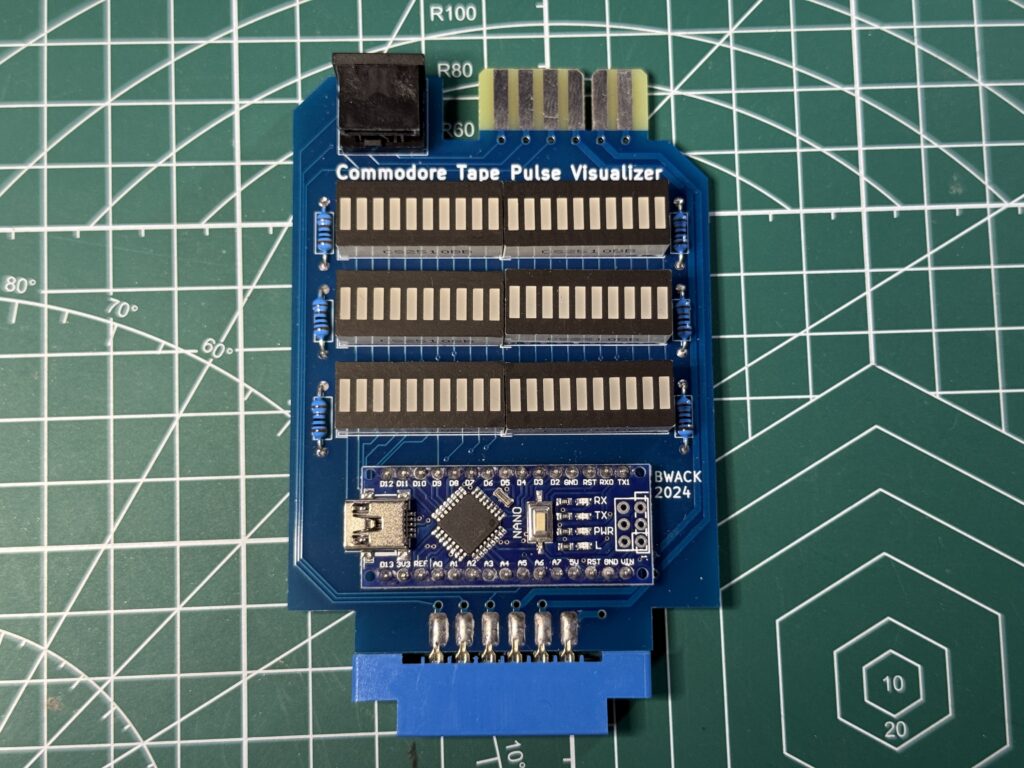
C64 Tape Pulse Visualizer Device.
The odd looking 7 pin mini DIN socket on the top left corner is so you can use it with the tape decks that came with the Commodore 16 and/or Plus 4. This is a thoughtful addition if you have one of those systems (sadly I don’t).
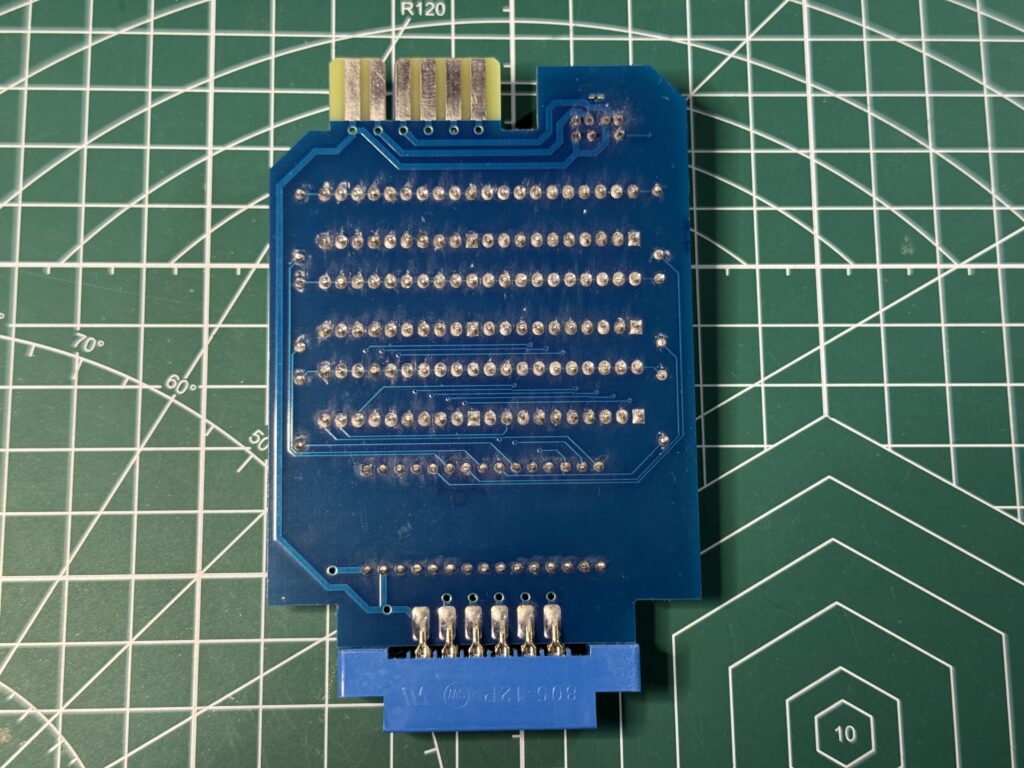
Reverse side.
The back of the PCB isn’t very interesting at all with no components on show, just a bunch of solder joints.
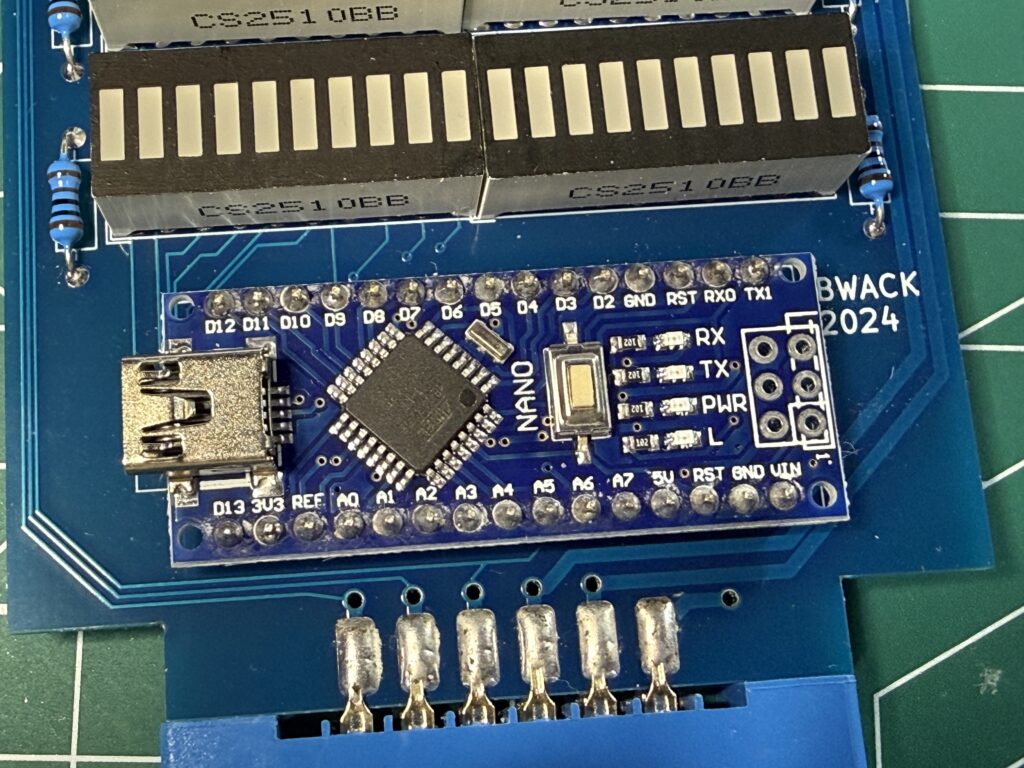
Closeup of the Arduino Nano board.
The Arduino nano, pictured above, does all the work here, processing the signals being read off the tape and converting them into a cohesive display on the LED’s.
What does it do?
If you’ve ever had problems loading a game or program off a cassette on your trusty Commodore C2N Datasette then this gizmo could be just what you’ve been waiting for, but before I get into that I need to explain a little bit about *Azimuth adjustment…
Normally my first port of call when I have an issue loading a game is a bottle of Isopropyl Alcohol and some cotton buds to clean the heads, capstans and pinch roller. If that doesn’t work then I will reach for my trusty Azimuth alignment kit from Interceptor Software – a bit of kit I’ve owned since the dawn of time itself**.
* Azimuth is basically the angle of the tape head relative to the tape being run past it.
** Actually about 1984.
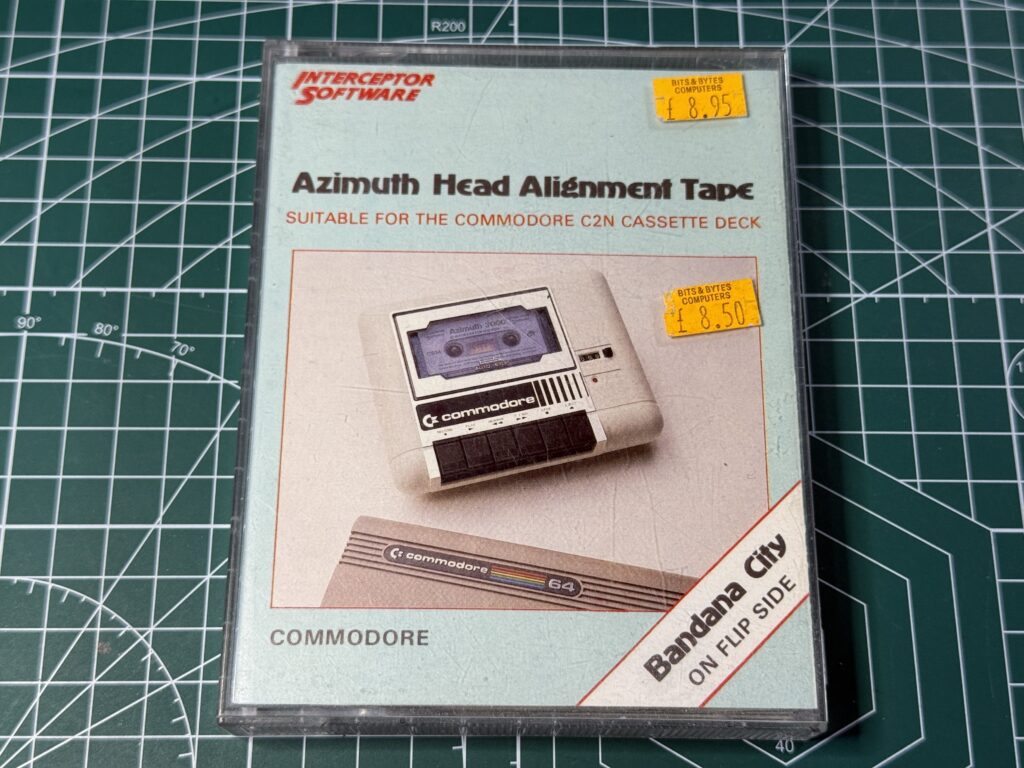
My Azimuth Alignment Kit
This essential bit of hardware comprises a small Philips screwdriver, a cardboard arrow with a hole in it and a tape containing a special calibration program. The cardboard arrow is arguably the most important thing in the box – you certainly can’t complete the process without it!
To use this you first load up and run the program and leave the tape playing. Next you twist the screwdriver in one direction until the program makes a ‘bong’ sound and the counter stops. You then repeat the process in the opposite direction. This will give you two angles, denoted by the cardboard arrow, the centre of which is the correct Azimuth and should give you the strongest signal when loading stuff. I have simplified this somewhat to keep it brief as there are a few more steps involved but that’s the gist of it.
The test tape contains a constant 3000 baud signal and is supposed to have been recorded on a professionally calibrated machine to guarantee the integrity of the signal. This is what makes adjusting the azimuth possible with it.
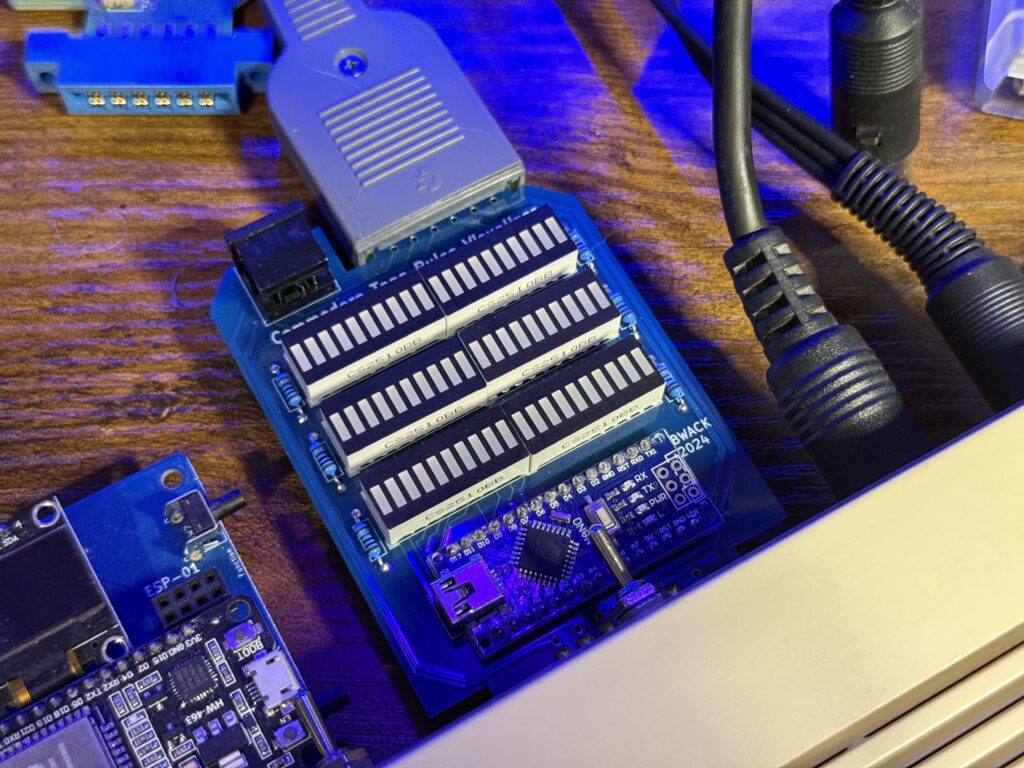
C64 Tape Pulse Visualizer
However what happens if your tape head is so far out of alignment that you can’t even load the program? You could try blindly tweaking the azimuth a bit and trying to load it again but that’s a very hit and miss approach and a sure-fire recipe for frustration and headaches. This is where the ‘Tape Pulse Visualiser’ can come to the rescue.
How to use it
You don’t really even need to run the program when you have access to the Visualiser as it literally does what it says on the box and lets you see (visualise) the signals being read by the tape head as illuminated segments on the displays.
A well adjusted Azimuth using the test tape is represented by two groups of illuminated segments on the display that are tightly packed together. The more ‘scattered’ they appear, the weaker the signal, and thus more badly aligned the head is. There are 3 strips of LED’s that represent short, medium and high length pulses. Not all the strips will illuminate – it will depend on the nature of the recording such as whether it uses a turbo-loader etc.
The idea is to adjust the screw and ‘focus’ the LED segments as much as you can as in doing so you are aligning the head. It’s far easier to understand by just watching it in action.
If you watch the video above you can see me adjust the azimuth screw from a correctly set position to an incorrect position in both the clockwise and anti-clockwise directions. Note how the LED’s start flickering across the display as the head is moved further and further out of alignment. It changes from just having 2 or 3 LED’s constantly illuminated to having a bunch of around 10 of them flickering away like mad. The ‘bonging’ noise is coming from the Azimuth alignment program as I still had it running whilst recording the video clip.
In a nutshell, you just need to twist your screwdriver slowly , first in one direction and then the other until you find the sweet spot where just a couple of LED’s are steadily lit up and you should be good to go!
There’s no reason to unplug this when you are done adjusting your azimuth either as it just looks super cool to have the LED’s flickering away whilst you are loading a game. You can see it working whilst I’m loading up my copy of ATF which employs the use of a turbo loader and it loads up just fine.
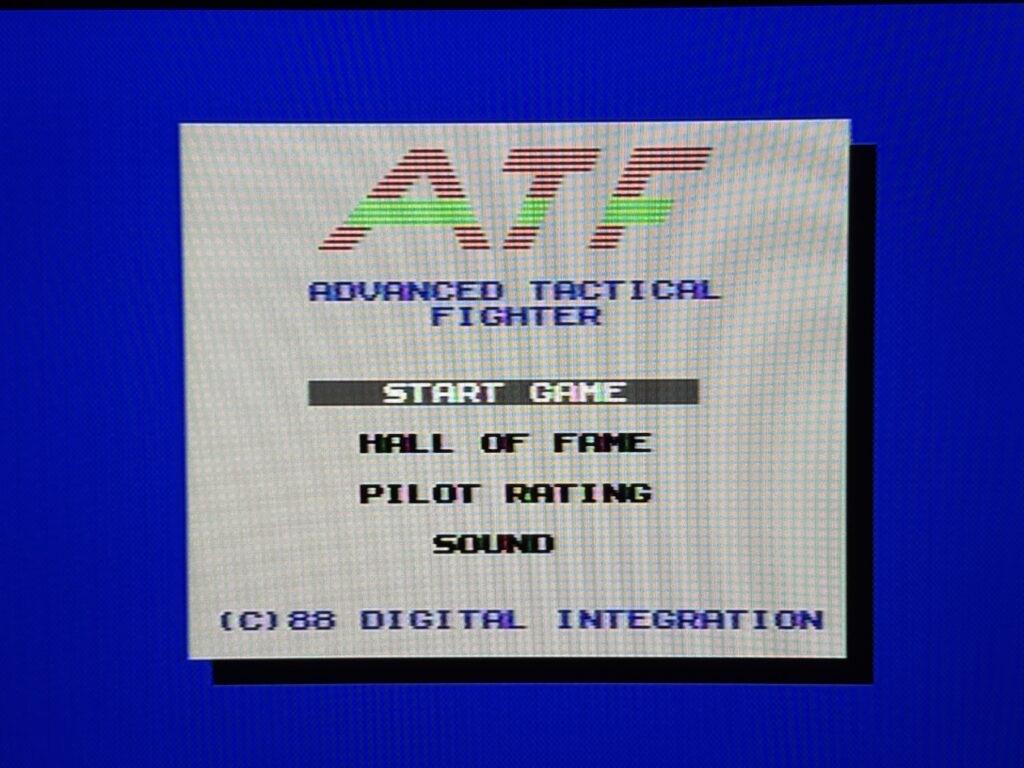
ATF Title Screen
I’m a sucker for VU meters and flashing lights on old Hi-Fi decks and my C64 is no different – this will be staying plugged in for the foreseeable future! I’m delighted to be able to confirm that it still works if you have Gideon’s Ultimate II+ cartridge and cassette adapter installed too, although it is a bit tight when attaching the USB cable!
If you’d like to get hold of your own Tape Pulse Visualizer for your C64 head on over to sharewareplus.blogspot.com where you can pick one up for £28 pus P&P.
Addendum / Pro Tip
If you think your Commodore 64’s cassette port might be damaged and you also happen to have a JiffyDOS ROM installed – turn it off! I had totally forgotten about JiffyDOS utilising the space used by the tape routines so it could have more for itself to beef up disk commands! I was getting a ‘Device not present’ error every time I tried to load something off a tape. After wasting an embarrassingly long time faffing around I disabled the JiffyDOS ROM and BOOM it started working again. In my defence it has been over 2 years since I installed JiffyDOS and I haven’t used a tape since…
Discover more from Lyonsden Blog
Subscribe to get the latest posts sent to your email.


Wow. I did not know this was made into a product. That makes me happy to see. I have recently started using it again in one of my new videos I’m working on.
I put the visualizer in a 3d printed box, and also ordered smoked transparent acrylic sheet, to block out the ambient light.
I’m glad you liked the visualizer, and thanks for the links to my github page.
No problem at all, was a fun device to play around with. Let me know the name of your YT channel and I’ll give you a sub as I love stuff like this. Thanks.