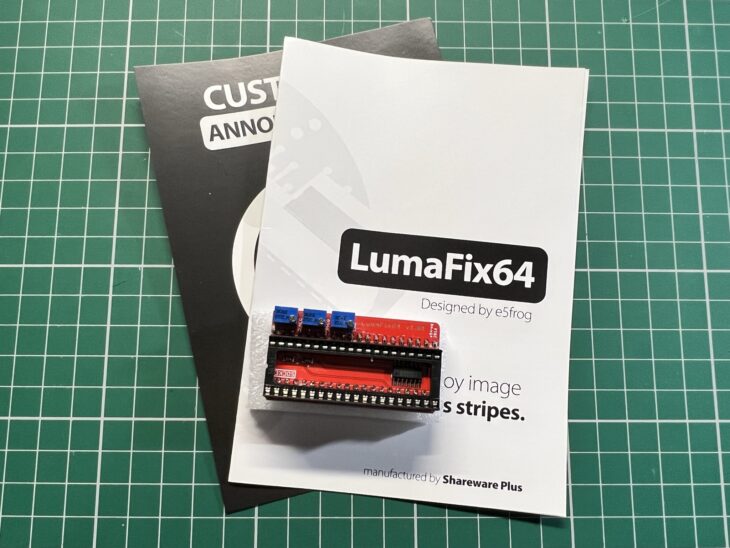
I’ve actually had this LumaFix64 kit (from SharewarePlus) lurking around the back of my ‘future projects’ box for quite a while now. I was waiting for a good opportunity to fit it so whilst I had my C64 in bits recently to work on a JiffyDOS install I thought the time was definitely right to install it.
In a nutshell the LumaFix64 is designed to help remove, or at least reduce the vertical lines and chequerboarding that you often experience with the Commodore 64’s video output, particularly when hooked up to a modern flat screen TV/Monitor. These issues are caused by noise generated within the VIC-II video chip. TheLumaFix64 allows you to adjust AEC, PHIO and CHR using tiny little potentiometers (pots) on the device itself. According to the manual it is able to improve the displayed image by inverting these errant signals and feeding them back into the Luma signal.
The device itself came supplied in a small Ziplock bag along with a small manual and a warning card that says you might have to do a lot of adjusting. With hindsight I now know exactly why they included this card!
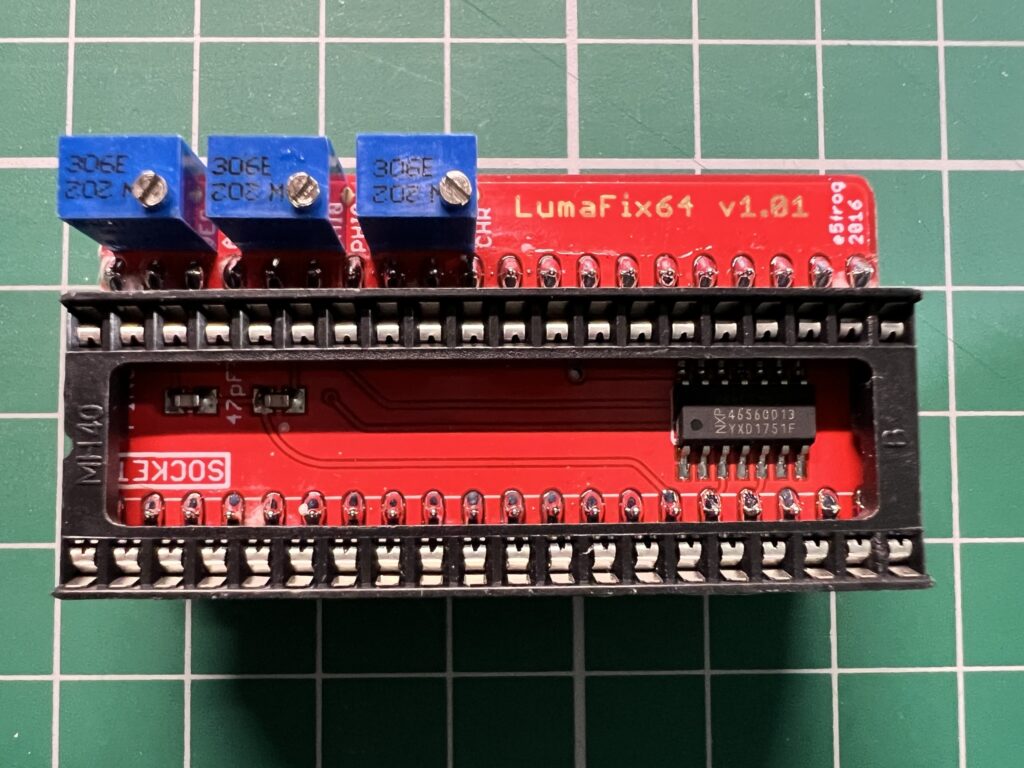
Close-up of the LumaFix64 device.
Thankfully my VIC-II chip is socketed so installing the LumaFix64 was pretty straightforward. All I had to do was remove the VIC-II, install the LumaFix64 into the now empty socket and then put the VIC-II chip into the socket on the LumaFix64.
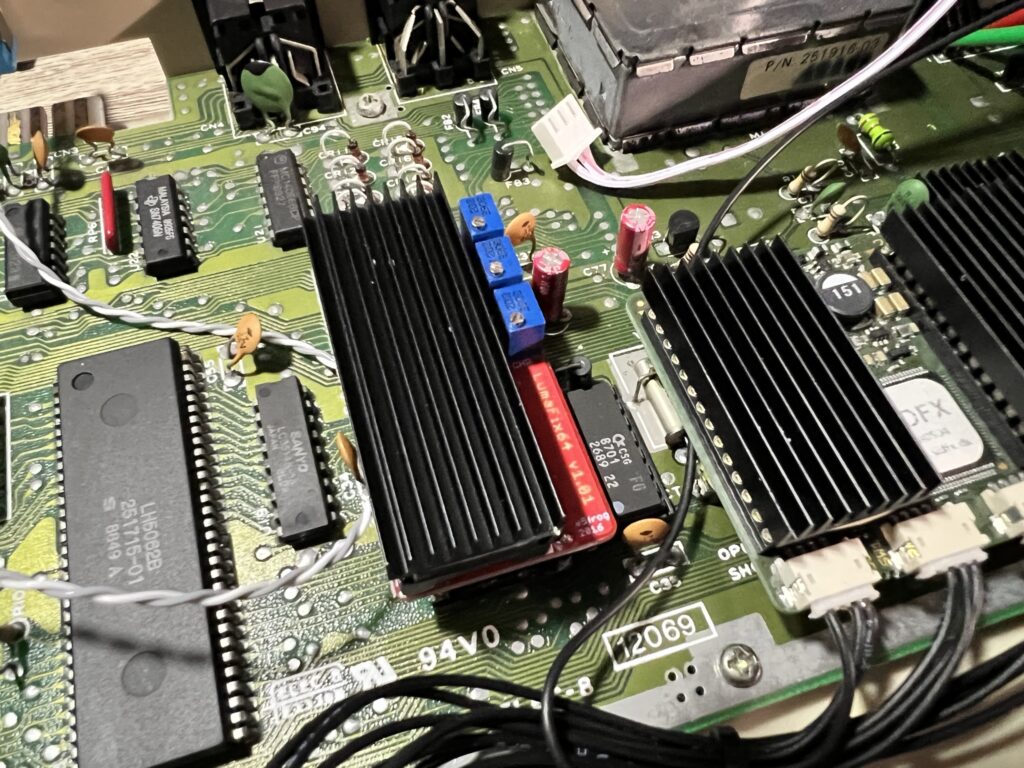
LumaFix64 installed and ready to go!
With the LumaFix64 installed I turned on my C64 to check everything was still working OK and was immediately horrified at the sight before me. Rather than improve the image, it had completely ruined it, so much so that I actually thought I’d damaged the VIC-II somehow during the installation.
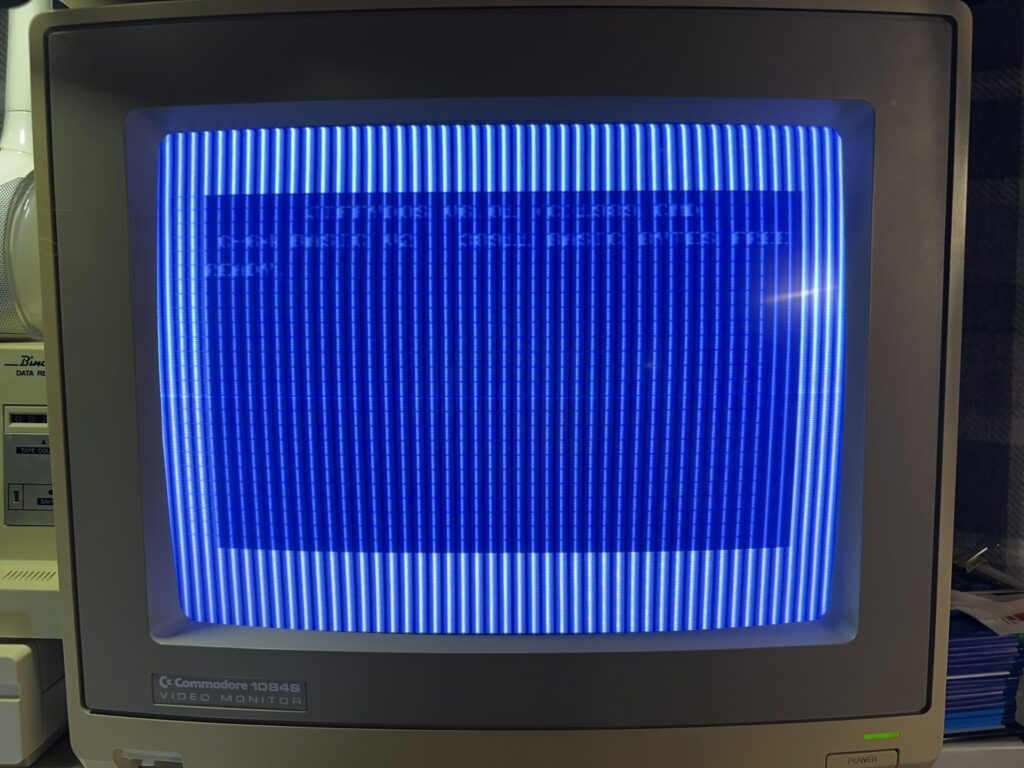
Noooooooooo! This is how the display looked immediately after installing the LumaFix64.
Fearing the worst but hoping for the best I started turning the topmost Pot (AEC). I turned and turned and turned it and nothing seemed to happen at all. Was it broken? Had I turned it too far? Turns out I still hadn’t turned it enough! After a few more twists of my screwdriver the image started to improve until eventually I heard a faint ‘click’ which signified I had turned it as far as it would allow. I then turned it back the other way and did some further fine tuning until I got the best image I could before moving on to the next pot .
Next I moved onto the centre pot (PHIO) and adjusted that back and forth until I got the best looking image from this pot. Same deal with the third and final part of the puzzle (CHR) which didn’t need too much tuning to reach a sweet spot. I went back and forth like this a few times, cycling through the 3 pots until I was finally happy with the image. I didn’t time it but the whole process of tweaking the pots probably took around twenty minutes. There was no real methodology to it, just trial and error. With the benefit of hindsight I should have marked the screwdriver in some way before starting so I knew how many full rotations I’d made. It was pretty much impossible to keep track after the first few twists but I got there in the end which is all that really matters.
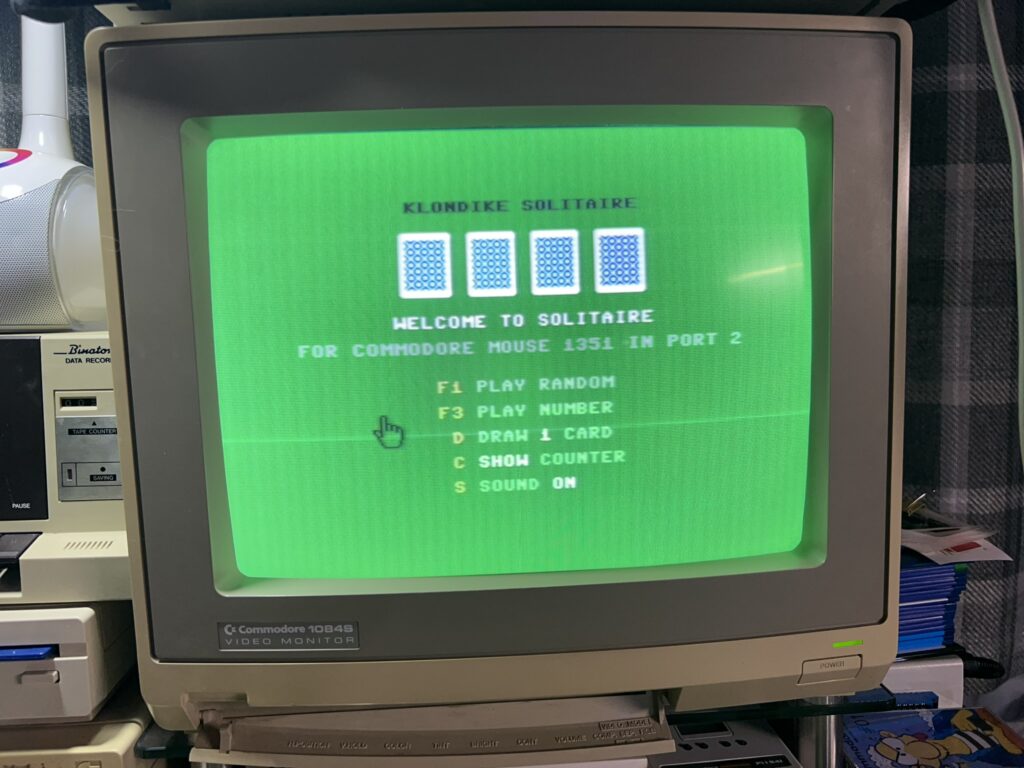
This is what the vertical bars looked like before installing the LumaFix64. Not terrible but room for improvement.
When I used to have my C64 connected to an LCD TV the image was significantly worse than the one I now enjoy on my 1084S and they (LCD’s) are really the main use case scenario for the LumaFix. The C64 was designed to display images on CRT’s so you would expect a decent picture when using one. The picture I had beforehand (on the 1084) was pretty good already and the vertical bars were only really noticeable on light coloured screens like the green one above. However I was able to almost completely eradicate them with patience using the LumaFix as you can see in the photo below. I do think they are still very faintly visible and maybe I could improve the image even more if I persevered but I’m happy with the quality now so will leave well alone.
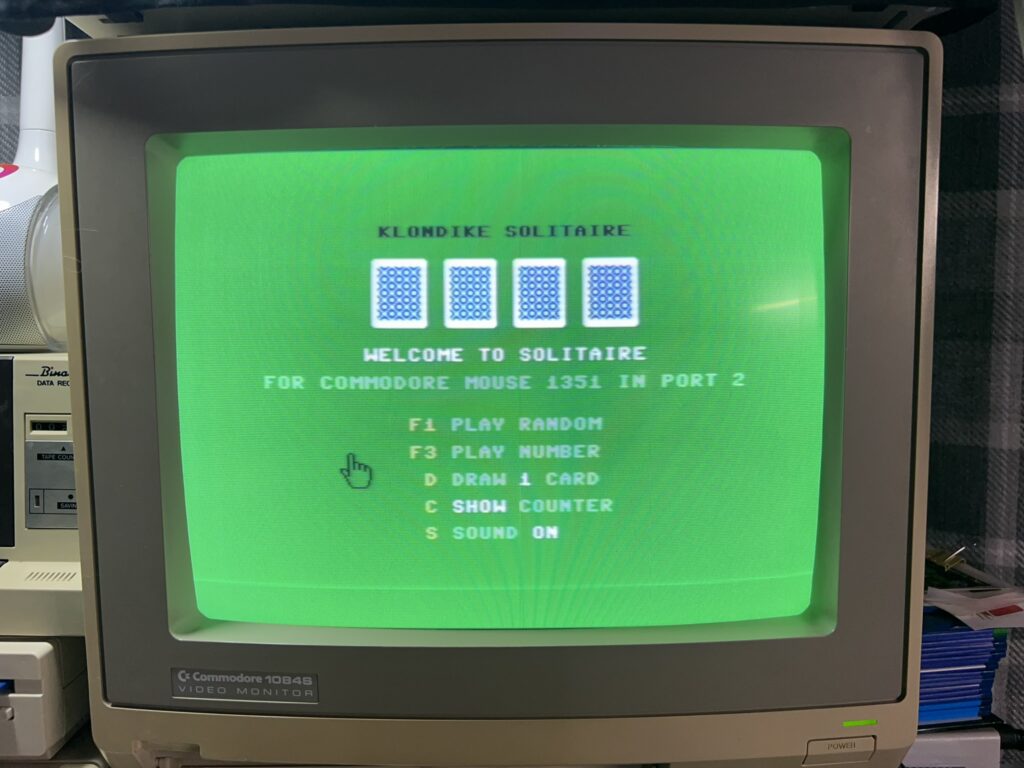
Improved image after tinkering with the LumaFix64.
The only other problem I ran into was the result of me previously attaching a heat-sink to my VIC-II chip. With the added height of the LumaFix64 it was simply too tall to fit under the keyboard. As a result I had to elongate the cutaway section I had previously made in the black plastic frame (to fit over my SIDFX) to accommodate the VIC-II as well. There would have been just enough clearance without the heartsink..
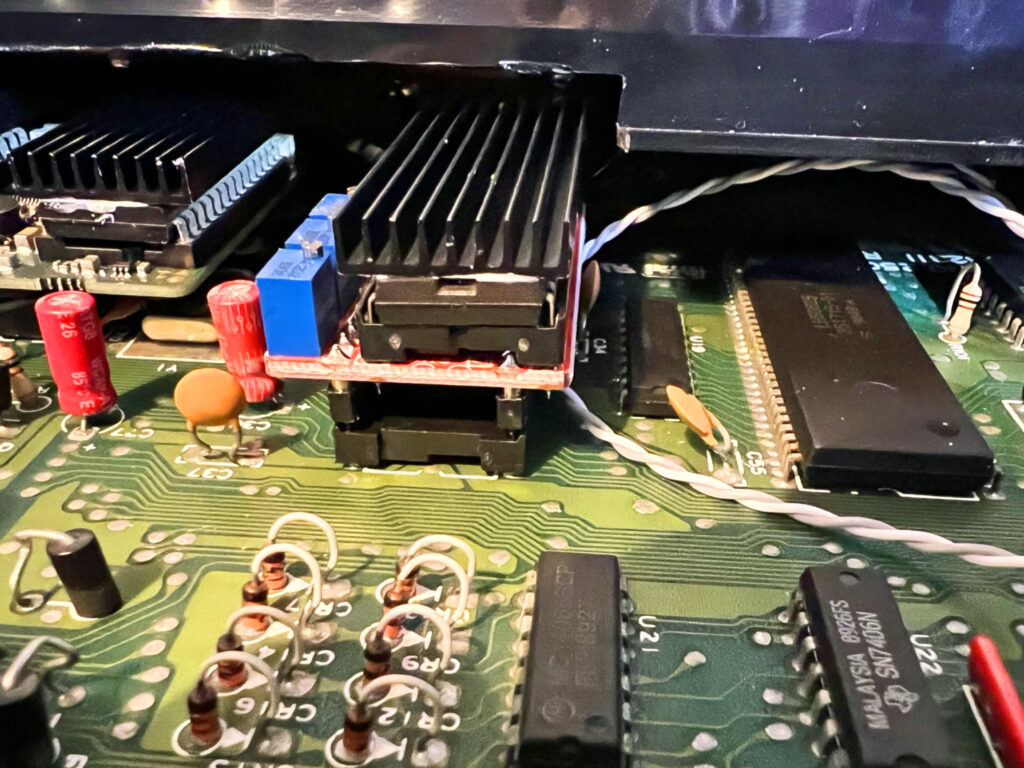
Keyboard modification to clear the LumaFix64 + VIC-II Chip + Heatsink combo!
All in this was a pretty simple, cheap (less than £20) upgrade that produced a small but noticeable improvement in image quality. All it requires is a little bit of patience to dial in the correct settings for the three pots. Of course if your VIC-II isn’t socketed then it’s a much bigger job and depending on your skills and/or available equipment you might want to reconsider. Similarly, if you have a heatsink fitted to your VIC-II like me then factor that in to your buying/installation decision too.
Discover more from Lyonsden Blog
Subscribe to get the latest posts sent to your email.


