Installing an Amiga Web Browser
In Parts 1 and 2 we installed a network card, a TCP/IP stack and connected to a network. By the end of this part we will have a fully functional modern web browser and be able to surf the internet in style on our Amiga 1200.
The browser we’ll be installing is IBrowse as it’s probably the best browser available for classic Amigas these days. It’s still in active development which means we should have a fighting chance at viewing present day websites.
Before we dive in there’s a few other things that need installing first. Namely AmiSSL and MUI. IBrowse won’t run unless MUI has been installed and AmiSSL is essential for accessing https websites.
MUI 3.8 is available to download from Aminet here:
Aminet – util/libs/mui38usr.lha
Unfortunately I can’t link to AmiSSL on Aminet as every time it is updated the link breaks (Aminet don’t keep the older versions online unfortunately). Also I can never be sure that a newer version will break what was previously working in my guide.
Hopefully the following link taken from AmiSSL’s github development page will prove to be a ‘permanent’ link to the archive.
https://github.com/jens-maus/amissl/releases/download/4.8/AmiSSL-4.8.lha
Installing AmiSSL
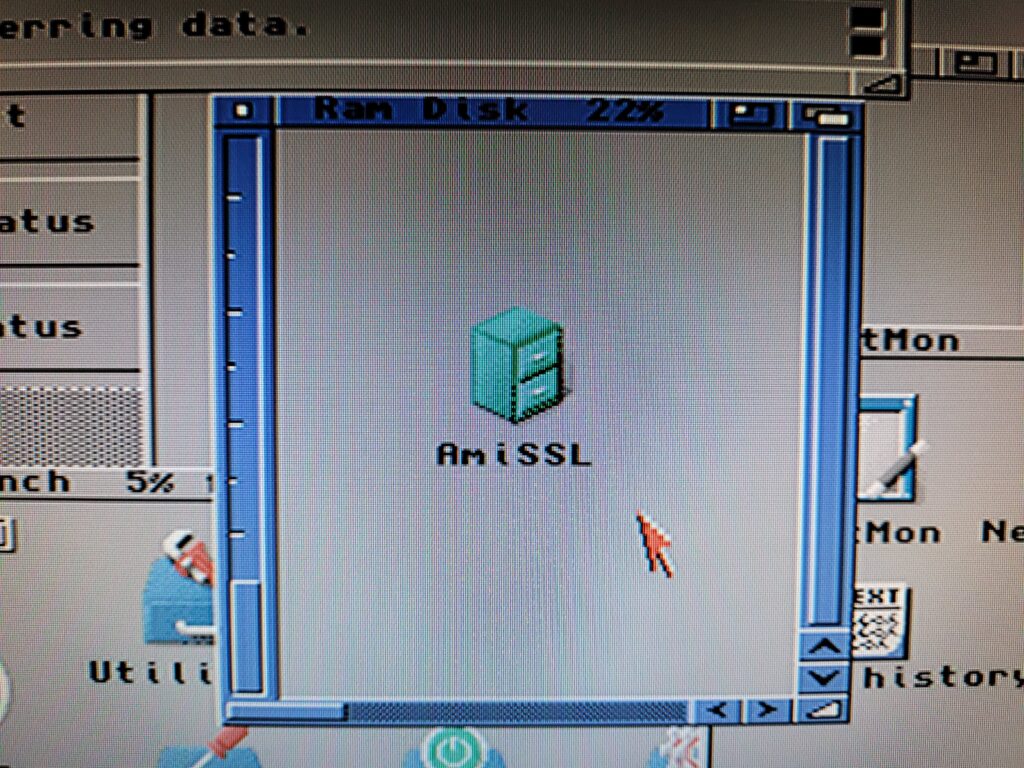
Once we have the AmiSSL archive on the Amiga it should unpack into a single folder as shown in the photo below.
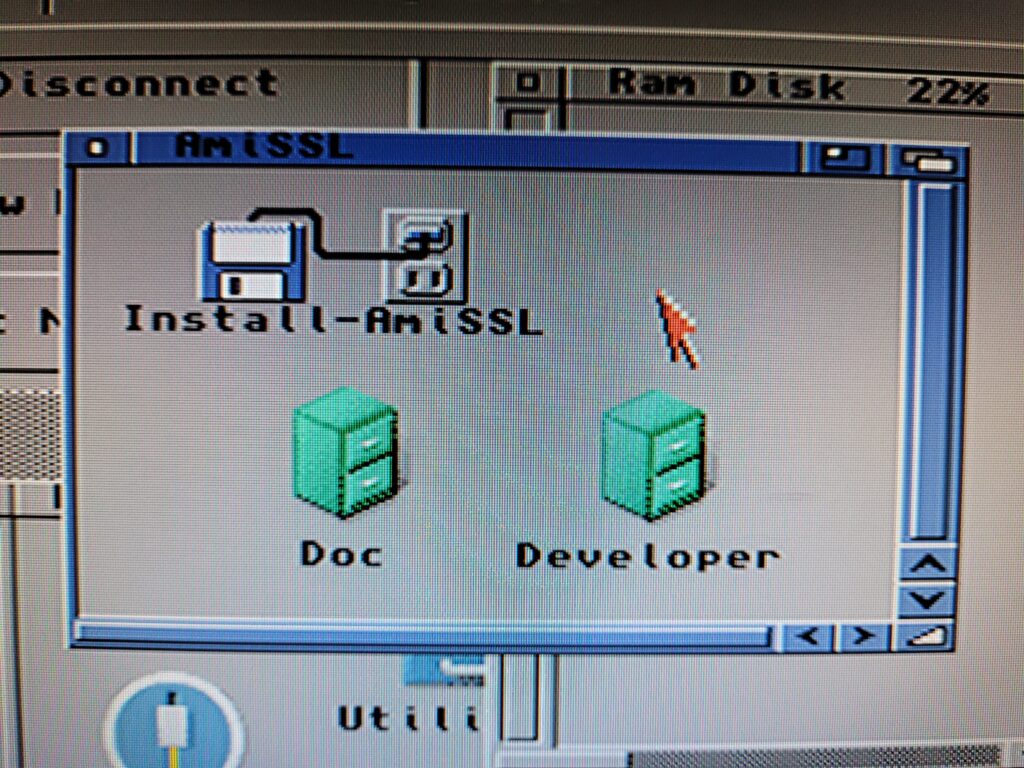
Opening the AmiSSL folder reveals the Installer along with a couple of other folders that can be ignored.
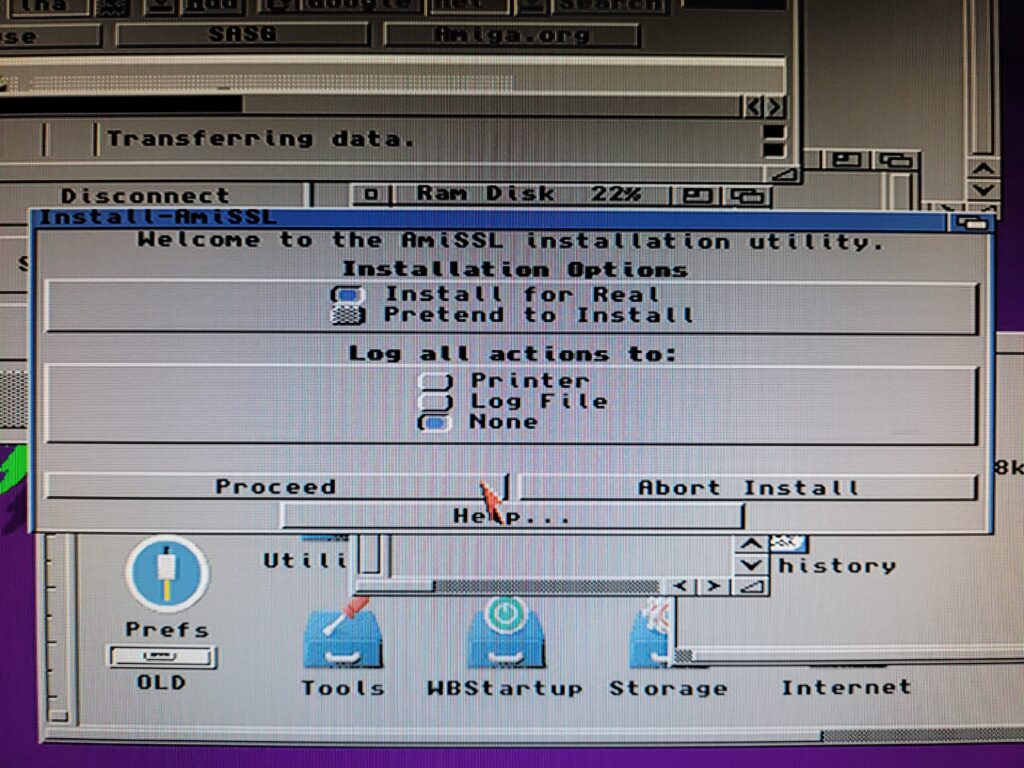
Double-click the installer to run it and progress to the screen shown below. Select ‘Install for Real’ before clicking on ‘Proceed’.
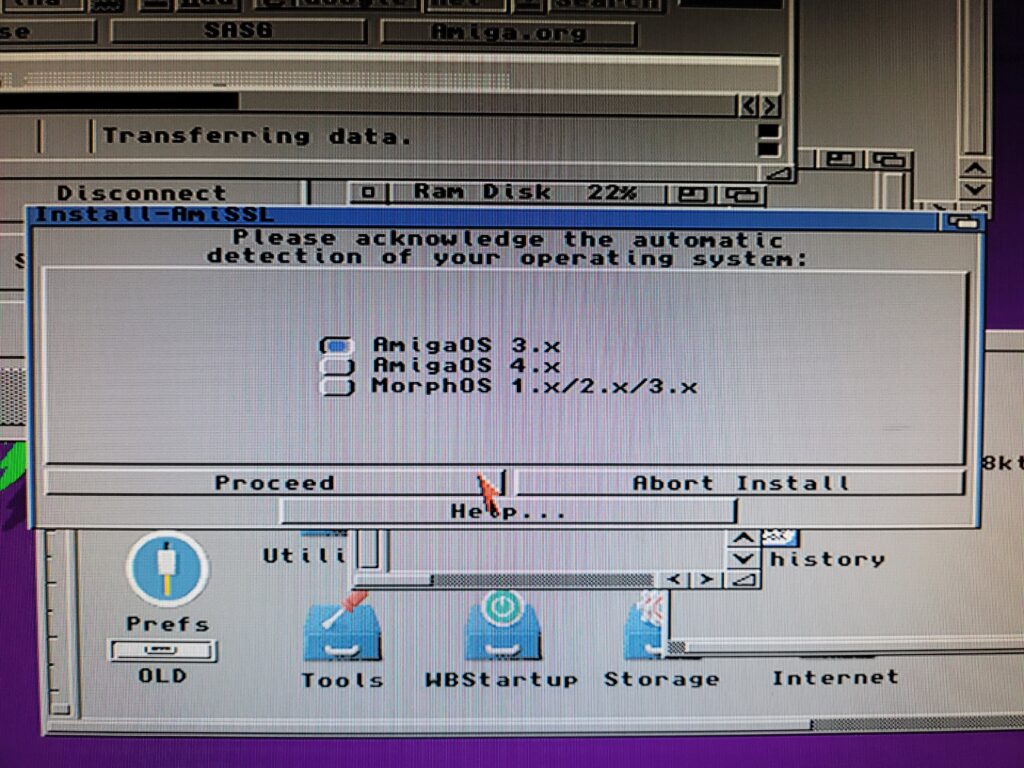
The installer should automatically detect the correct version of AmigaOS so just check it in the following window then hit ‘proceed’.
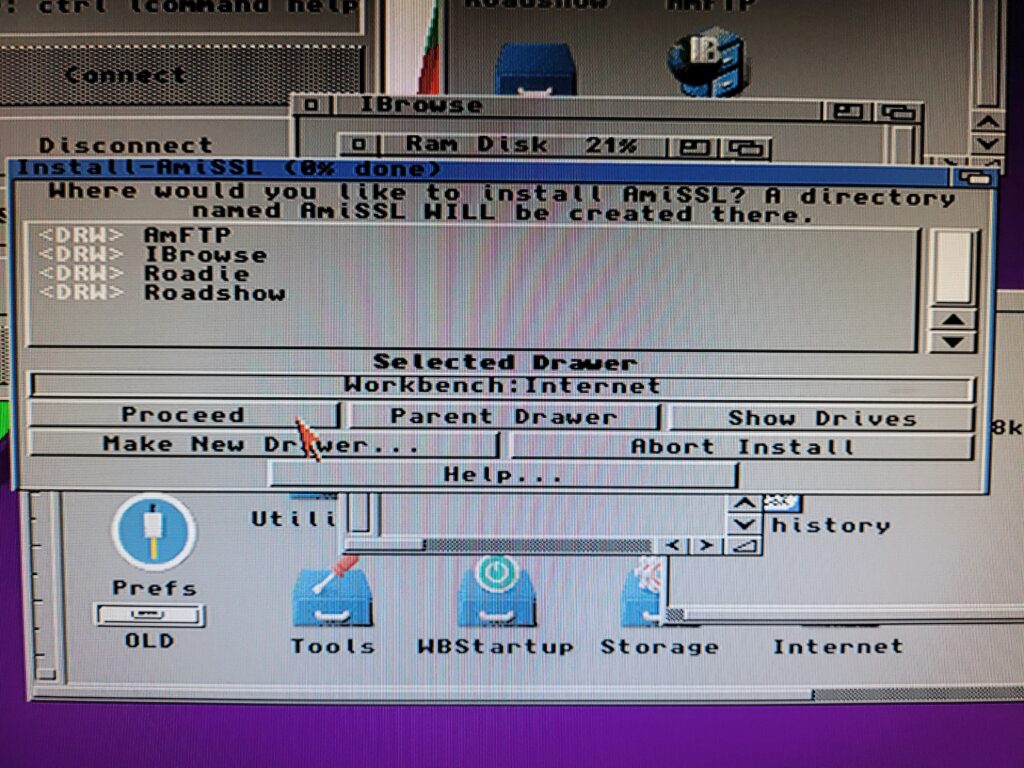
Next up it wants to know where to install everything. As before I chose to install it in the Internet folder I created earlier but it can go anywhere you want.
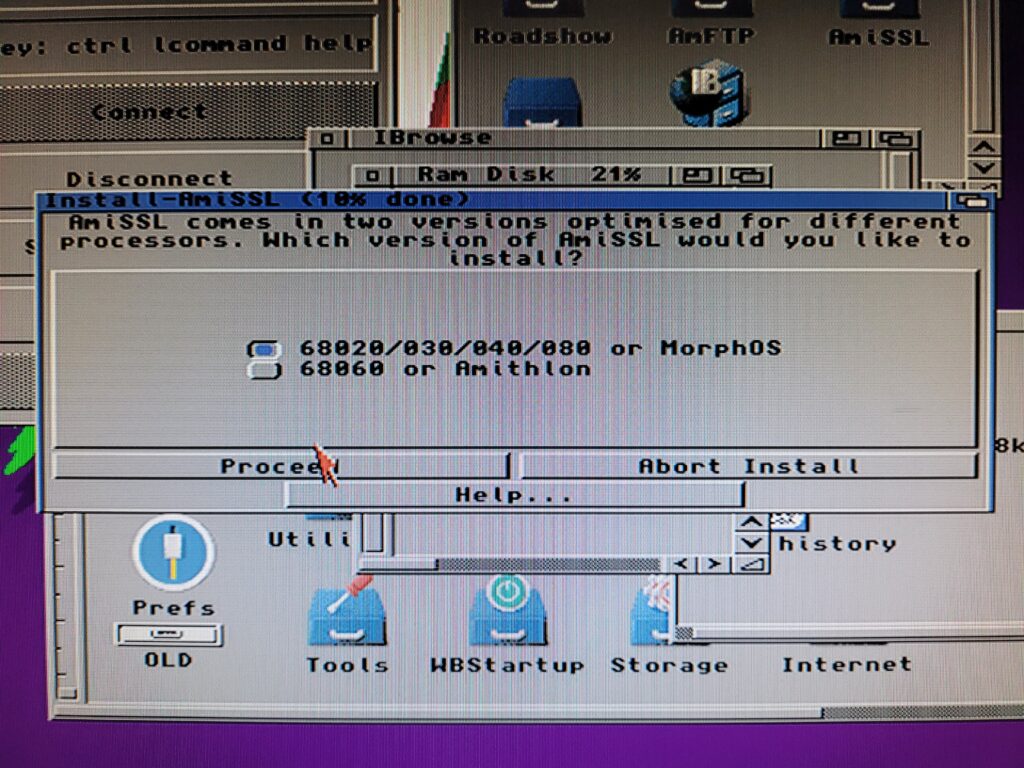
Unless you have a ‘060 accelerator board installed in your A1200 then the first option is the one we want on the next screen.
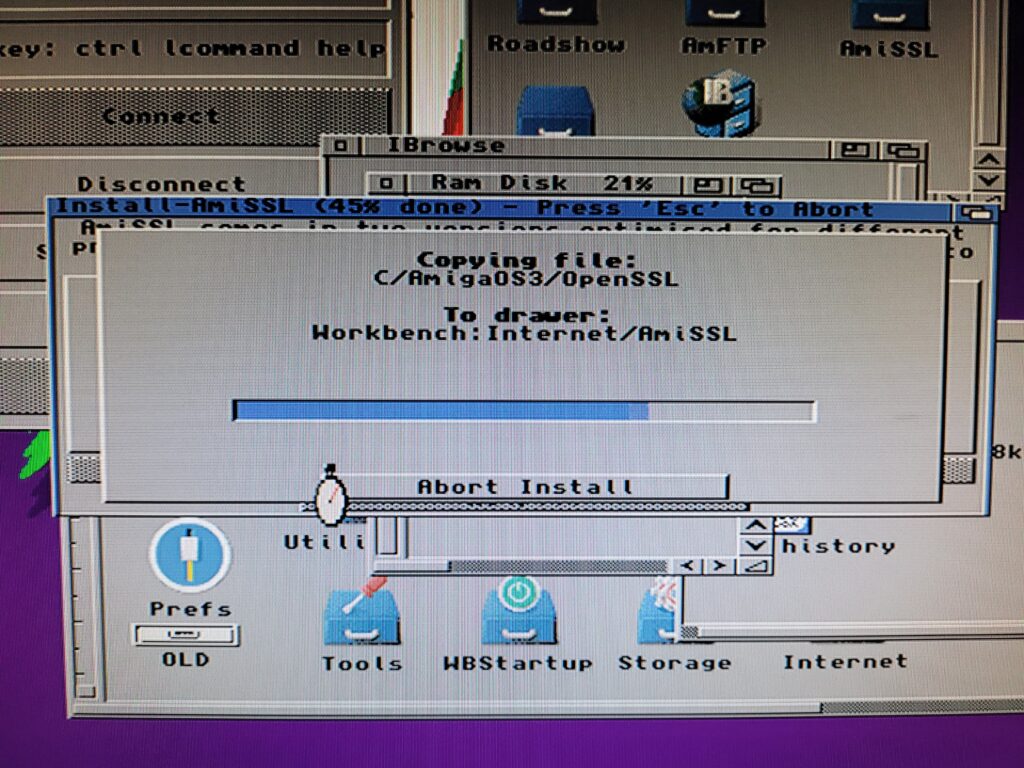
The installer will now get on with the task of installing OpenSSL and a whole bunch of certificates.
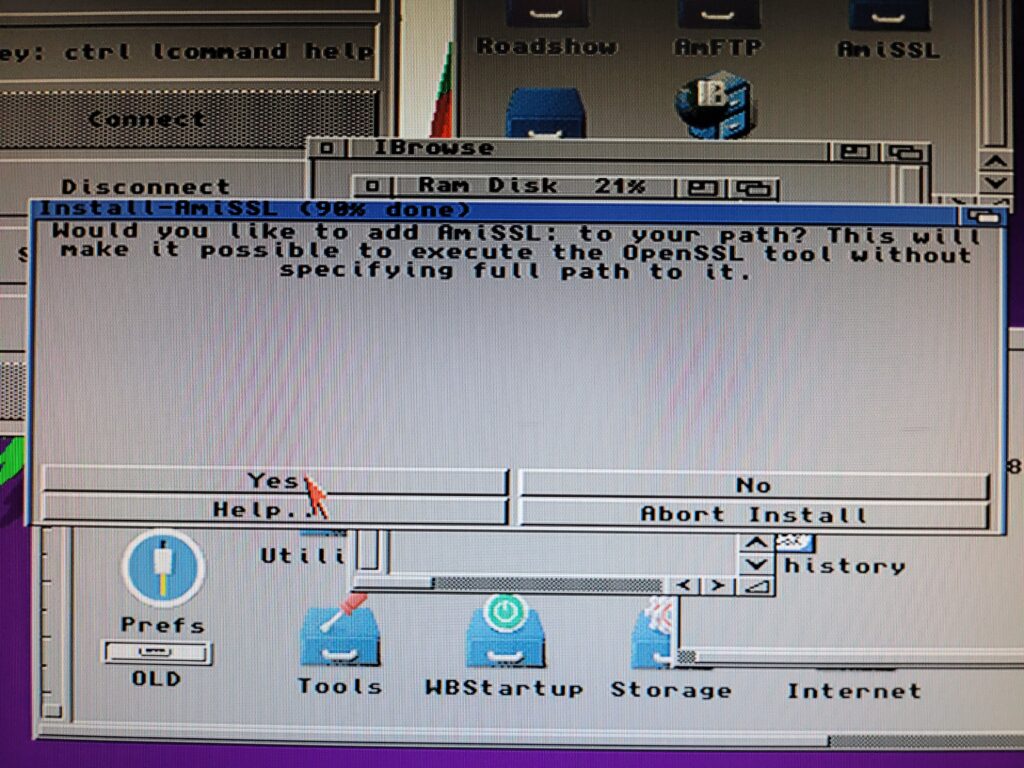
Once all the files have been copied over it will ask if you want to add it to your path. Answer yes to this to continue.
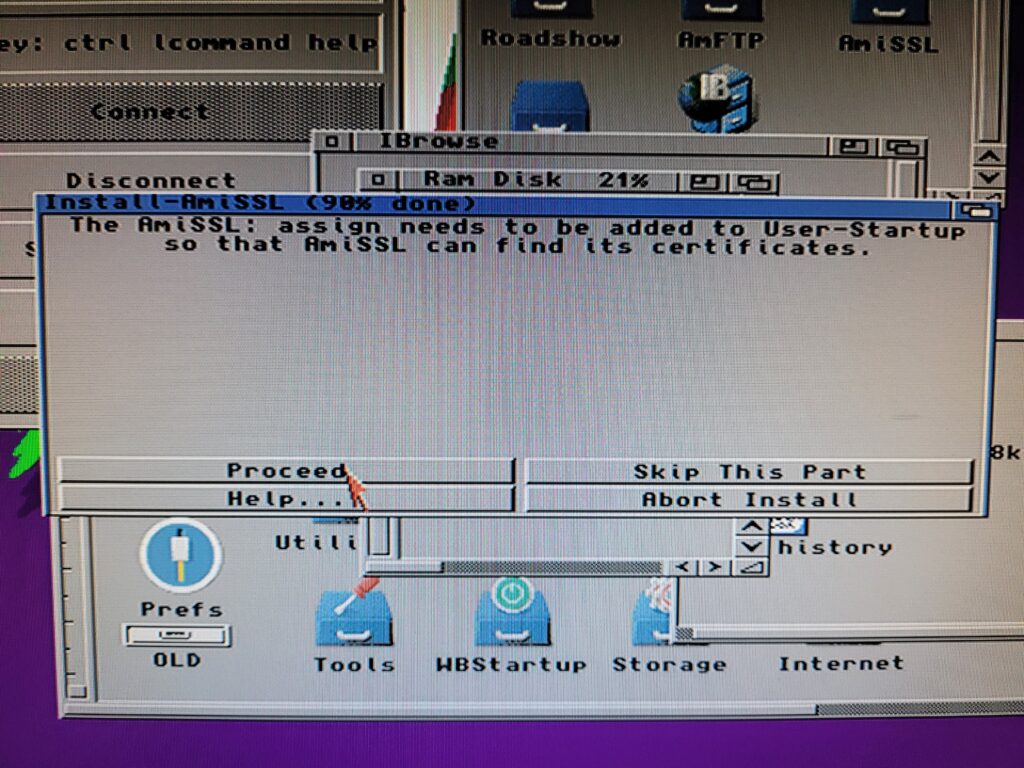
It also wants to add an assign to the user-startup. We need this to happen or it won’t work so click ‘proceed’ to let it do its thing.
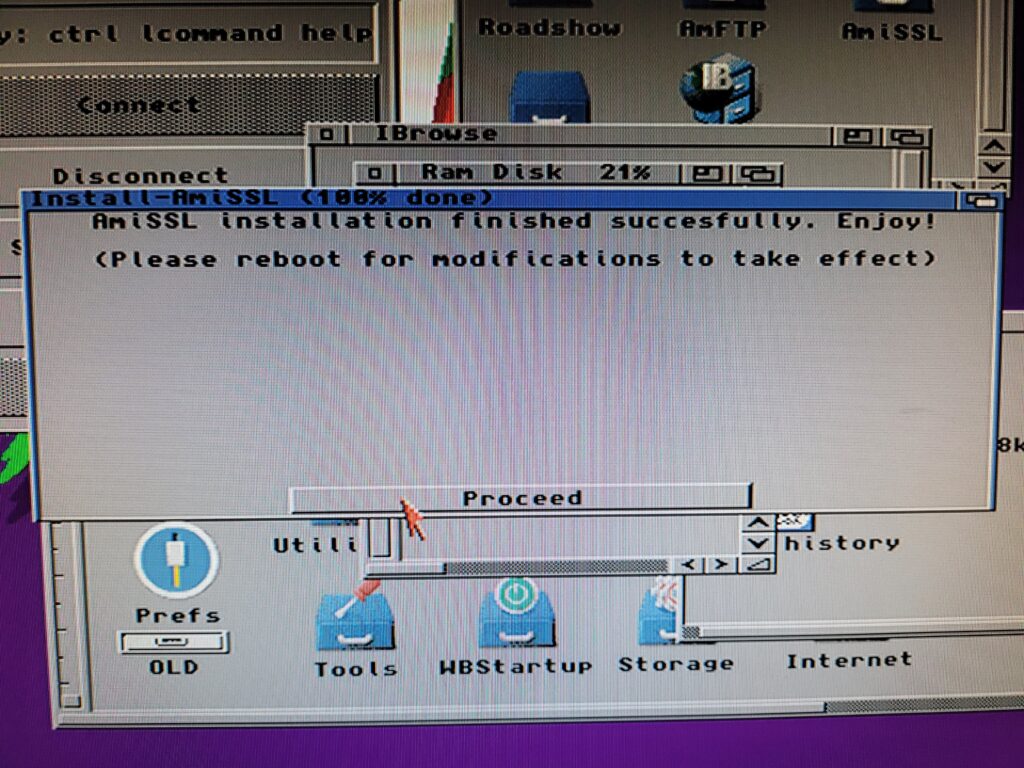
A message will pop up saying the computer needs to be (manually) rebooted before it will work. Hit proceed to continue.
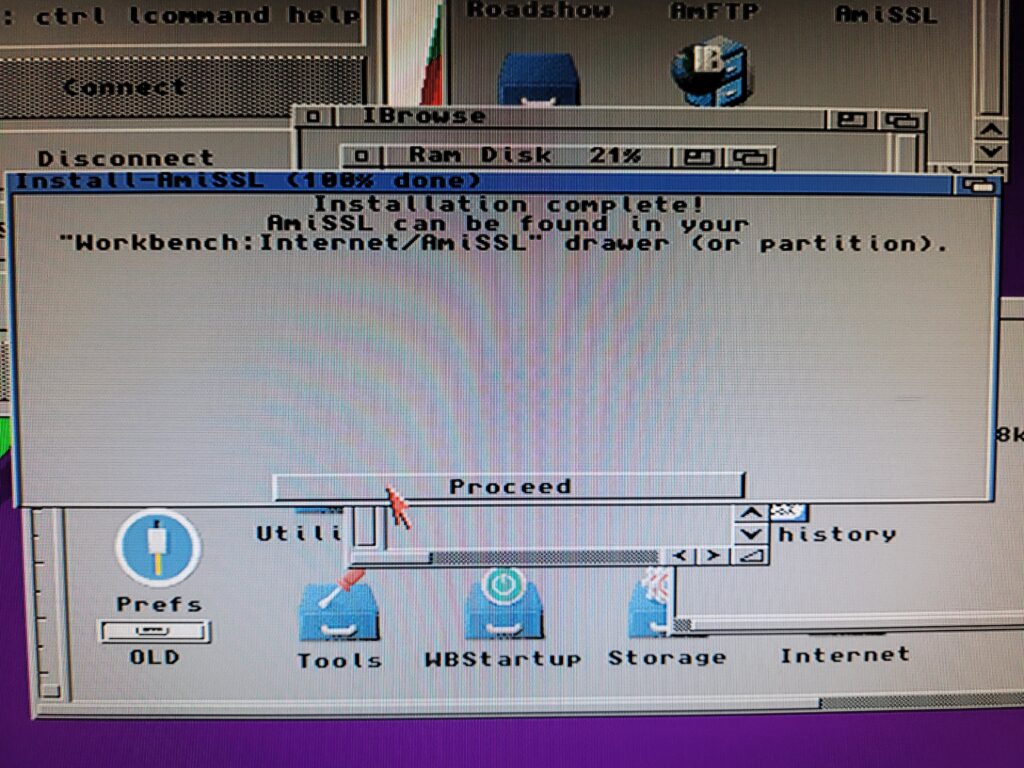
And that’s all there is to this one, AmiSSL is now installed and ready to provide secure internet access to any programs that require it.
Installing MUI 3.8
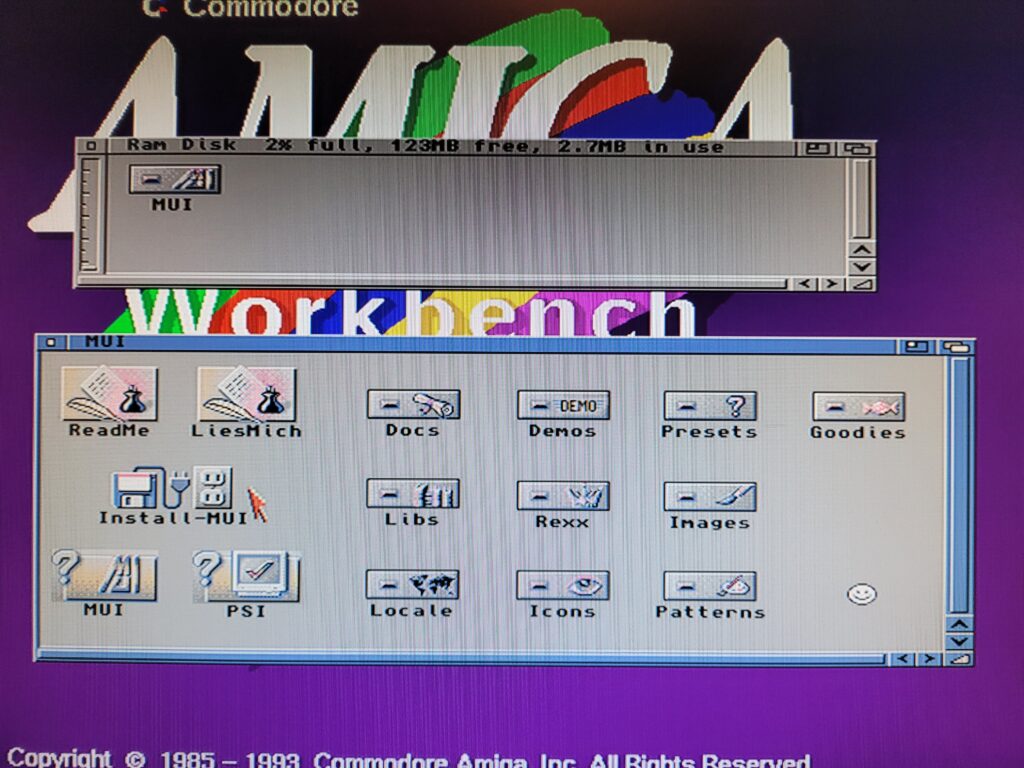
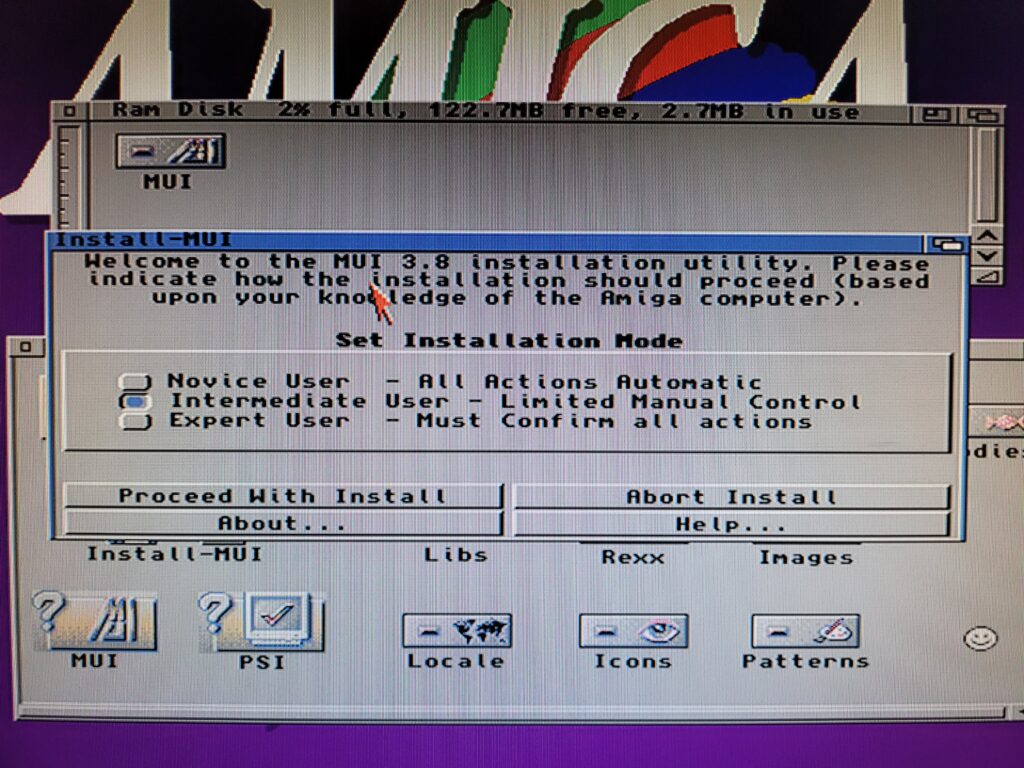
MUI 3.8 is a pretty big archive so will take a little while to unpack but once it does you should have a folder like the one below. Run ‘Install-MUI’ to get the ball rolling.
Select ‘Intermediate User’ otherwise you won’t be able to tweak the installation.
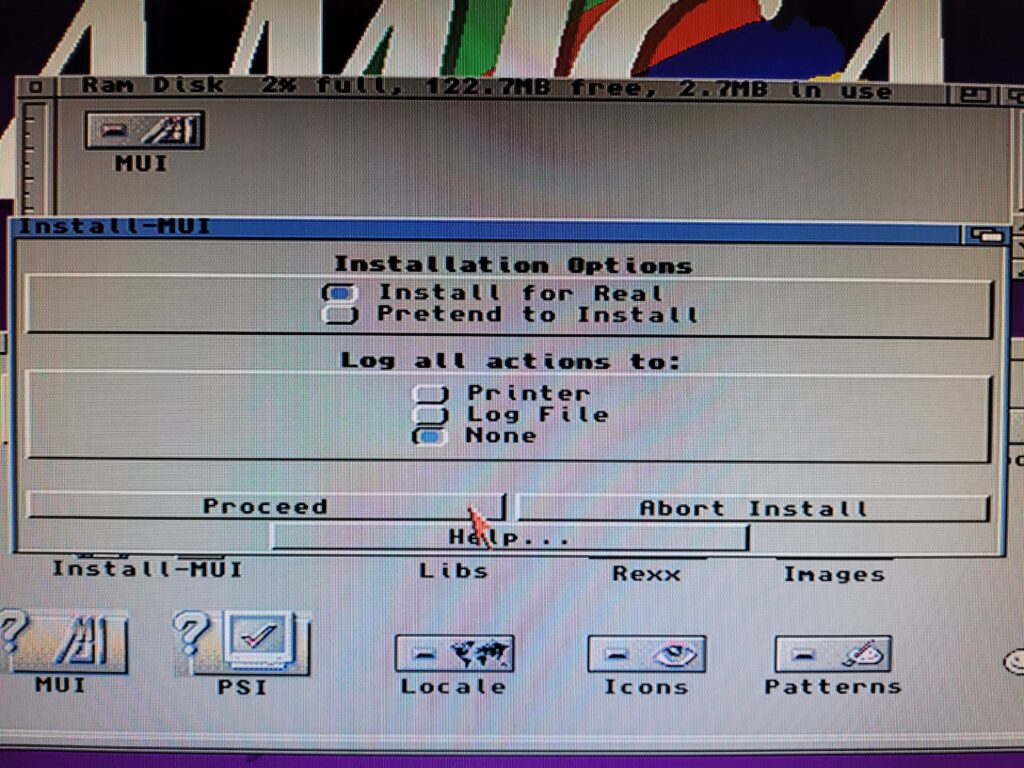
Obviously we want to actually install MUI so keep ‘Install for real’ selected.
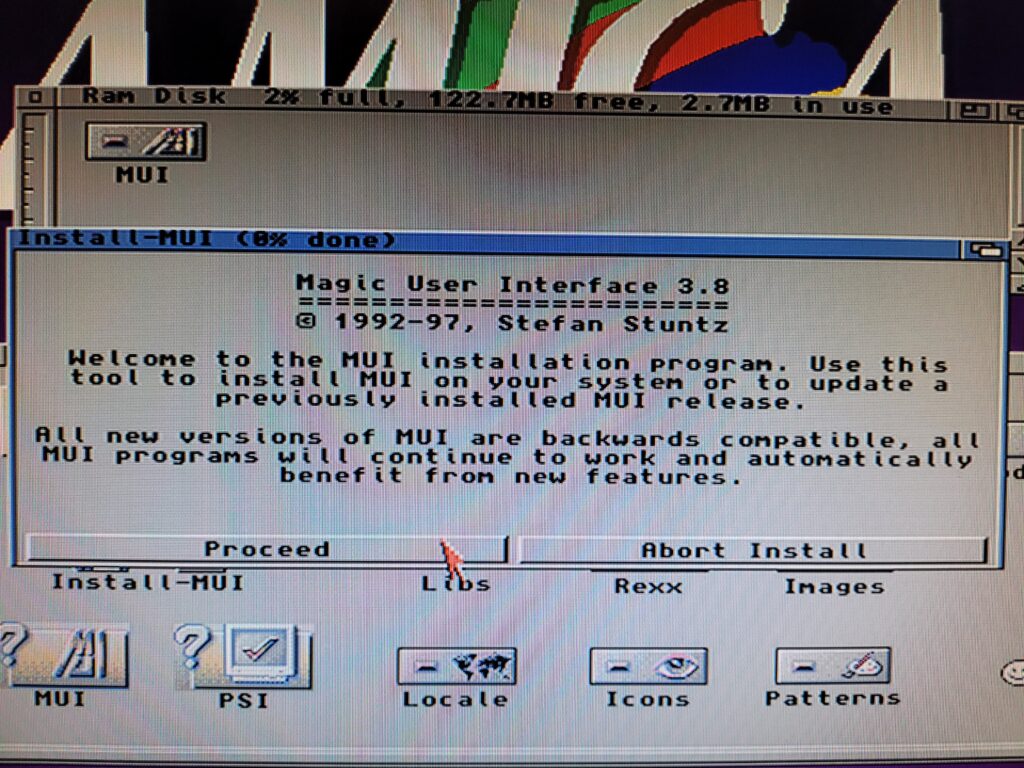
The next screen simply explains what the Installer is going to do so just click proceed here.
Choose where to install the software when the next screen appears. As I have already installed MUI before, when I ran the installer again (so I could get these screenshots) it gave me the option of changing where to put it. I mention this just to explain why the screenshot will differ from a regular first time install.
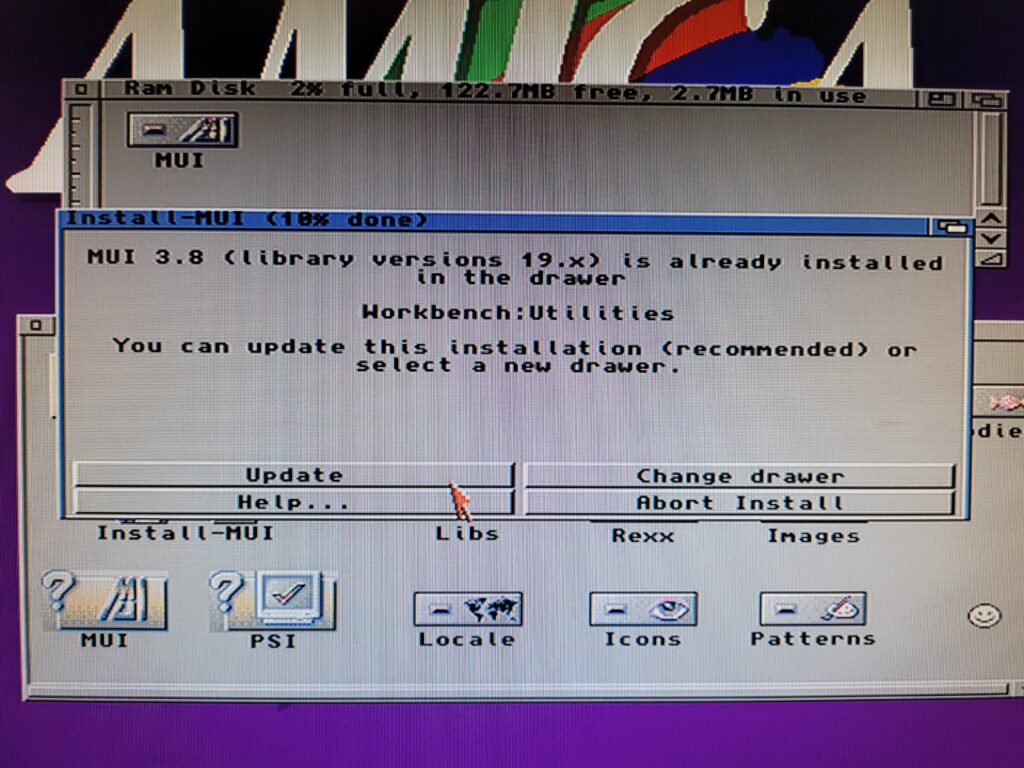
Choosing where to install MUI3.8. (This screen will different slightly from a fresh install as I have already installed this before).
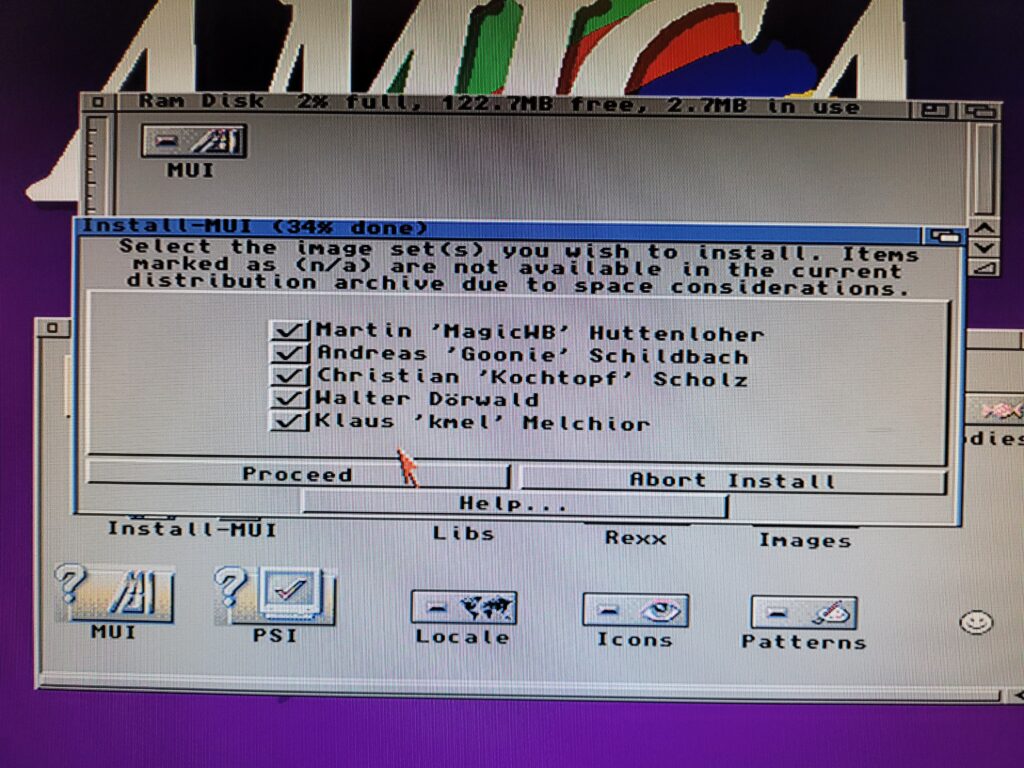
The following window gives you the option of choosing which image sets you want. Think of these as themes that will let you change the appearance of various aspects of the MUI interface. Leaving everything ticked will allow plenty of choice if we want to mix things up in the future.
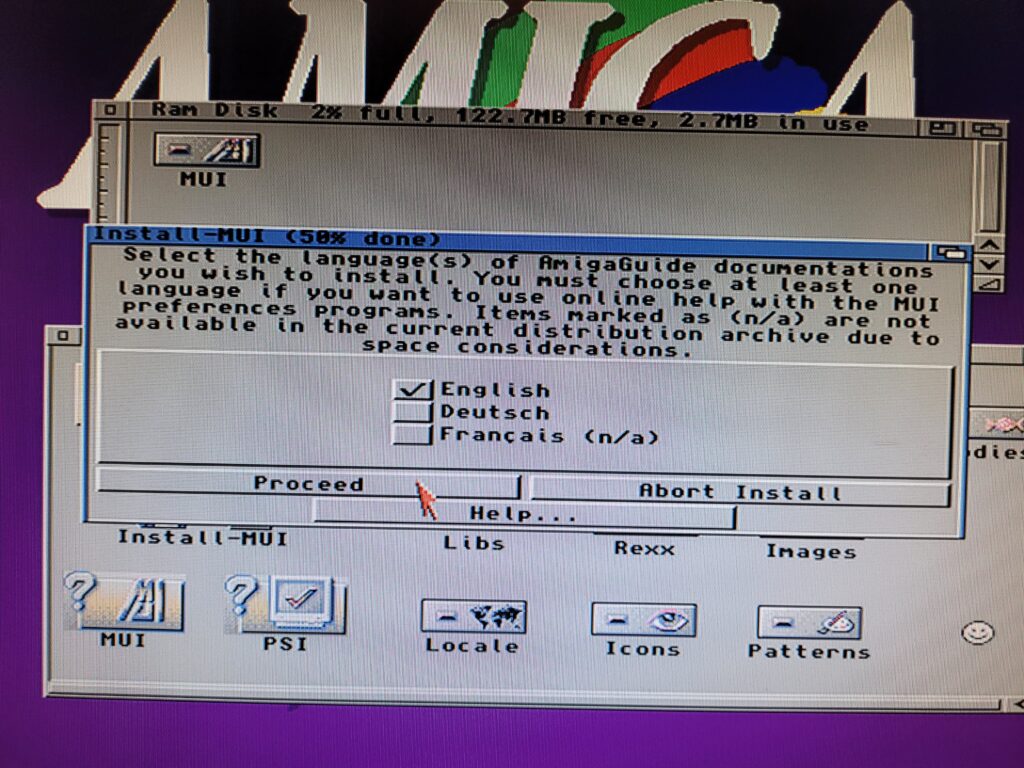
Choose your language from the following screen and then click proceed.
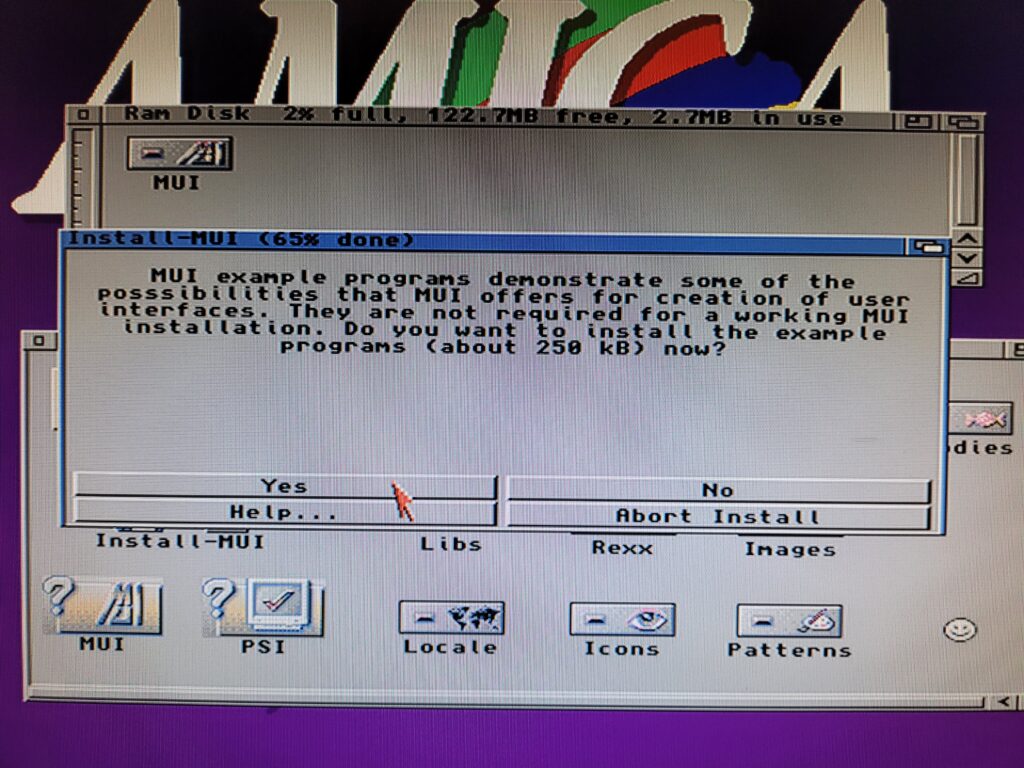
A bunch of demo programs can be installed from the next screen if you wish. These are more geared towards developers to show what MUI is capable of. However they don’t take up much space so if you’re curious just click ‘yes’ to continue. Alternatively click ‘no’ – the installation will continue regardless of which option is chosen.
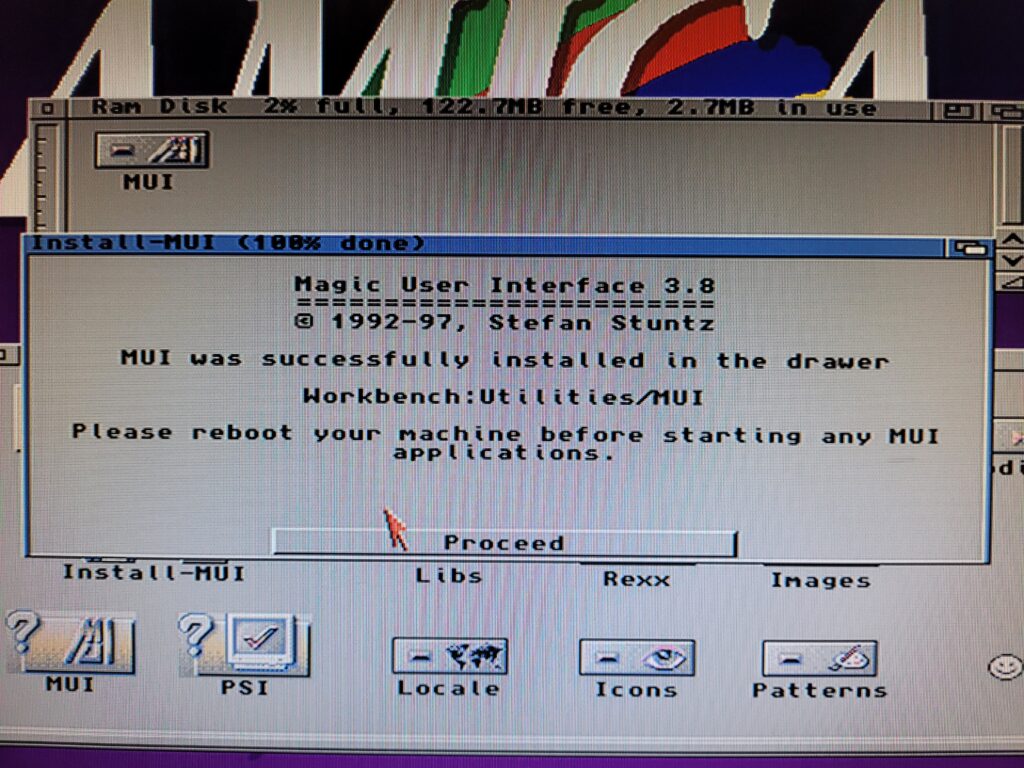
The installation will now finish and display the screen below and recommend a reboot.
MUI is now successfully installed and we can finally move on to installing our browser!
Reboot your Amiga before moving onto the next stage so that both AmiSSL and MUI are up and running.
Installing the IBrowse Web Browser
IBrowse can be downloaded from here:
IBrowse – web browser for Amiga computers / AmigaOS (ibrowse-dev.net)
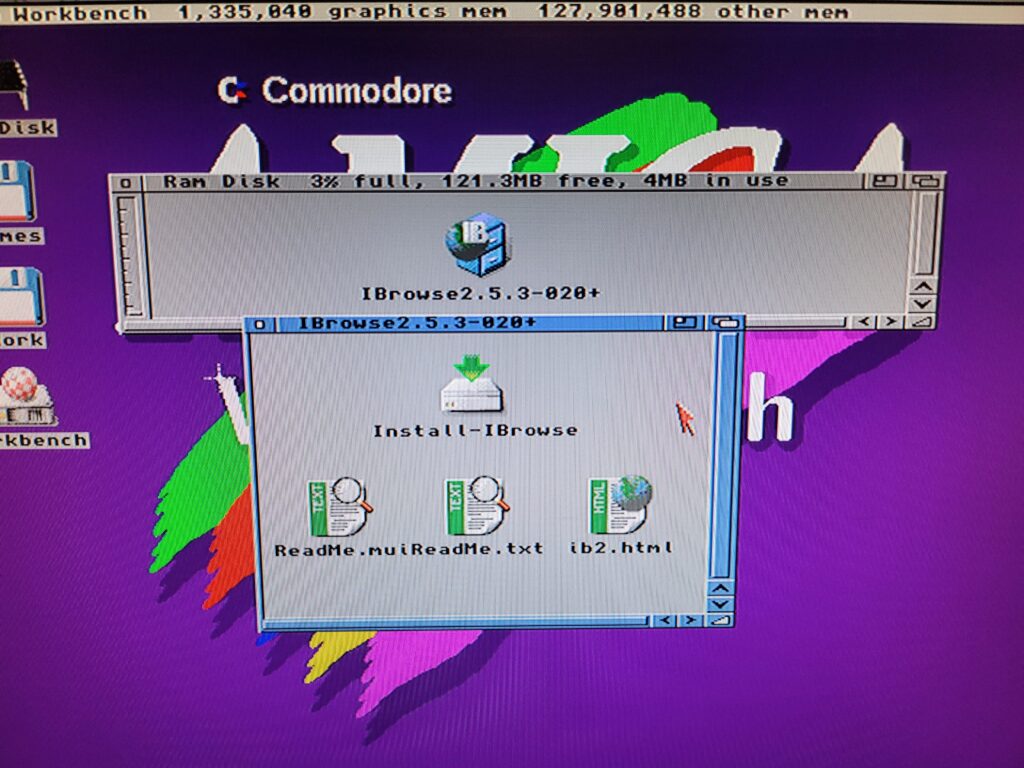
Unpack the archive to a folder on your Amiga and you should get a folder like the one shown below. Run ‘Install-IBrowse’ to get started.
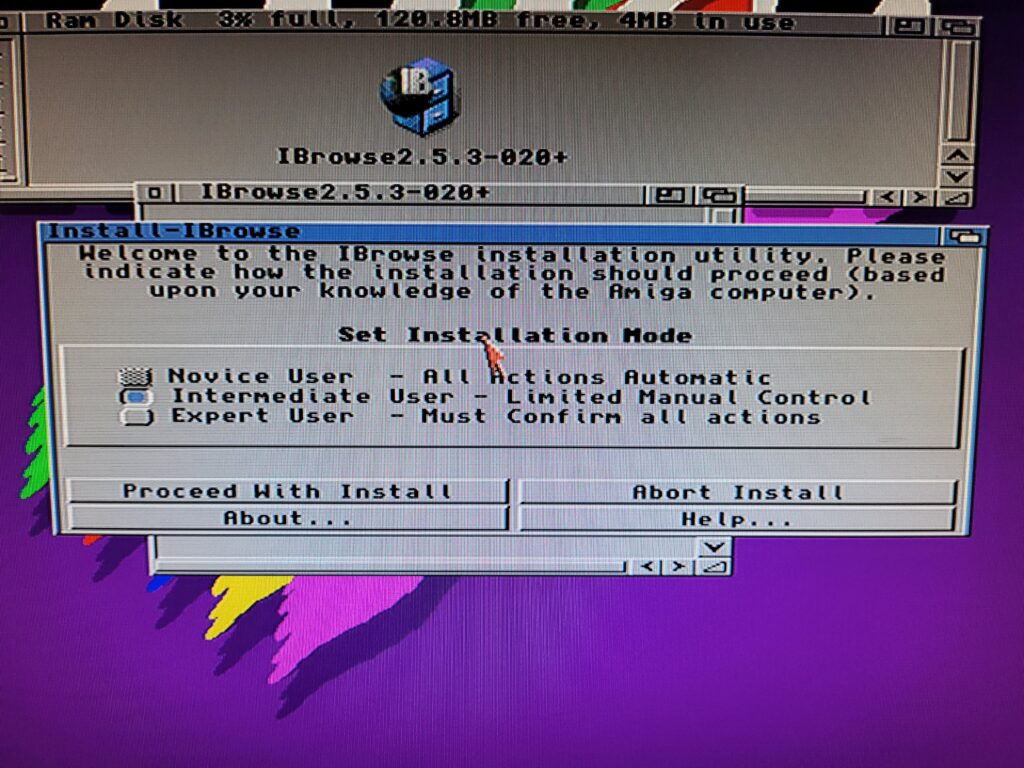
I selected ‘Intermediate User’ so I had some control over what goes where.
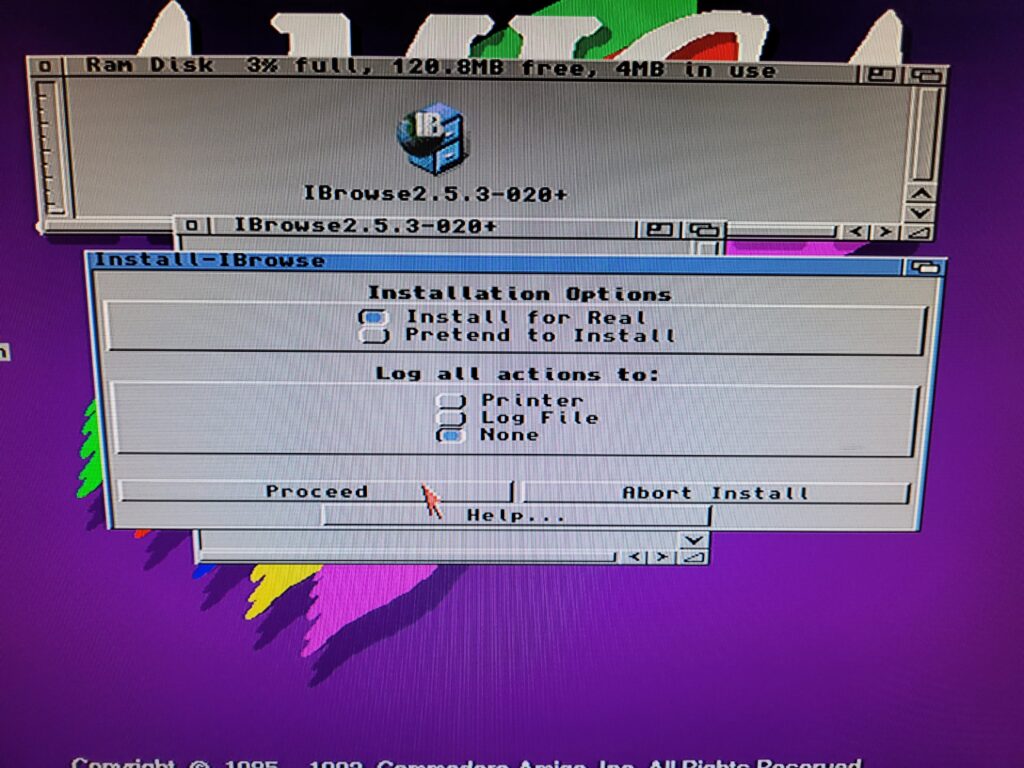
Next there’s the usual option to do a pretend install if you just want to see what it’s going to do or assess any potential problems in advance. Make sure to keep ‘Install for Real’ selected and click ‘Proceed with Install’..
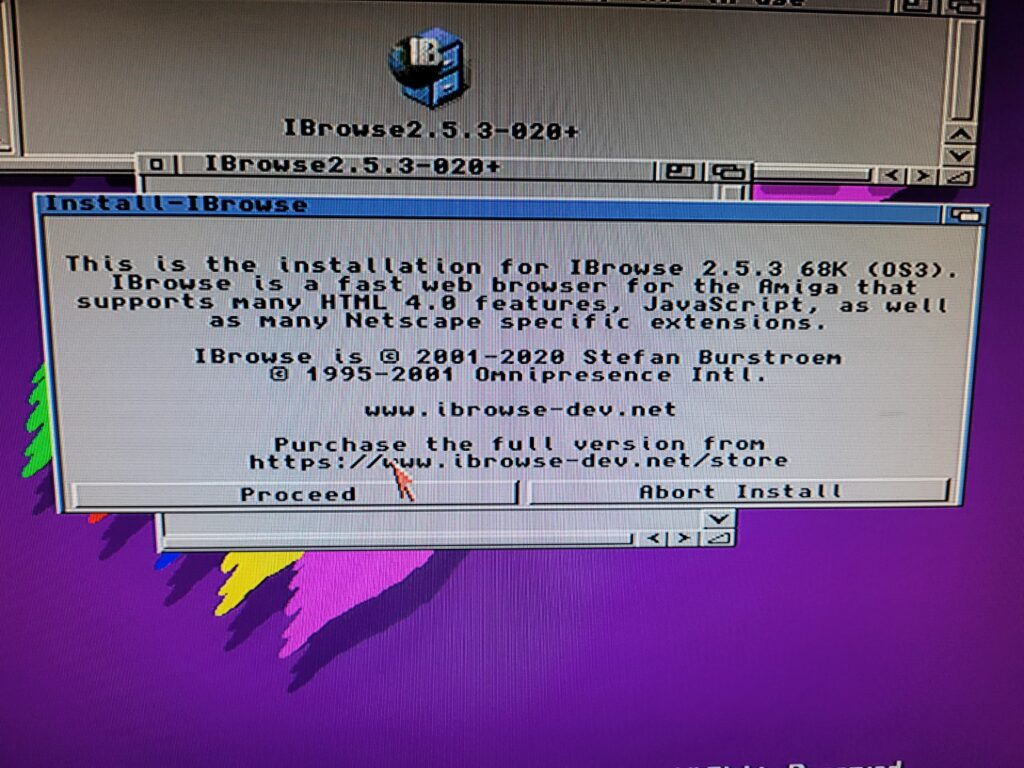
The next window is just a little introduction to the program which can be safely ignored.
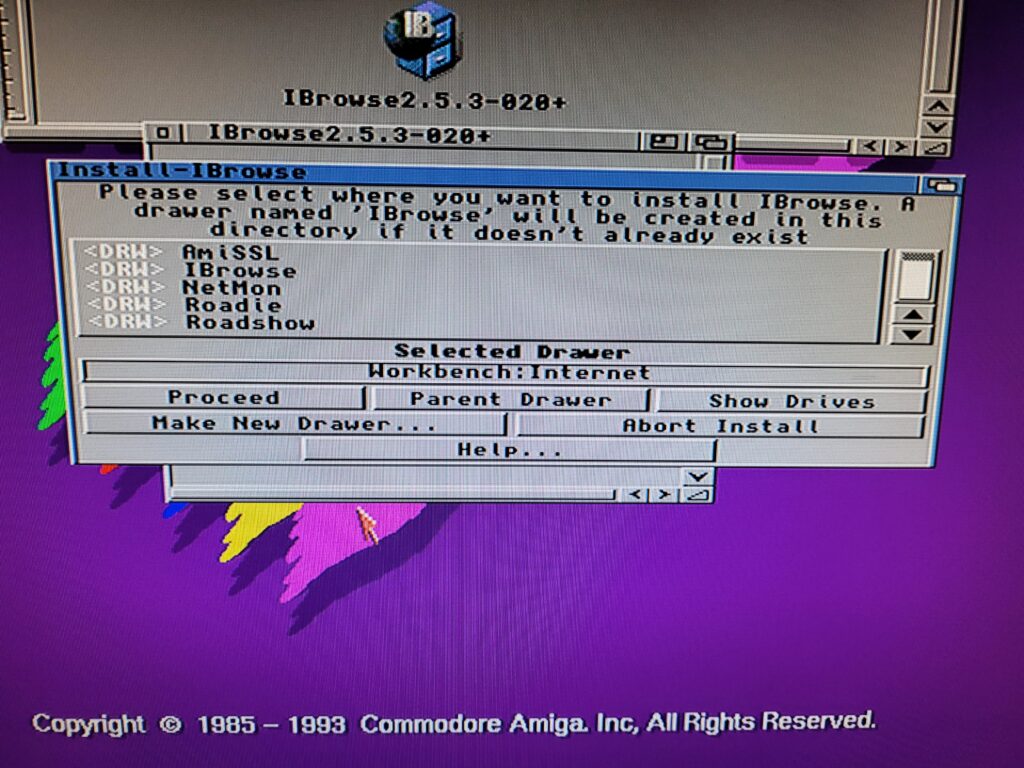
The first choice we need to make is where to install the program. As always mine is going into my Internet folder with all my other Internet related programs.
I had already installed IBrowse before so I received confirmation that none of my preferences would be disturbed. Nice.
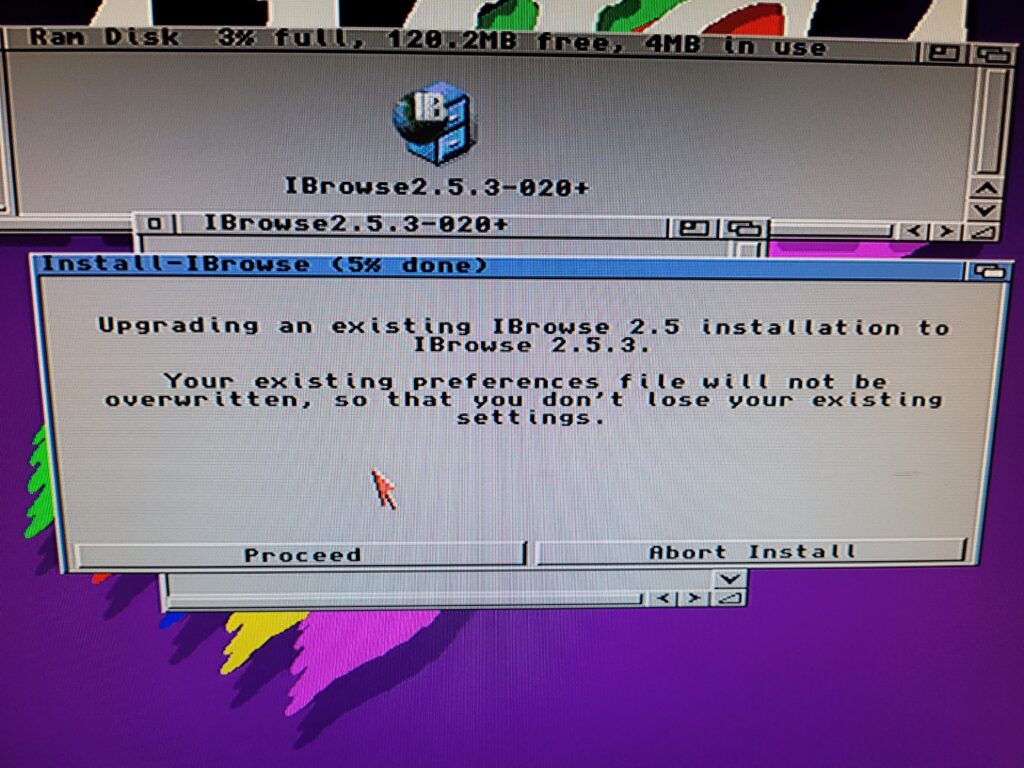
As I had already install IBrowse before this screen popped up. If you’re installing it for the first time you shouldn’t see this.
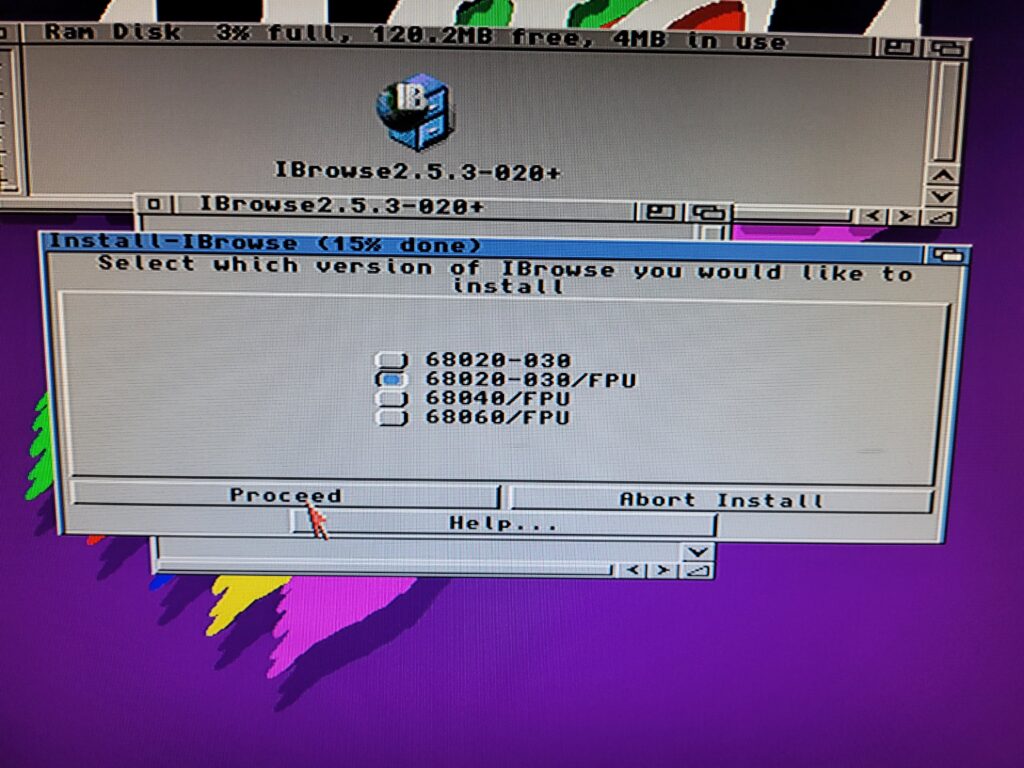
The next dialogue box lets us choose a version optimised for our CPU. I have a 68030 CPU and an FPU in my A1200 so I chose the ‘68020-030/FPU’ option.
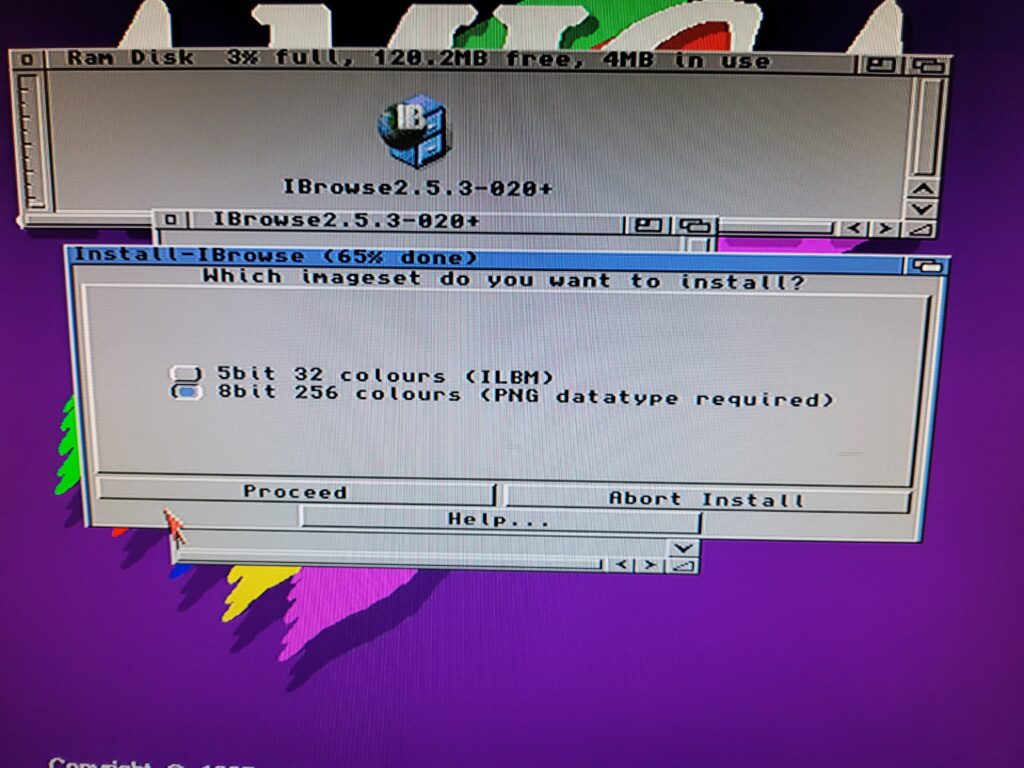
Next we can choose the Imageset to use for the buttons etc. This is down to personal choice and how many colours you choose to run your Workbench in.
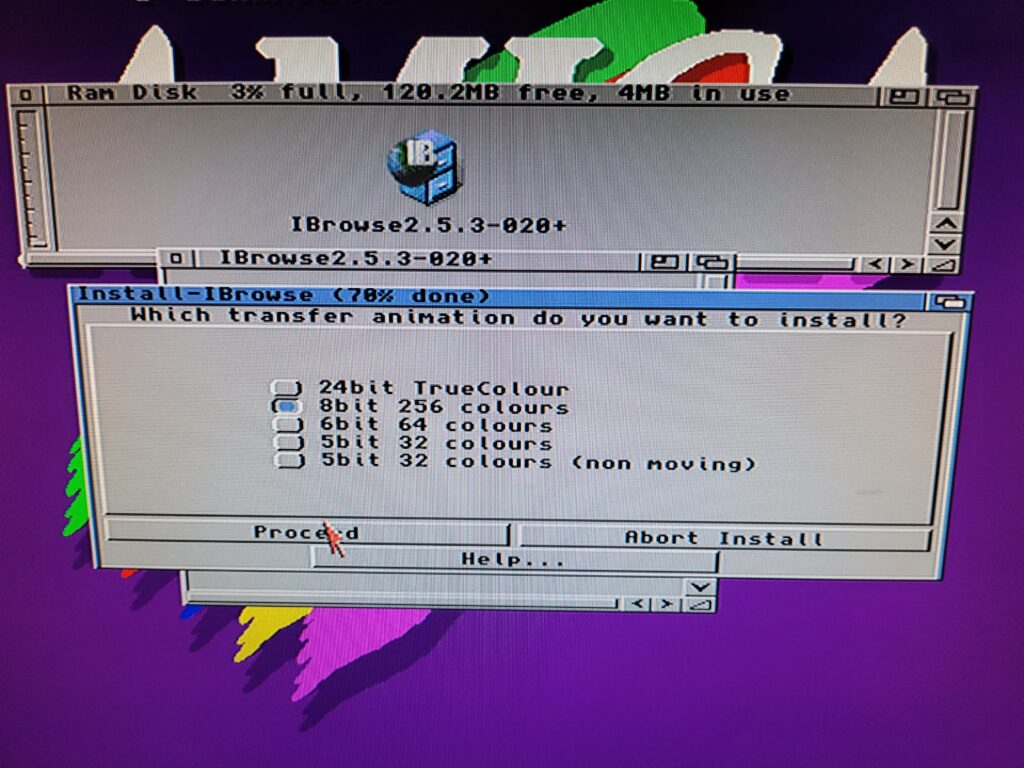
The next choice is similar and affects the little animated globe in the corner of the screen. I chose 256 colours for both options as that’s the max my AGA chipset will allow on Workbench. This is a real throwback to the 90’s when all browsers had a cool animation in the corner whilst we waited for pages to load.
The next window informs us that some additional files will be installed if they aren’t already present so just hit proceed to move things along.
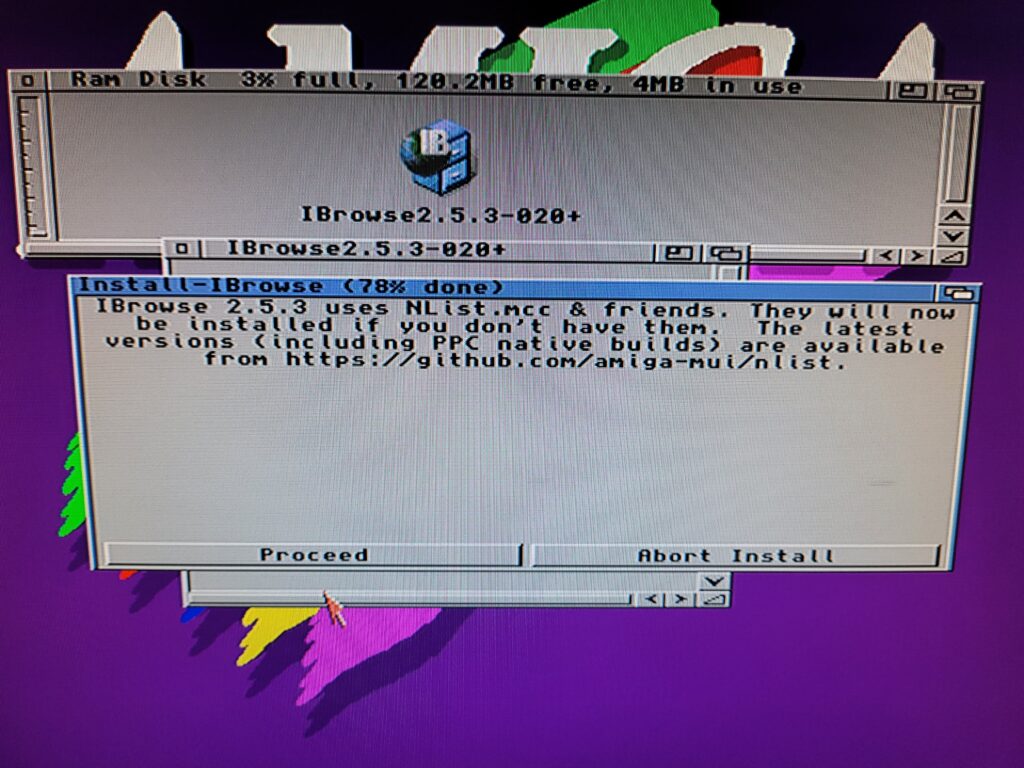
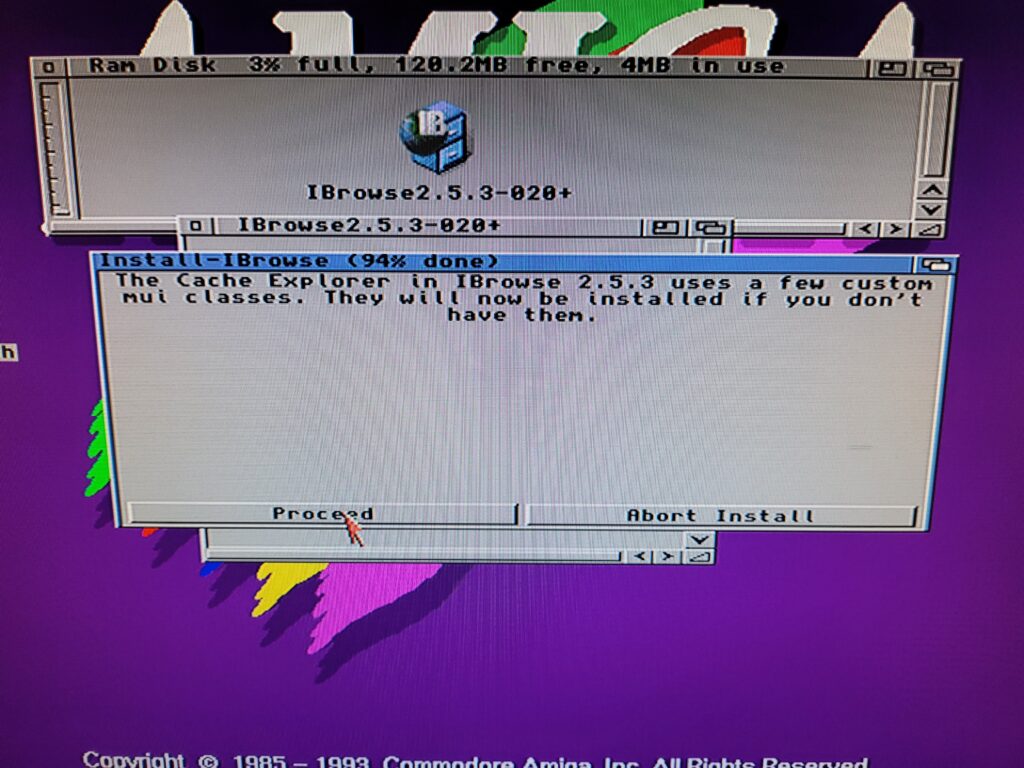
Another info window advises about the installation of new MUI classes if you don’t already have them. Just hit ‘proceed’.
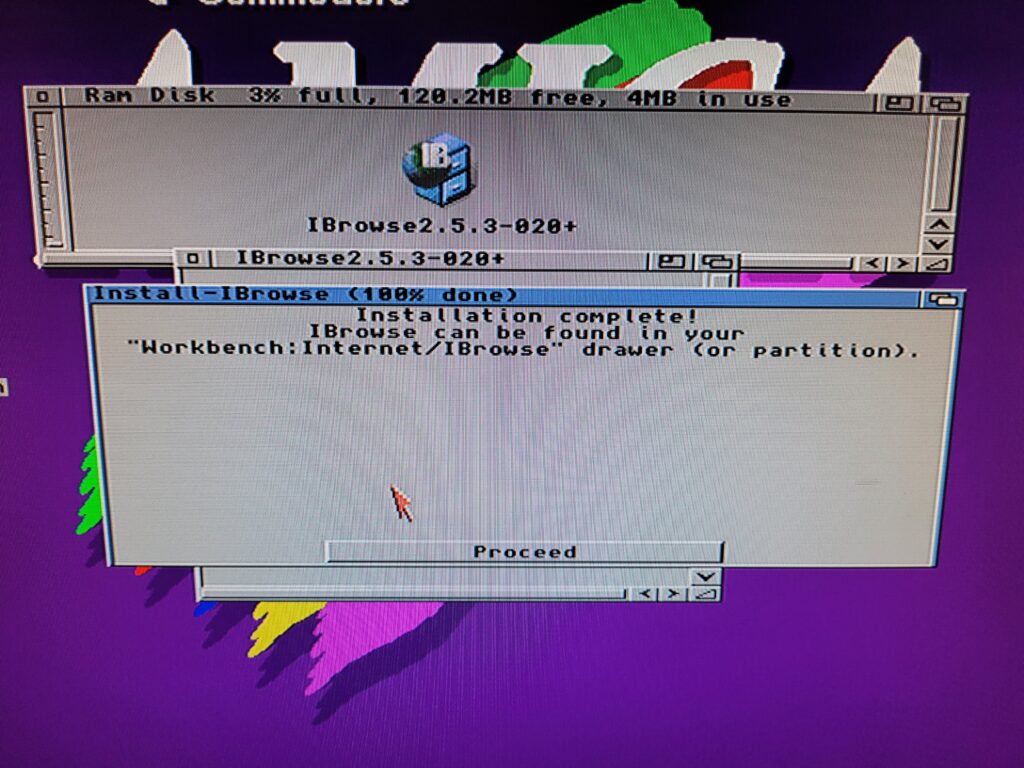
If everything went smoothly that will be the end of the install. You should see a confirmation window along with a reminder of where IBrowse was installed.
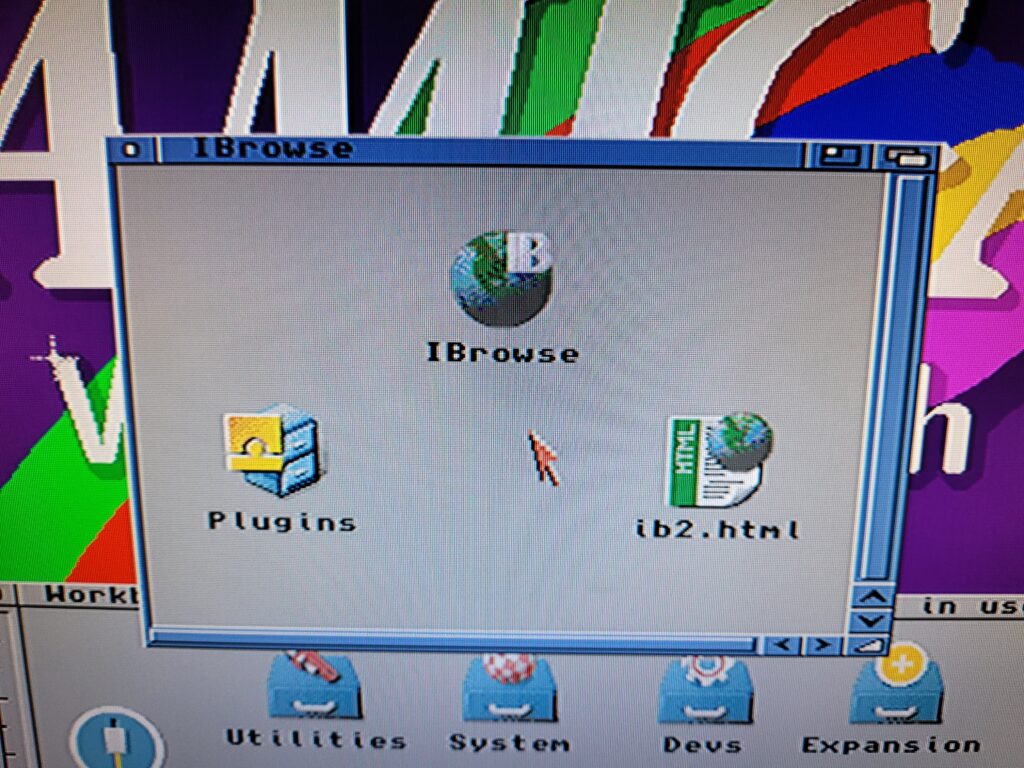
Opening the folder should reveal the main IBrowse program, a plugins folder and some documentation.
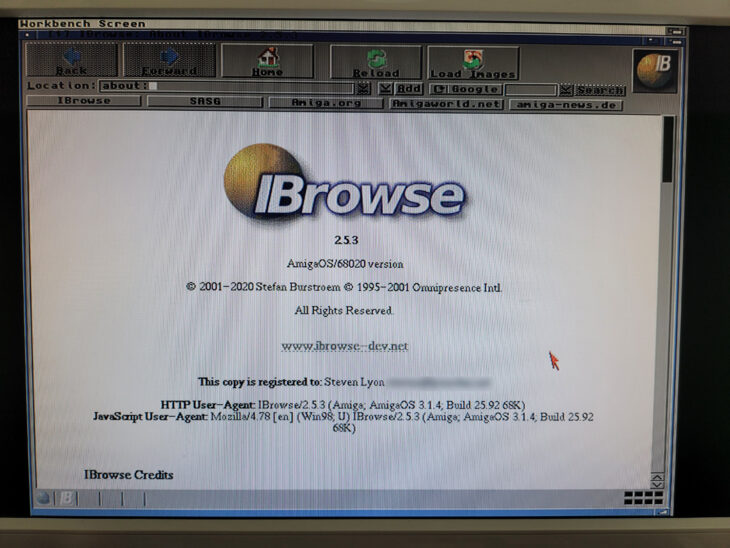
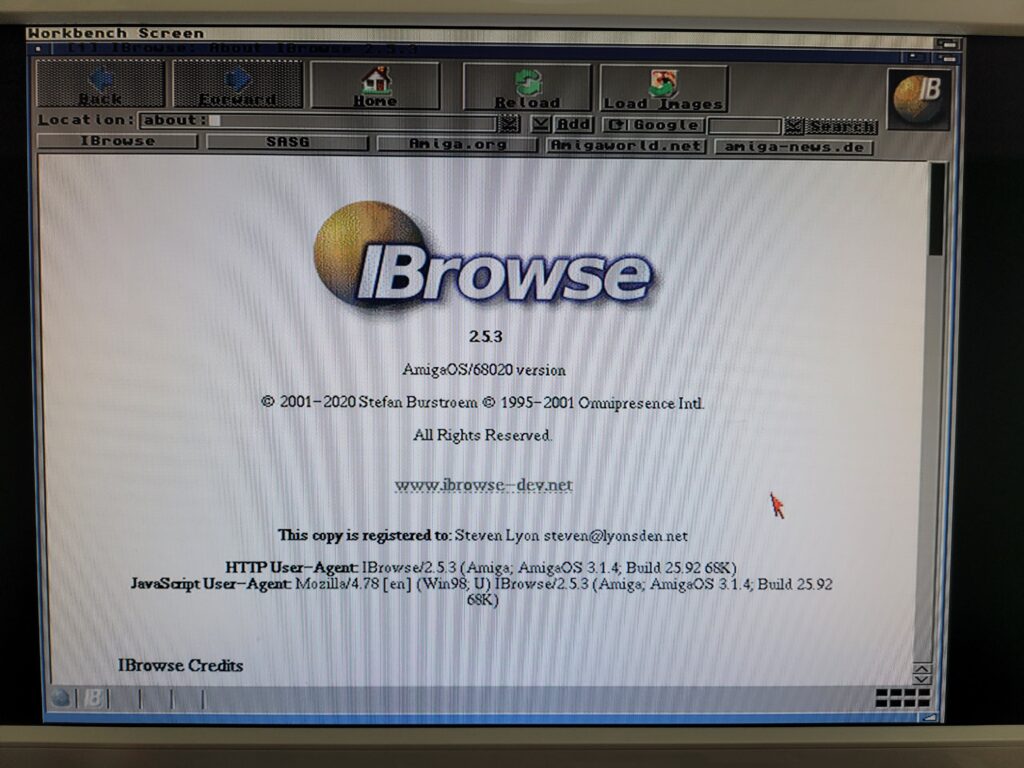
When you run the IBrowse program it should bring up a screen very similar to the one shown below.
Taking a look at a few websites.
At last we can finally do some surfing like it’s 1995 again! Although IBrowse can access secure sites that doesn’t mean it will work with every site. The web has evolved a lot in the past 25 years and the Amiga has not. Graphics and Javascript intensive websites are off-limits, as are sites heavily reliant on CSS which IBrowse doesn’t currently support. CSS is promised for IBrowse 3. Having said that, there’s still plenty of sites we can visit that display well and finding out which ones work is an adventure in itself!
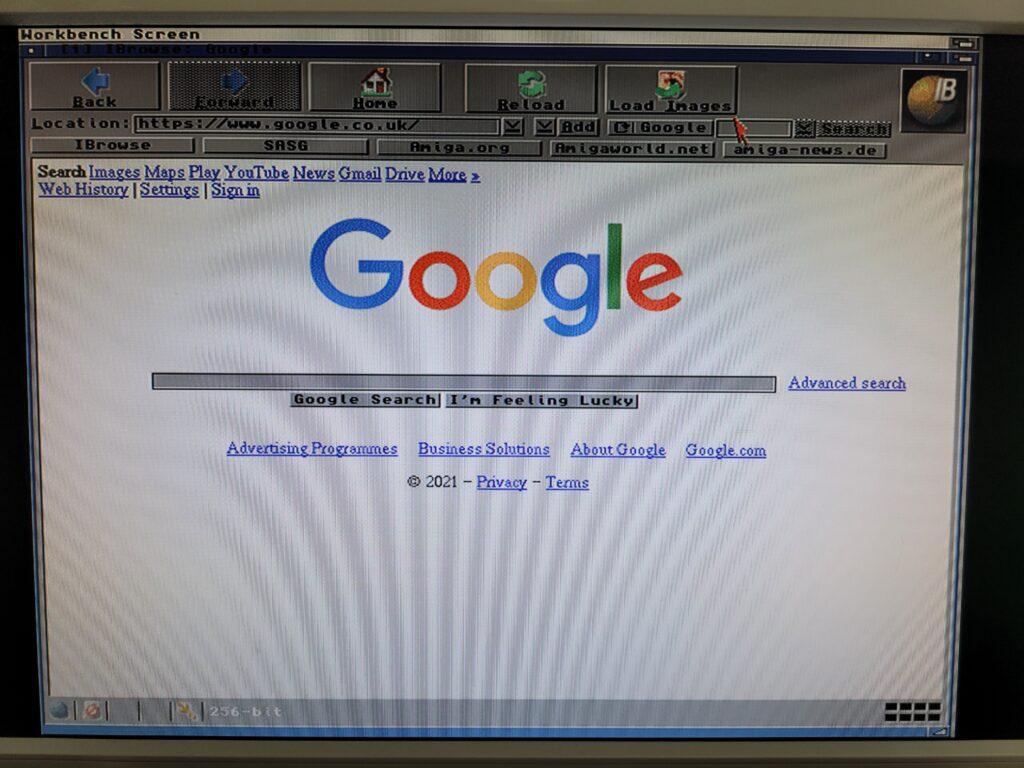
Google as viewed in IBrowse. Fun fact – Google’s search page didn’t even exist back when IBrowse launched!
Thankfully Google works like a dream and the page comes up in a matter of seconds. There’s also a built-in Google search in the Toolbar which elicits search results in seconds too.
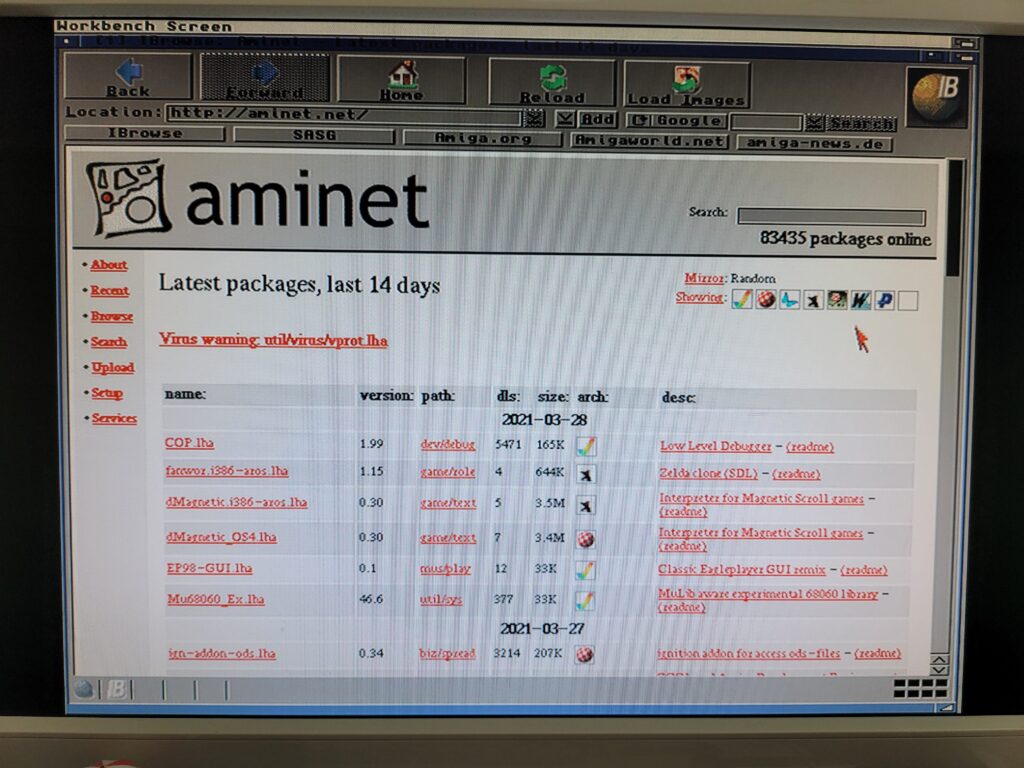
Aminet works really well in IBrowse too, displaying pages and search results in 2-3 seconds. Downloading multiple programs is a breeze too thanks to the built-in download manager. With this capability on the Amiga itself it will no longer be necessary to download stuff on a PC and then transfer it across.
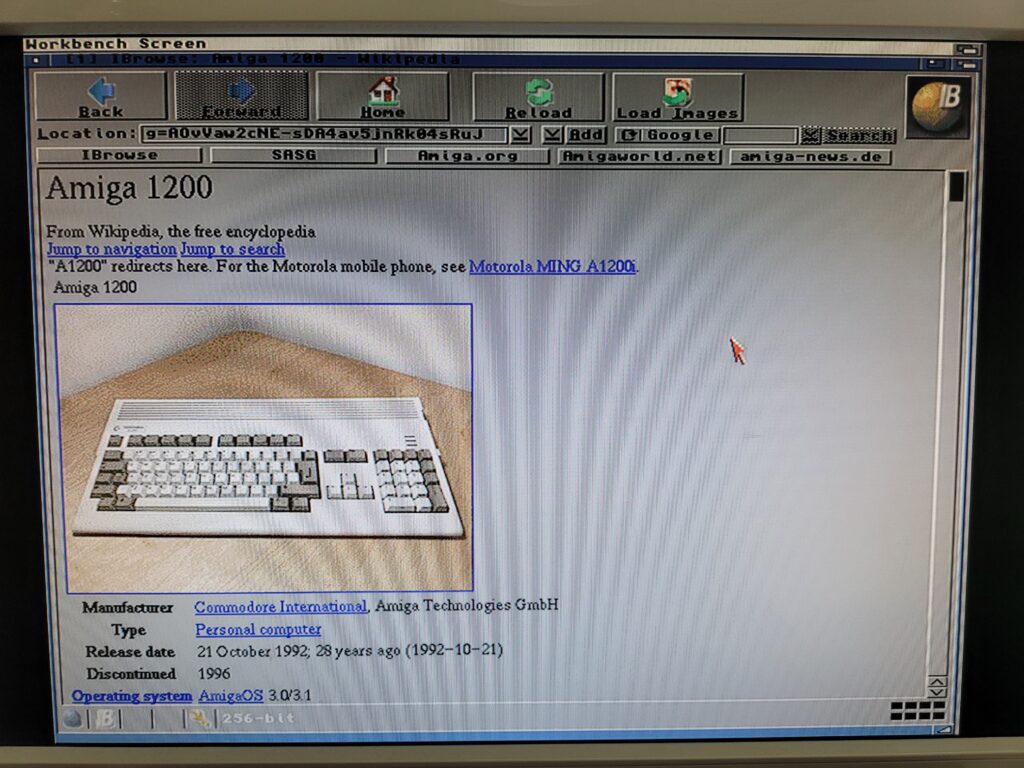
Wikipedia also works pretty well as it tend to have lots of text and relatively few images.
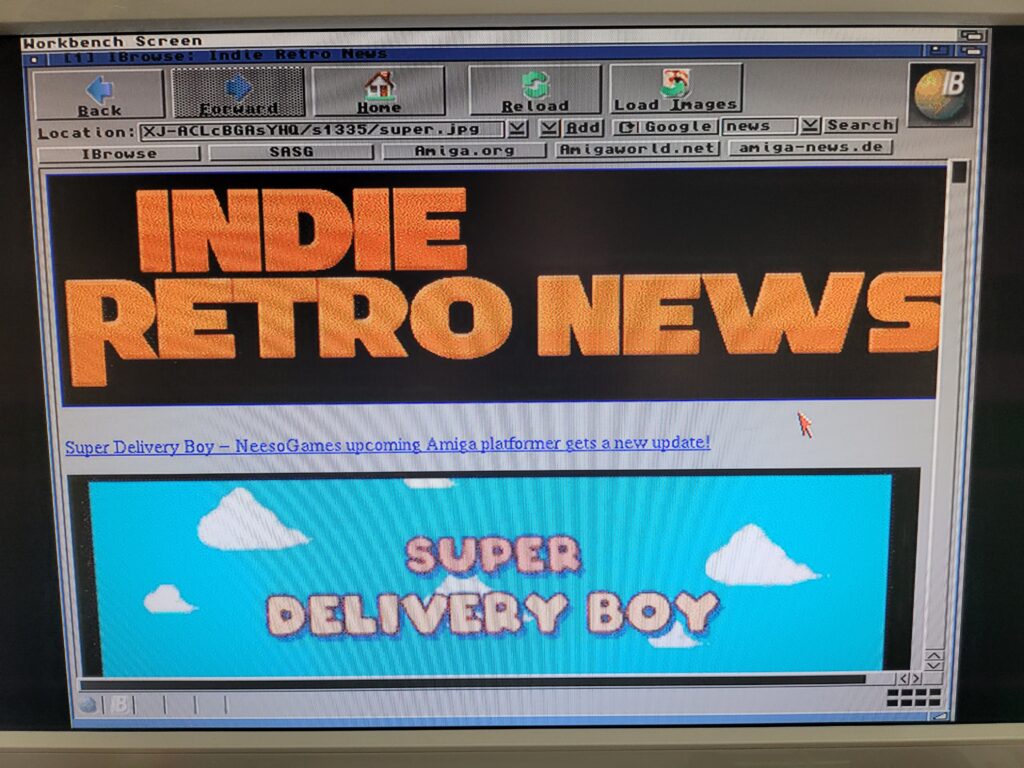
One of my favourite Retro gaming sites works pretty well too, albeit a little slow loading the images.
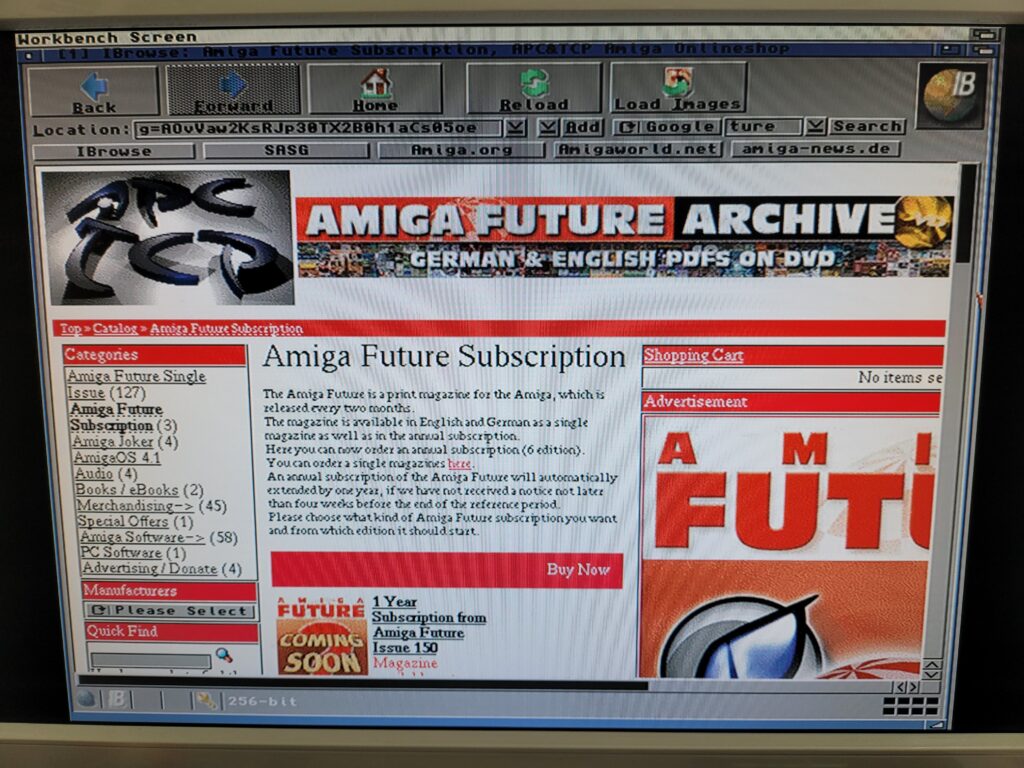
The Amiga Future site displays pretty well too.
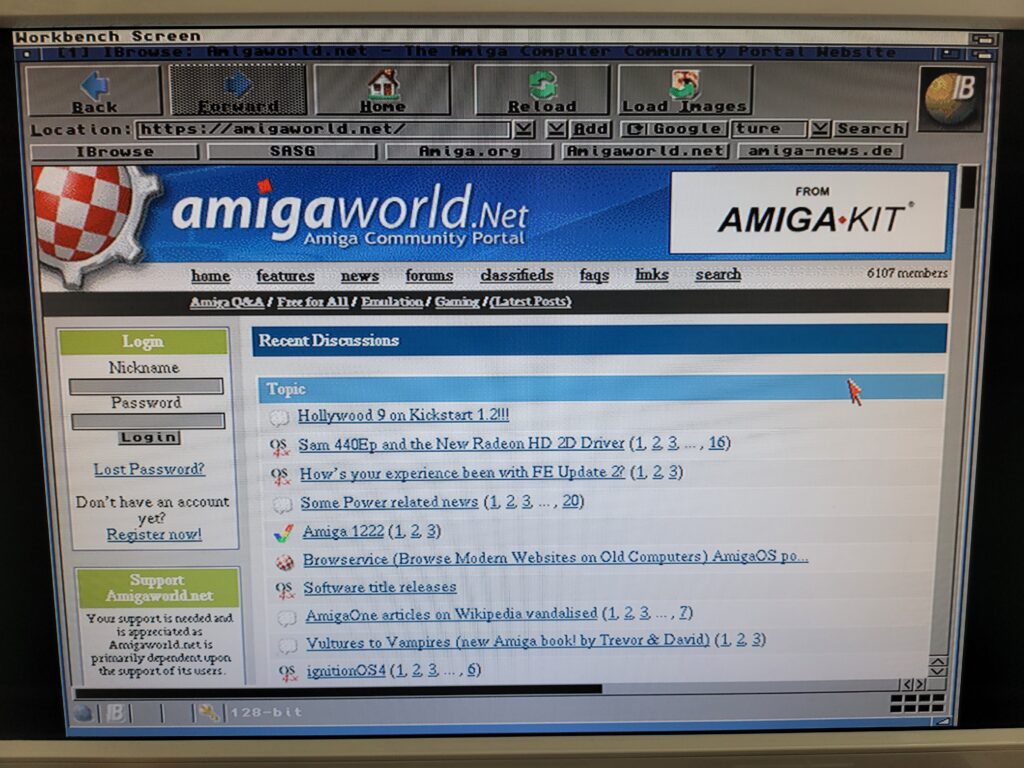
As does AmigaWorld as you would hope so for an Amiga oriented site.
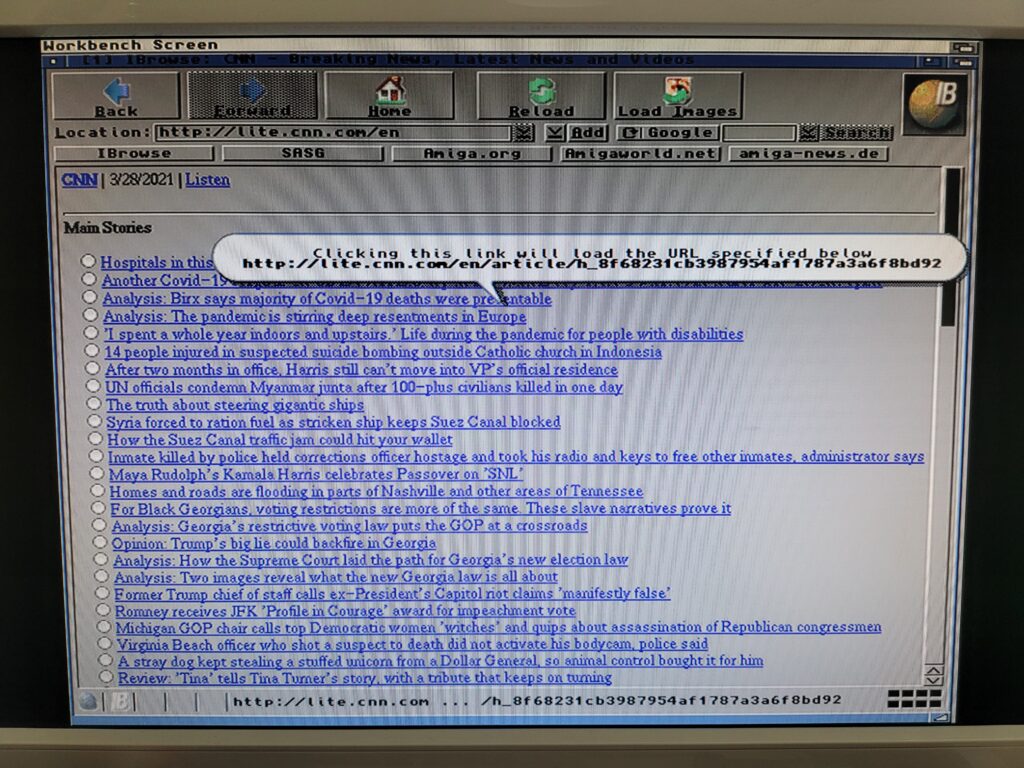
Most of the main news sites are drowning under the weight of photos and adverts so aren’t really practical for viewing on the Amiga – not if you value your time anyway! However there are still places we can go to, such as CNN lite for example.
Rounding Off
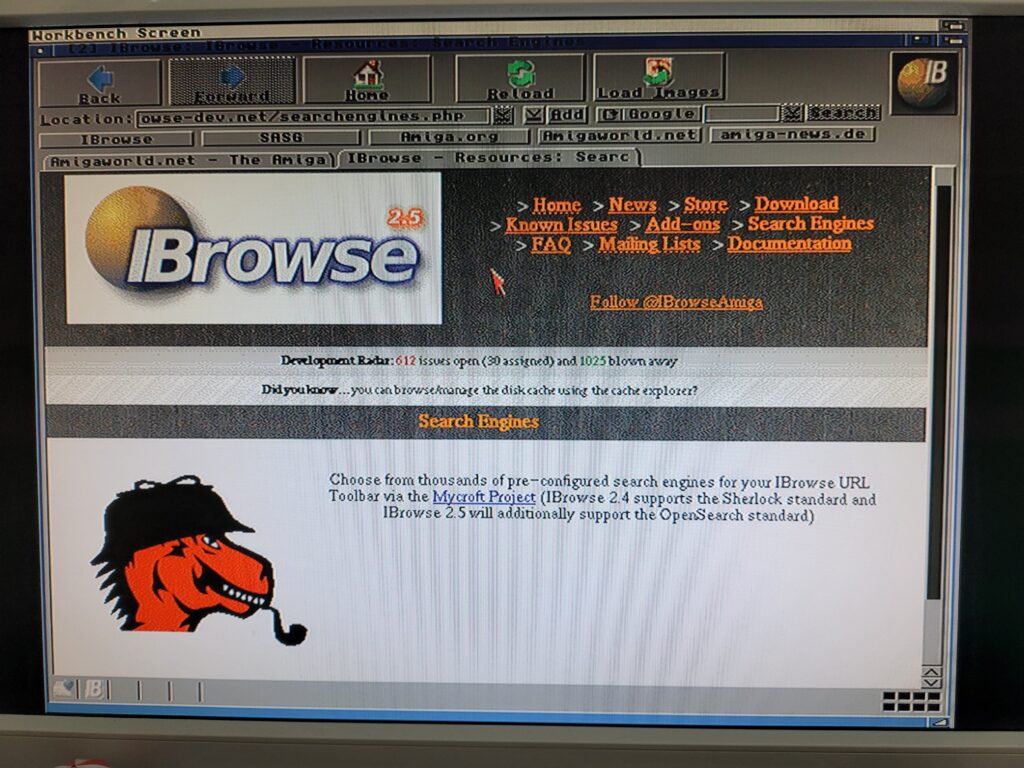
IBrowse is one of the few Classic 68k Amiga web browsers still actively being developed now. It can display https sites and has gained some modern features such as a password manager, integrated search bar and even tabbed browsing. I would really encourage you to pay for the full version if you enjoy using it. We need guys like this supporting the current Amiga scene otherwise we’d be stuck with AWeb now…
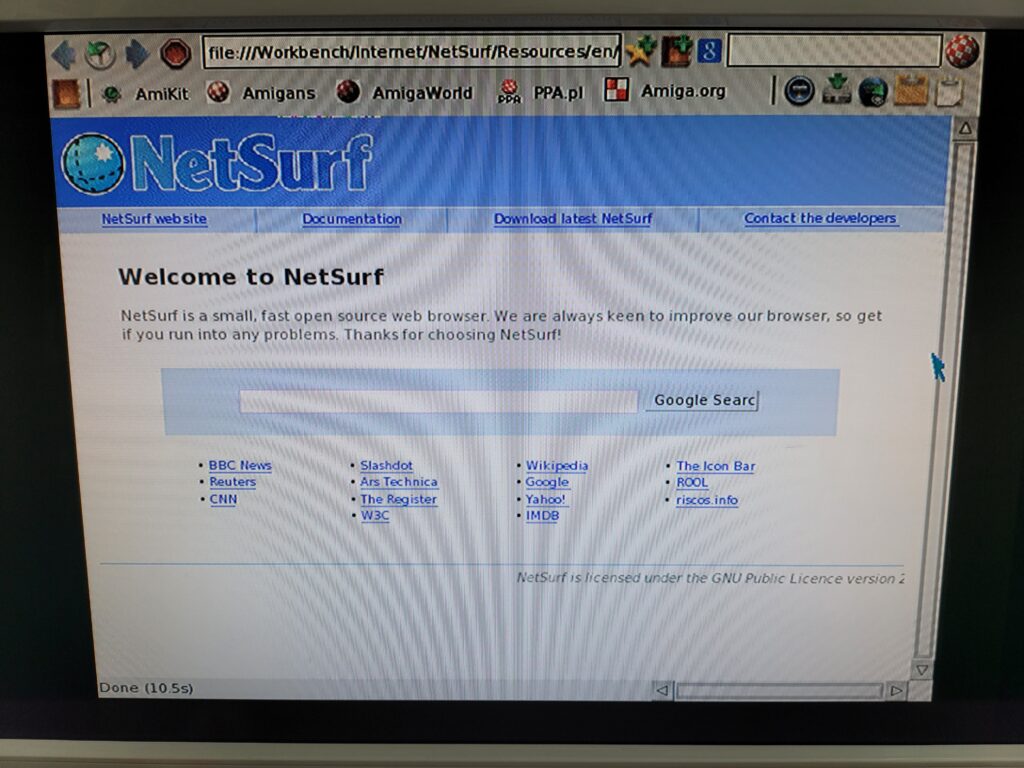
Just as an aside I also tried the NetSurf Amiga web browser as this claims to be able to work with CSS sites. However after eventually getting it working it wasn’t worth the effort. It looks pretty and may well work great on PPC or Vampire equipped Amiga’s but on my ‘030 A1200 it was diabolical. We’re talking several minutes to load a page (badly) and a horrible laggy mouse pointer that made navigation a nightmare. This browser is clearly aimed at NG Amiga’s so I dismissed it as an option. If I ever get an 060 or PPC card I will revisit it in the future but for now I’ll be waiting for IBrowse 3 to get CSS support.
Anyway have fun surfing the internet with your new Amiga web browser and if you do find some cool Amiga friendly websites then please let me know in the comments below. I hope to compile a list of them in the future to help out my fellow Amigans.
And that concludes part 3 – Installing an Amiga Web Browser. In Part 4 I will look at adding both POP3 and IMAP email access. This is something I did a few years ago on my Vampired A500 running Apollo OS. However I want to revisit it and make sure it still works today and whether it’s actually viable on a slower non-Vampired Amiga.
Discover more from Lyonsden Blog
Subscribe to get the latest posts sent to your email.


I loved this series. Your articles remind me of tutorials I used to read on Amiga Format. Keep up the great work!