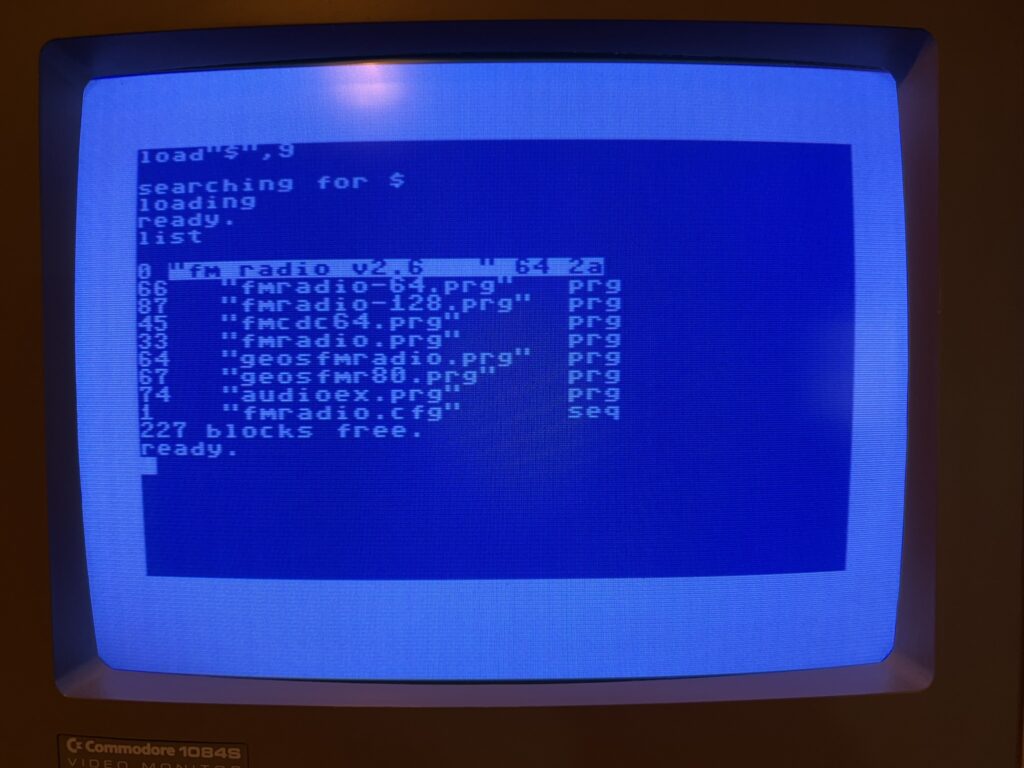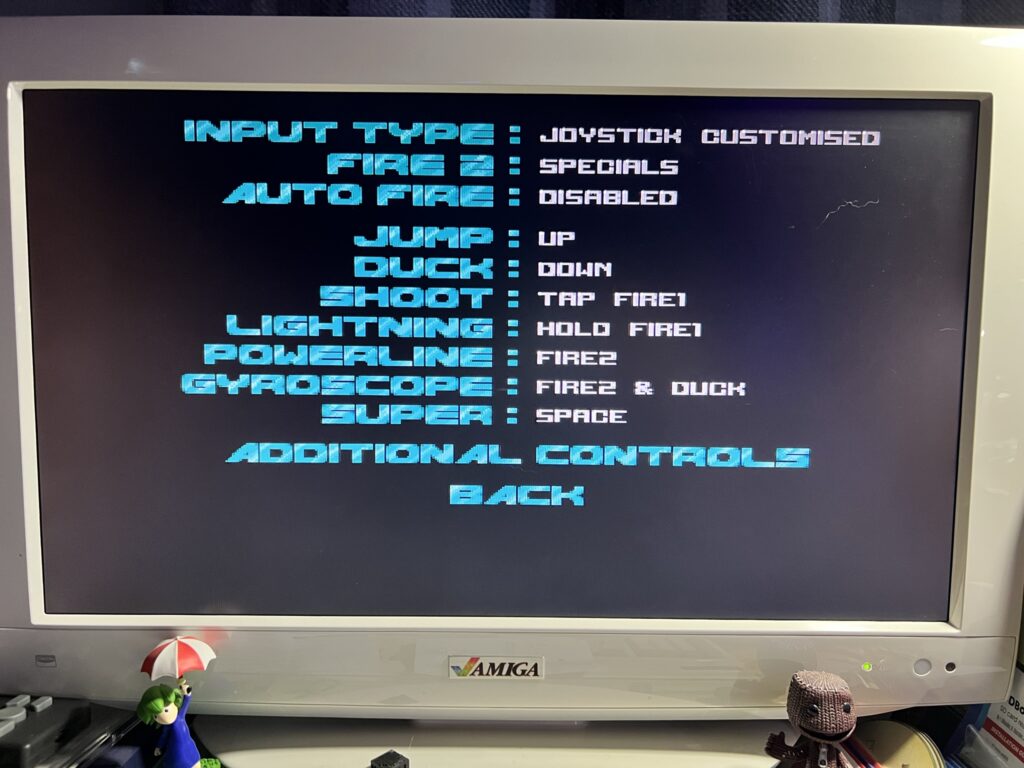
The WiC64 might possibly be one of the most interesting devices for the Commodore 64 I’ve seen in years. It’s not just the hardware (which is great) as there have been a few Wi-Fi interfaces released already for the C64 over the years, but more how the software that’s been created for it leverages the new hardware to achieve something truly special. I don’t think it’s an exaggeration to say that this could be the future for modern day 64 enthusiasts – I’ll explain why during the rest of this post.
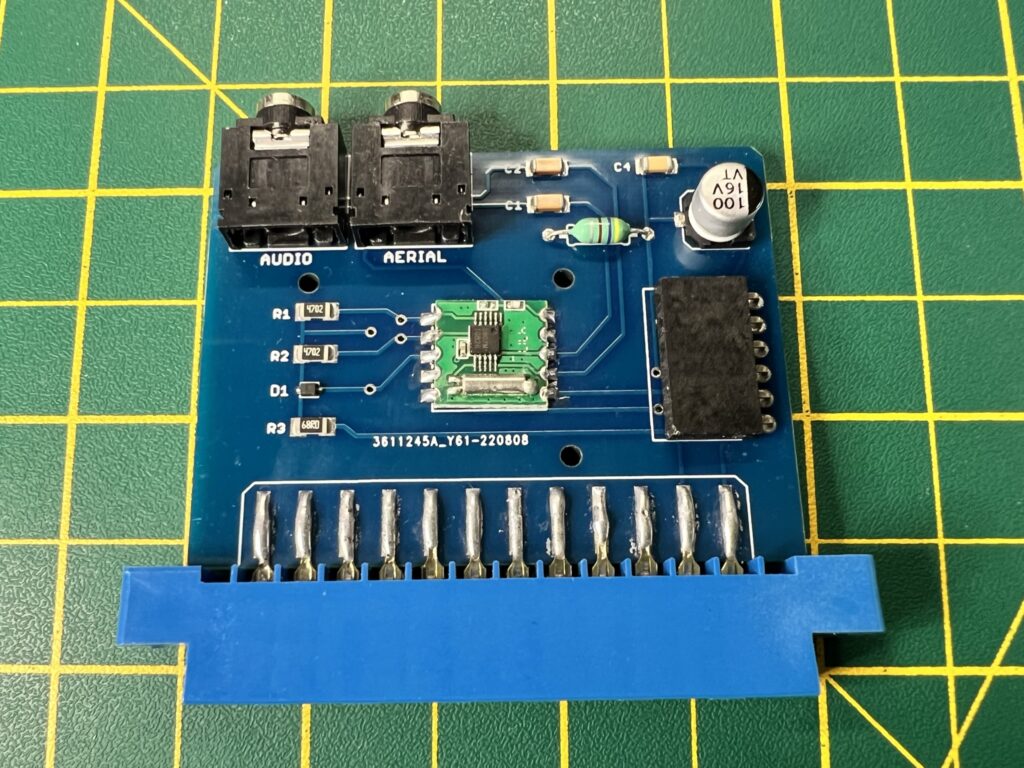
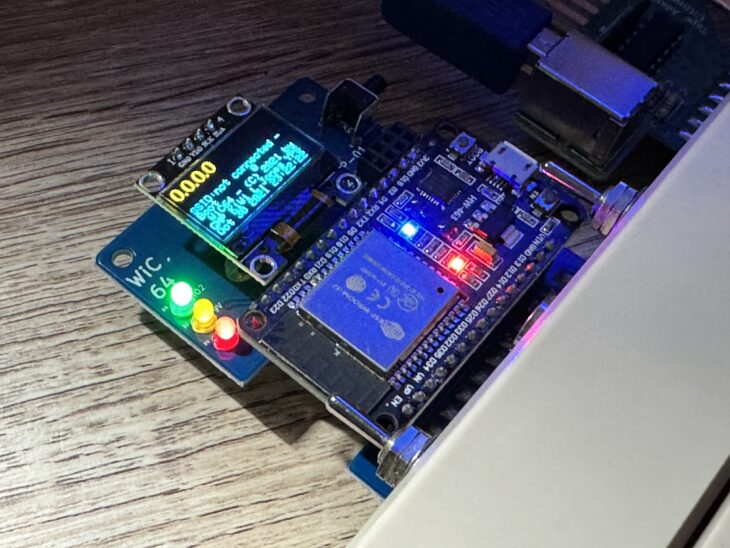
This glorious gizmo was sent to me by Tim Harris over at Shareware Plus. Inside the rather unassuming box there’s the main host board, an ESP32 module, a teeny tiny OLED display and a card with a link to a website to go to for more info.
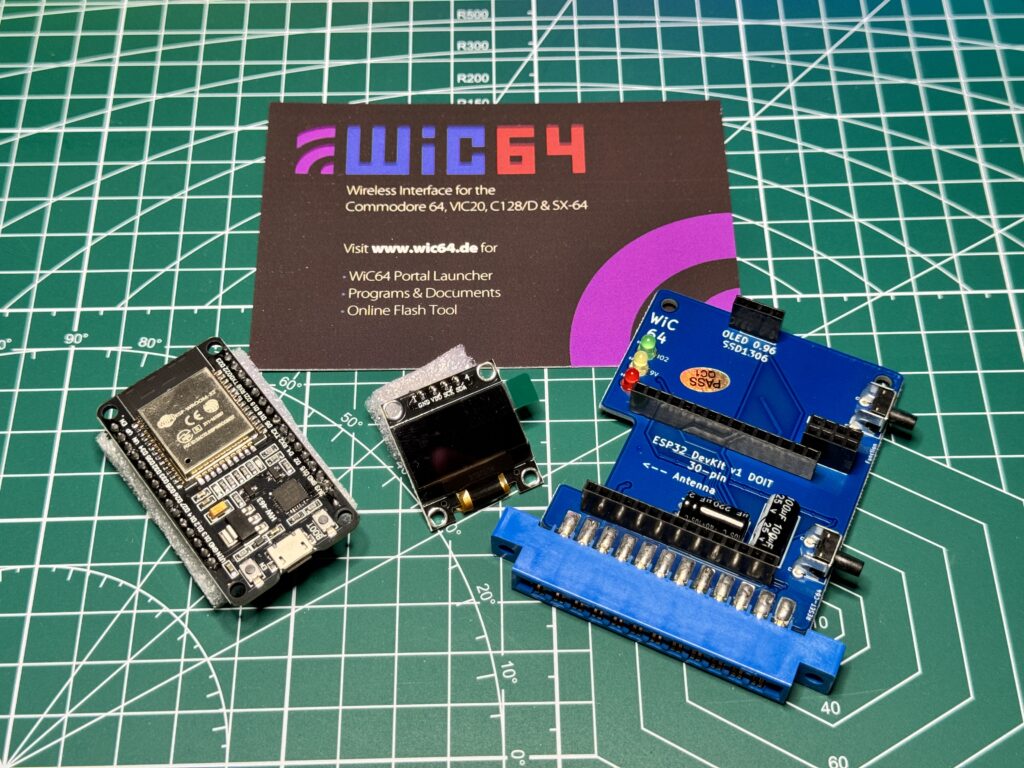
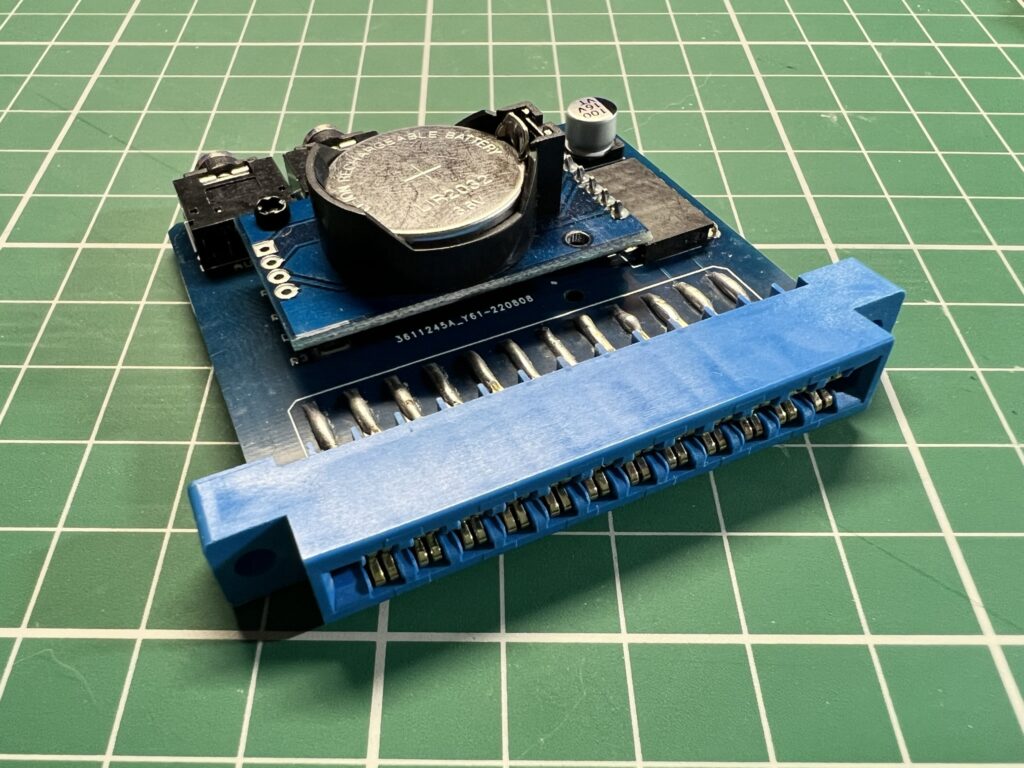
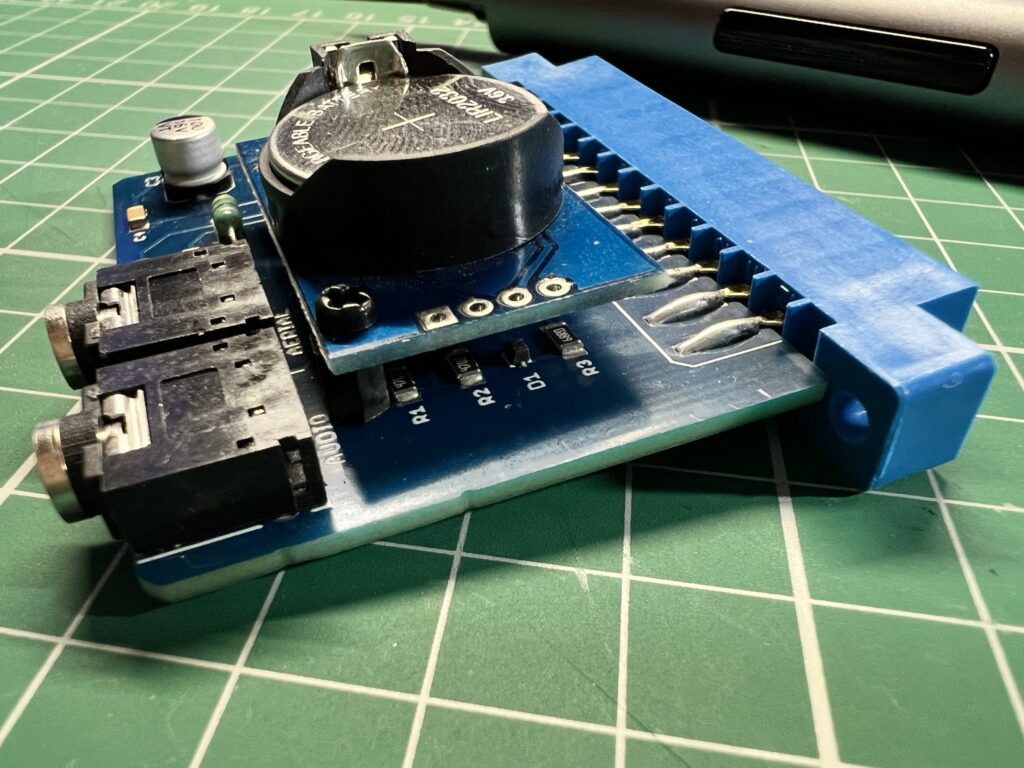
Contents of the WiC64 package.
So, what is it and what does it do?
Basically the WiC64 is a plug-in Wi-FI accessory that connects to the user-port of the Commodore 64 providing internet access. (It also works with the SX64, C128 and VIC20 computers though I’ve not tested it with these). However unlike existing Wi-Fi adapters that utilise serial mode data transfers and are thus restricted to stuff like accessing BBS due to their slow communication speeds, this bad boy operates in parallel mode, utilising 8 data lines, 2 handshake lines and one control line. This is all handled by the ESP32 module.
Basically it’s super fast and capable of loading a typical C64 program in the blink of an eye across the Internet. Yep you read that right, with this device you will be able to download (and upload) programs and files directly over the Internet on your C64!
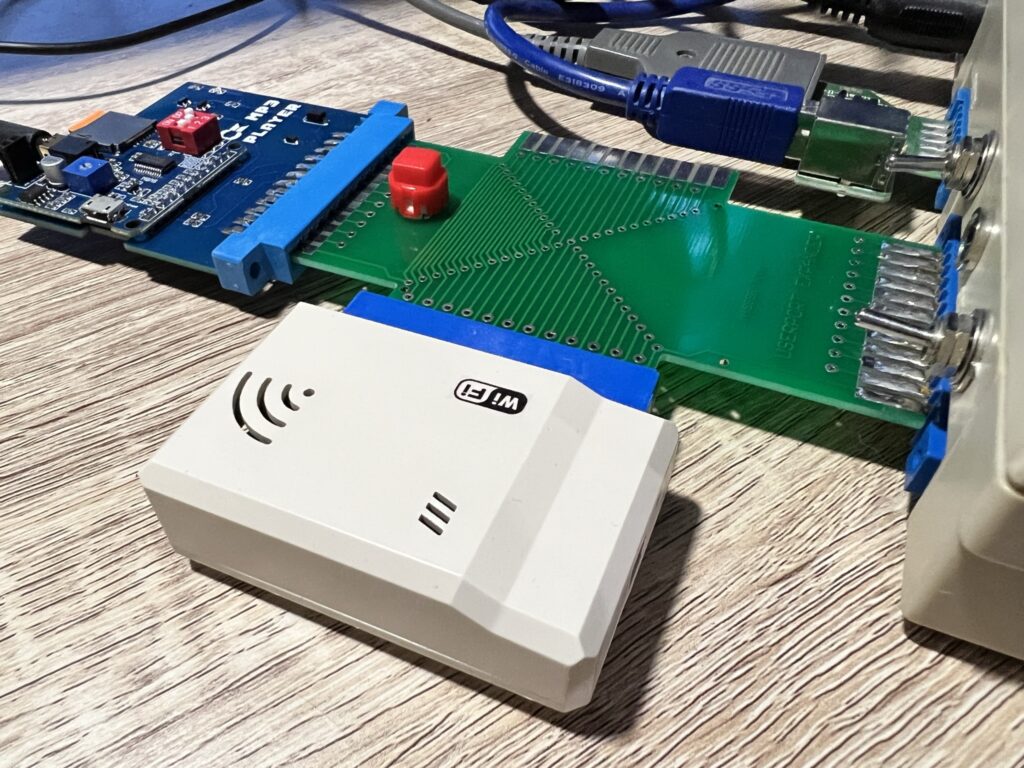
Putting it together
No manual is provided but then again it is 2024 so having online documentation is to be expected. Following the link on the product card takes you to the WiC64.net website where you can download assembly instructions, a launcher program in PRG format and some STL’s to print a nice case for it.
Assembly was an absolute doddle and just requires you to fit the ESP32 module and screen to the host board. They both simply push into the sockets provided – all you need to be careful with is the orientation of the ESP32 module but there’s photos in the PDF manual showing which way around it needs to go.
After putting the WiC64 together I decided to 3D print the case for it so loaded the STL’s into my slicer software to prepare them for printing. The model has been well designed so no support material is needed when you place each part flat on its largest side.
Just over an hour later (I have a Bambu Labs P1S printer so it’s fast) the print was complete and looked fantastic.
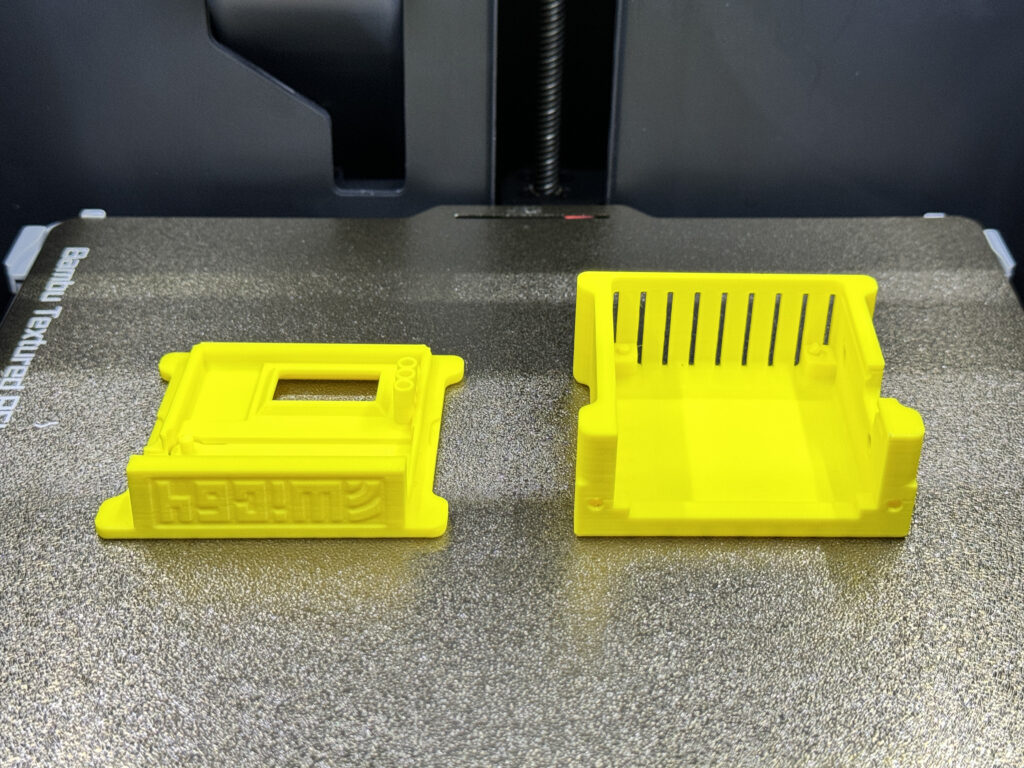
Freshly printed case halves
The two buttons on the host board pop through matching holes on the side of the case whilst there are a couple of little push buttons incorporated into the top of the case so you can still depress the ones on the EPS32 module.
Oops
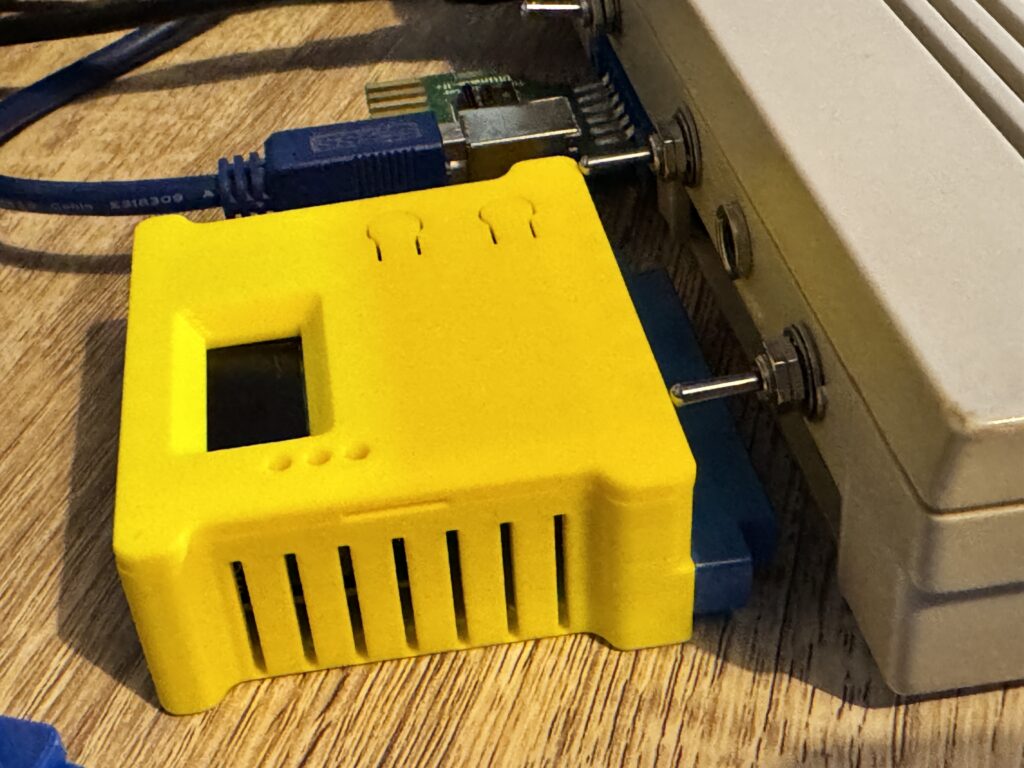
Unfortunately I ran into my first problem here when I tried to plug the newly encased WiC64 into the user port of my C64C – it simply wouldn’t fit! This was through no fault in the design of the board or even the case but just bad luck on my part because of where I had chosen to locate the switches for my SIDFX install.
Houston, we have a problem!
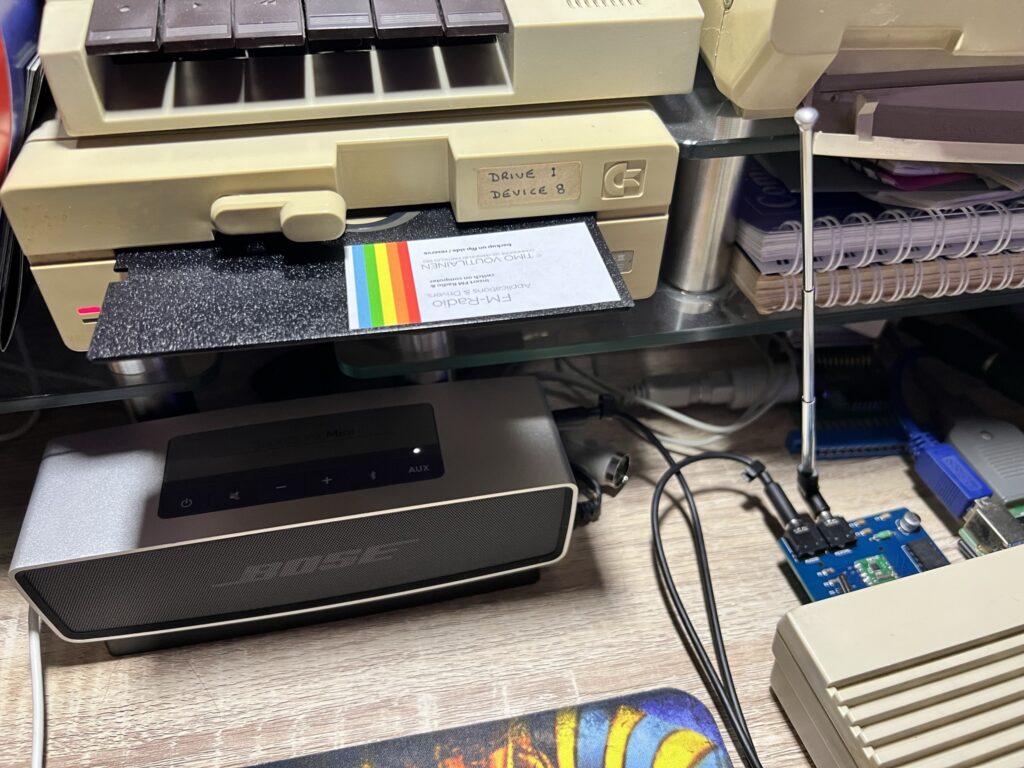
The case was clearly never going to fit so I had to abandon that idea and go naked. Even without the case it was an incredibly close fit with just a couple of millimetres clearance between the board and the switches. To be honest though, apart from the obvious lack of protection, I think I prefer it without the case as it does look incredibly cool with all the LED’s glowing and the little OLED screen displaying messages and such. I’ll just need to be careful to never drop a paperclip down the back of my C64!
Teething Problems
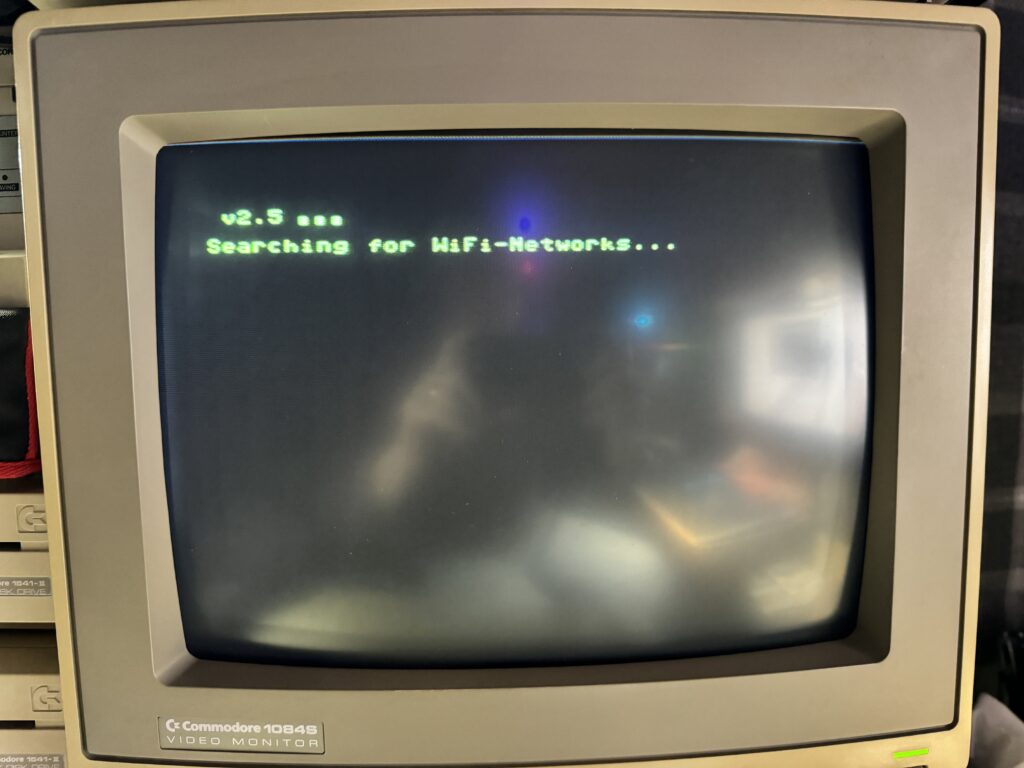
With the WiC64 now plugged in it was time to test it out! I downloaded the Launcher from the WiC64.net site (currently at version 2.5) and copied it over to my 1541 Ultimate II+ cart (via ethernet) so that I could run it.
Ground control to Major Tom…
It popped up a message saying it was searching for Wi-Fi and a few of the lights started to flicker on the board…
Lights are on but nobody’s home…
However it never got any further than this. After about a minute of trying the launcher would simply crash leaving me with a blank screen.
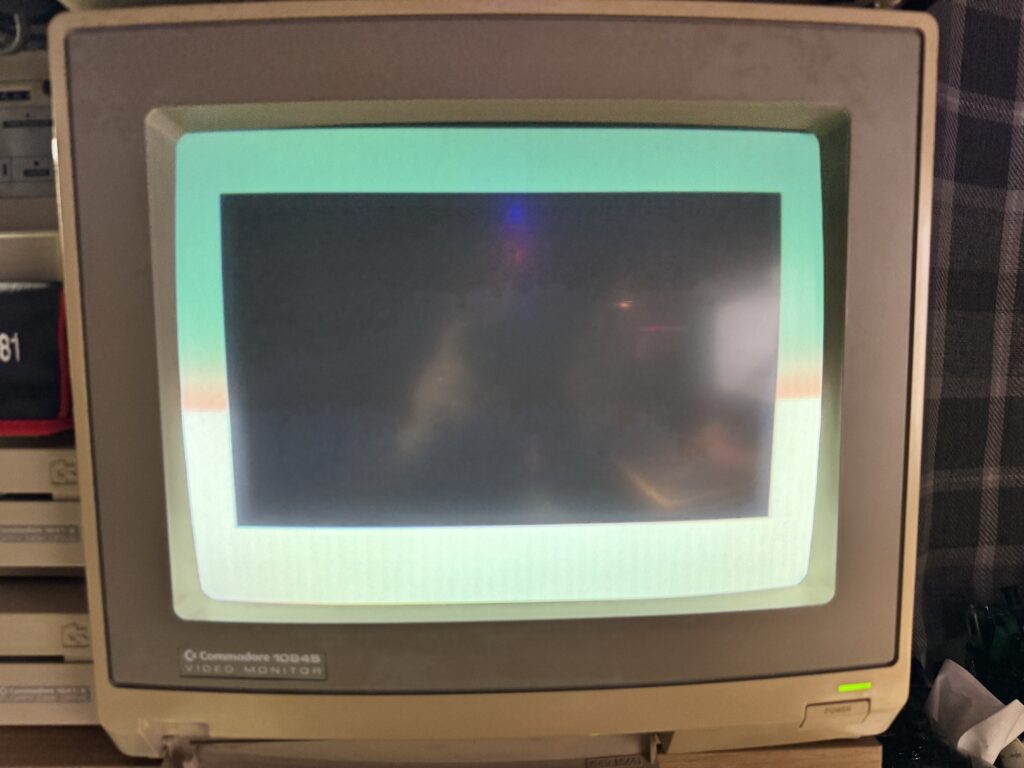
This doesn’t look good!
Needless to say I tried this a few times but got the same result each time. I even tried activating the hotspot on my iPhone (with maximised compatibility) in case it didn’t like my Wi-Fi 6 router but it still failed.
Updating the Firmware
With nothing seeming to work I decided to have a go at updating the firmware as I remember seeing this mentioned on the card. The whole process is web based and conducted within the browser itself. I had to unplug the WiC64 board from my C64 and then hook it up to my Windows 11 PC using a MicroUSB cable.
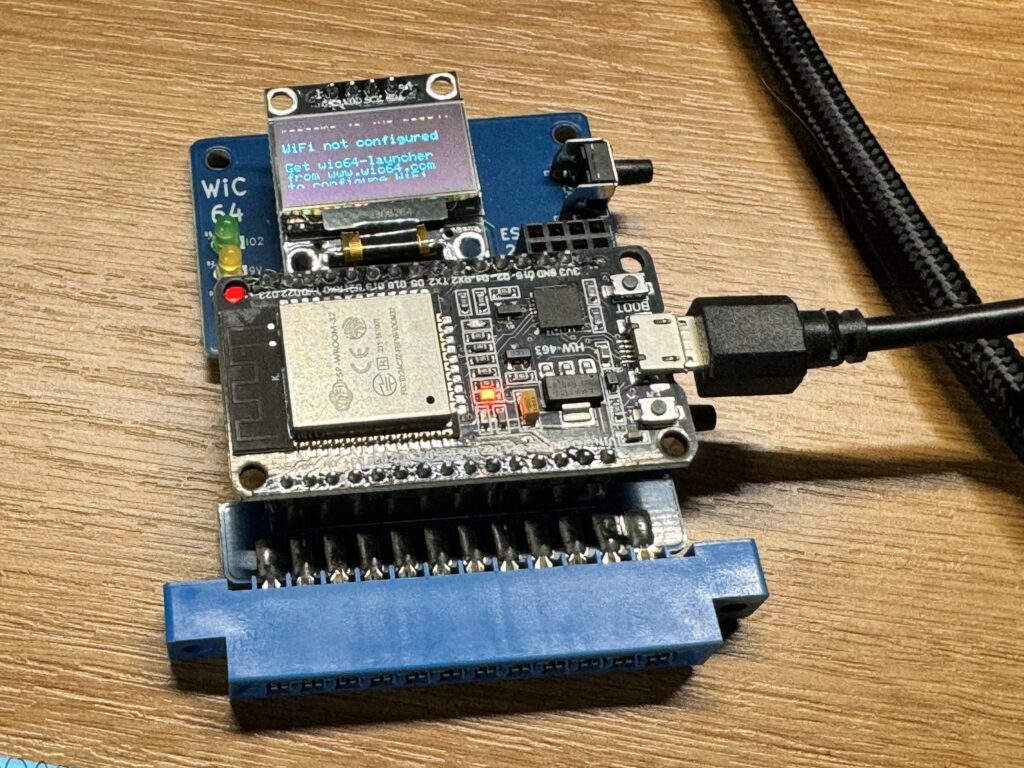
WiC64 ready to be flashed
Needless to say I had to install a driver for it first as the UART device was showing as unrecognised in Device Manager…
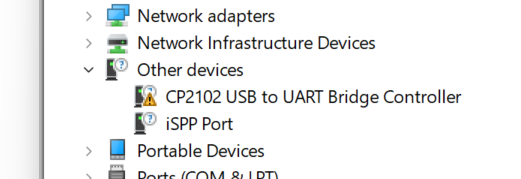
How it appears in device manager
There’s step by step instructions on the ‘Online Flasher’ page and it directs you to a Silicon Labs website to download the drivers. I have Windows 11 so chose the CP210x Universal Windows Driver which worked out well. Installing the driver was just a matter of right-clicking the device and selecting ‘update driver’ and then pointing it to the folder where I’d extracted the driver previously.
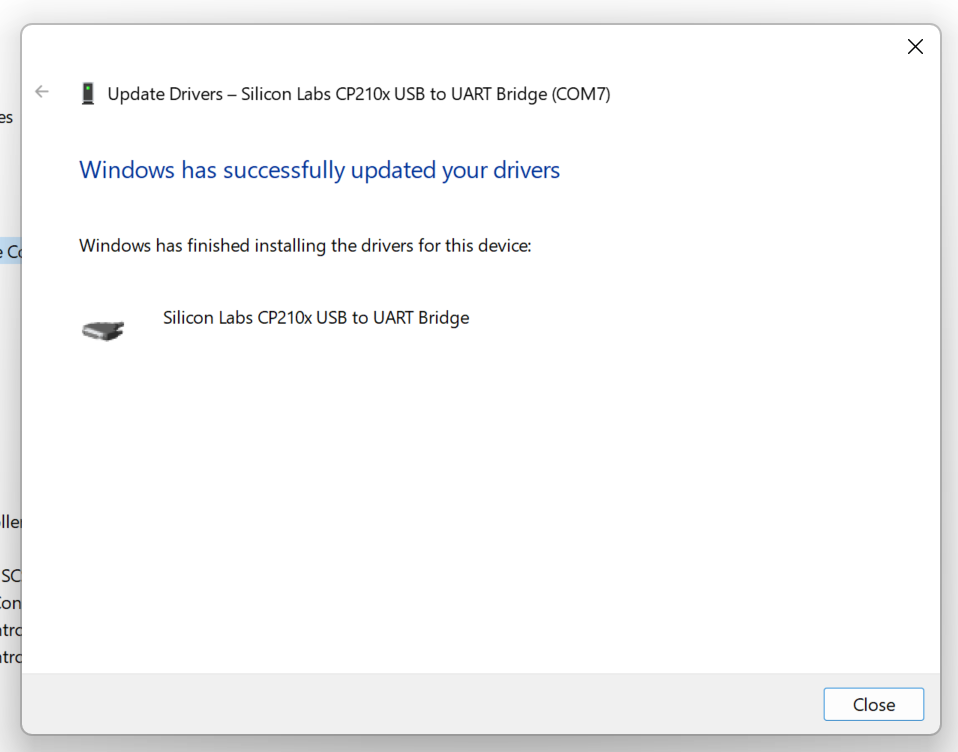
Driver successfully installed
Flashing the device is actually done within the browser but it must be Chrome, Edge or Opera. I use Brave but thought I’d still be OK because it’s Chromium based but the Connect button never appeared for me until I changed over to Edge. Then I was able to select ‘CP2102 USB to UART Bridge Controller (COM7)’ as the serial port to begin the process. Sadly within a few seconds of starting the update it failed with an error. Although I never did find out what caused the error the solution was to hold down the ‘BOOT’ button on the ESP32 module whilst performing the update and it then worked without a hitch.
With the firmware now updated it was time to put it back in my C64 and see if I could get it to connect to my Wi-Fi.
I hooked it back up to my user-port, turned on my 64 and loaded up version 2.5 of the launcher once more.
Now we’re getting somewhere!
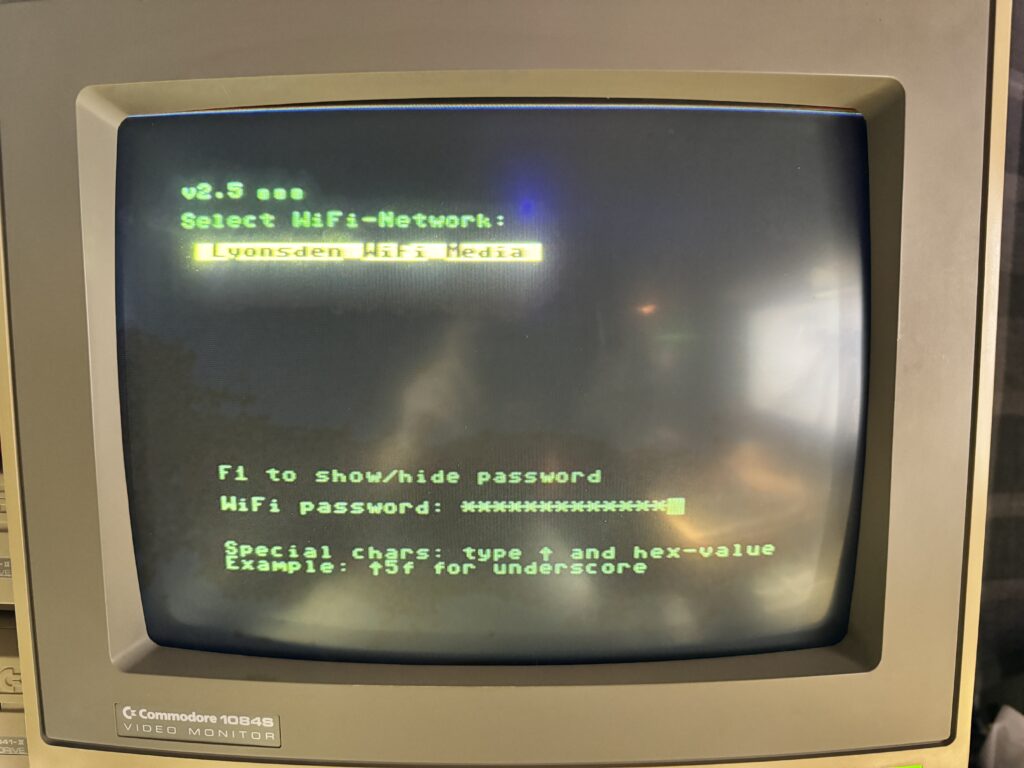
Much to my delight this time around it displayed (just) my 2.4Ghz SSID (I have a Tri-band router) and I was able to enter the password to connect to it just like you would expect to do with any modern day device.
BOOM! We’re in business!
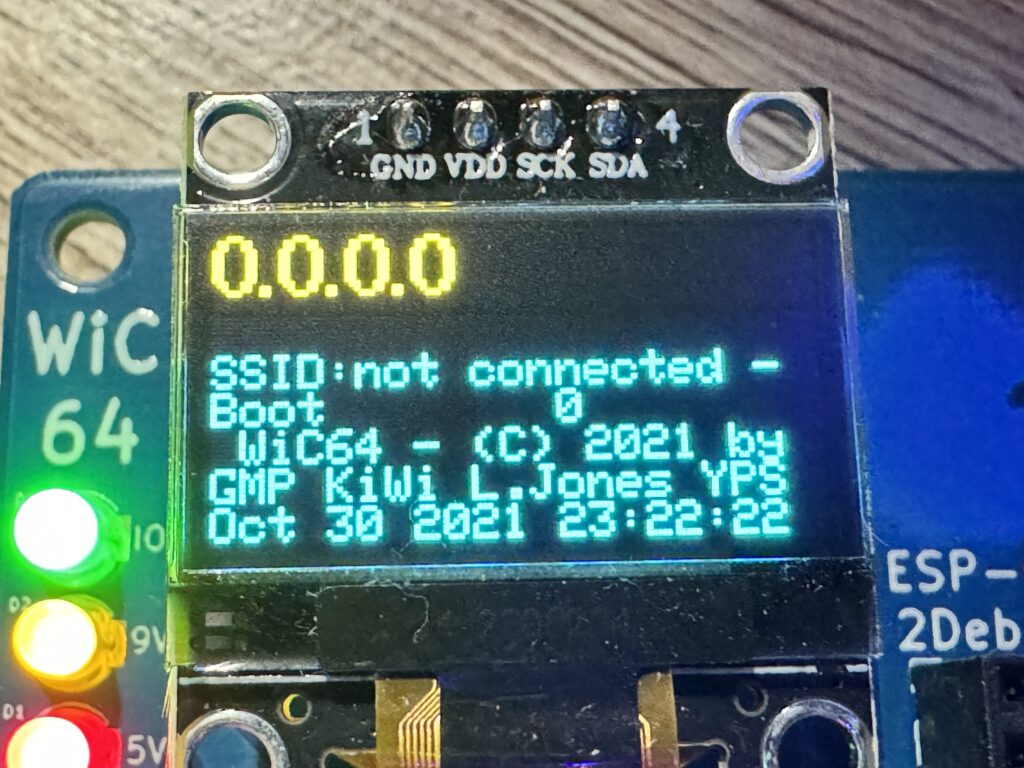
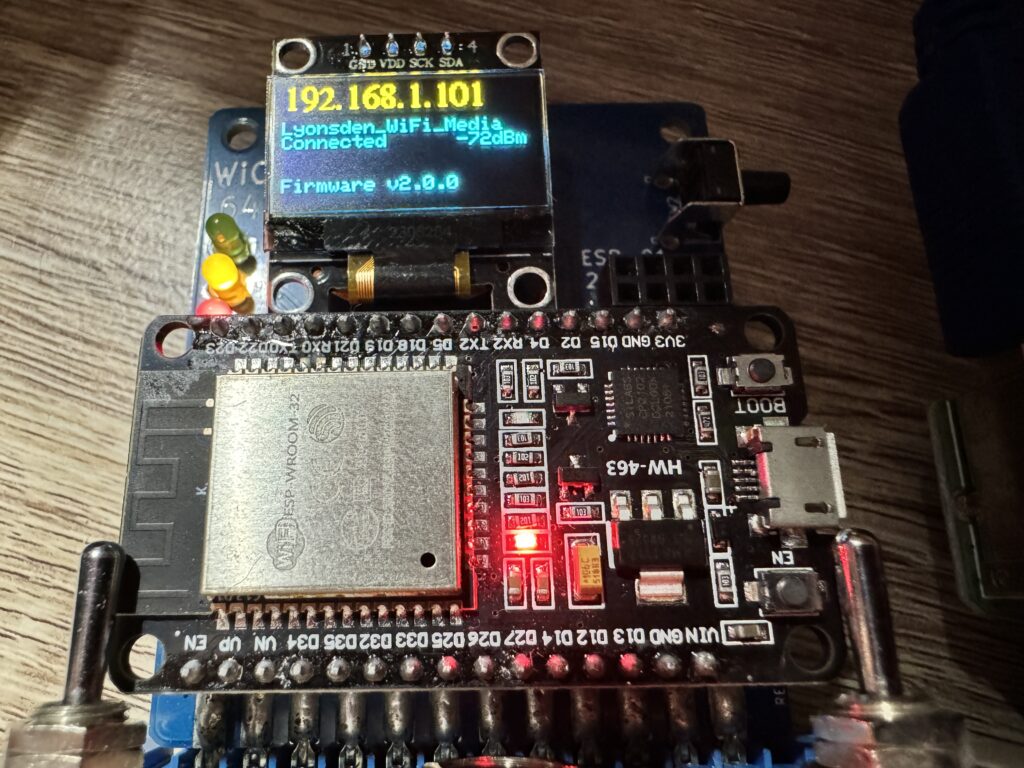
After a few moments it connected and my C64’s IP address was displayed on the OLED screen, along with the SSID, signal strength and current firmware version.
WiC64 Welcome Screen
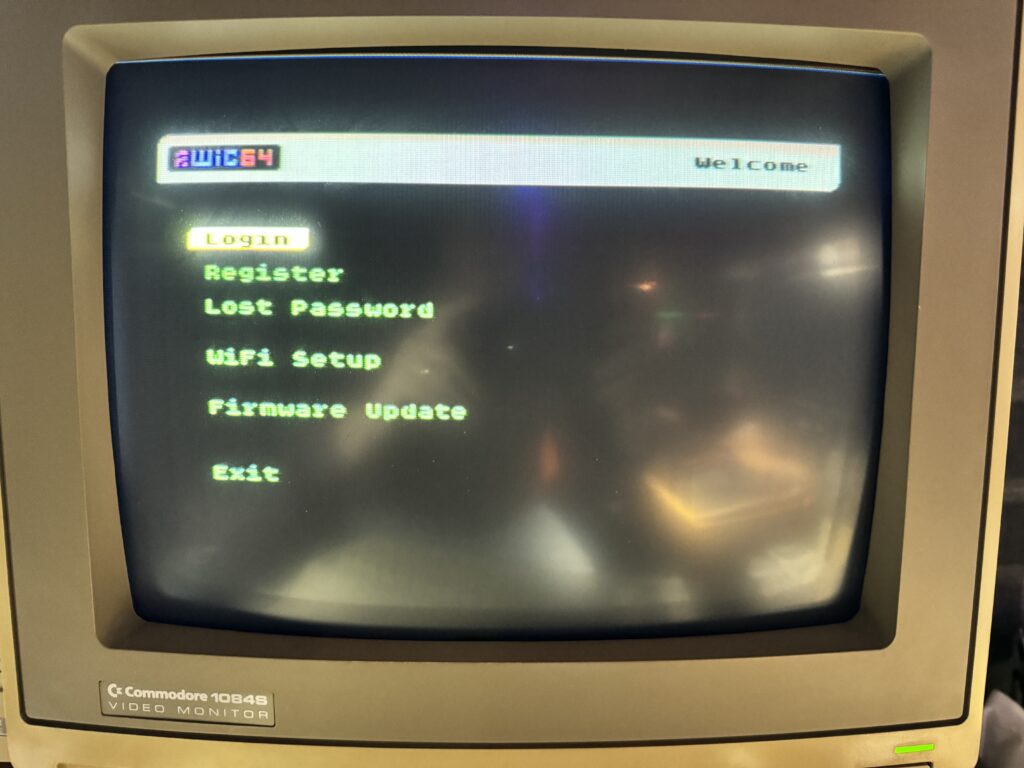
The launcher menu screen also loaded up with new options to Login and Register. I didn’t have an account so I selected Register to create one which only took a few moments and then I was finally into the system proper.
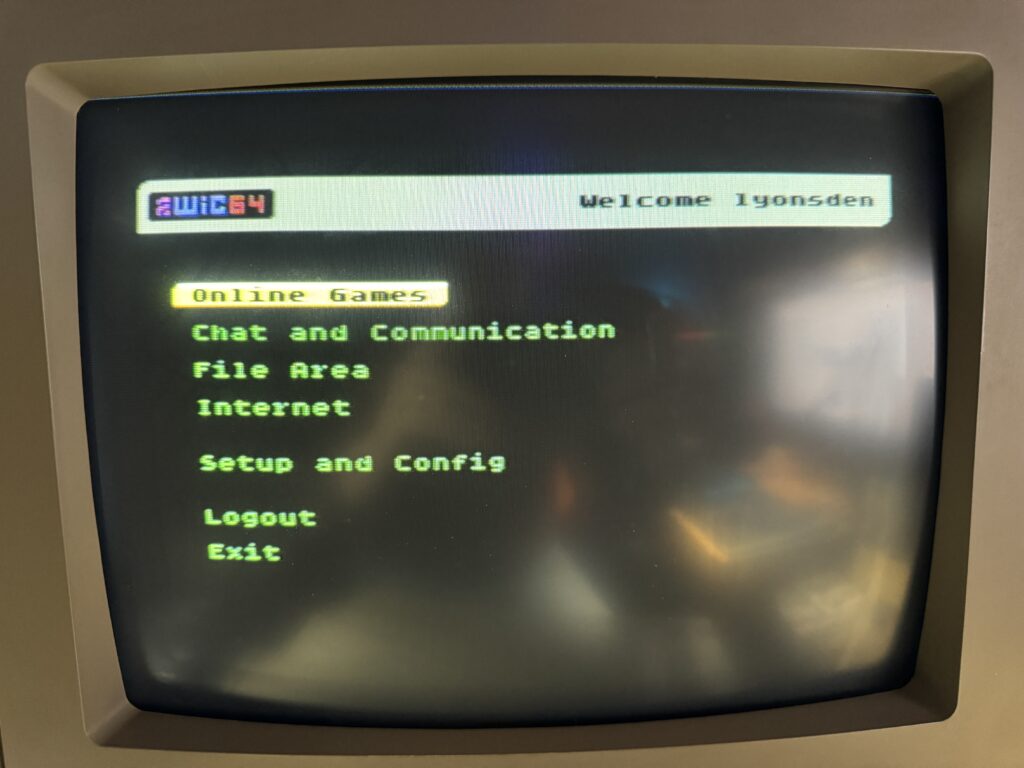
WiC64 Menu Screen
Let the Games Begin!
There’s a lot of sub menus and interesting things tucked away into the WiC64 Launcher menus but I’m just going to pick out some of the things I found interesting – in no particular order!
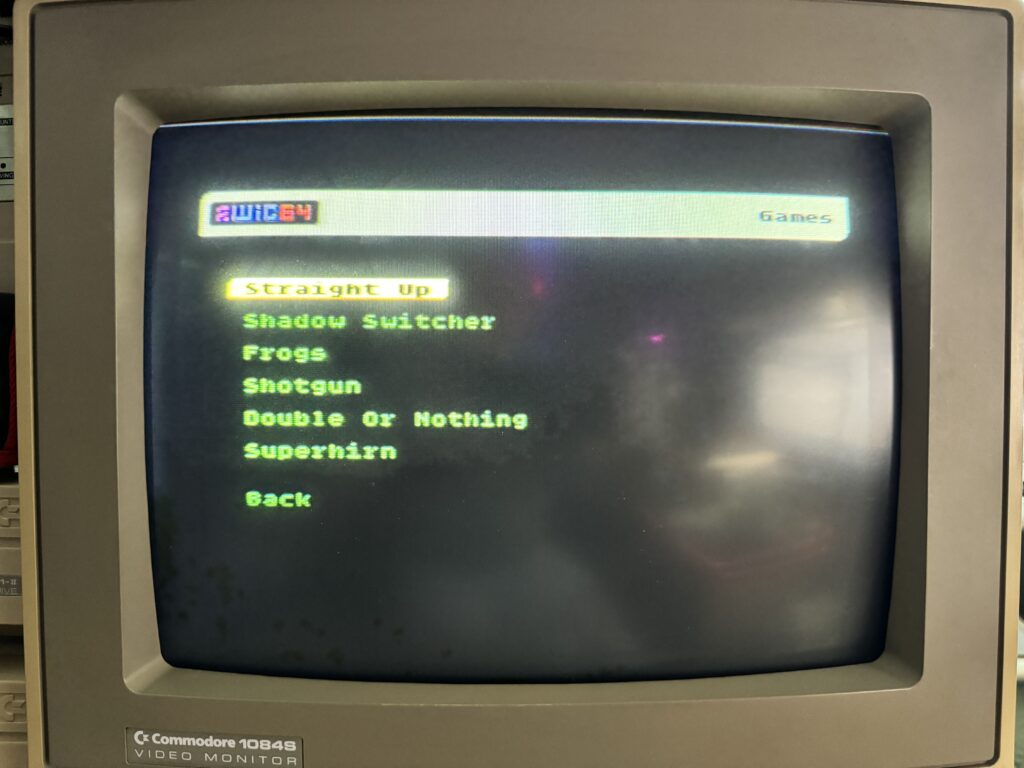
Offline Games List
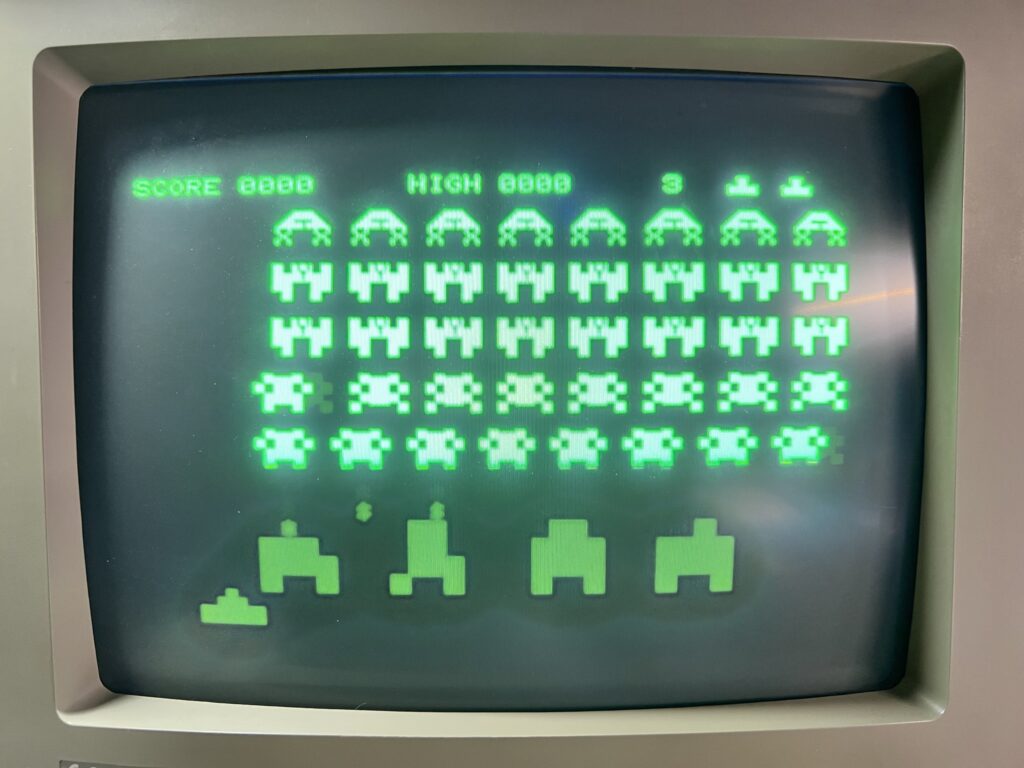
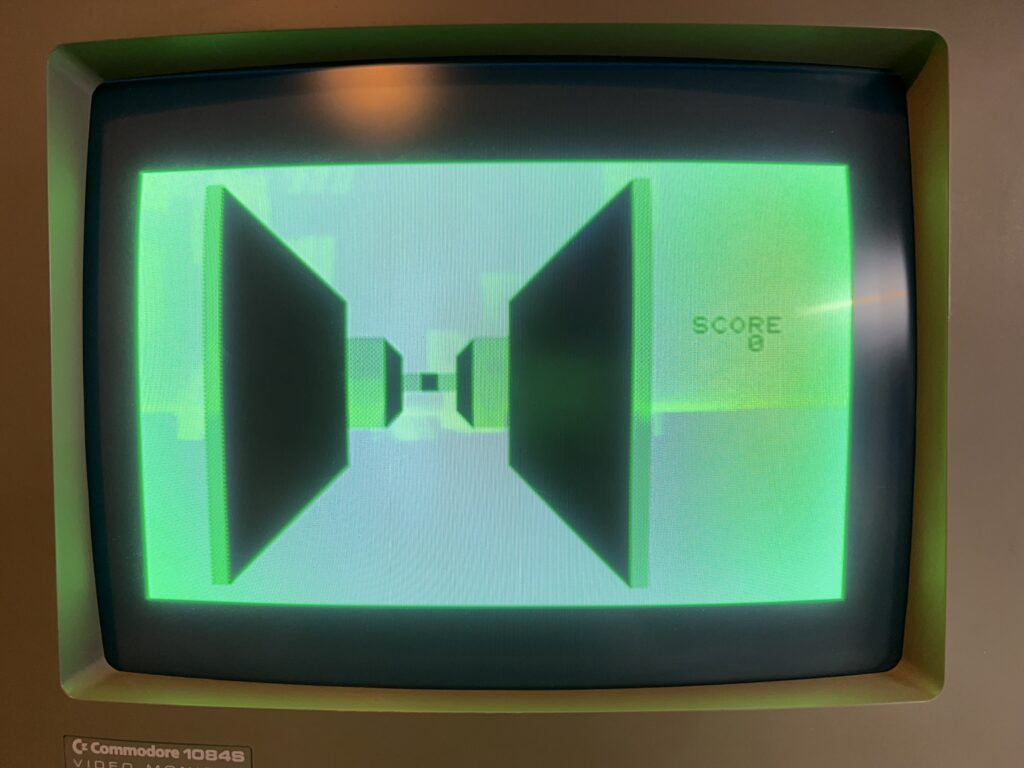
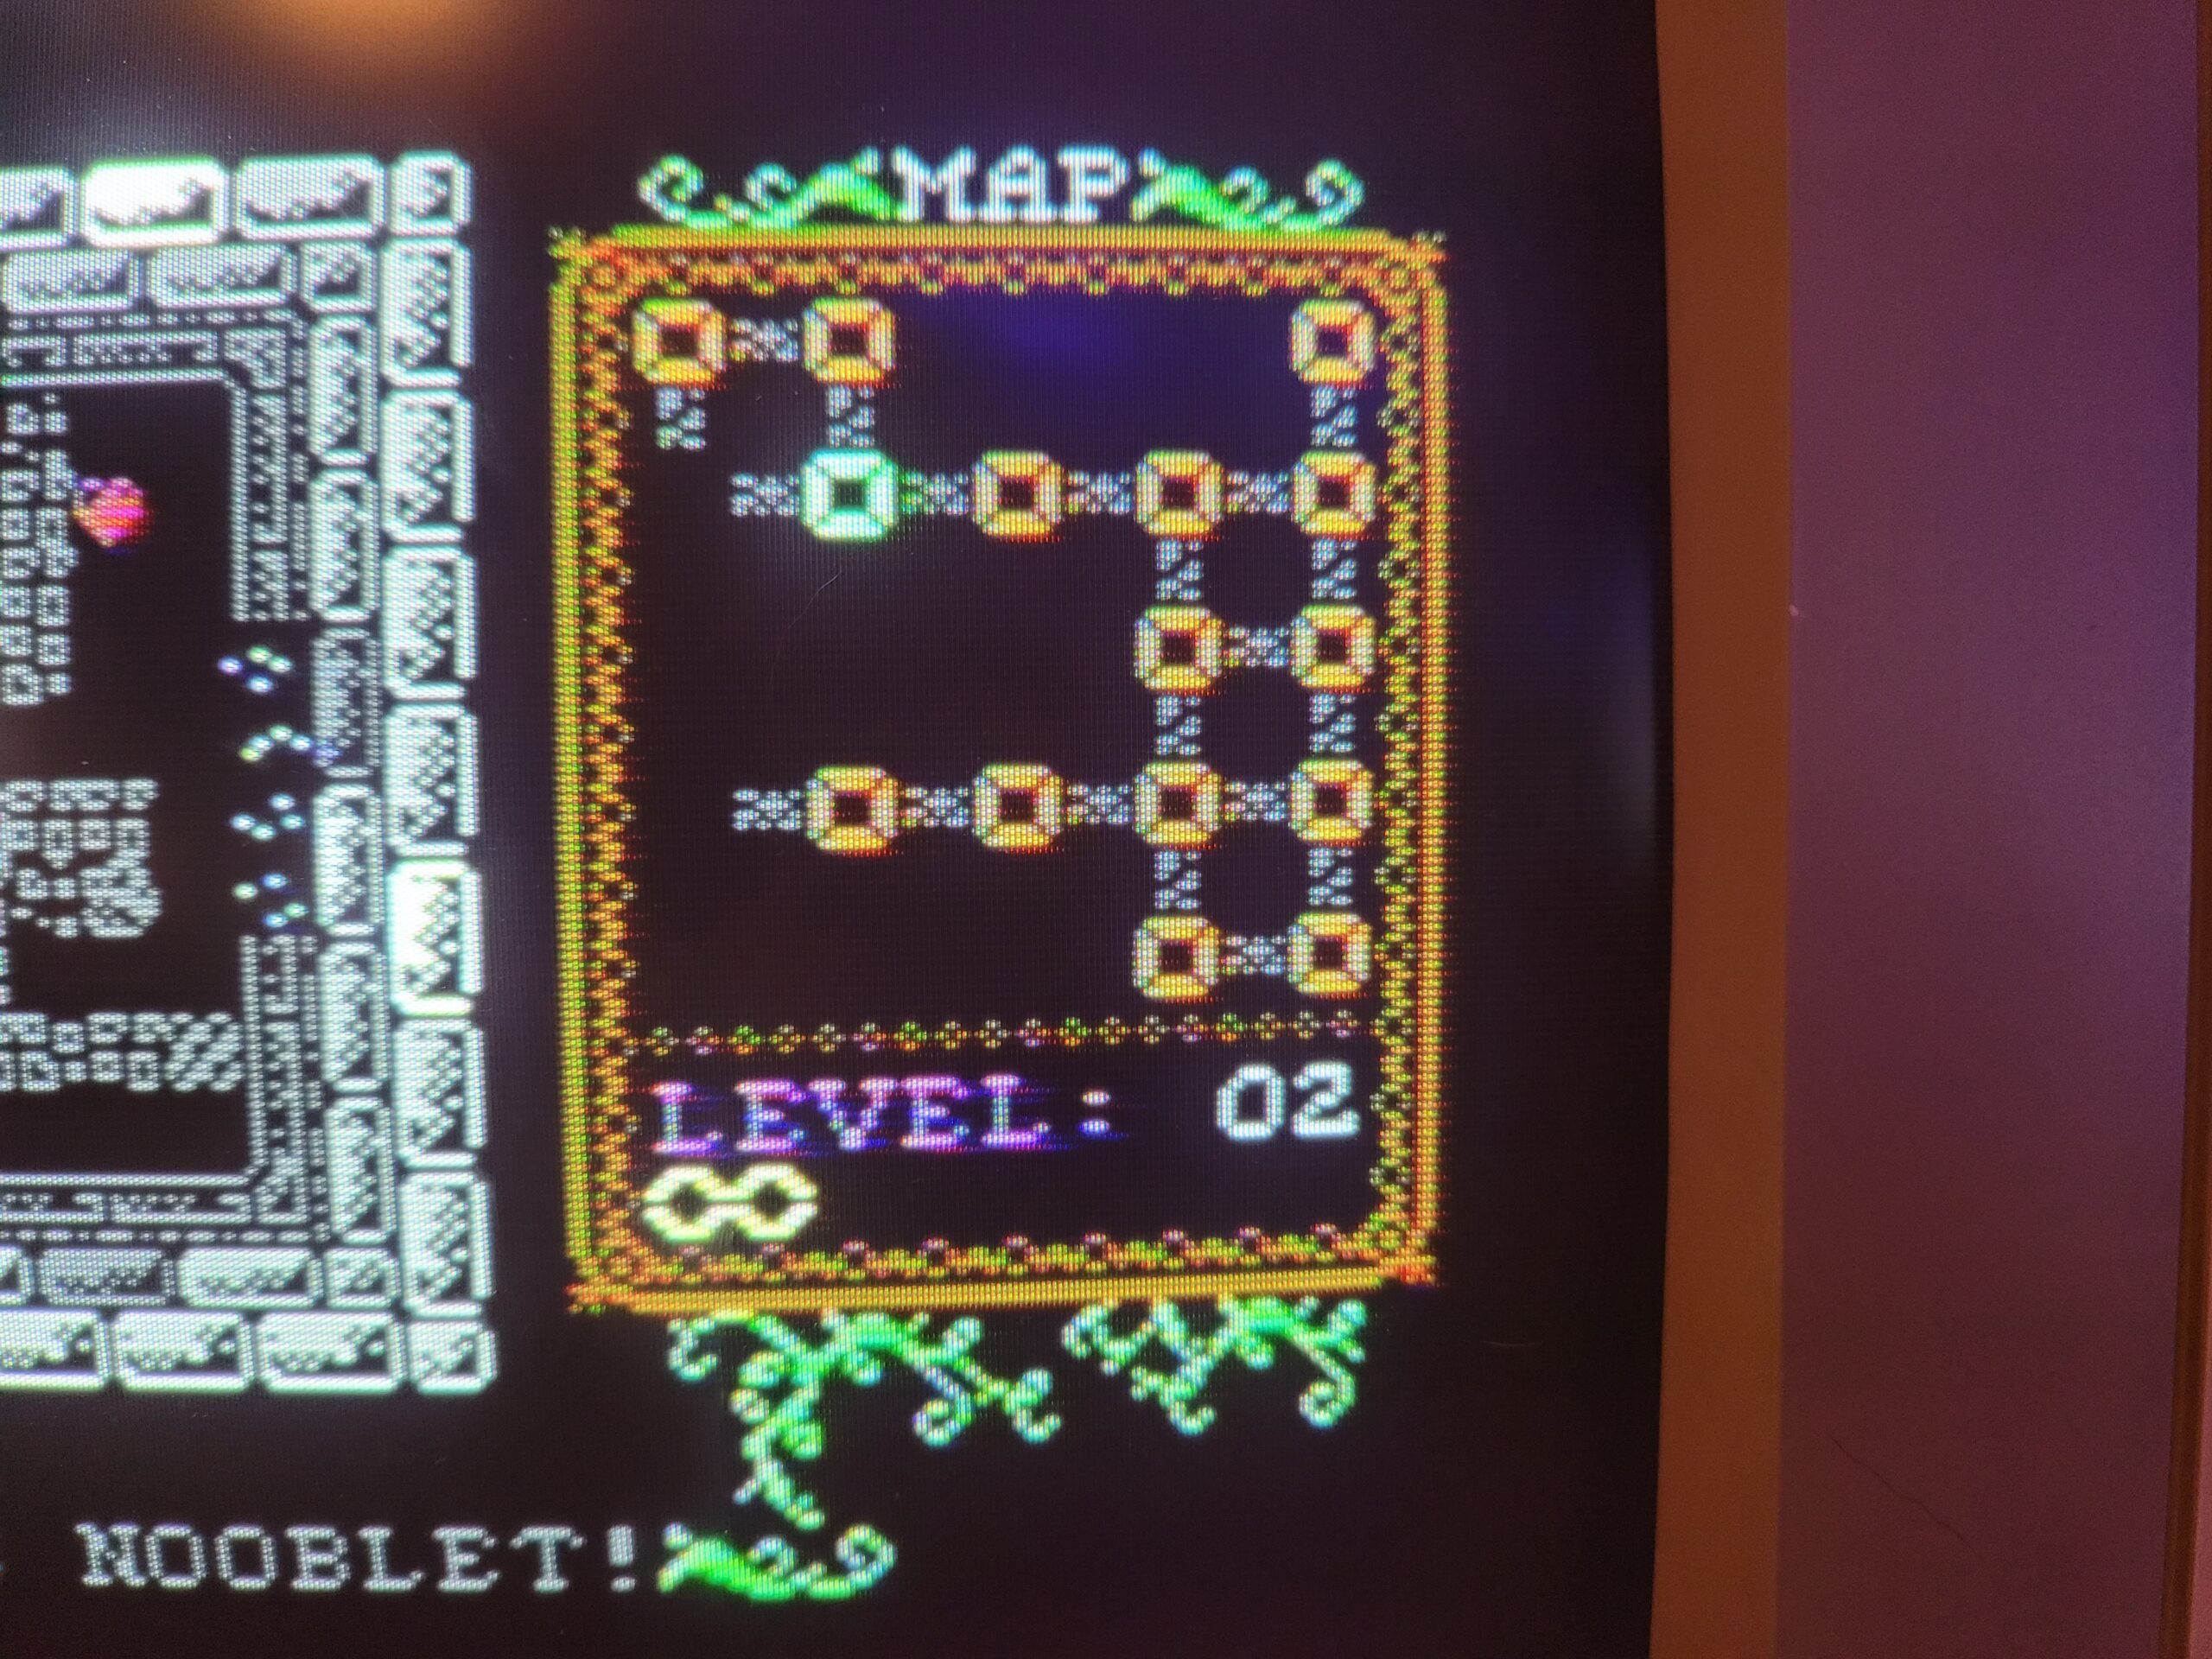
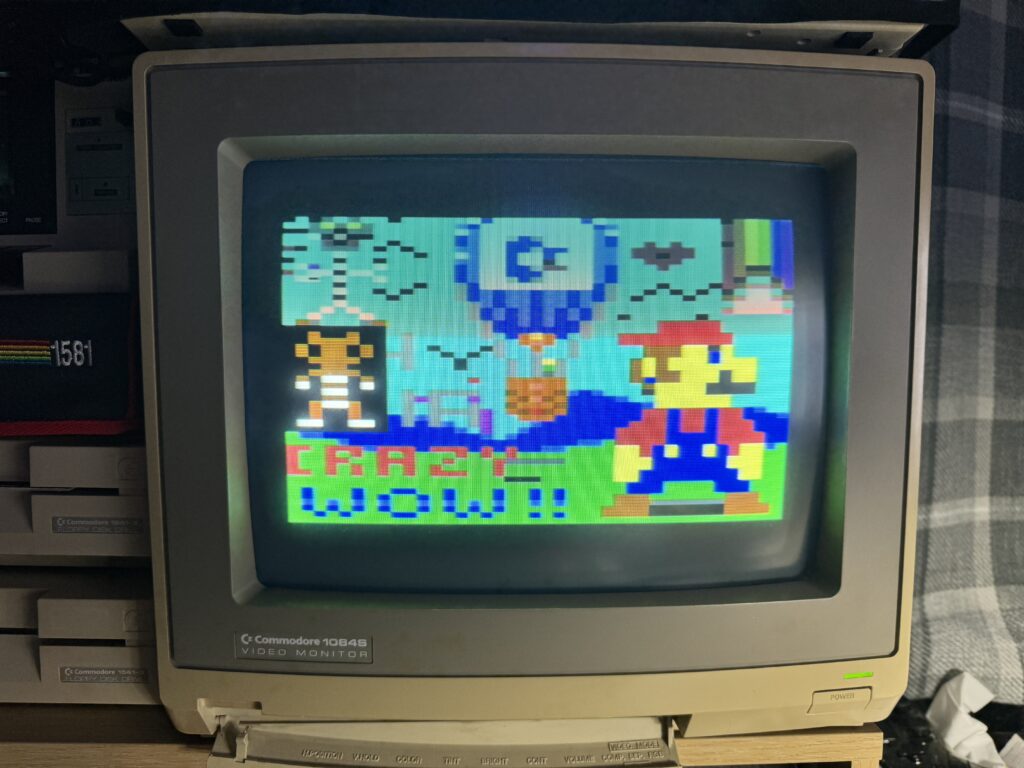
I’ll start with the games as there’s quite a lot of them. They’re split between Offline games (found in the File Area>Games section) Online games and online multiplayer games. The mind blowing thing about these games is that they load onto your C64 over the internet, but not only that they load in just a matter of seconds. I decided to give Shadow Switcher a quick blast as it’s a game I know and love. I selected it from the menu and BAM, a second later it had loaded and I was able to play it. Absolutely incredible.
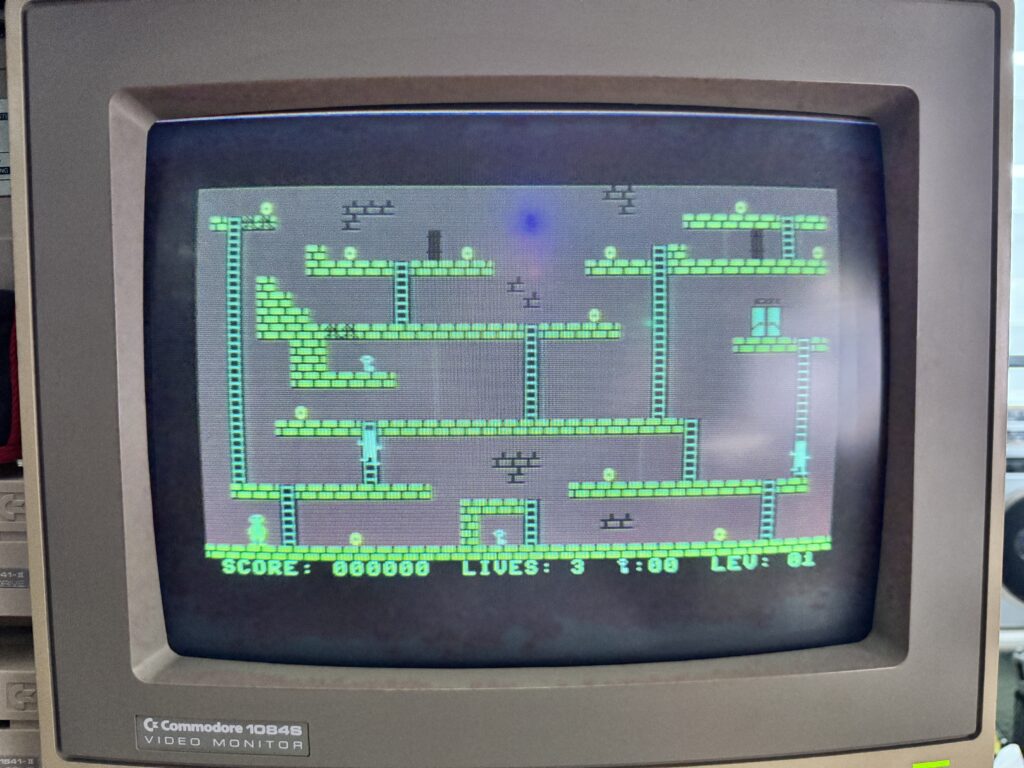
Shadow Switcher
The Online and Multiplayer games have their own section which splits off into another 4 sections containing approximately 20 games. The ‘Online’ games are existing games that have been modified to incorporate persistent High Score tables where you can compete for bragging rights against other WiC64 players. There’s a global ‘all time greatest’ score table and also a ‘Todays Greatest’ which is a cool feature that gives everyone a shot at fame no matter their skill level as it gets wiped every 24 hours.
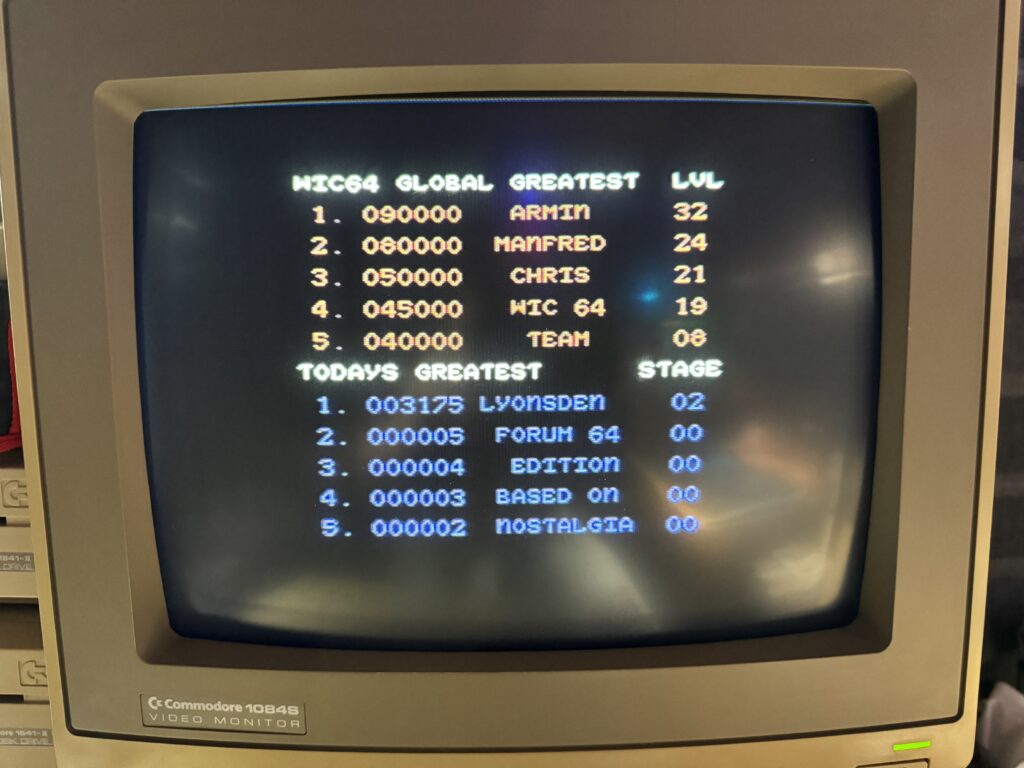
All-Time Greatest and Todays Greatest High Scores
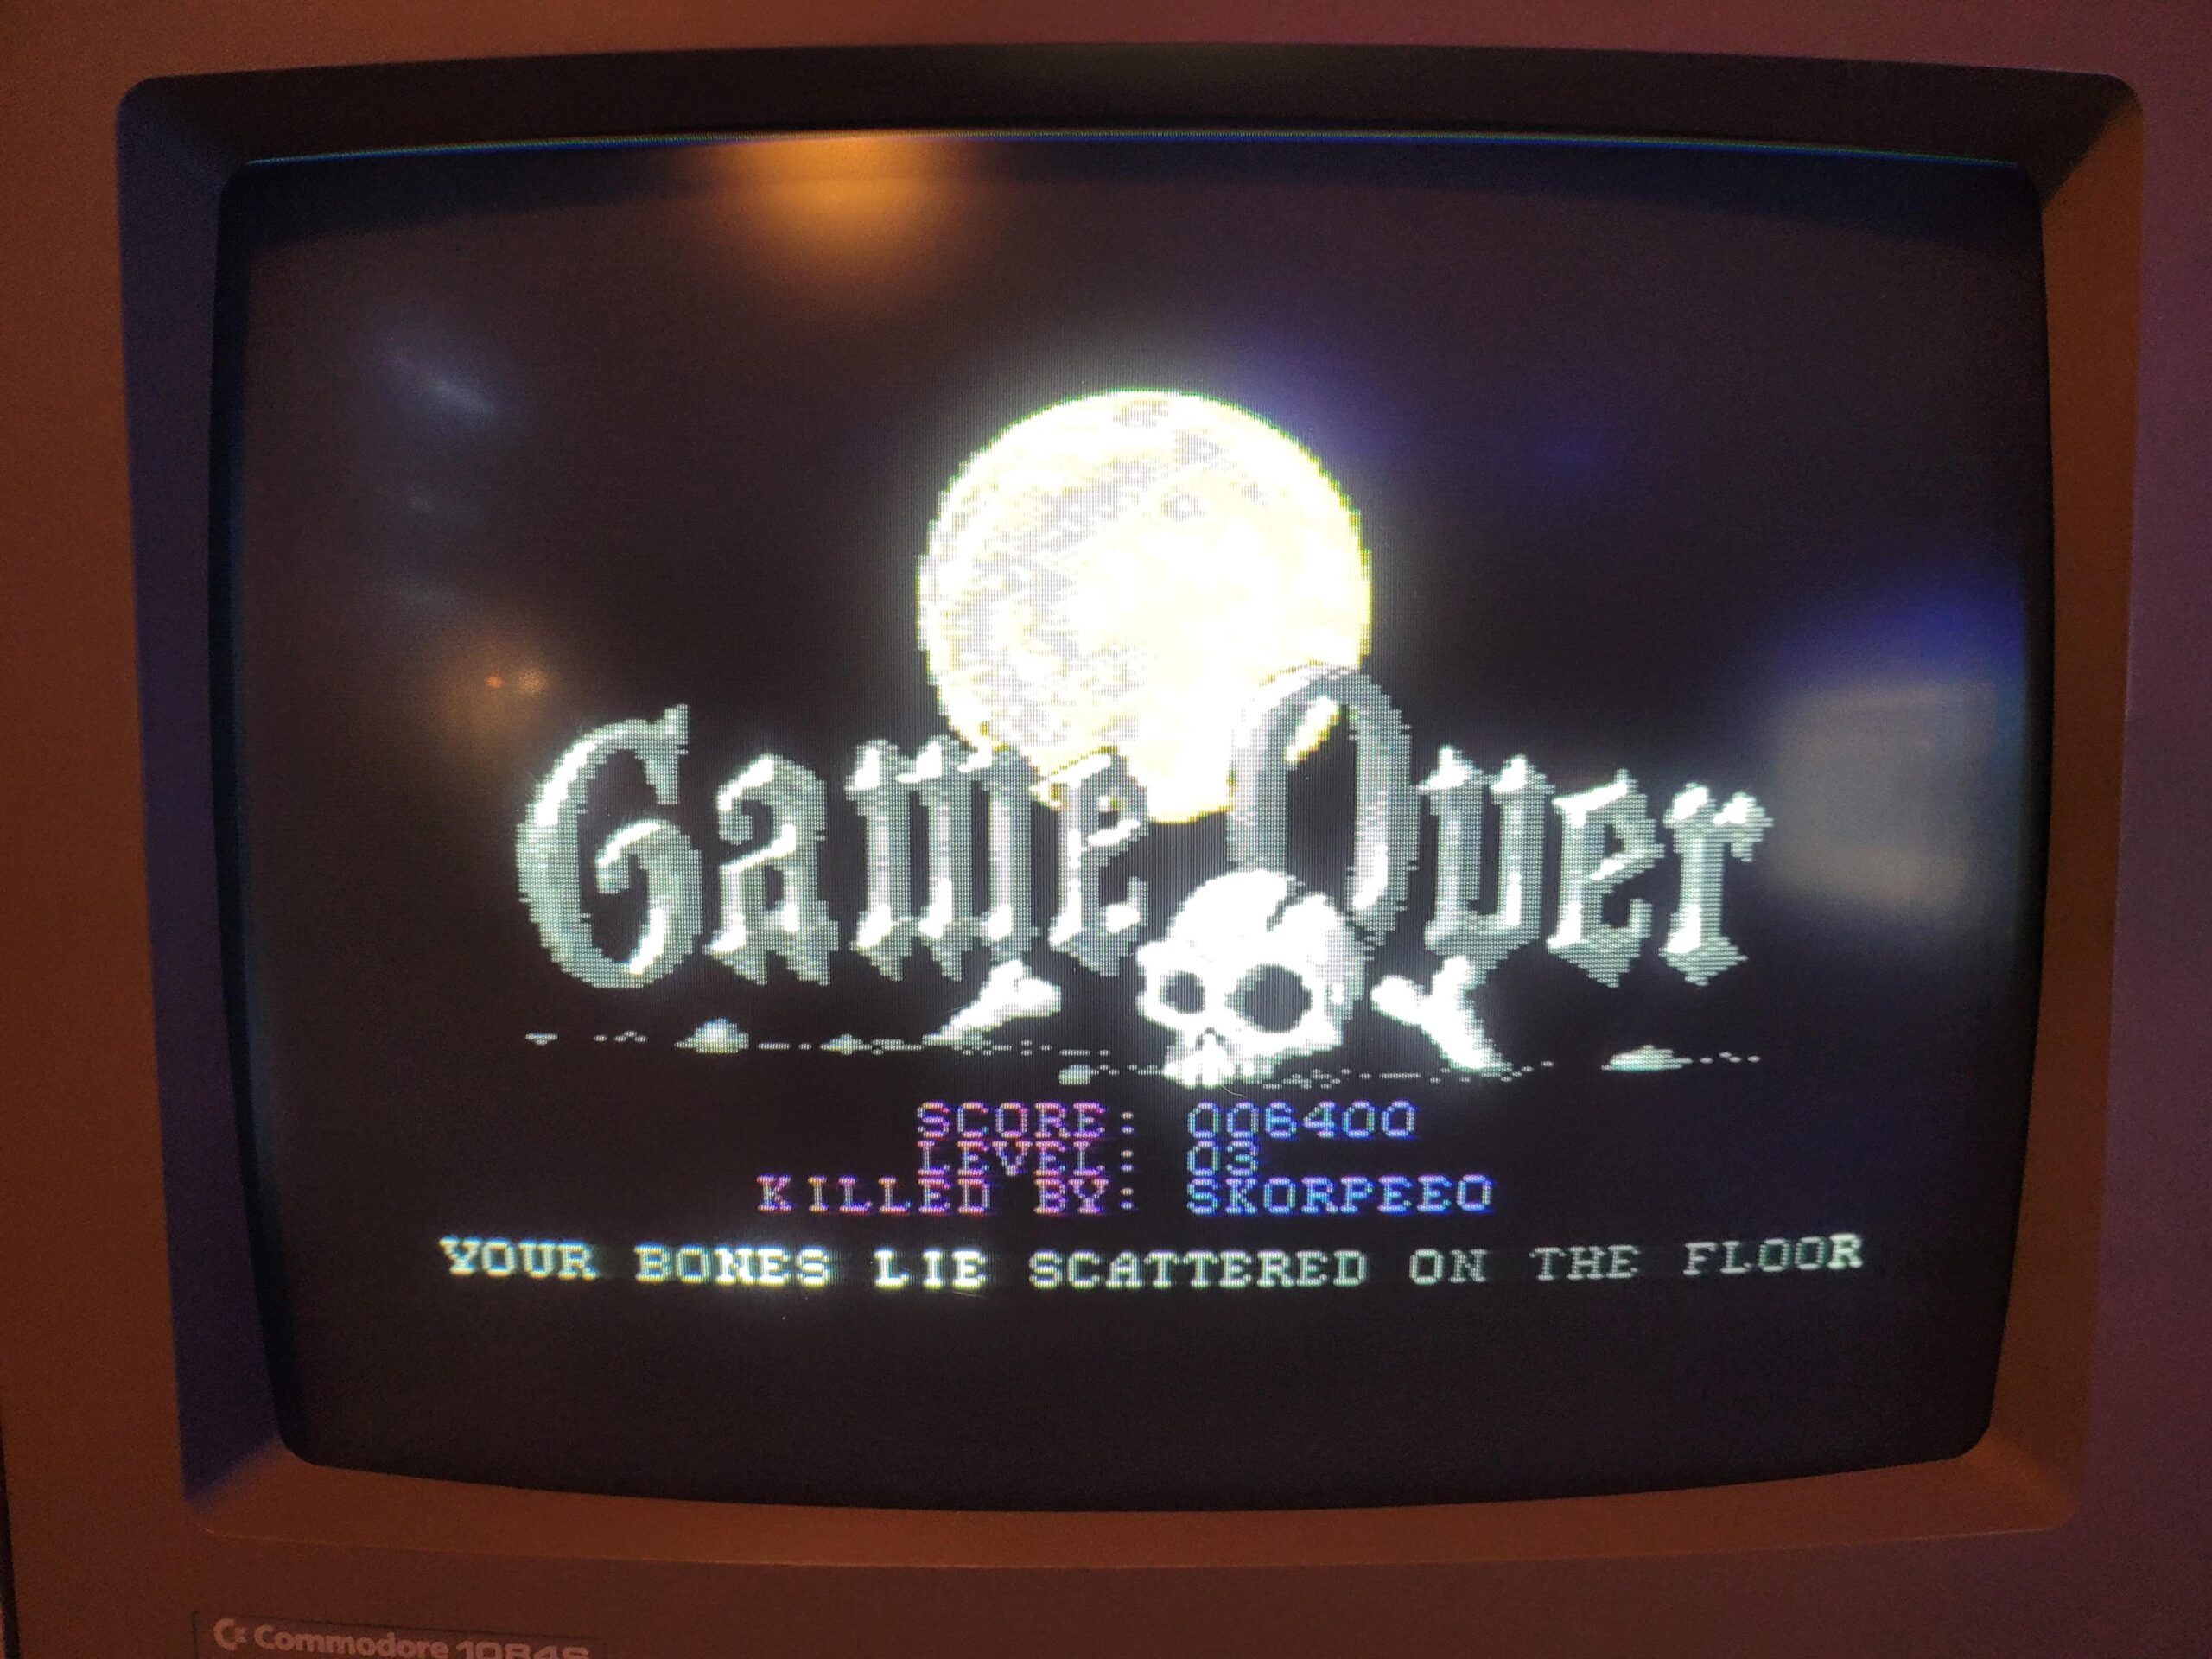
I decided to have a blast at Great Giana Sisters next, which being a bigger game, took a bit longer to load, coming in at a whisker over 20 seconds. Still mightily impressive and if you don’t own or have a copy of the game to hand the sheer convenience of this system is game-changing. Imagine having an entire catalogue of hundreds of games and being able to tap into them whenever you want and play them on your real C64 with persistent high scores stored in the cloud adding a new competitive edge to the gameplay.
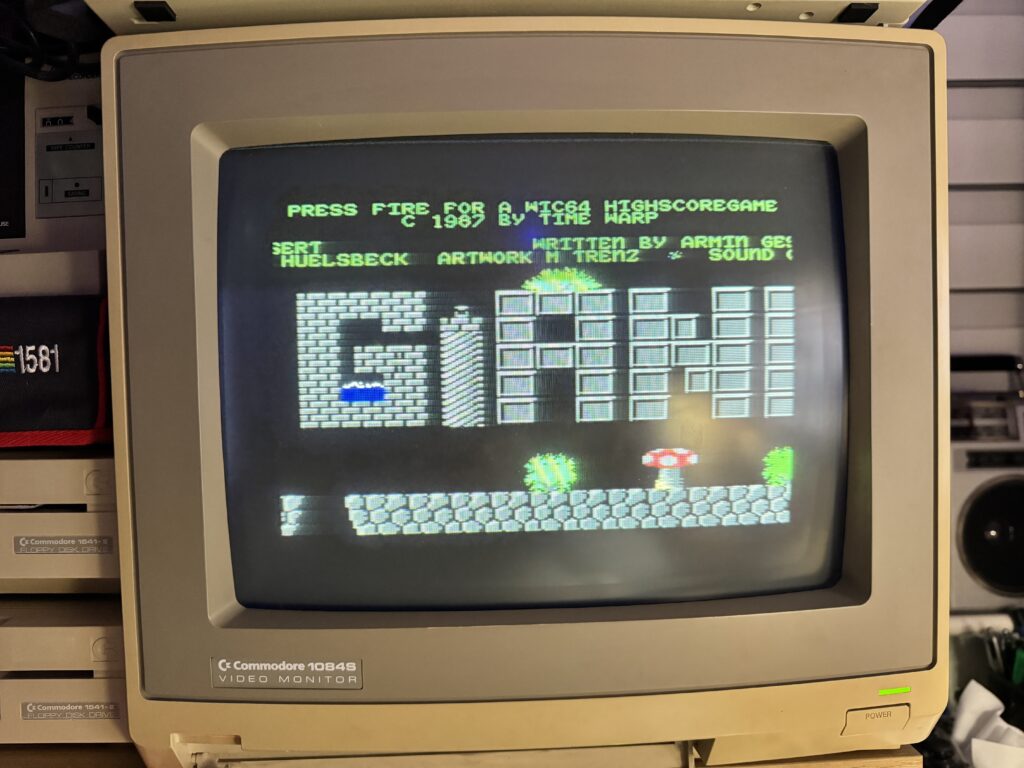
Great Giana Sisters – WiC64 High Score Edition
There’s currently only 2 multiplayer games; Artillery Duel Deluxe and Multorio. Multorio appears to require the username of the person you want to play against upfront before it will do anything so as I don’t know anyone else using it I’ve not been able to try this.
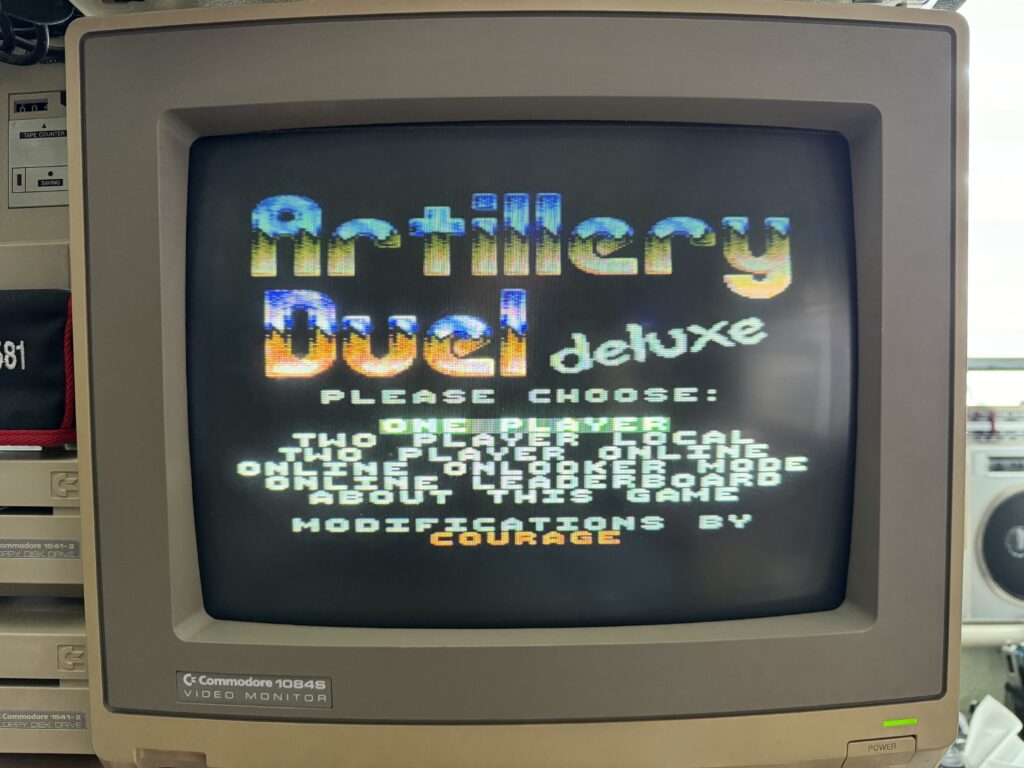
Artillery Duel Deluxe
However Artillery Duel Deluxe is a lot more user friendly and will let you play against random people online, play local multiplayer or even just play solo. It even has a spectator mode called ‘Onlooker mode’ where you can watch other players duke it out! I’m not sure if this is live or more of a replay of past battles but it’s still entertaining!
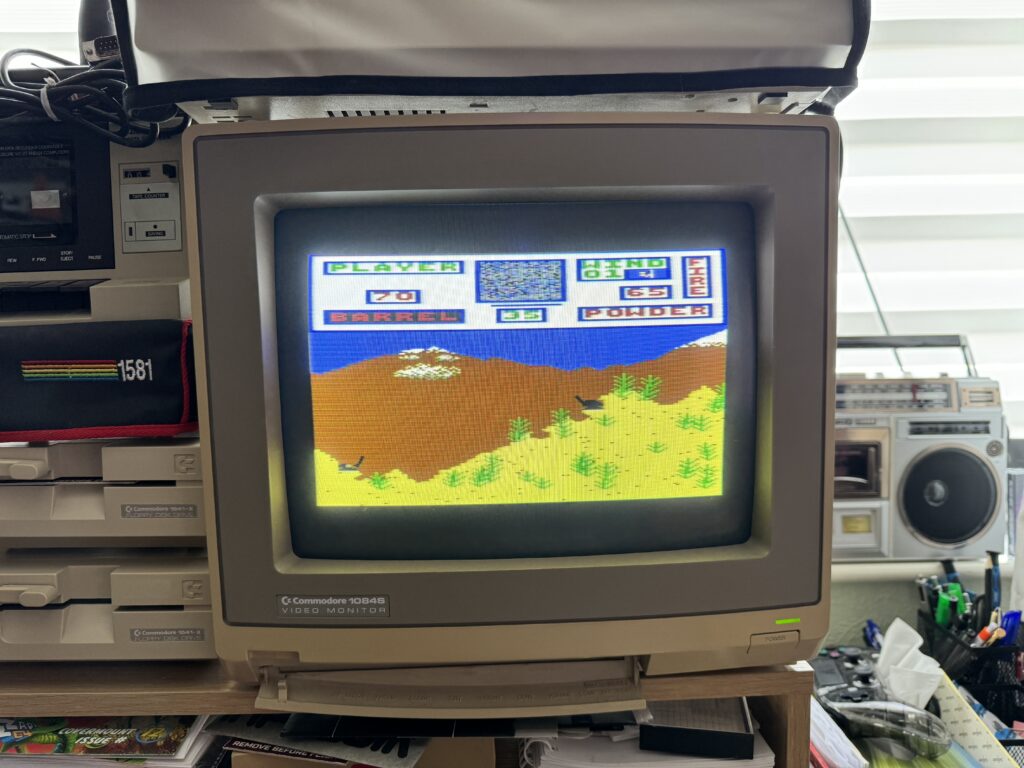
Artillery Duel Deluxe
Obviously this isn’t Steam or Xbox Live so finding other users online can be tricky which is why the solo mode is much appreciated. I assume this is probably why the developers seem to be focusing on asynchronous gameplay, affording everyone the opportunity to compete against others, any time they want.
Internet Radio
WiC64 Radio is another program I found myself coming back to time and time again. It’s tucked away in the ‘Apps’ section of the ‘File Area’. Personally I would have thought the Internet section was more appropriate but it didn’t take long for me to remember where it was located.
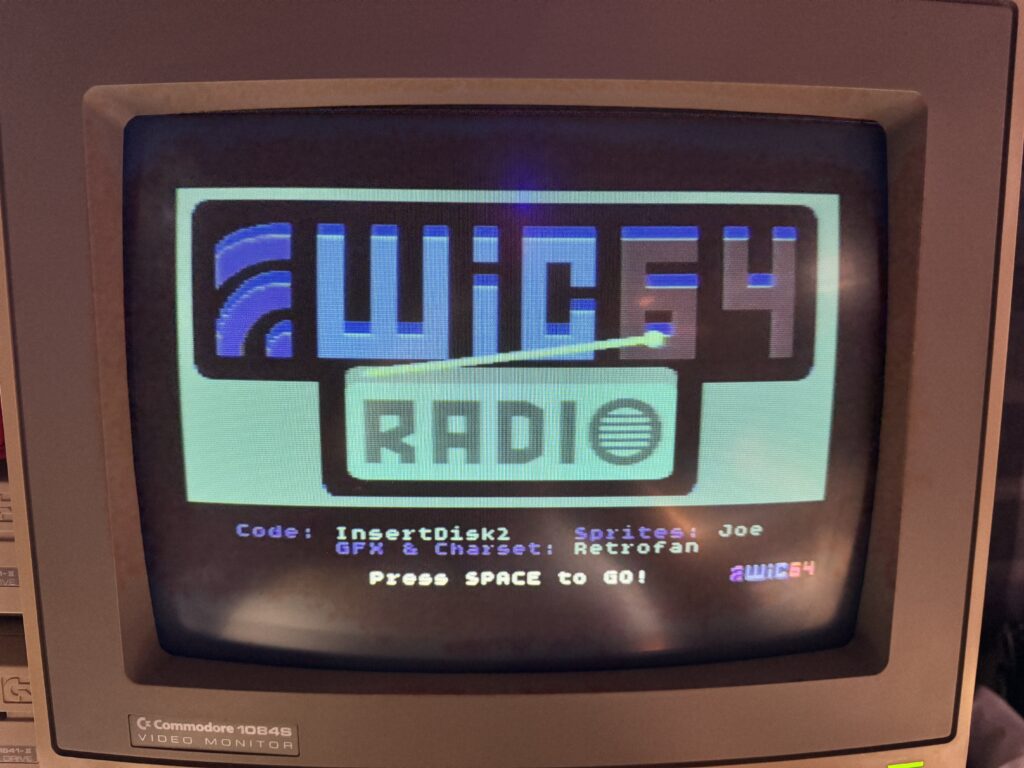
WiC64 Radio
I absolutely adore SID chip music and this program supplies a never-ending stream of it over the internet directly into your SID chip. The program will just keep playing an endless stream of fantastic SID tracks until you close it. If you come across one you’re not so keen on you can just tap space to skip it and move onto another,

WiC64 Radio
Not only that but you can create a custom playlist of your favourite tracks too. The screen displays lots of info about the track currently playing including the author, title, it’s release date and run time. I tend to load this up and just leave it running in the background – you can’t beat some classic SID tunes being played through real hardware.
Demo’s
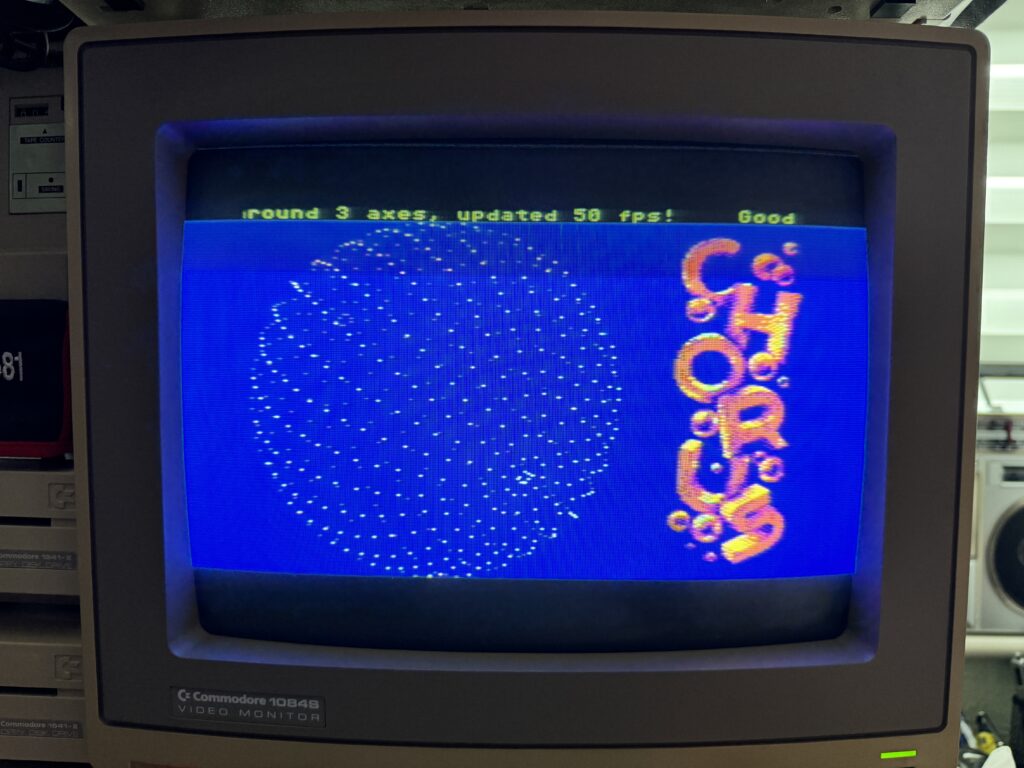
One of the things I used to love doing in my youth was watching and listening to scene demos on both my C64 and later on my Amiga. Well the WiC64 has got me covered here too with a nifty Demo section containing 8 demo’s filled with pulsating graphics and sound for that shot of nostalgic dopamine.
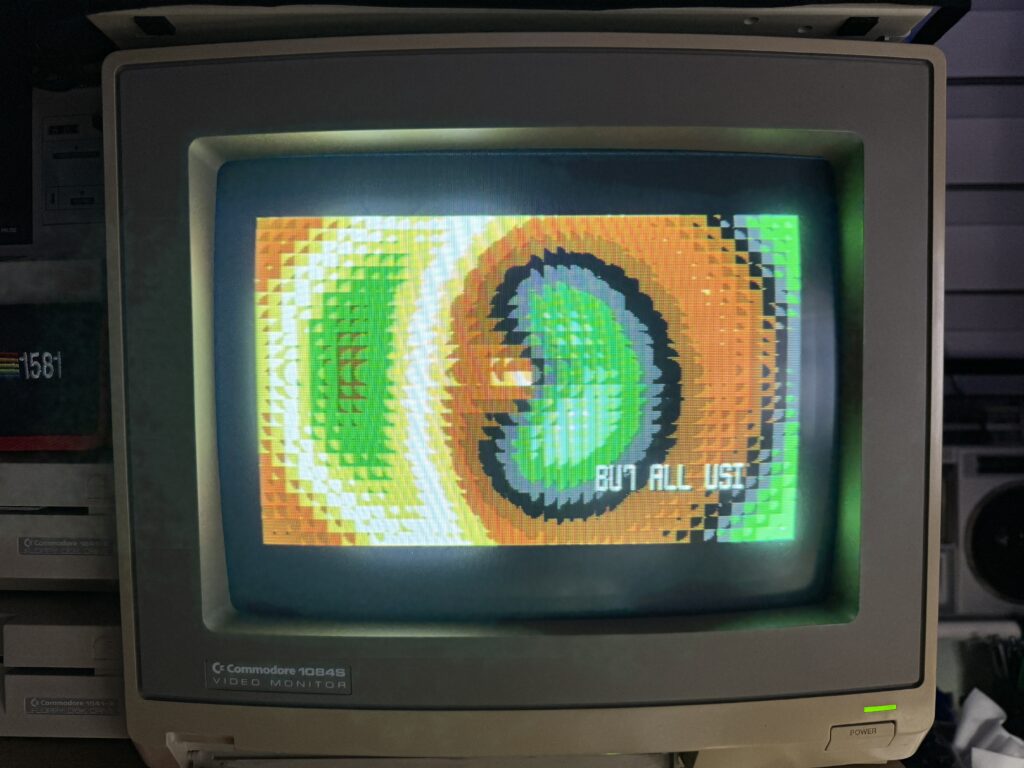
“Quadrants” Demo
Most of these demo’s loaded pretty much instantaneously for instant retro gratification. The Elite Code Mechanics demo soon proved to be a particular favourite due to the amazing music which I could (and did) happily listen to for hours.
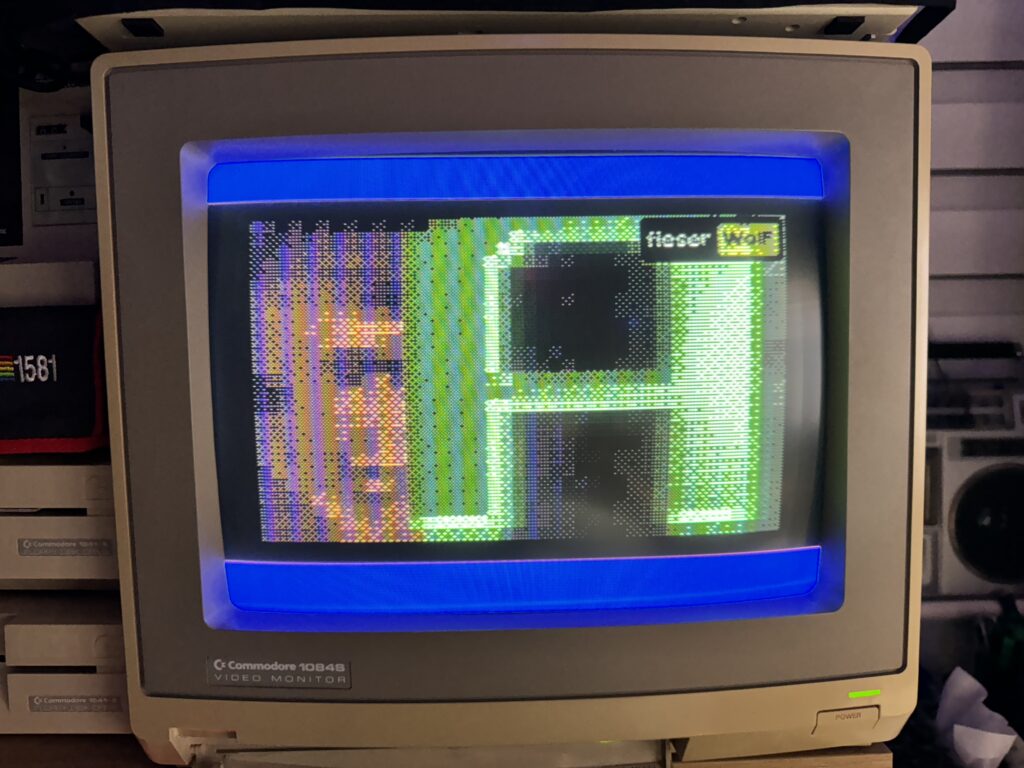
Elite Code Mechanics Demo
The still pictures obviously don’t do the demos justice but I just couldn’t get my iPhone to capture video off my 1084 monitor without it turning into a horrid flickering mess.
Crystal Gazer Demo
Ideally I’d like to see many, many more demos appear here so hopefully the developers add to this section over time, after all, most of them are probably in the public domain (unlike the games) so there shouldn’t be too many obstacles to making it happen?
Chat/Messaging
WiC64 seems to be a predominantly German project right now so the Chat and Message board areas are dominated by German users which is a shame but I’m sure in time as more of us come on board this will change
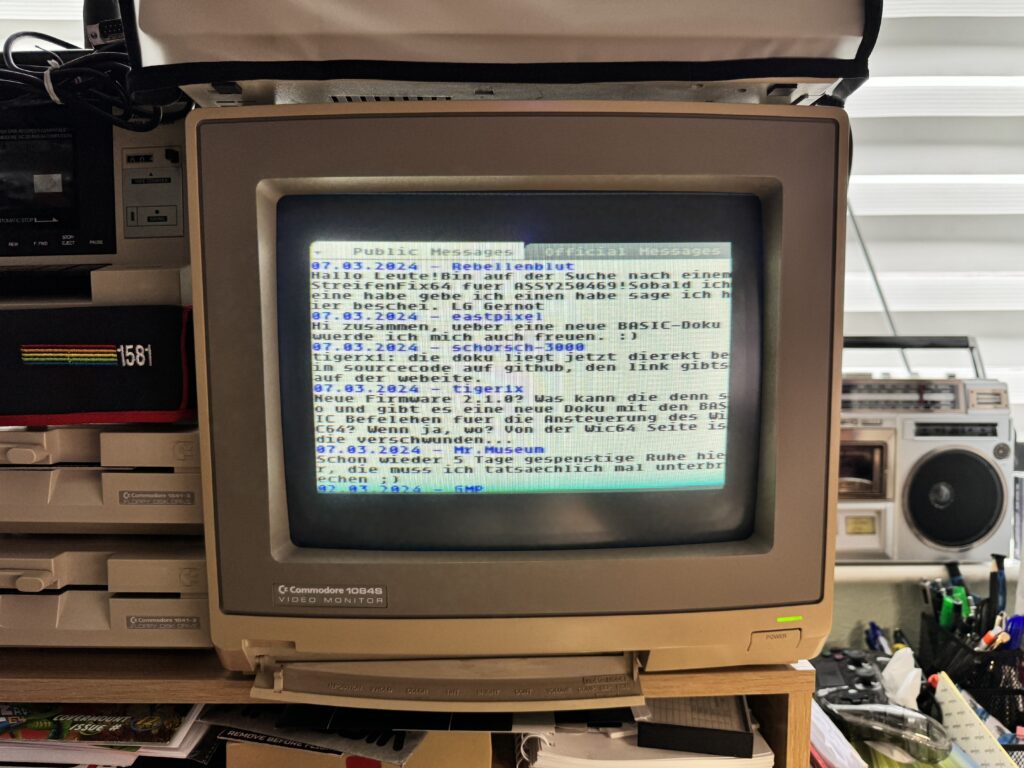
Sadly most, if not all, the messages seem to be in German
However I was intrigued by the ChatGPT option at the bottom of the menu. Surely this couldn’t be THE ChatGPT that is all the rage right now?
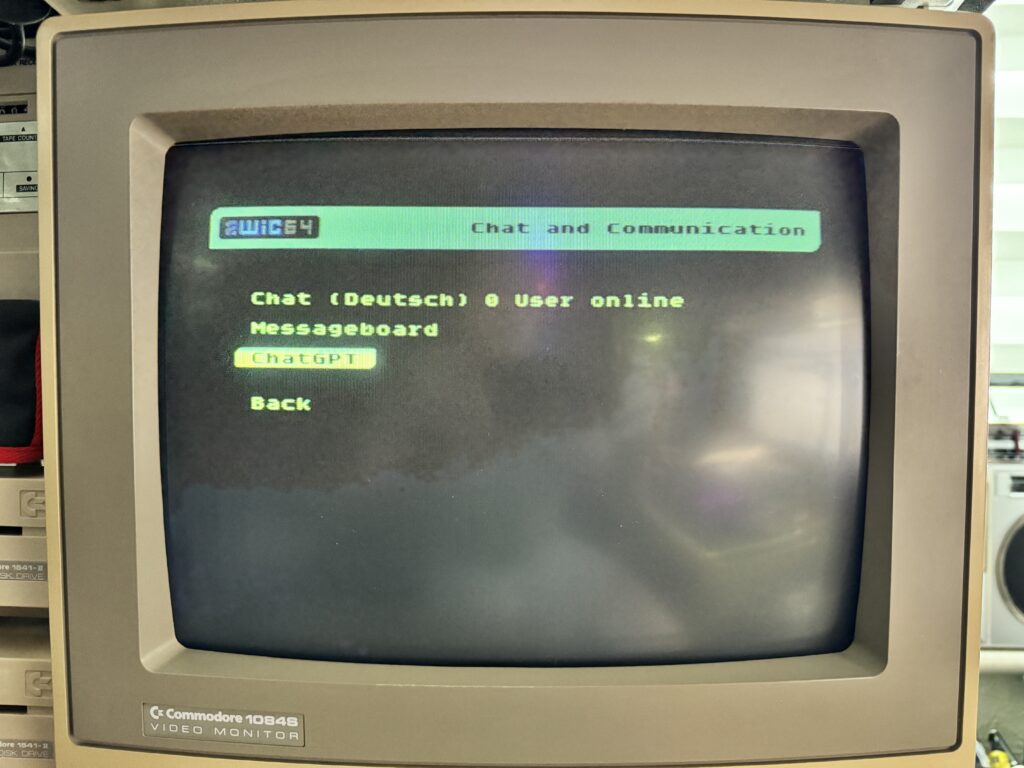
Surely not, ChatGPT on the C64?
Chat GPT
Well yes, actually it is. Incredibly the AI revolution has made it to our trusty C64’s in 2024. You can ask it any question and get a near instant reply. It works just like it does on a modern computer, simply ask it a question and it will respond with an answer almost immediately.
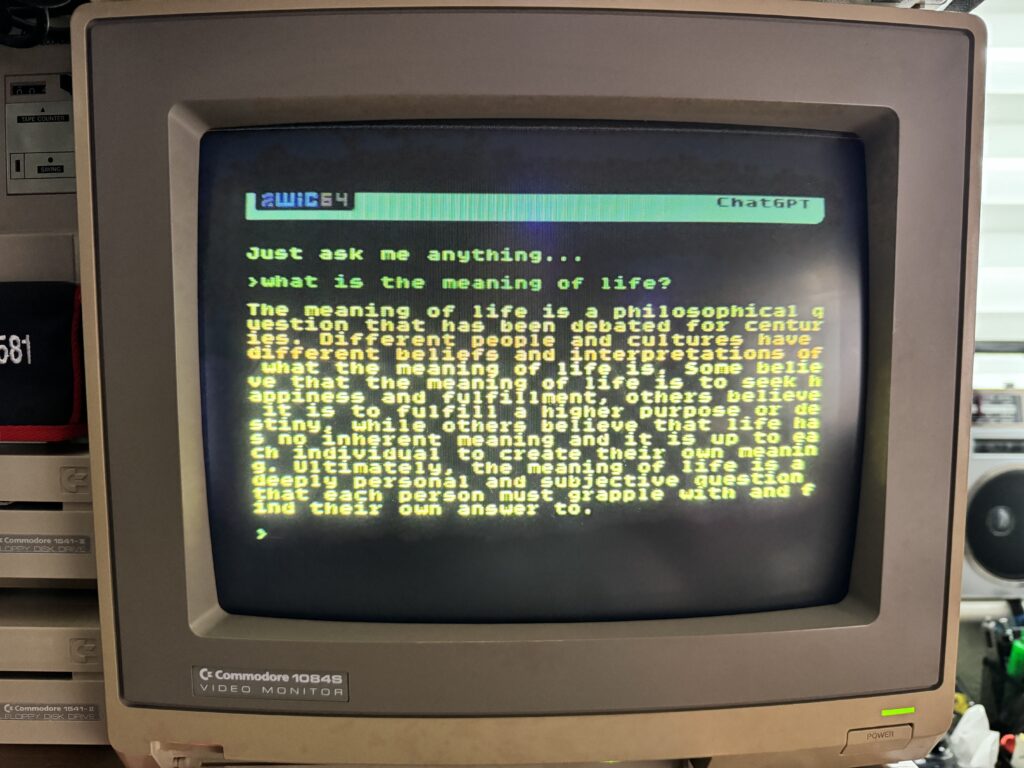
ChatGPT in action on the C64
Obviously unlike, for example, Copilot in Windows 11, it is unable to create images but I wouldn’t really have expected that anyway. It also does seem to lack the continuity you get when interacting with ChatGPT on modern systems. For example if you try to tell it a Knock Knock joke it will respond with ‘who’s there’ but then thinks your answer is a new question. Likewise you can start a game of hangman but your guesses don’t seem to be recognised. It’s probably churlish of me to nit pick things like this when the fact it works at all is an astonishing achievement, but it would be the icing on the cake if they could fix this. However ask it any other straight question and you will get just as comprehensive a response as you would on a new computer which is just incredible.
Google Maps!
Yes you read that heading right, WiC64 also gives you a portal to Google Maps on your C64 and what’s more its actually useable too! This is arguably even more impressive than ChatGPT given the graphical overhead involved in drawing them.
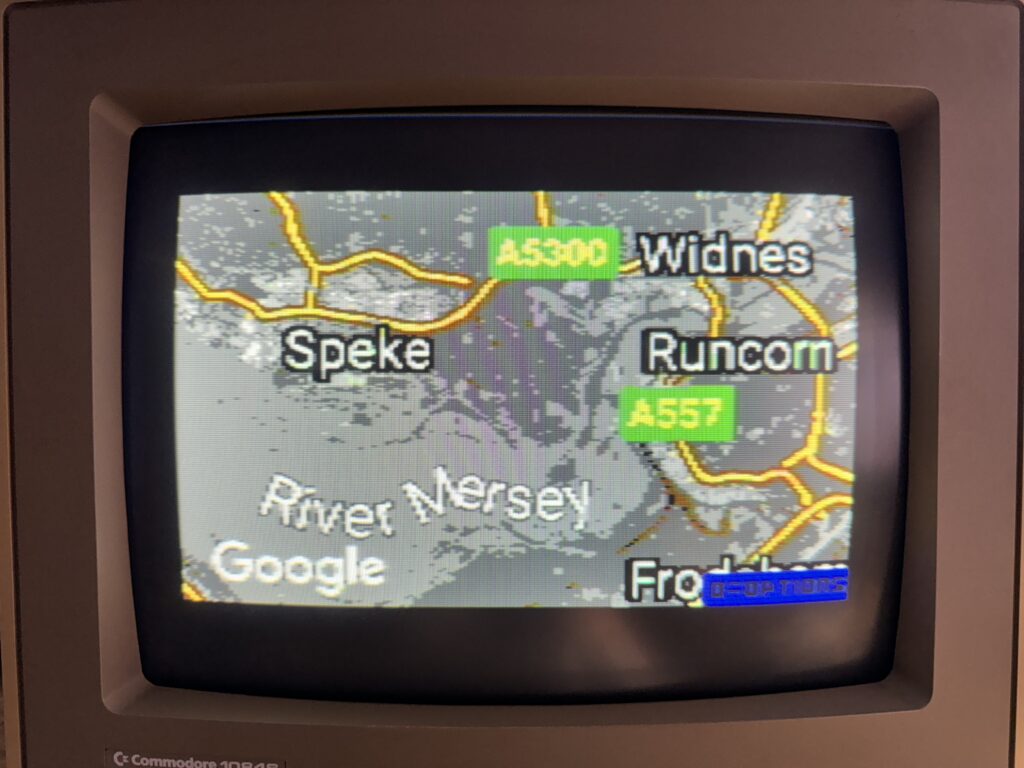
Google Maps
You can search for a place or post code from the menu screen or just dive straight in. It seems to have a rough idea where you are already, presumably based on your external IP address, unless it was just pure coincidence that it started me off in Merseyside! Once the map is visible on the screen you are able to zoom in and out using the function keys and pan around using WASD. There’s a choice of satellite view or road map view. Each page refresh takes about 5 seconds or thereabouts to display – eminently useable and I was able to find and navigate around places I know very easily.
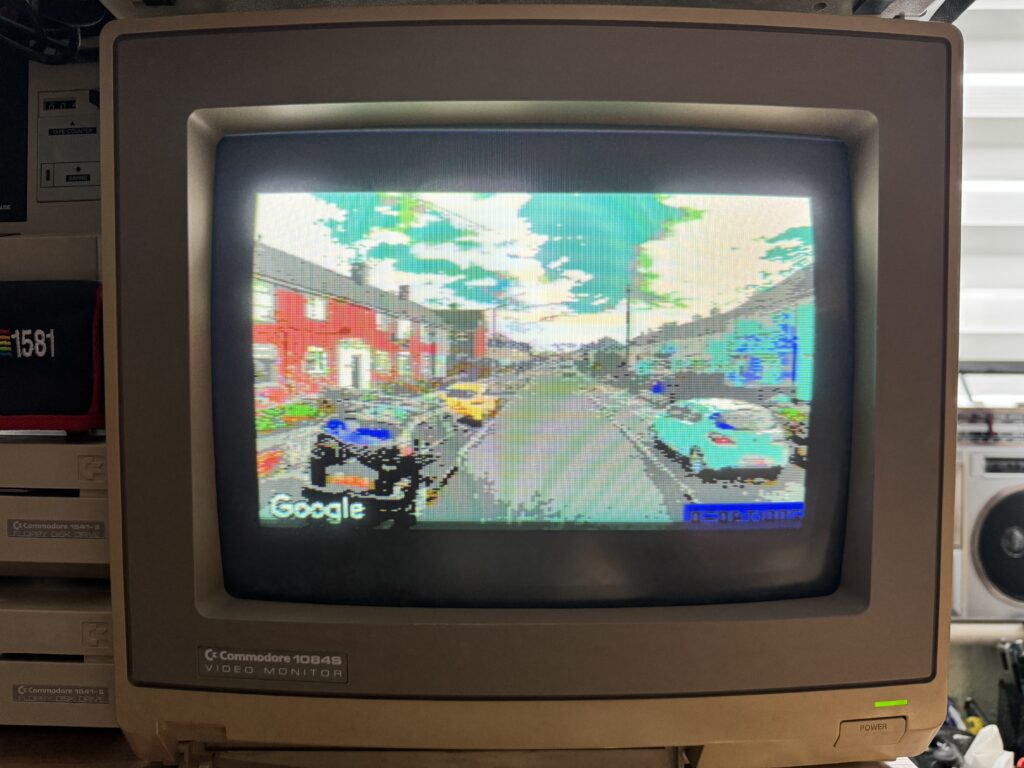
Google Streetview!
But there’s more! Pressing ‘V’ toggles Street View so you can look around in glorious 8-bit 3D at your street and even find your house, all on your Commodore 64. I would not have believed this possible if I’d not experienced it myself. It’s an absolutely astonishing accomplishment.
Clocks
There’s plenty more programs and features to be discovered that I haven’t mentioned yet too. For instance there’s an entire sub-menu devoted to a collection of Real Time Clocks (synced to the Internet of course), ranging from a simple digital clock to some downright convoluted affairs that require some serious thought to decipher!
C/Place Pixel Project
There’s also something called “C/Place Pixel Project” which is an interesting little concept. It’s basically a community art project – you take it in turns with other users to place a single pixel on a 40×50 screen in order to ‘paint’ a picture. If nobody else is around you can make a picture on your own instead! It also has an option to let you watch a timelapse of pictures being created which can be quite mesmerising to watch and a really neat extra feature.
c/place Pixel Project
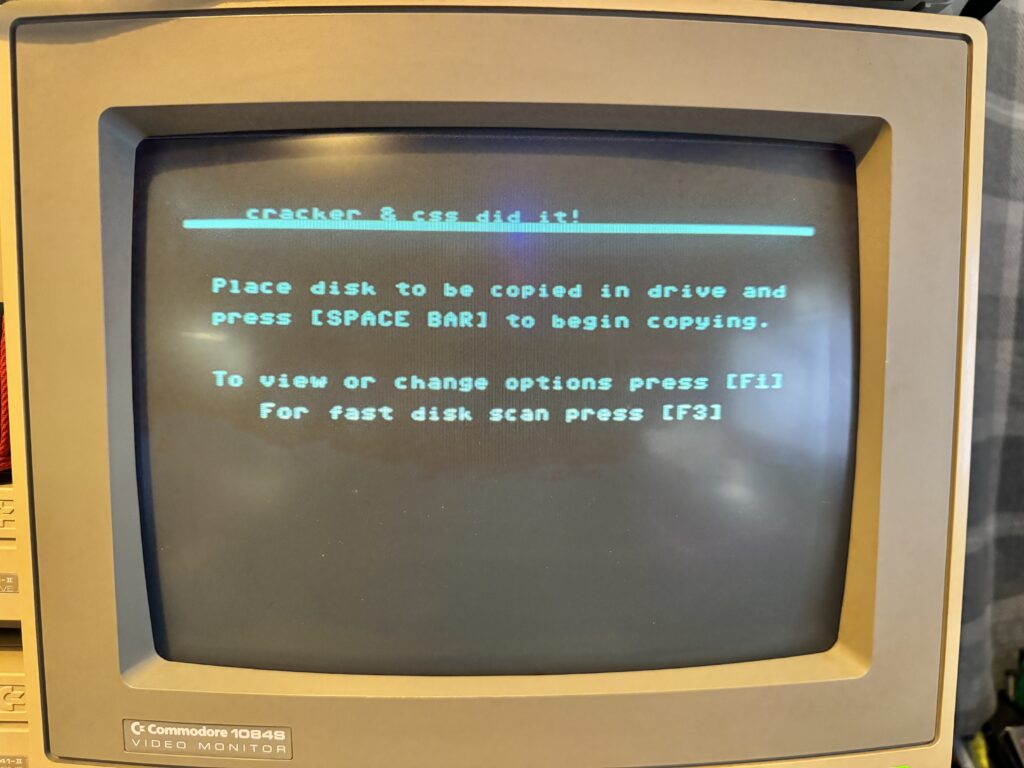
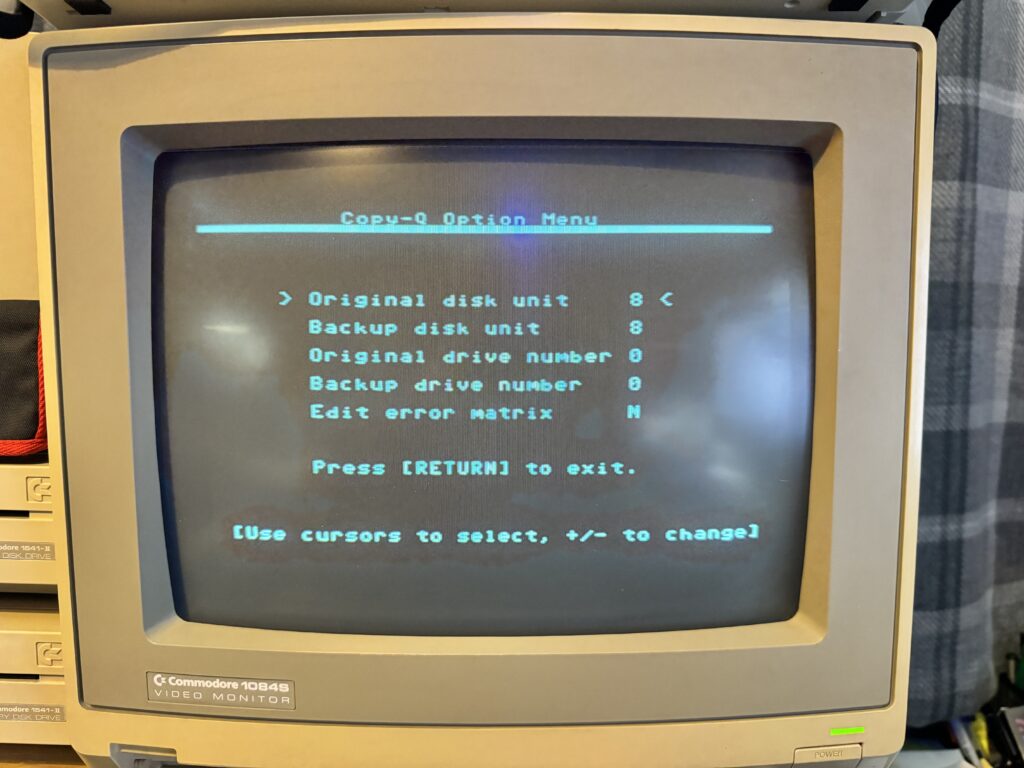
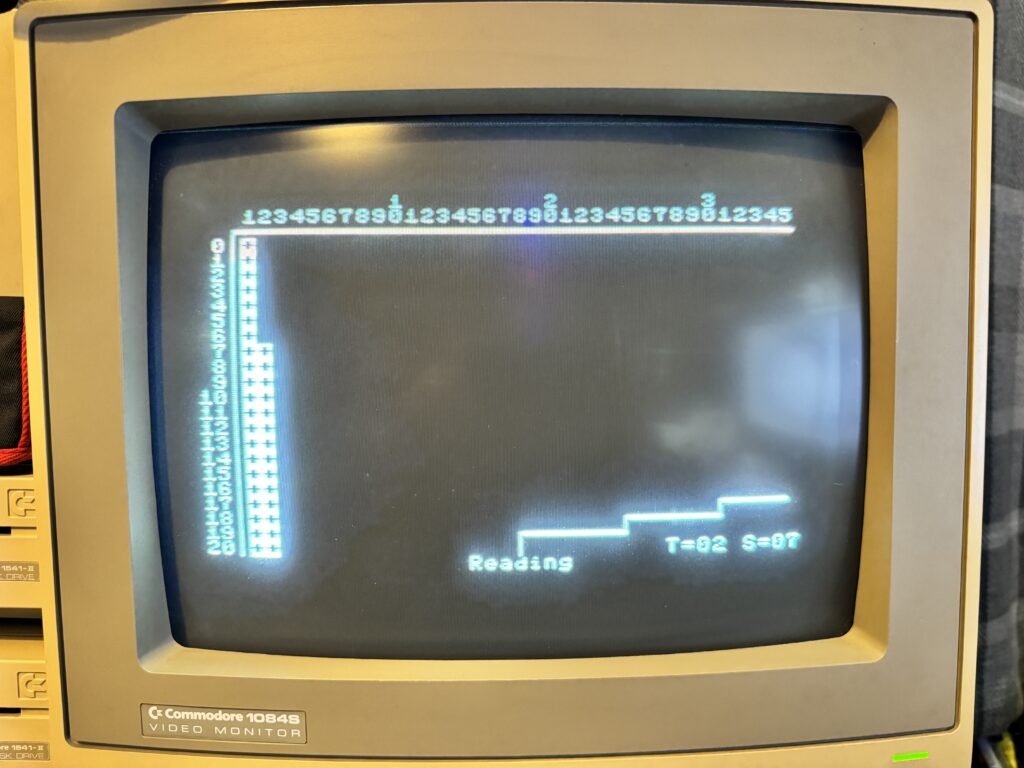
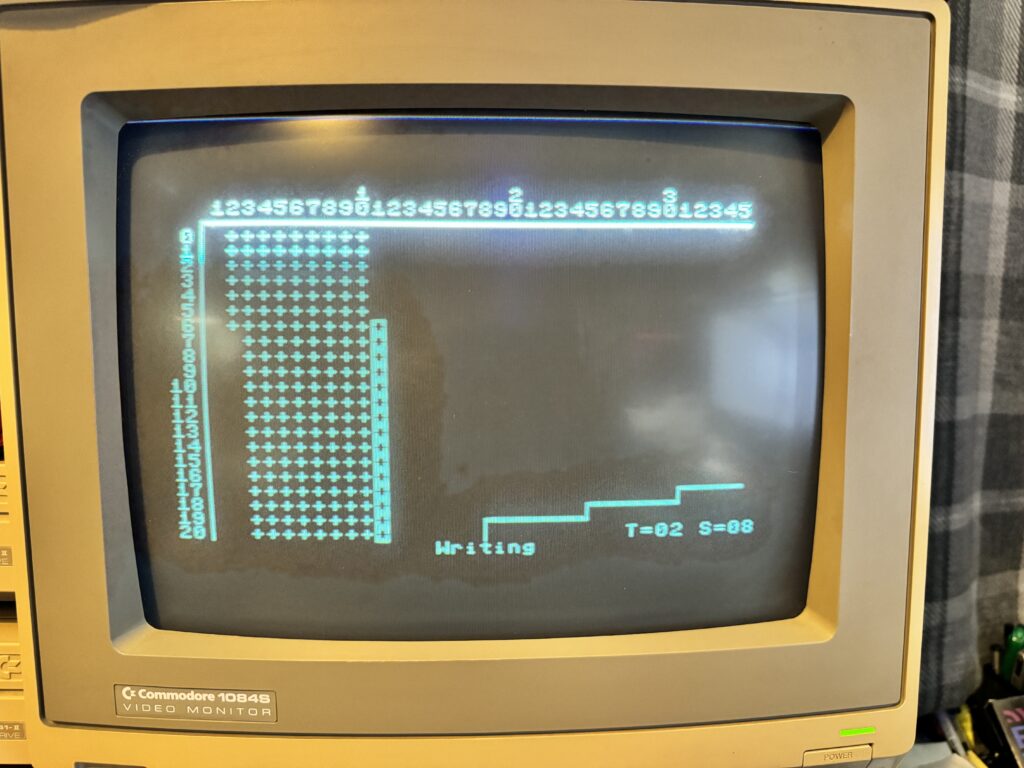
WiC64 Media Center
This is yet another really cool feature that lets you upload your physical disks into the cloud, either for public use or your own private use.
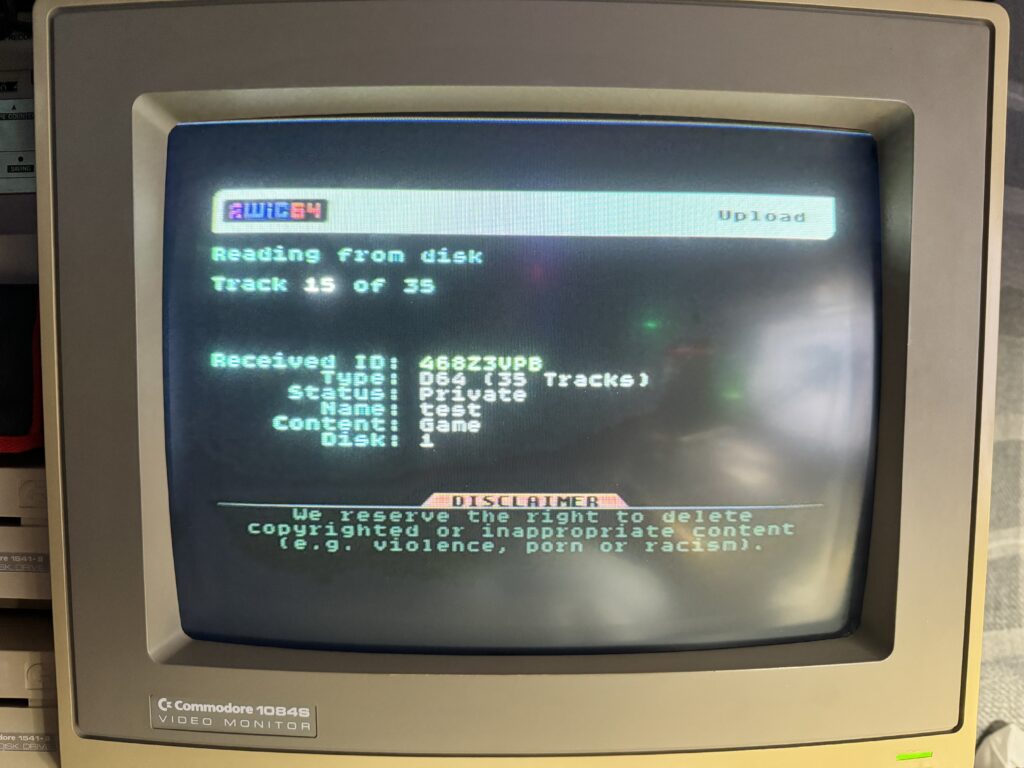
Uploading one of my disks to the WMC
You simply pop a disk in your drive, enter a few details to help catalogue it so you and/or others can find it in future and then hit upload. Naturally you can also download the disks too.
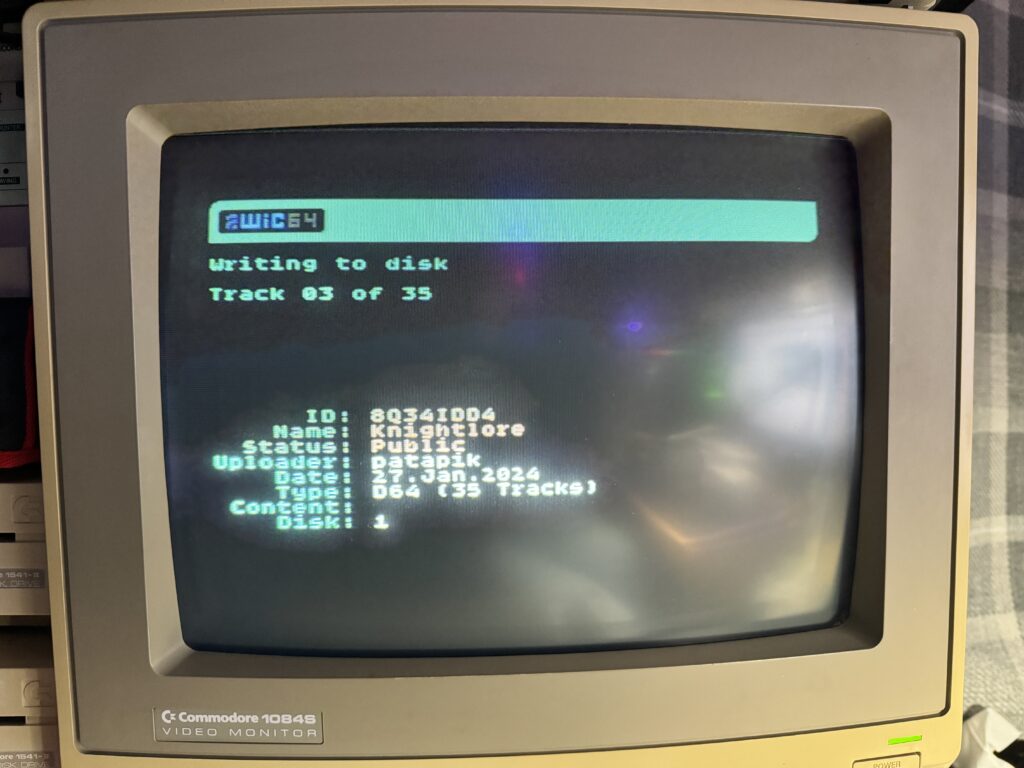
Downloading a disk from the WMC.
In just a couple of minutes I was able to download a game from the WMC cloud onto a floppy disk with just a few keypresses and then load it up and play it.
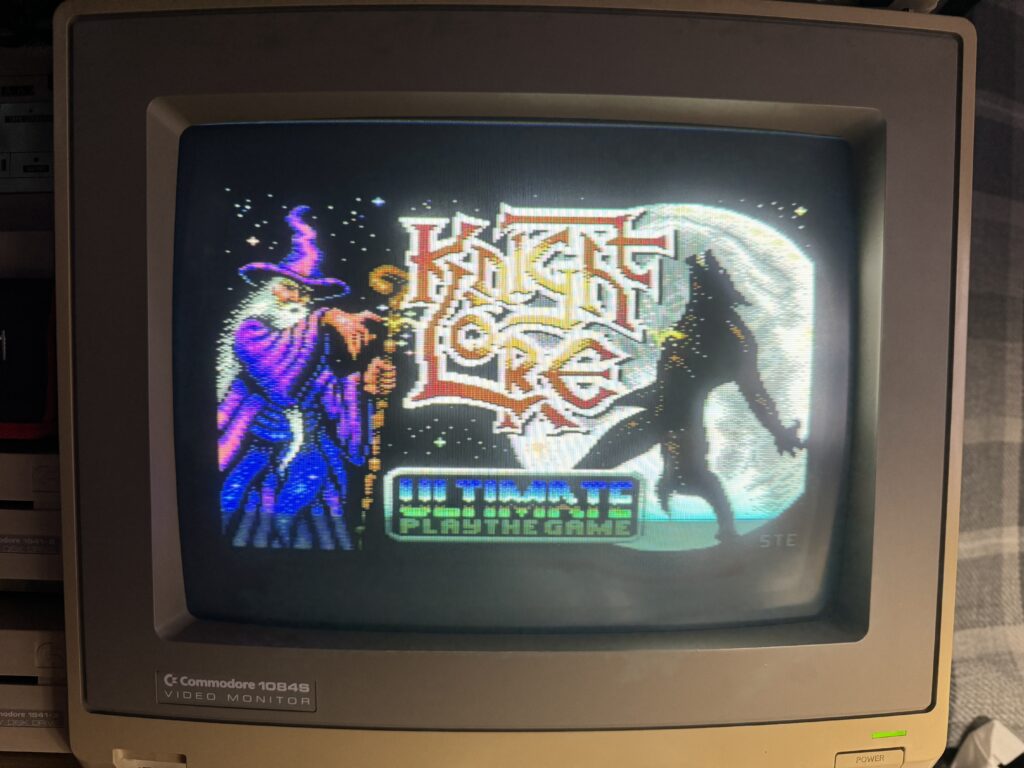
Playing the game I’d just downloaded.
There’s a whole repository of disks already waiting to be accessed in the cloud too. This is the sort of thing I could only dream about back when I was a teenager but it’s now a reality thanks to the WiC64.
Honourable Mentions
There’s even more stuff to play around with that I’ve not covered yet including:
- MOSCloud Compiler (a facility to upload your BASIC programs and have them compiled in the cloud).
- Remote Image Viewer (enter an image URL and it will render it on your C64). I didn’t have much success with this as most online images have horrendously long and complex URL’s and it’s very easy to make a mistake entering them without the option of copy’n’paste. However even when I was absolutely sure I had the URL correct I’d get a ‘failed to process image’ error. Hopefully it’s just a glitch and will be ironed out in due course.
- CSDB Browser to keep up to date with the latest C64 releases
- RSS Feed viewers for Forum64 and Tagesschau – sadly both in German only.
- Telnet program – with a few provided servers to try (similar sort of experience to BBS’s) or you can try entering your own.
- A DiskMags section – I found the intro screens and accompanying chip music a lot more entertaining than reading some of them but as always with these things YMMV.
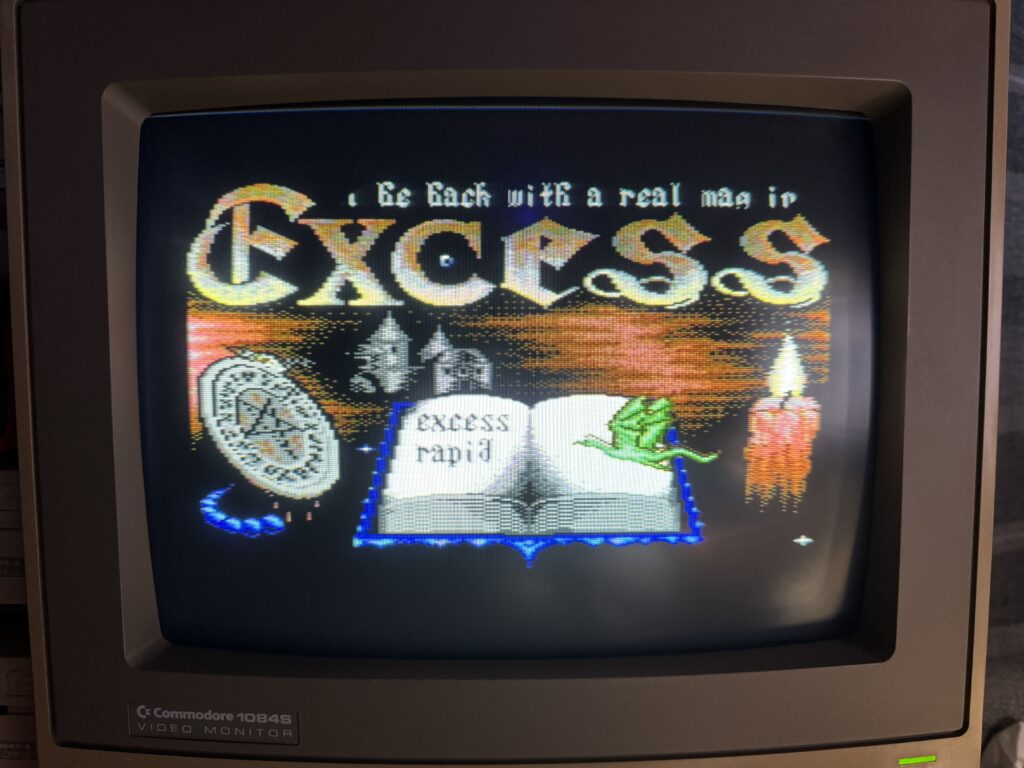
Excess RapidNews DiskMag
Conclusion
I did have a few crashes and lock-ups but nothing major and considering what it’s trying (and succeeding) to do I can totally forgive a little instability. Besides, on the odd occasions it happened I just reloaded the launcher via my 1541 Ultimate-II+ cart and was immediately returned to the exact same position in the menu that I’d launched the program from. It was a minor inconvenience at most. There were also few little issues I had during setup but nothing major and they were all easily solved by a spot of RTFM. There were a couple of sections that seemed to be dominated by German speaking users but hopefully that will change as the device becomes more popular, but even if it doesn’t it only affects a tiny fraction of what’s on offer anyway.
Without a doubt this is an absolutely incredible hardware and software package that really brings the venerable C64 into the 21st Century. It offers so many new ways of accomplishing things, new ideas to try out not to mention the potential new features it may bring in the future. This is one of those devices that every C64 user owes it to themselves to get hold of. Whether you are a gamer or a tinkerer there’s something to interest everyone here and at just £35 it’s a bit of a no-brainer too. SharewarePlus has them in stock now so what are you waiting for? Go get one!